Easy Holo Ocean Themed Nails

Hello lovelies & happy Monday! It’s the beginning of a brand new week, & I’m sharing a super easy look with you.

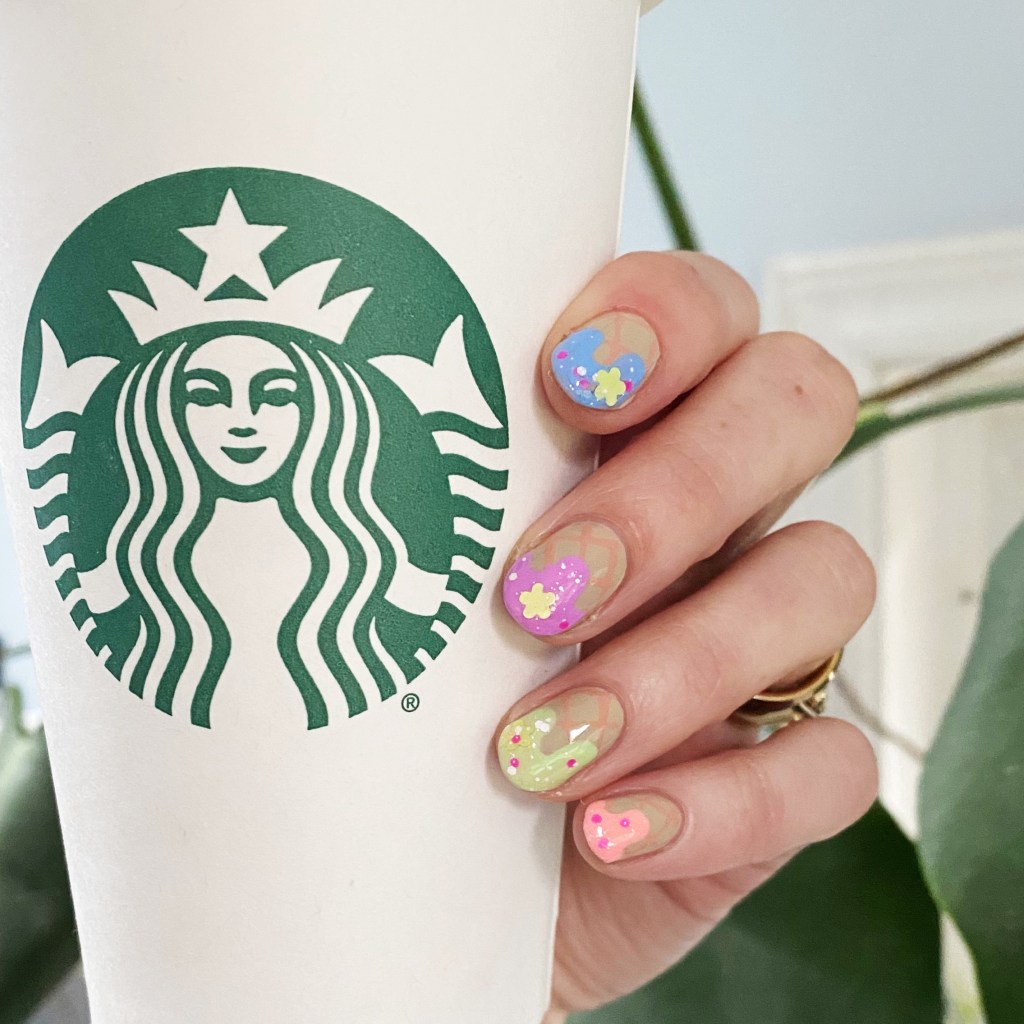
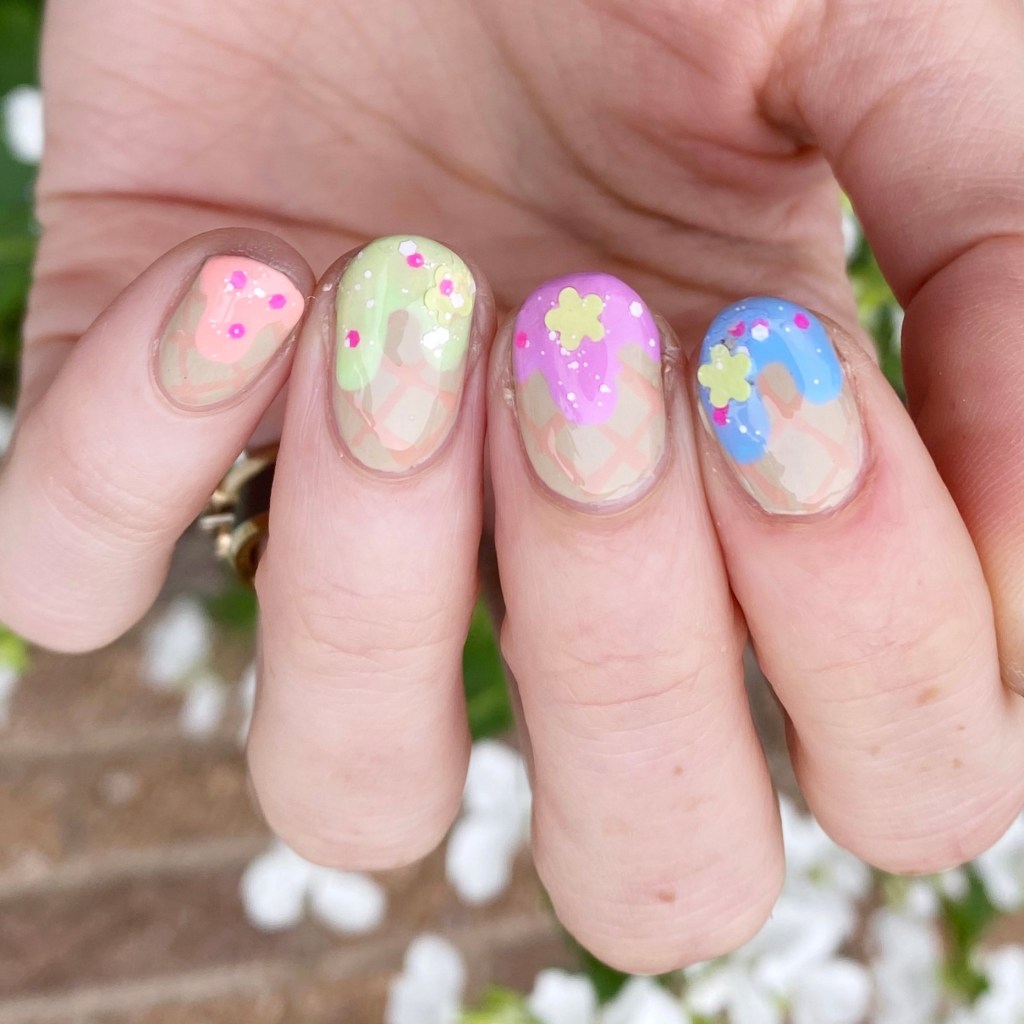
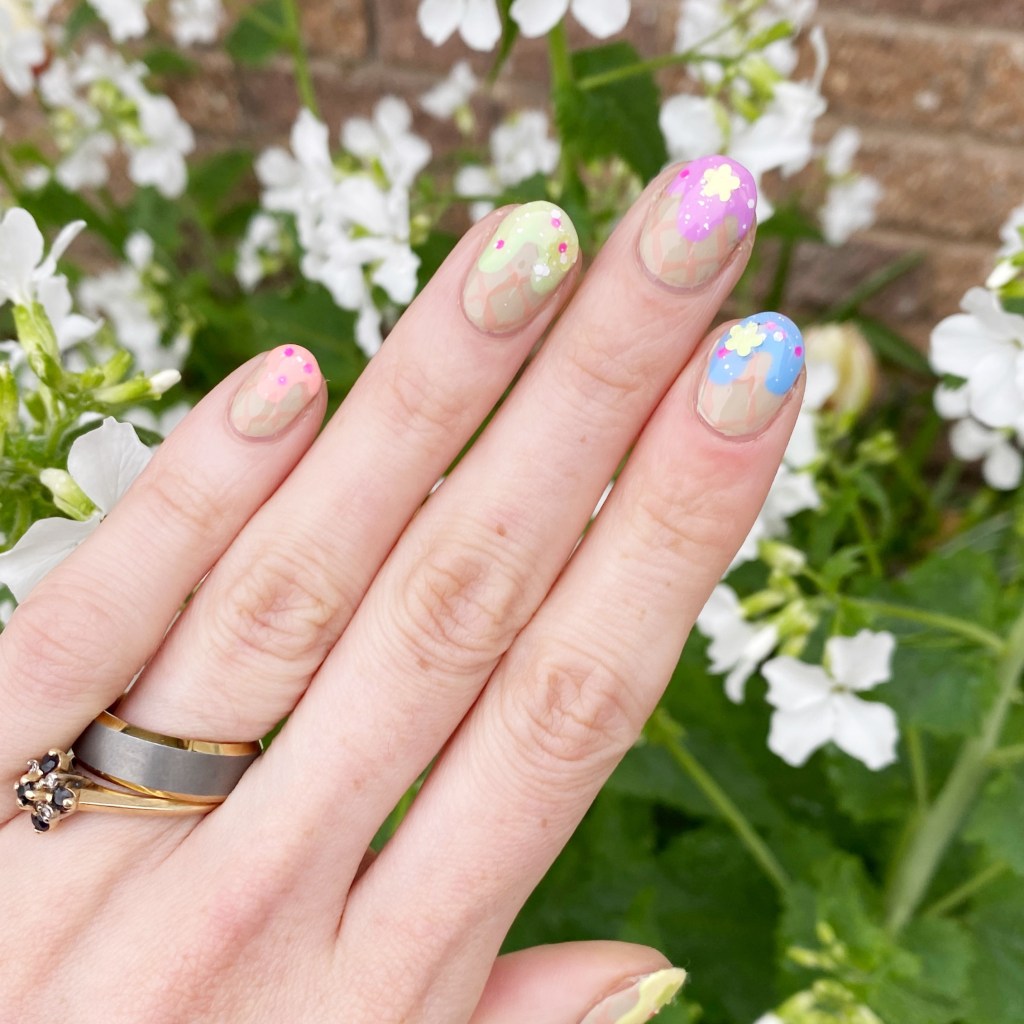
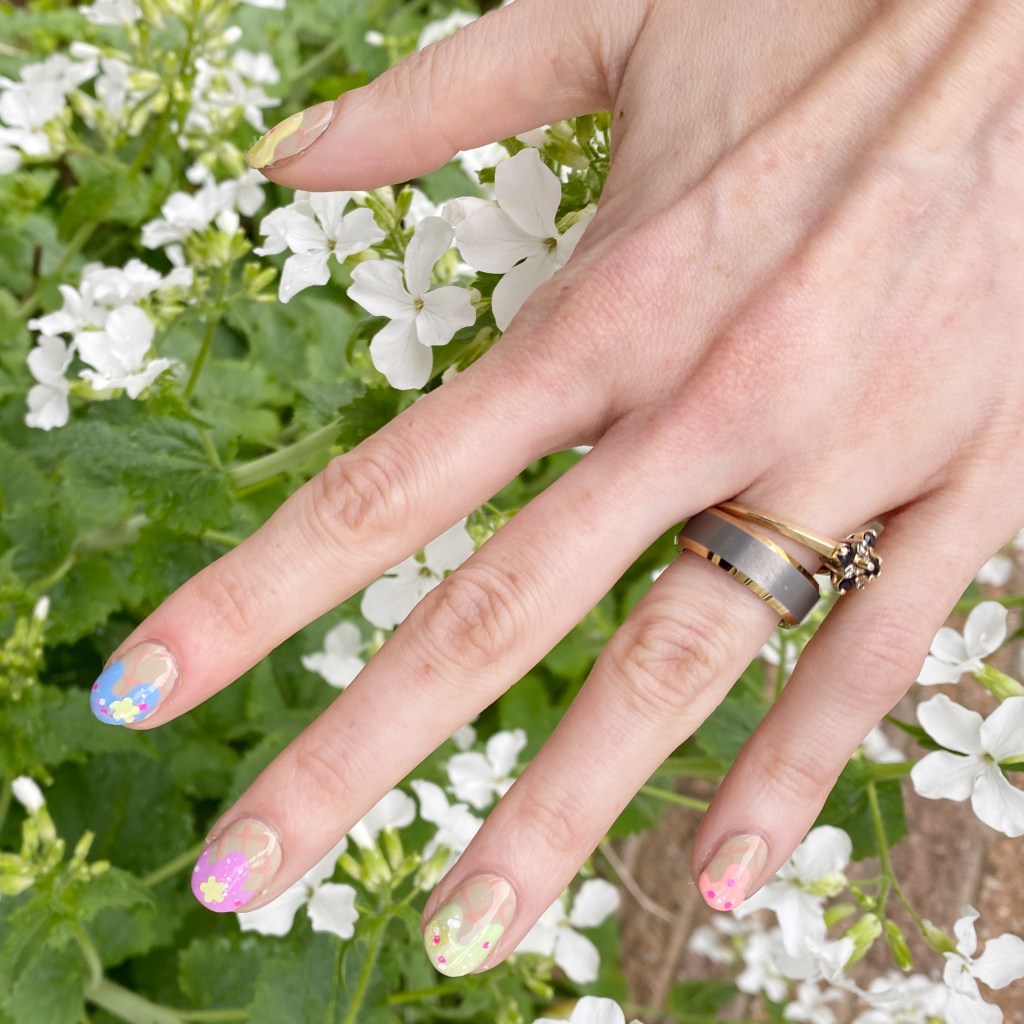
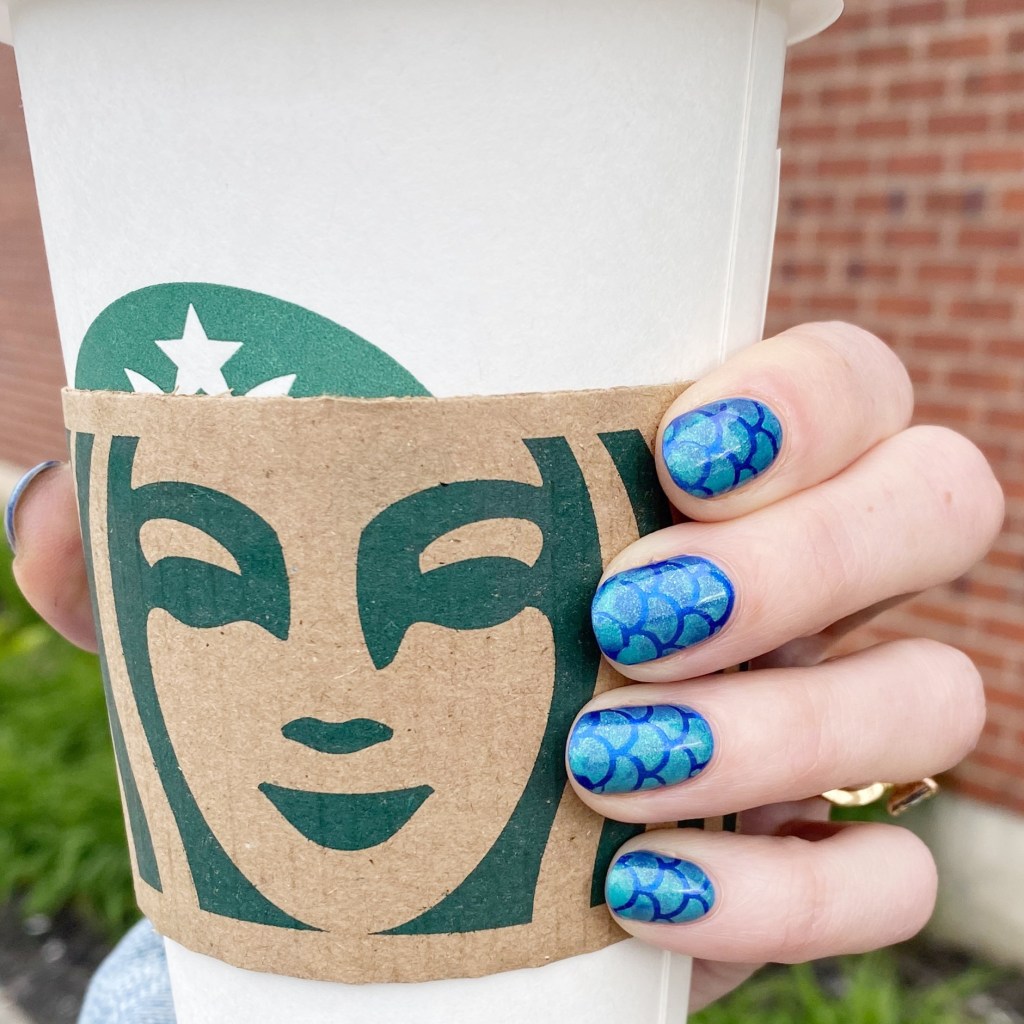
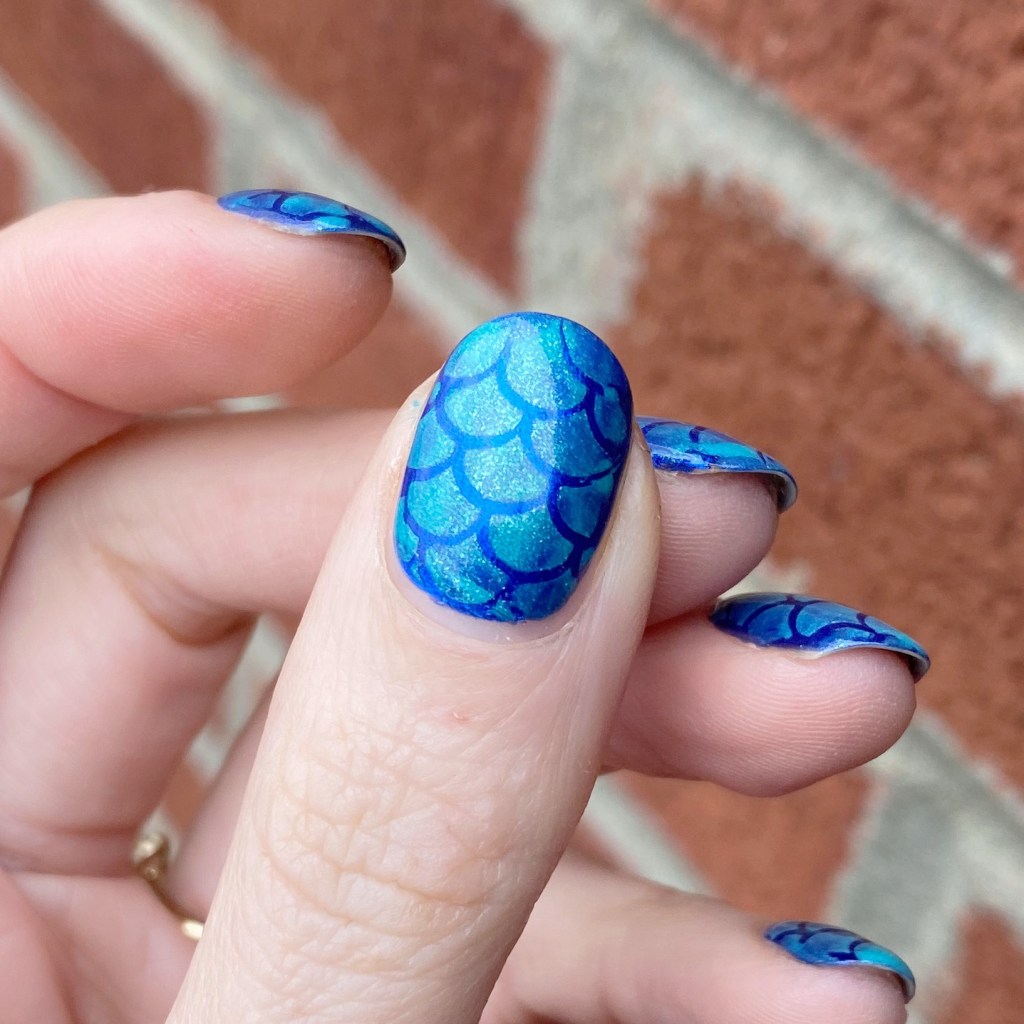
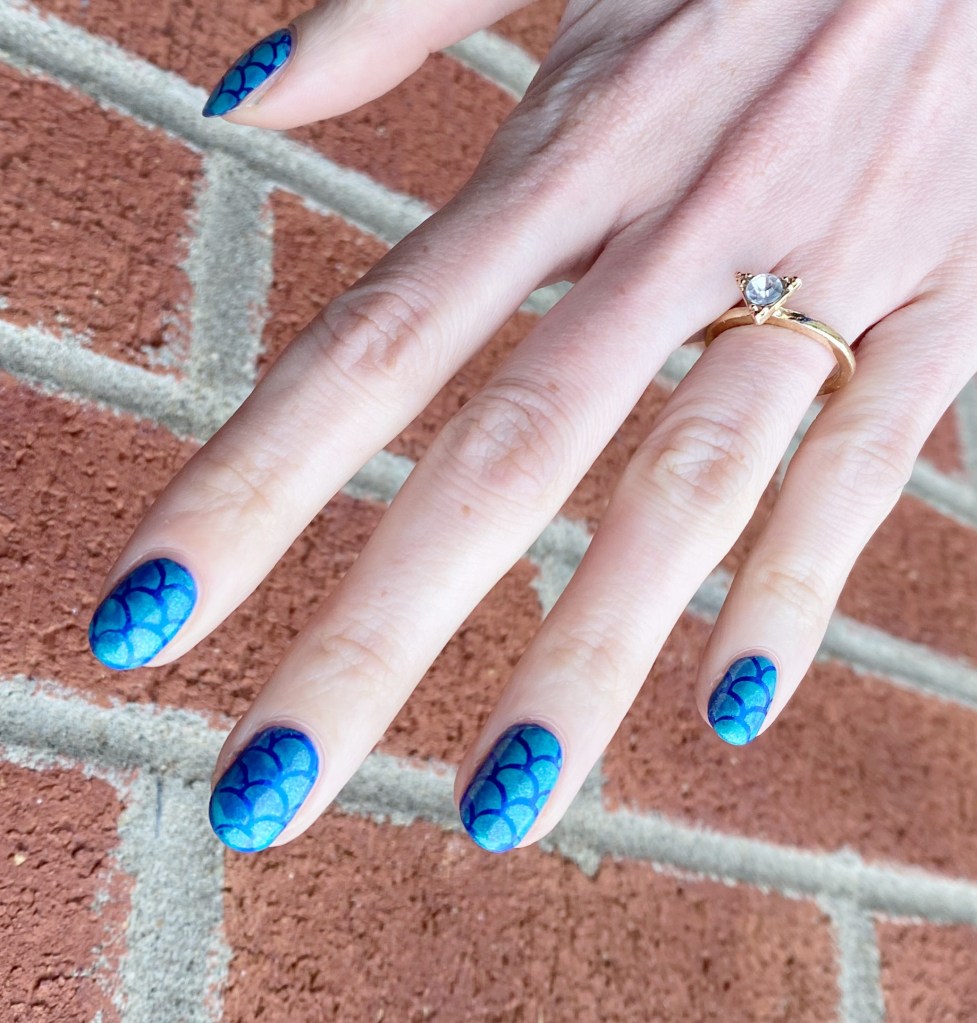
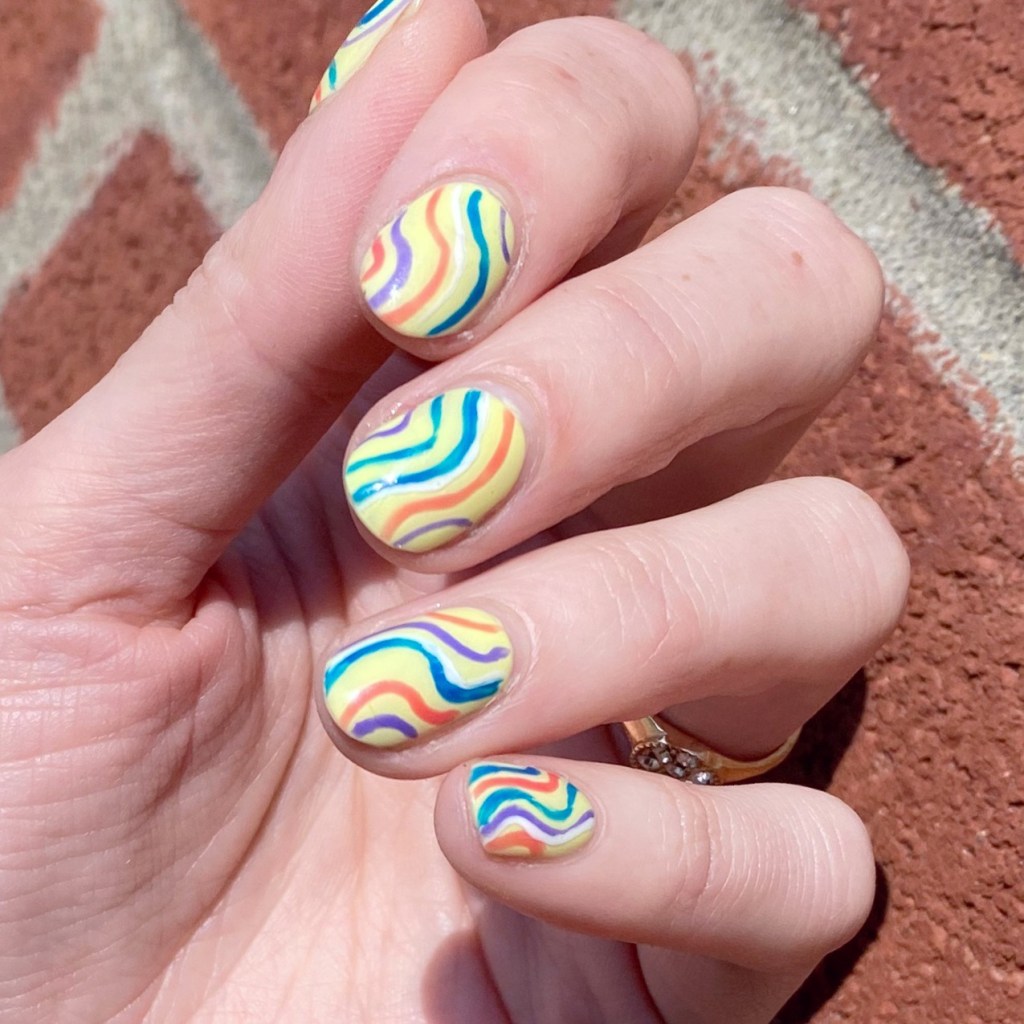
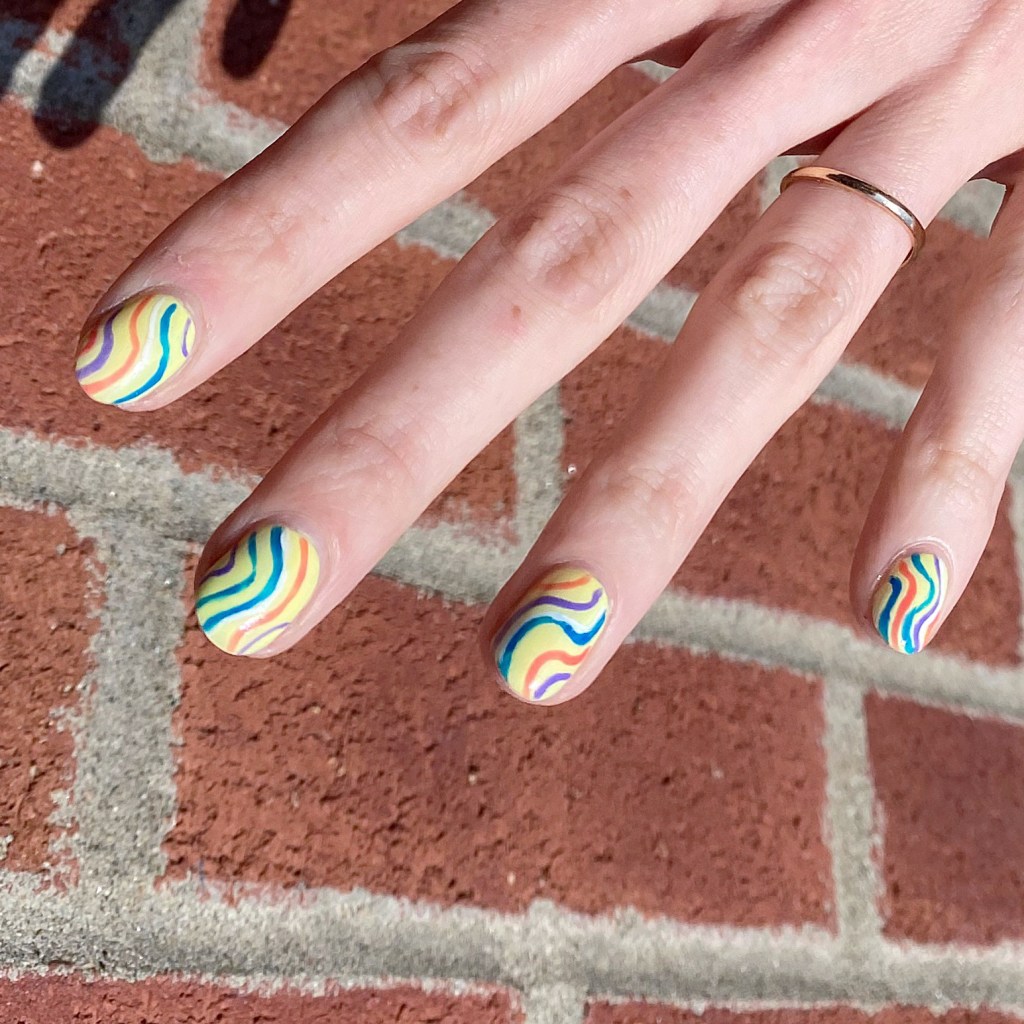
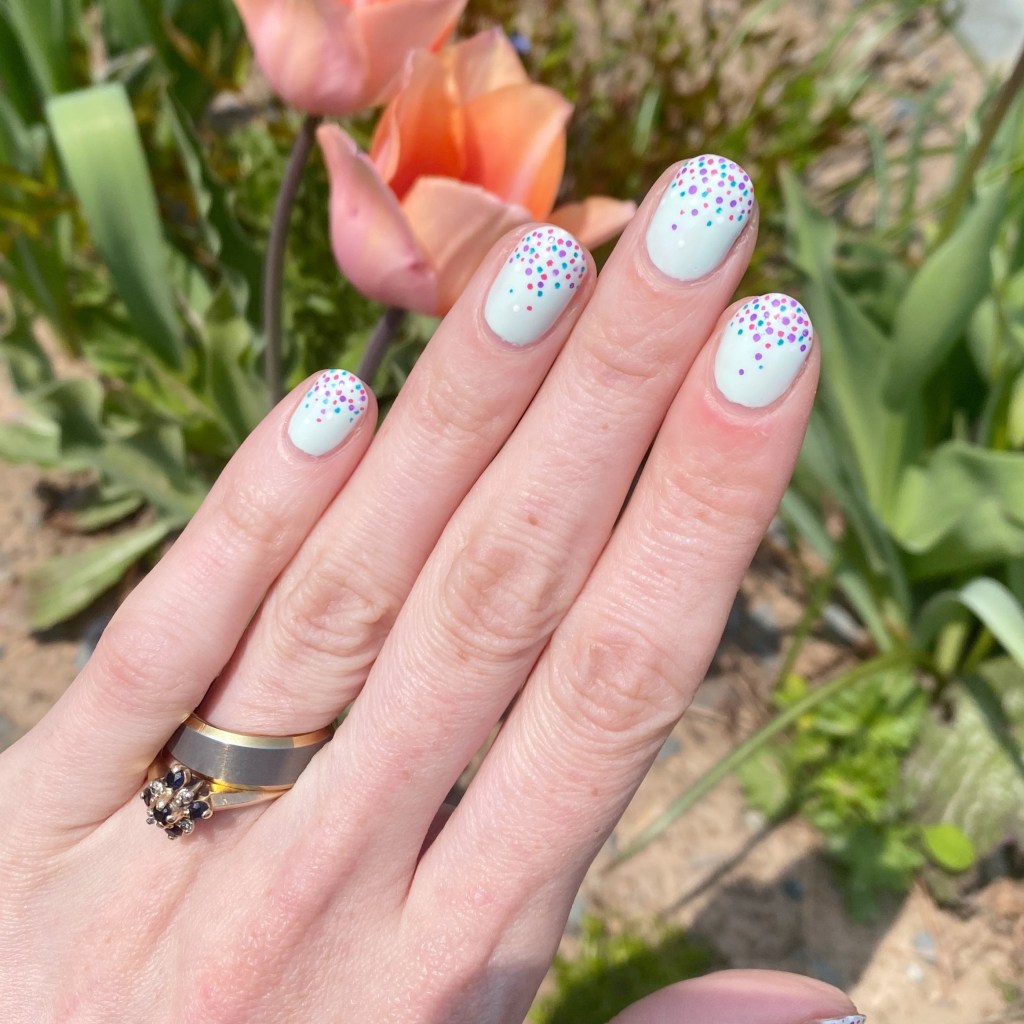
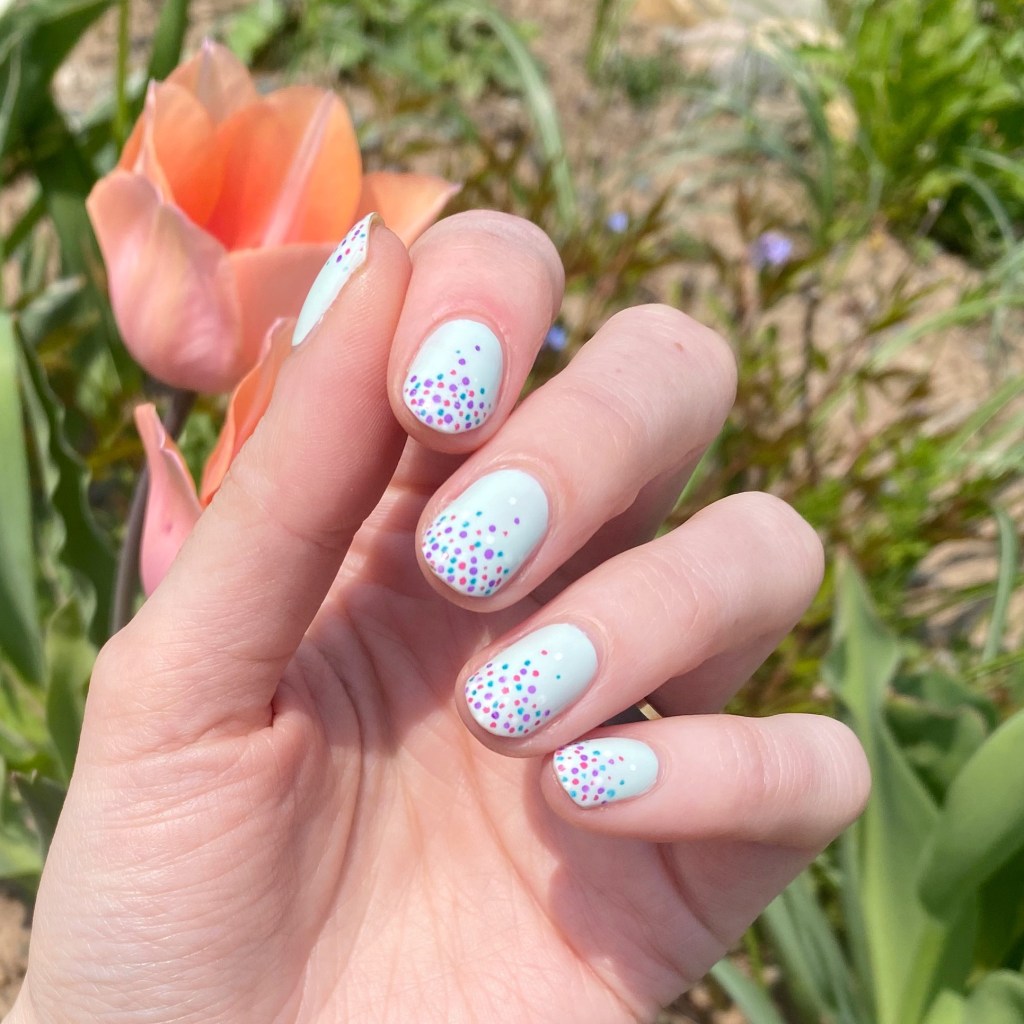
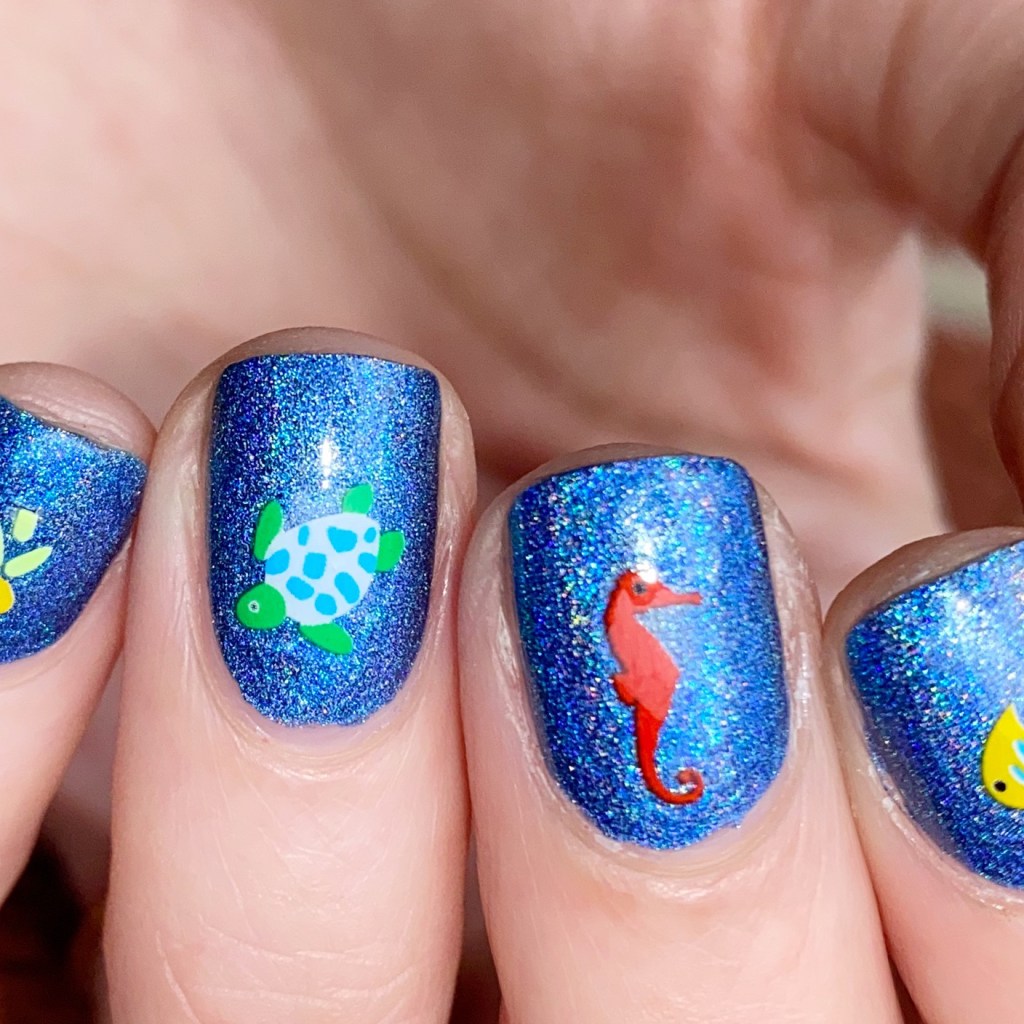
This was a super quick & easy look I did the end of last week, inspired by a request by my little girl. I had these cute ocean themed nail art stickers I picked up from Icing circa 2014-2015, though I thought they would be super cute paired with an ocean-y blue nail polish for some easy nail art.

The polishes I used for this manicure are: 

  • Base Coat: Londontown KUR Nail Hardener & Base Coat 
  • Top Coat: Seche Vive Fast Dry Top
  • Superchic Lacquer Throwing Shade
  • Icing Nail Art Stickers — can find similar styles on Etsy.

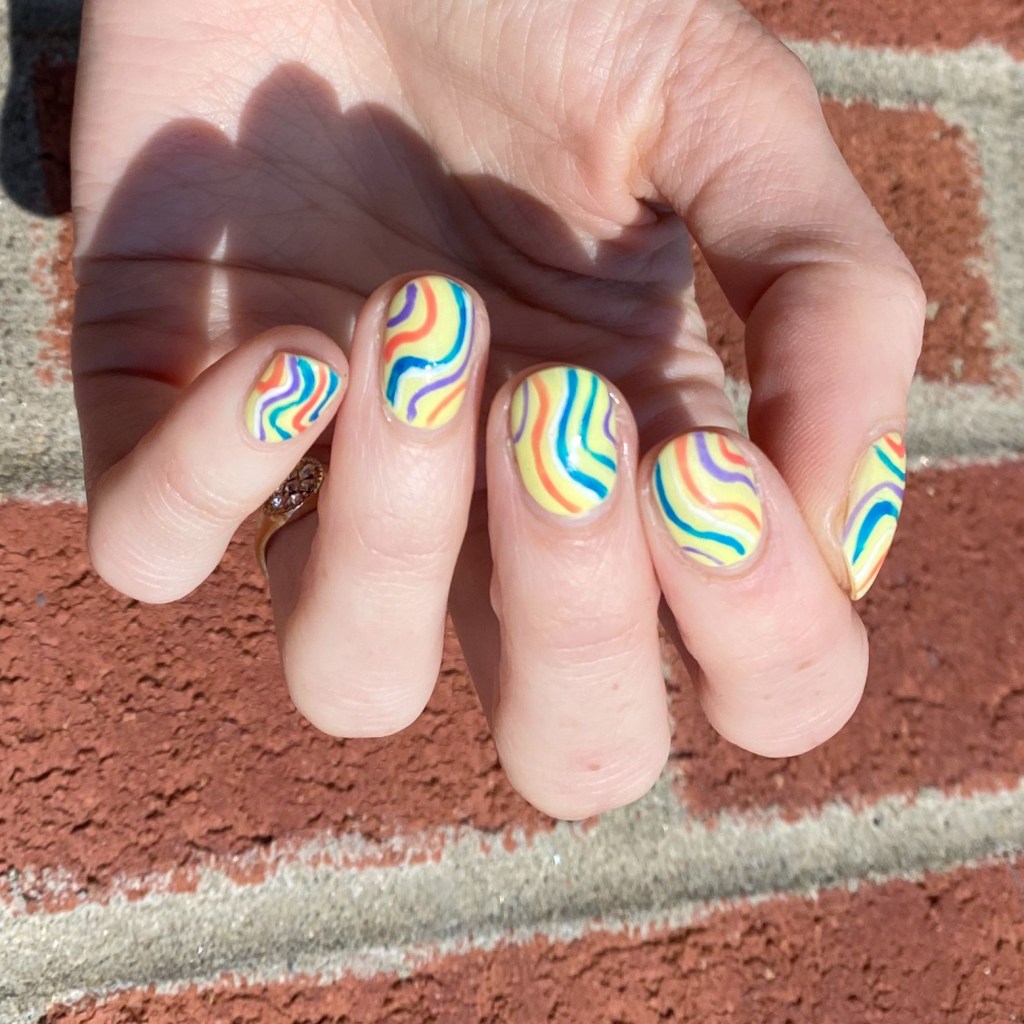
I’ve raved before about my love for nail art stickers for easy nail art, especially when time is an issue. You can use a whole bunch on the nail, or one on each nail for a simple look. I have quite the collection myself, so they’re fun to grab when I’m lacking time (or inspiration).

& there are some great brands out there to choose from.

What do you think about these simple holographic ocean nails? Are you a fan of simple nail art like this? Have you ever tried any nail art sticker brands that you absolutely love? Let me know your favourites down in the comments below!

Have a fantastic Monday!

Instagram Summer Treats Nail Art Collab 🍦

Hello lovelies — happy Friday. We have a weekend of rain in the forecast, which I’m so happy for because my entire province has basically been on fire this week, & we’re in desperate need of a reprieve from the heat. So everyone send rain vibes. 🌧️

Today, though, I’m sharing a look I did a week or so back for a nail art collab I joined! You might remember I did another one last month, & it was so much fun I thought I’d do it again! This time the theme was Summer Treats. & my favourite treat of the Summer: ICE CREAM!

The polishes I used for this manicure are: 

  • Base Coat: Londontown KUR Nail Hardener & Base Coat 
  • Top Coat: Seche Vive Fast Dry Top
  • Sally Hansen Good. Kind. Pure. Almond Tan
  • Sally Hansen G.K.P. Rock Steady
  • Sally Hansen Miracle Gel Neons Peach Please
  • Sally Hansen MG Neons Electri-Lime
  • Sally Hansen MG Neons Violet Voltage
  • Sally Hansen MG Neons Lemon Chillo
  • Sally Hansen MG Sugar Fix
  • Claire’s Melon Mania
  • NailStuff.ca 16mm Striper Brush
  • Large Dotting Tool (NailStuff.ca Dotting Tool Trio)

This is actually a recreation of a design I did all the way back in June 2016. I loved it so much the first time, I thought it would be perfect for this nail art collar — with some updates! I love the neon ice cream, I love my glitter “sprinkles”. I just think this whole look turned out too, too cute!

Don’t forget to check out all the beautiful designs on Instagram by checking out the hashtag #summertreatsnailartmanicollab2023 & see all the other beautiful designs that my fellow nail artist created! There are so many cute one!

Have a fantastic Friday! ♥︎

Shimmery Mermaid Vibes 🧜‍♀️

Hello loves! It’s Monday again.

It’s also 3 days away from June, which just blows my mind. I mean, I’m happy for Summer weather — although, we could use some rain here so send rain vibes! — but also this year is speeding by & it’s kind of unbelievable. How is it even possible that we’re almost half way through this year?

But I digress; you’re here for nails, so let’s talk nails! Today’s look was what I promised in yesterdays swatch post. I knew that OPI Blue My Mind would be a beautiful base from some nail art, & I knew I was feeling mermaid nails. So naturally, I knew what I had to do.

The polishes I used for this manicure are: 

  • Base Coat: Londontown KUR Nail Hardener & Base Coat 
  • Top Coat: Seche Vive Fast Dry Top
  • OPI Blue My Mind
  • Essie Viva Antigua!
  • Beyond the Nail Mermaid Scale Vinyls

My little girl is absolutely obsessed with all things mermaids right now, so this was the perfect manicure to impress her! This was also super easy to do. I only applied one coat of Viva Antigua! over my base, so it’s kind of spotty in some spots, but I like it because it gives a more watery scale look (if that makes sense). You can kind of see the base showing through, & I like that. Over all, it’s a very pretty look.

In fact, I’ve been wearing this manicure since Thursday, & it’s still holding up very well. I usually wear a manicure maybe 3 days max (& that’s if I’m really busy) but I’ve just loved this look so much, & it’s barely even showing tip wear, it felt like a shame to remove it. Of course, I will probably change my nails today, but it’s been fun to wear. I almost wish I had gone to see the Little Mermaid this weekend, as it would have been the perfect manicure for it. But I’ll have to redo one when I take my little girl in a few weeks.

What do you think of my mermaid nails? Are you feeling all the mermaid vibes? Let me know all your thoughts on this look down in the comments below!

Zany Freehand Swirls

Happy Friday lovelies! 💙

I hope everyone has had the best week! The weekend is (almost) here. & it’s a long weekend at that! What could be more exciting? Well… how about some fun nail art? Today I’m sharing a fun look that was super, super easy to do: these fun & zany freehand swirls.

I recently re-discovered some old Art Club Nail Art Duo pens from years ago, & decided to see if they were still any good. What resulted was this fun look! The colours are a little bit outside my usual wheel house, but I wore this look for over two days, so I ended up really liking it.

The polishes I used for this manicure are: 

  • Base Coat: Londontown KUR Nail Hardener & Base Coat 
  • Top Coat: Seche Vive Fast Dry Top
  • Sally Hansen Miracle Gel Neon Lemon Chillo
  • Sally Hansen MG Get Mod
  • NailStuff.ca 16mm Striper Brush
  • Color Club Art Club Striper Passion Flower
  • Art Club Nail Art Duo Hot Purple
  • Art Club Nail Art Duo Royal Blue

Sometimes I forget that nail art isn’t supposed to be stressful, it’s supposed to be fun! & this nail art look was definitely fun. It definitely has me already planning on buying a whole bunch for stripers, just for fun.

What do you think of this nail art look? Are you a fan of this colour scheme? Would you wear a look like this? Let me know all your thoughts down in the comments below!

Itty Bitty Gradient Dotticure

Hello lovelies! Yes it’s me — only we’re rocking some shorties again. (Okay, & I’m drinking a matcha lemonade — my other drink aside from coffee!) I mentioned I had a patch on my middle finger nail of a bad crack. I finally decided I was over trying to keep it from cracking worse, & decided to chop my my nails down.

Today I went with a simple but fun look to wear. I love a good gradient dotticure, but I realized it’s been a long time since I actually did one. This design was actually inspired by this look from 2016. I thought since we were back down to shorties, why not find some fun nail art to do on short nails!

The polishes I used for this manicure are: 

  • Base Coat: Londontown KUR Nail Hardener & Base Coat
  • Top Coat: Seche Vive Fast Dry Top
  • Londontown KUR Mint No Chip
  • Sally Hansen I ❤️ Nail Art pen in purple
  • Sally Hansen I ❤️ Nail Art pen in turquoise
  • Sally Hansen I ❤️ Nail Art pen in pink
  • Sally Hansen Miracle Gel Get Mod
  • Itty Bitty Dotting Tool (NailStuff.ca Dotting Tool Trio)

How absolutely adorable as these itty bitty polka dots? You could definitely do this with a tiny dotting tool & an assortment of polishes, but I love those Sally Hansen I ❤️ Nail Art pens because it makes it so easy! I really wish Sally Hansen would bring them back, because they’re amazing for nail art — & mine are starting to empty out after all these years.

What do you think about this Gradient dotticure? Do you think you’d wear this fun (& easy!) look? Let me know all your thoughts down in the comments below.

& feel free to share any nail art you’d love to see me do on my new short nails!

Happy Friday! 🖤