Hello lovelies & happy Friday!
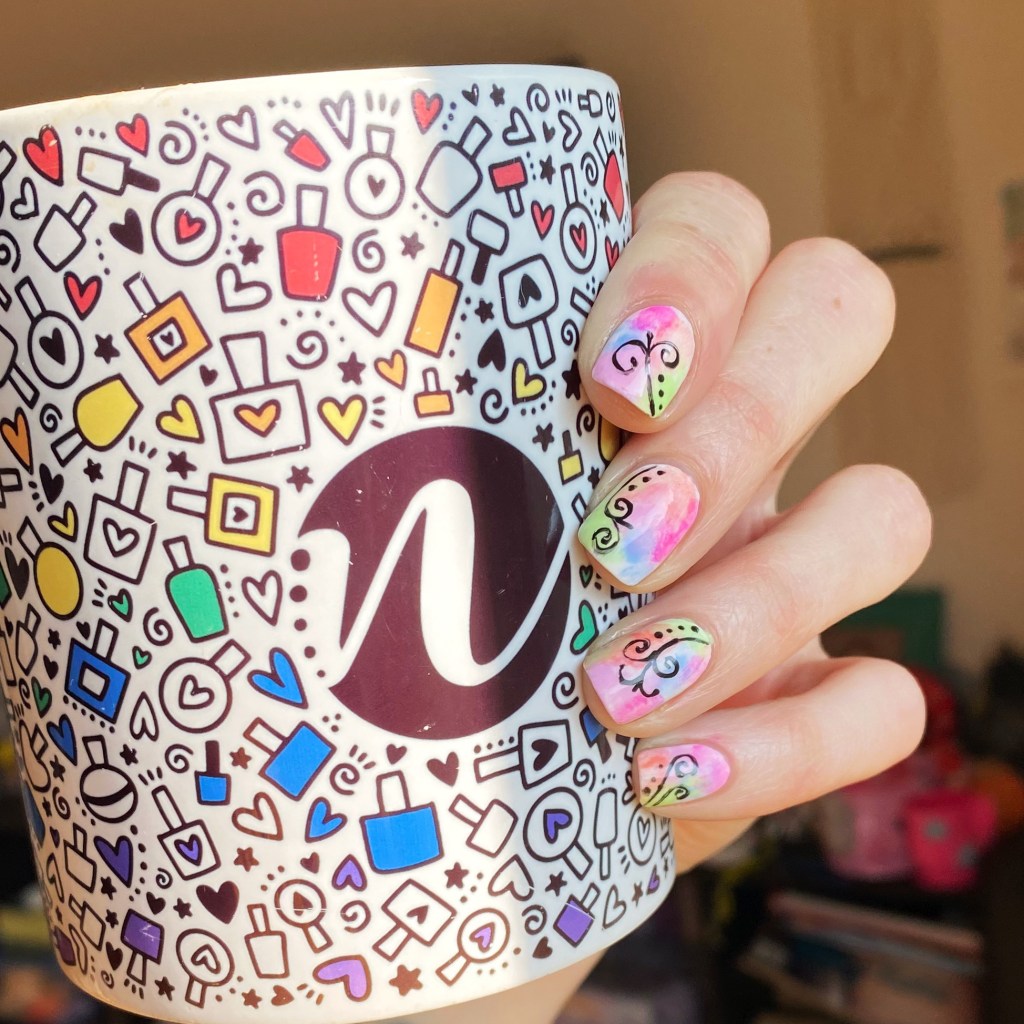
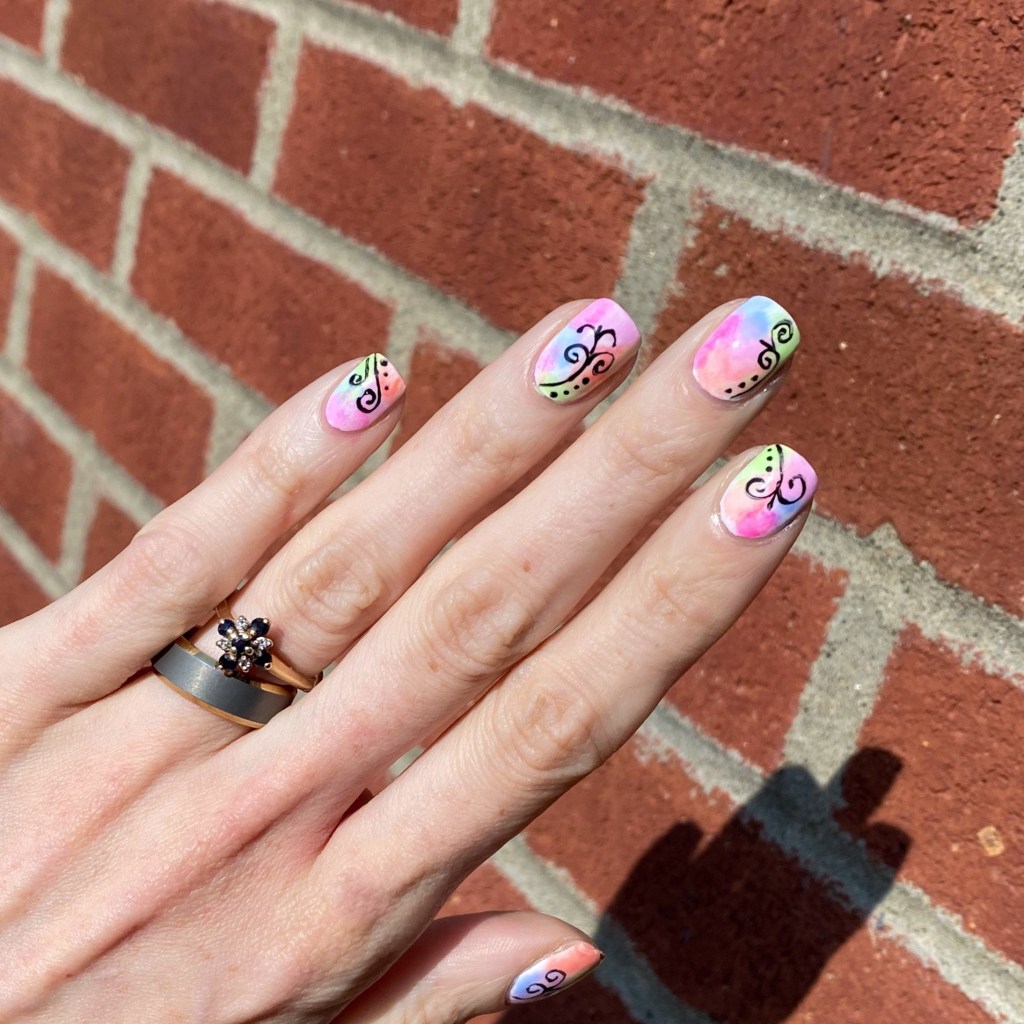
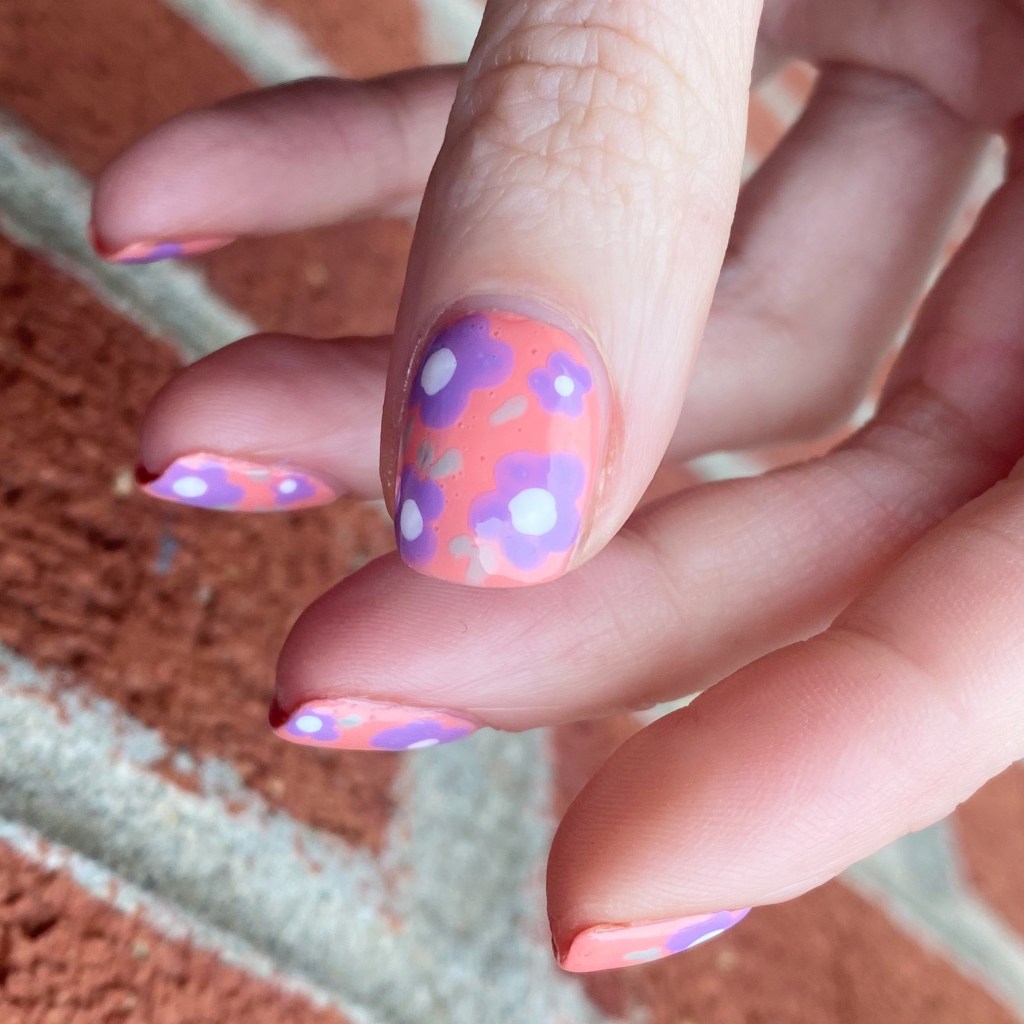
It’s a beautiful sunny Summer day here, & I feel like these nails are perfect for a Summer day. I actually wore this look most of the week, which is very unusual for me, so I figured I had to share! It’s a simple look, but also is a little extra fancy compared to just a plain design. & it’s giving me serious Barbie vibes.


The polishes I used for this manicure are:
- Base Coat: Londontown KUR Nail Hardener & Base Coat
- Top Coat: Seche Vive Fast Dry
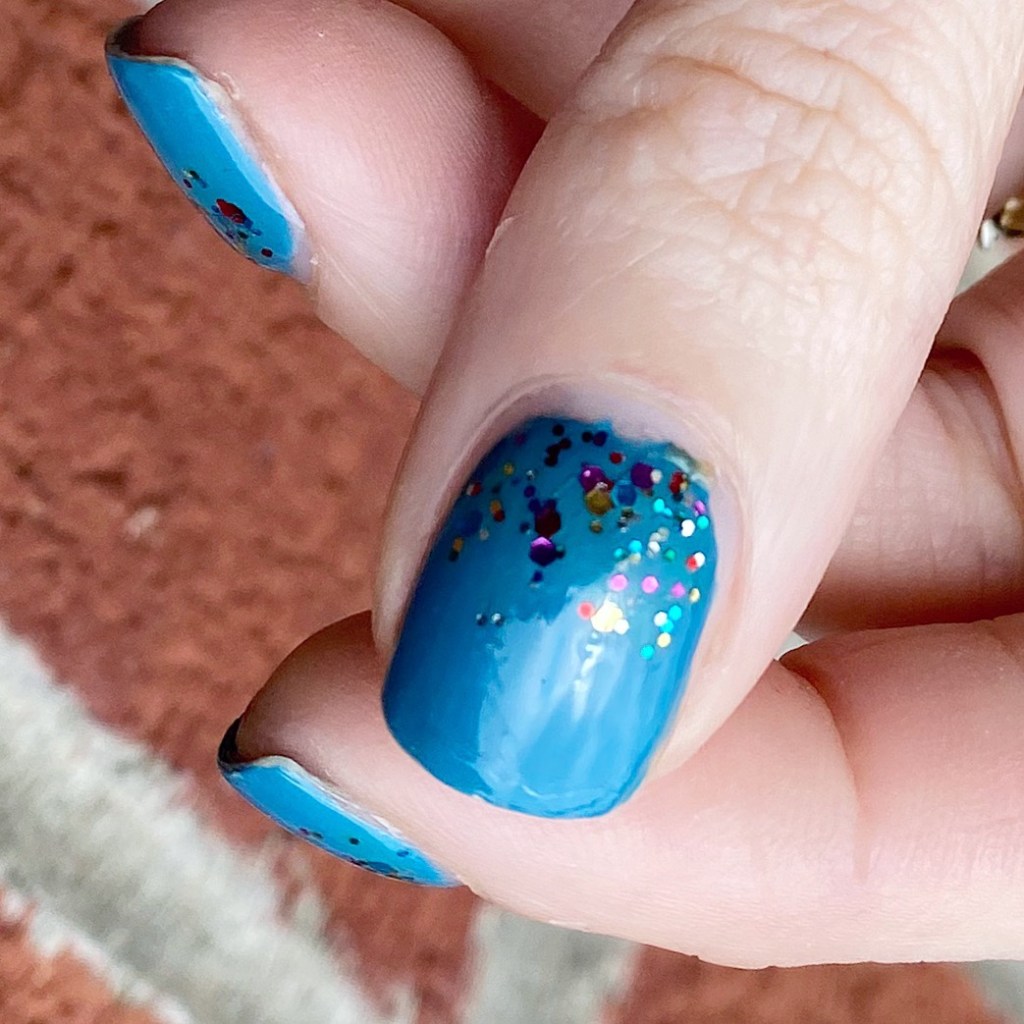
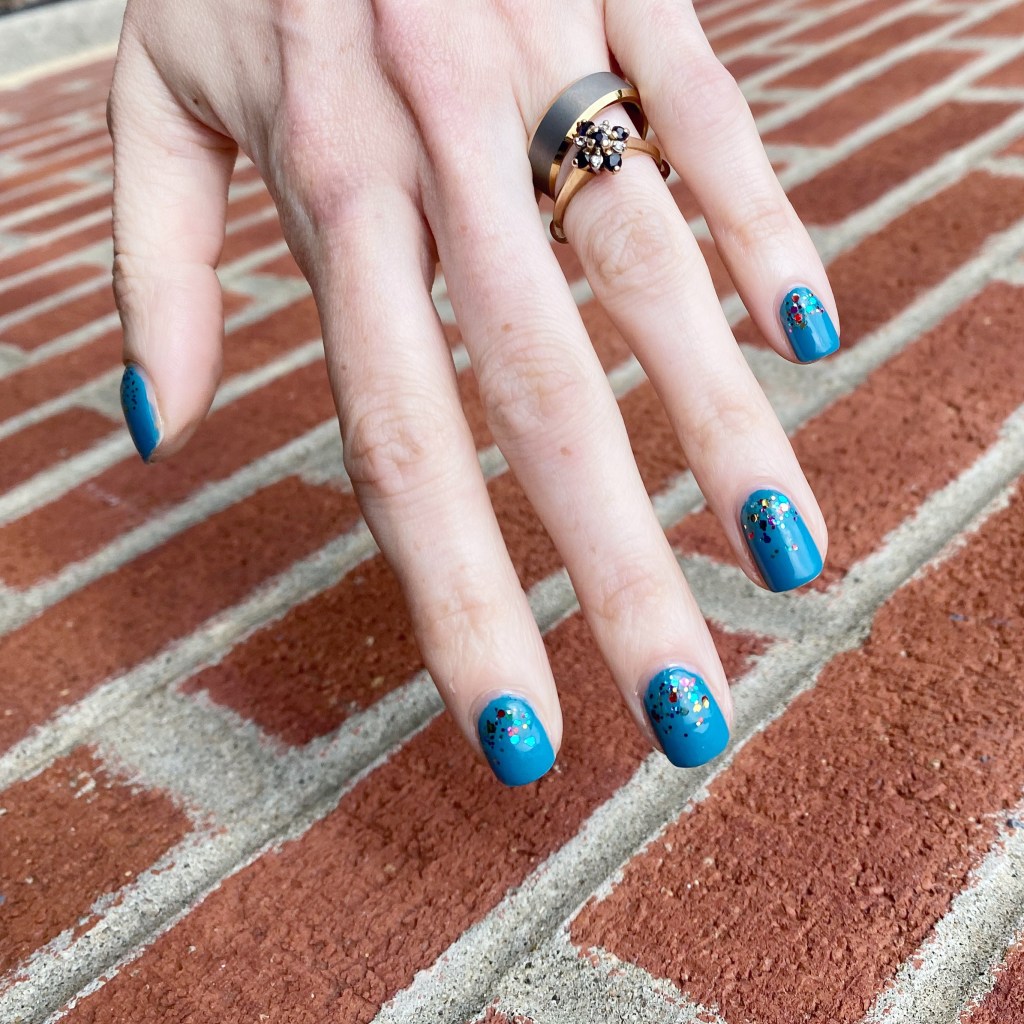
- Essie Worth the Tassel
- ACO by Ardene Pop To It
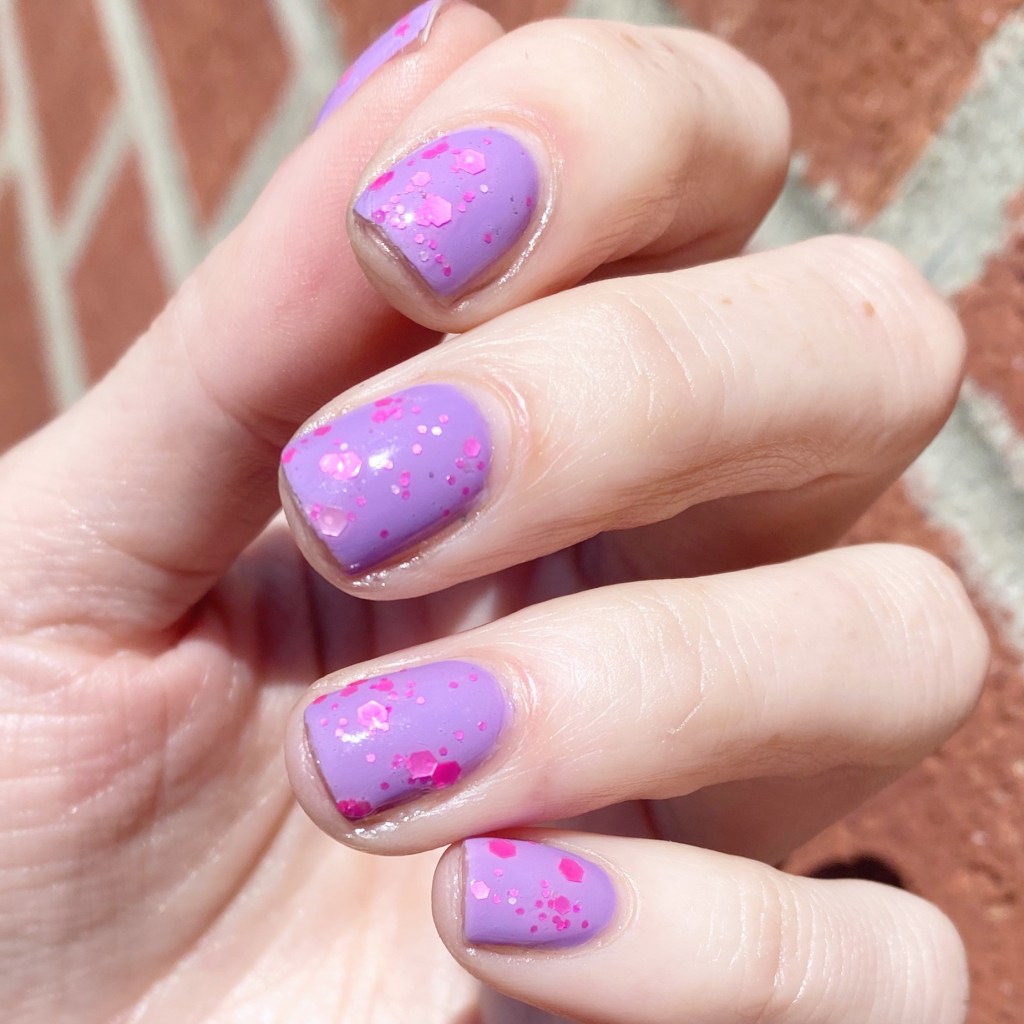
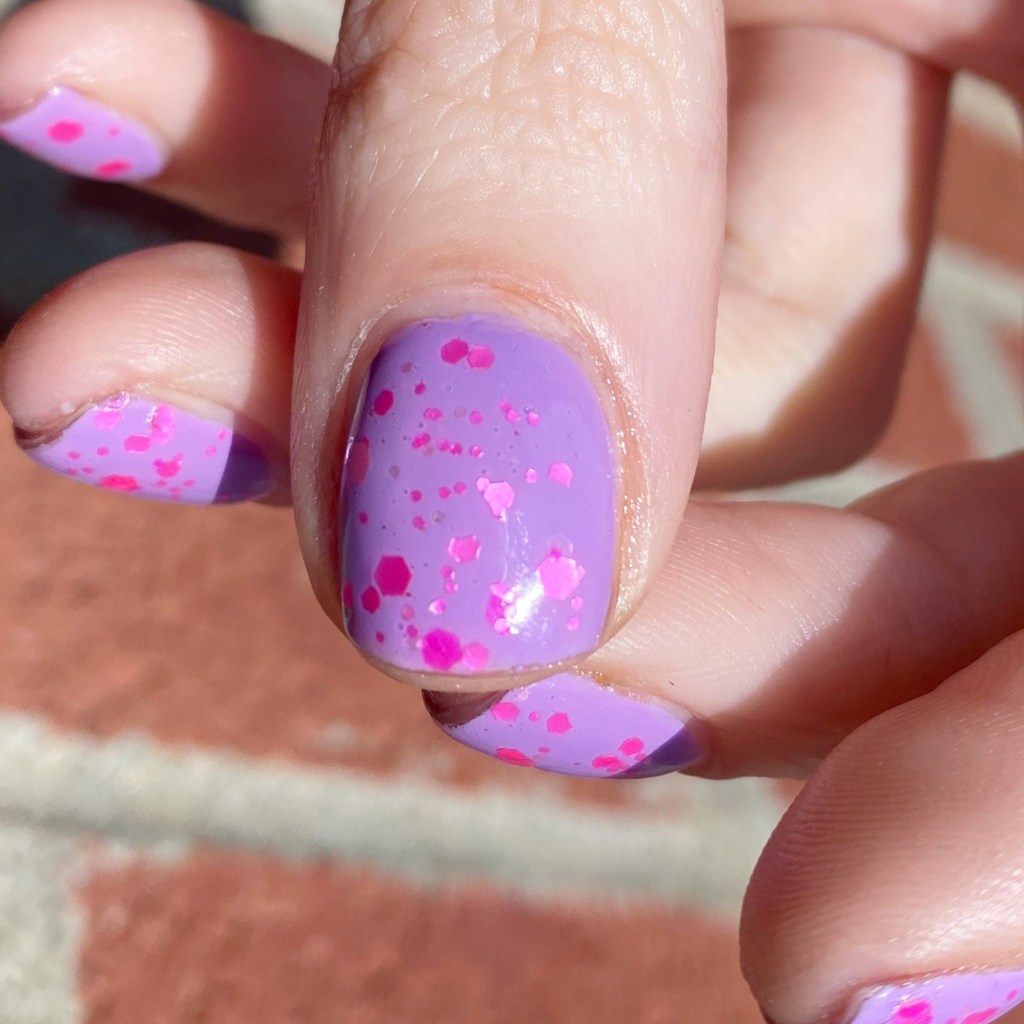
I was actually debating which glitter I should apply over Worth the Tassel, as I have a few neon glitters from Ardene. But as soon as I applied this pink, I knew I made the right decision. & come on, you can totally picture Malibu Barbie wearing this manicure!
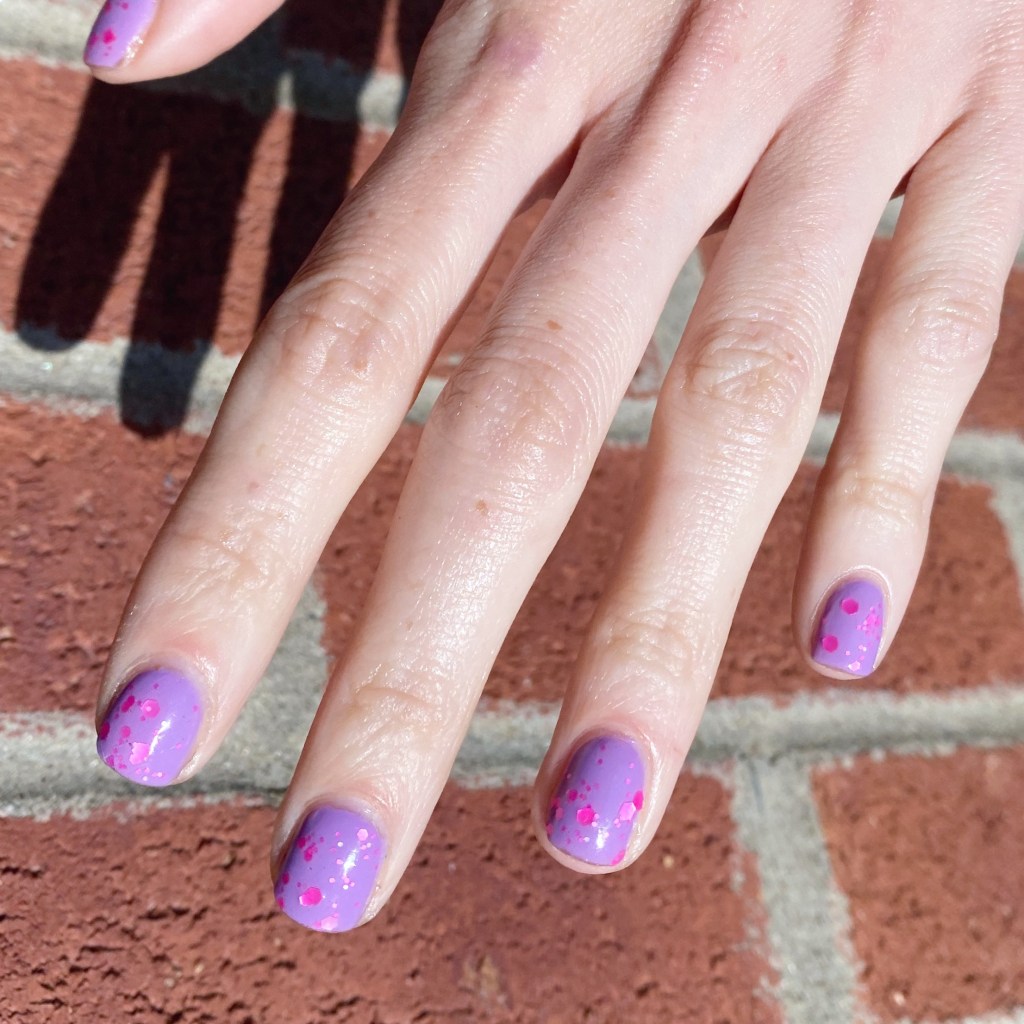
What do you think of this glitter look? Would you rock a Barbie-esque manicure like this? Let me know your thoughts down in the comments below.
& enjoy the weekend vibes!