Frankenstein’s Monster French Manicure 🧟‍♀️

*contains PR

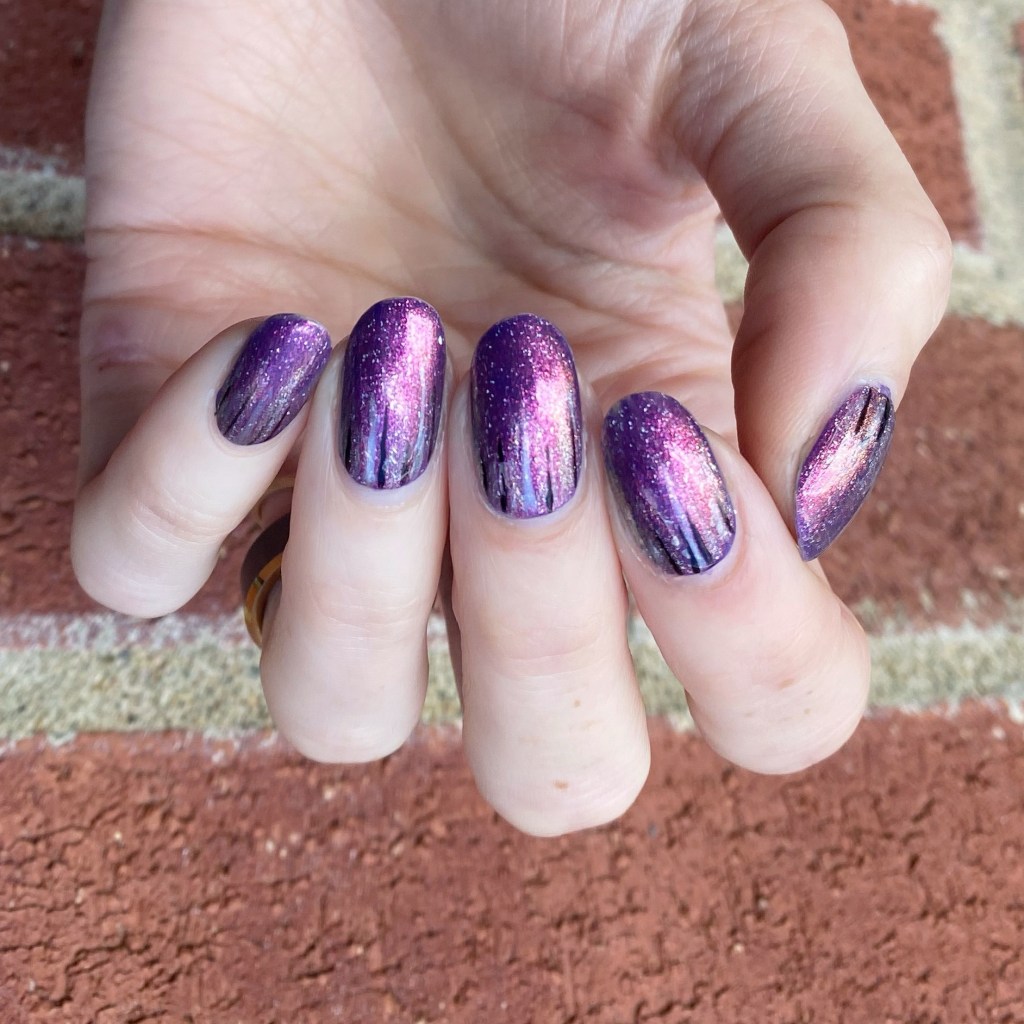
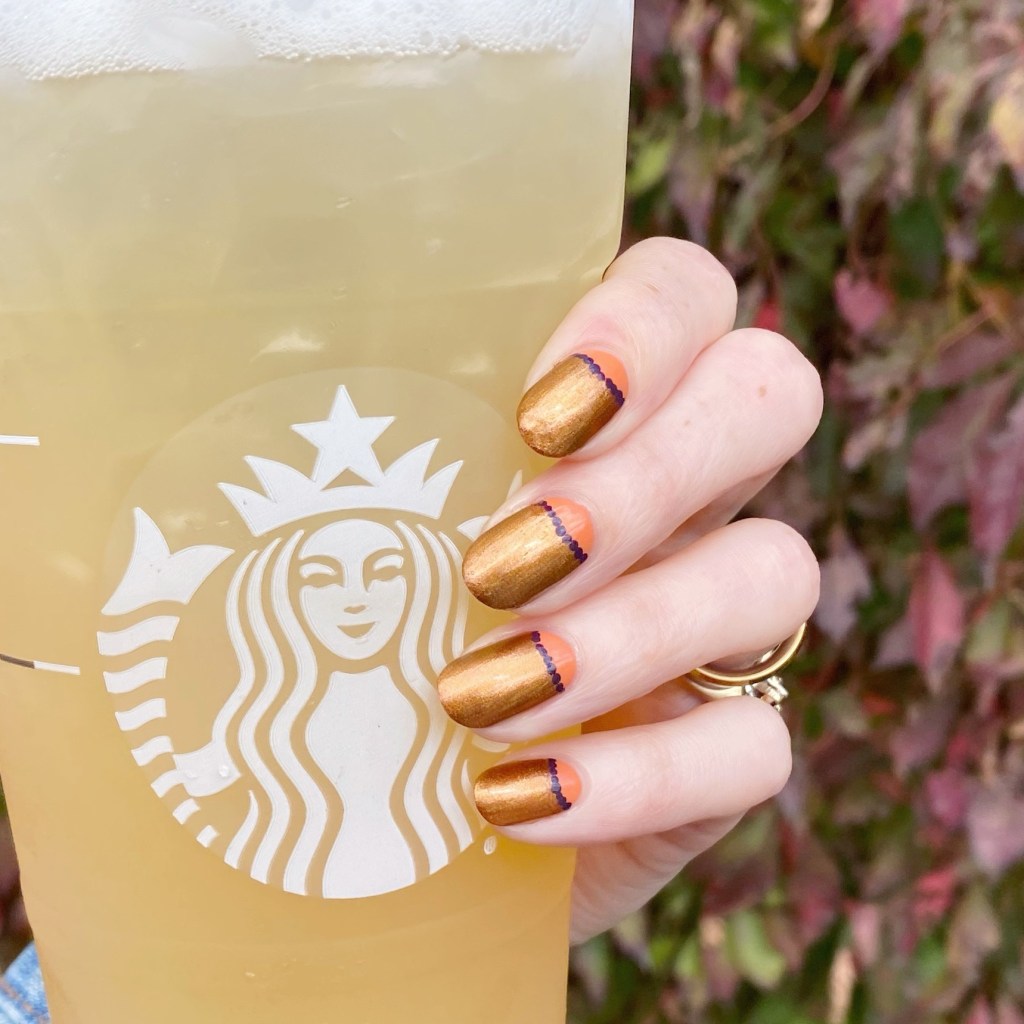
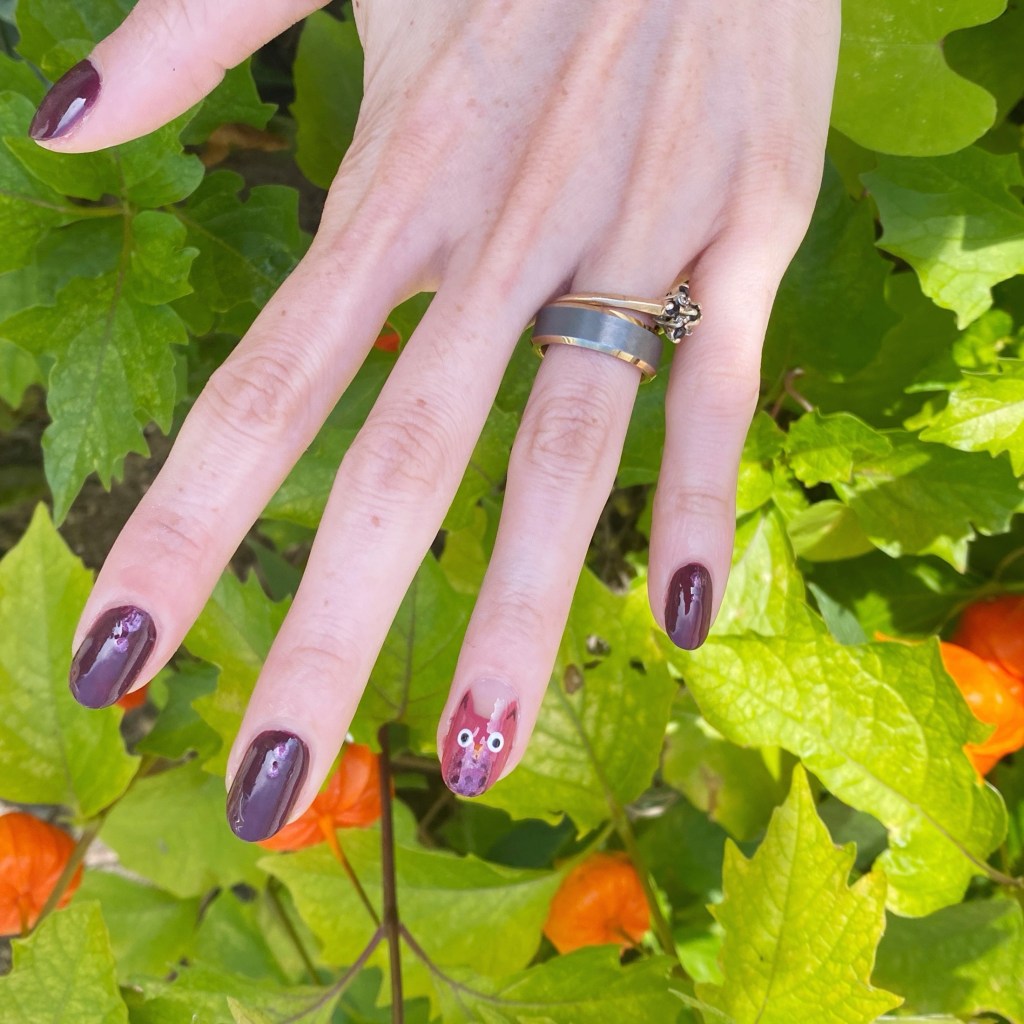
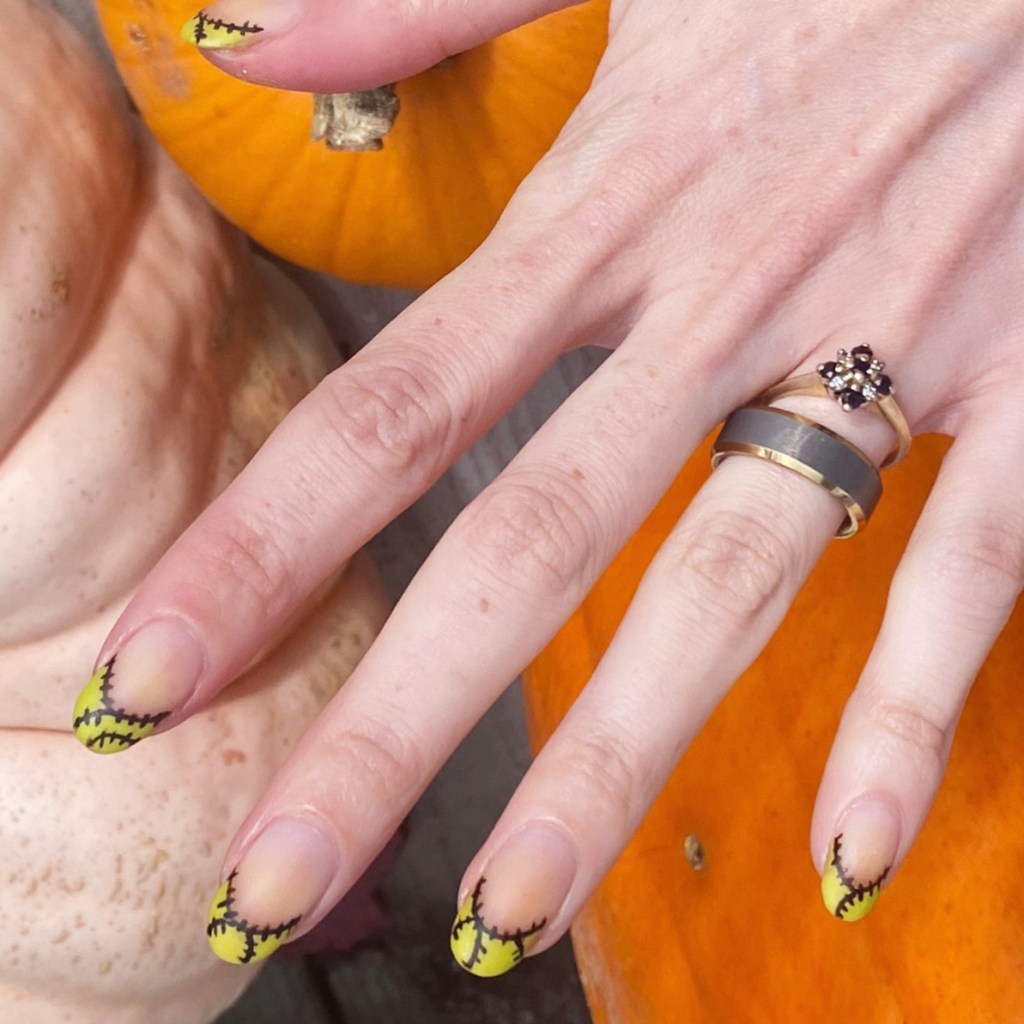
Hello lovelies & happy Thursday! I hope everyone’s week is going well so far. Today I’m sharing another perfect Halloween manicure to get us ready! This look was partially inspired by @polished_yogi & a recent post featuring Halloween designs — but I decided to take my own spin on it.

The polishes I used for this manicure are: 

  • Base Coat: NailStuff Essentials Base Coat *
  • Top Coat: Nail Stuff Essentials Quick Dry Top Coat *
  • Matte Top Coat: NailStuff Essentials Matte Top Coat *
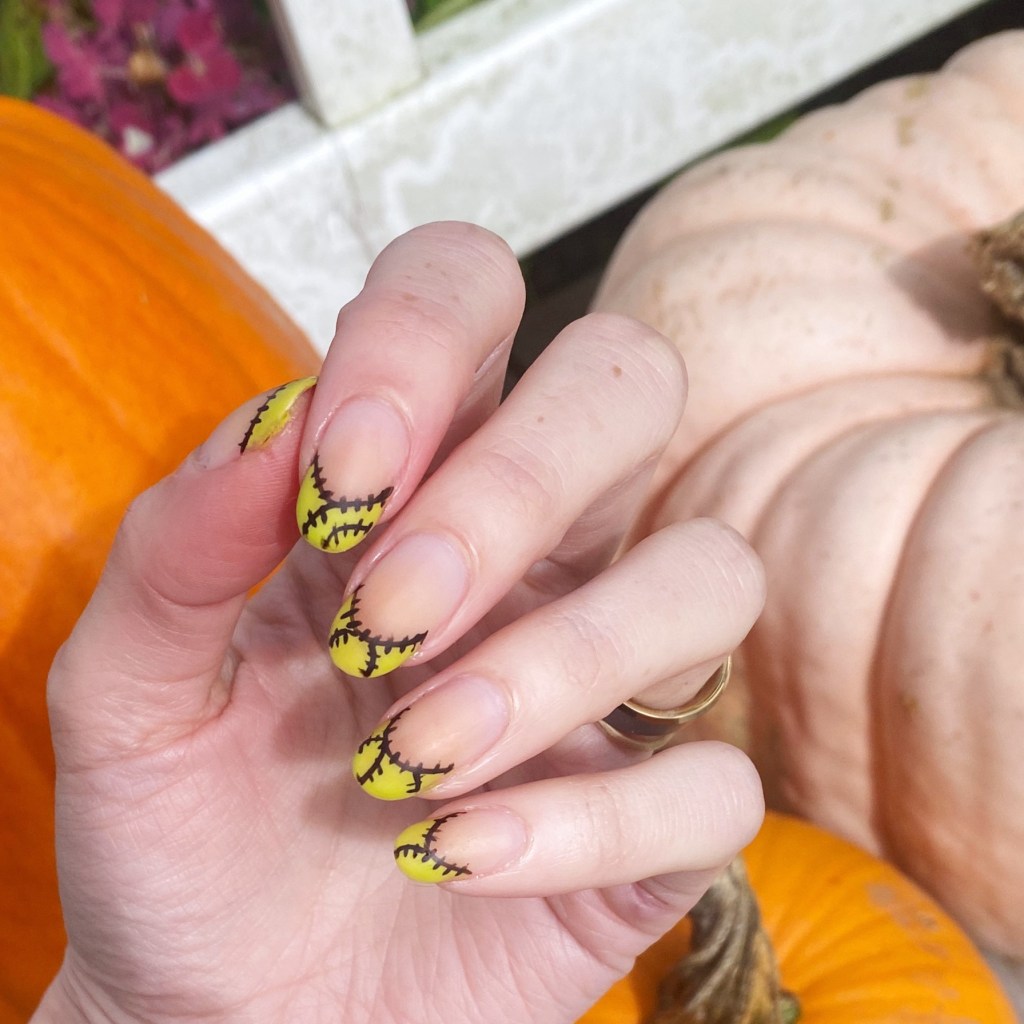
  • Essie Expressie Main Character Moment *
  • Quo By Orly Black Striper

*gifted

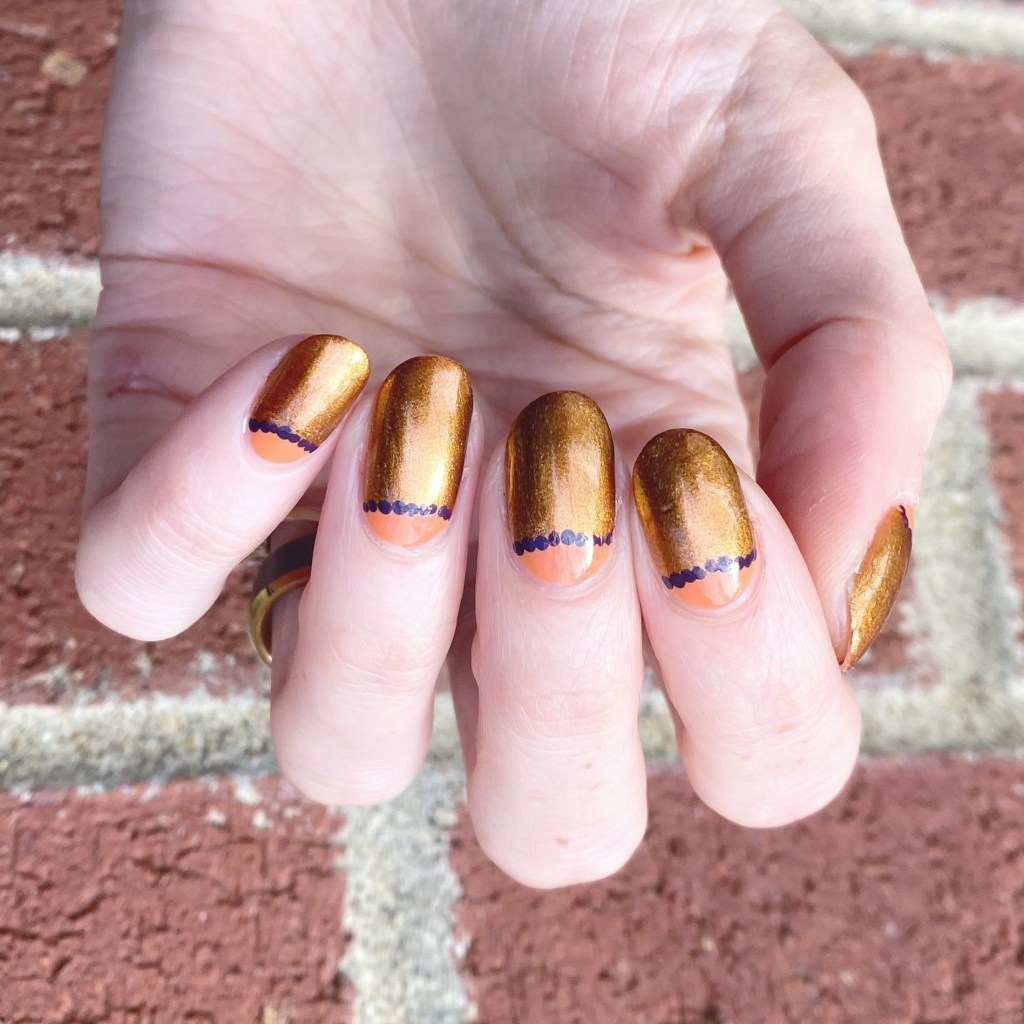
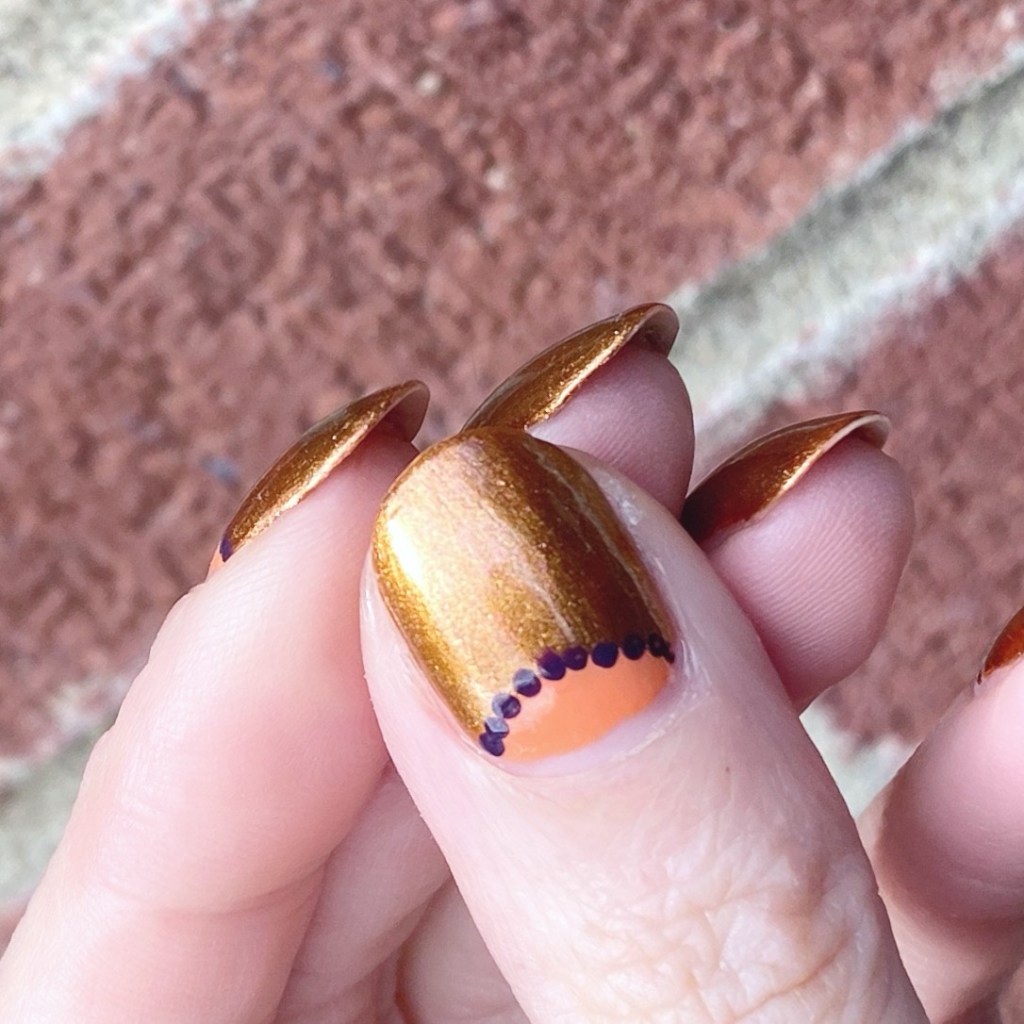
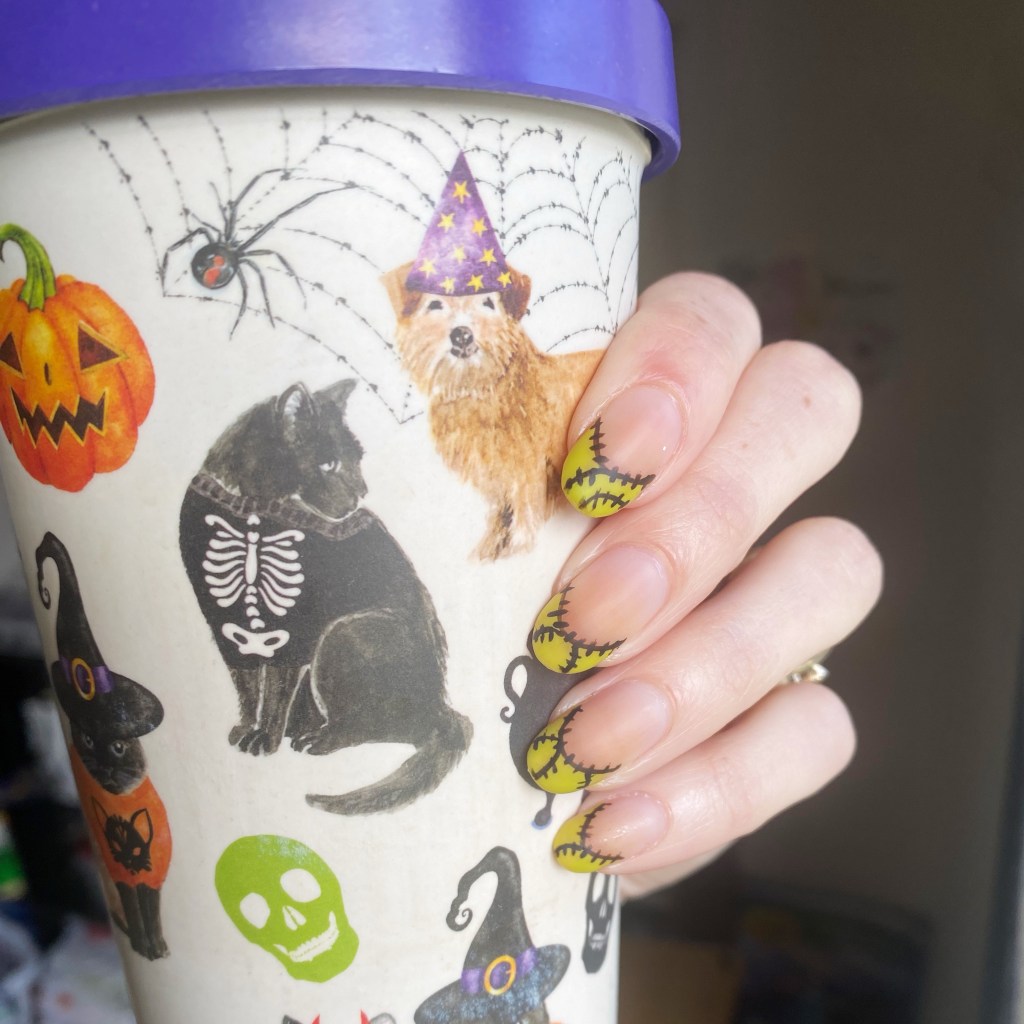
I love the look of French manicures on other people, but I’ve never been able to make them look good on me. If someone knows the trick to making them look so good, I would love to know. However, I do think these are probably the best looking French nails I’ve ever attempted, & they’re fun too!

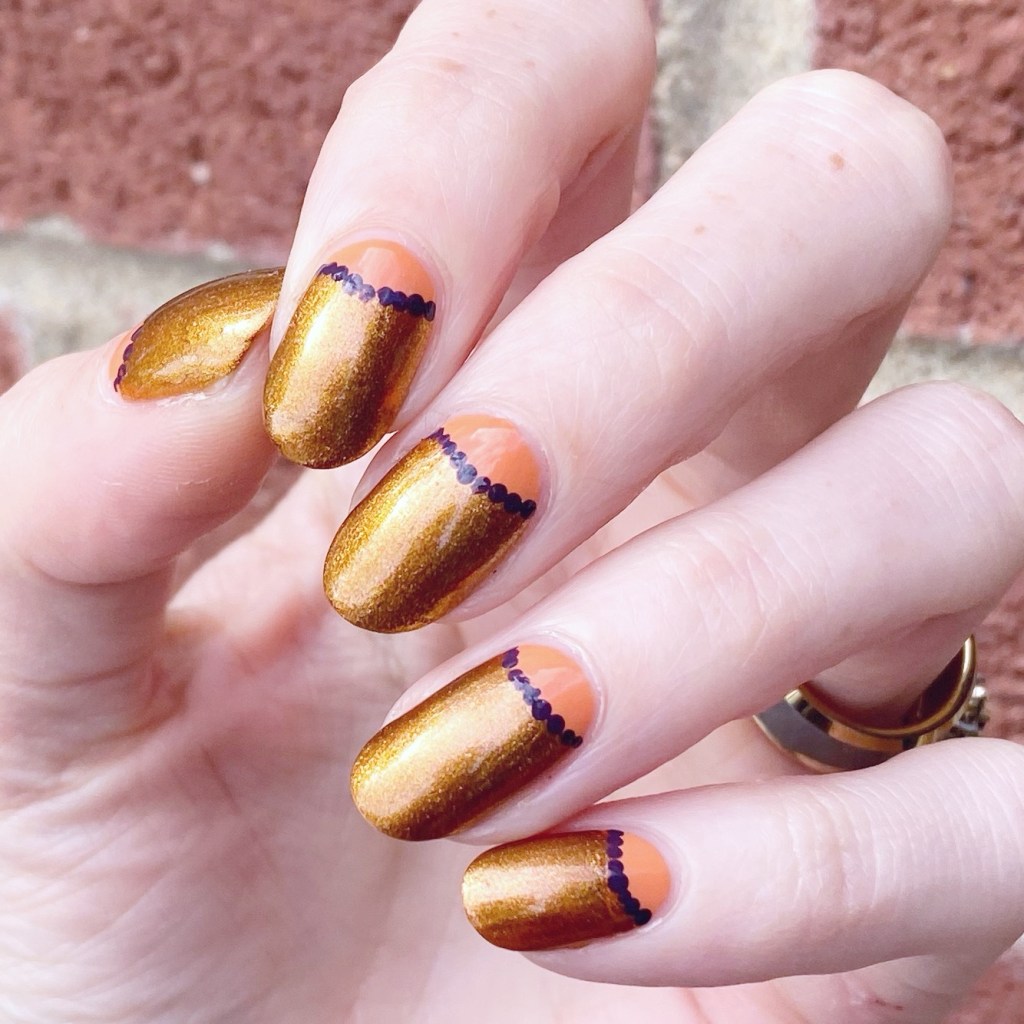
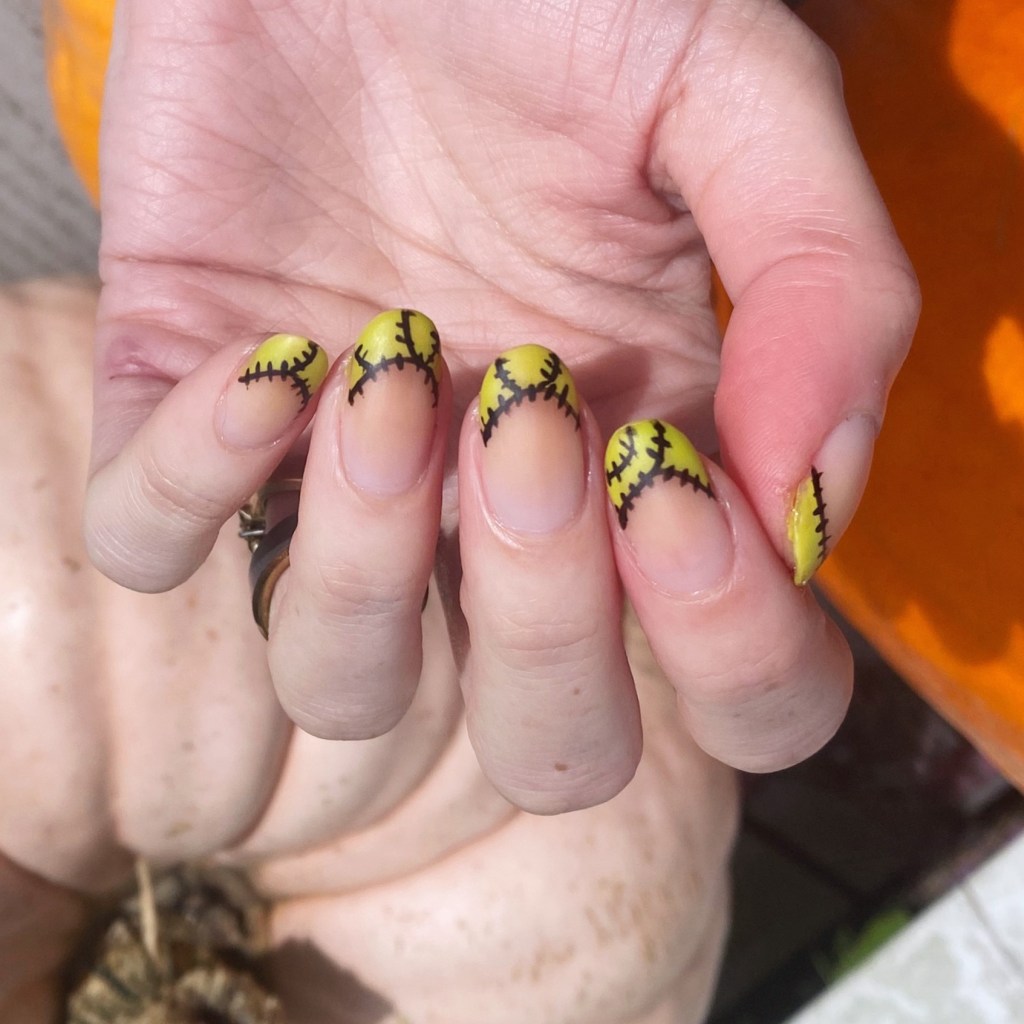
I do a version of Frankenstein’s monster nails every year, so it’s fun to try & keep it fresh. I only wish I had thought to add some glow in the dark nail polish over my tips because I did the black stitching because it would have looked really cool. Oh well, always next time!

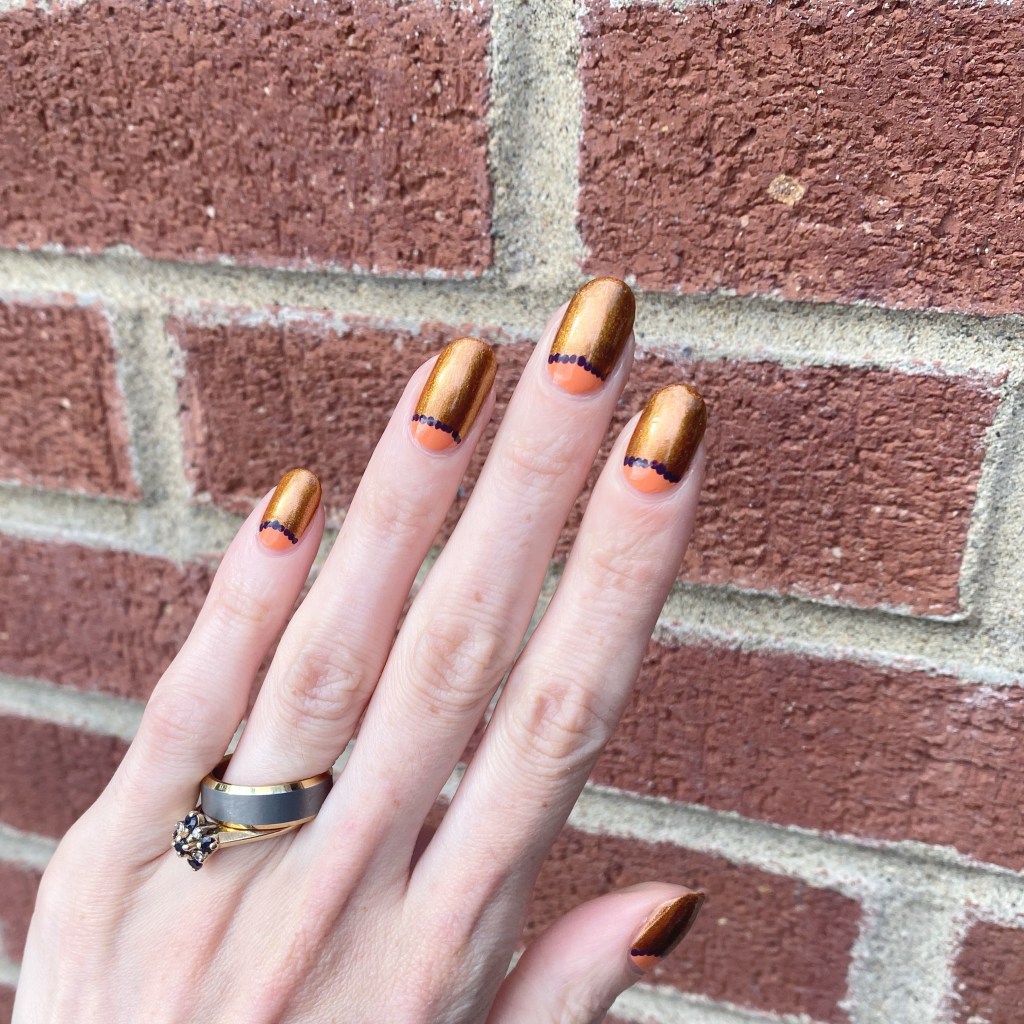
What do you think of these Halloween-y nails? Do you like this stitched up French manicure look? Let me know what you think down in the comments below!

Happy Thursday!

🖤

Happy Birthday Waterfall Nails 💖🧁💅

*includes PR

Hello lovelies & happy Tuesday. & happy day after Canadian Thanksgiving. I’m sure my fellow Canadians are also feeling the post-holiday food coma.

Today is my birthday, so I wanted to do some special nails for the occasion. & when thinking about what nail polish I wanted to wear, there was only one that came to mind: Cadillacquer Lavender Sunset — the NailStuff exclusive shade released earlier this year. & I finally tried layering it over a darker base, which I’ve been meaning to try for a while & it looks absolutely spectacular!

The polishes I used for this manicure are: 

  • Base Coat: NailStuff Essentials Base Coat
  • Top Coat: Nail Stuff Essentials Quick Dry Top Coat
  • Cadillacquer Lavender Sunset
  • OPI Infinite Shine Mariachi Makes My Day (layered under Lavender Sunset)
  • NailStuff Essentials Holographic Top Coat
  • Essie Nail Art Studio Cosmic Chrome
  • Essie Separated Starlight
  • Essie Birthday Girl
  • Quo by Orly Black Striper
  • Nailstuff Mermaid Tail 7mm liner brush

So, with full disclosure, this was not originally the design I had planned for my birthday nails. I saw a cool manicure online that I loved, but apparently when I went back to find it… I had forgotten to save it. So when I attempted it from memory… things did not turn out the way I planned.

This was actually design attempt #4… maybe #5. I’ll be honest… I lost count.

But you know after all the hassle & frustration, I actually love how these ended up looking! So I guess it was all worth it. When all else fails, pull out some sparkly polishes & create a fun waterfall look!

What do you think of these birthday nails? Would you wear this sparkly waterfall look?

Let me know what you think! & have a beautiful day.

🖤

Bronze-y Autumn Half Moons

Hello loves & the happiest of Fridays! It’s almost the weekend — & I’m excited because we’re going to do some Halloween decorating with the kids tomorrow. It’s my most favourite time of year & I’m absolutely soaking it all in!

Today I have another fun Autumn toned design to share with you. This one is a pretty easy one I feel like anyone can recreate, & it’s definitely eye catching.

The polishes I used for this manicure are: 

  • Base Coat: Essie First Base 
  • Base Coat: LA Colors Mega Grow Treatment 
  • Top Coat: Essie Speed Setter
  • Essie Frilly Lillies
  • Essie Leggy Legend
  • Essie Kimono Over
  • NailStuff.ca Dotting Tool Trio (smallest size)
  • Paper Hole Reinforcements (mine are from Dollarama)

So I totally went out of my comfort zone on the colour scheme of this design, but I feel like it’s really giving Autumn. Not usually an orange/bronze all over girl — normally I probably would have used Kimono Over as my dominant colour — but I really wanted to try something different. & I have to say — I kind of over it. I’m definitely glad I didn’t stick to my comfort zone, & instead tried something new.

What do you think of this half moon look? Do you like the colour combination? Is this a pairing you would wear? Let me know all your thoughts in the comments below!

Happy Friday!

🍂🖤

Jewel Toned Drag Marble 💎💎

Hello lovelies & happy Friday! It’s a rainy miserable Friday here, but it’s almost the weekend, so I won’t be picky.

&, I have a pretty drag marble to share I recently wore! So things are looking up.

The polishes I used for this manicure are: 

  • Base Coat: Essie First Base 
  • Base Coat: LA Colors Mega Grow Treatment 
  • Top Coat: Essie Speed Setter
  • Sally Hansen Complete Salon Manicure Black & Blue
  • Sally Hansen Good. Kind. Pure. Black stone
  • Sally Hansen InstaDri Burnished Wine
  • NailStuff.ca smallest dotting tool from Dotting Tool Trio

It’s been a little while since my last drag marble design, & this one turned out beautifully. The colours alone are stunning, & they look like gemstones. I’m obsessed.

I had originally just painted my nails with Black & Blue, but they were feeling kind of plain, so I broke out the drag tool & turned them into something stunning. & the colours are perfect for Autumn— but truthfully I would probably wear these any time of the year!

So what do you think of this drag marble? Have you ever tried a drag marble design before? I’ve never been good at water marble, so they’ve always been my marbling go to design! & I don’t think I’ll ever get tired of how they look!

So pretty & eye catching!

Happy Friday!

🖤

GLAM NAILS CHALLENGE SEPTEMBER (2024) — Owl 🦉

Hello lovelies & happy Wednesday! Can you believe that we only have 2 more Glam Nails Challenge September prompts for this month? We’re very quickly approaching October & full blown spooky season, & I’m very excited. but we still have a few more days of September, & a couple more fun designs to share!

Today’s prompt is Owl & I decided to create this cute little owl accent nail.

The polishes I used for this manicure are: 

  • Base Coat: Essie First Base 
  • Base Coat: LA Colors Mega Grow Treatment 
  • Top Coat: Essie Speed Setter
  • Sally Hansen Good. Kind. Pure. Beet It.
  • Sally Hansen Good. Kind. Pure. Eco Rose.
  • Sally Hansen InstaDri Burnished Wine
  • Sally Hansen Complete Salon Manicure Let’s Snow
  • Sally Hansen InstaDri Up To Snuff
  • Sally Hansen InstaDri Ghouls Night Out
  • Nailstuff.ca Mermaid Tail 7mm liner brush
  • NailStuff.ca dotting tool from Dotting Tool Trio

I’m actually super surprised I’ve never attempted an owl accent nail before, but I think it turned out pretty cute! These colours just scream Autumn vibes too, which I’m here for. Over all, a cute easy little owl that fits the prompt perfectly! & I couldn’t be happier with it.

Sometimes all you need is just a cute little accent nail.

What do you think about my cute owl accent nail? Do you like how he turned out? Would you wear this design? Let me know what you think in the comments!

Are you following along with the other nail art designs for this month’s Glam Nails Challenge September? Don’t forget, you can check out #glamnailschallengesept24 on Instagram, & see all the other beautiful designs being shared!

Happy Wednesday!

♥︎