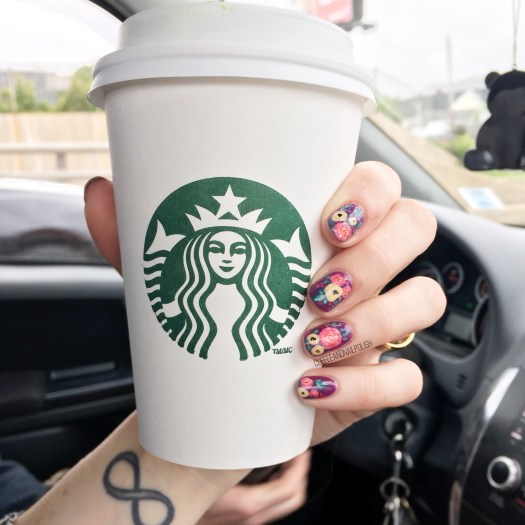
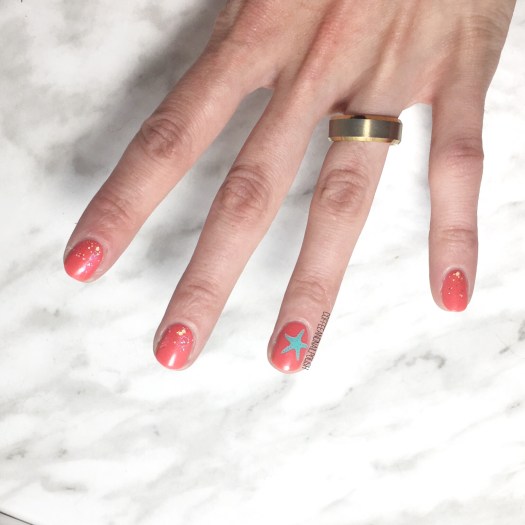
You know when you did that perfect pair of jeans or shirt or outfit that looks amazing, & fits your perfectly, & just makes you look amazing? You wear it constantly (maybe more than you should), because it just looks so good? That is how I feel about floral & vintage rose nails. & that is why I have ANOTHER floral design to share with you.
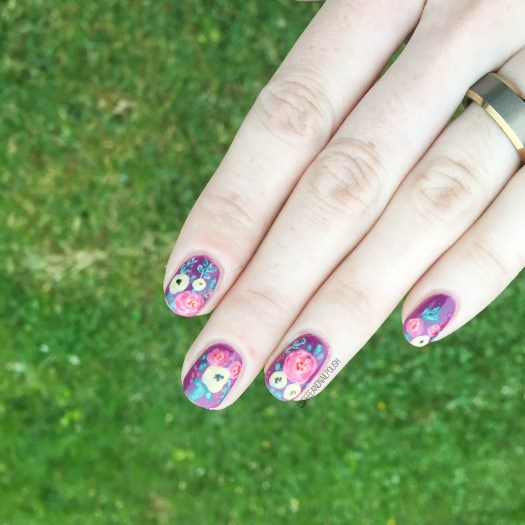
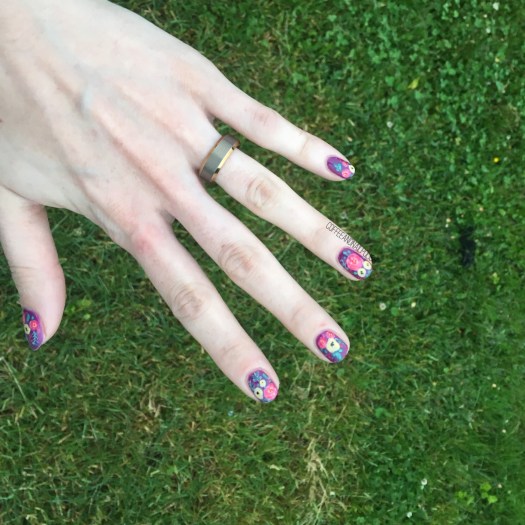
This design is actually inspired by an old design of mine, this time using blues instead of pinks. Yep, I’ve done a different version of these simple roses a lot but they never get old to me, so hopefully they’re not tired to you.


For this manicure, to polishes I used were:
- Base Coat: OPI Nail Envy
- Top Coat: Essie Gel Setter
- Essie Find Me an Oasis
- OPI Angel with a Leadfoot
- Sally Hansen Complete Salon Manicure Rose to the Occasion
- Essie Bachelorette Bash
- Sally Hansen Insta-dri Petal Pusher
- YSL Beauty Vert D’Orient
- Essie First Timer
- NailStuff.ca Mixed Decoration Nail Wheel in Gold
- Small dotting tool
- Small detail brush from Bundle Monster


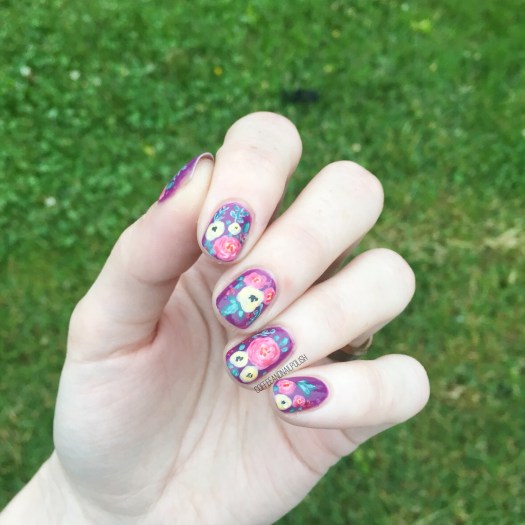
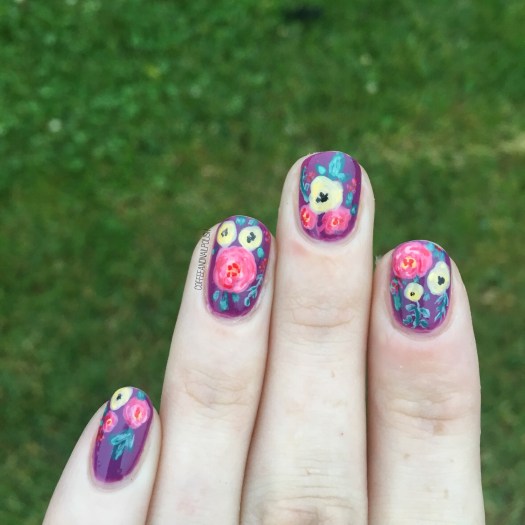
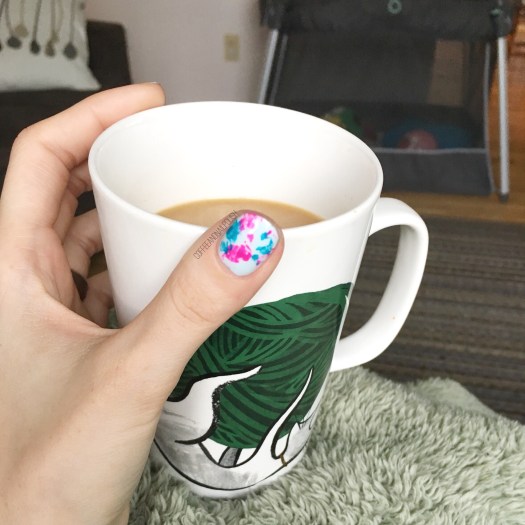
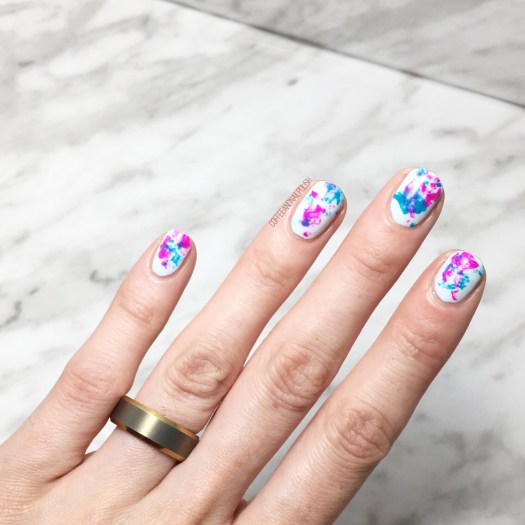
Oooooh these roses over white is definitely one of my favourite accent nails to do. I love all floral nails, but there is something about vintage roses that just looks so good: easy to do, but looks beautiful & complicated every time. Not to mention, roses are one of the easiest florals to do because I find (for me at least), they’re one of ten hardest florals to mess up.
My tutorial on how I do roses is Here.

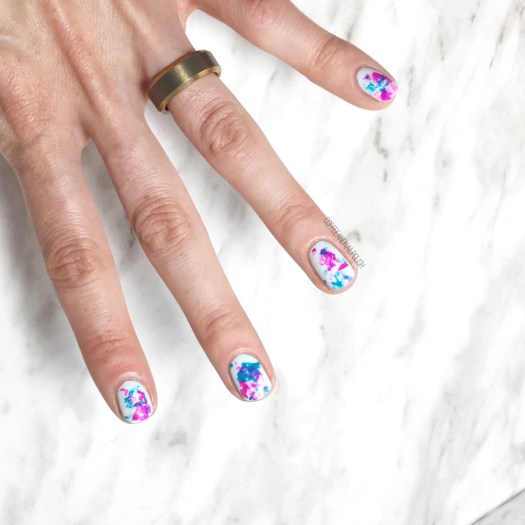
So what do you think of this design? Are you a vintage roses person or do you prefer other floral? Share your thoughts down below!