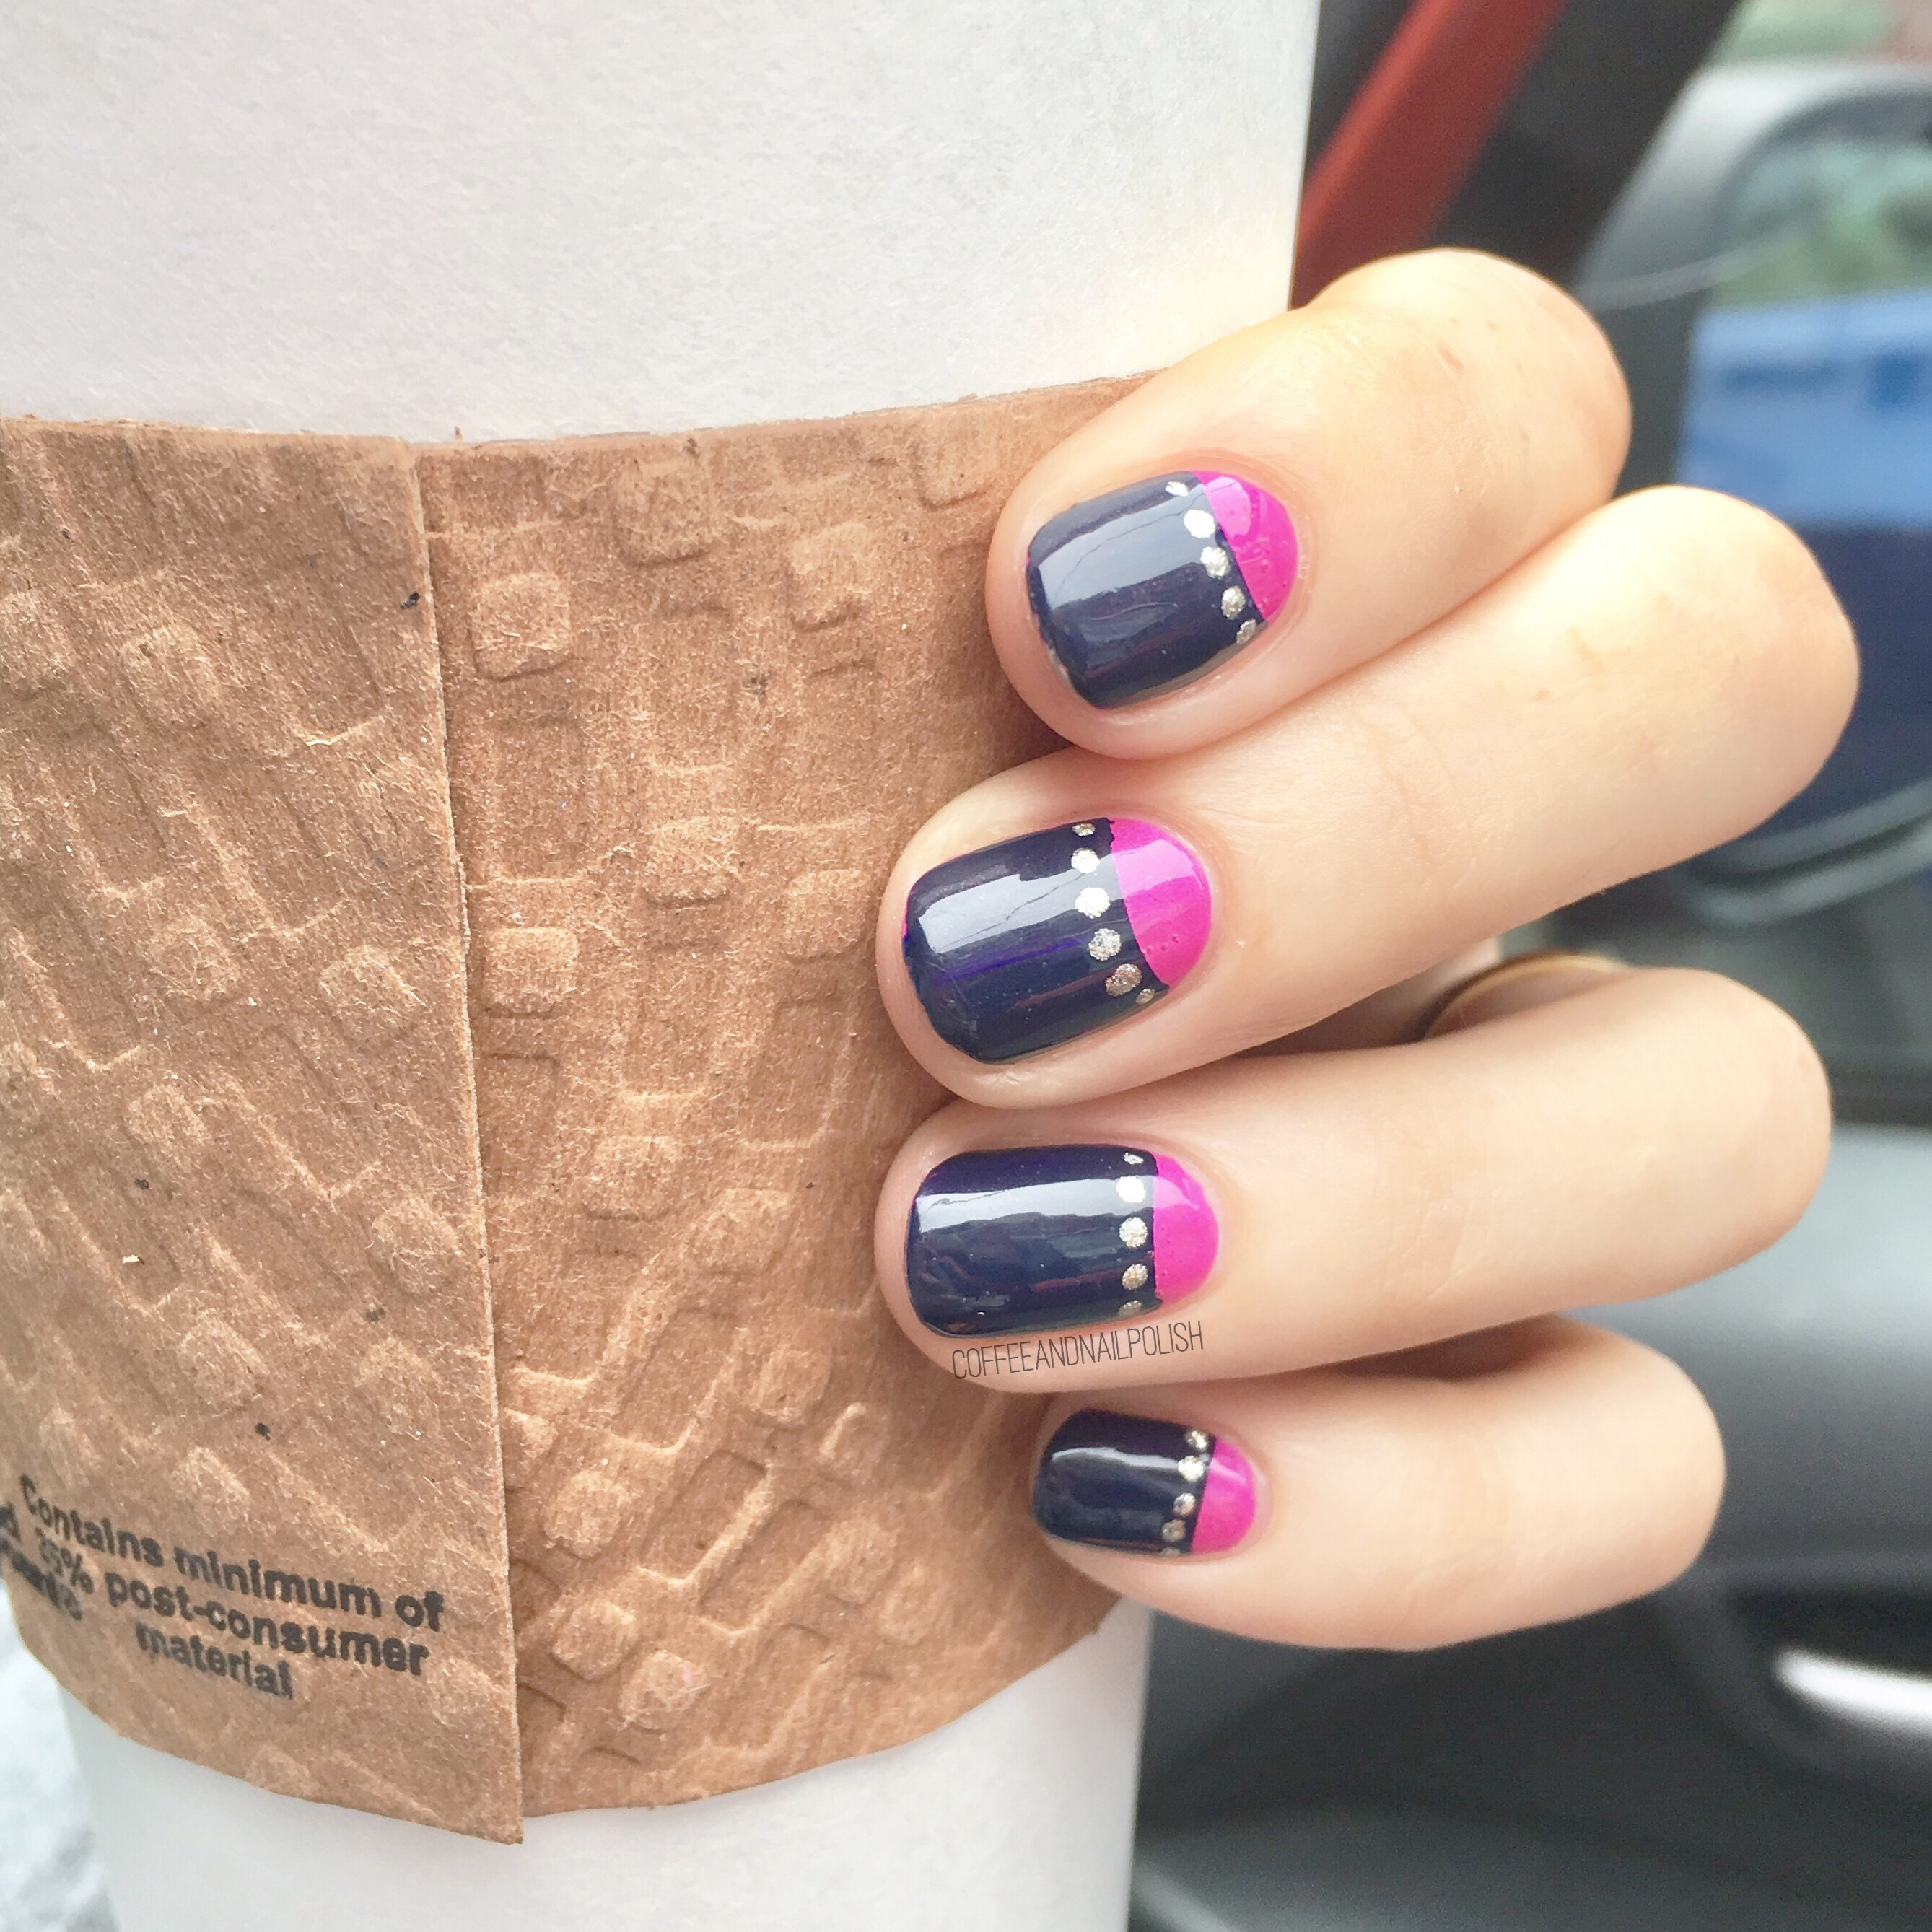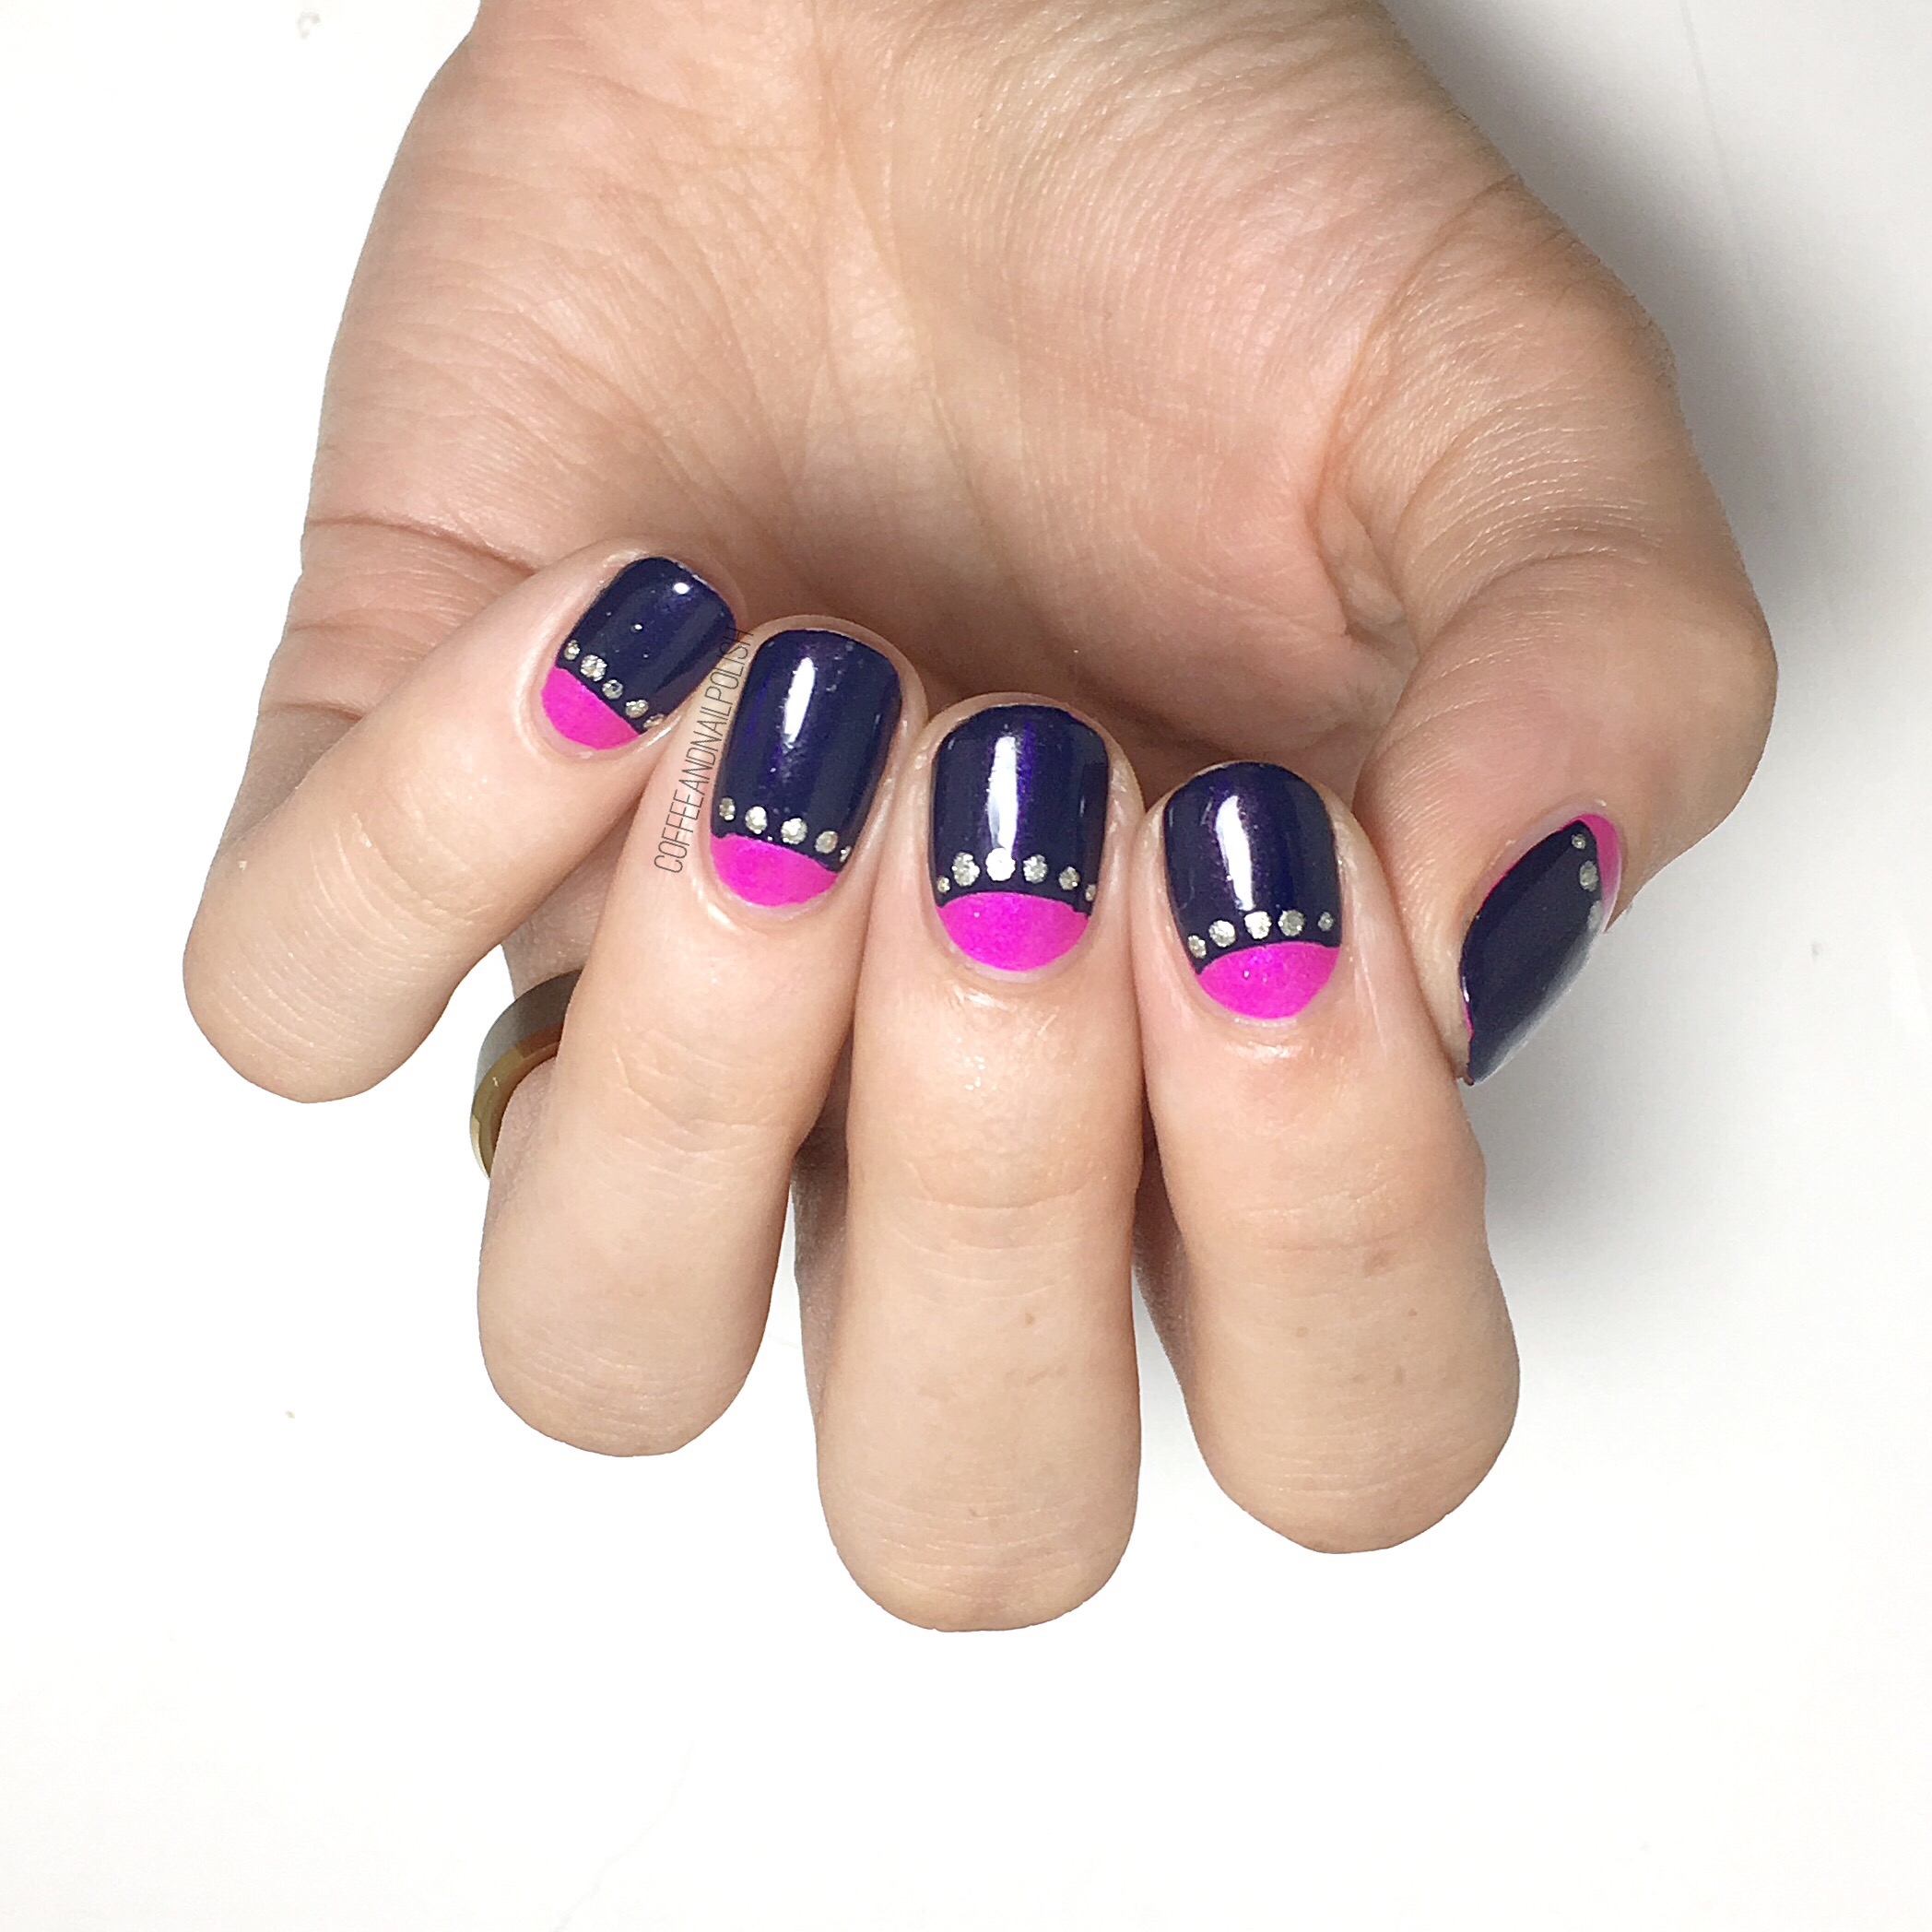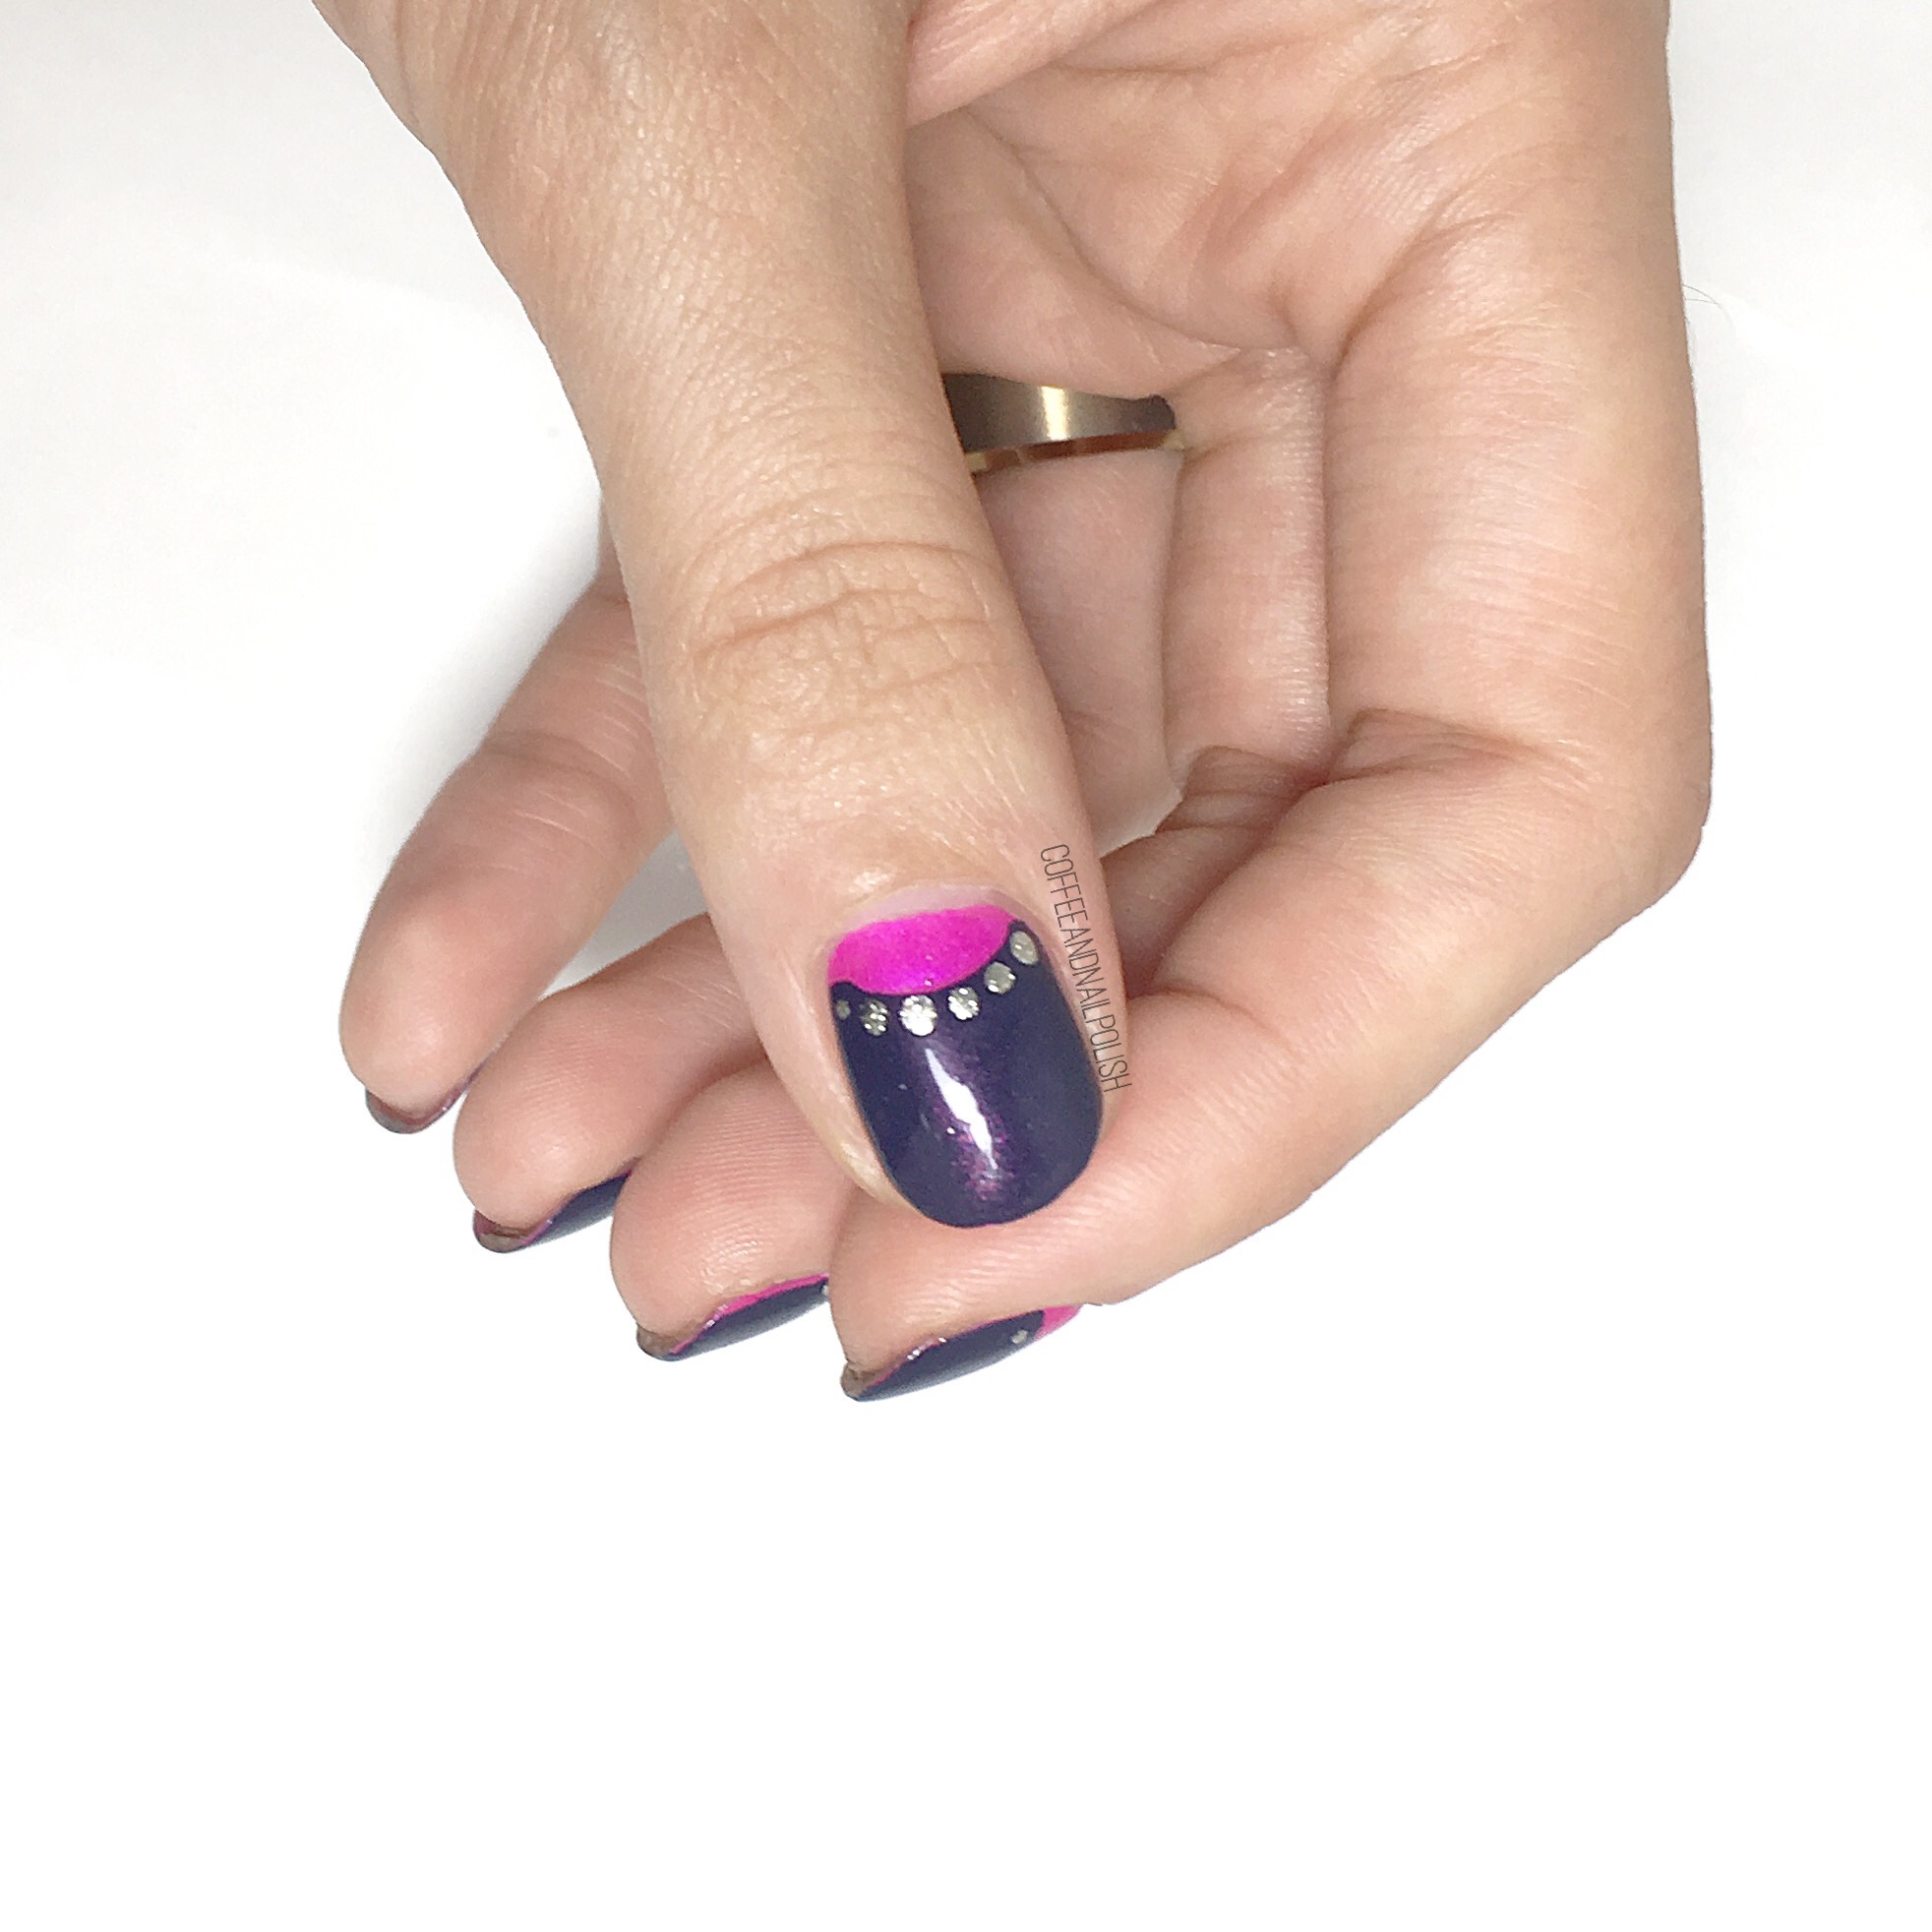
Easy Navy & Neon Half Moons 

I’m sure I’m not the only one whose first nail art involved those paper hole re-enforcements. This design is very reminiscent of those early nail art designs when all I had at my nail art disposal was those little sticky circles & a $1.99 dotting tool by Essence. & even though it’s a relatively simple design, I think it looks so classy & chic! 

For this manicure, I used:

  • Base Coat: Cutex Brittle Nail Fix
  • Top Coat: Cutex Quick Dry Top Coat
  • China Glaze Purple Panic
  • China Glaze Sleeping Under the Stars
  • Essie Jiggle Hi, Jiggle Lo
  • Paper Hole re-enforcements (I buy mine from the Dollar Store)
  • Small dotting tool (like this one from Essence!)  

If you’re looking for an easy, simple nail art design this would be a great option! The hardest part is waiting for your base colour to dry (& thanks to quick dry top coat, even that comes pretty easy.) I really like this colour combination–you have Purple Panic with all its neon beauty topped with Sleeping Under the Stars which has that very pretty pink shimmer that compliments the neon pink really well. This is a great in-between mani. & a little more sparkle by adding those gold dots. 


What do you think of this mani? What is your favourite old school nail art technique? Let me know your thoughts in the comments below! 

Patterned Watercolour Nails Inspired by @thesammersaurus

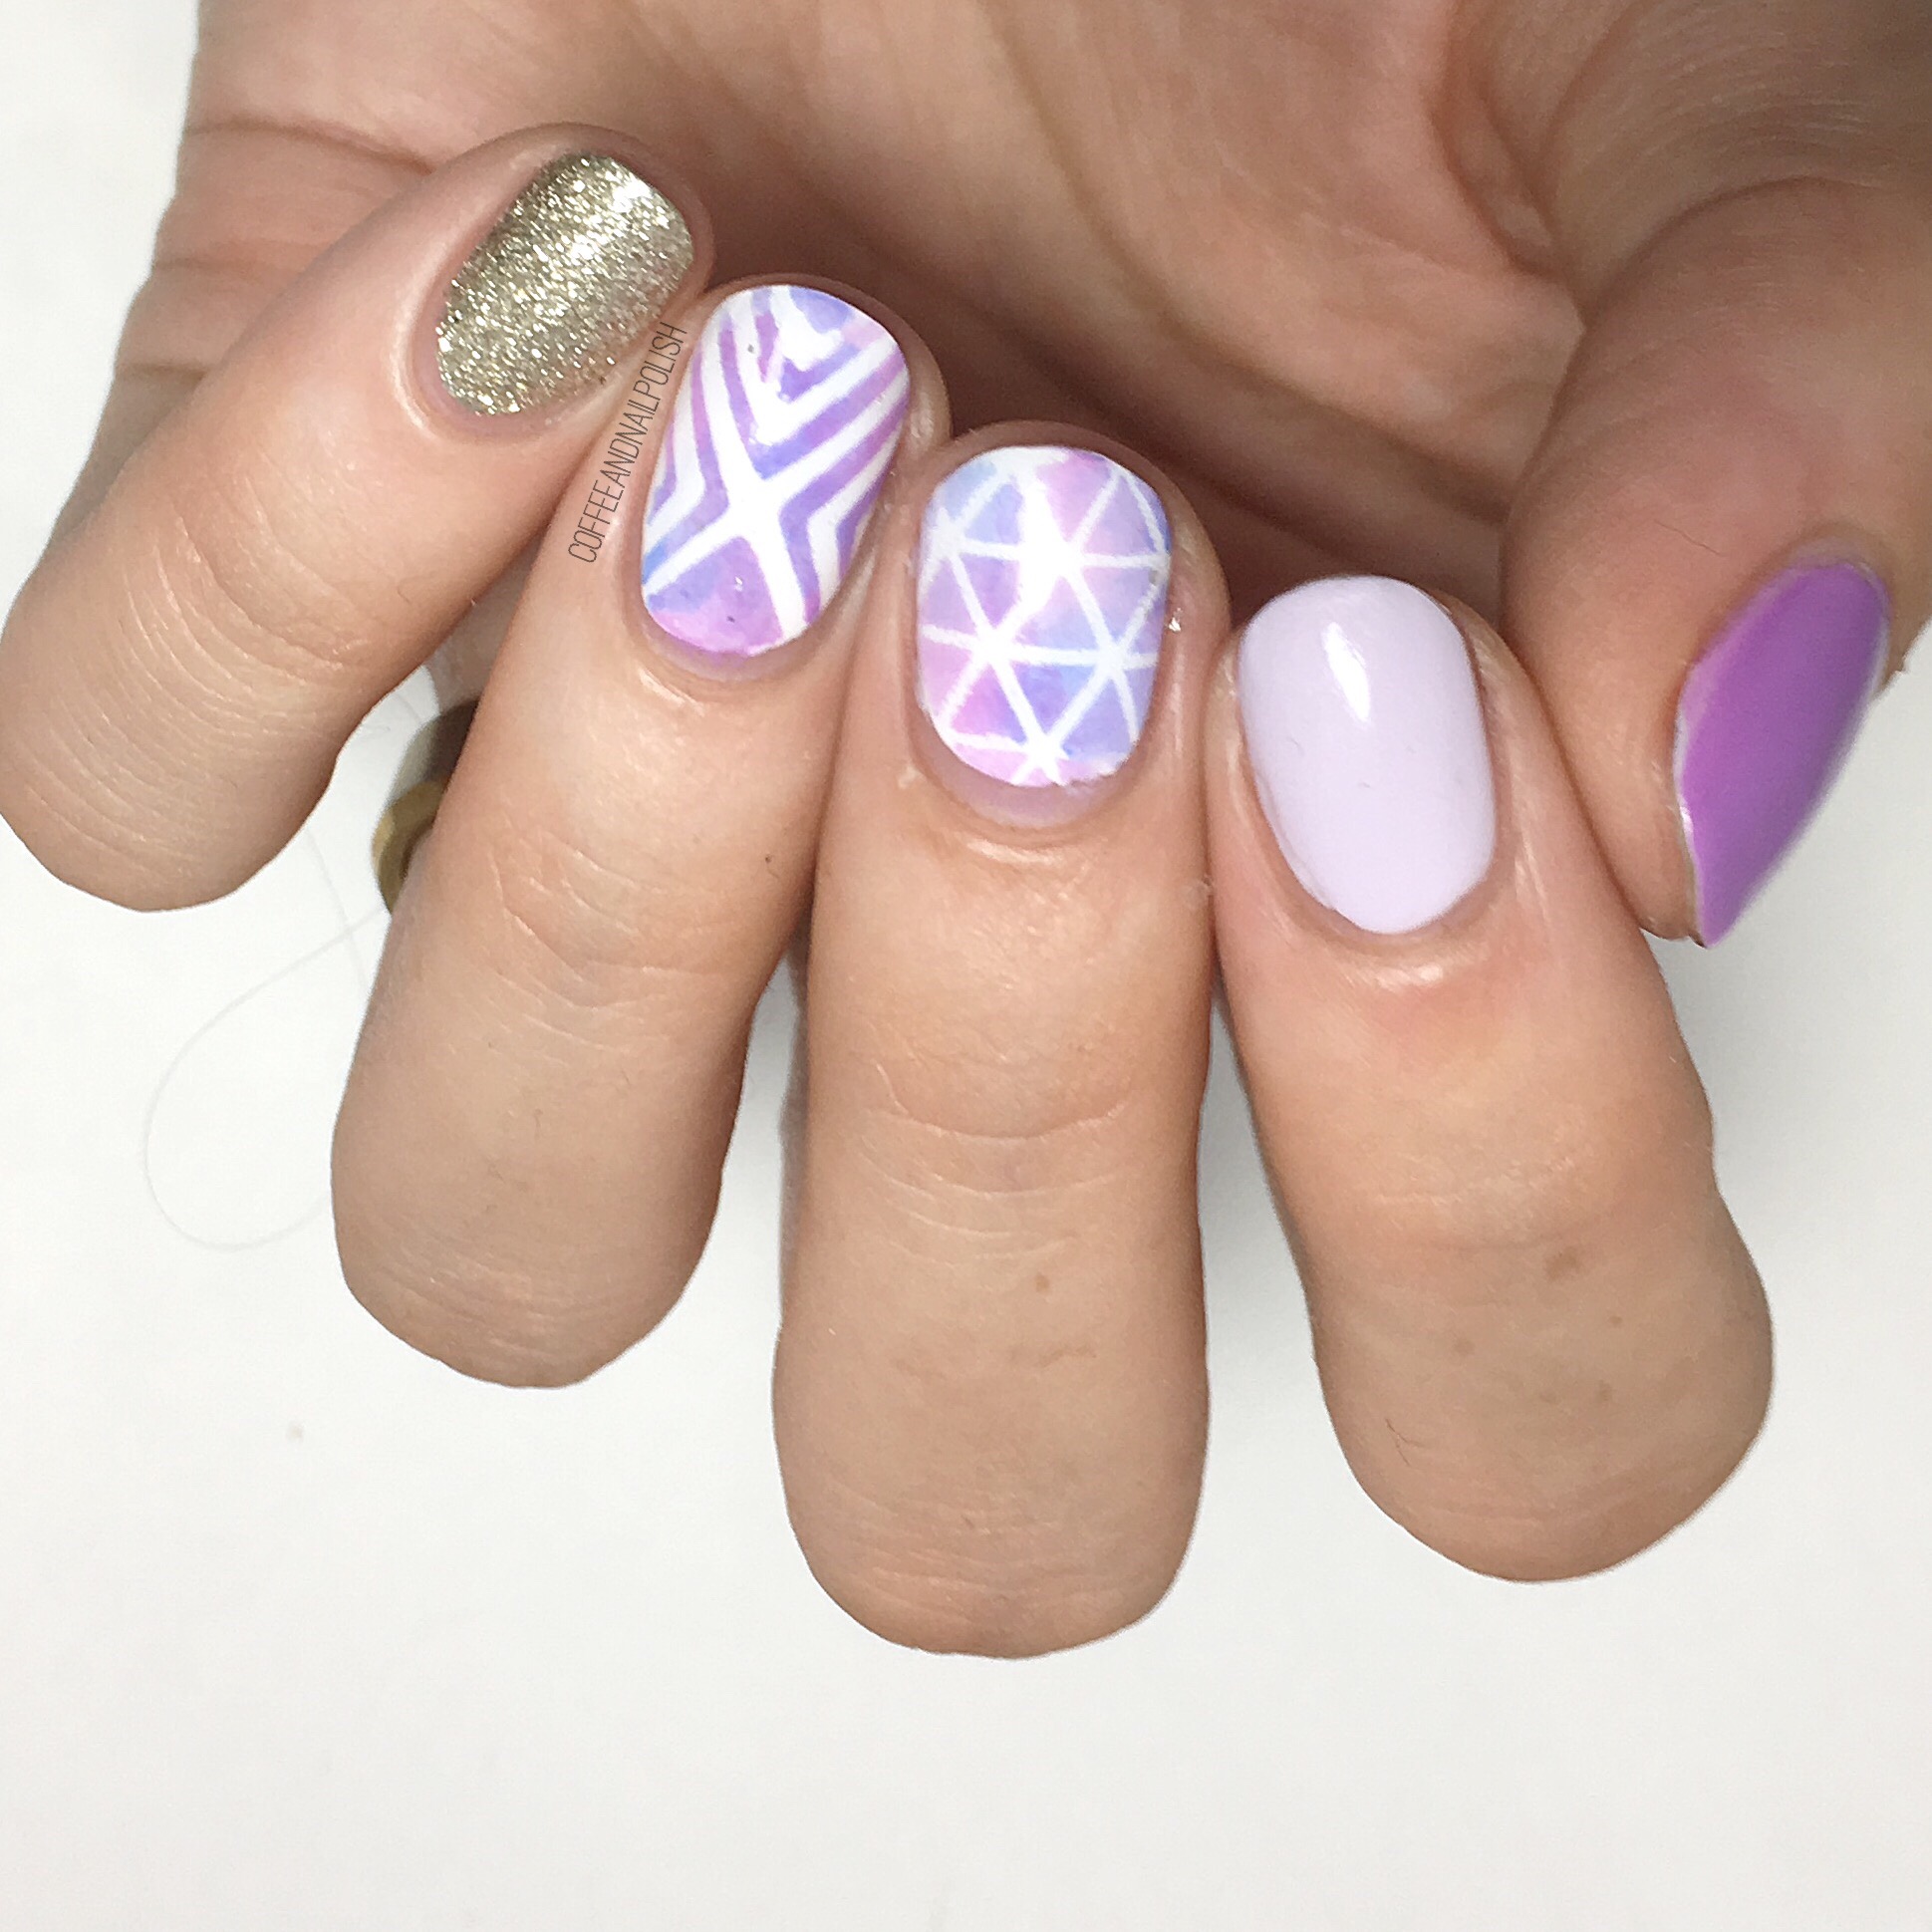
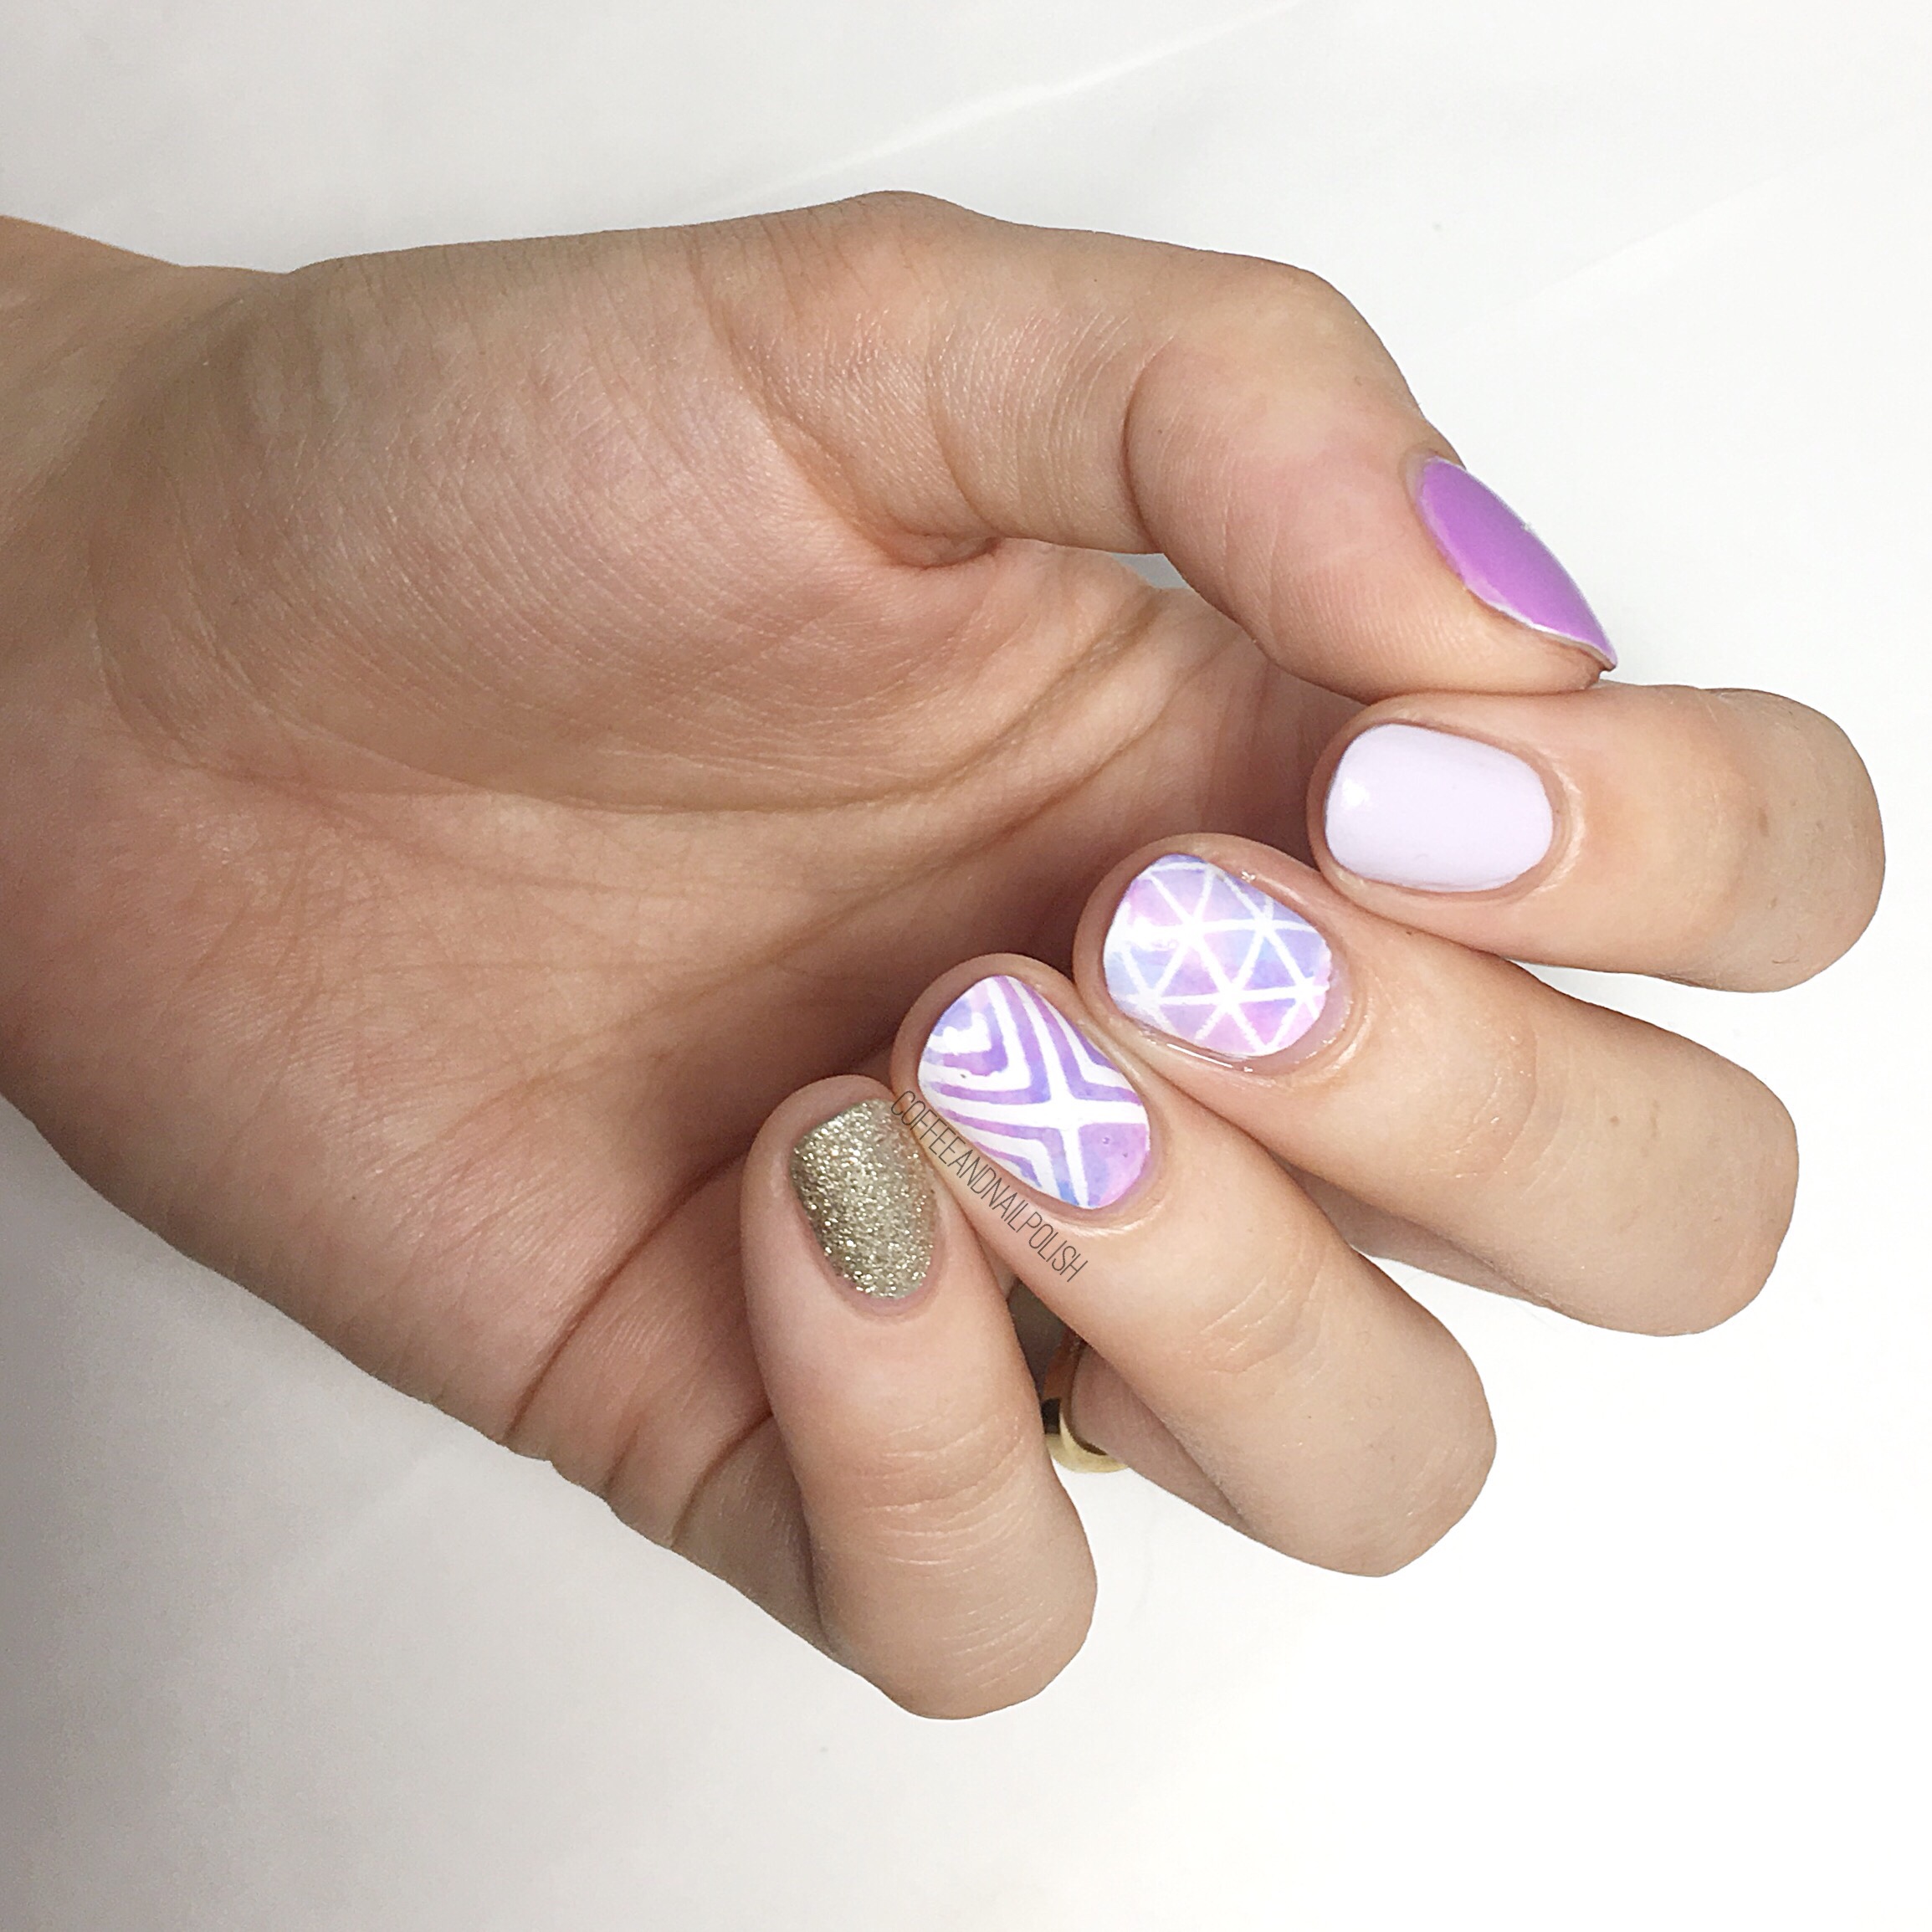
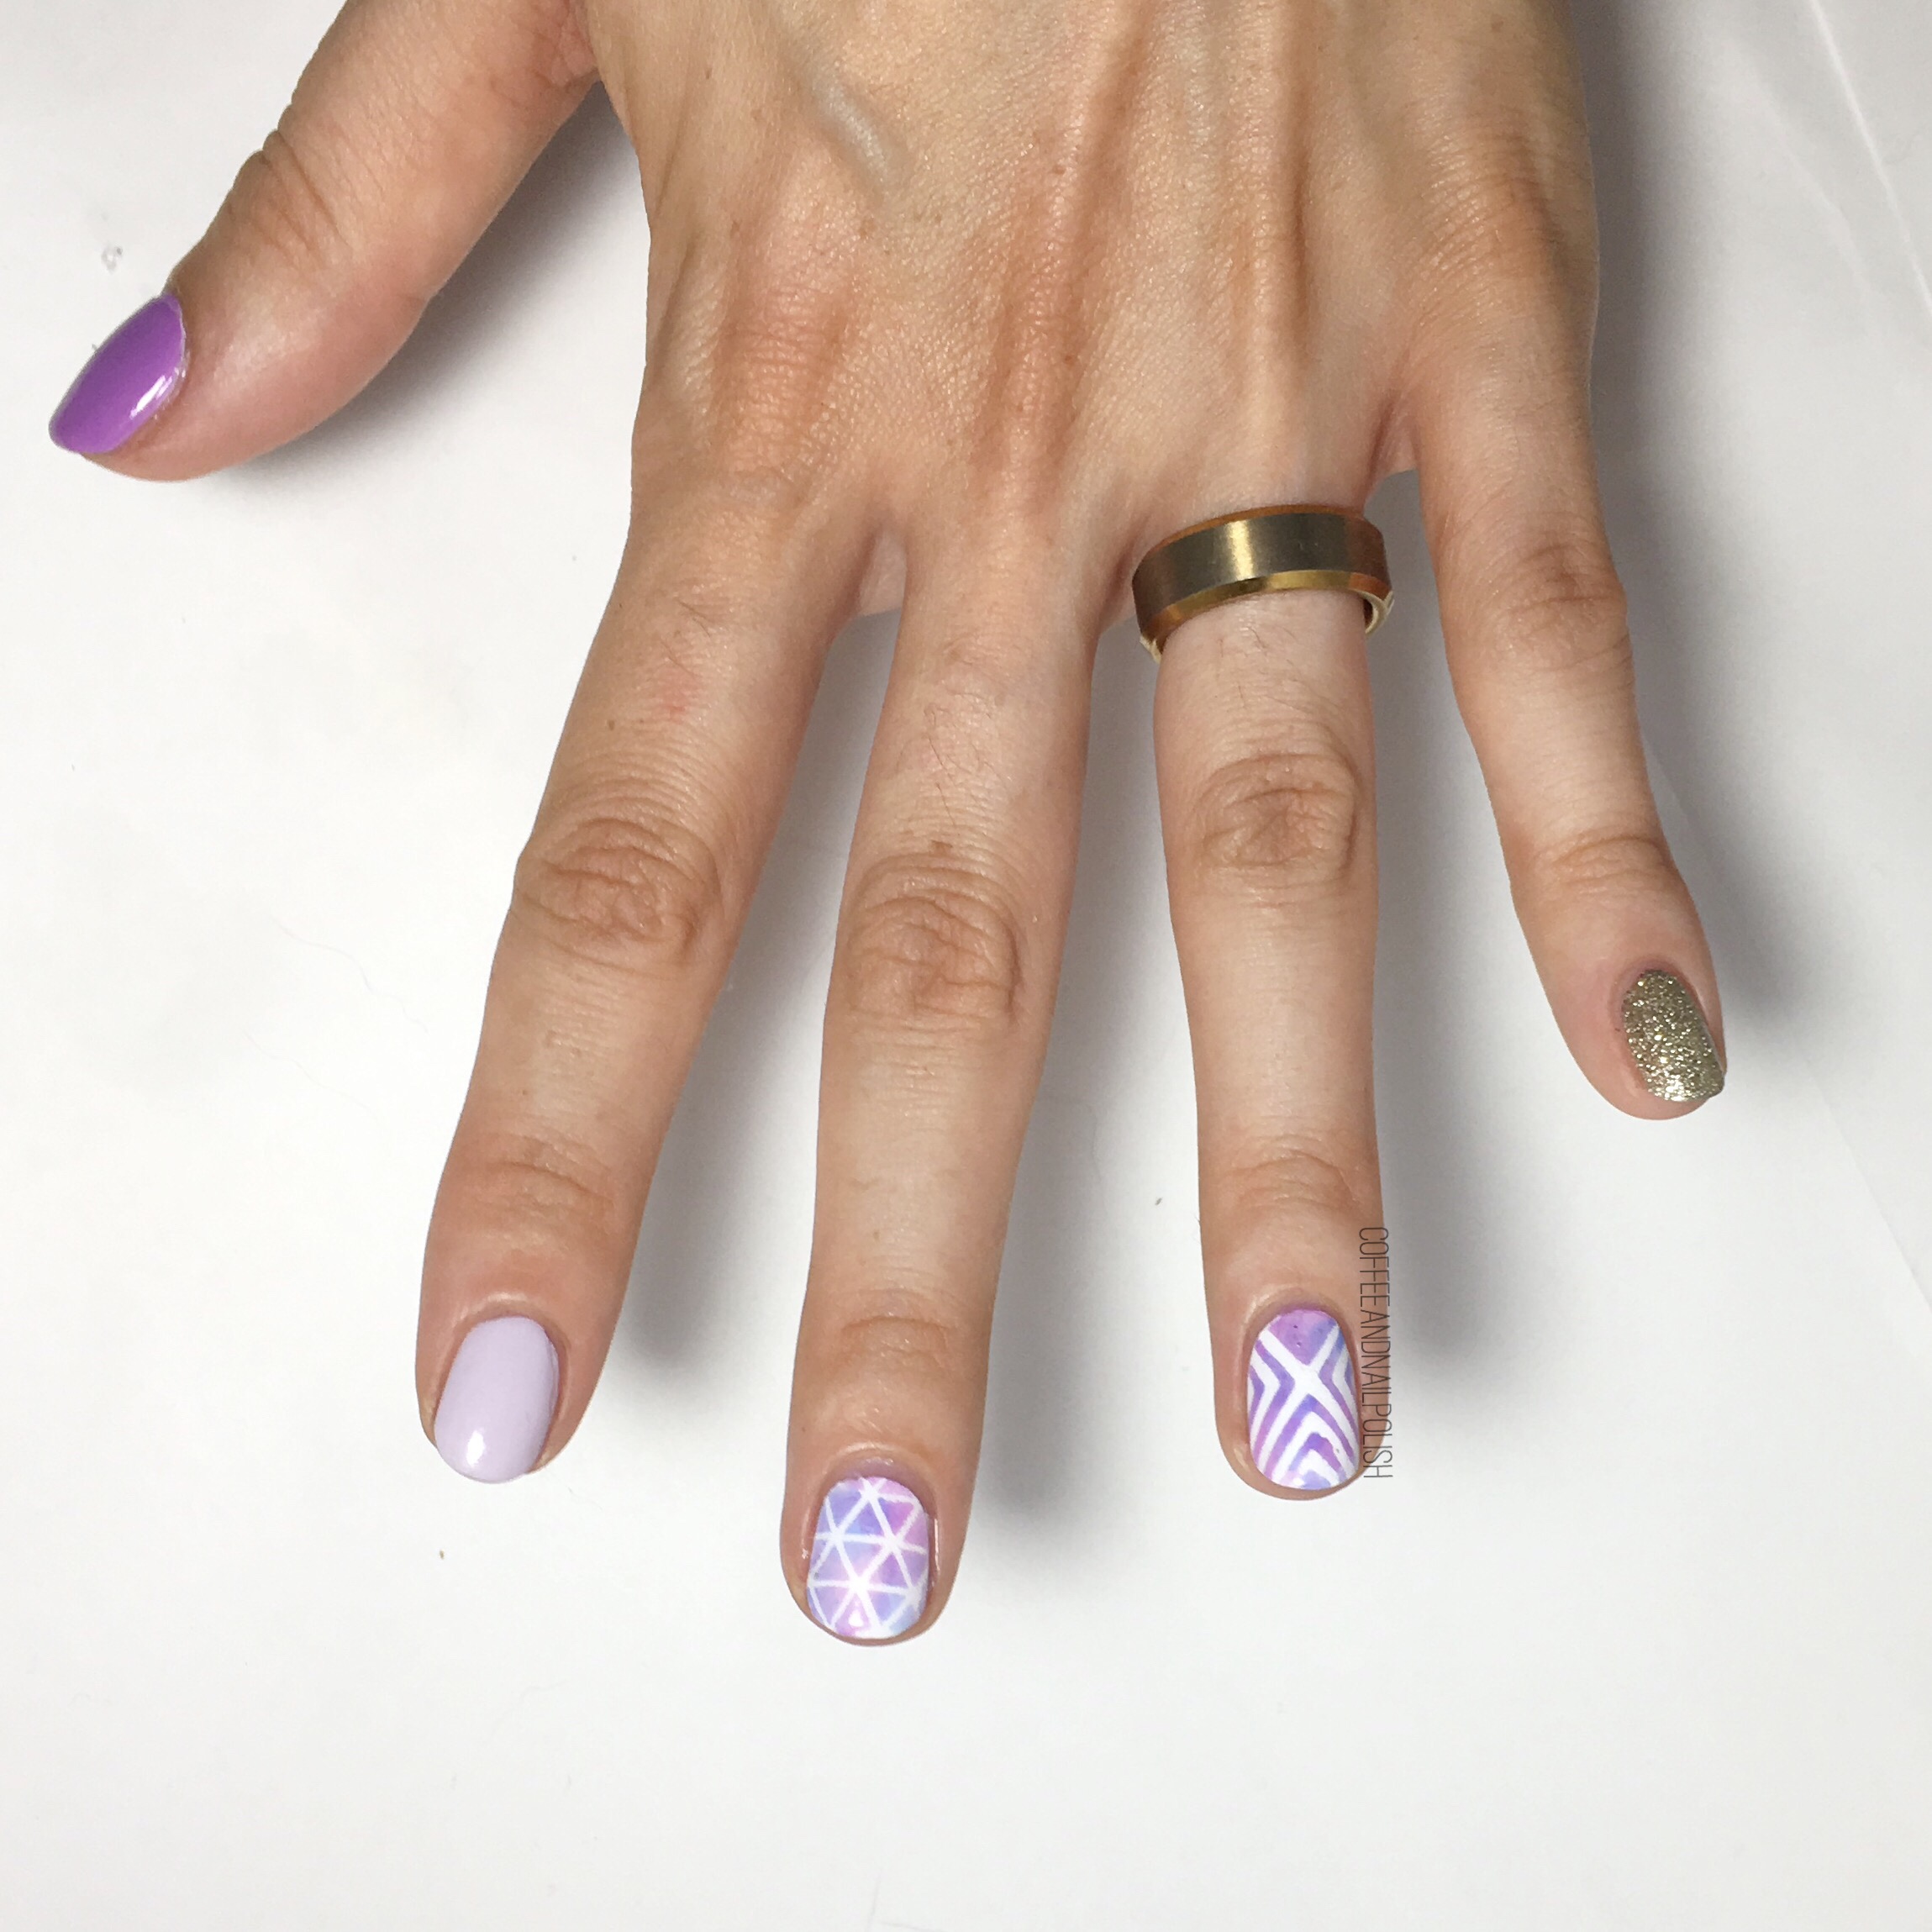
So I’ve been feeling a little stuck, inspiration wise, & when I feel lost for ideas I love browsing through the feeds of my favourite nail artists to see what catches my eye. I was scrolling through @thesammersaurus‘s instagram feed & came across a gorgeous geometric design from 3ish years ago. I’ve been a massive fan of Sammy’s for a long time–she was one of the first nail art blogs I discovered–& I love how she comes up with awesome, creative designs & rocks those shorter nails!  It gives hope to those out there who don’t have crazy long nails. So when I discovered this gorgeous design I loved, I popped over to her blog & found all the details of her design to make painting my recreation way easier! 

For the manicure, the products used were:

  • Base Coat: Cutex Brittle Nail Fix
  • Top Coat: Cutex Quick Dry Top Coat
  • Essie Go Ginza 
  • Essie Play Date
  • Sally Hansen Xtreme Wear Royal Hue
  • Sally Hansen Hard As Nails Hard To Get
  • OPI My Favourite Ornament 
  • Xroma Polish & Vinyls X Stencil (I cut off the bottom) 
  • The Base Coat Triangle Pattern Stencil
  • Latex Free Make Up Sponge 

Thanks to my vast collection of vinyls, I was able to cheat & skip having to place striping tape/skinny vinyls individually for a relatively easy to do manicure! (Thank god for that!) I also used a make up sponge instead of the Saran Wrap technique for my colour blending on the accent nails. But even though I didn’t follow her exactly, I feel like this recreation turned out Pretty on point. Just please ignore the shrinkage on my middle finger nail. 😂


Do you have a favourite nail art you love to turn to for nail art inspiration? Where is your favourite place to get nail art inspiration from? Let me know in the comments below! 💜

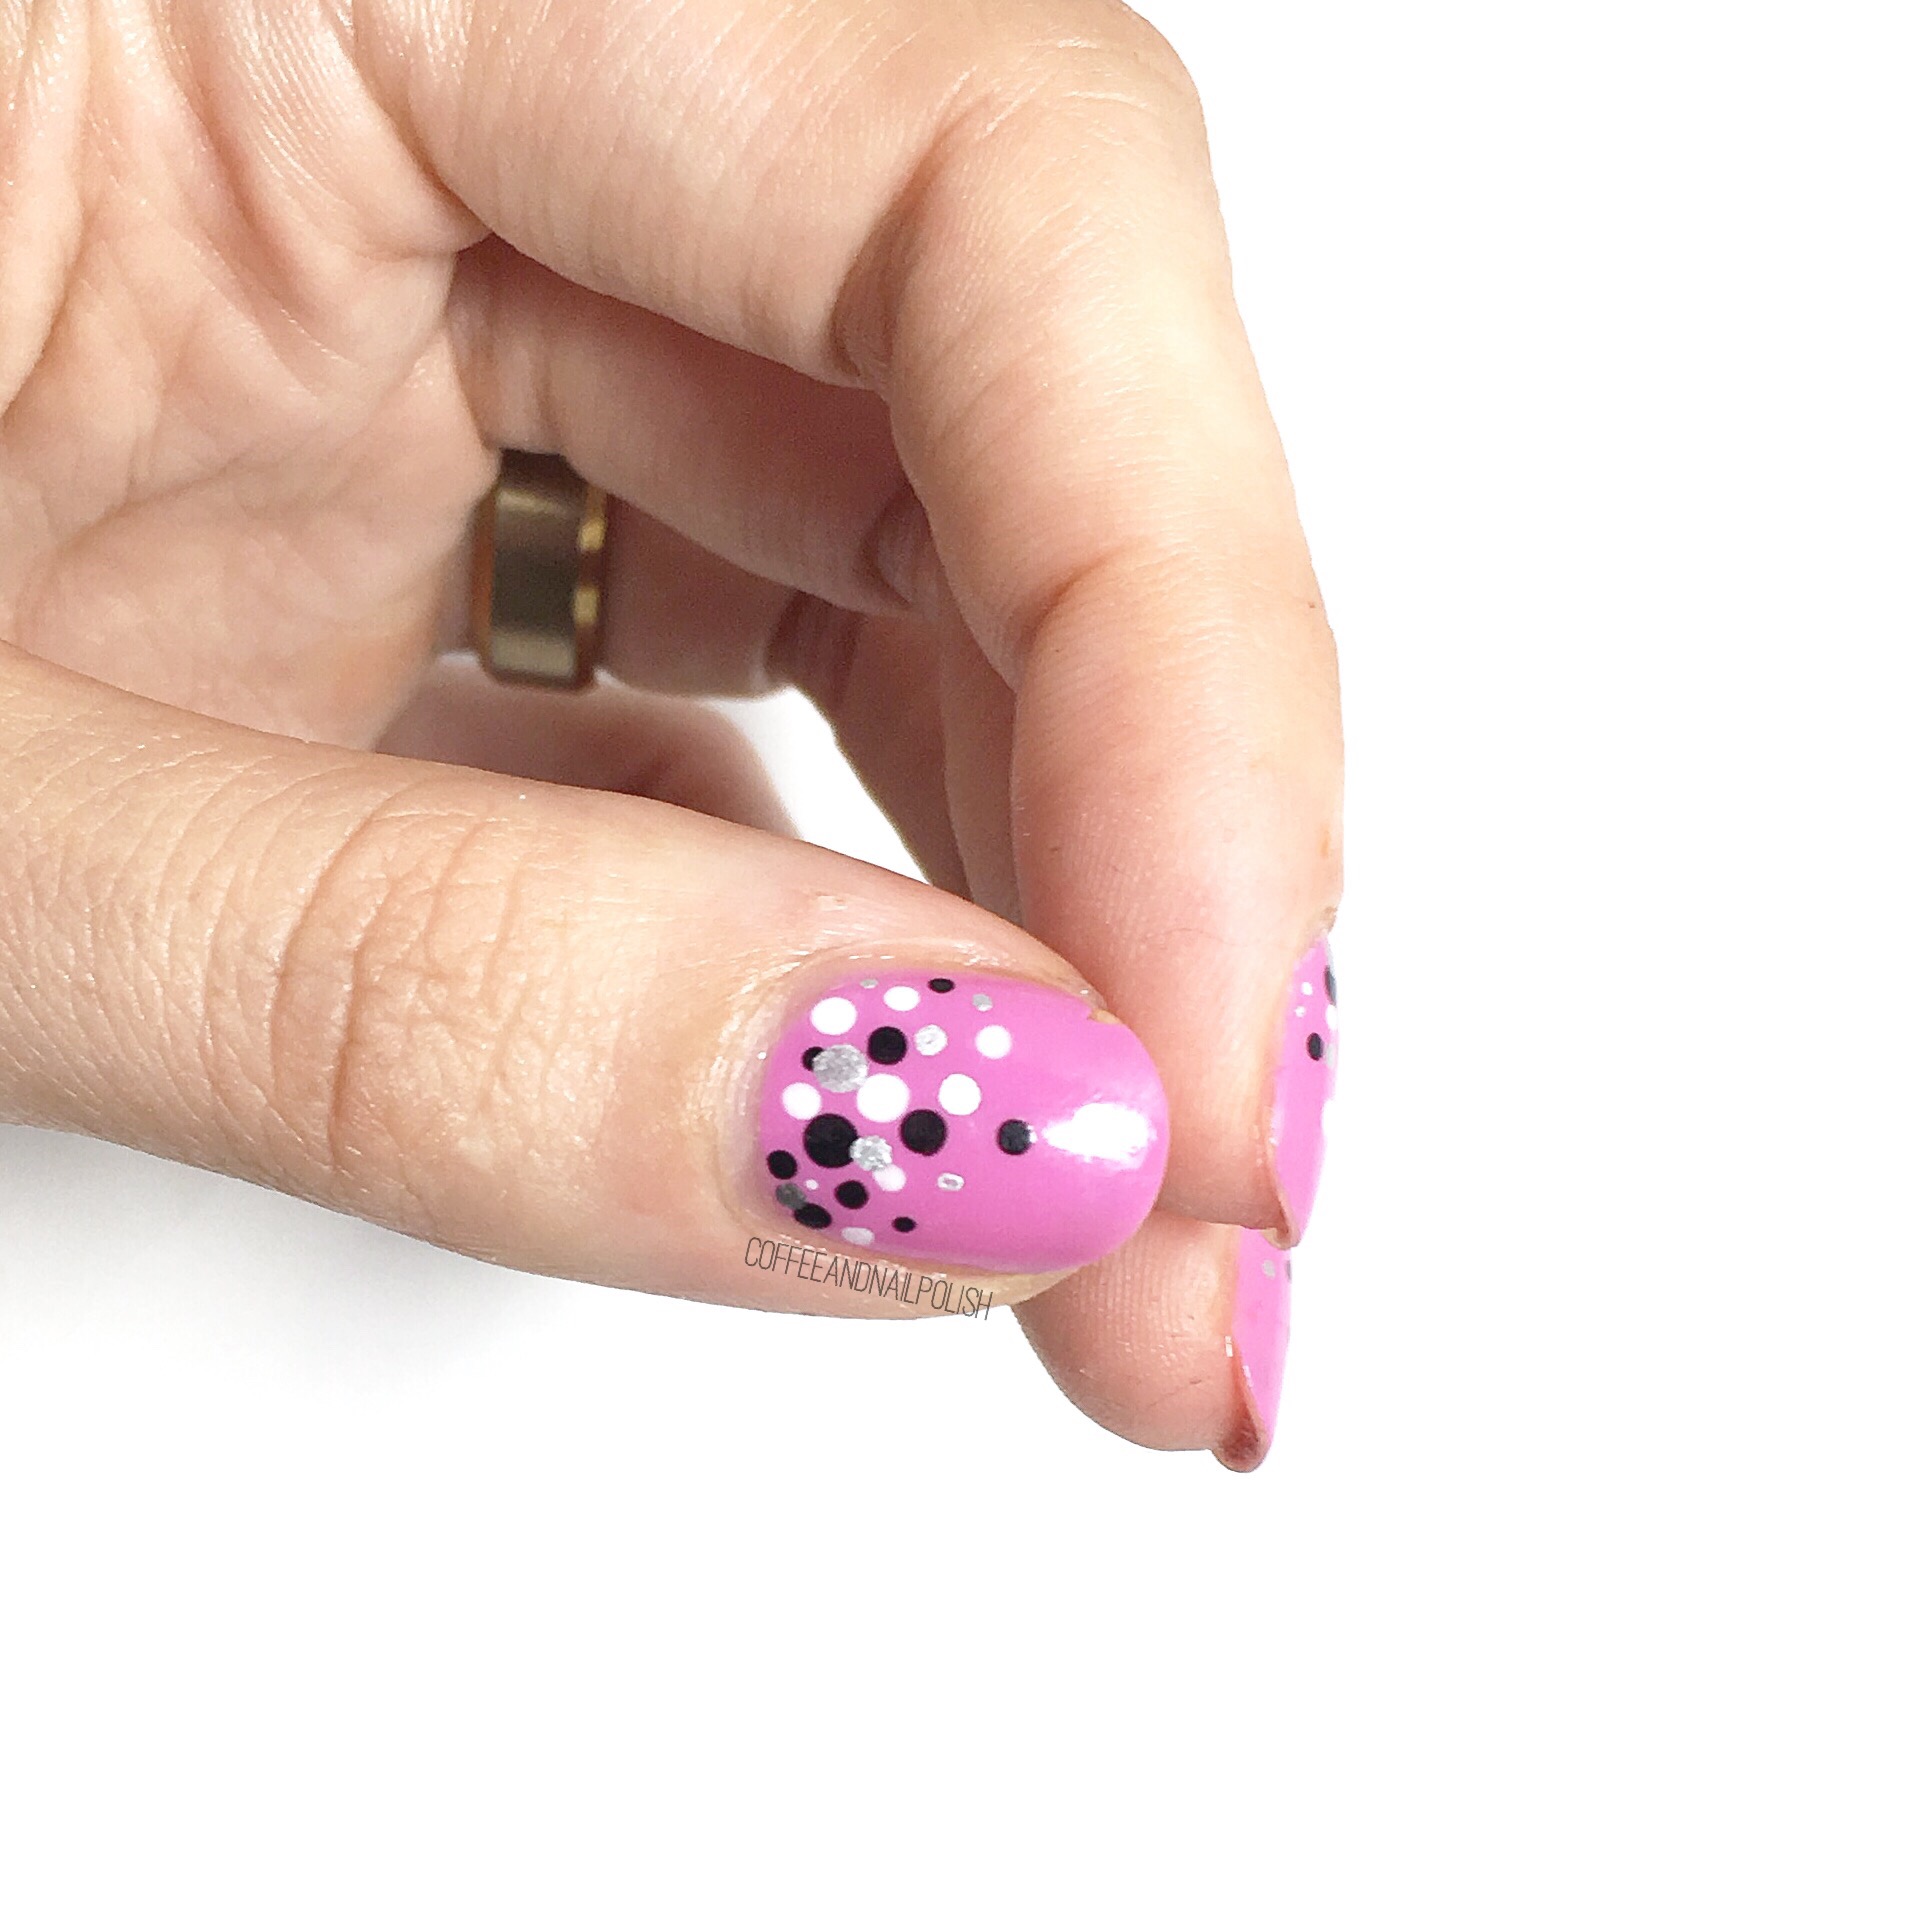
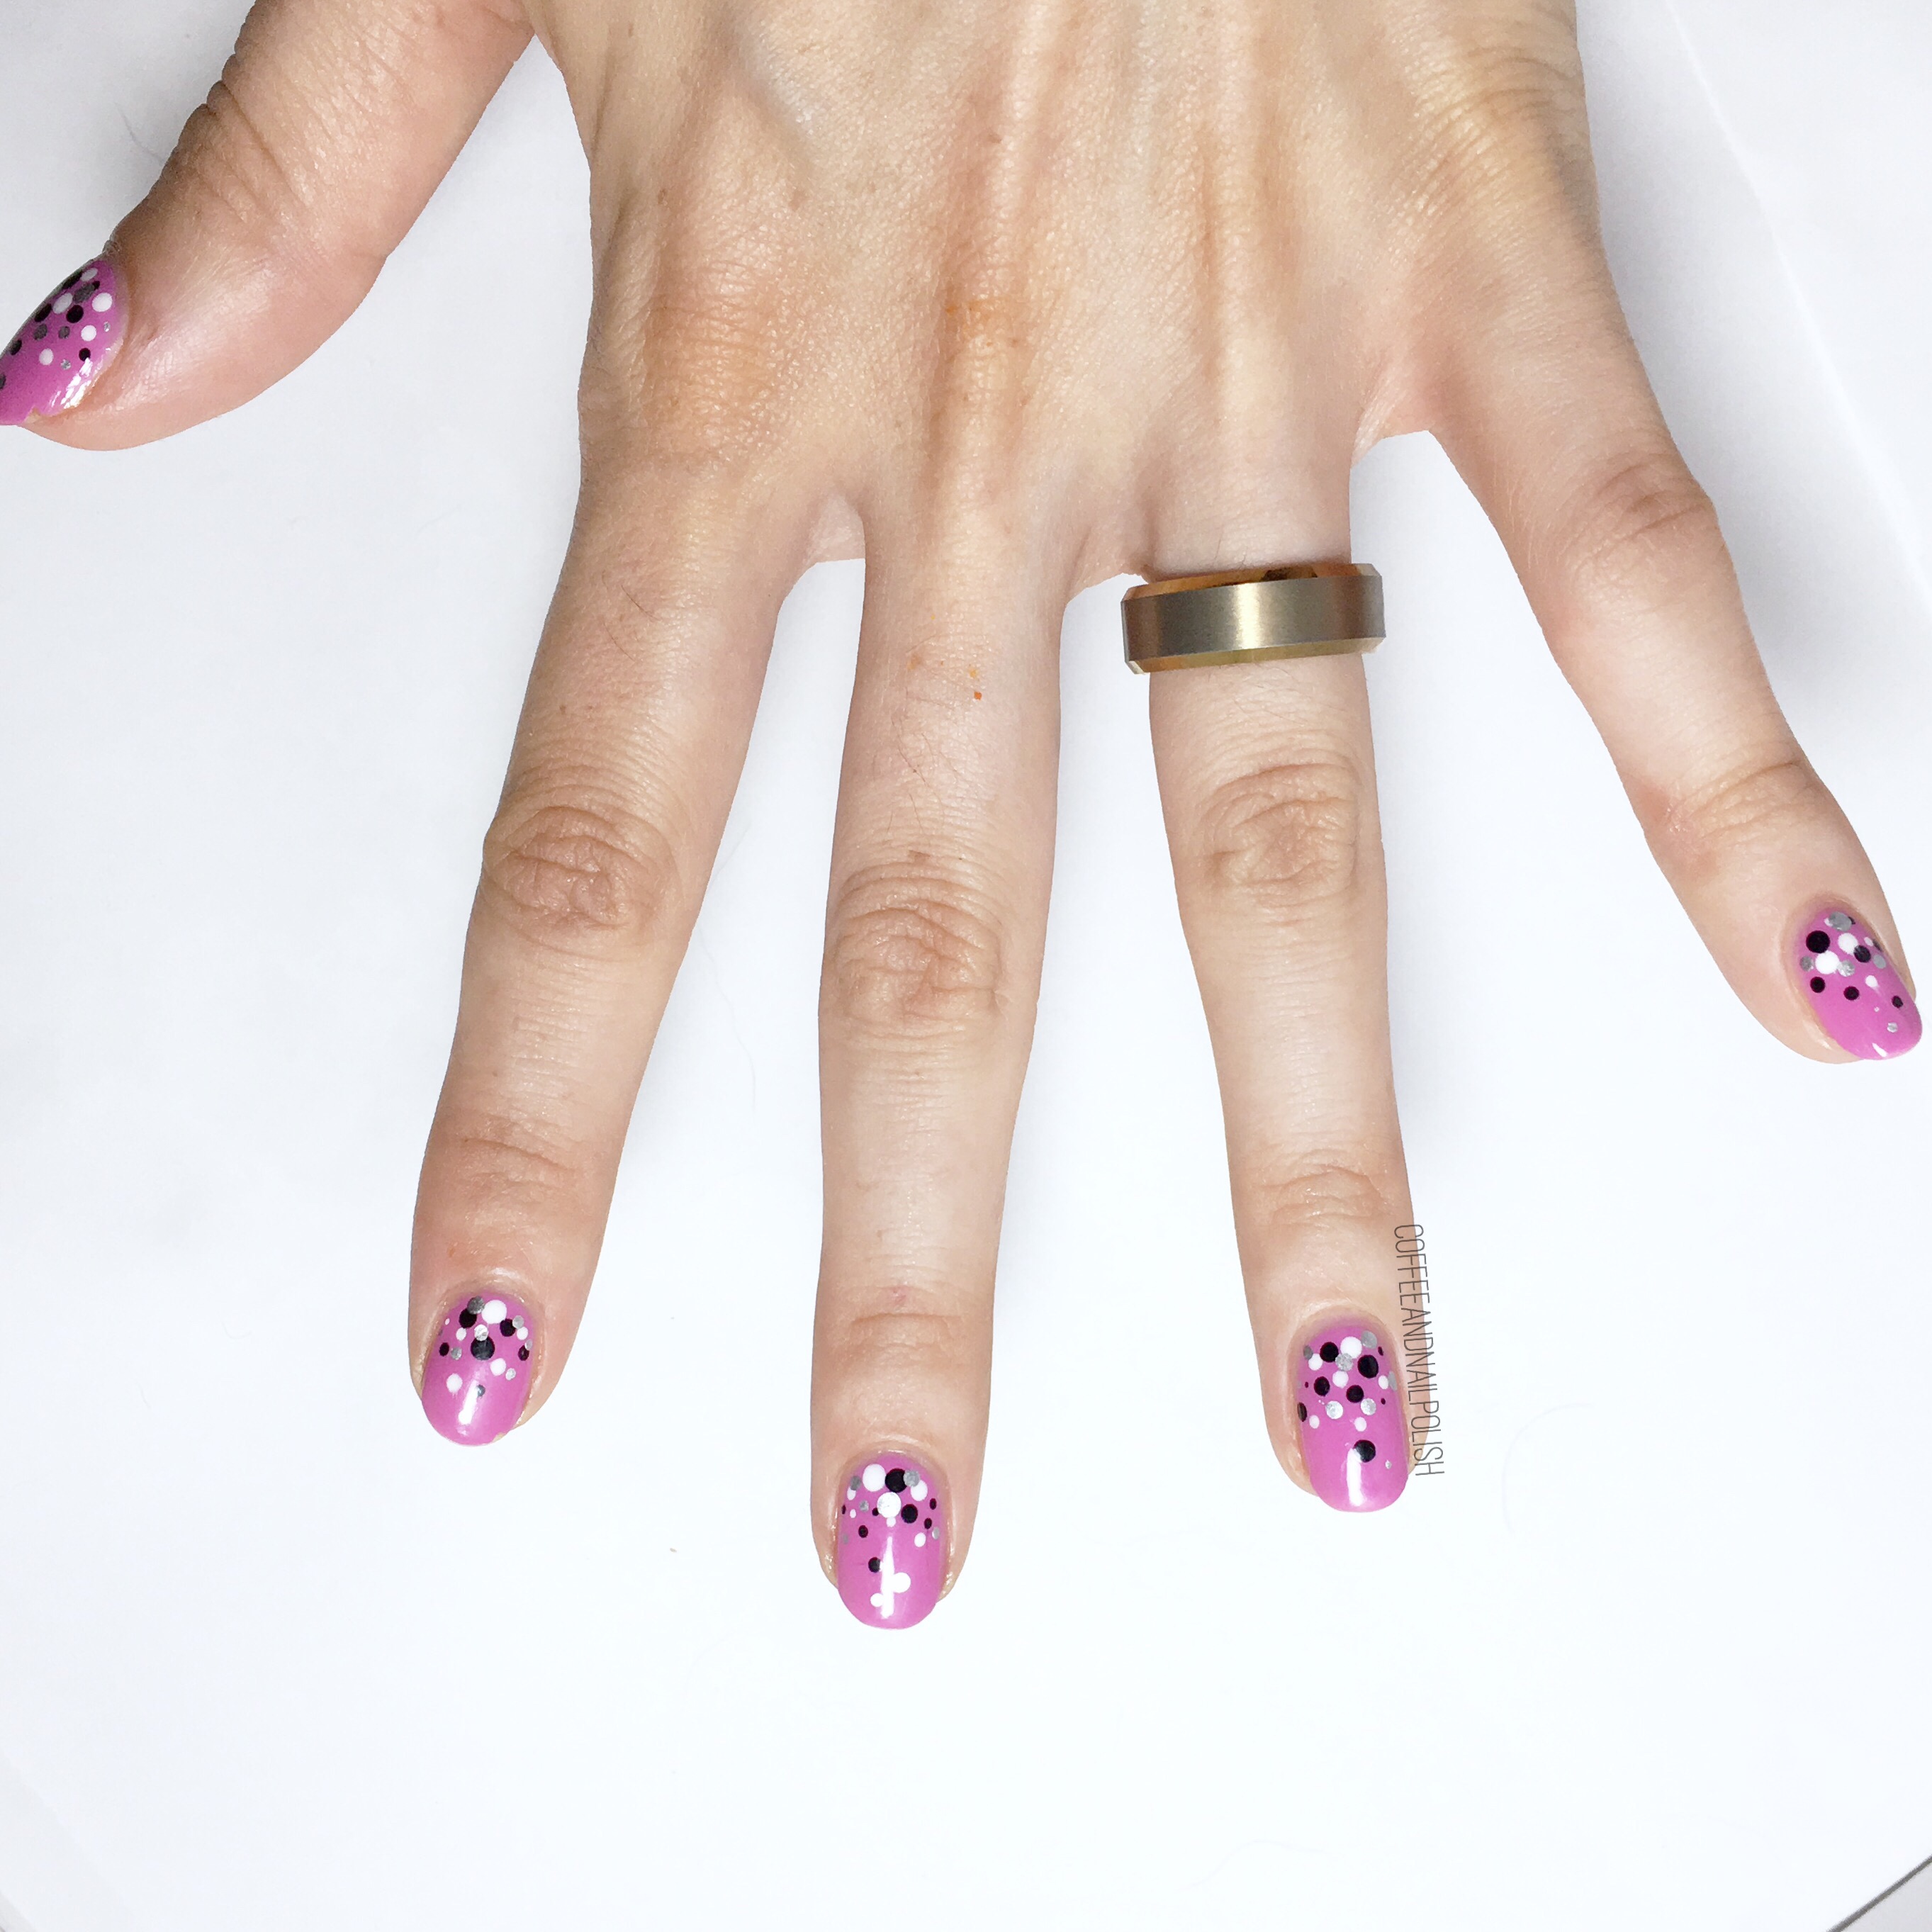
Easy Pink Gradient Dotticure

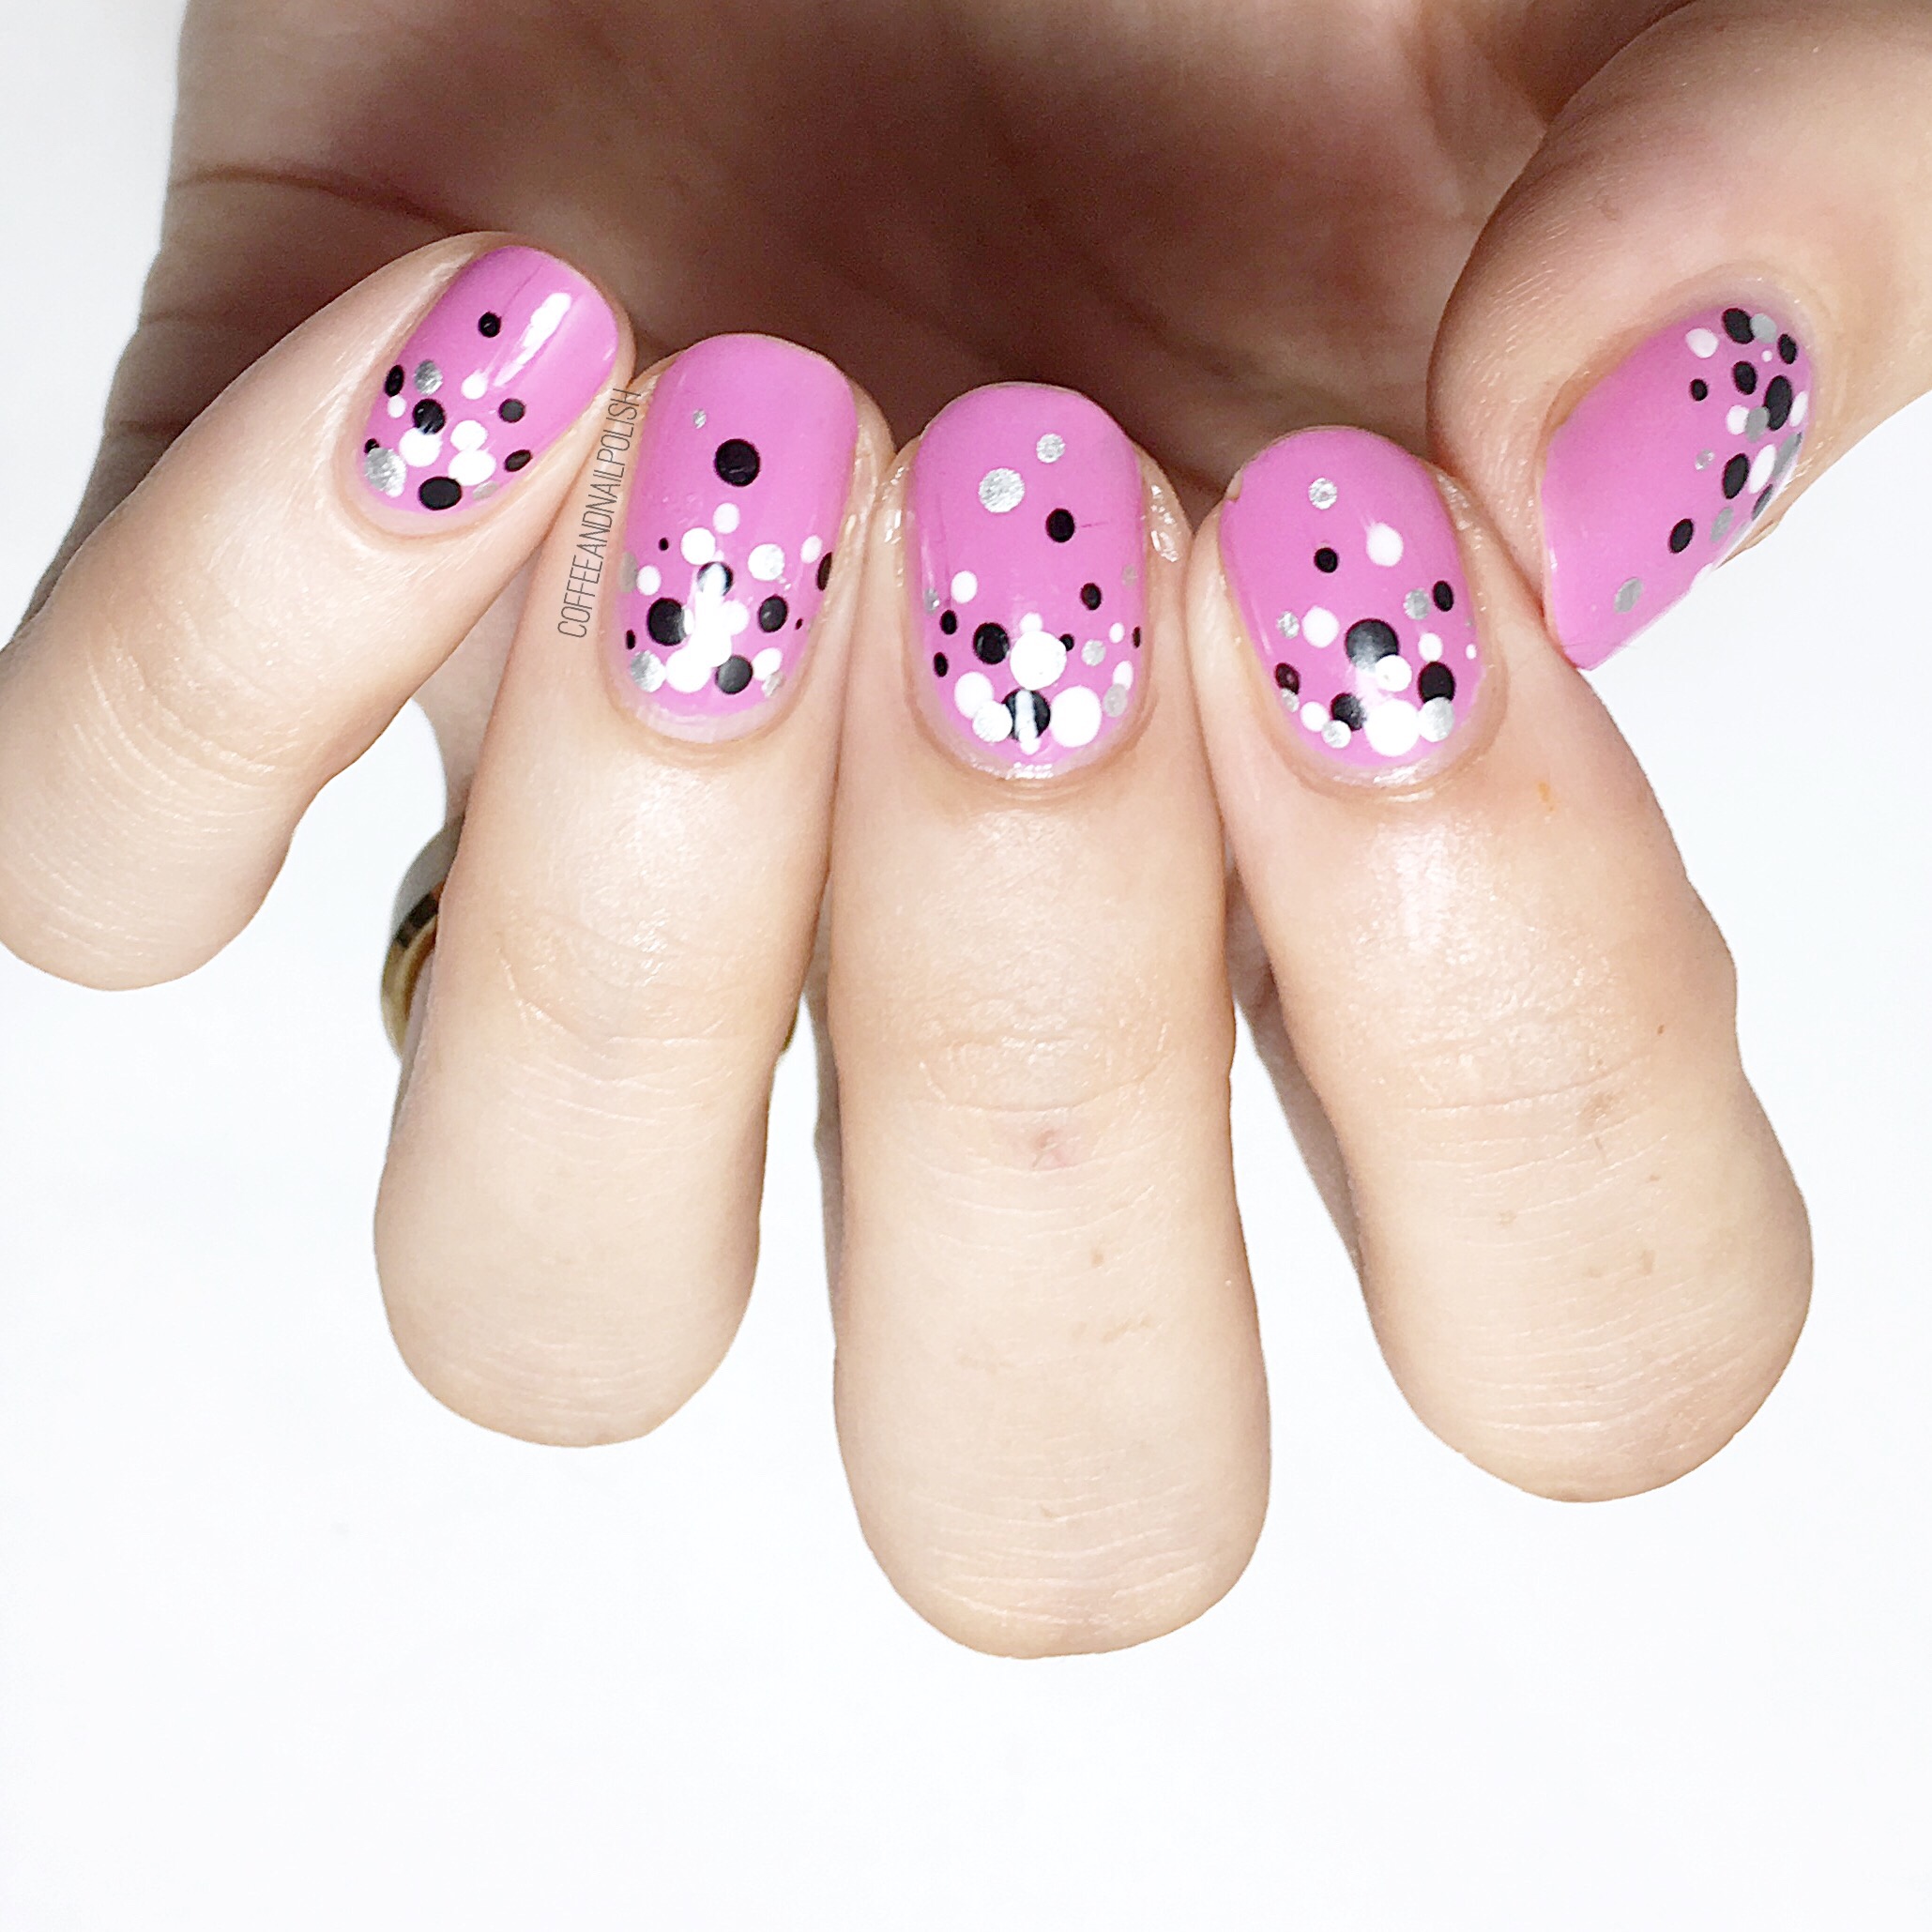
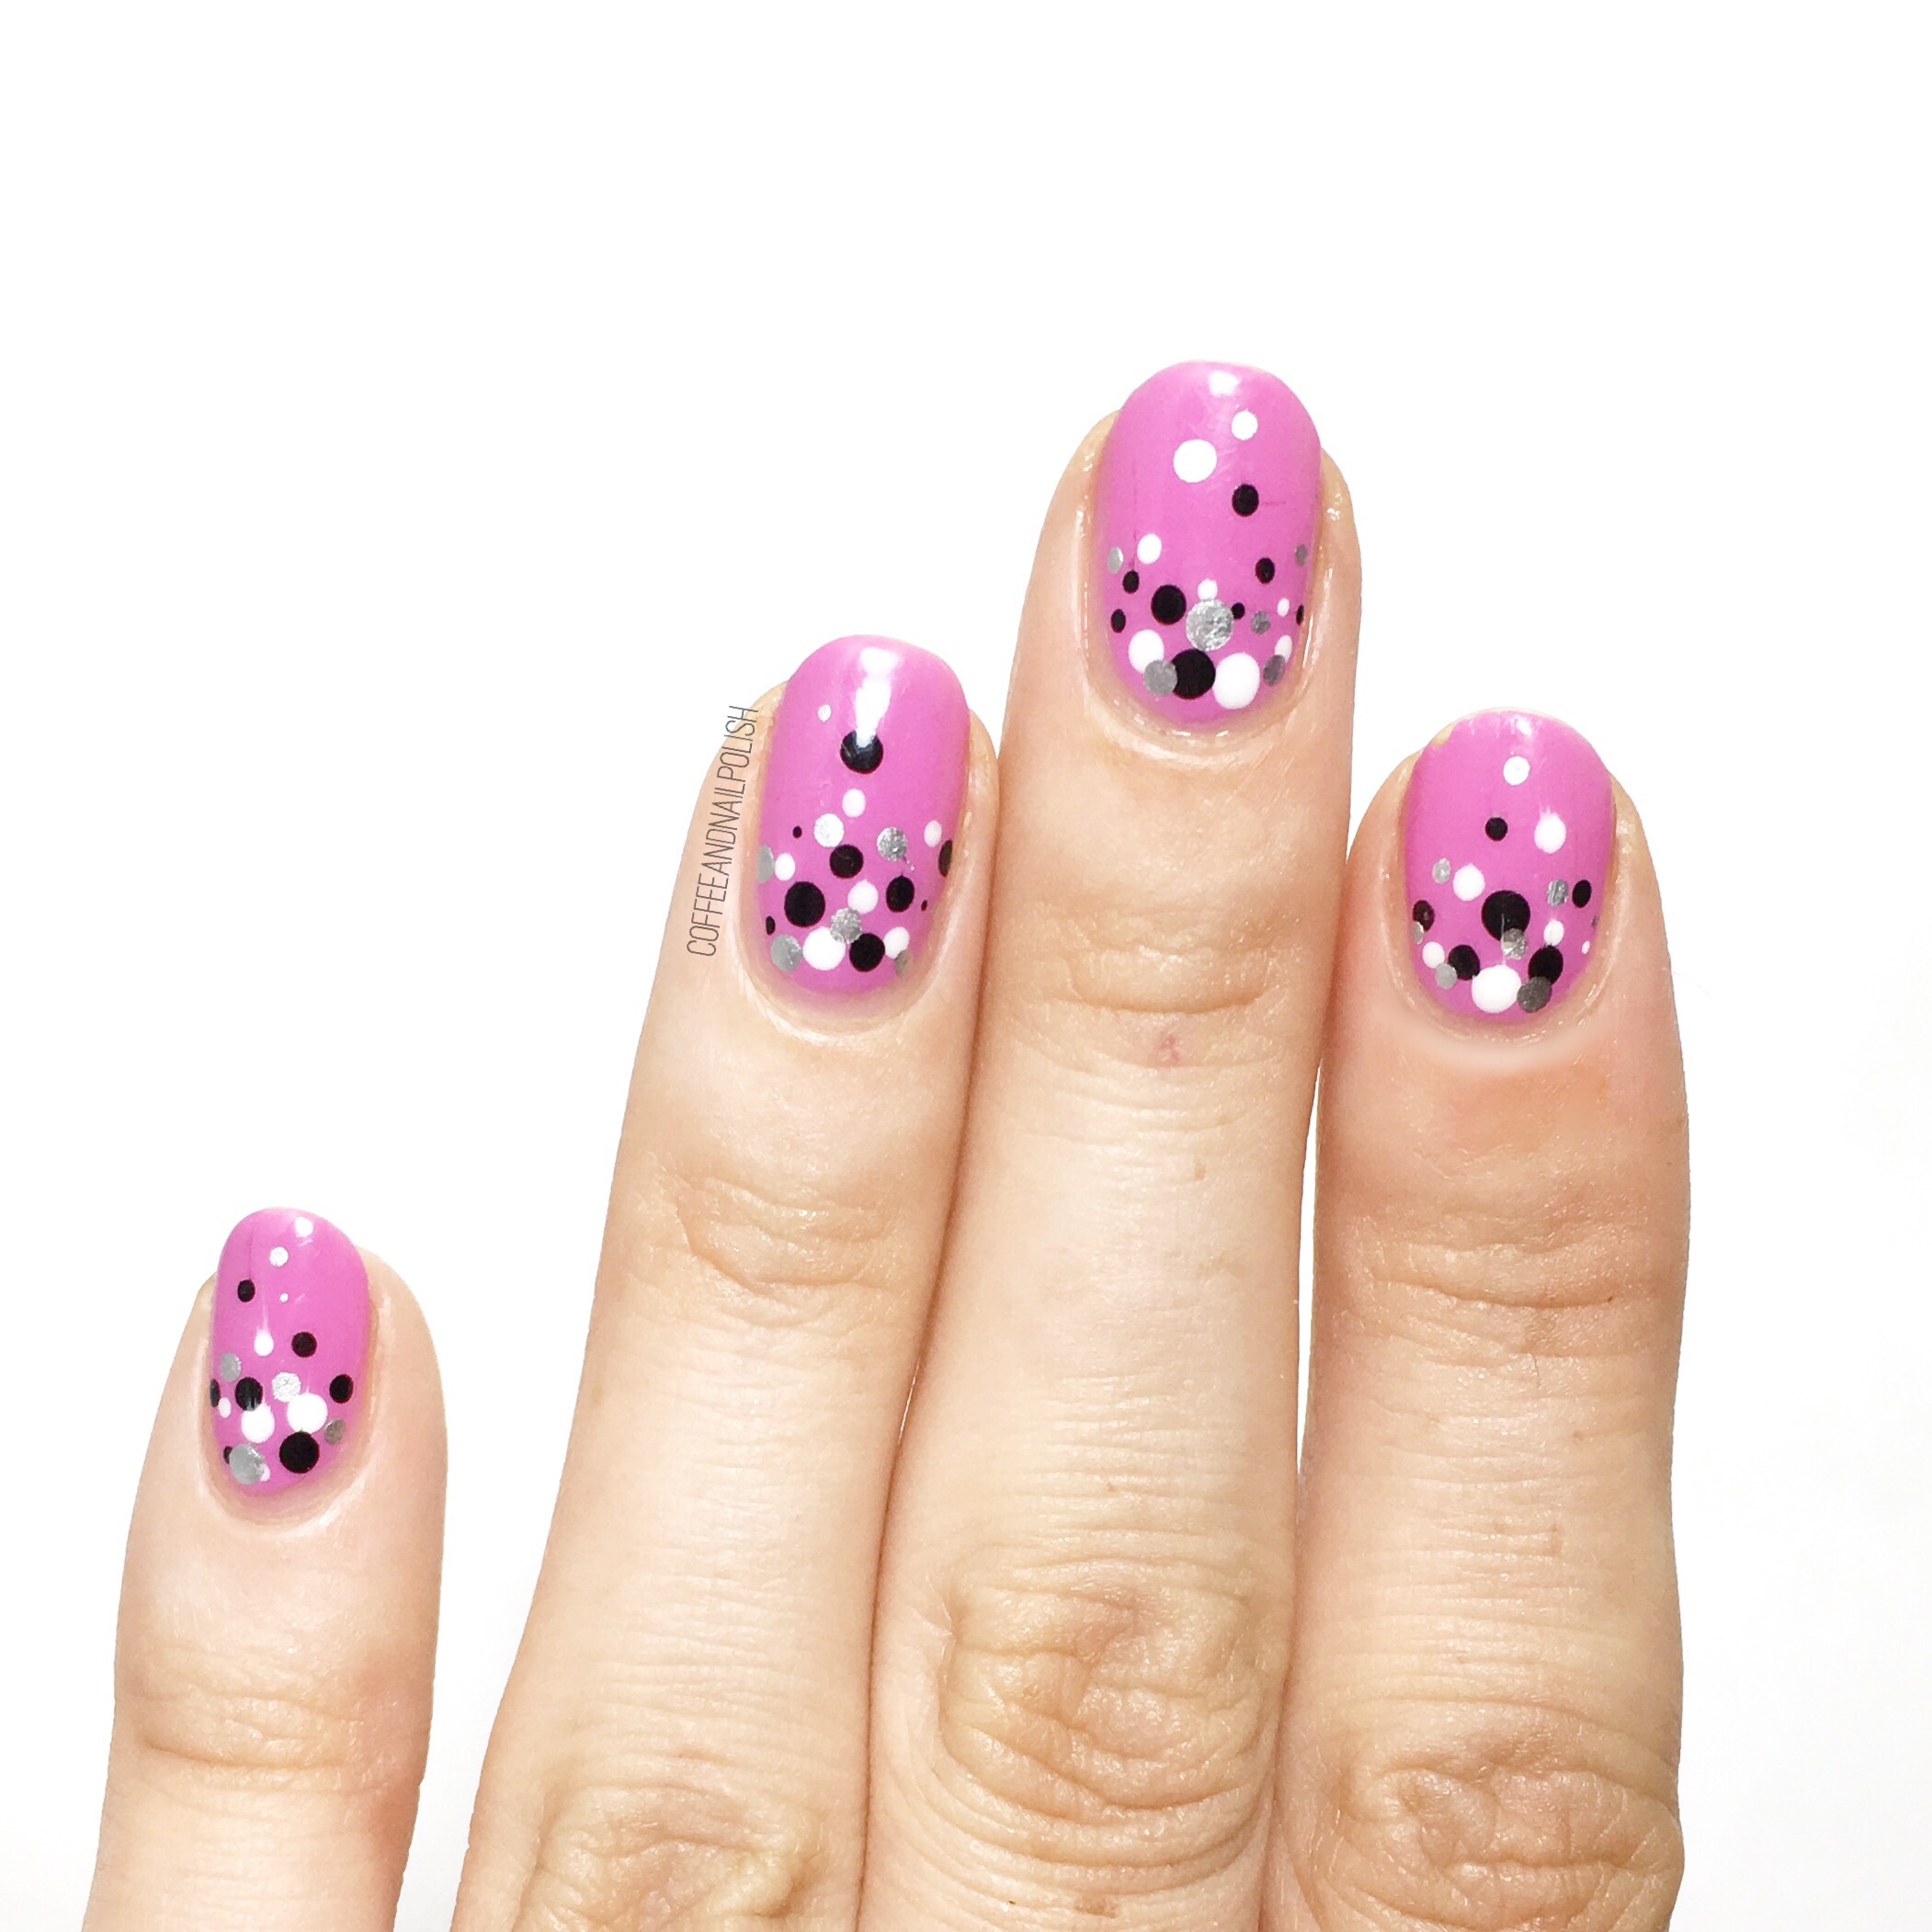
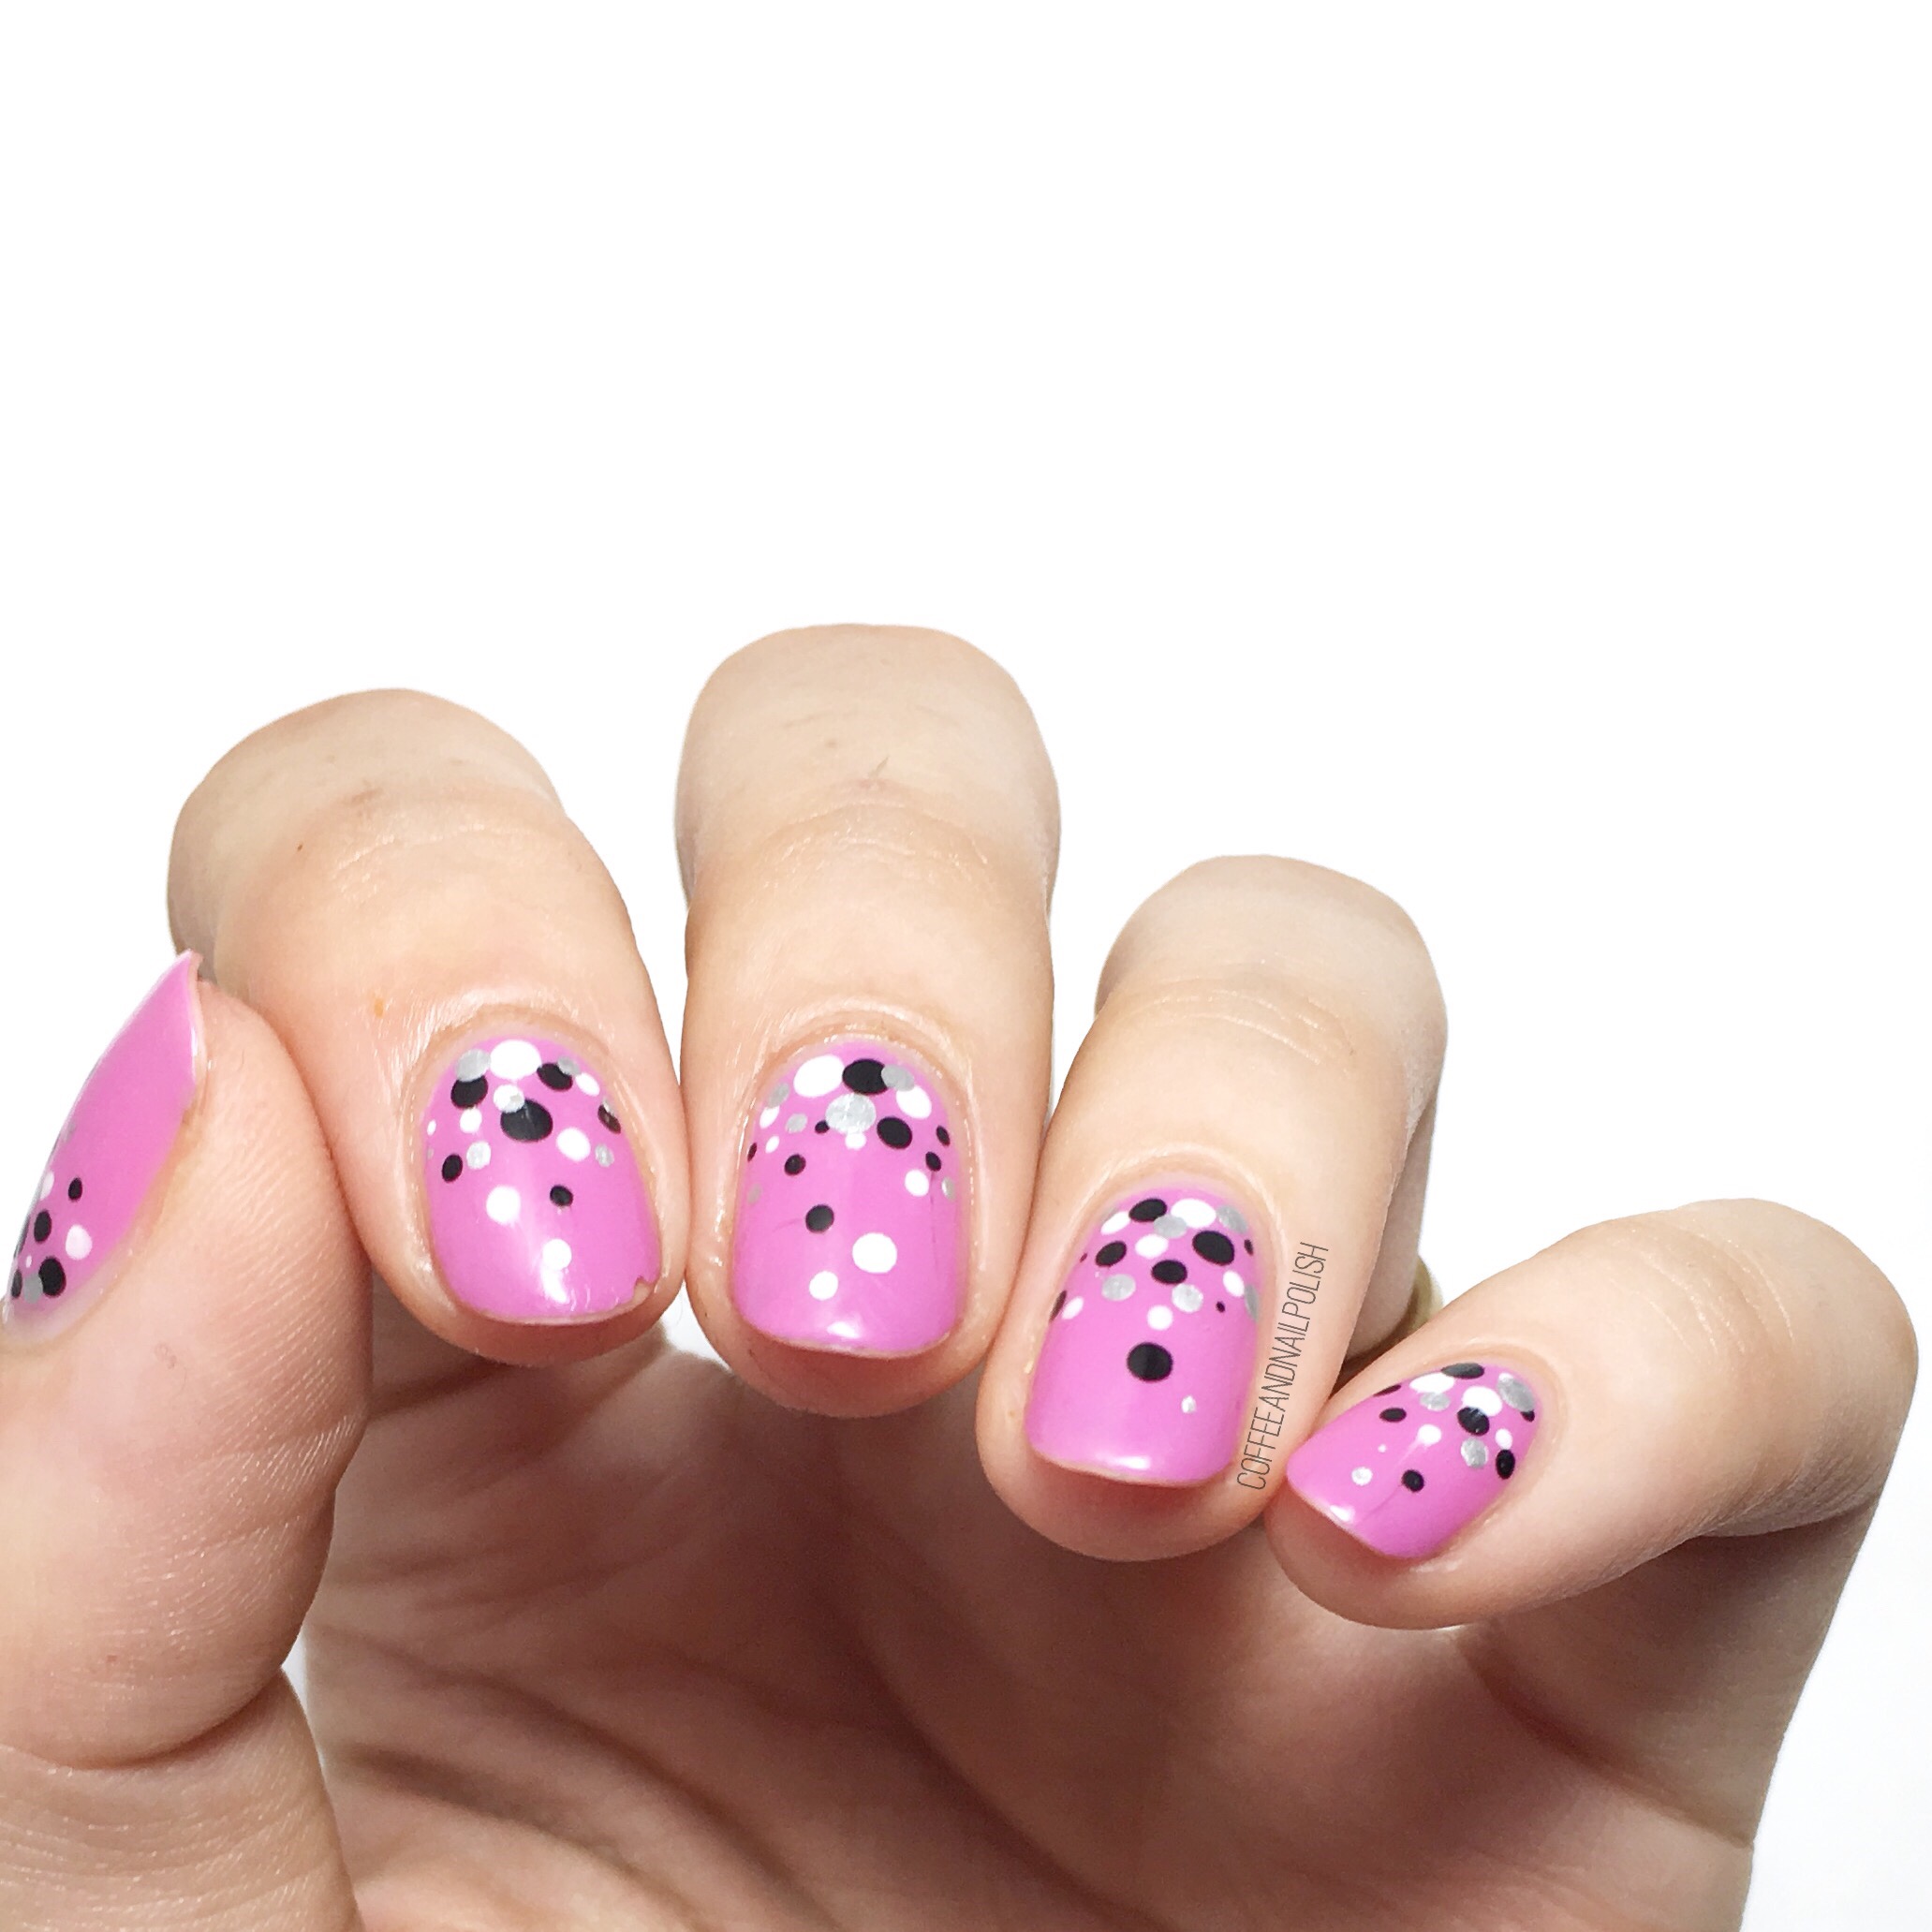
Gradient dotticures never get old to me. They’re such a quick, easy option for nail art & sometimes I’m all about the quick & easy manicures! While I used to be able to stay up all night creating complex & time consuming design, I just don’t always have that option anymore (& when I do the next day is always rough!)

 For anyone who is just getting into nail art, I’m always quick to suggest trying out dotticures because you don’t really need any tools since a bobby pin works easily, & they’re hard to mess up! Back in the early days of my nail art journey, I probably wore a gradient dotticure twice a week if not more. There is just so many ways to do it! 

For this manicure, the polishes I used were:

  • Base Coat: Cutex Brittle Nail Fix
  • Top Coat: Cutex Quick Dry Top Coat
  • Essie Splash of Grenedine
  • Essence Black is Back
  • Sally Hansen Hard As Nails Hard to Get
  • Essie No Place Like Chrome
  • Small Dotting Tool or Bobby Pin

Quick & easy. I’ve been looking back at super old manicures from my early nail art days & thinking about doing a whole beginner nail art series featuring some of my early nail art designs & some tips for starting out!

What do you think of this dotticure? Do you love a good gradient dotticure too? Let me know in the comments below! 

Graphic Lines Over Watercolour 

I teased these geometric freehand nails this weekend, which you may have seen on Instagram, so I’m excited to finally share the whole look! I just needed to do some really poppy Summer nails to counter act the fact I’m craving Fall colours so bad. I also feel like I haven’t been practicing my freehand lines enough, so I wanted to play around with my black striper. This design isn’t perfect but I do quite enjoy how they turned out. 

The polishes used for this design are:

  • Base Coat: Cutex Brittle Nail Fix
  • Top Coat: Cutex Quick Dry Top Coat
  • Sally Hansen Hard As Nails Hard to Get
  • Color Club Evolution 
  • Sally Hansen Miracle Gel Wet My Thistle
  • ACO by Ardene Road to No Where 
  • Essie Cute As A Button
  • China Glaze Sun Upon my Skin
  • Art Club Nail Art Striper in Black
  • Latex Free Make Up sponge 

Bright & colourful & fun was what I was going through with these nails & I feel like I was pretty successful. Of all my nails, my thumb was my absolutely favourite (& I feel like it turned out the best of all 10 nails). I think it had something to do with my striper polish. The more I use it though, the more I’m realizing I need to try out aryclic paint. I know I keep saying that, but the more I use my stripers, the more frustrated I get with how easily they thicken up. So hopefully the next time I show off a freehand line design, I’ll be sharing my expirences with acrylic paint! 


What do you think of this design? Have you ever used acrylic paint for nail designs? Let me know your thoughts in the comments below! 

SWATCH SUNDAY — Essie Sweet Soufflé 

I’ve mentioned previously that the whole reason I’m a nail polish addict today is the fact that I spent a good chunk of my preteen & early teenage years on the hunt for the perfect white nail polish ala a certain 90s vampire slayer. Even though my days of wear giant bubble rings & cutting my hair like Sarah Michelle Gellat circa 1997 are pretty much over, that doesn’t my I still don’t have an appreciation for a good white nail polish every so often. So when I saw Sweet Soufflé from the Essie Summer 2017 collection–described by Essie as a creamy white with golden glow–it was pretty much assumed I was going to have to add it to my collection. 

To achieve opacity, this took 3 very careful coats for the polish to level & hide any streakiness. The shimmer definitely translates to the nail, even if you can’t see it in photos. & I love everything about it. This is the kind of white shade I used to dream about at 13, instead of the chalky whites that looked more like I was wearing white out on my nails! 

I really love the golden orange shimmer of Sweet Soufflé & the more I starred at it, the more it reminded me of the shimmer of another Essie polish: Shine of the Times. So obviously I had to pair these two together. 

Two coats of Shine of the Times over Sweet Soufflé. Yep, pretty much the best polish combo ever. It’s like you’re wearing opals on your nails & as an October birthday girl I love opals. Also reminds me why Shine of the Times is such an incredible shade & cult favourite. Takes a gorgeous polish & brings out the inner sparkle. 


Do you have a favourite from the Essie Summer 2017 collection? What do you think of this polish combination? Share your thoughts in the comments below!