Hey lovelies! I know… I disappeared a bit. A lot has been going on since getting home from vacation. But that’s okay! Because today I have another review of one of the items I received for review from Born Pretty Store–the flower leaf image stamping plate set item #39933.
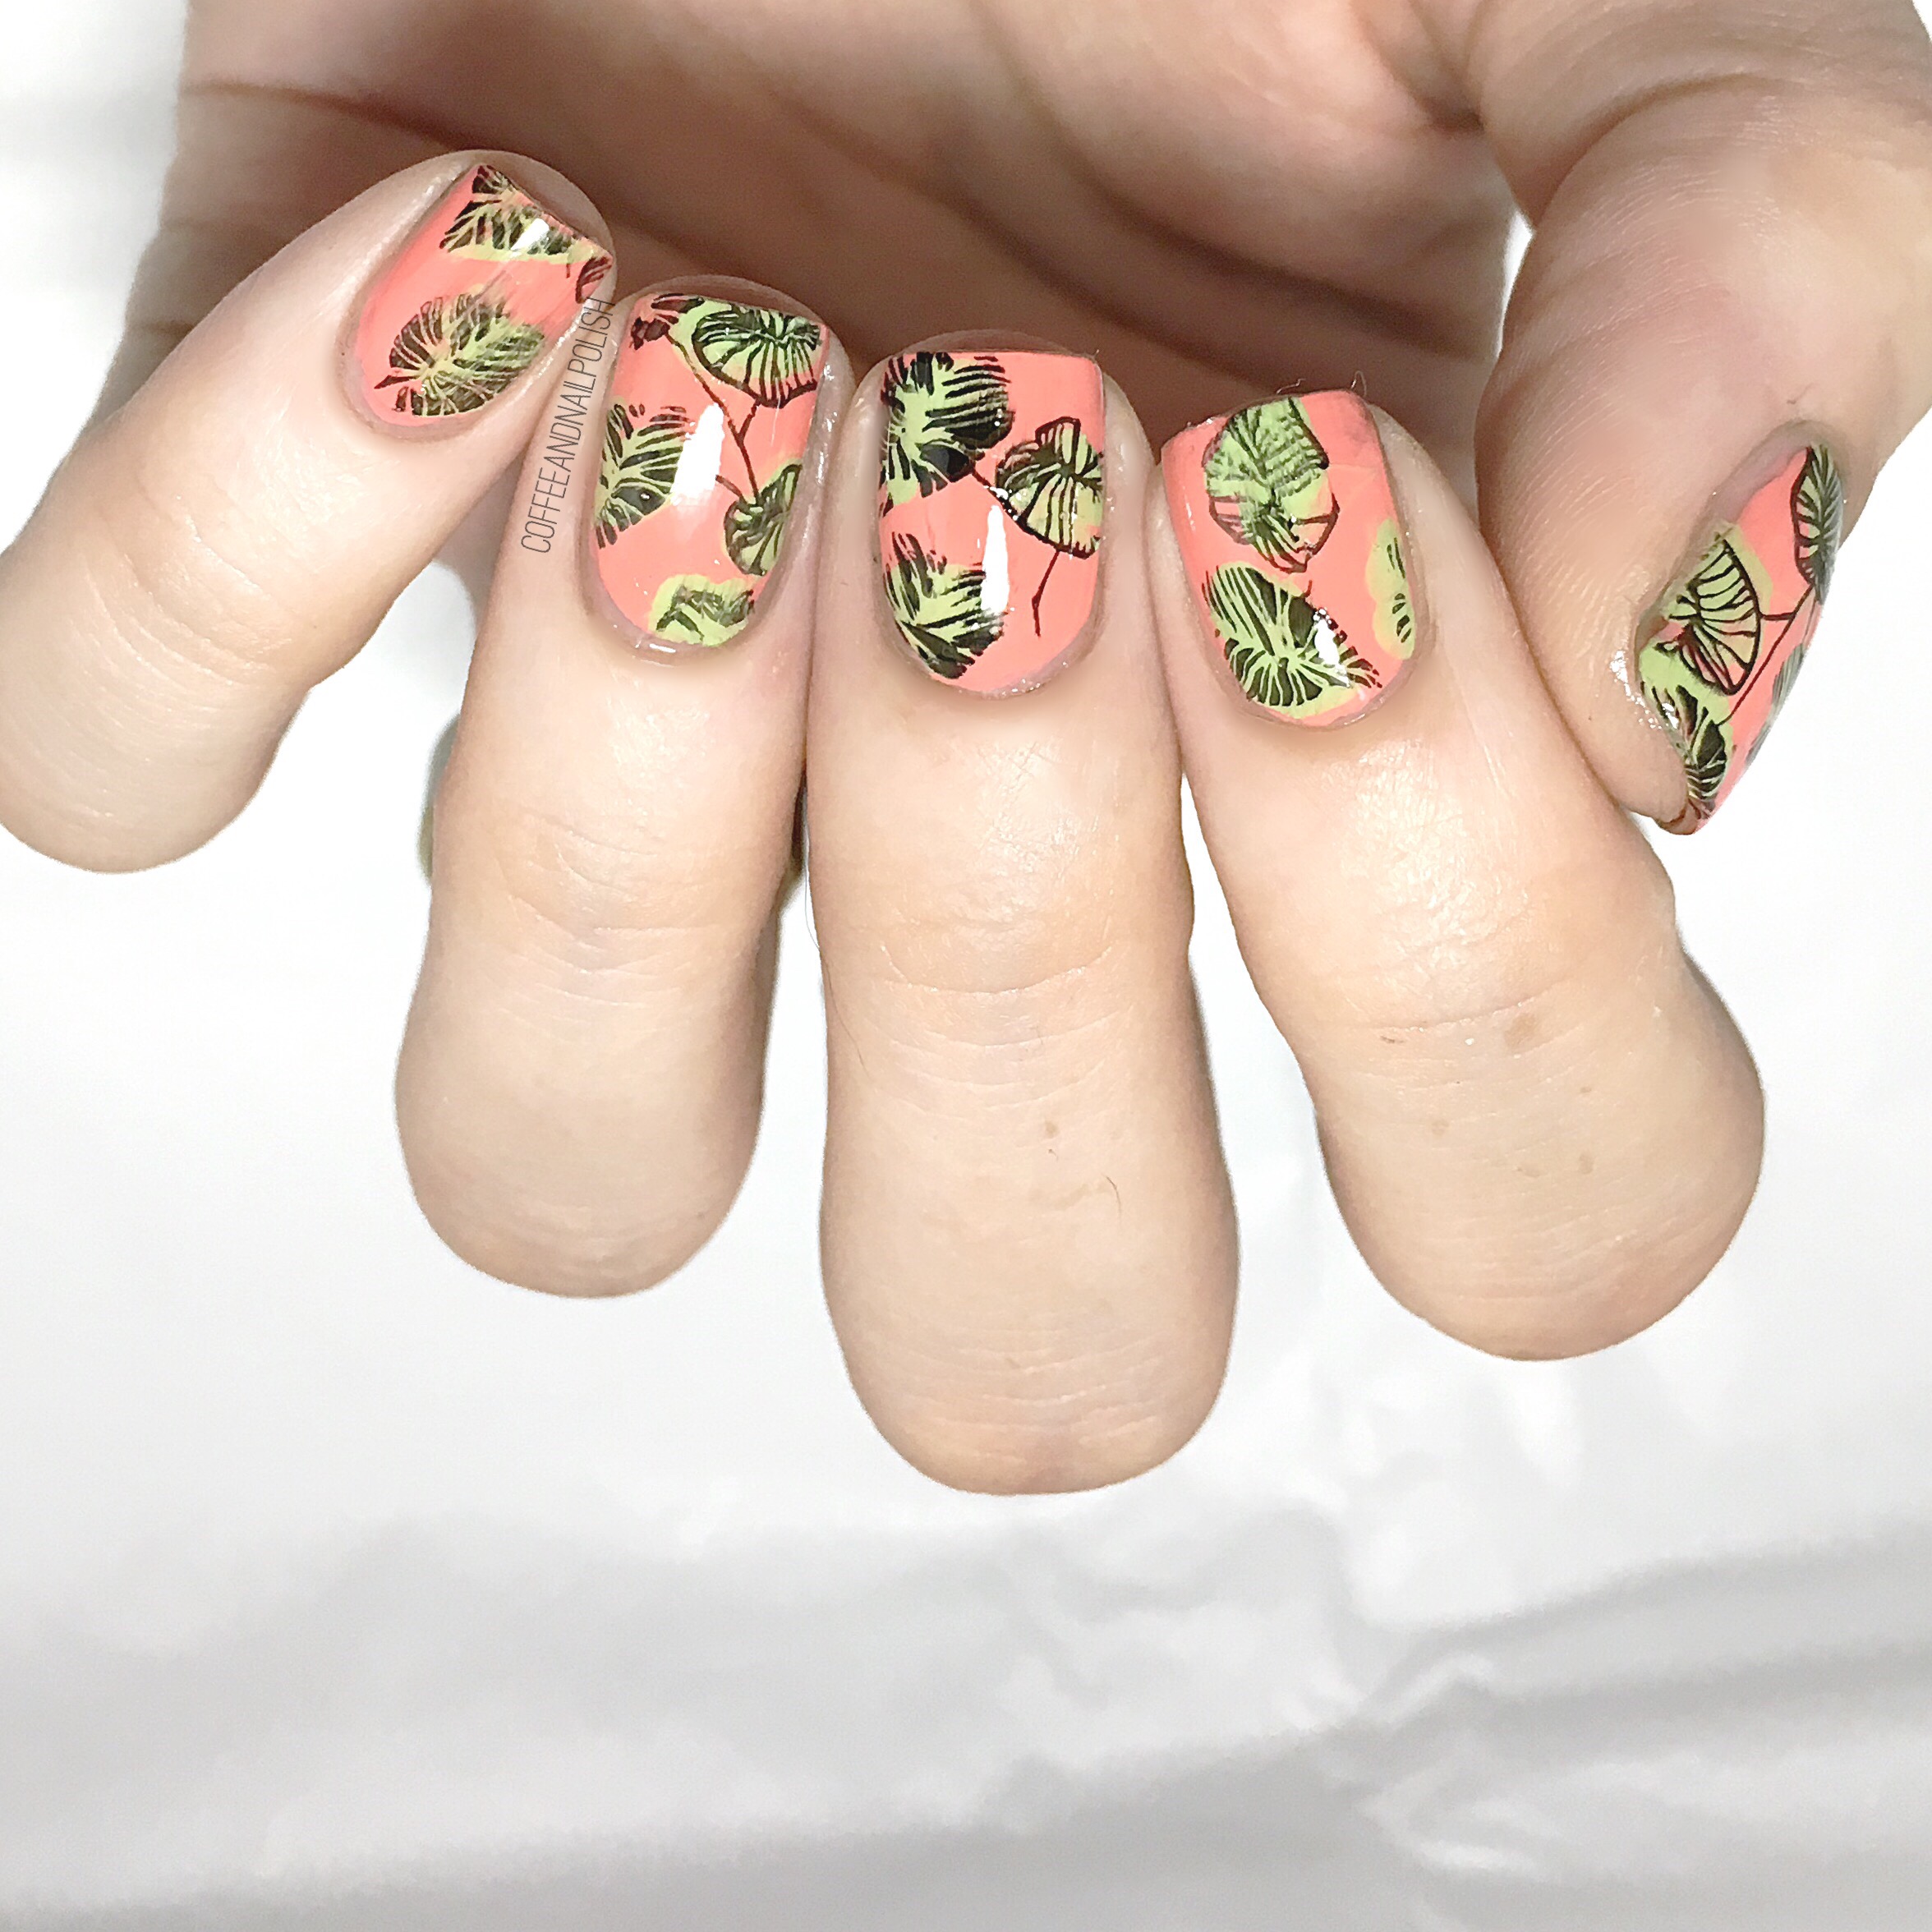
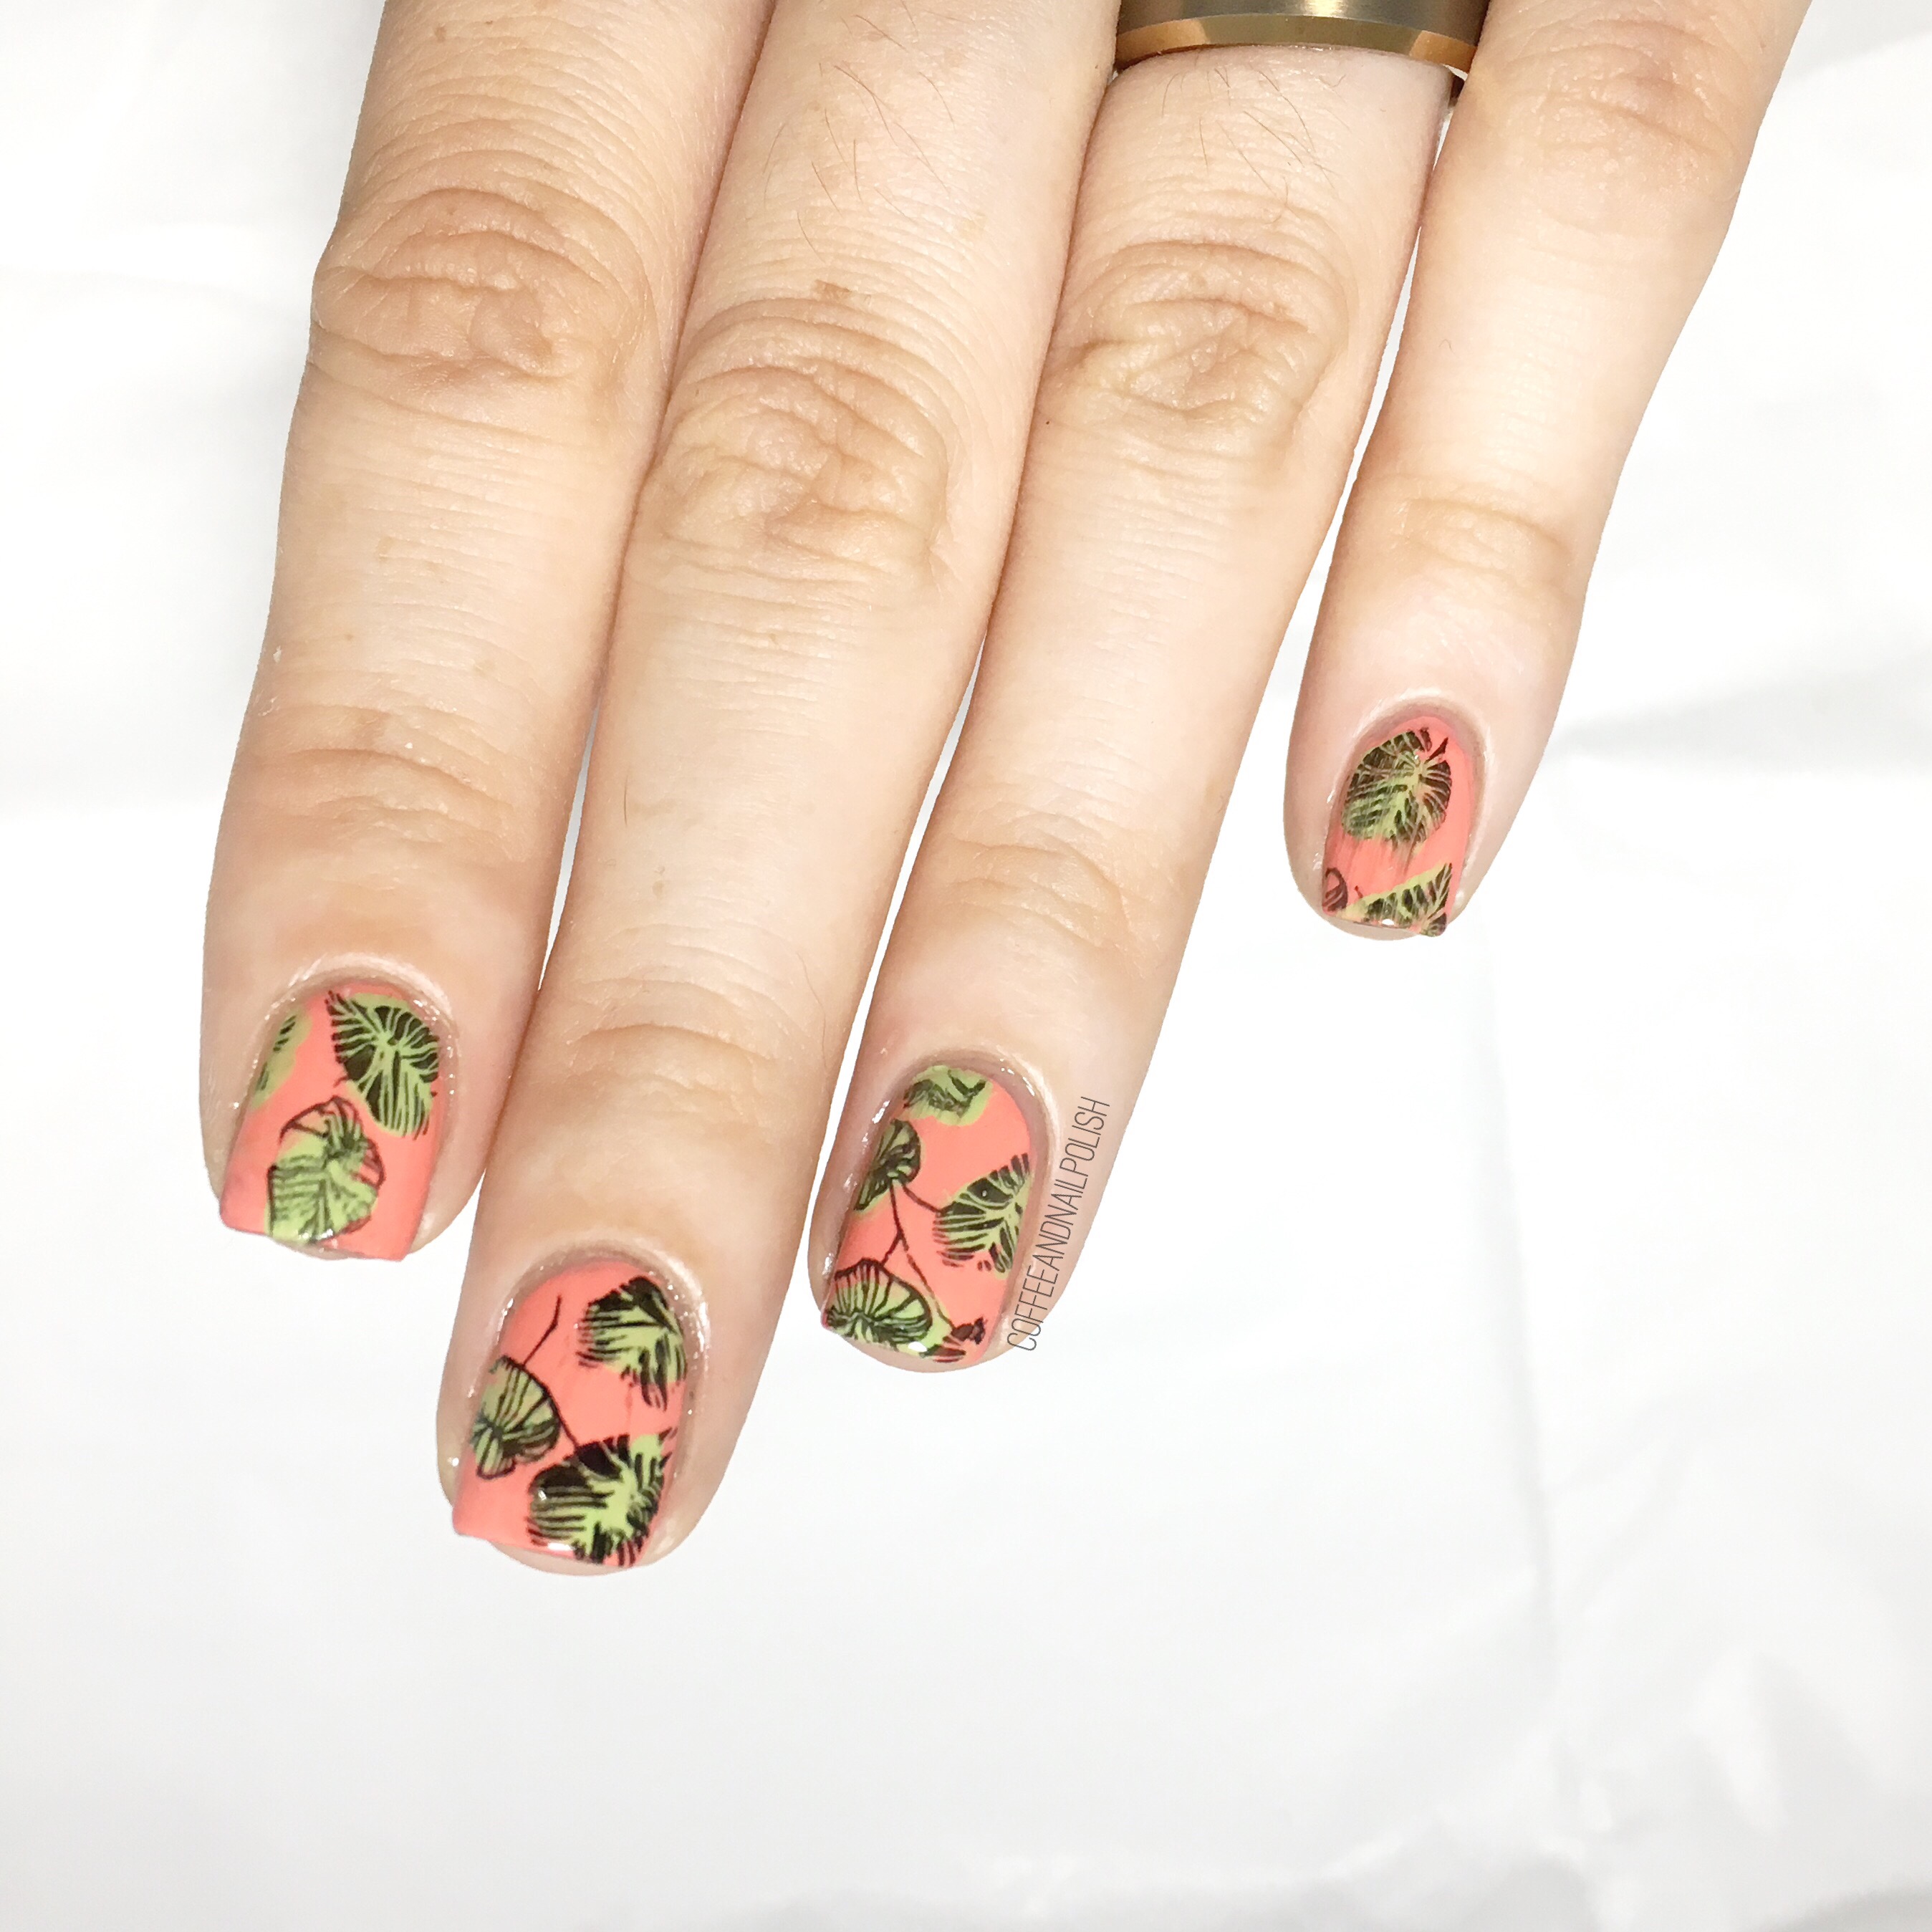
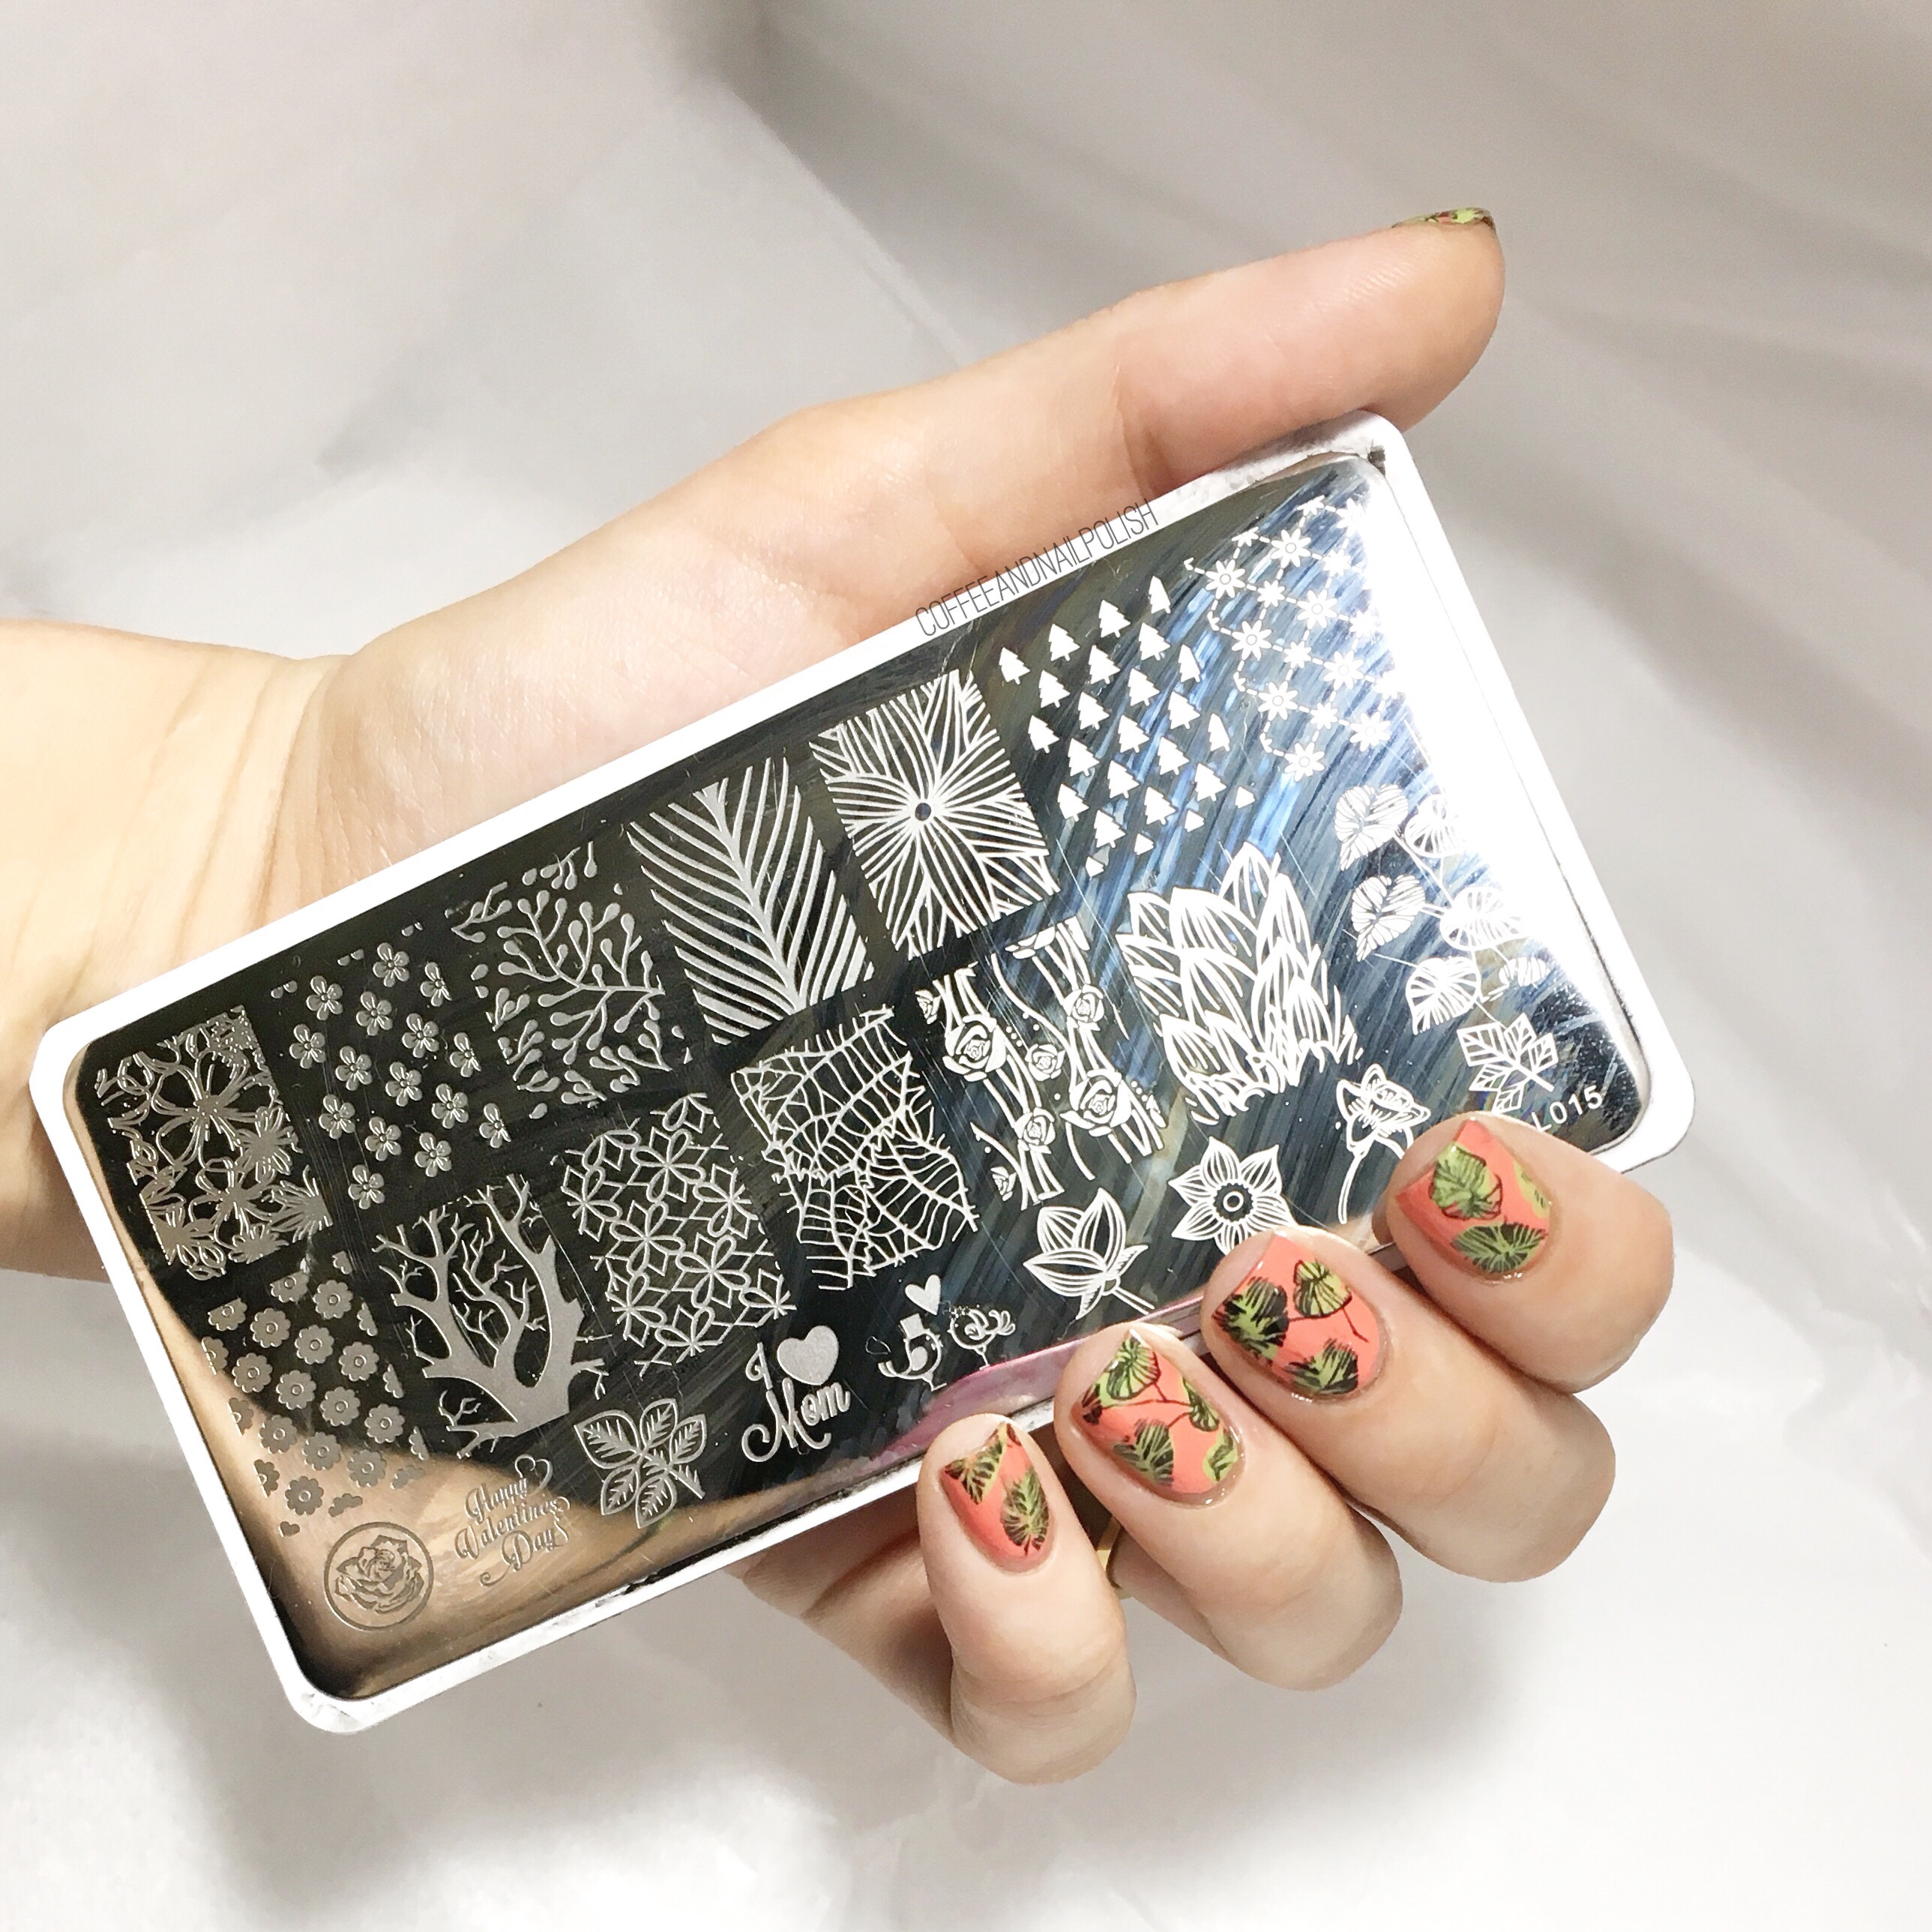
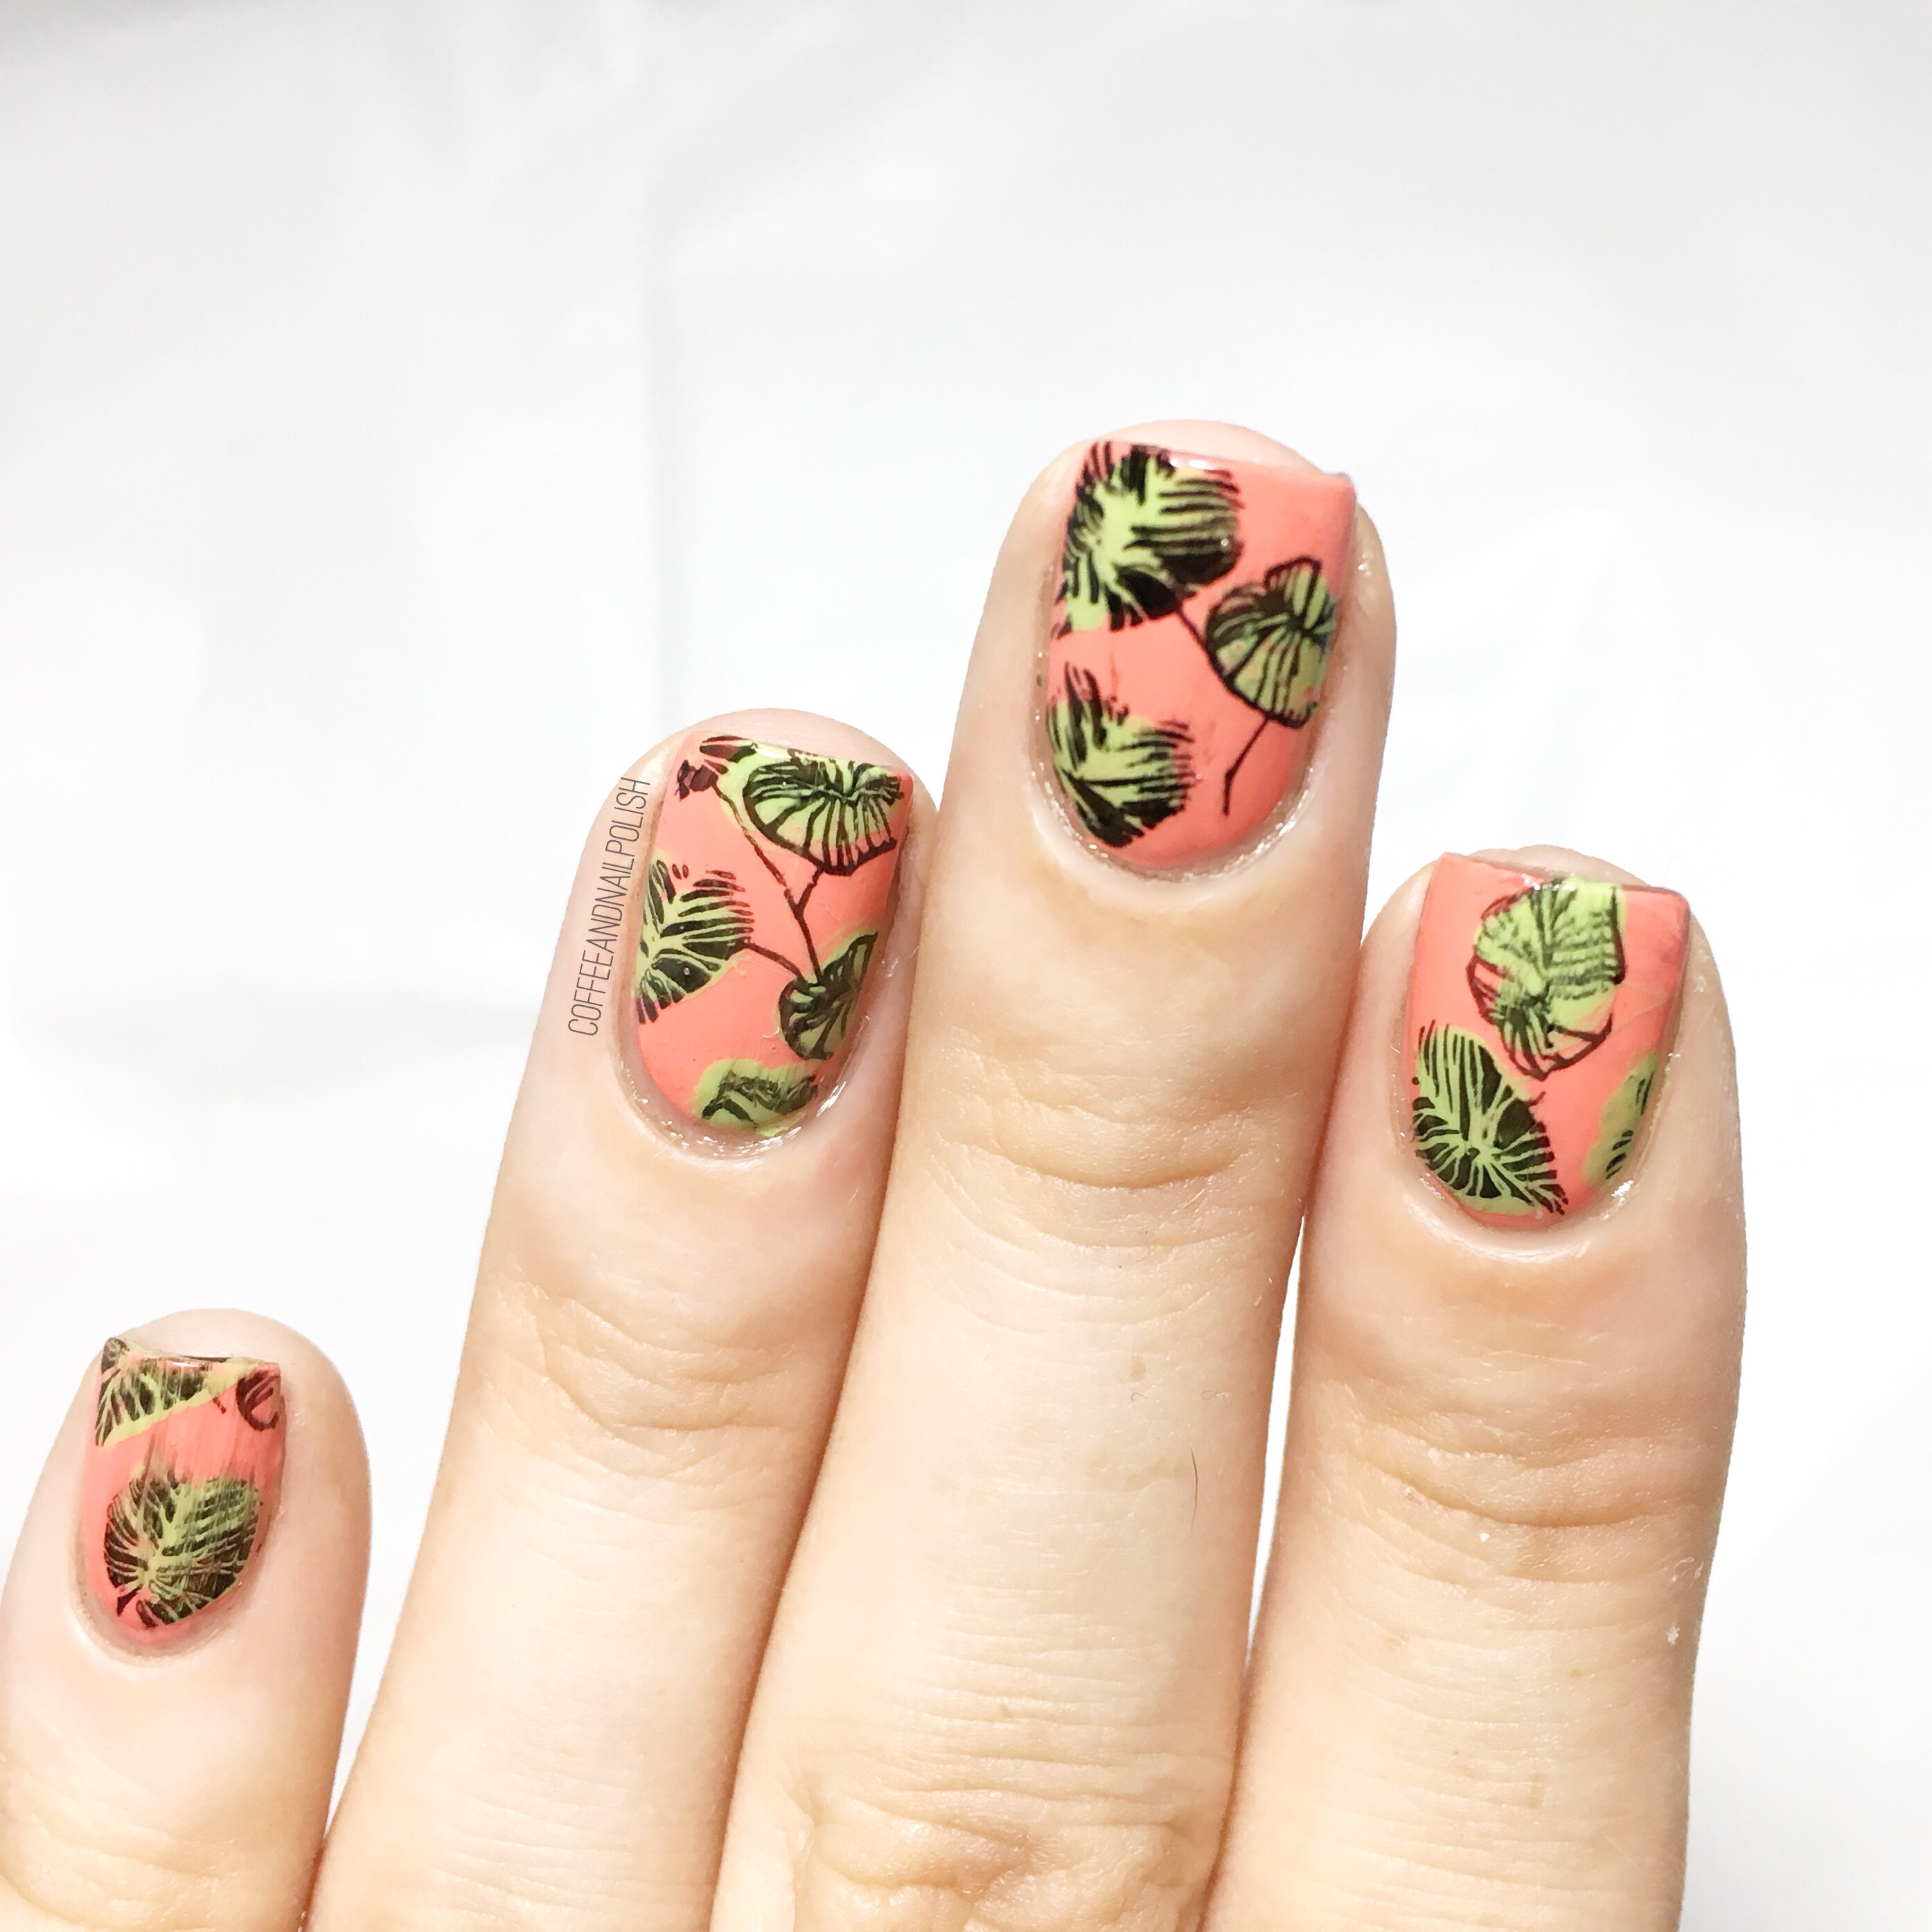
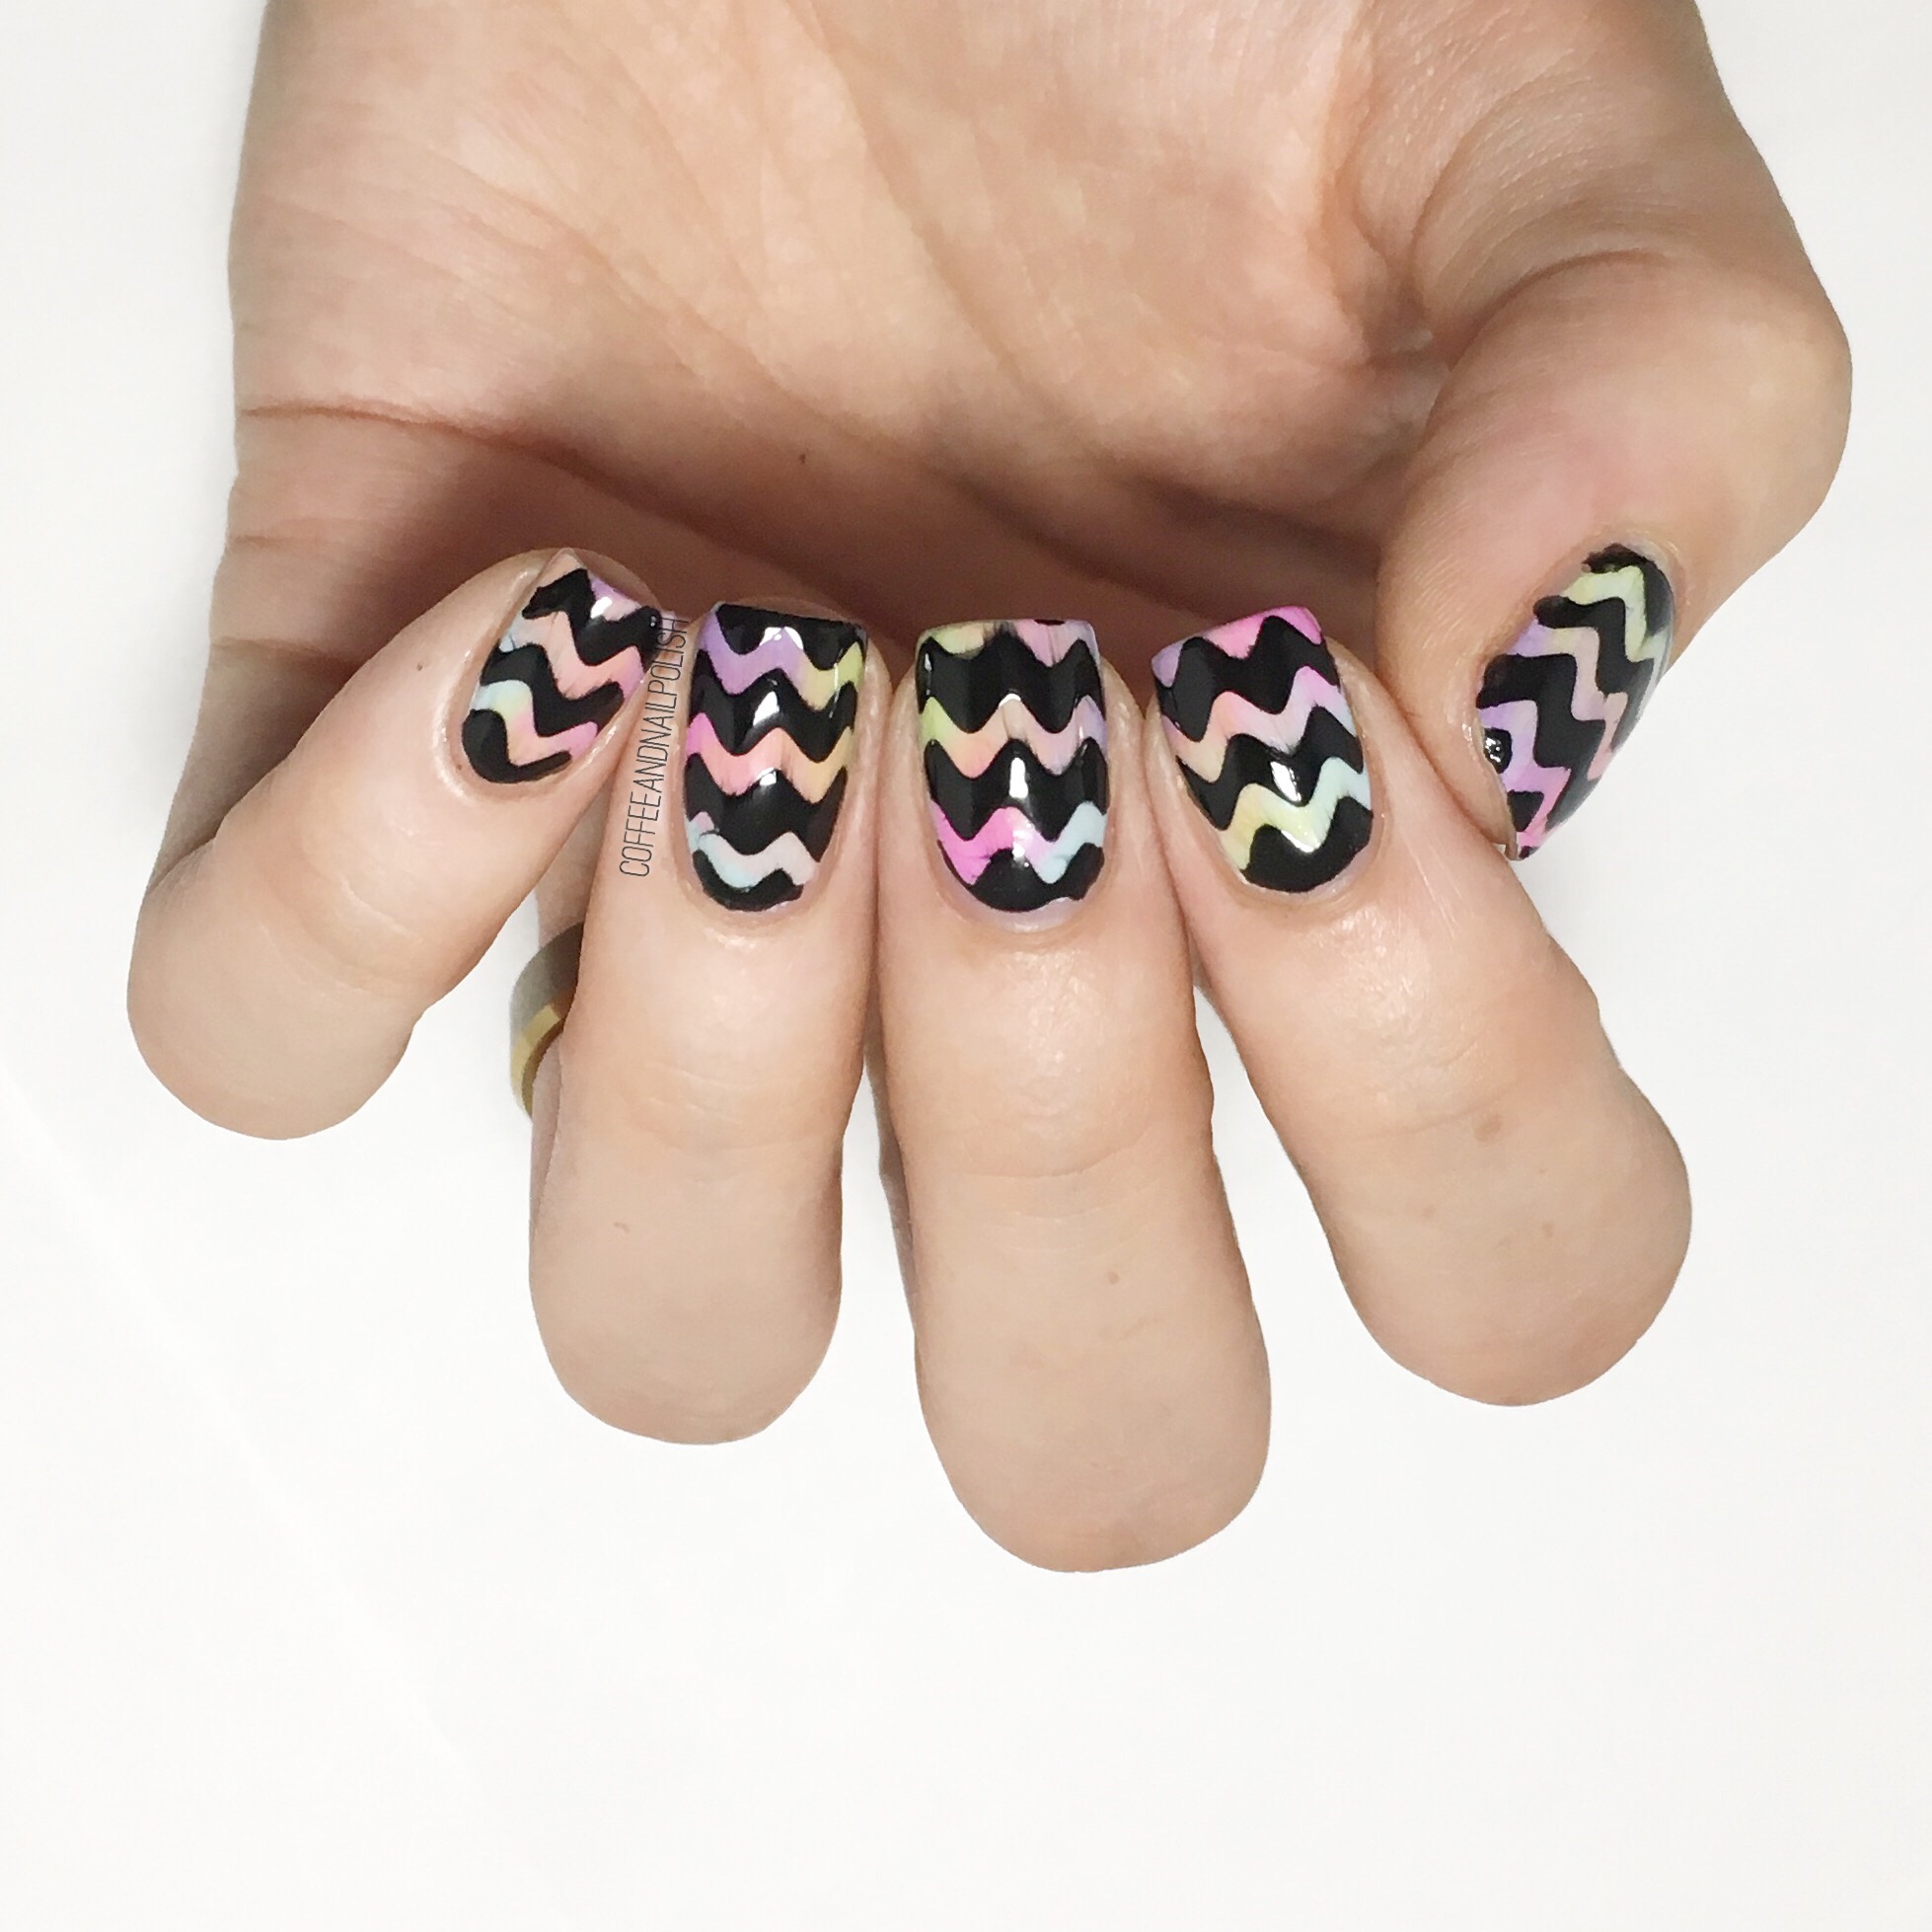
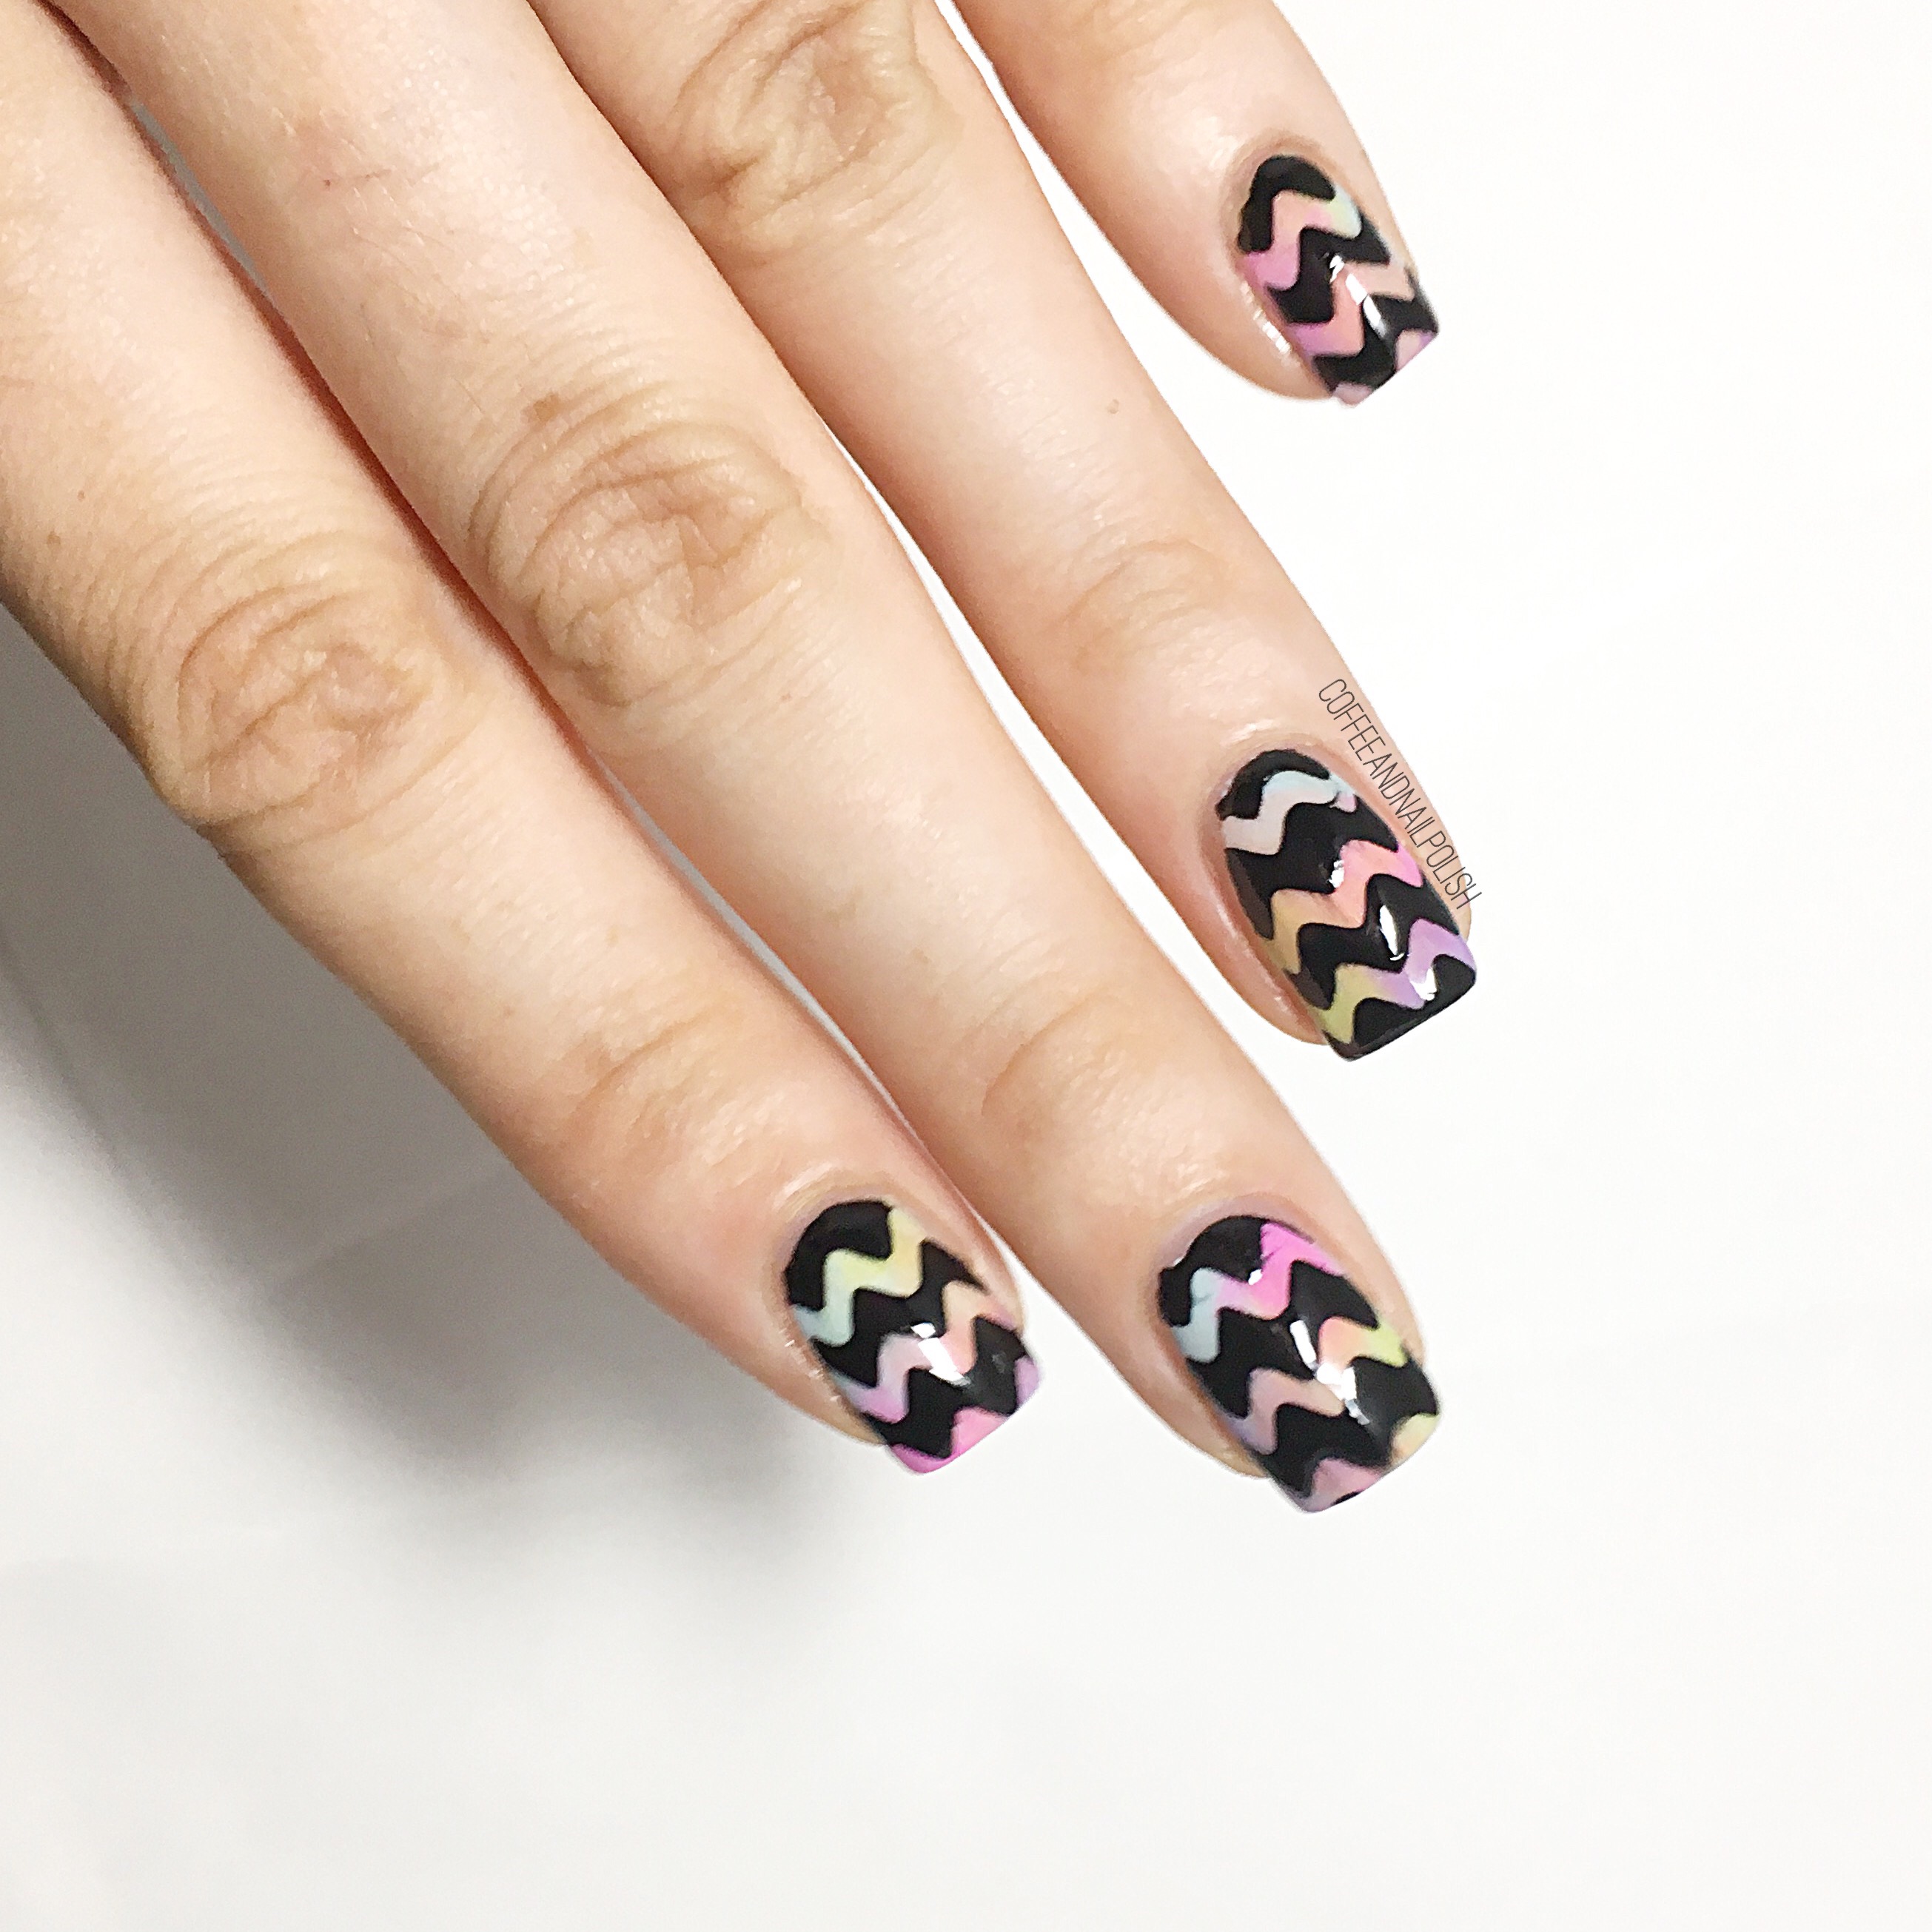
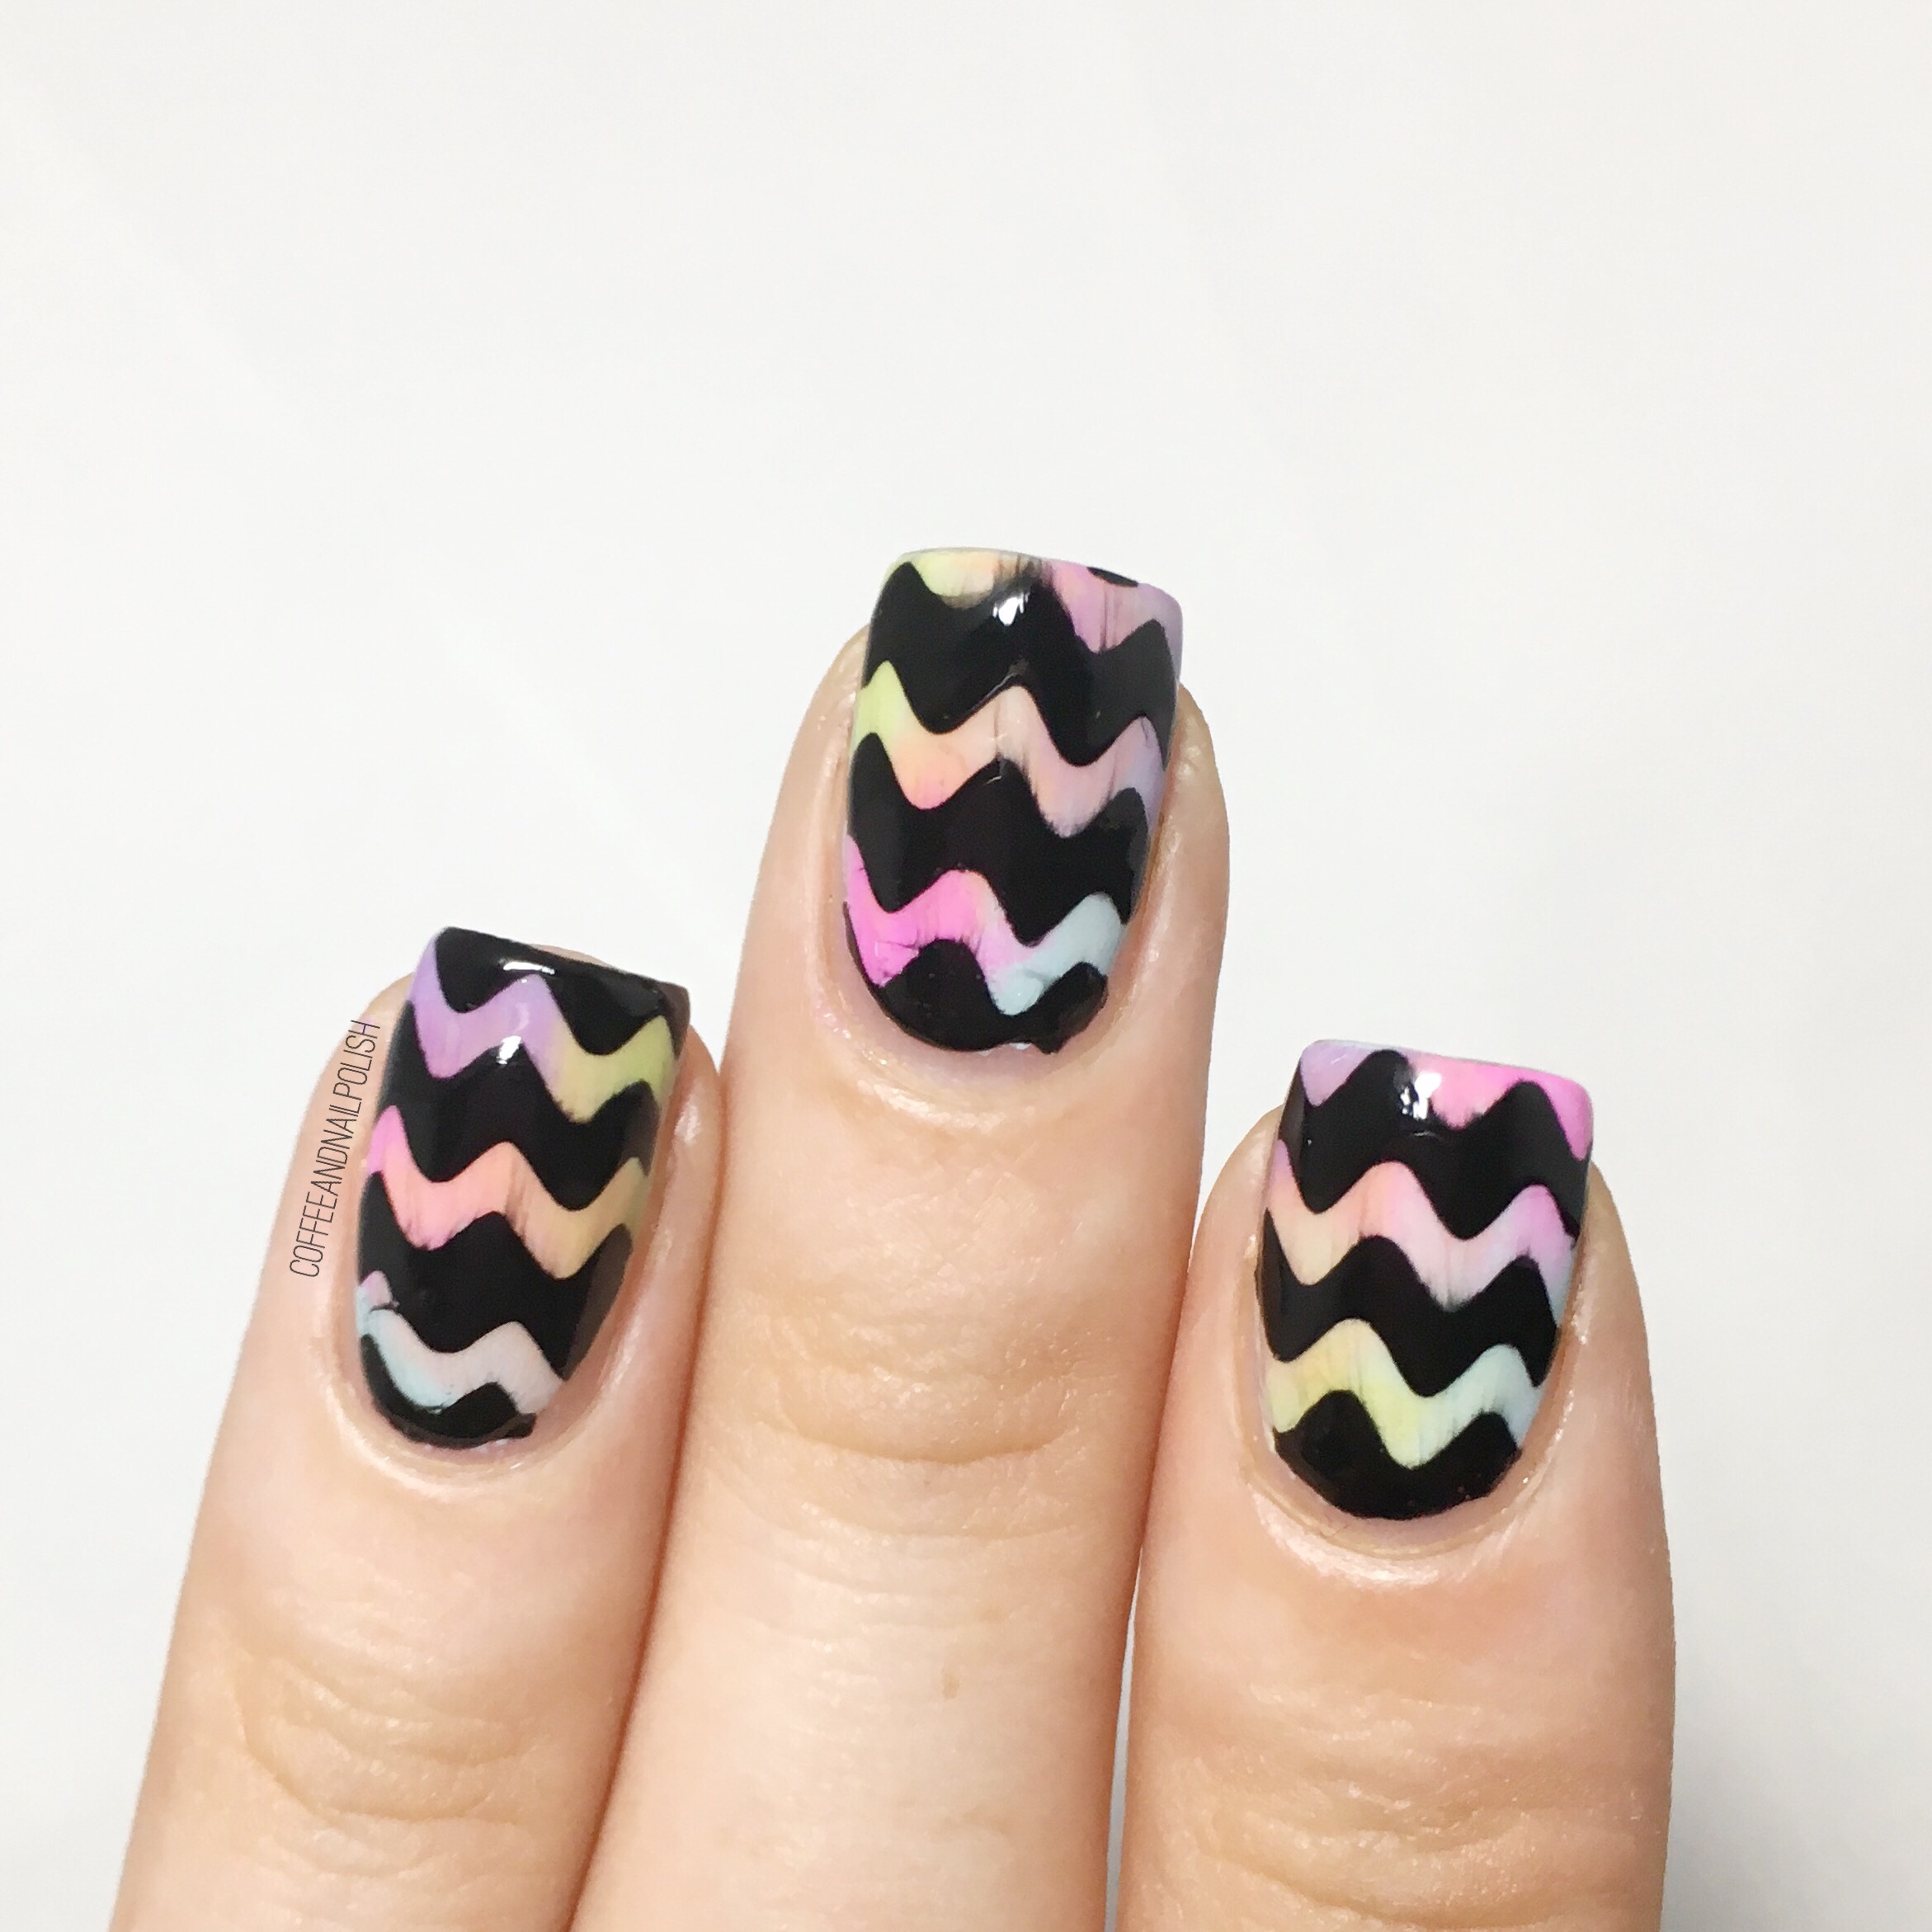
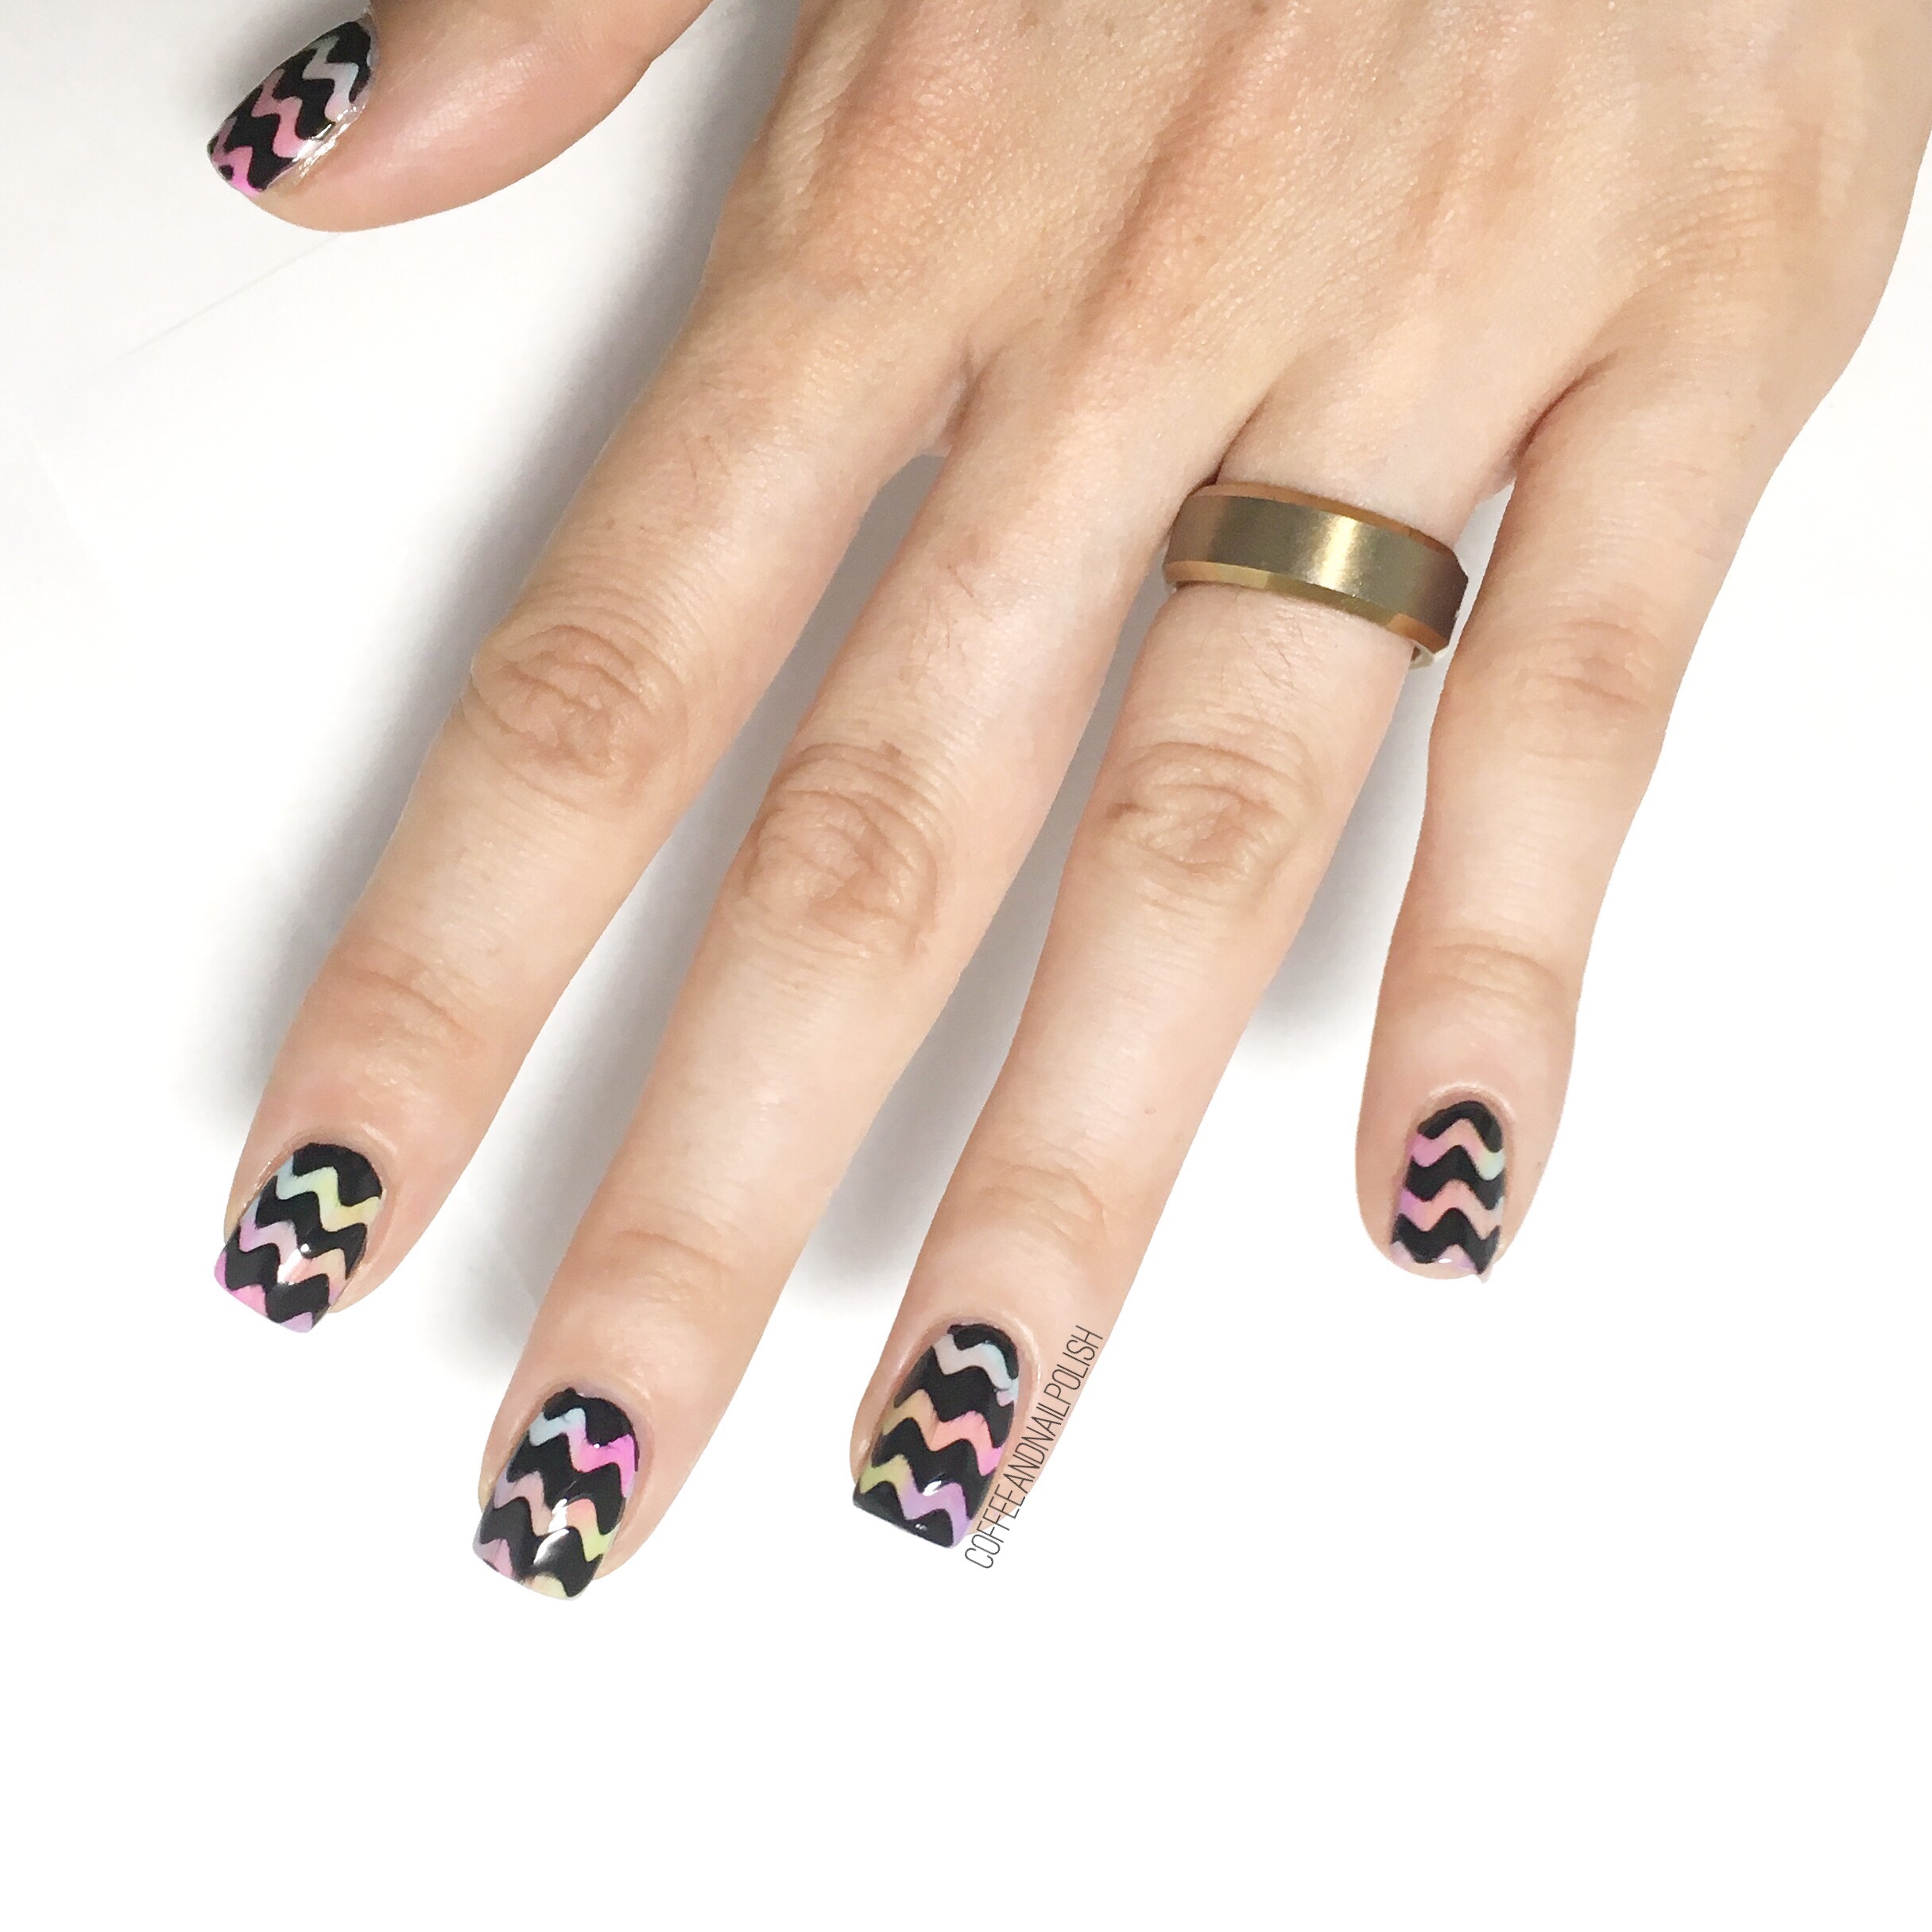
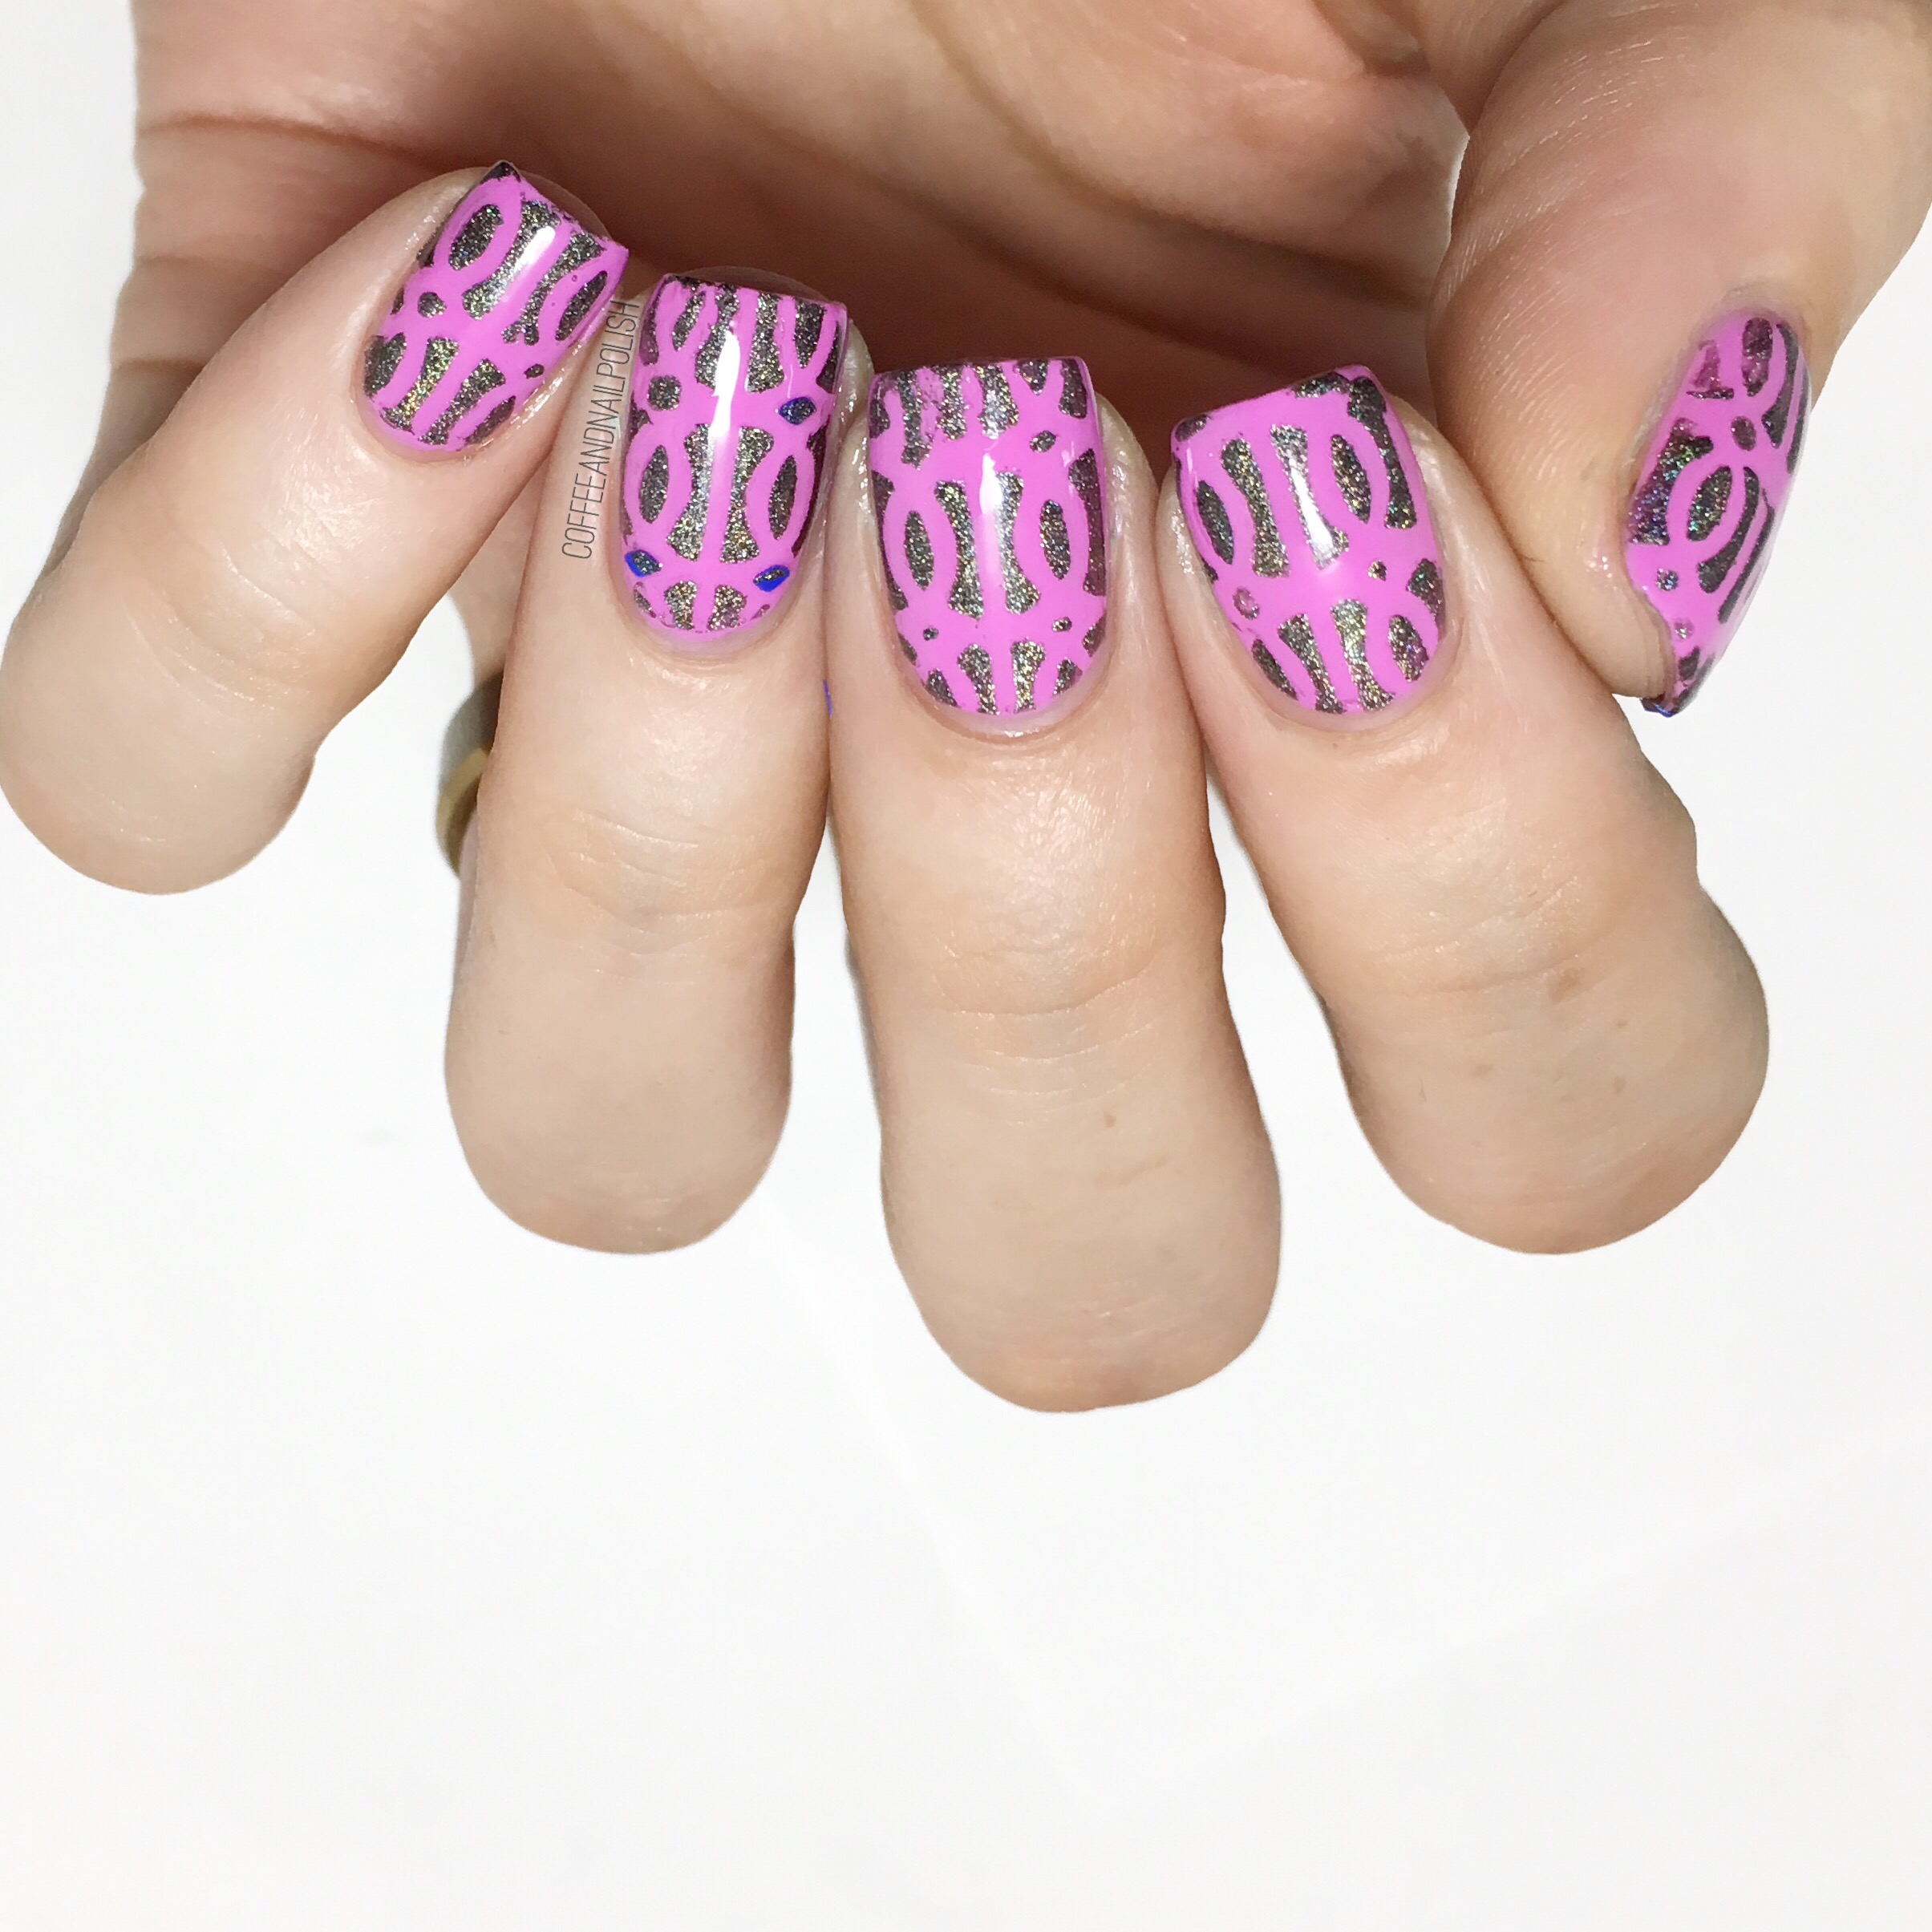
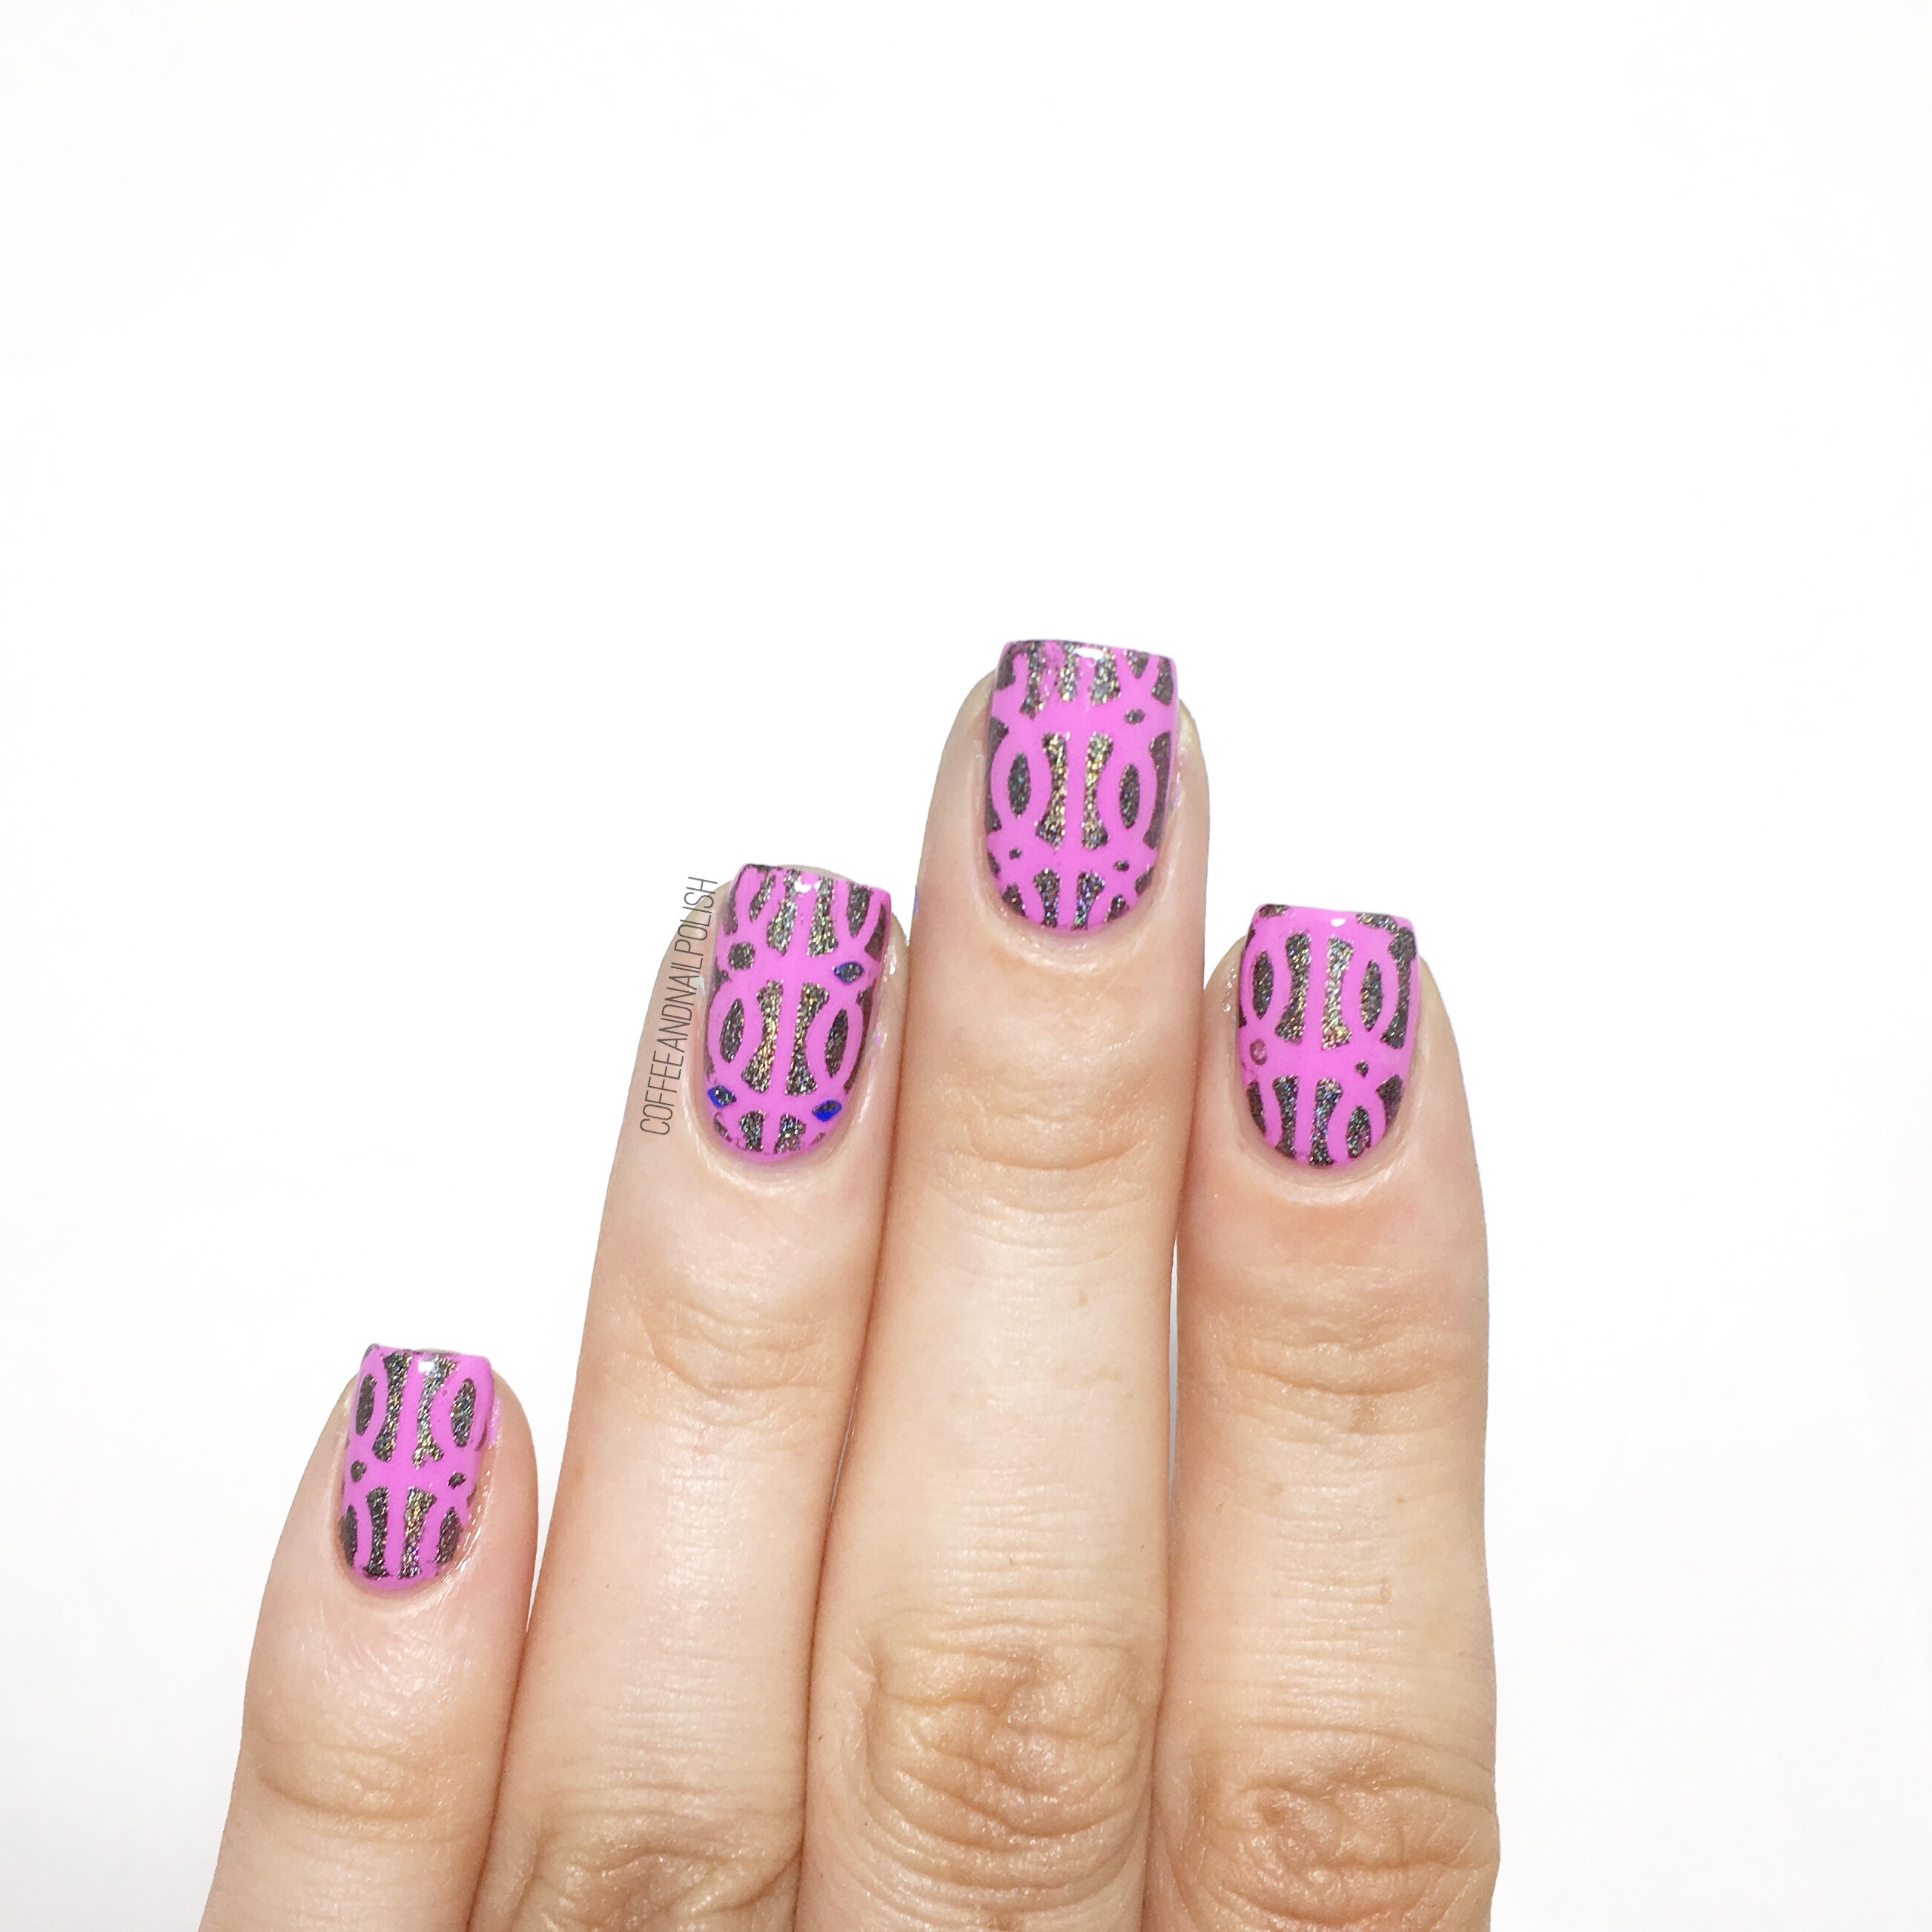
As I’ve said with all my reviews, I still consider myself a stamping newbie but I definitely feel like I’ve gotten better with all this practice. For today’s nails I played around with the BORN PRETTY Stamping Polish Plate Set Flower Leaf Tree Image Template item #39933 which comes with two stamping plates (a large square plate, & a smaller round floral plate) plus two stamping polishes.
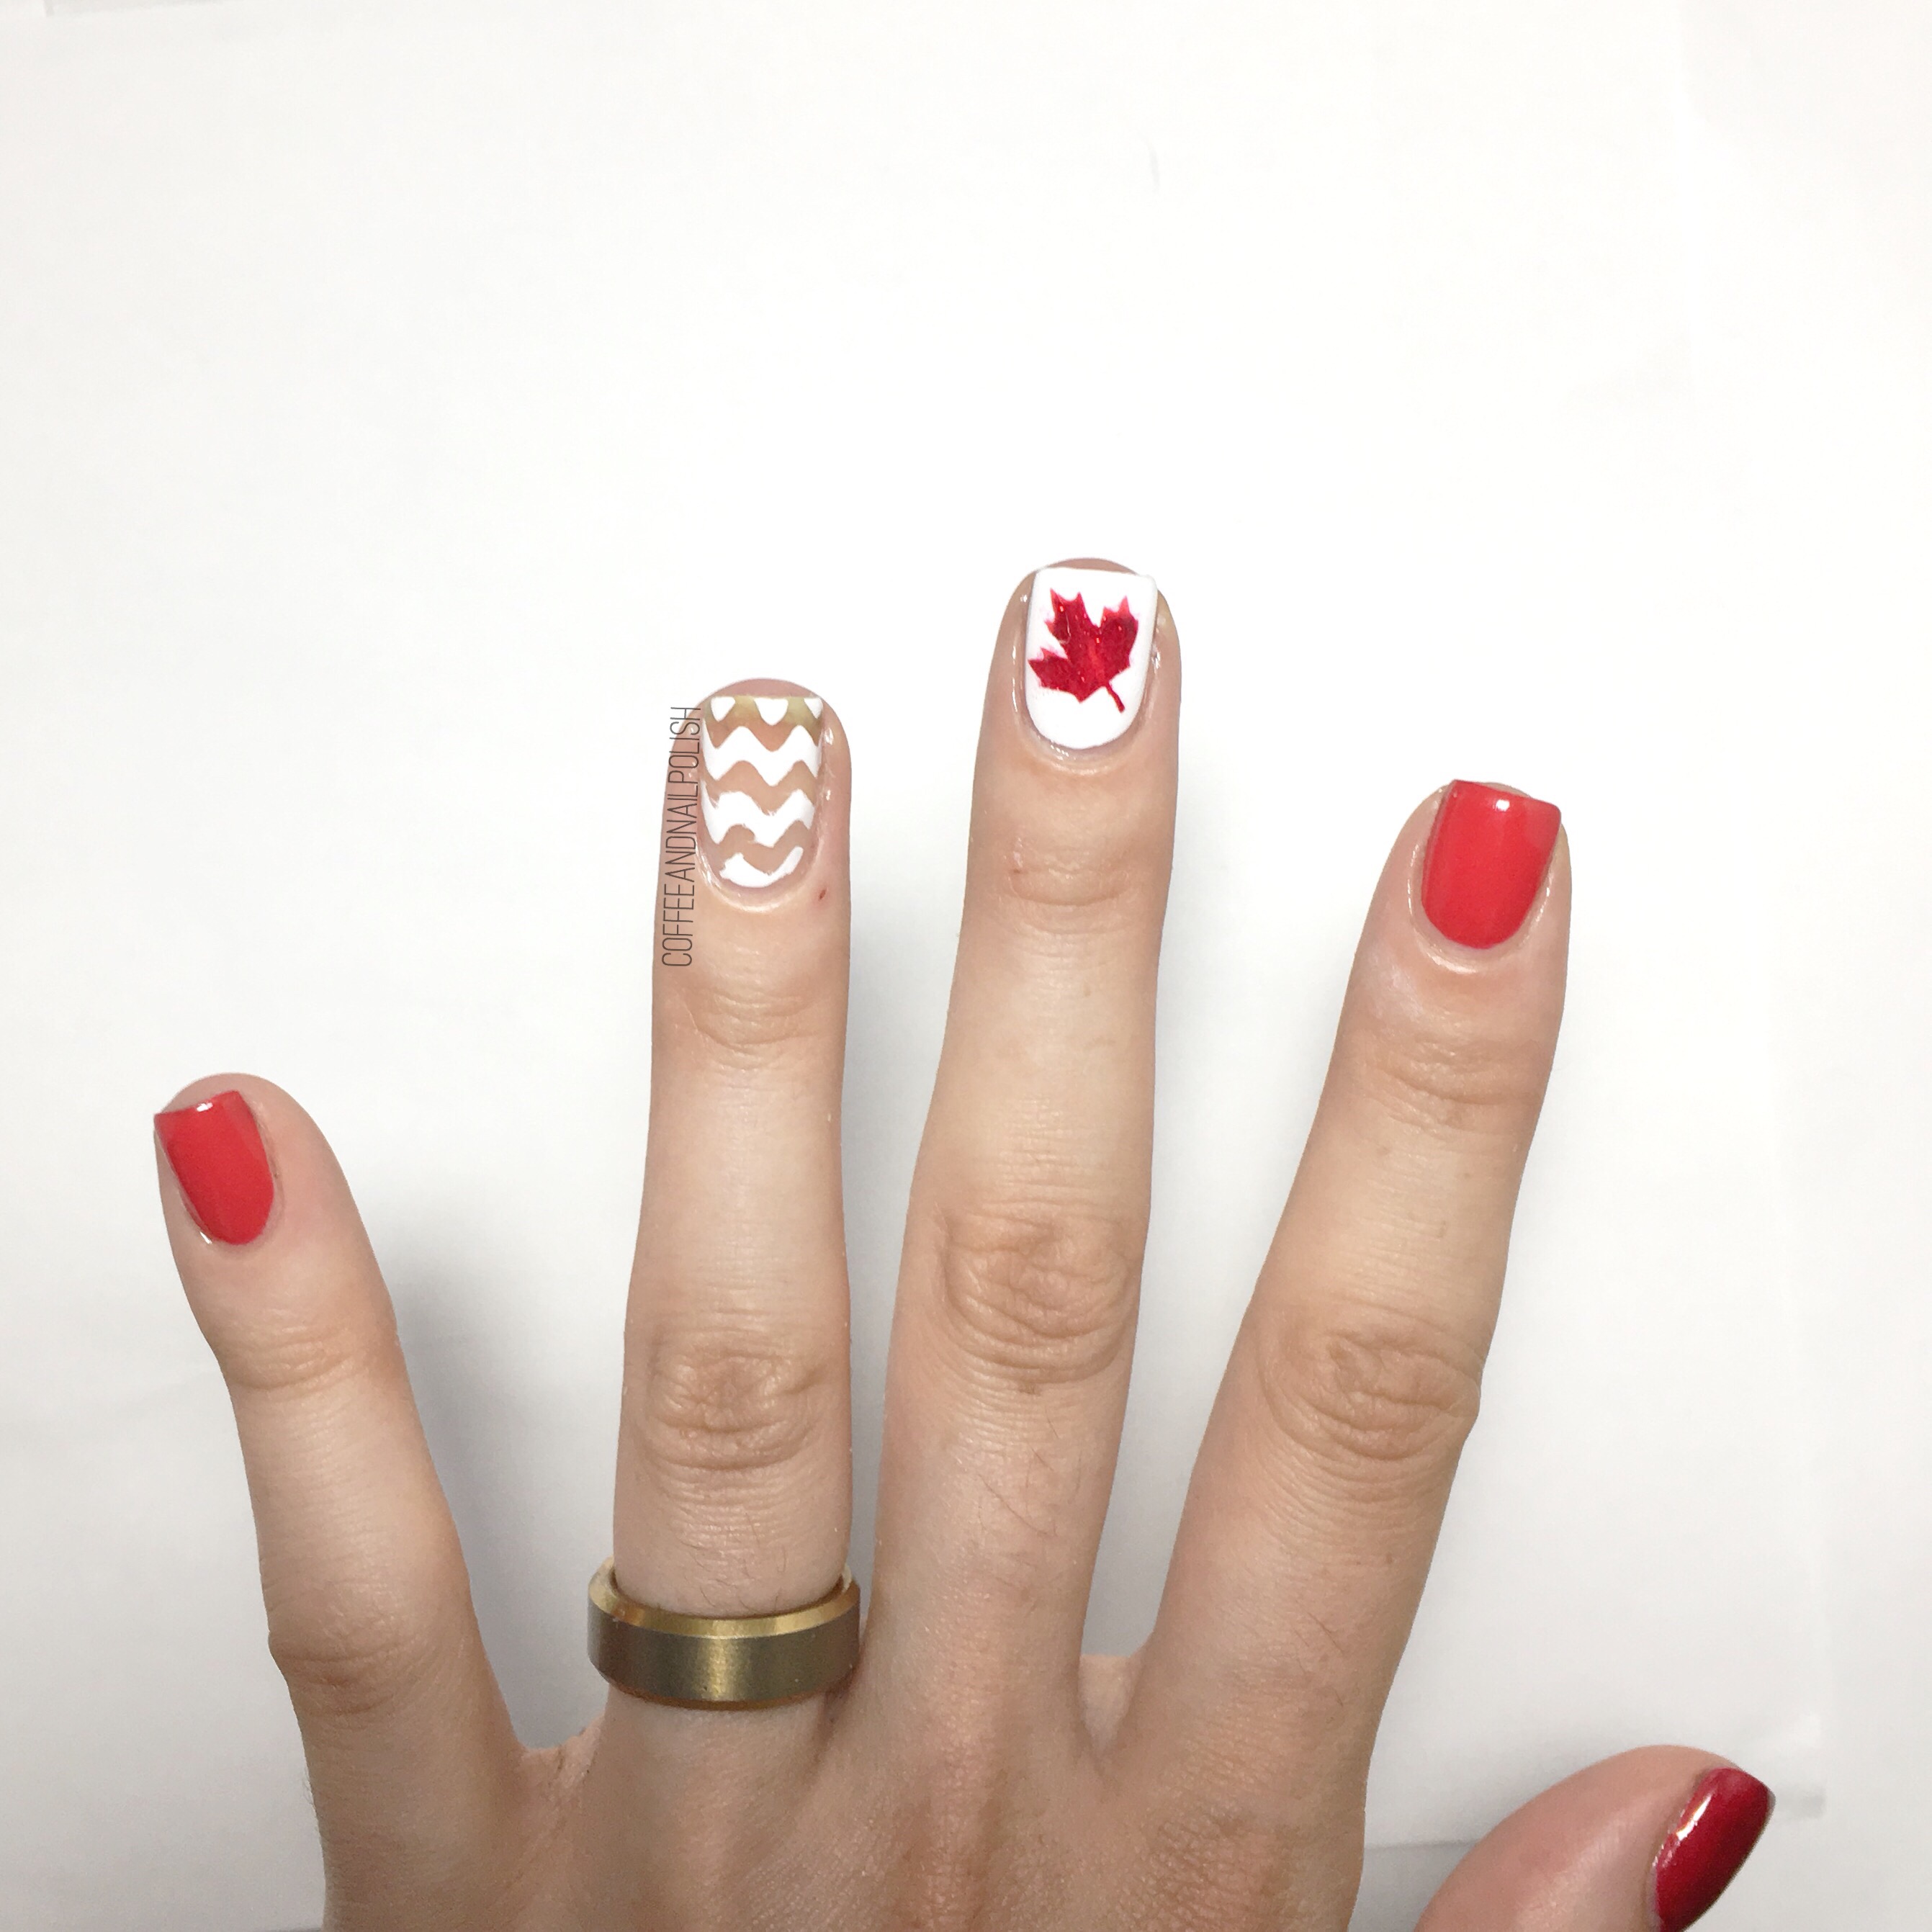
For this design I used:
- Base Coat: L’Oréal All In One
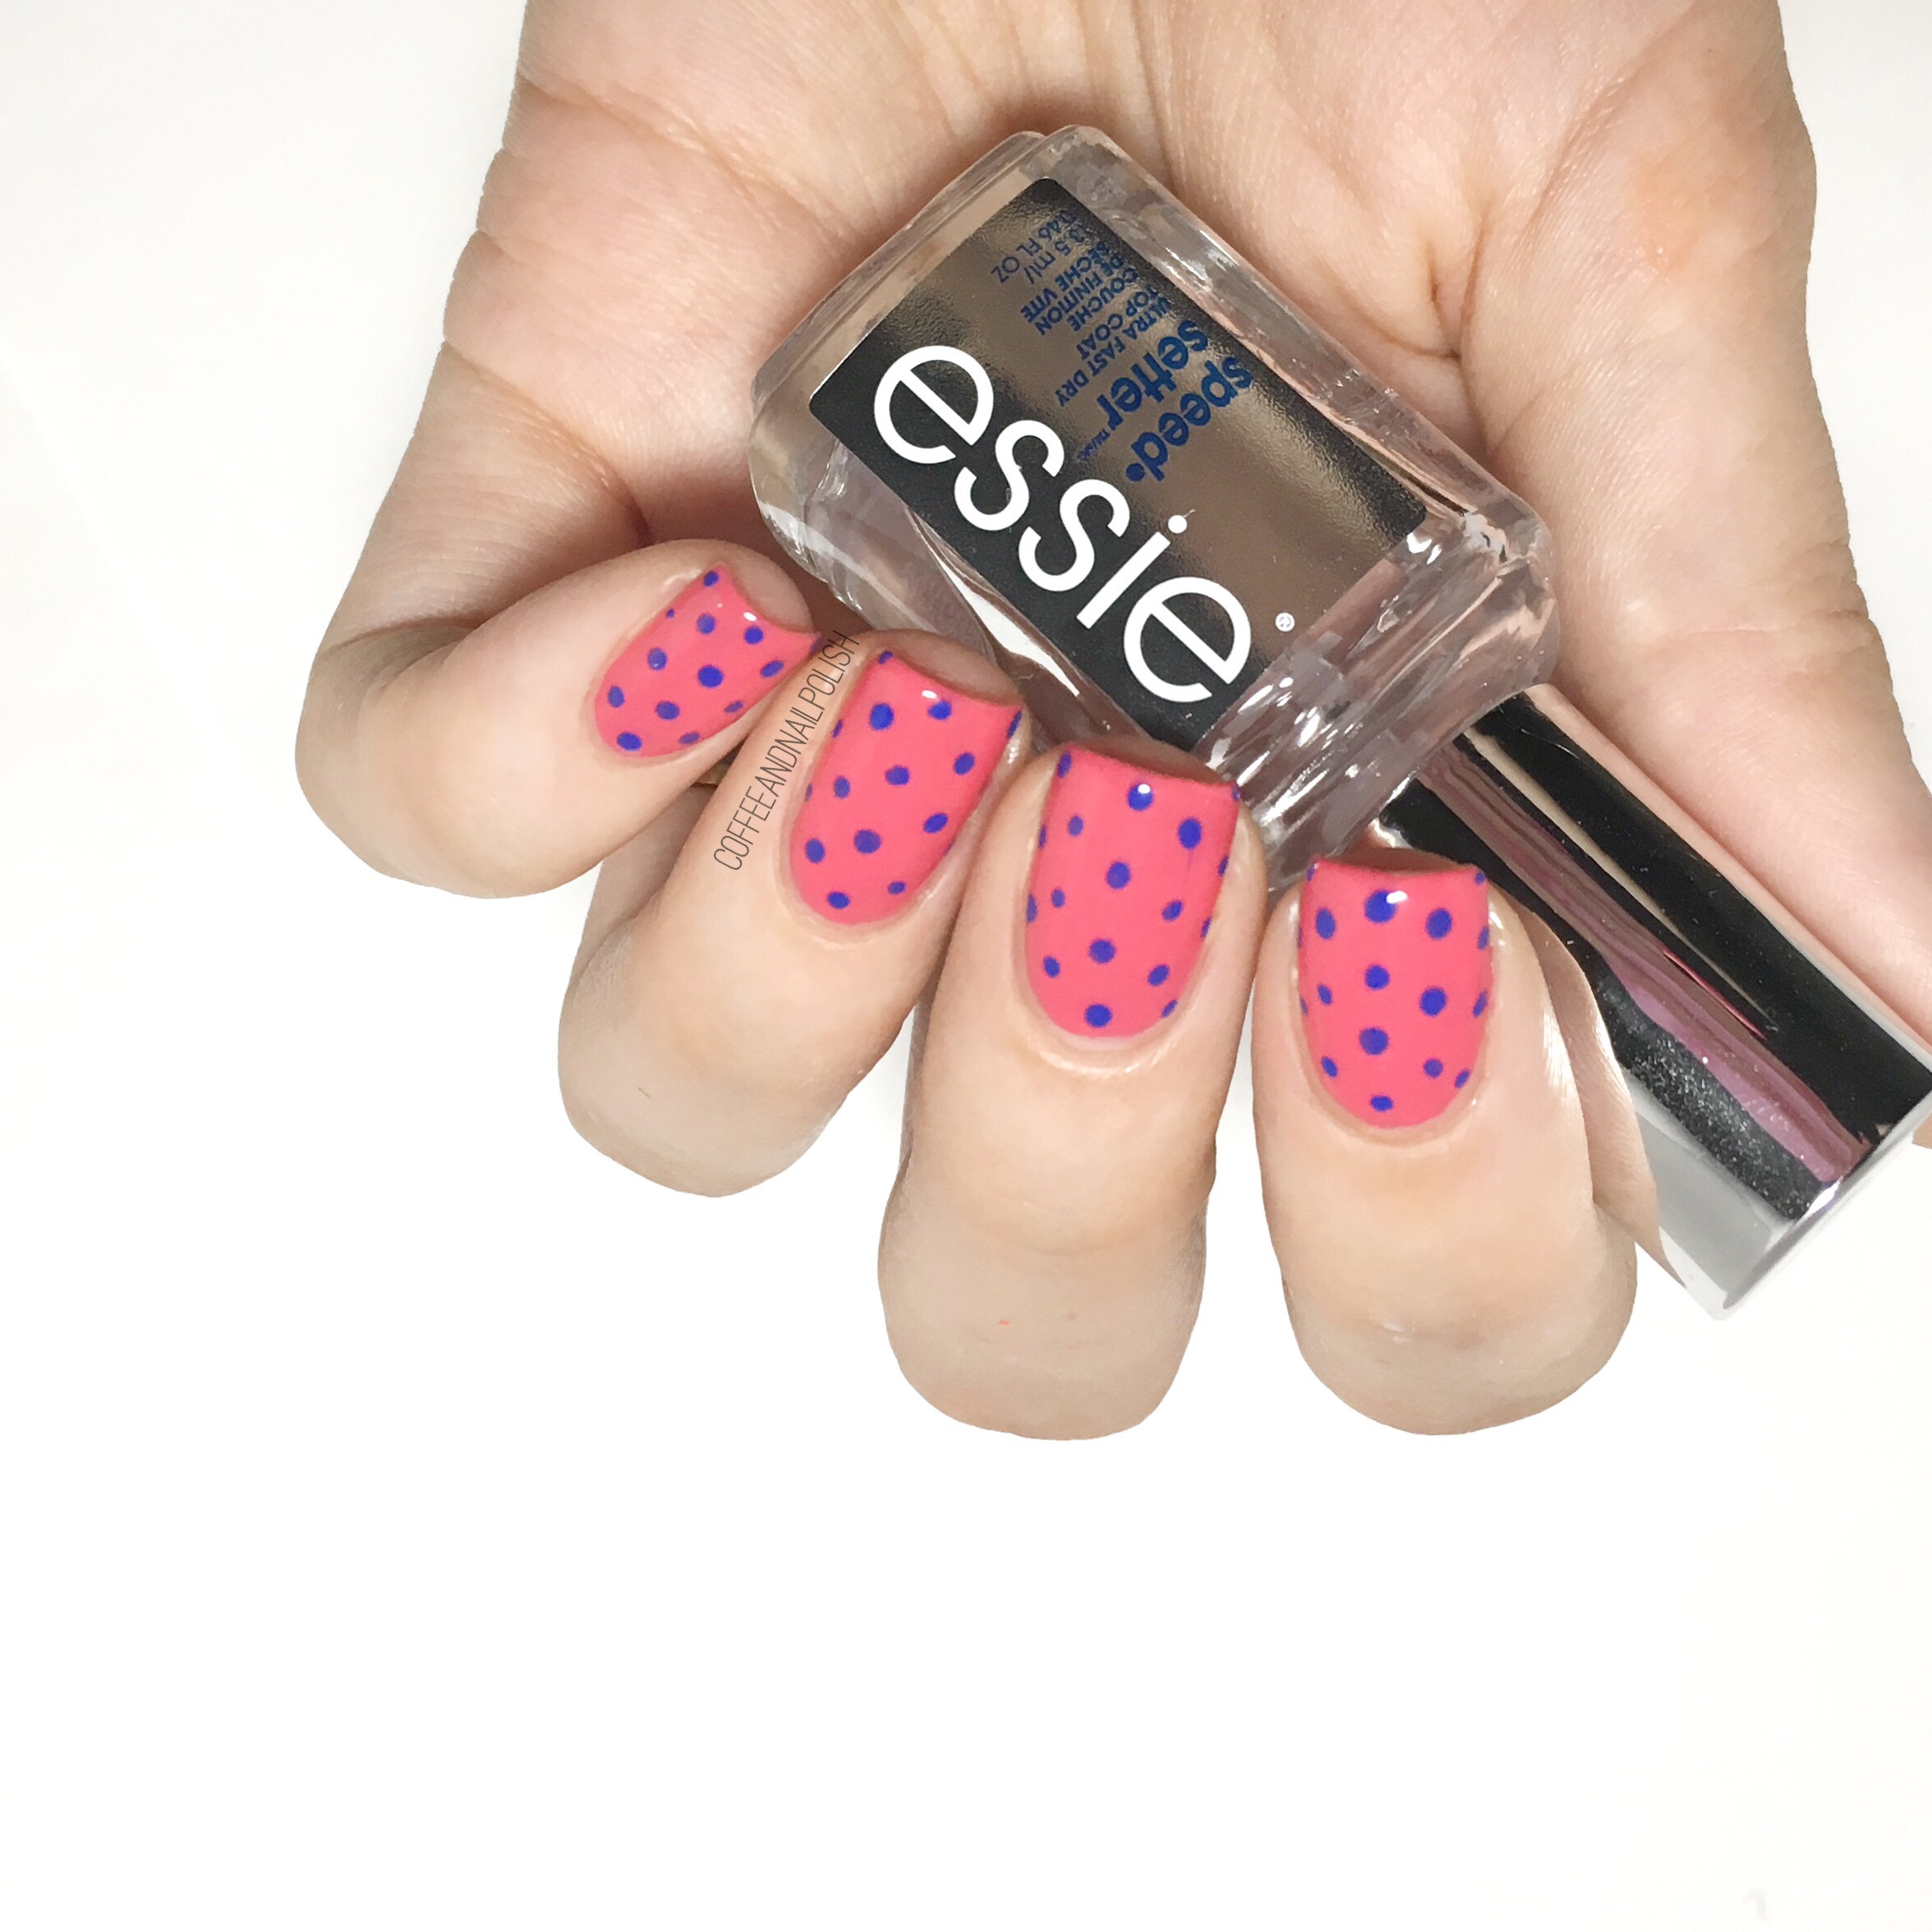
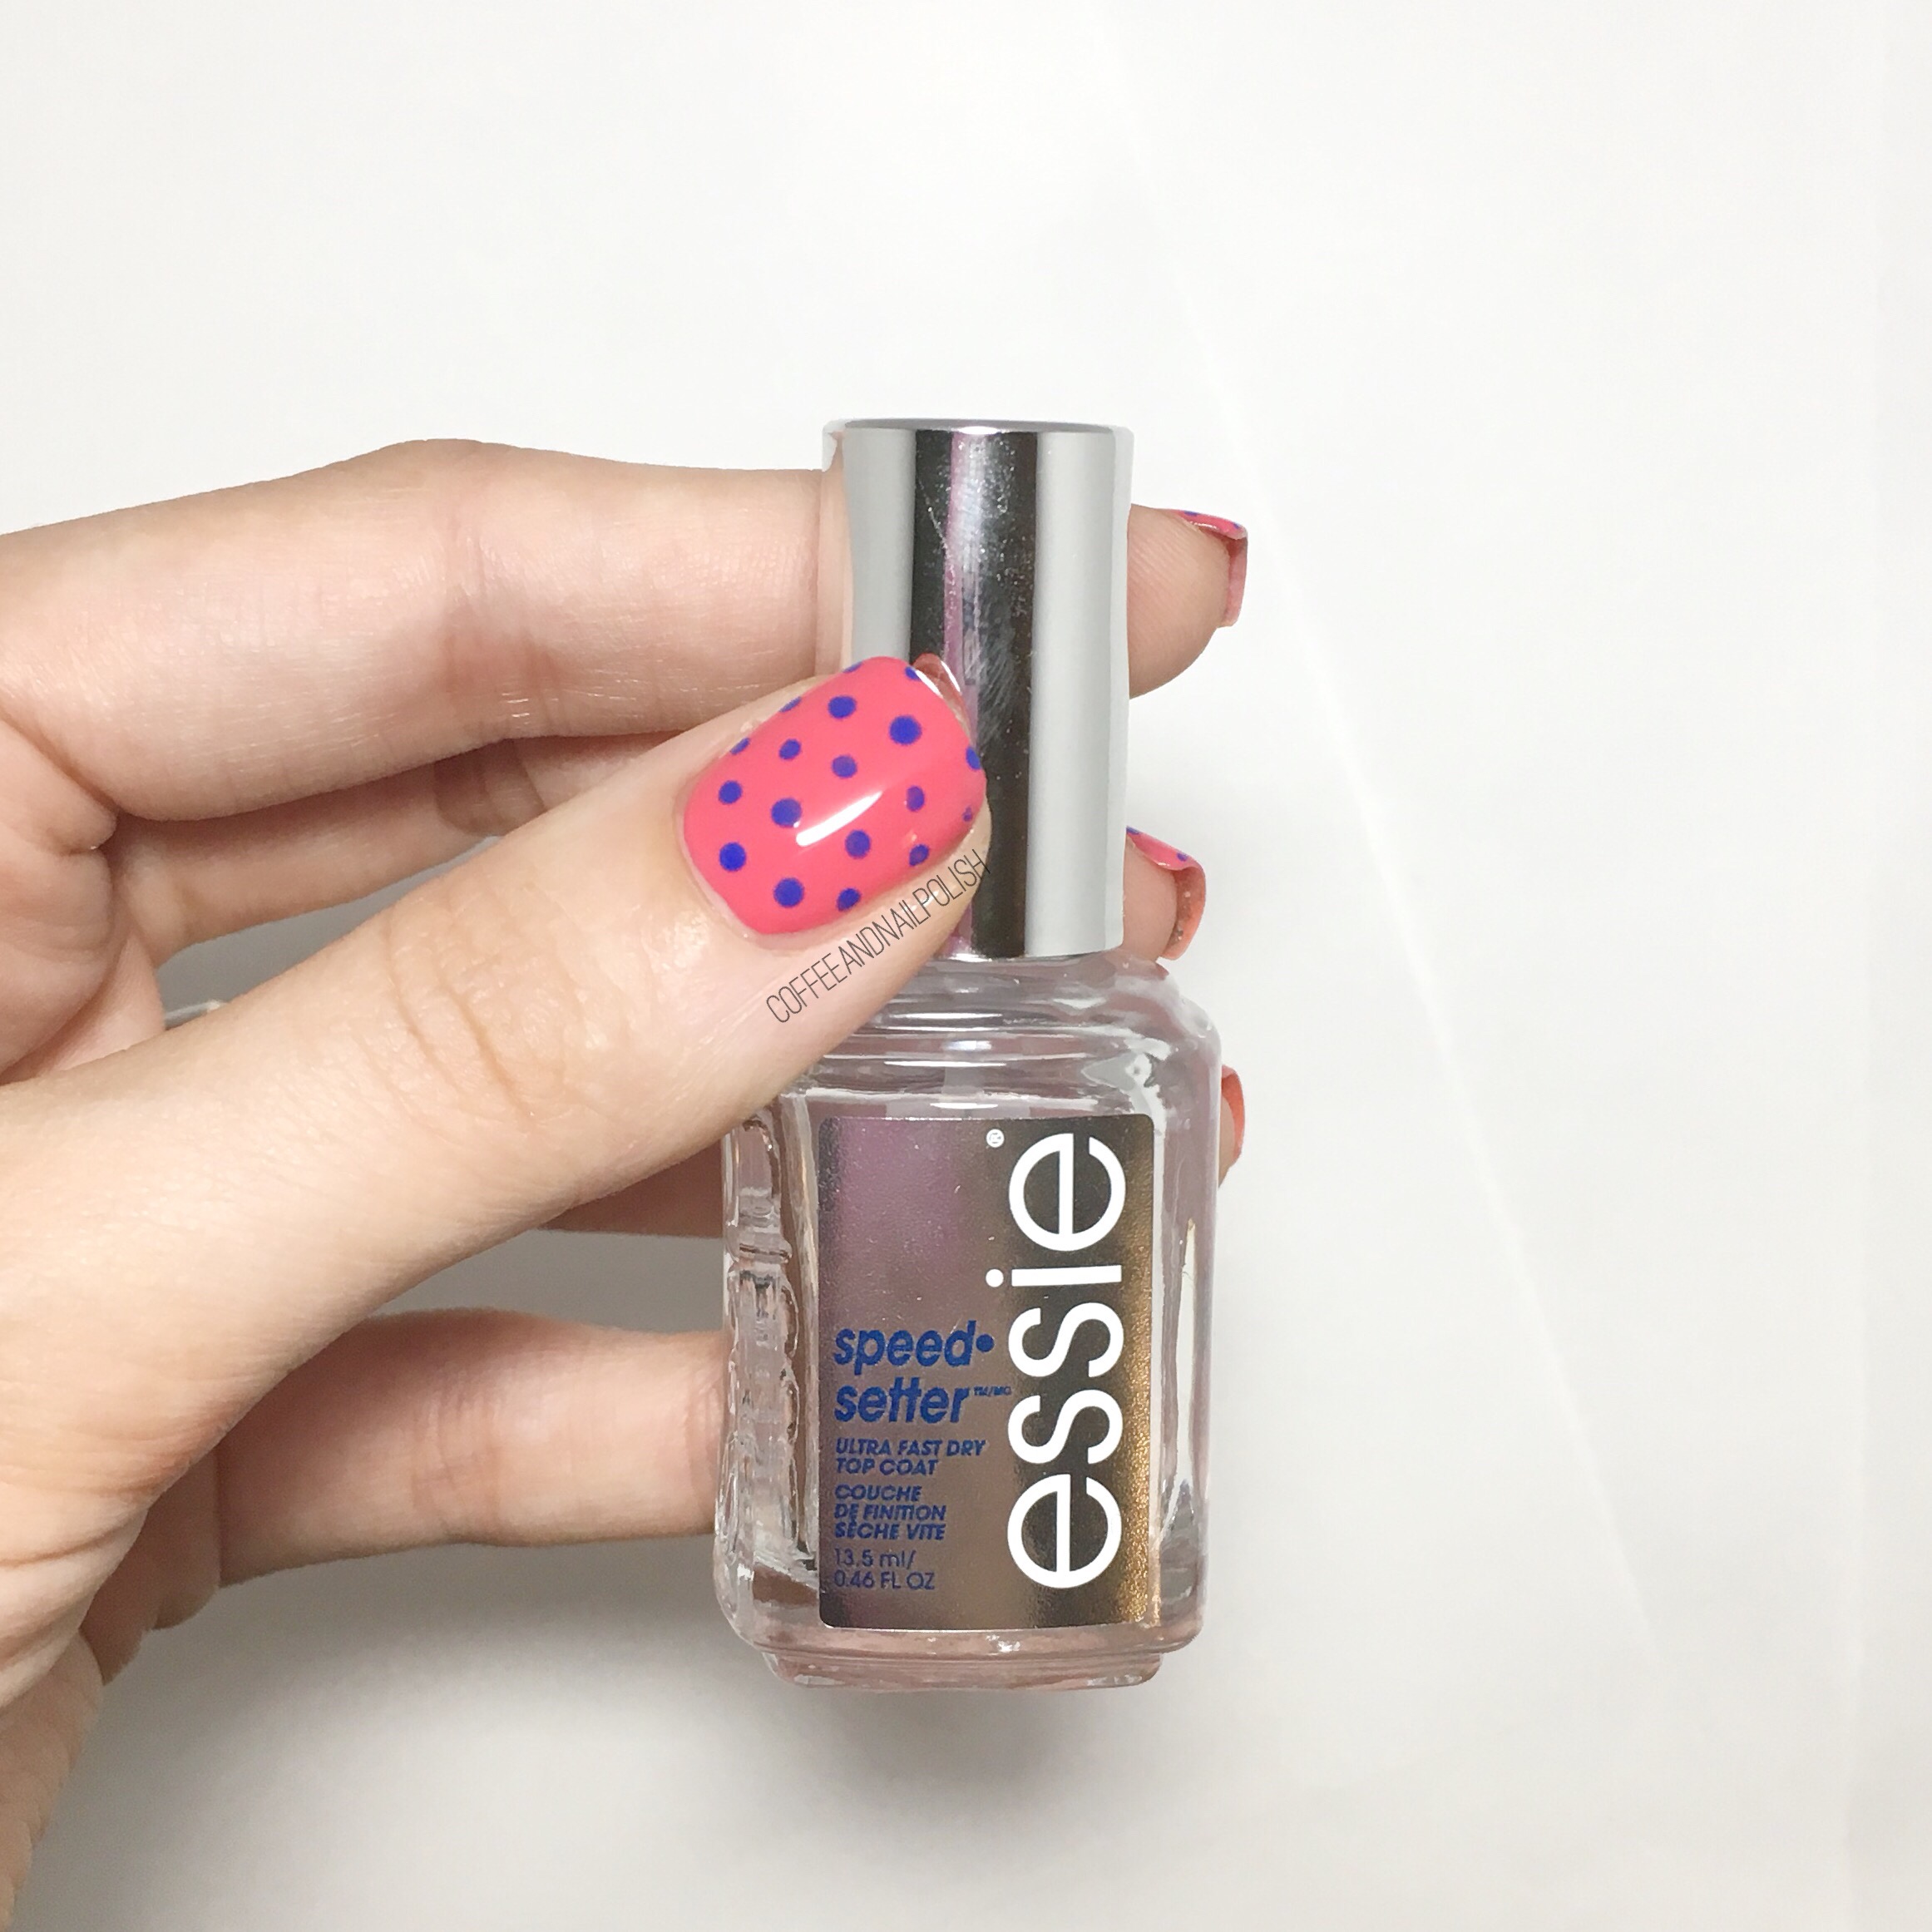
- Top Coat: Essie Speed Setter
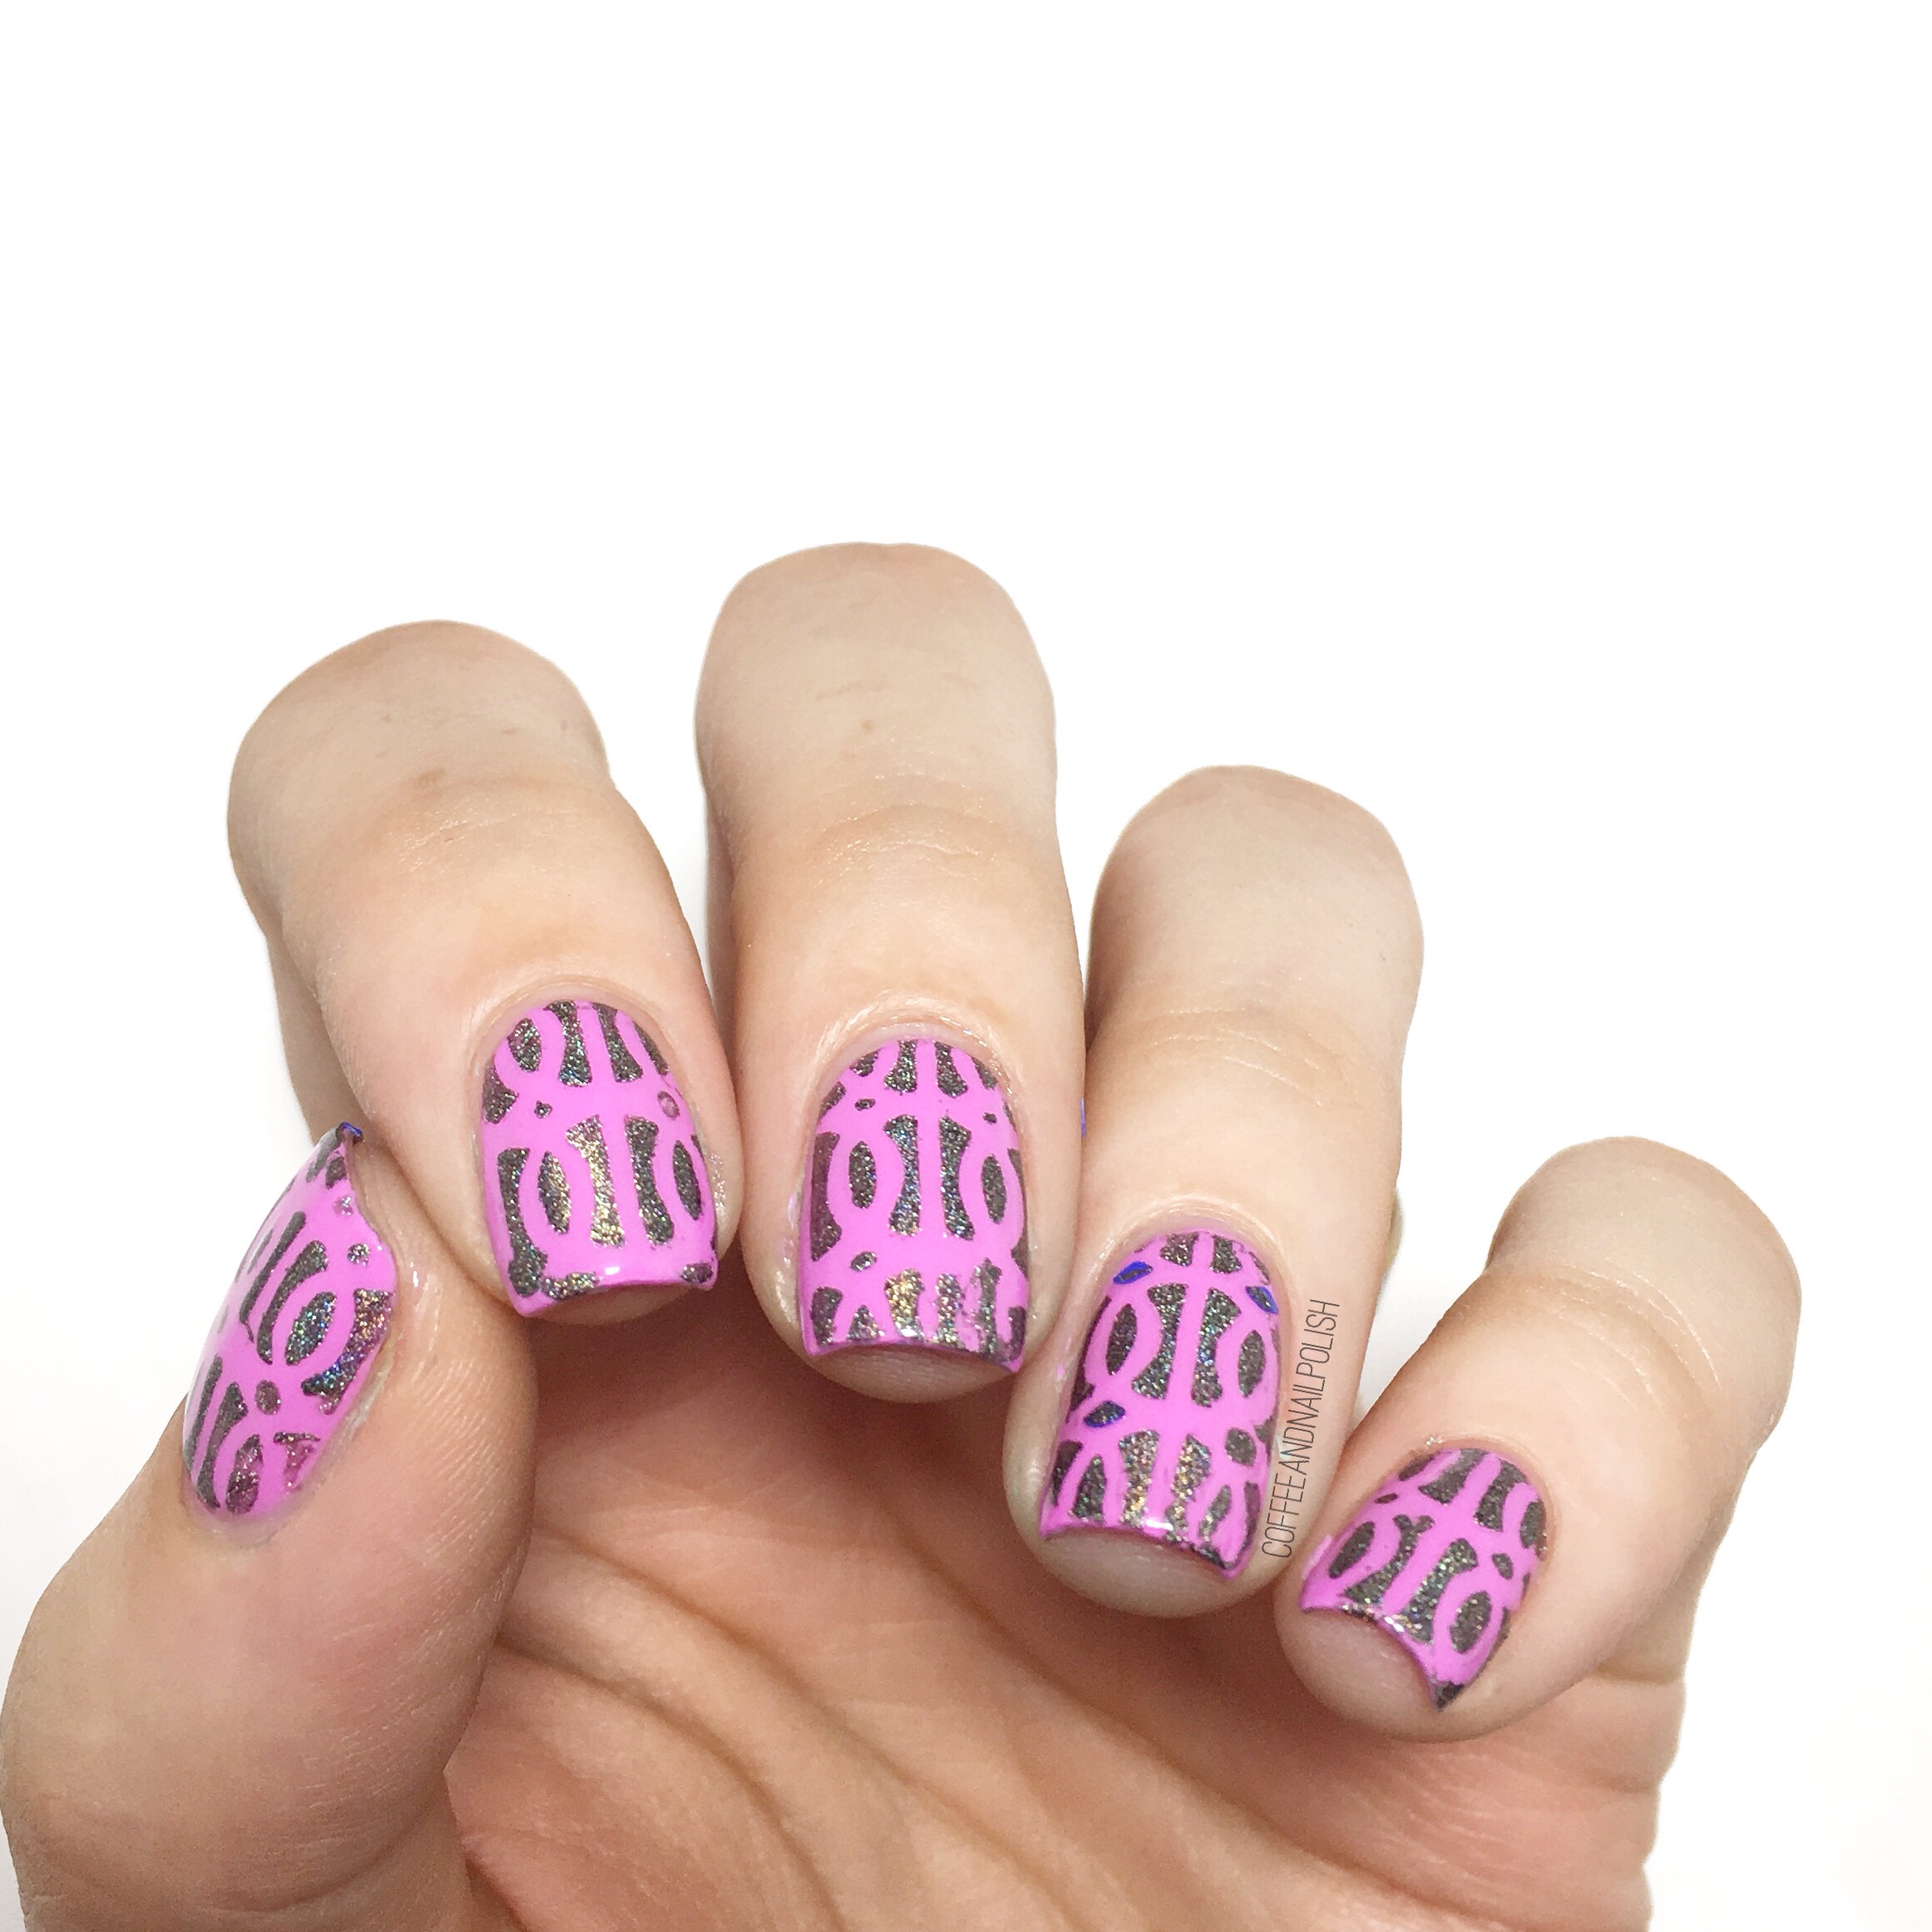
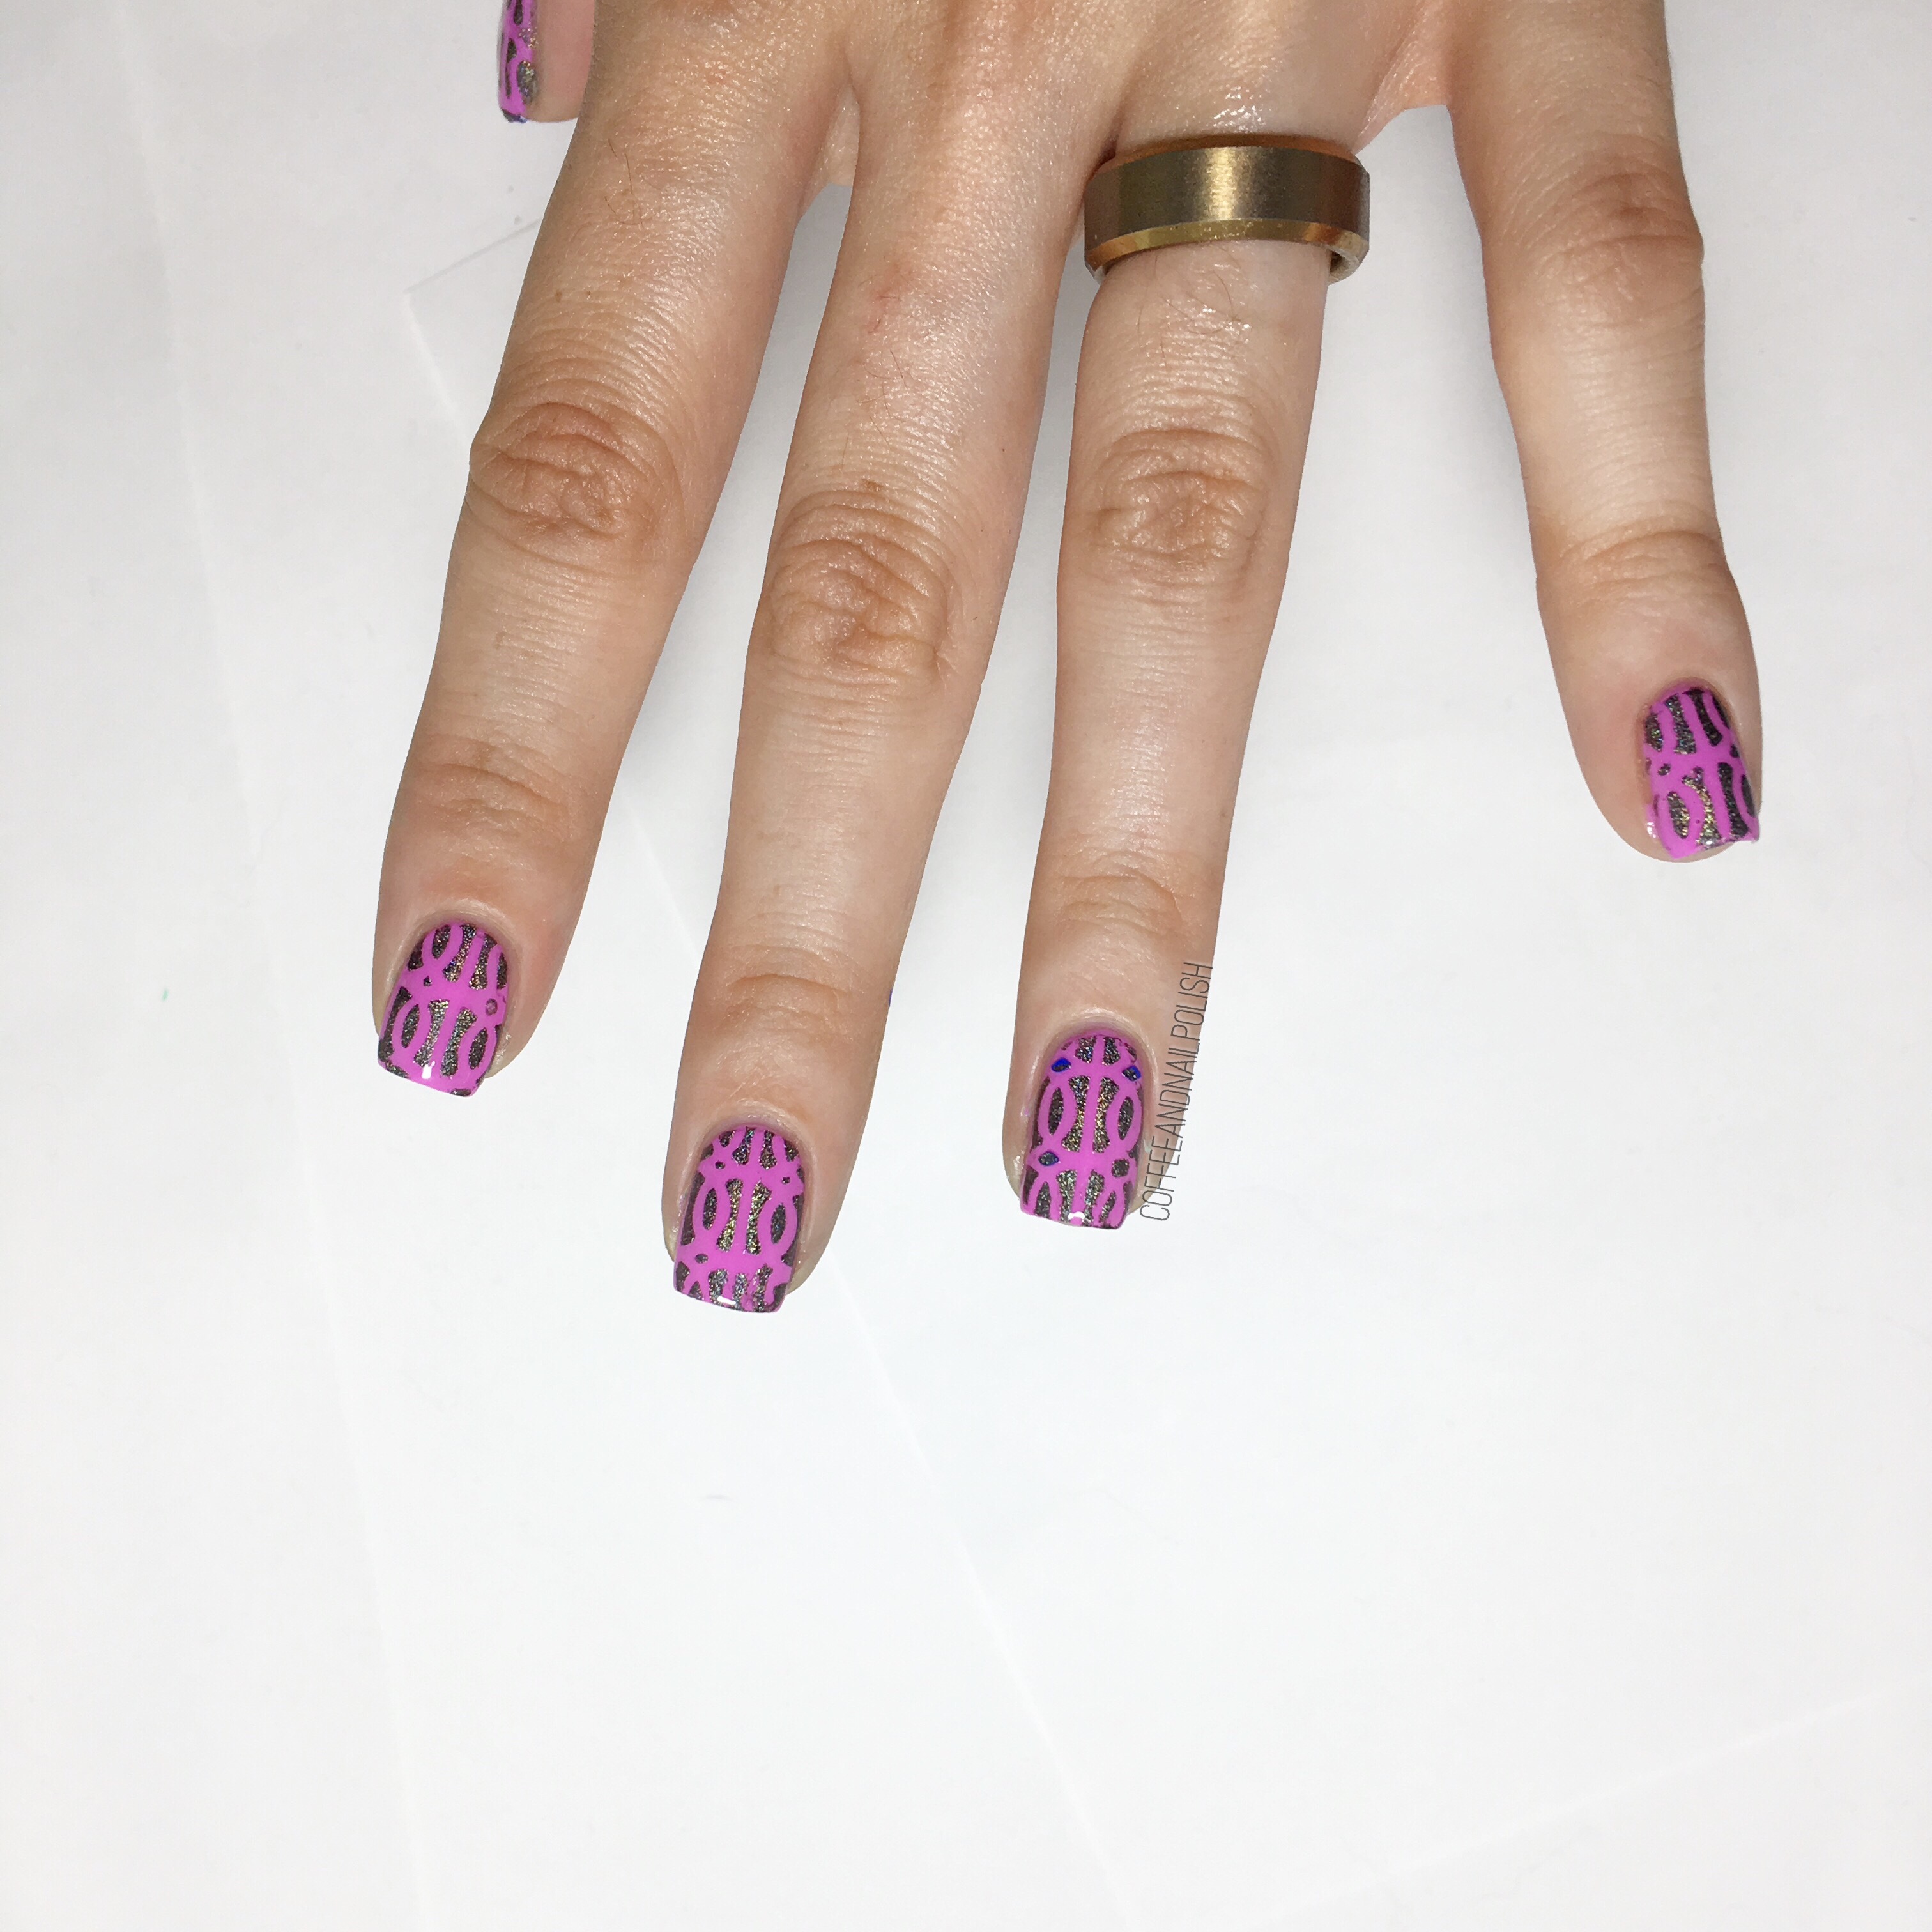
- L’Oréal Orange You Jealous?
- Sally Hansen Miracle Gel Wet My Thistle
- Born Pretty Store Stamping Plate Set Flower Leaf Tree image item #39933
- Born Pretty Store 3.9 Clear Jelly Stamper item #38611


As I’ve written before, I find their is a learning curve that comes along with stamping. Or maybe just natural talent. Either way I think this is a great set for beginners because it has so many image options & comes with stamping polishes. Now personally I’m not a fan of the stamping polishes, not because they don’t stamp (they do!) but I just haven’t found a way to use them that doesn’t make a huge mess! If anyone has any tips, please please share because I love the end result. But if you’re just trying out stamping I think this set would be a good introduction for you.

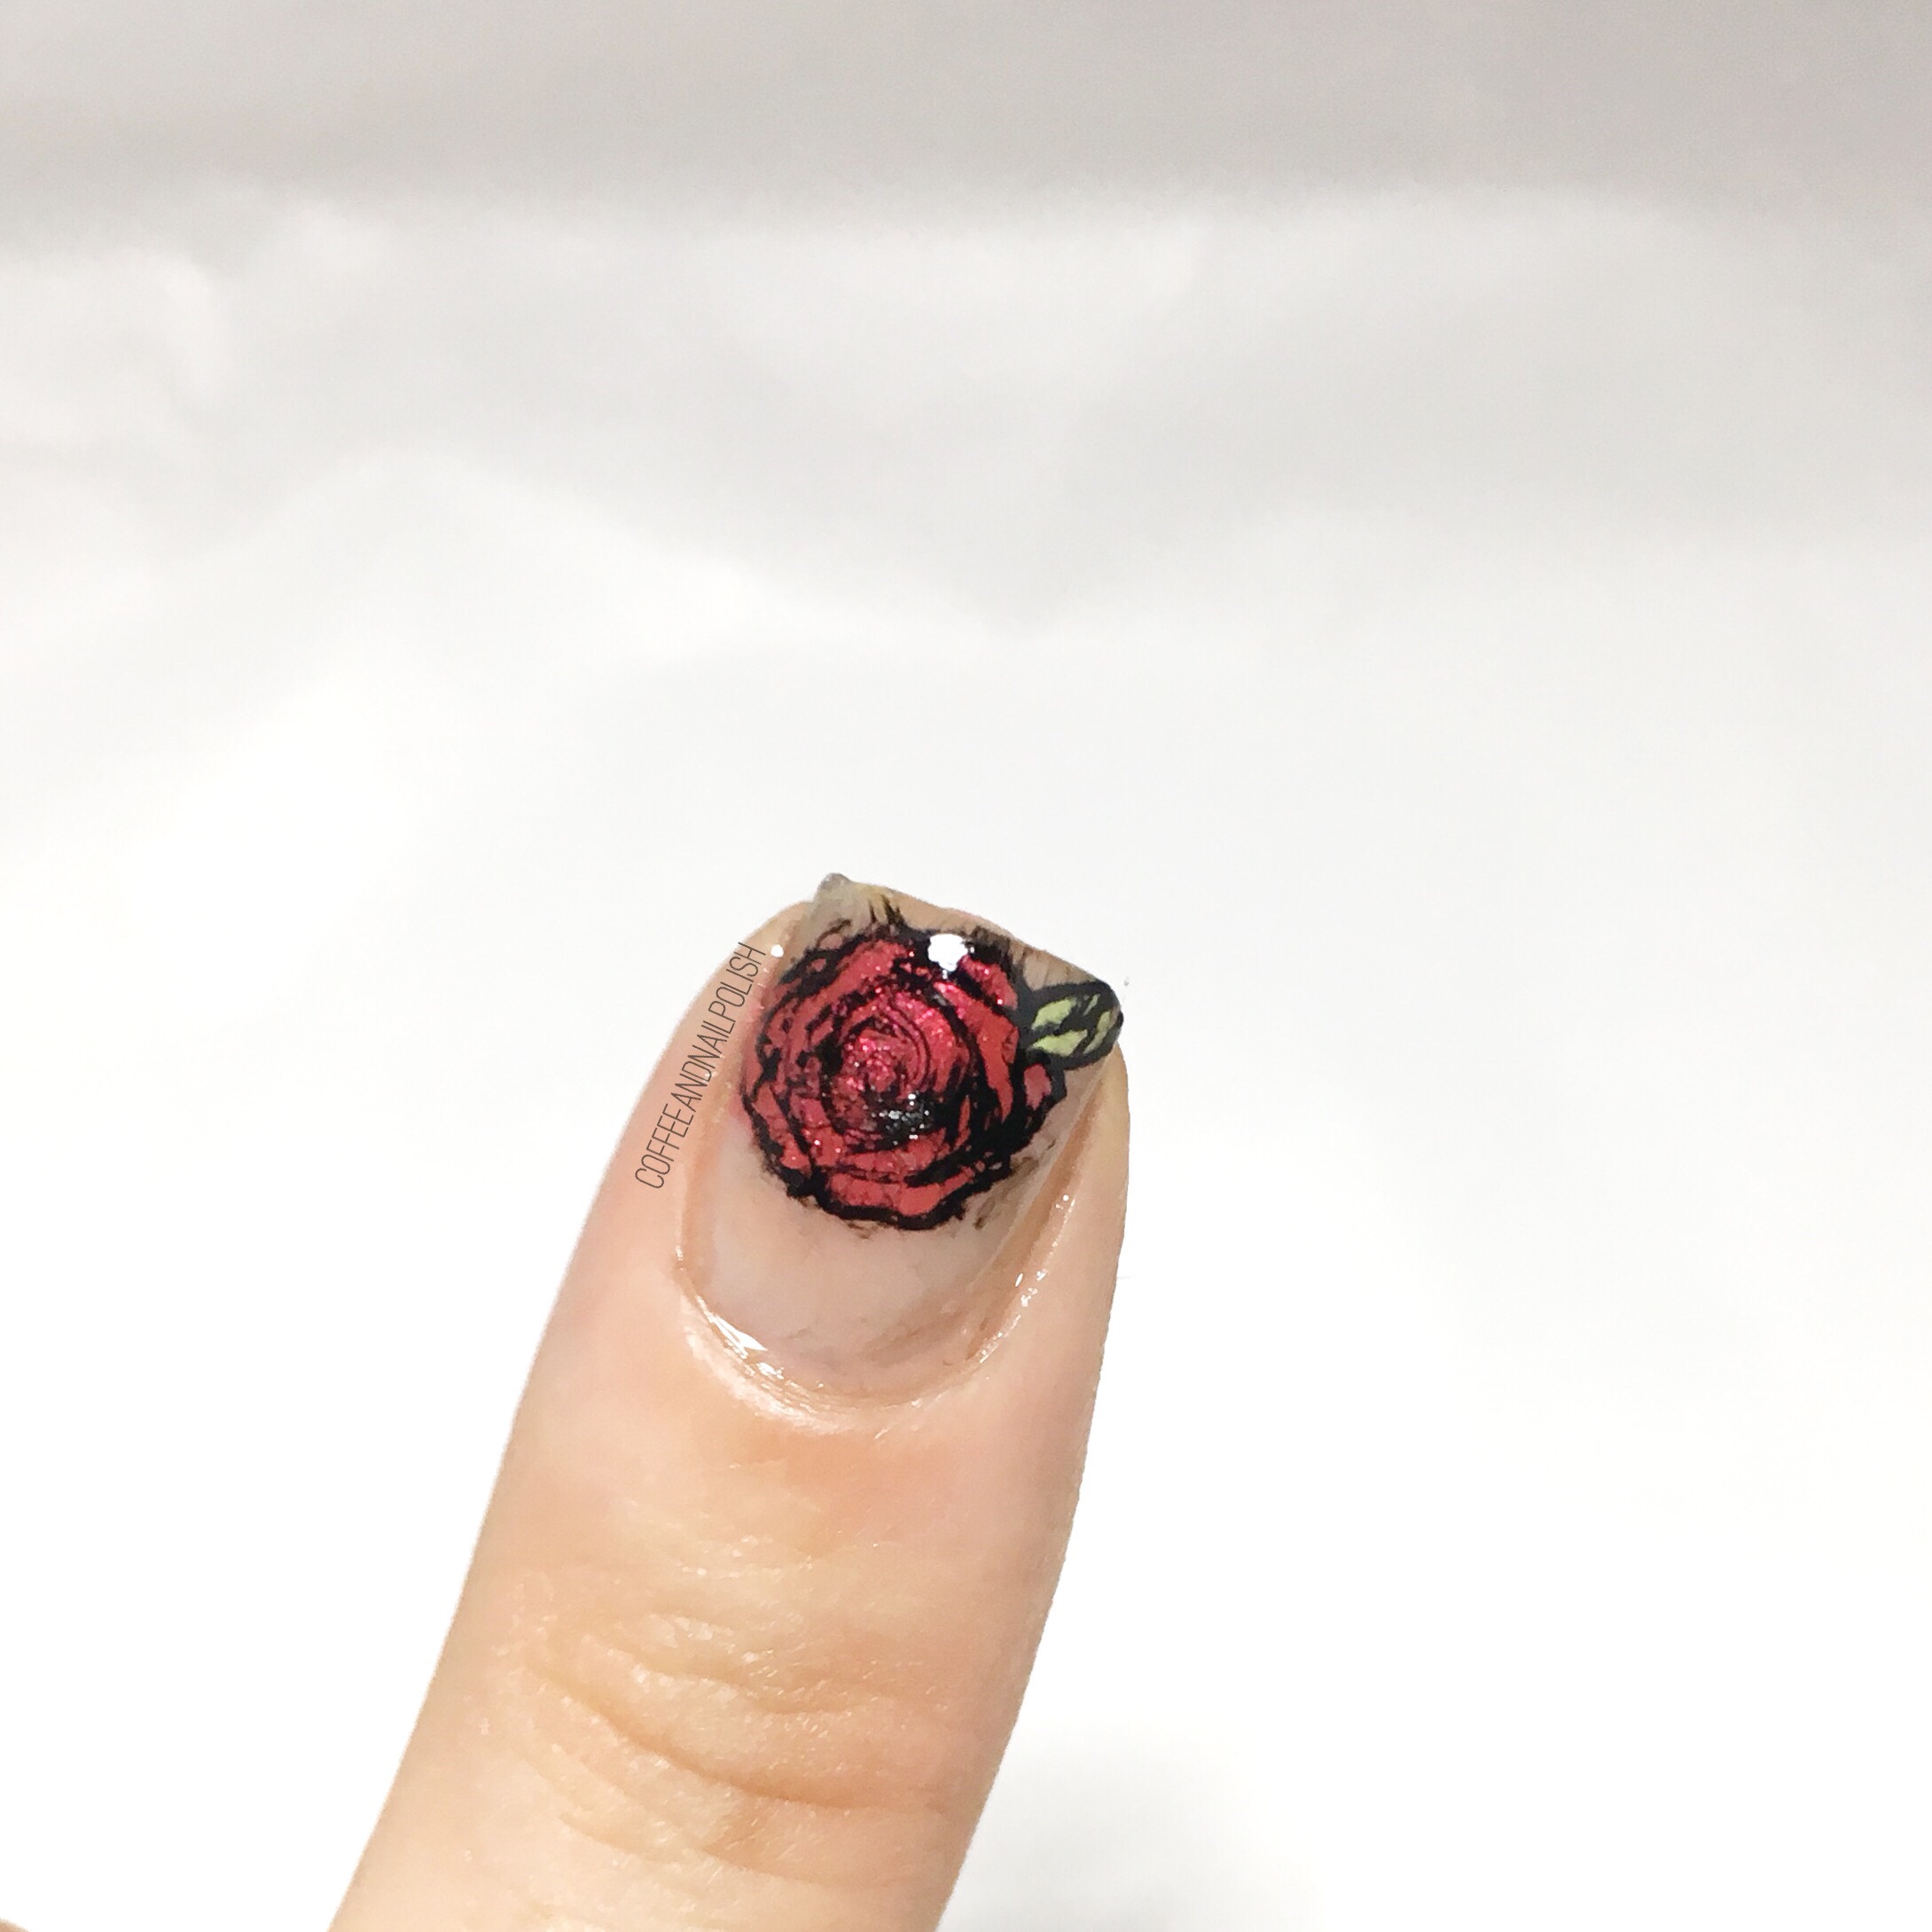
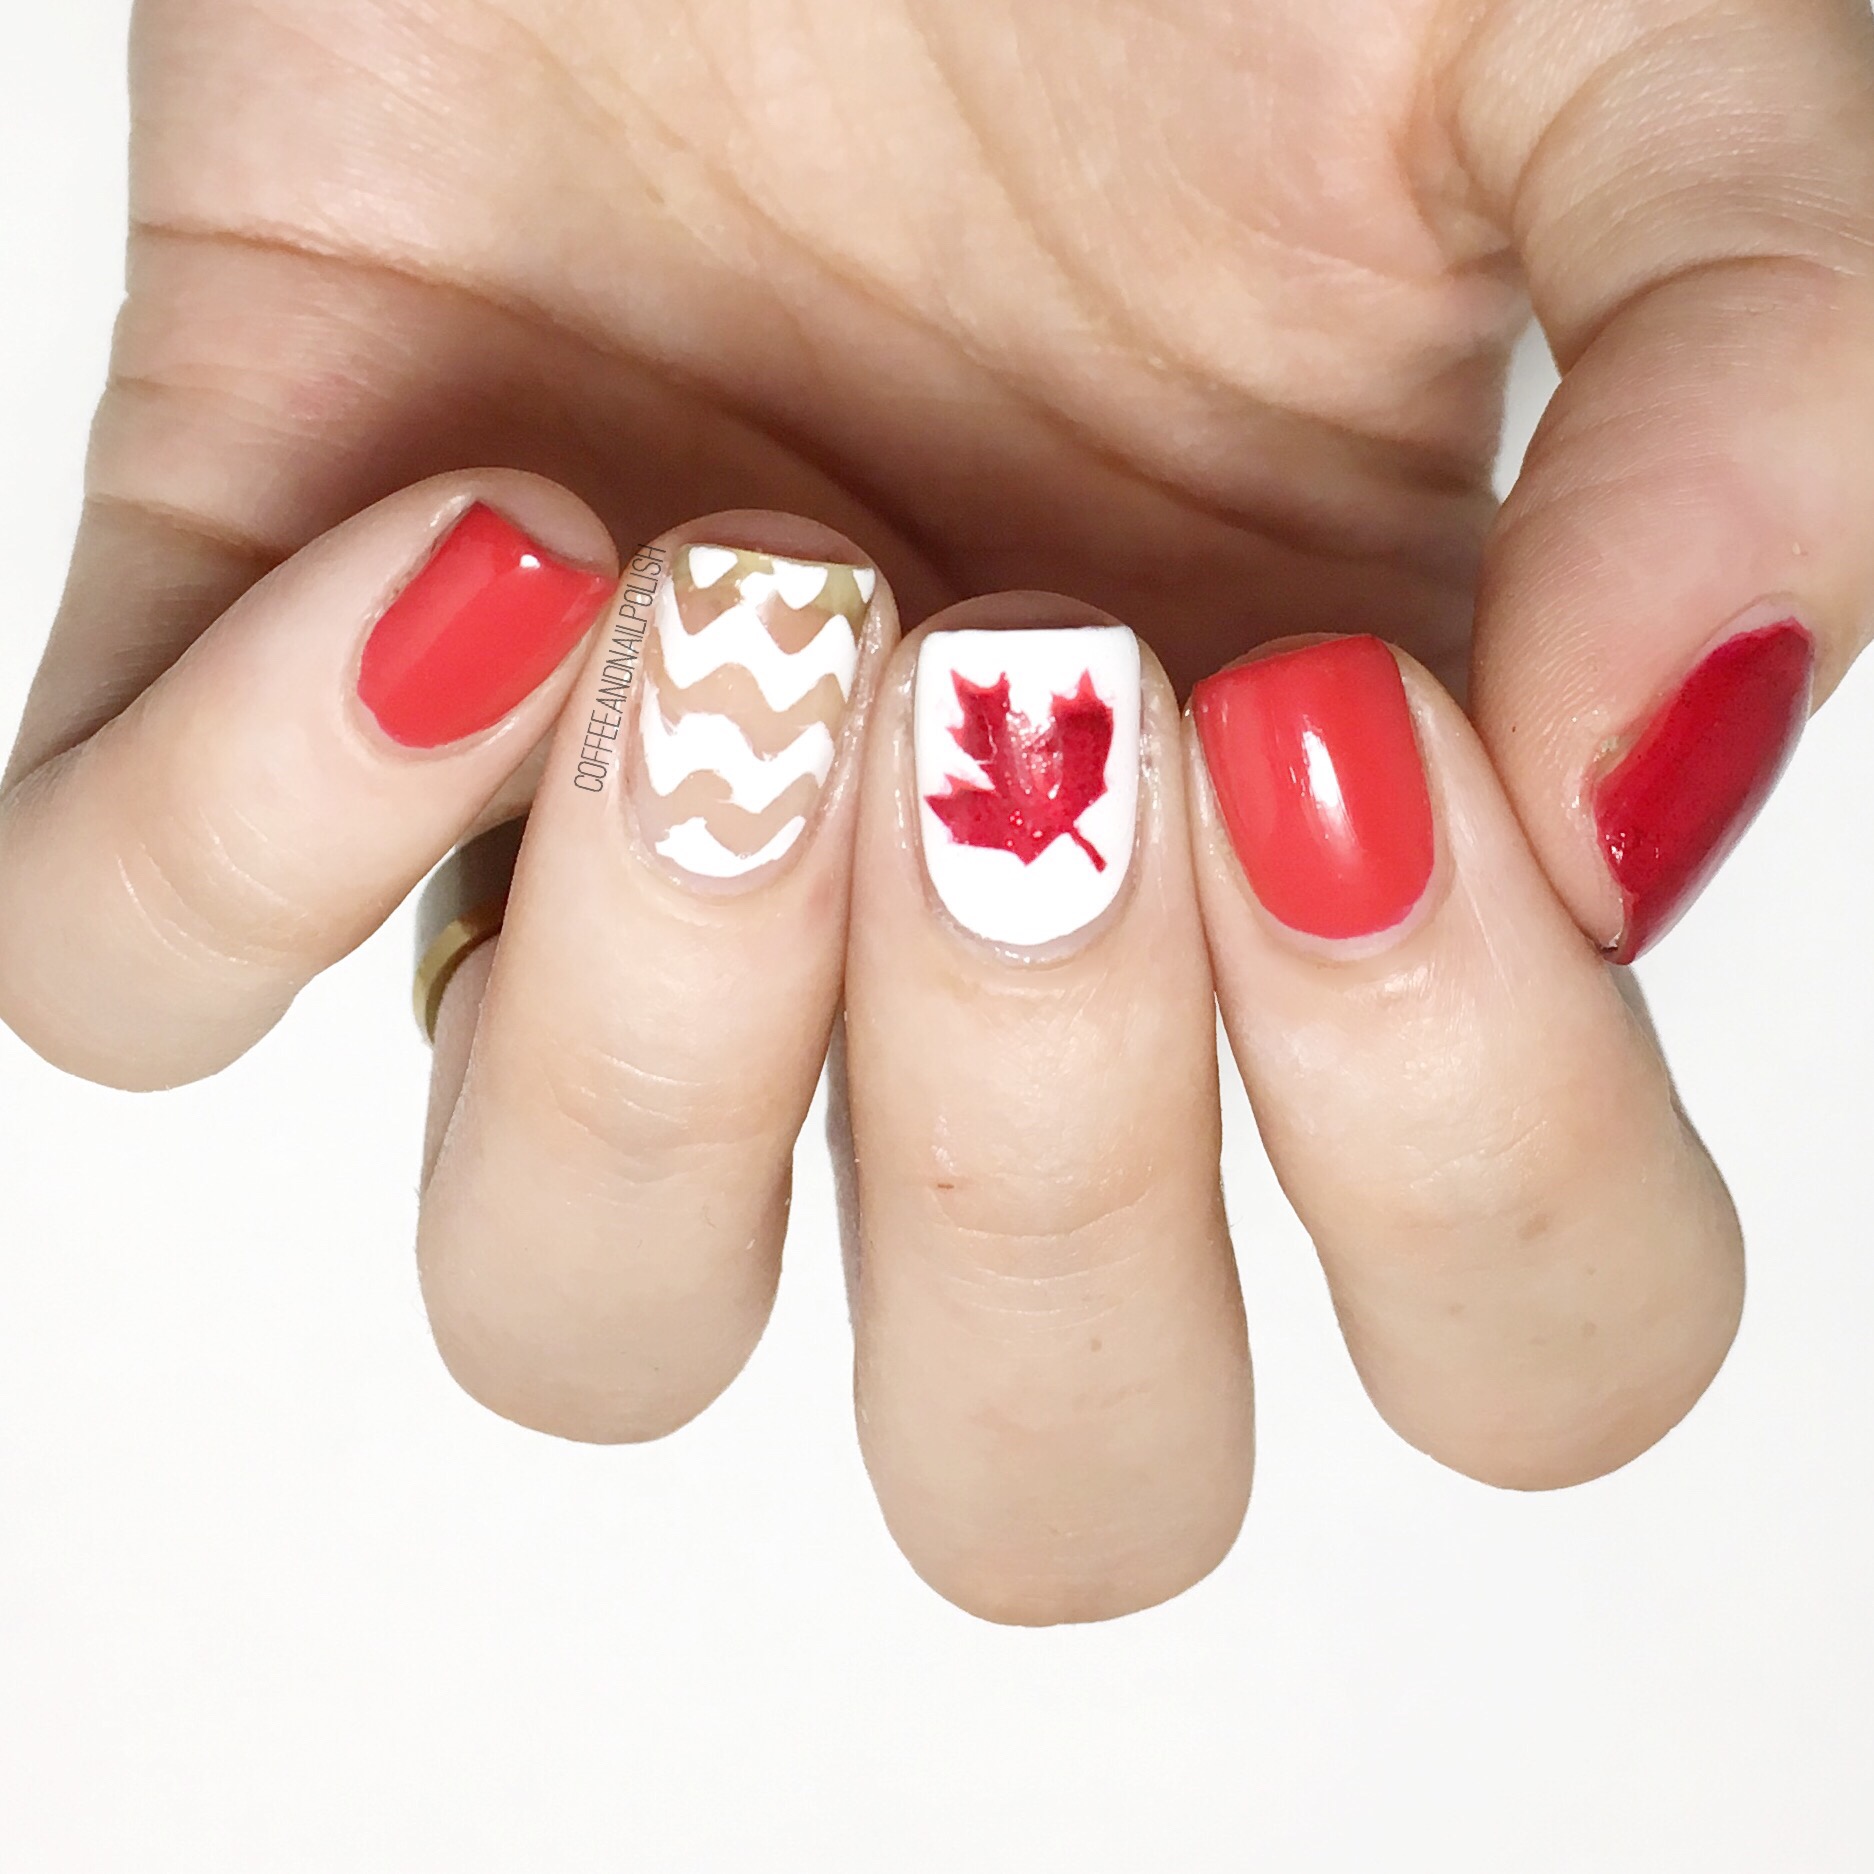
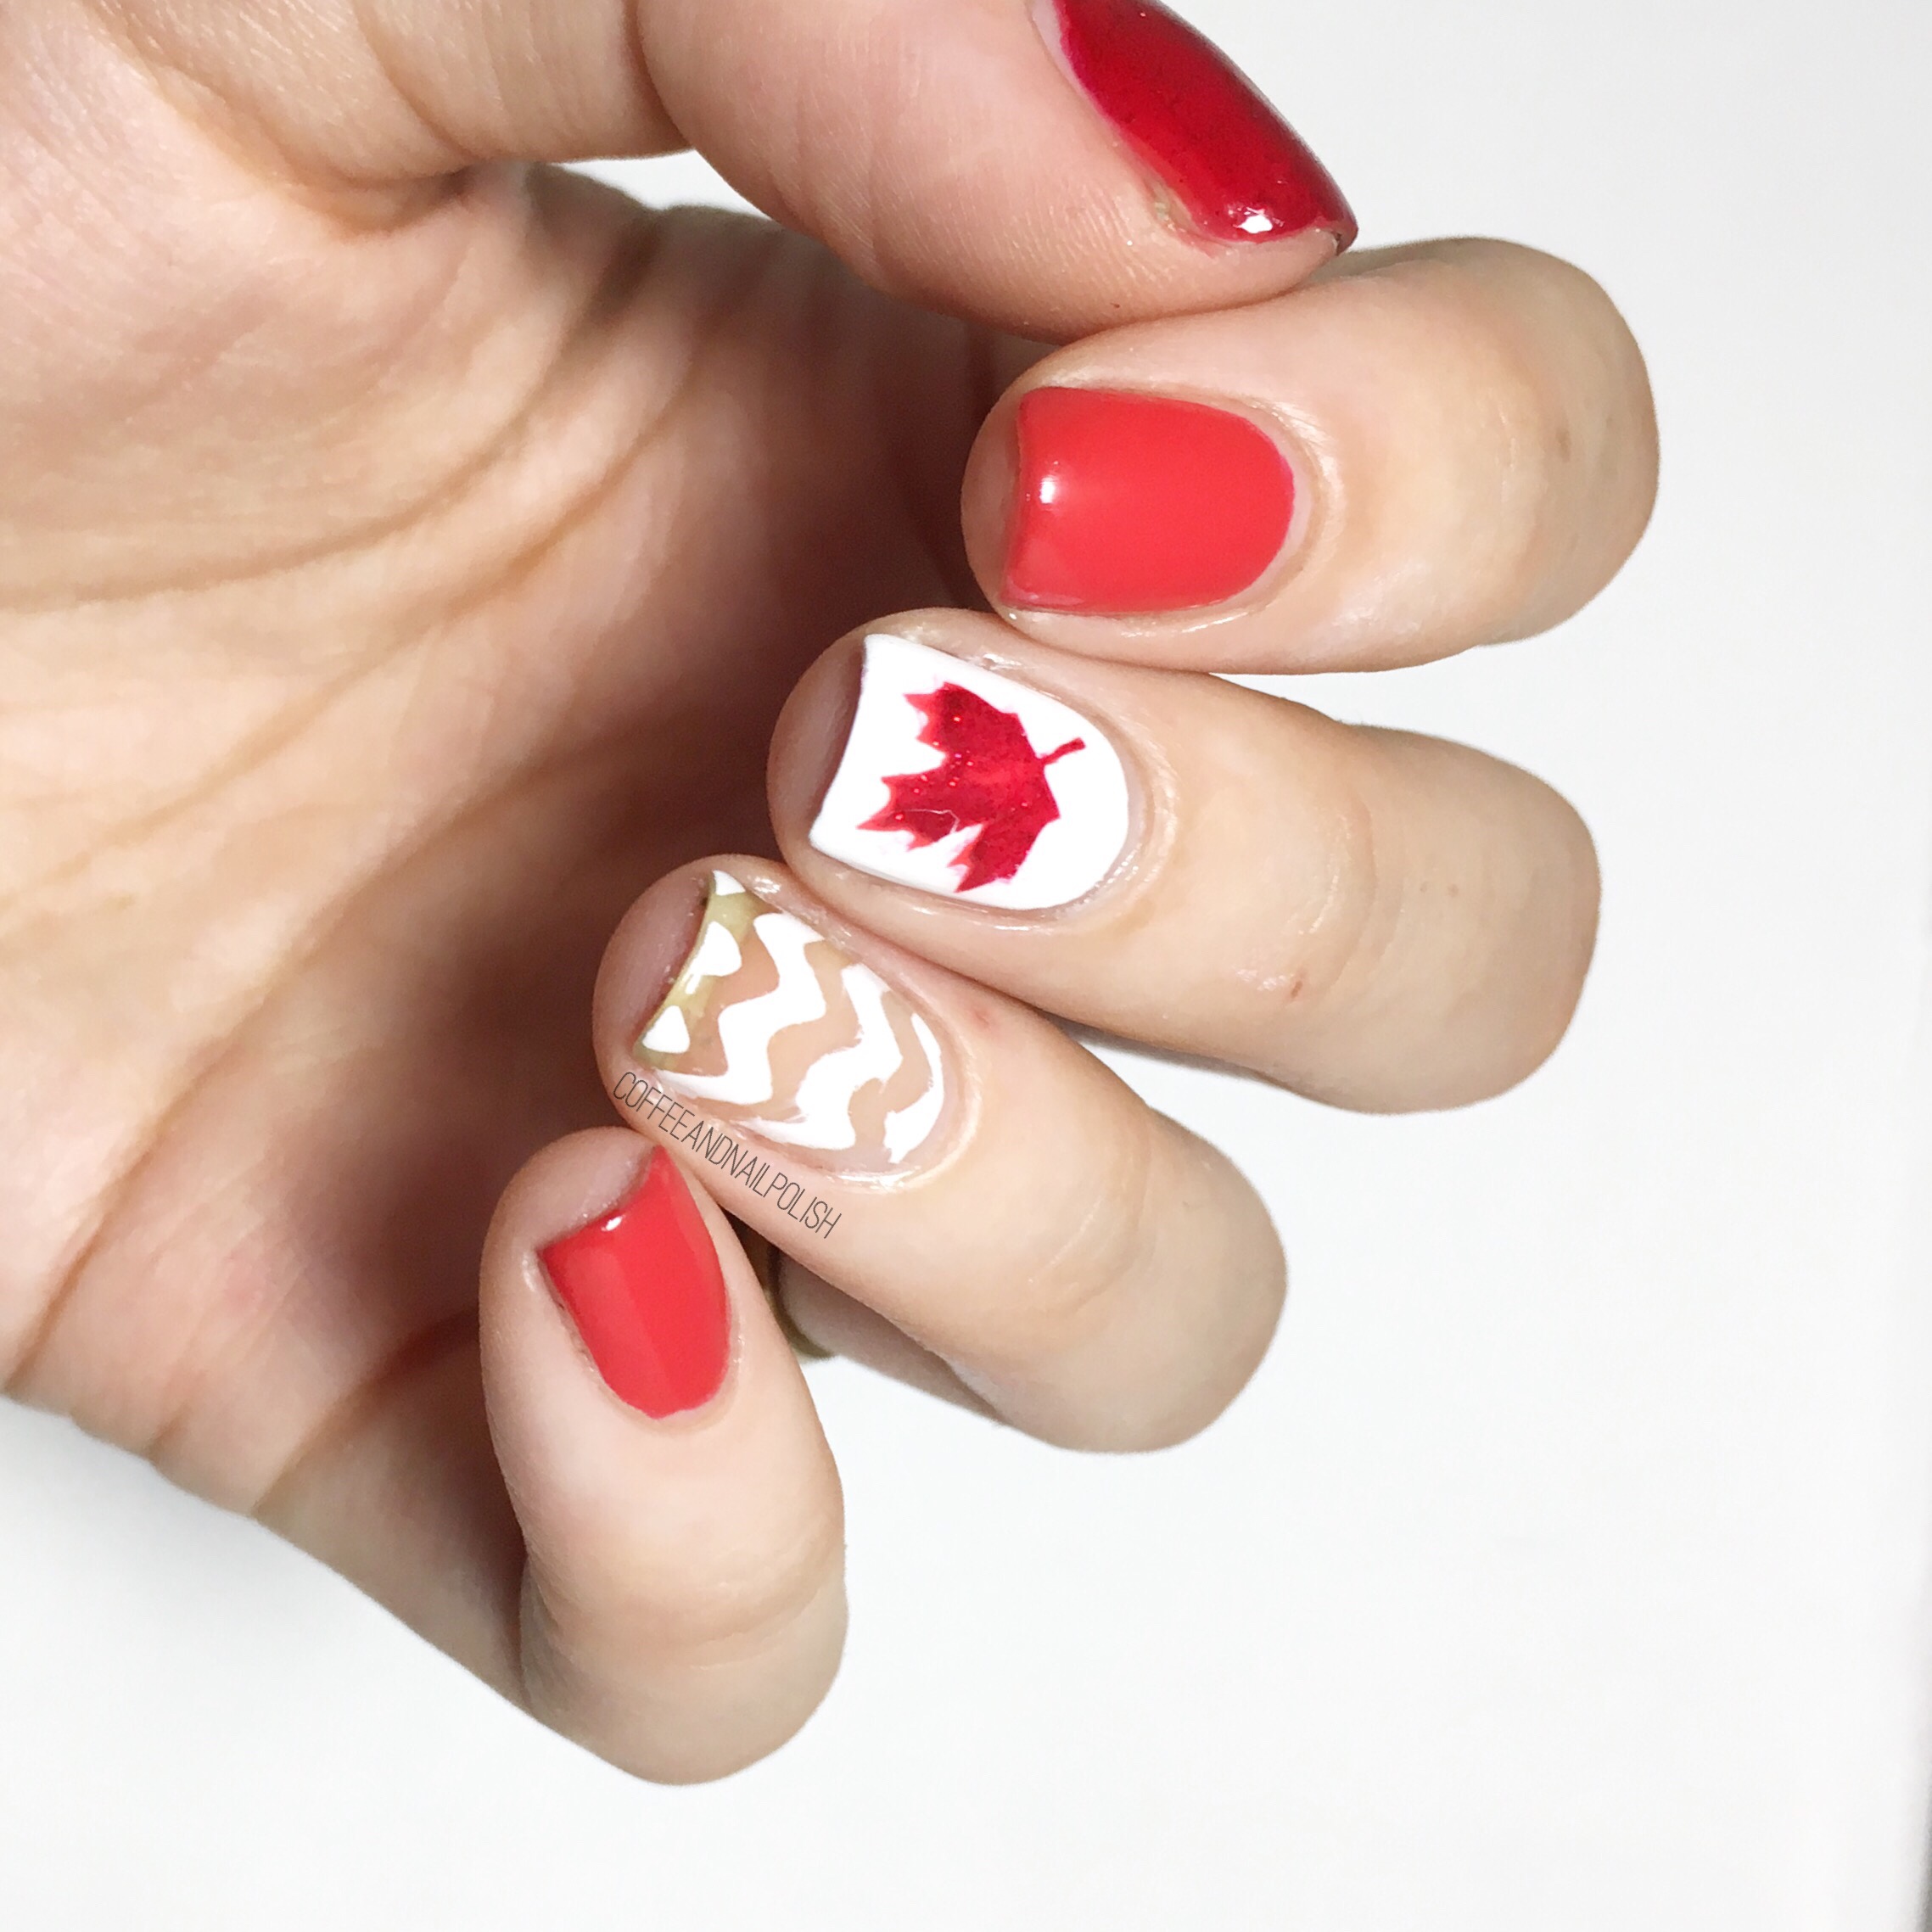
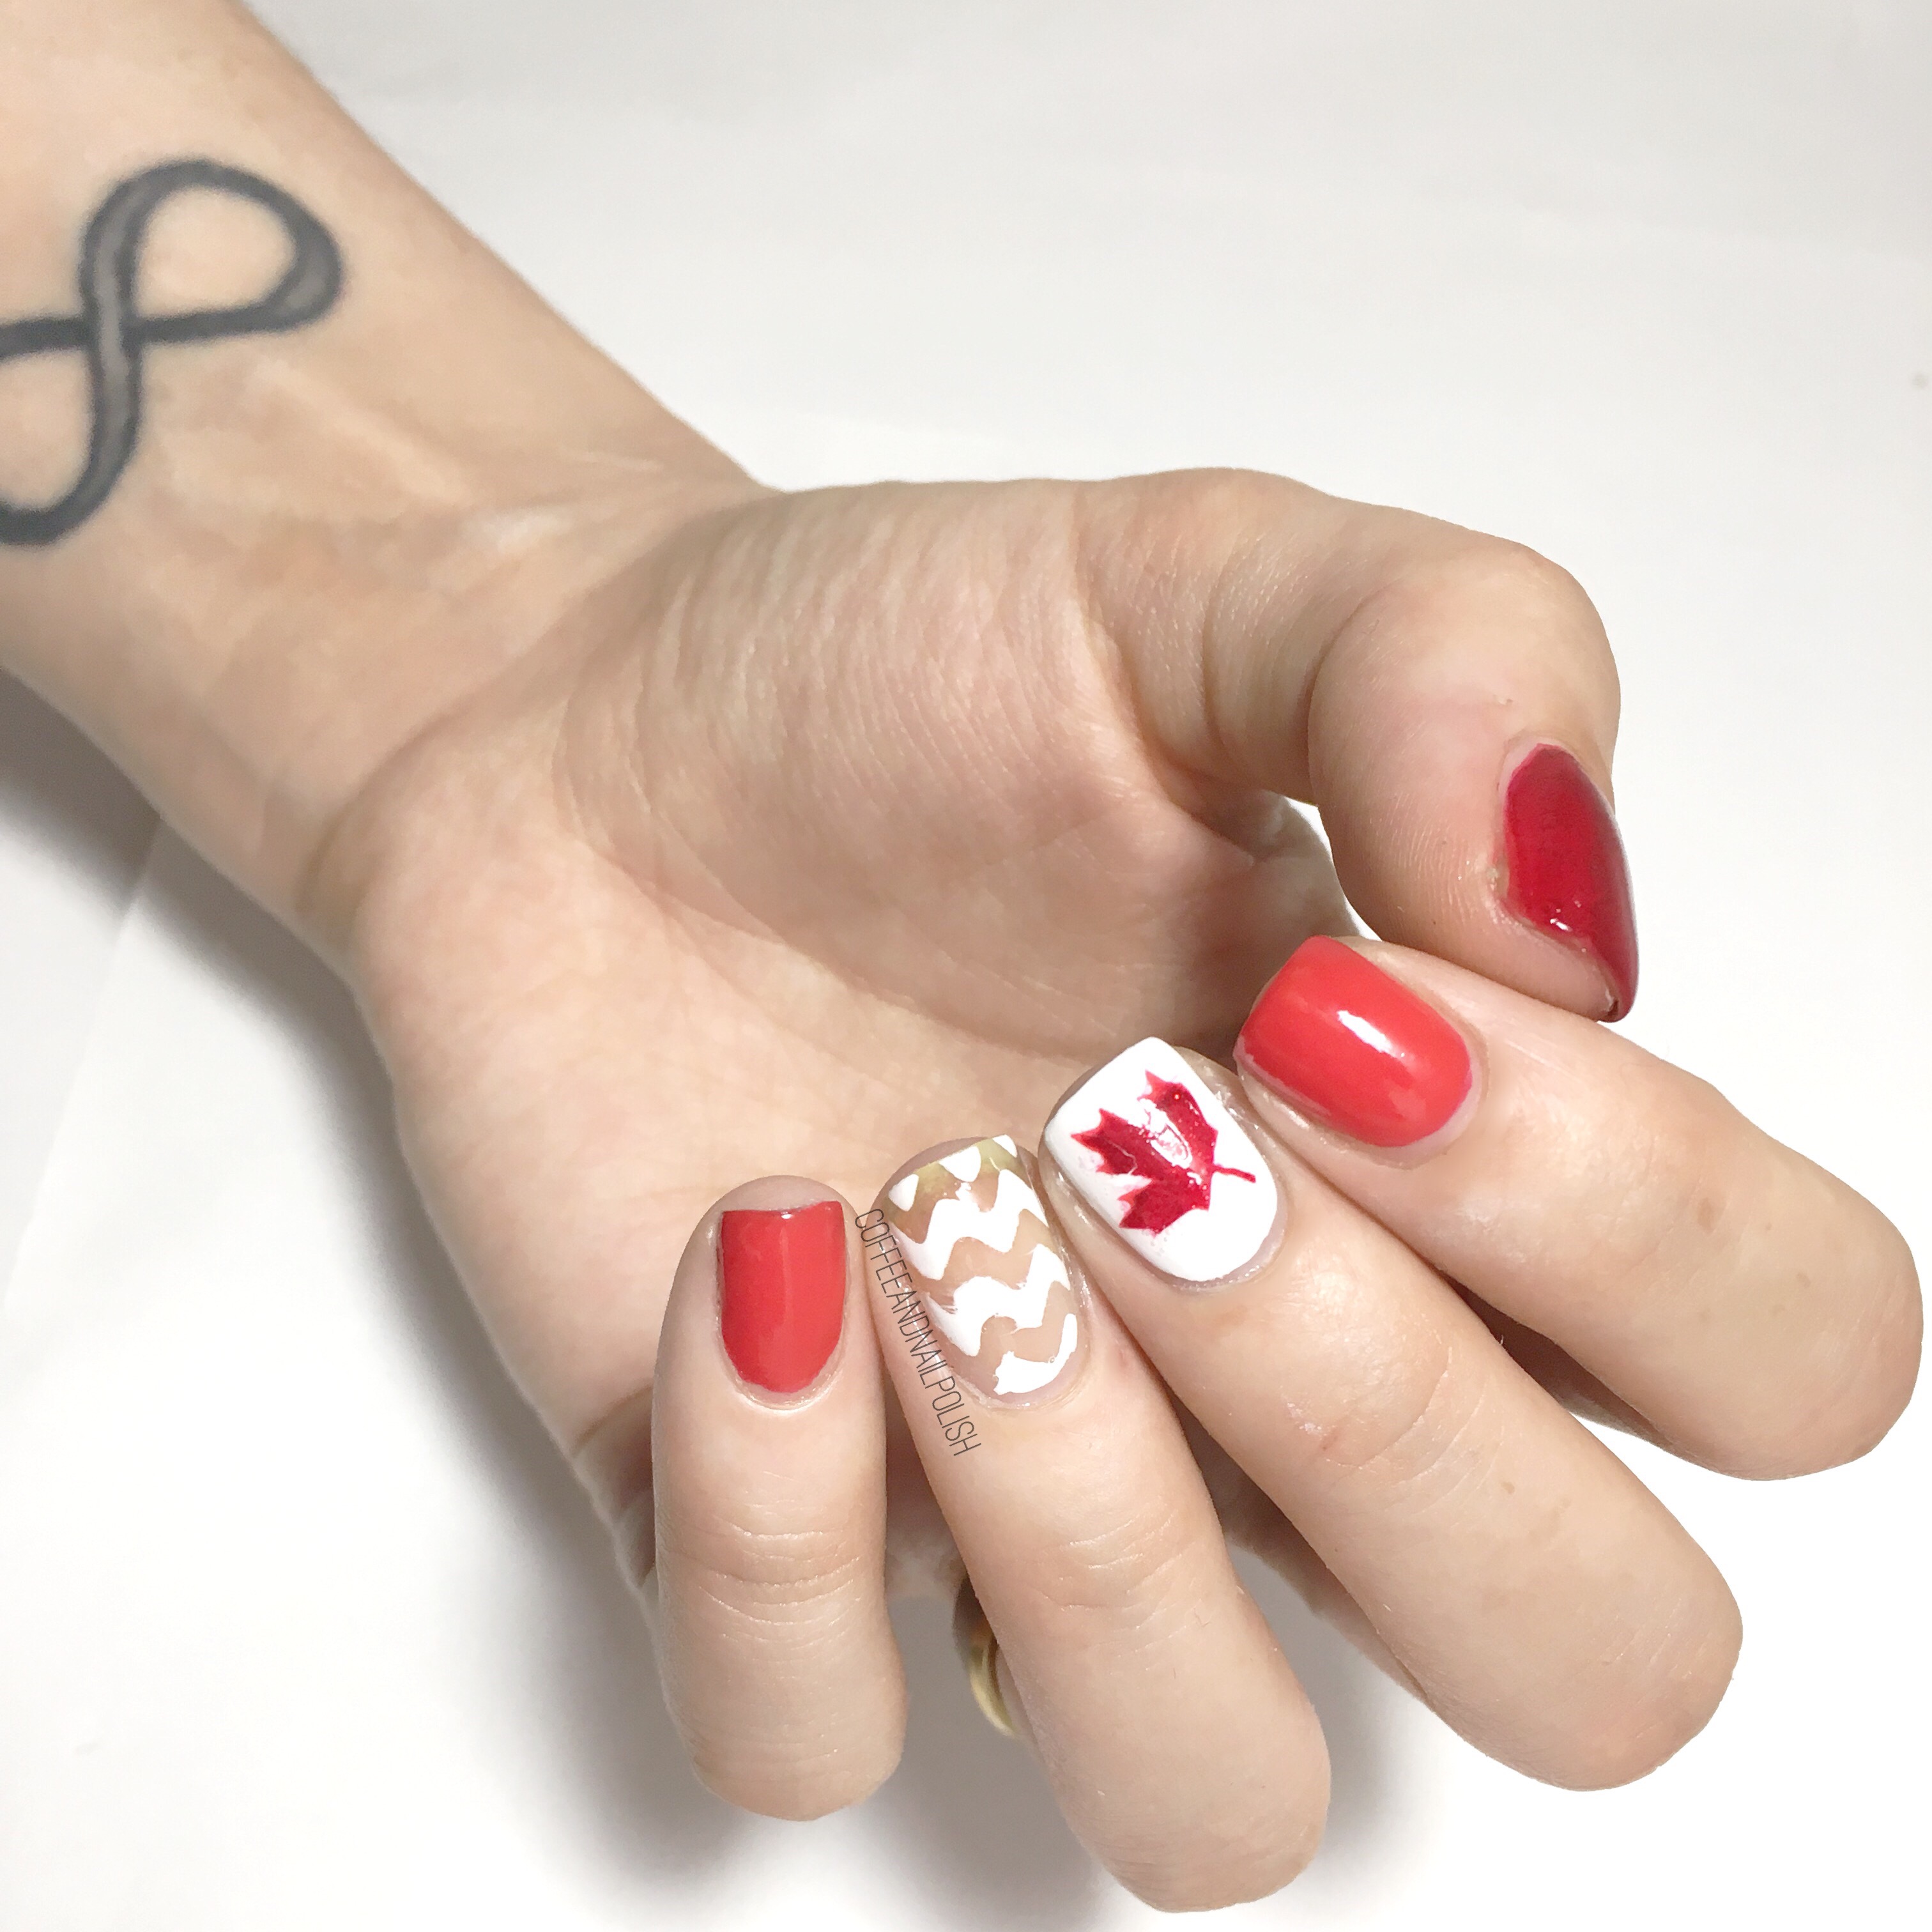
Personally I liked the larger square stamping plate over the smaller round plate. I tried reverse stamping a rose, but it didn’t turn out exactly how I hoped. That plate took a few more tries to get things right, but I did eventually accomplish my goal (even if it wasn’t the prettiest). The smaller plate definitely worked better for me when I was just stamping the image straight onto my nails, & not taking time to be fancy.
All in all, I would definitely recommend this set to anyone itching to try out stamping, but would warn practice does make perfect. Don’t be frustrated if it takes a bit of time to get things looking perfect because the end result is worth it.
If you’re interested in ordering this stamping set (or something else) from Born Pretty Store feel free to use my discount code COFFK31 to save 10% off any regular price items! I’ve been ordering from them for years, & I love the wide variety of products you can find for all your nail polish addict needs!


