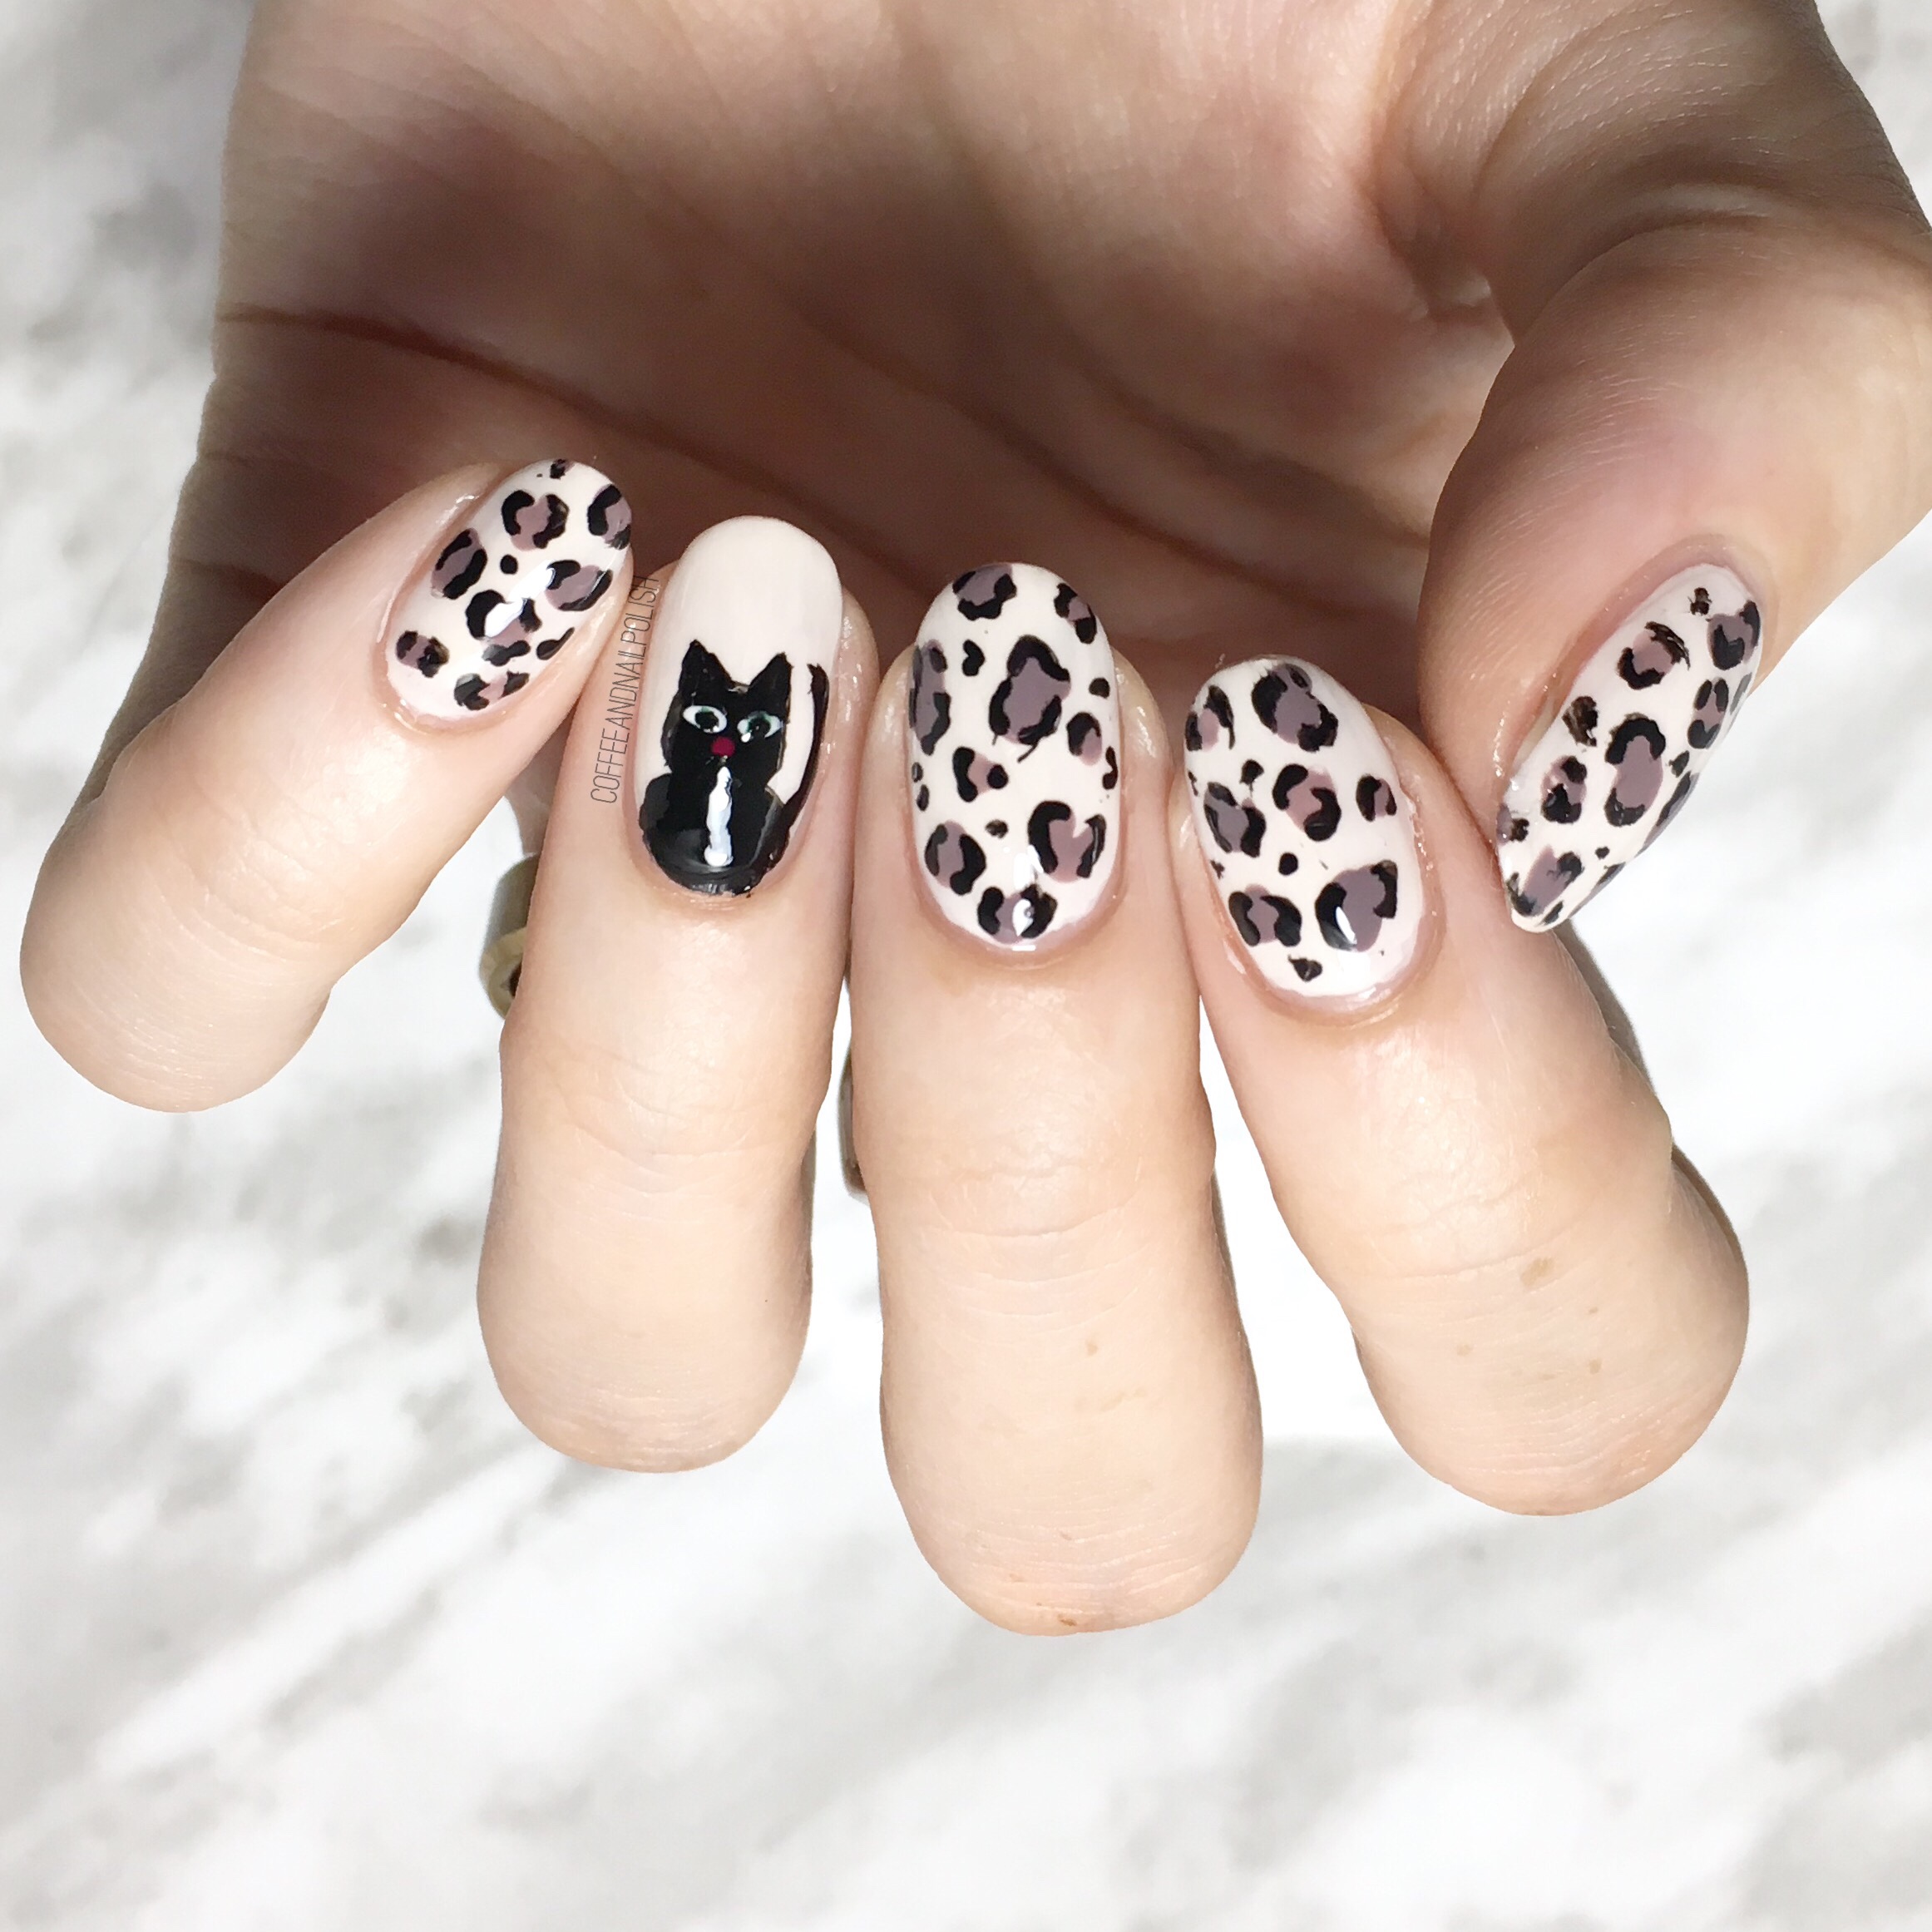
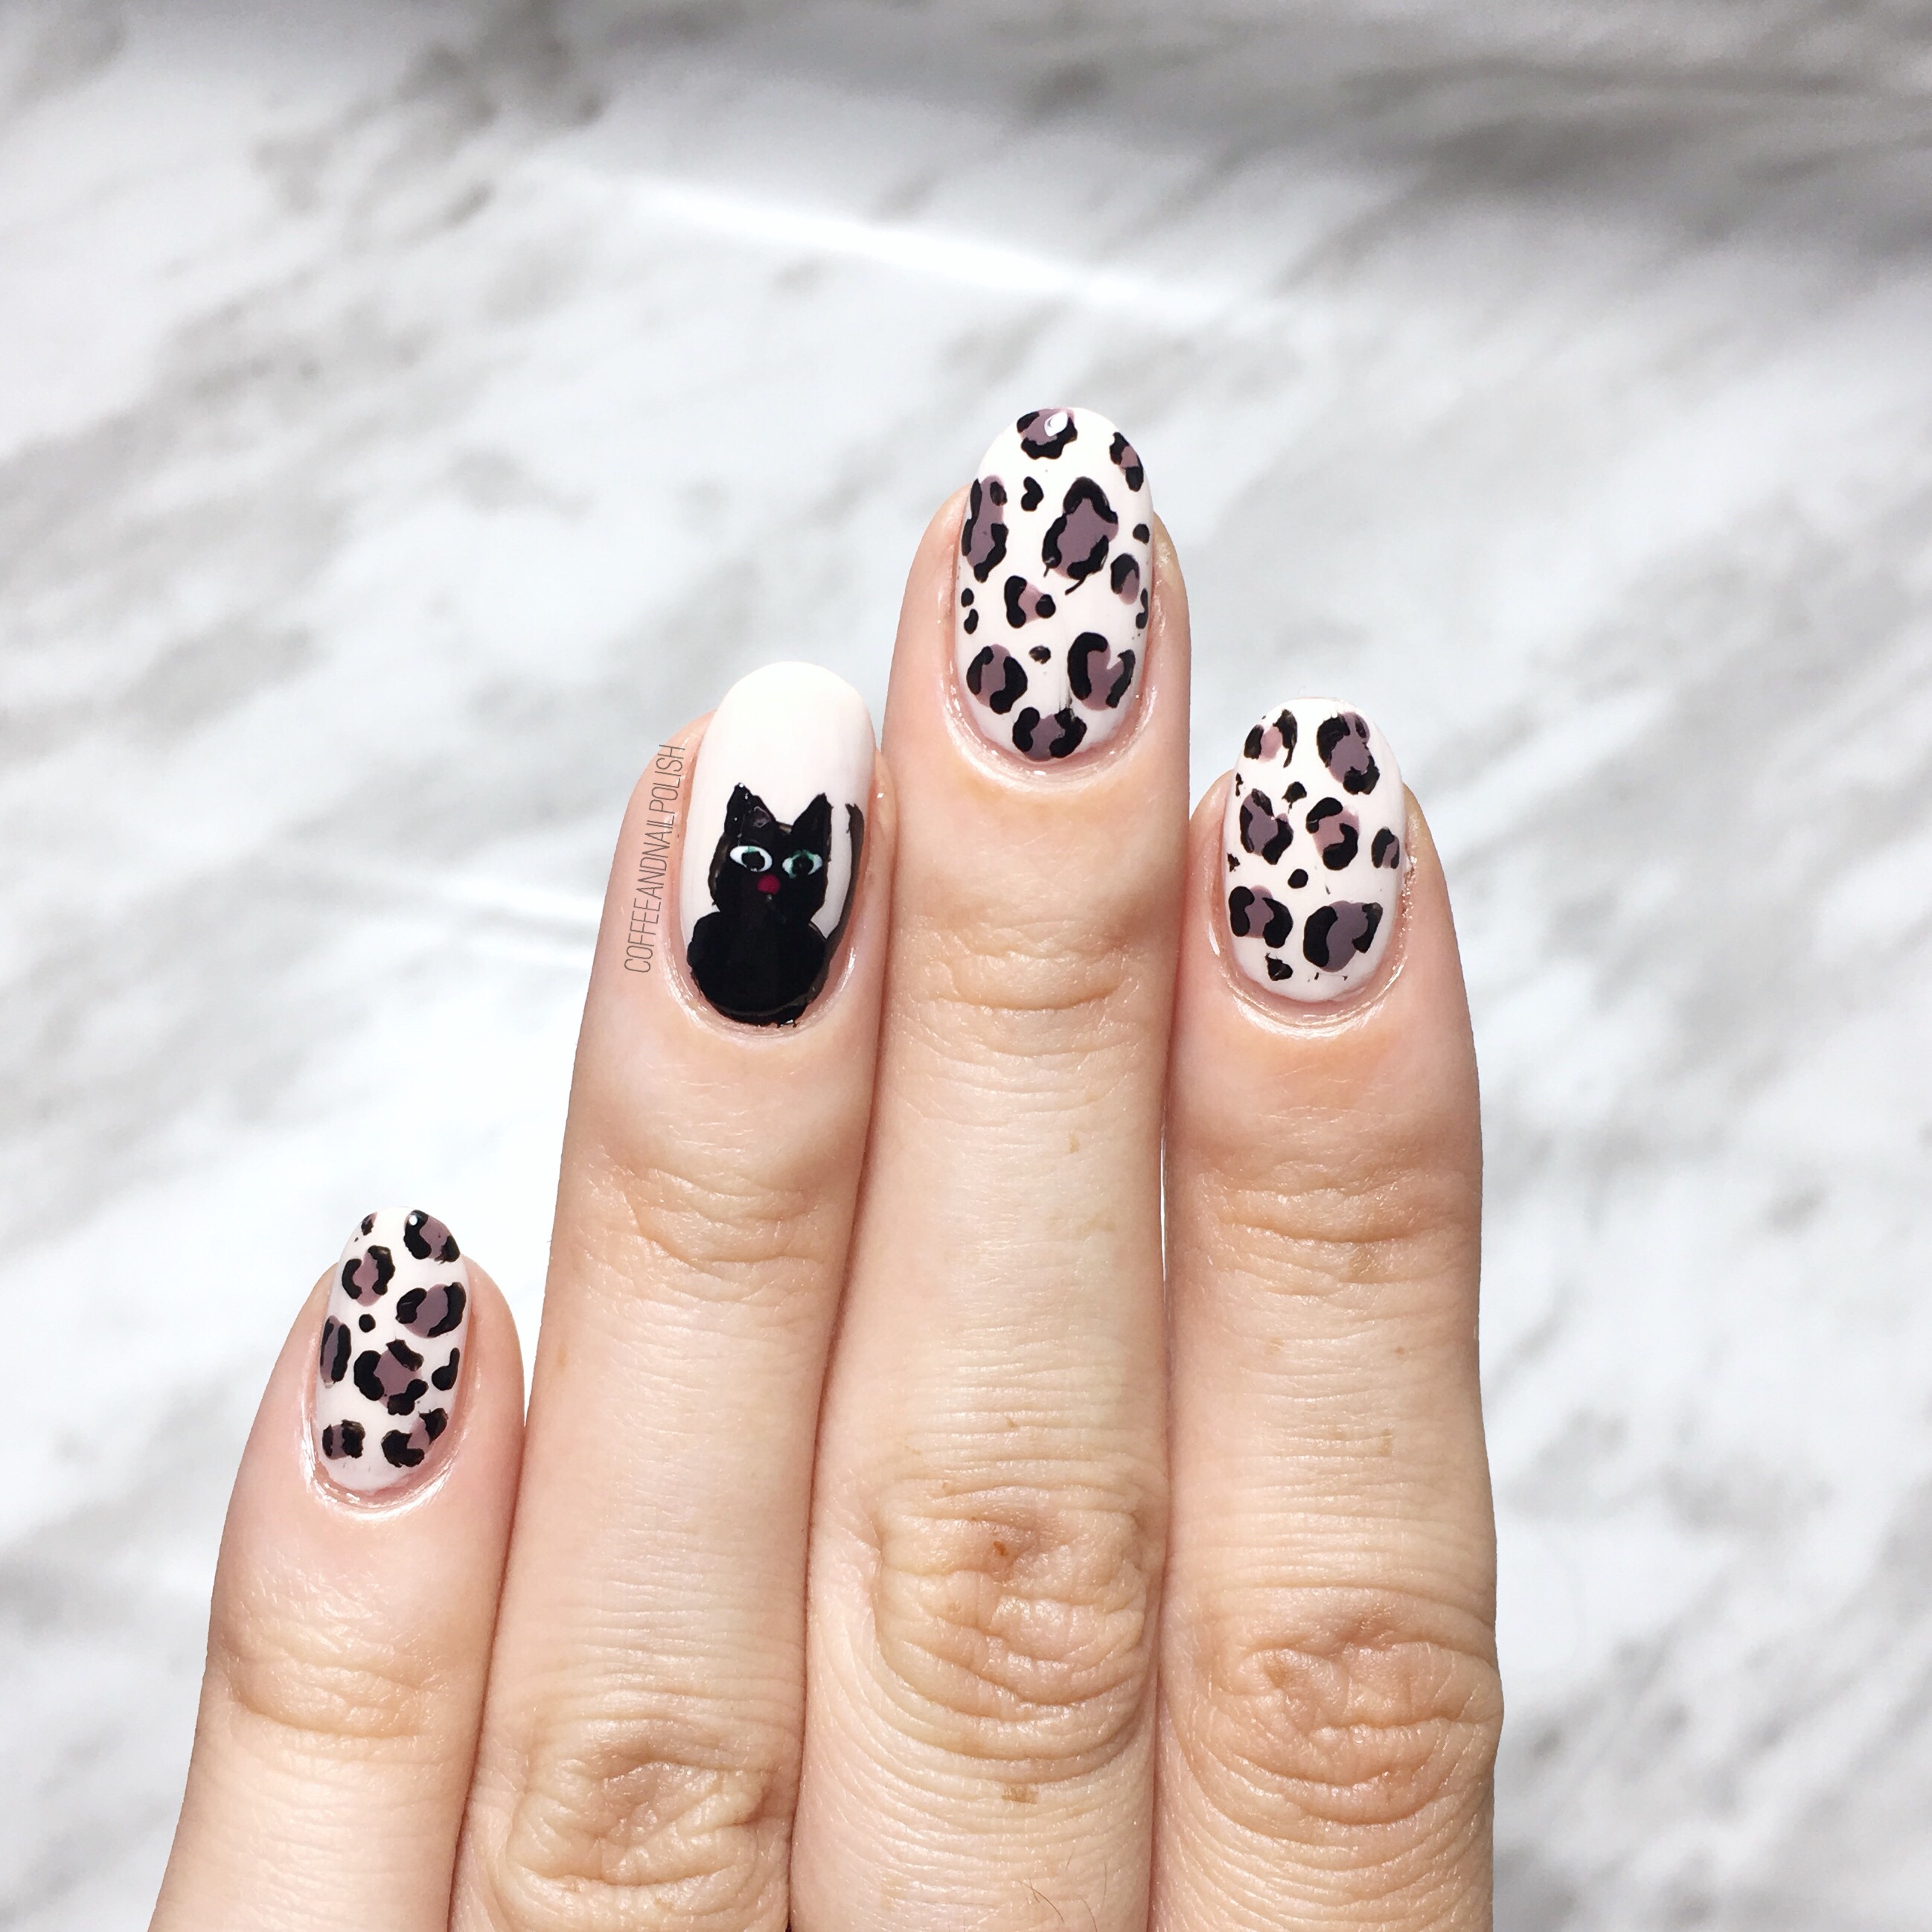
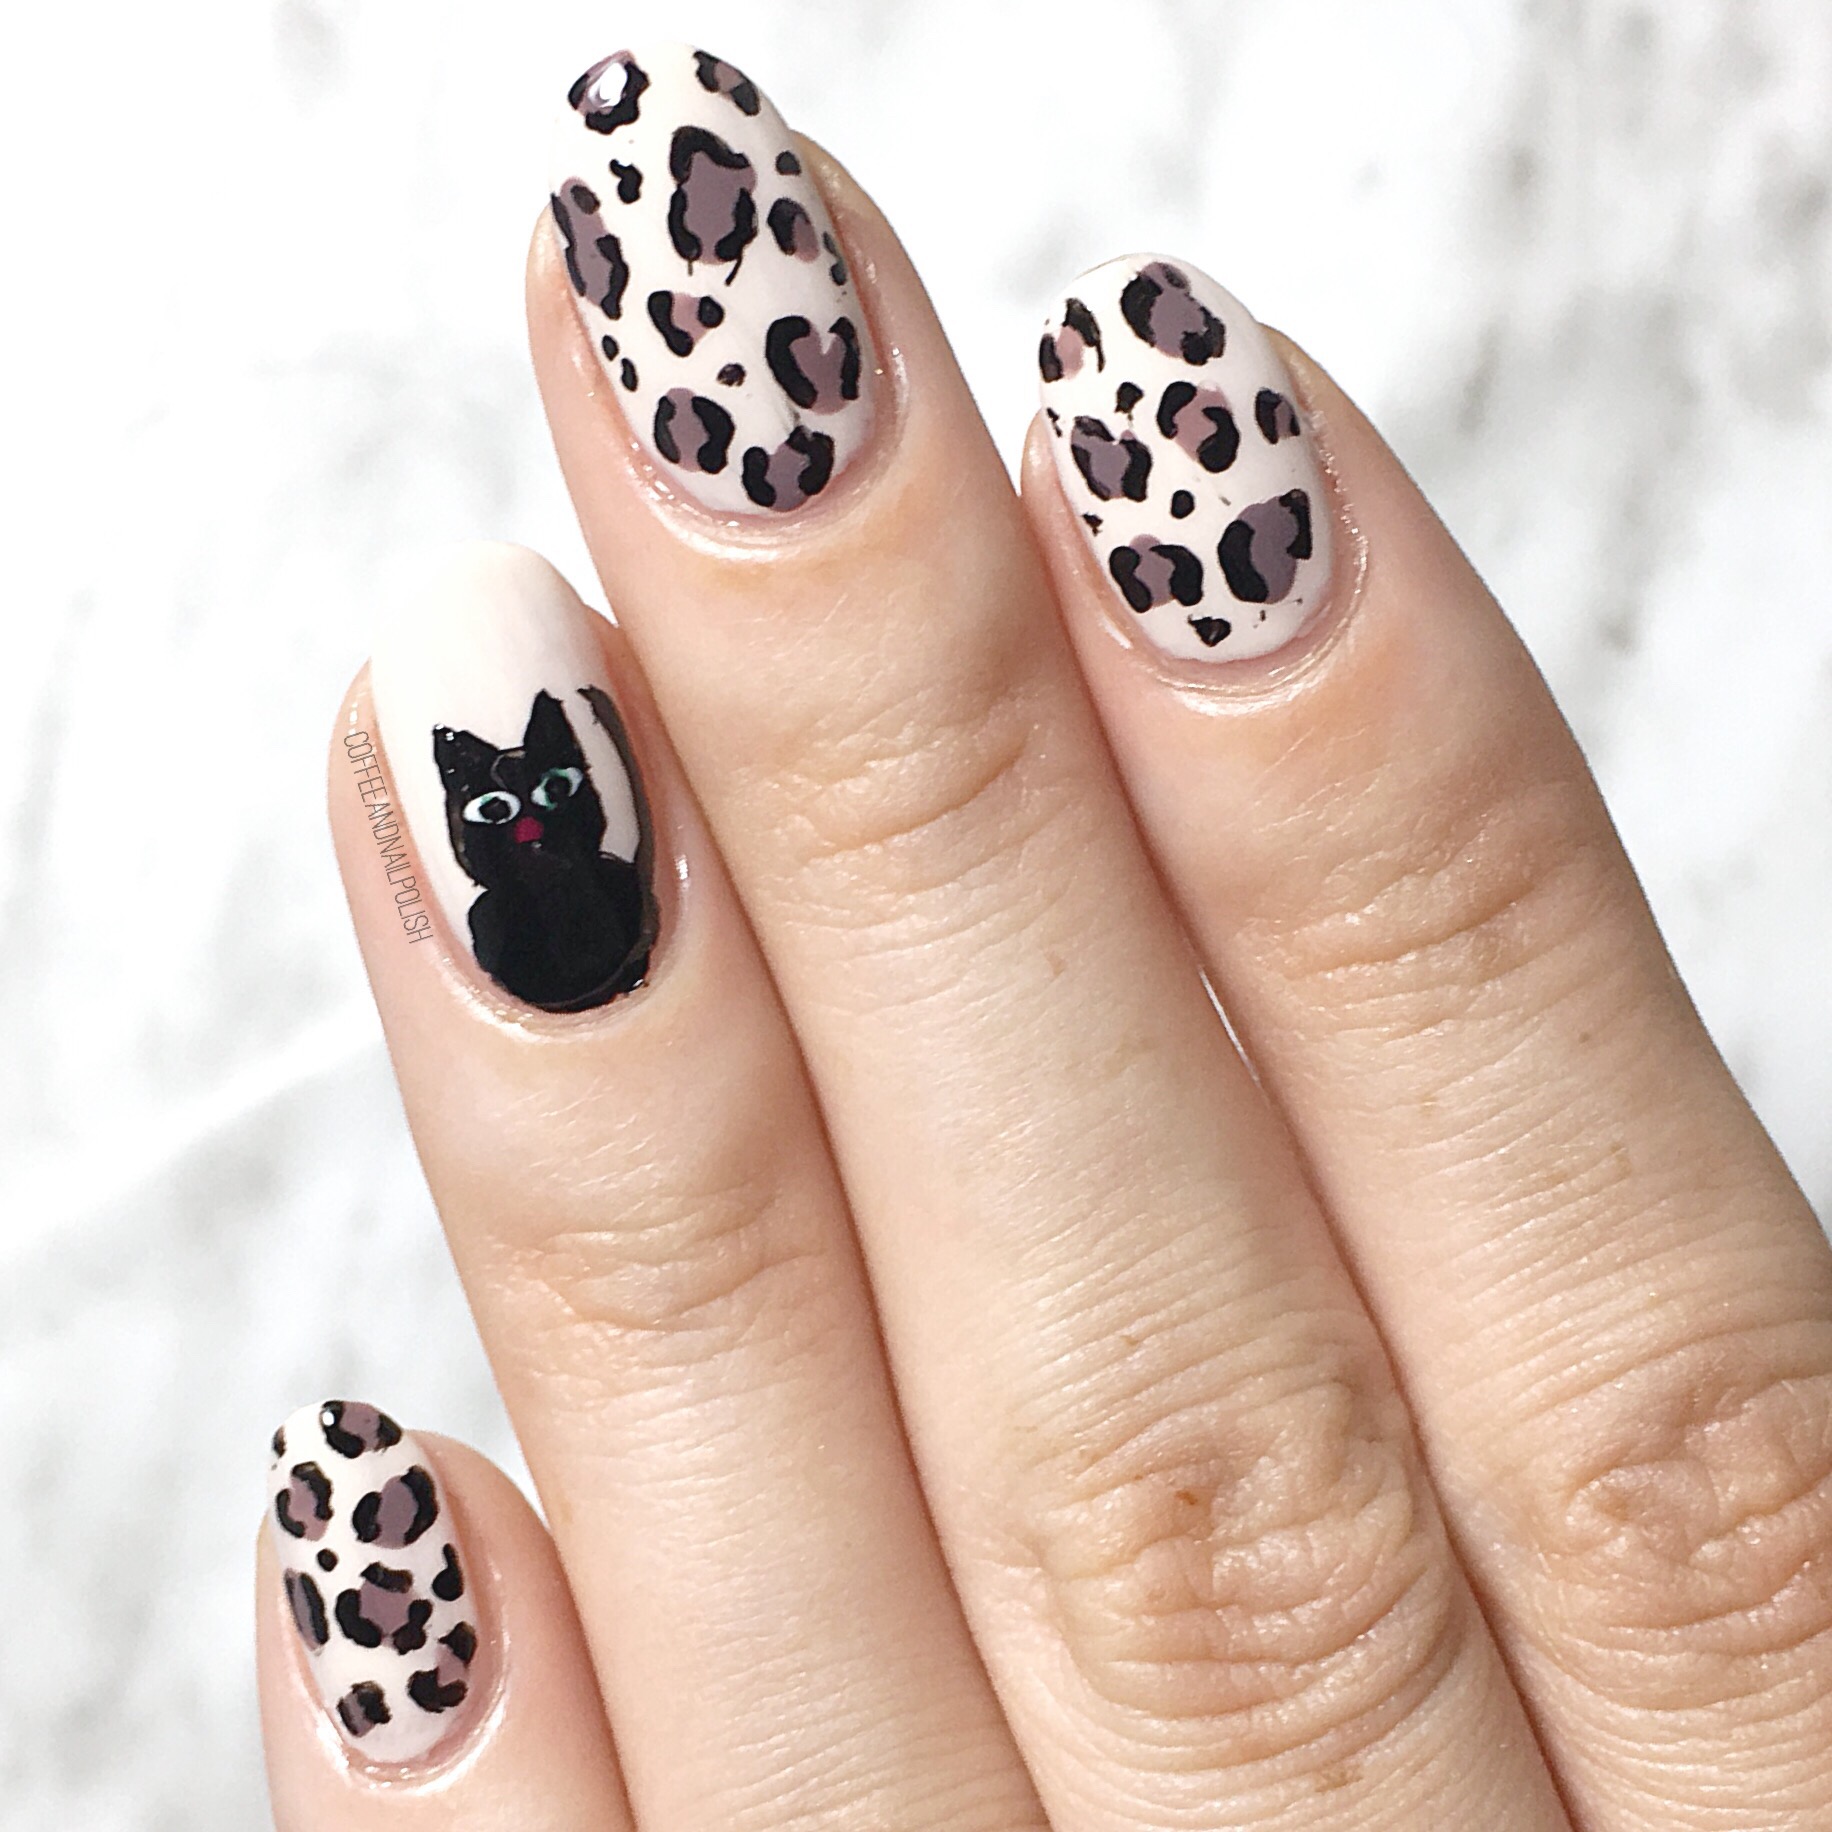
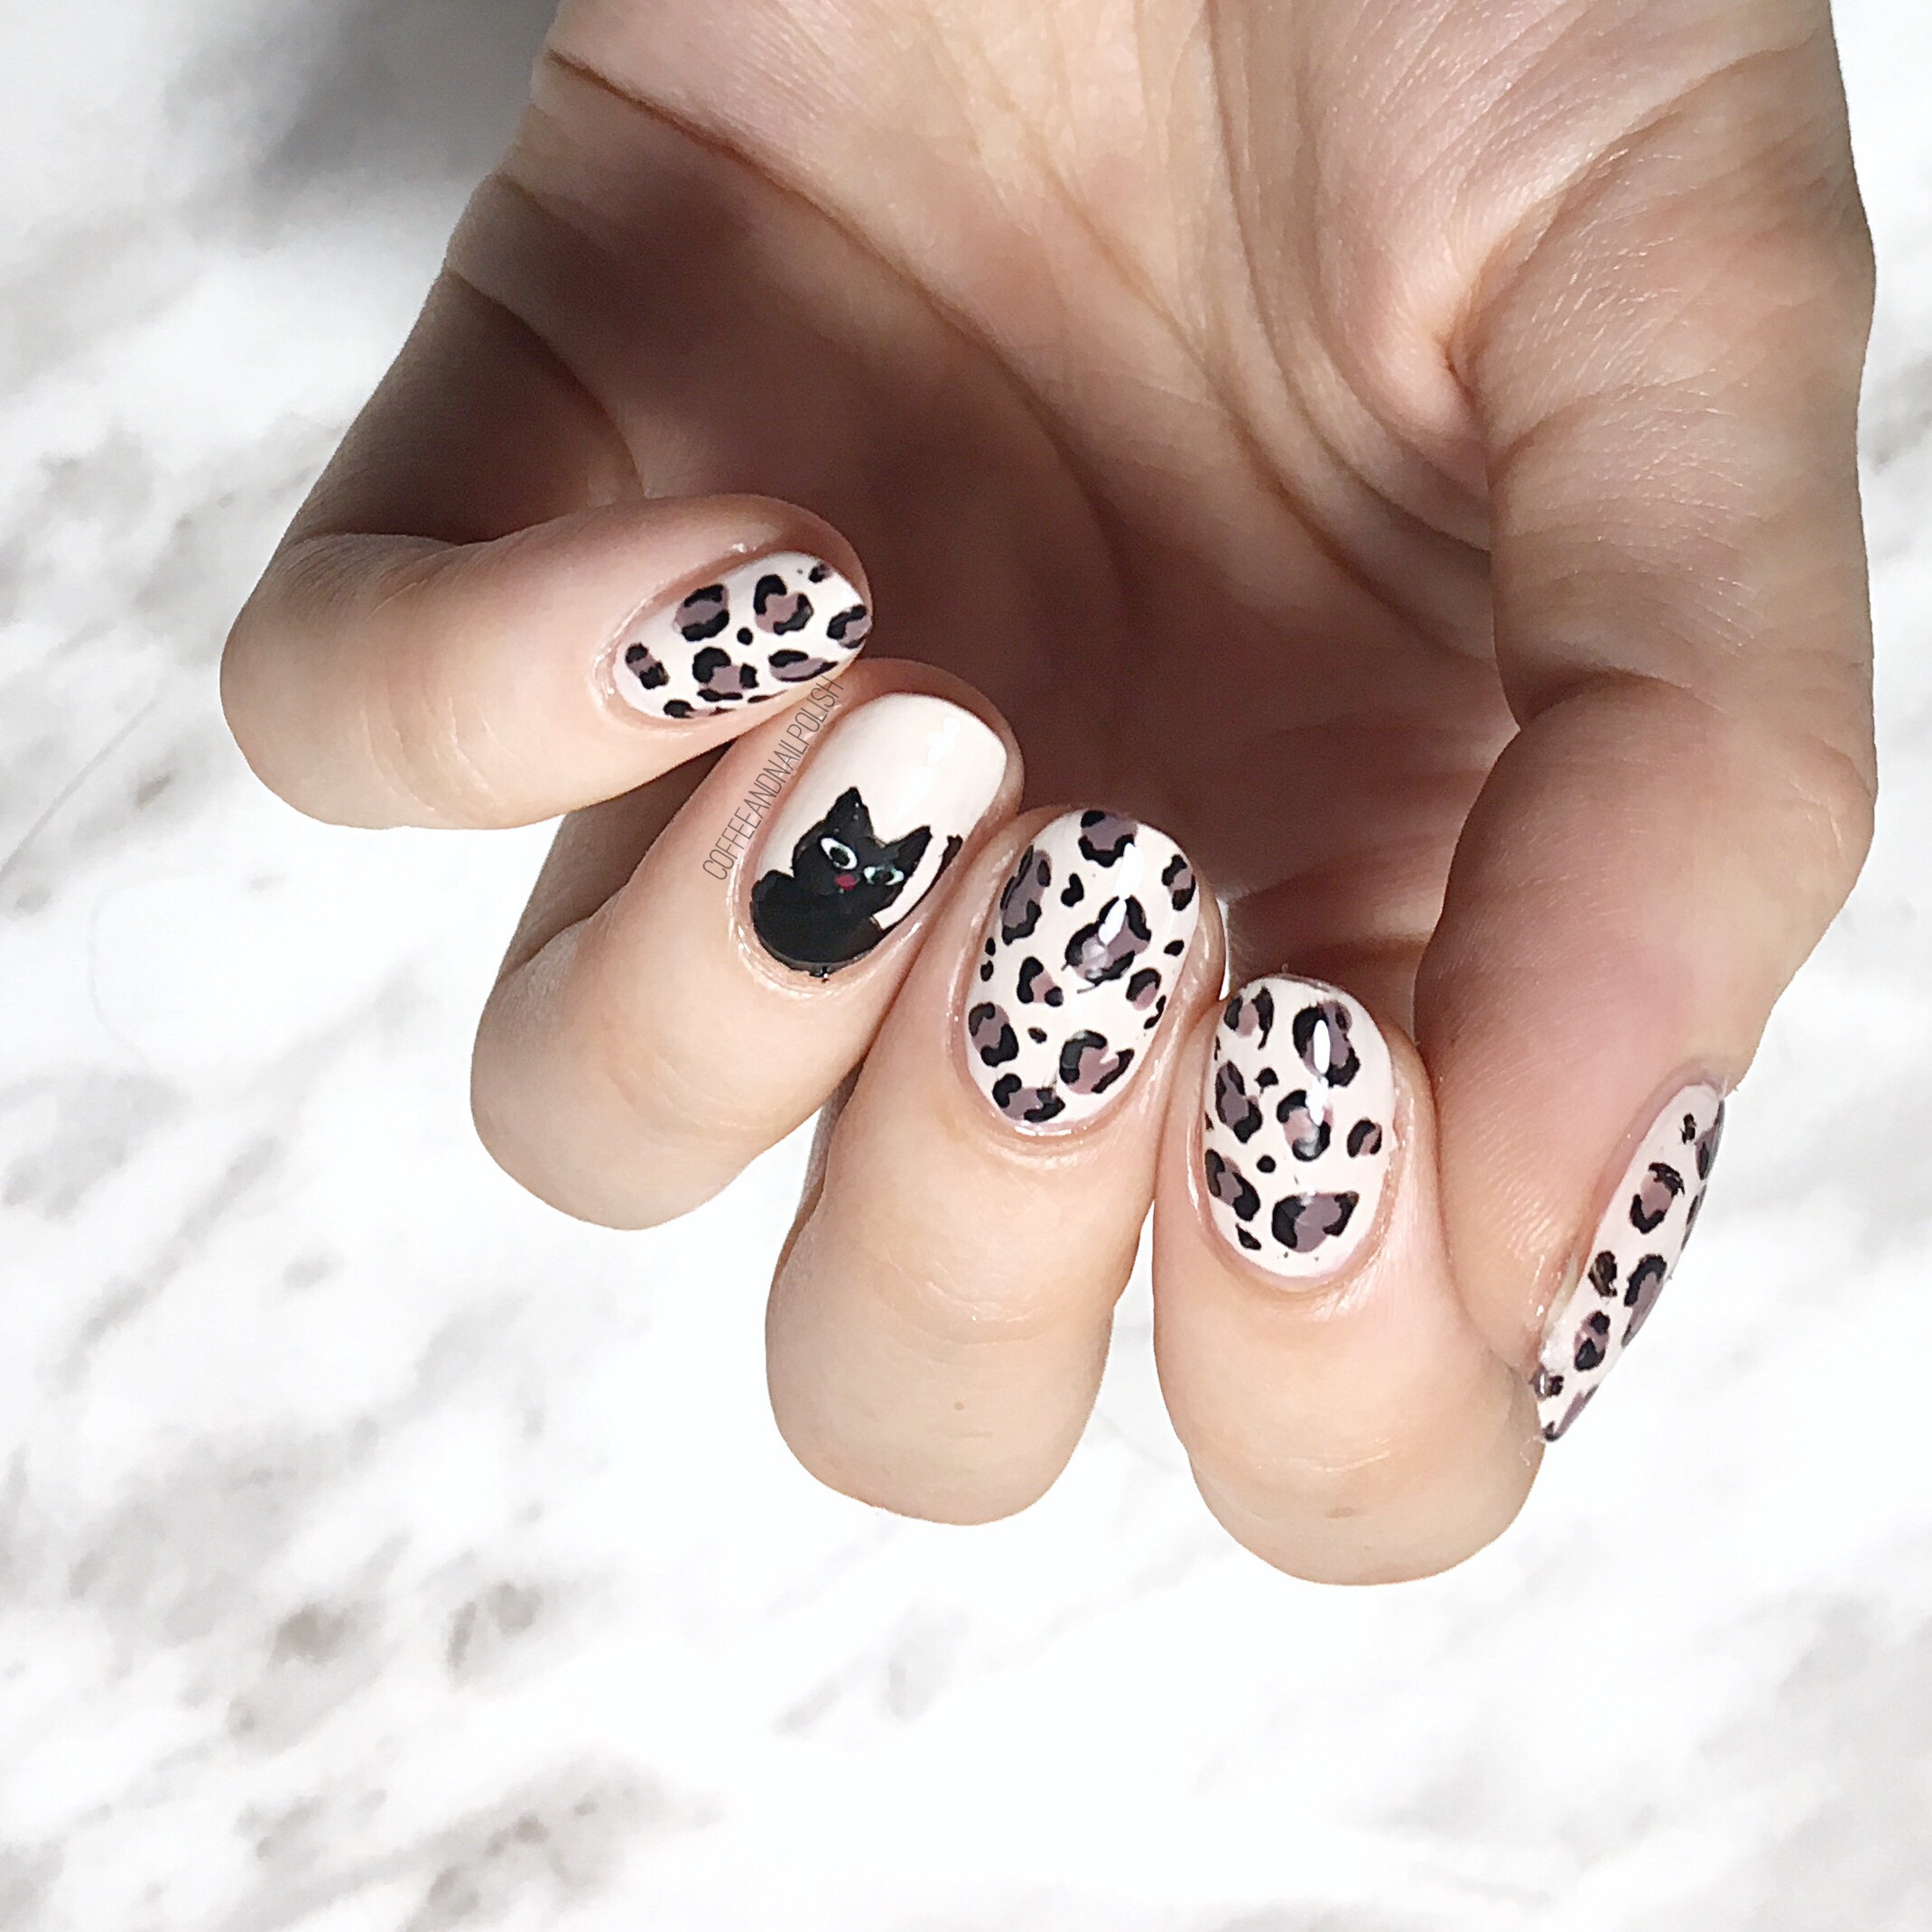
Throwback Thursday Halloween Nails

October is quickly speeding by, so I need to amp up my Halloween designs! 🎃

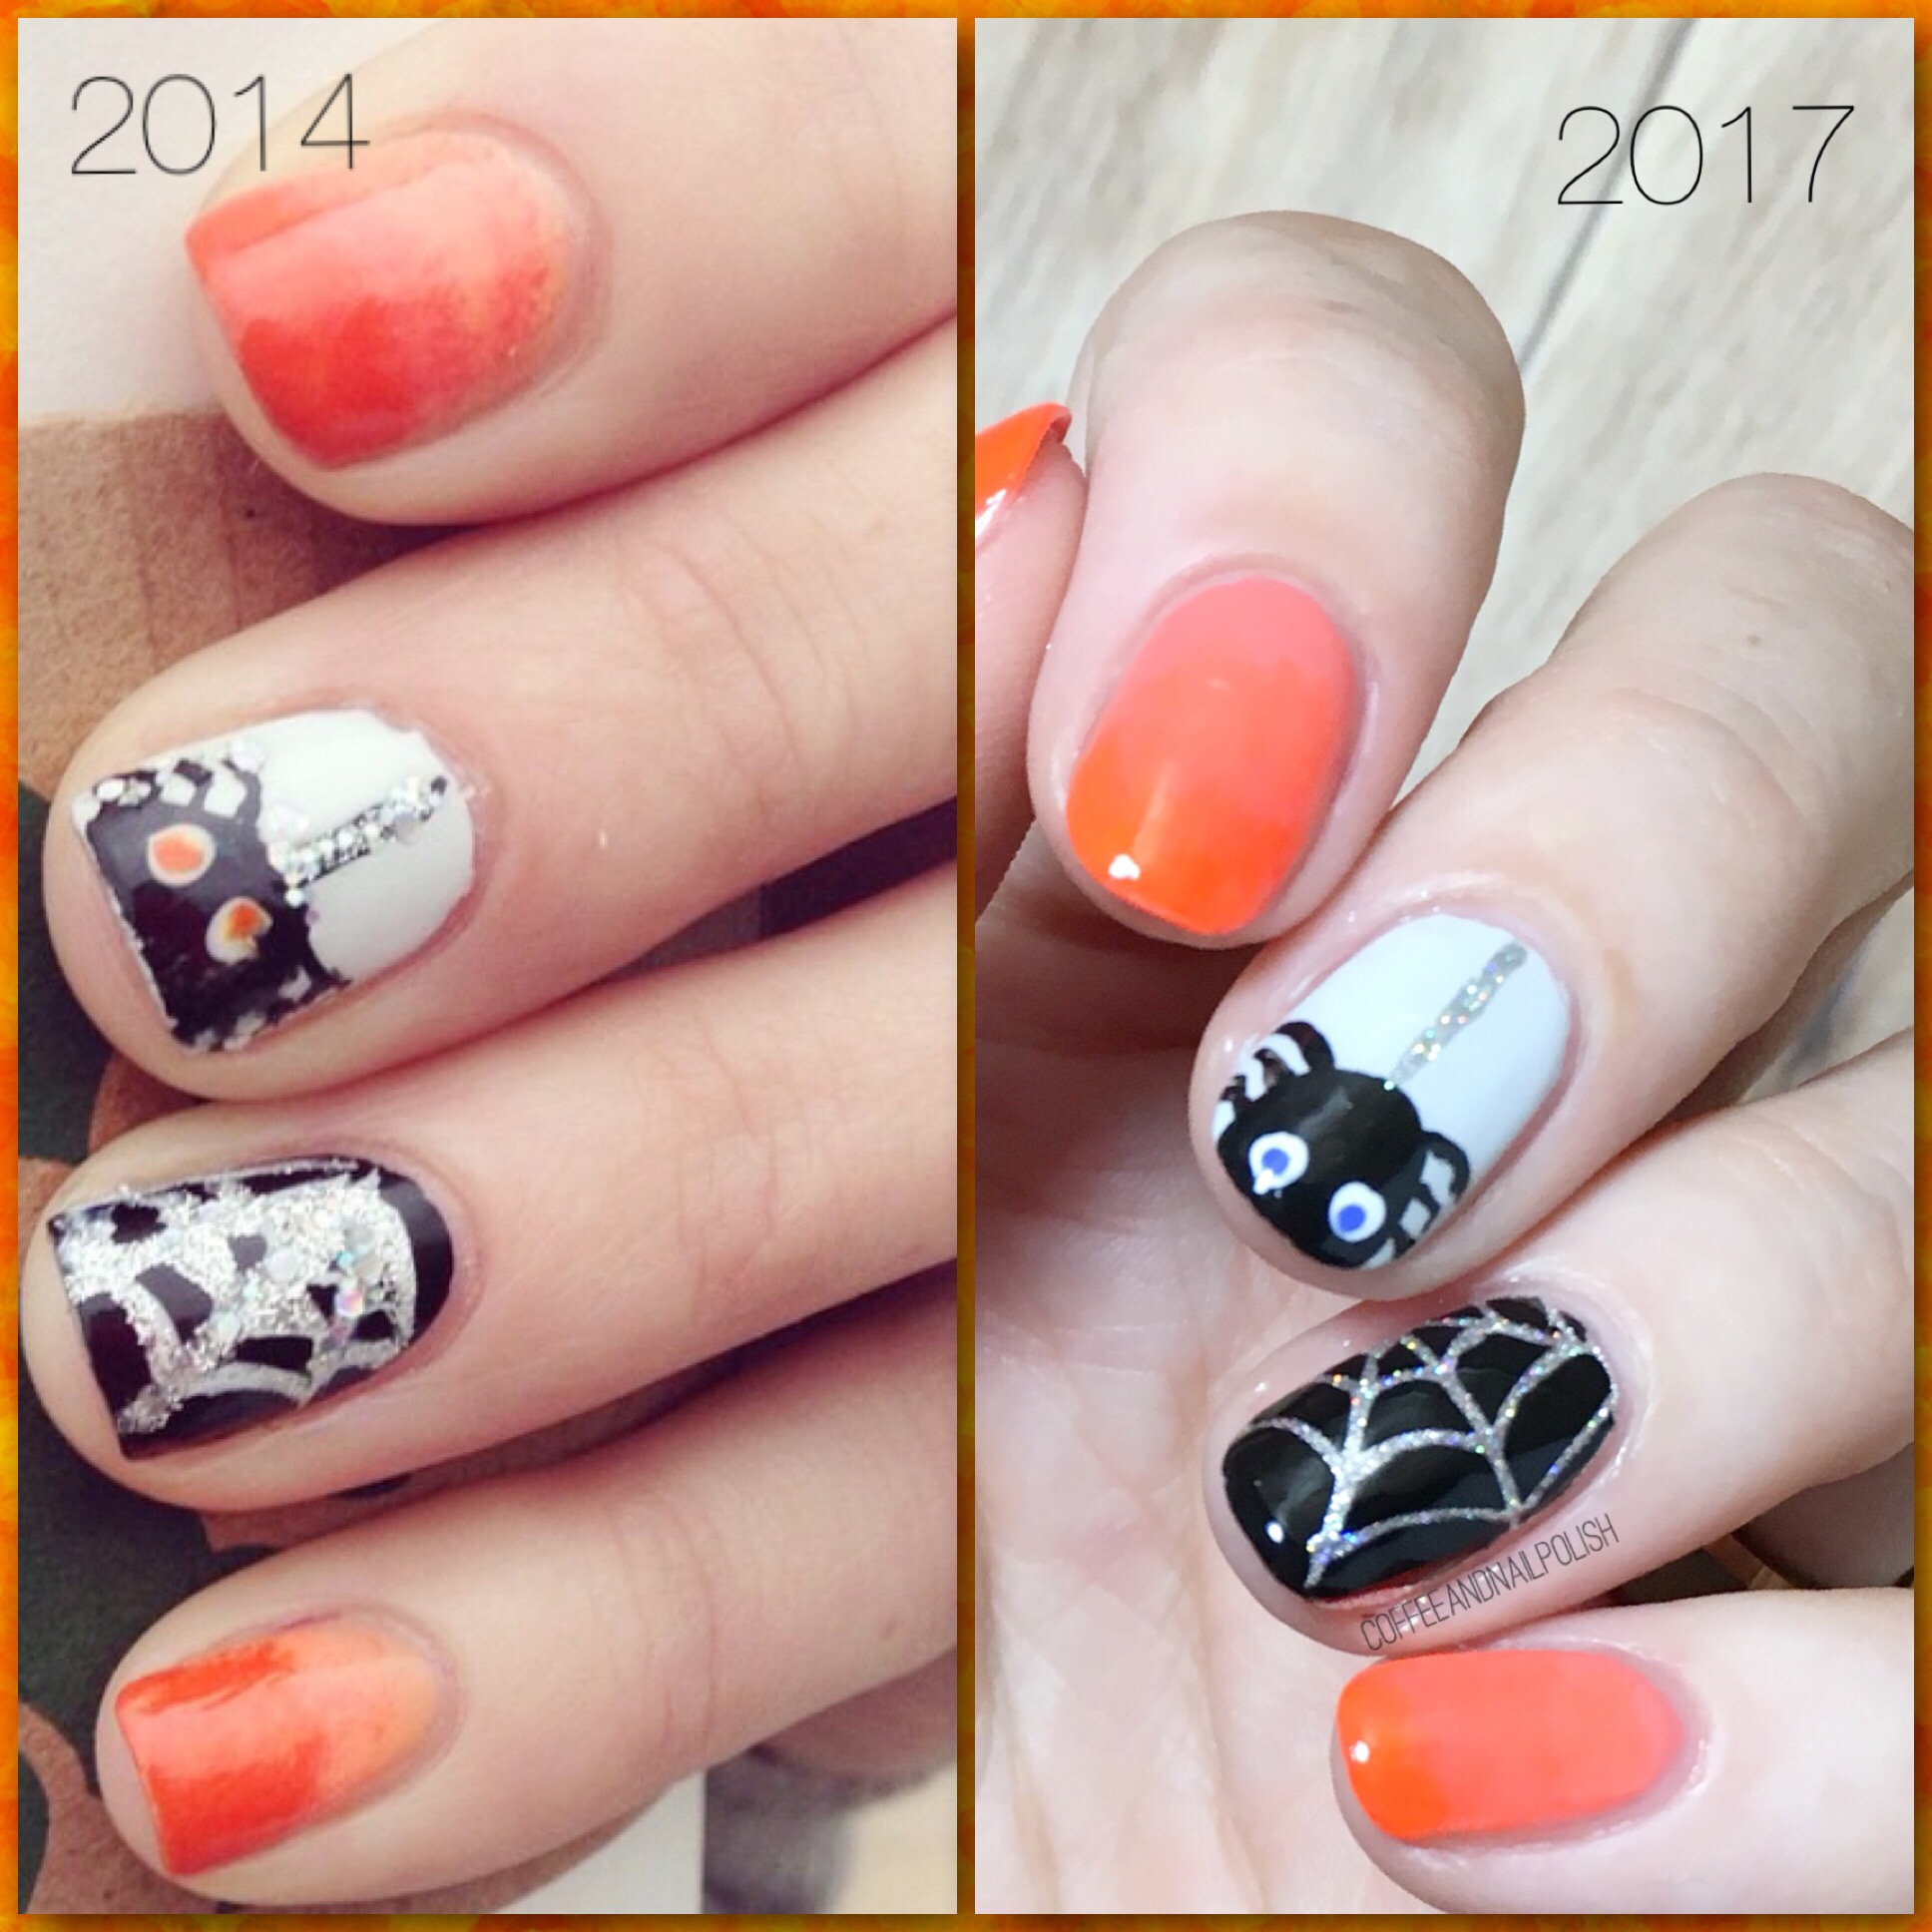
 This time I decided to recreate a design I did all the way back in 2014 (originally done with @mynailpolish_addiction as part of a bestie twin nail collab.) Even though I had spiders, I always thought this design was adorable so I wanted to recreate it. 

For this manicure, the polishes used were:

  • Base Coat: OPI Natural Nail Base Coat
  • Top Coat: Cutex Quick Dry Top Coat
  • L’Oréal Orange You Jealous?
  • Color Club Wham! Pow!
  • OPI I Cannoli Wear OPI 
  • Sally Hansen Hard To Get Black Heart
  • Essie No Place like Chrome
  • Revlon Holographic Pearls
  • Sally Hansen Xtreme Wear Pacific Blue
  • The Base Coat Spiderweb nail stencil 
  • Small detail brush from Bundle Monster
  • Latex Free Make Up Sponge 

I thought these nails were super cute when I did them originally, & I still think they’re super cute. & I definitely feel like they turned out a little less wonky this time around. Sometimes when I feel like my nails suck & I have no talent & I’m feeling especially hard on myself it’s nice to do these recreations to see how far I’ve come. I may not be the most insanely talented nail artist, but I’m hugely proud of how far I’ve come. 

What do you think of this Halloween design? Let me know your thoughts in the comments below! 

Graveyard Nail Stencils with NailPolishCanada (& how to score your own set of vinyls for free!)

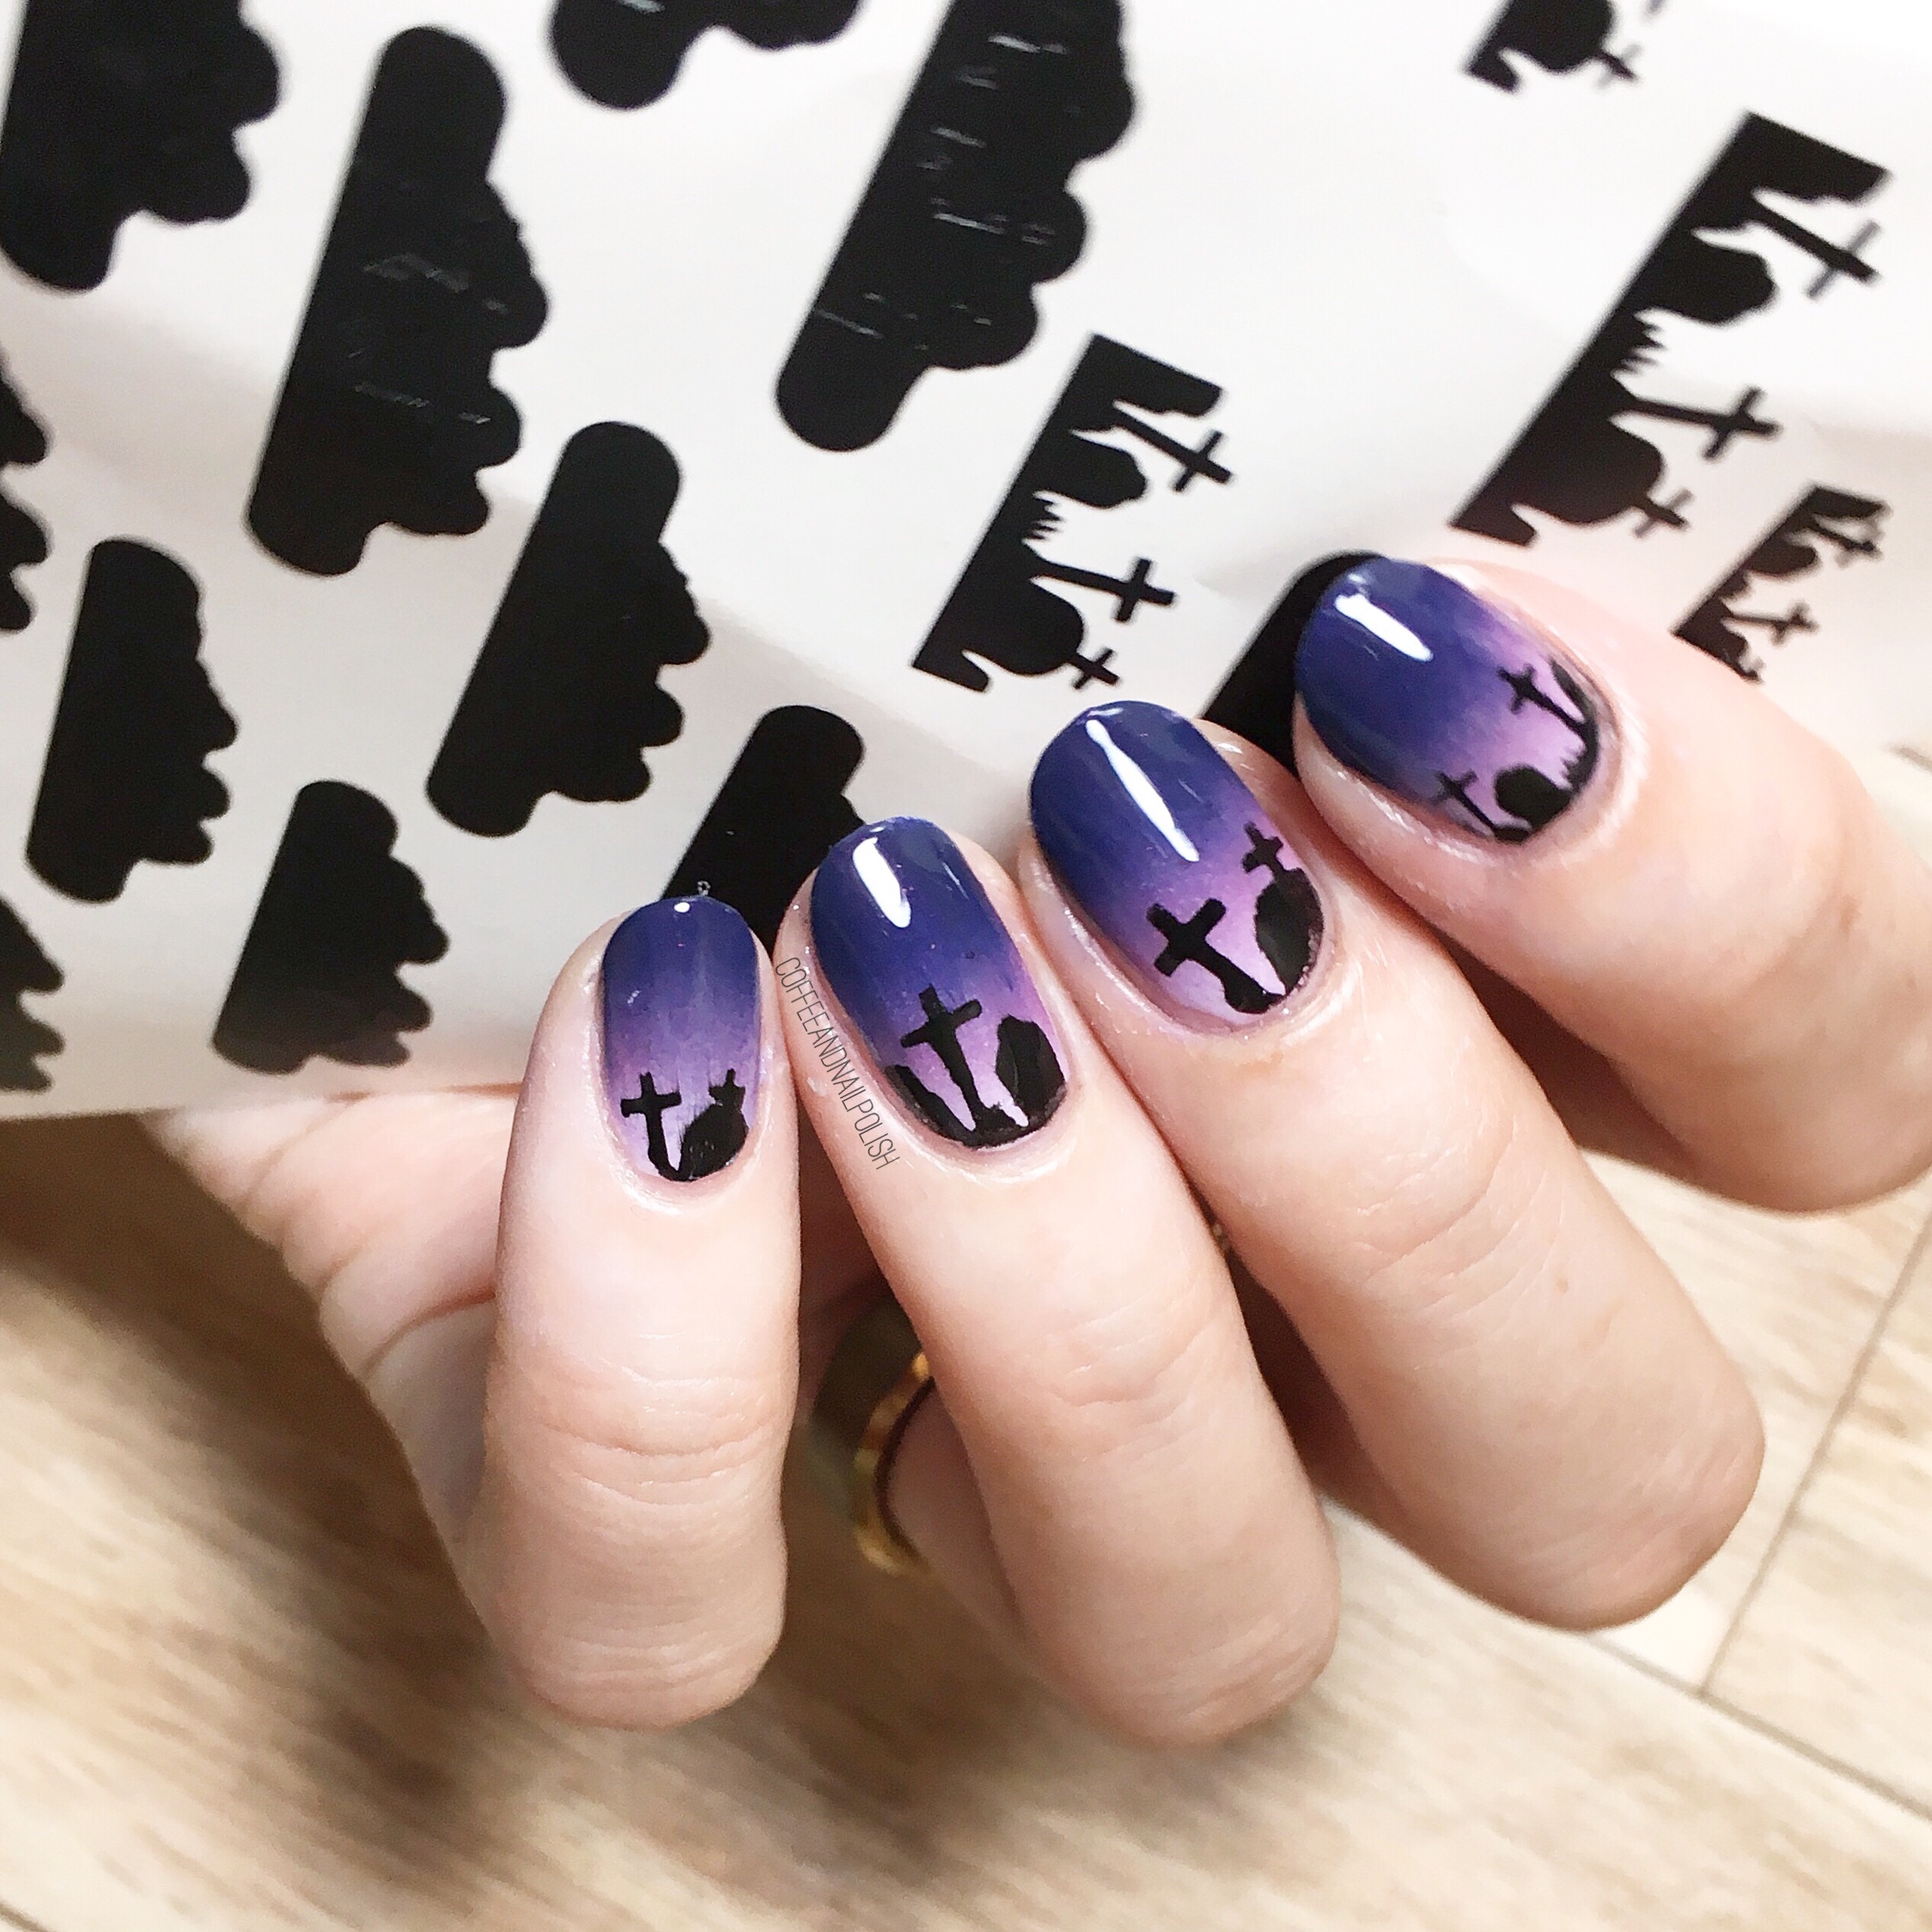
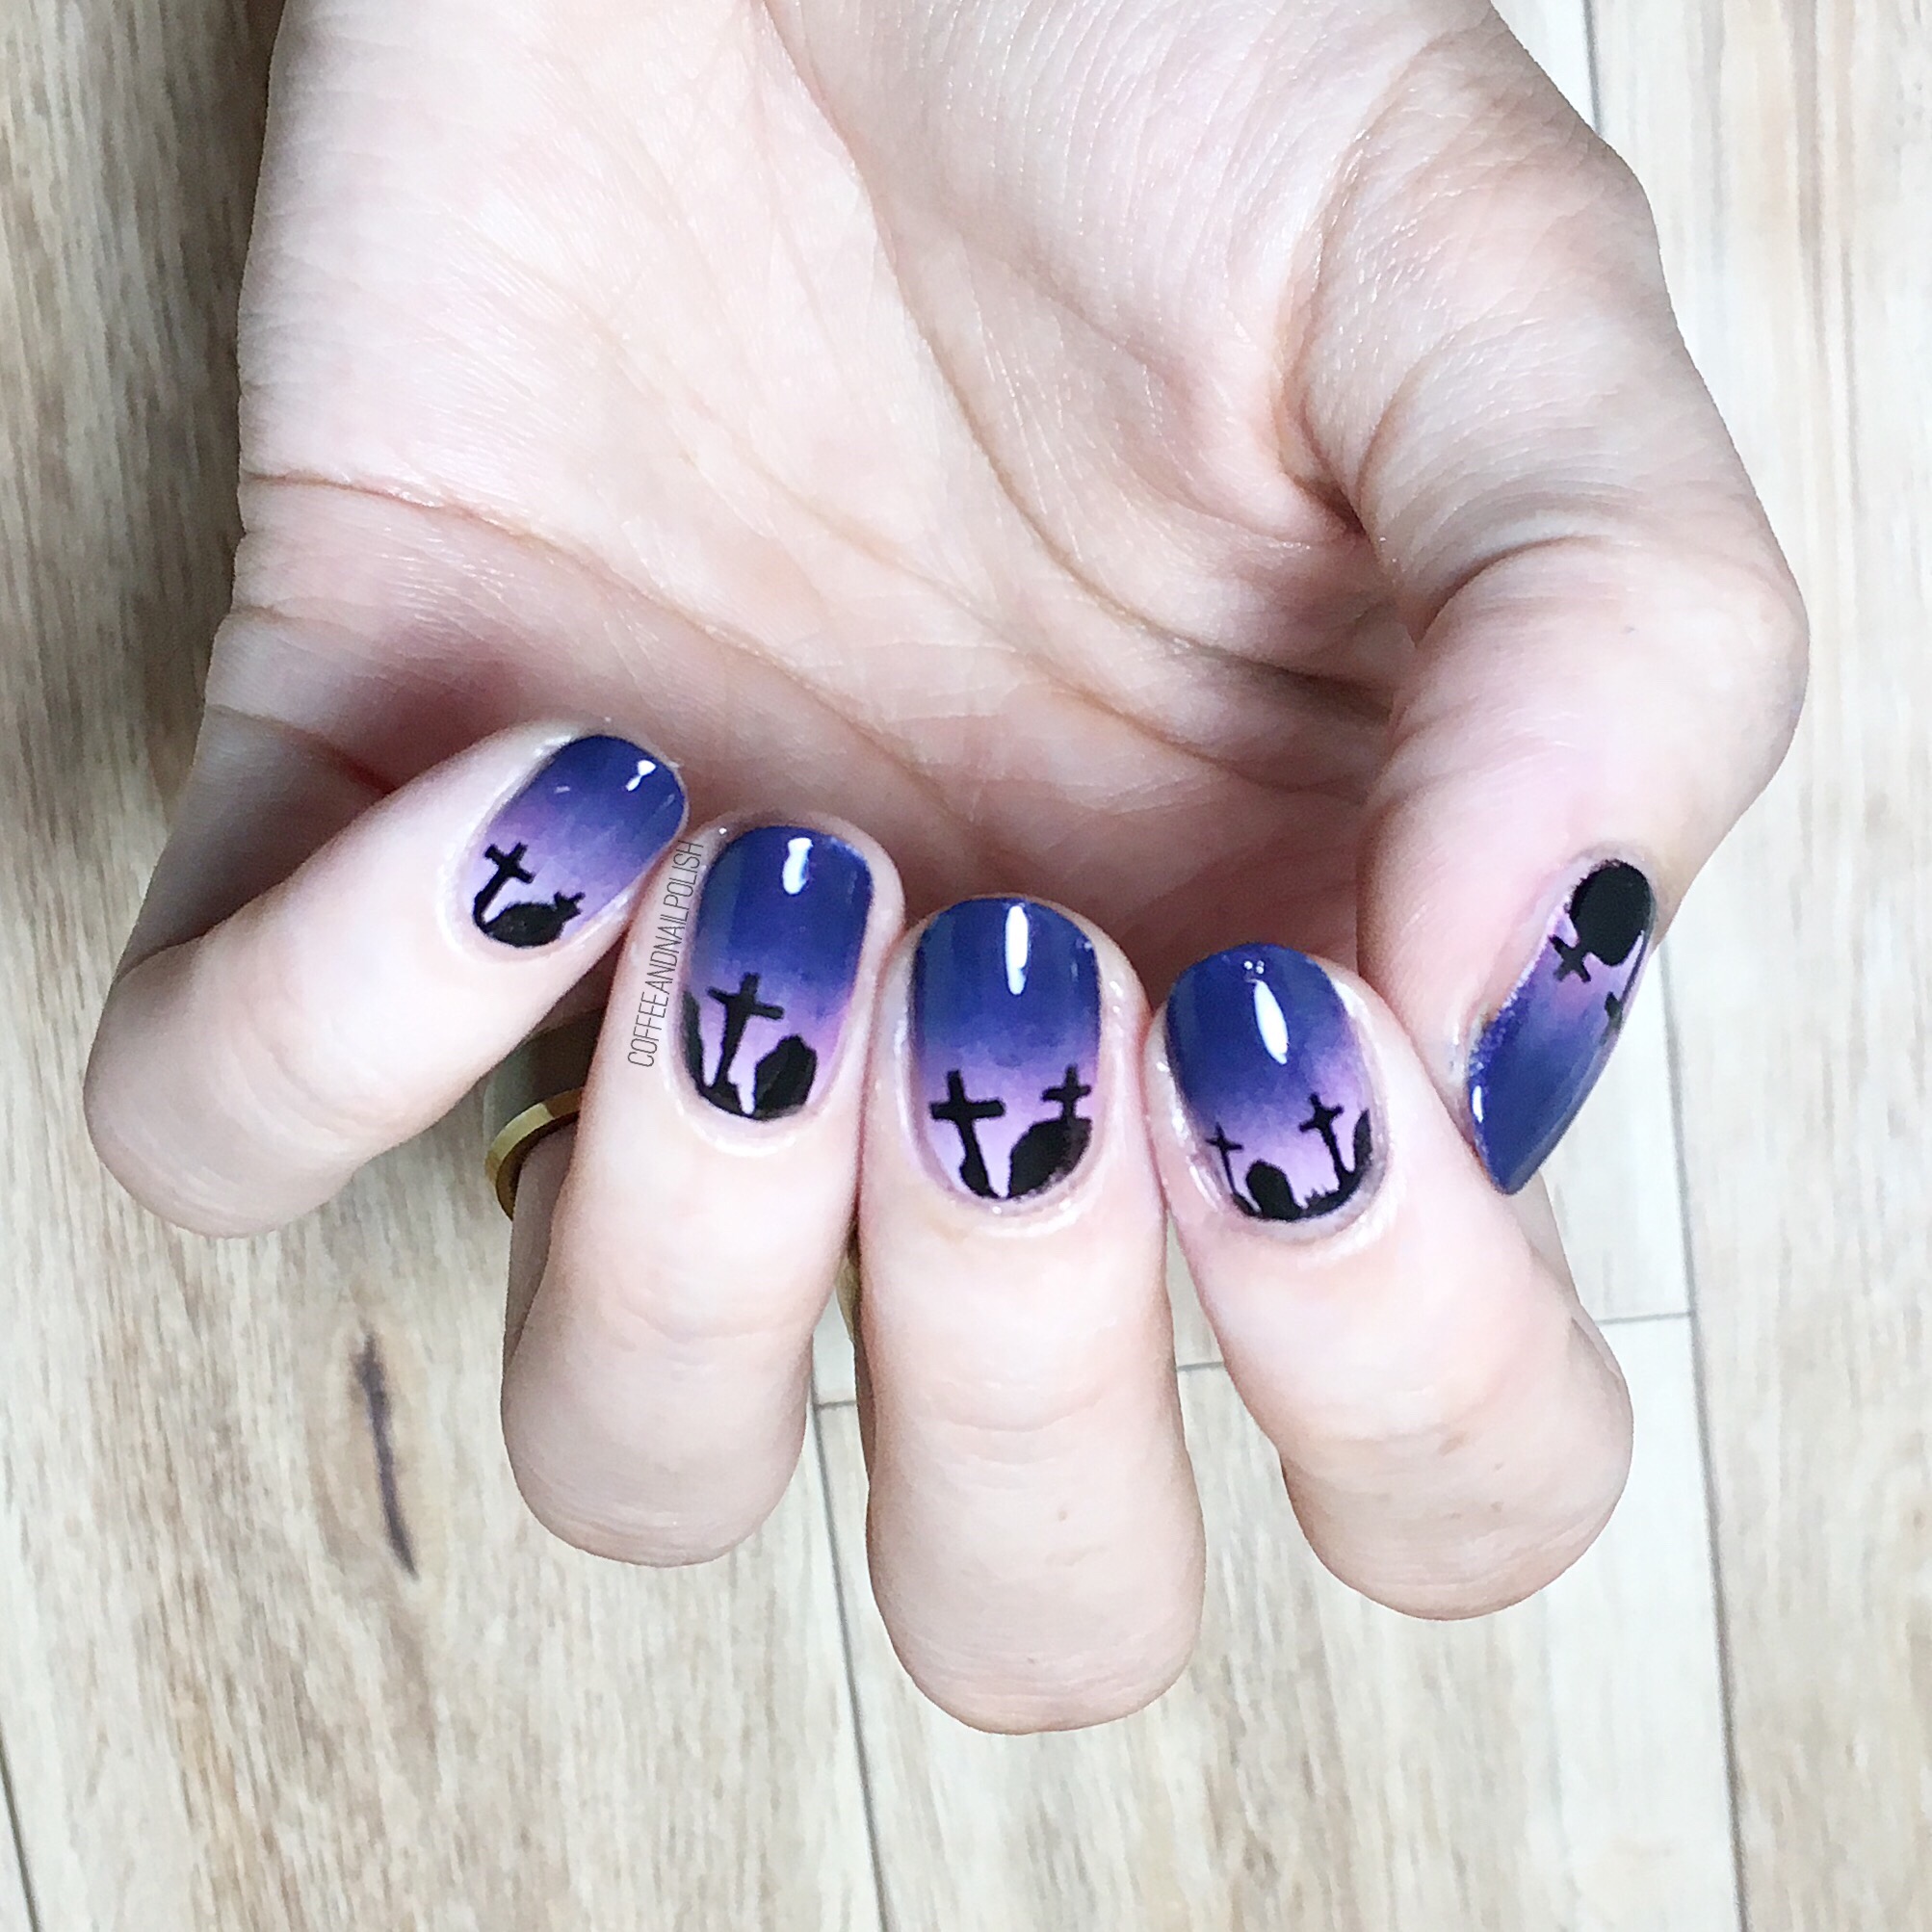
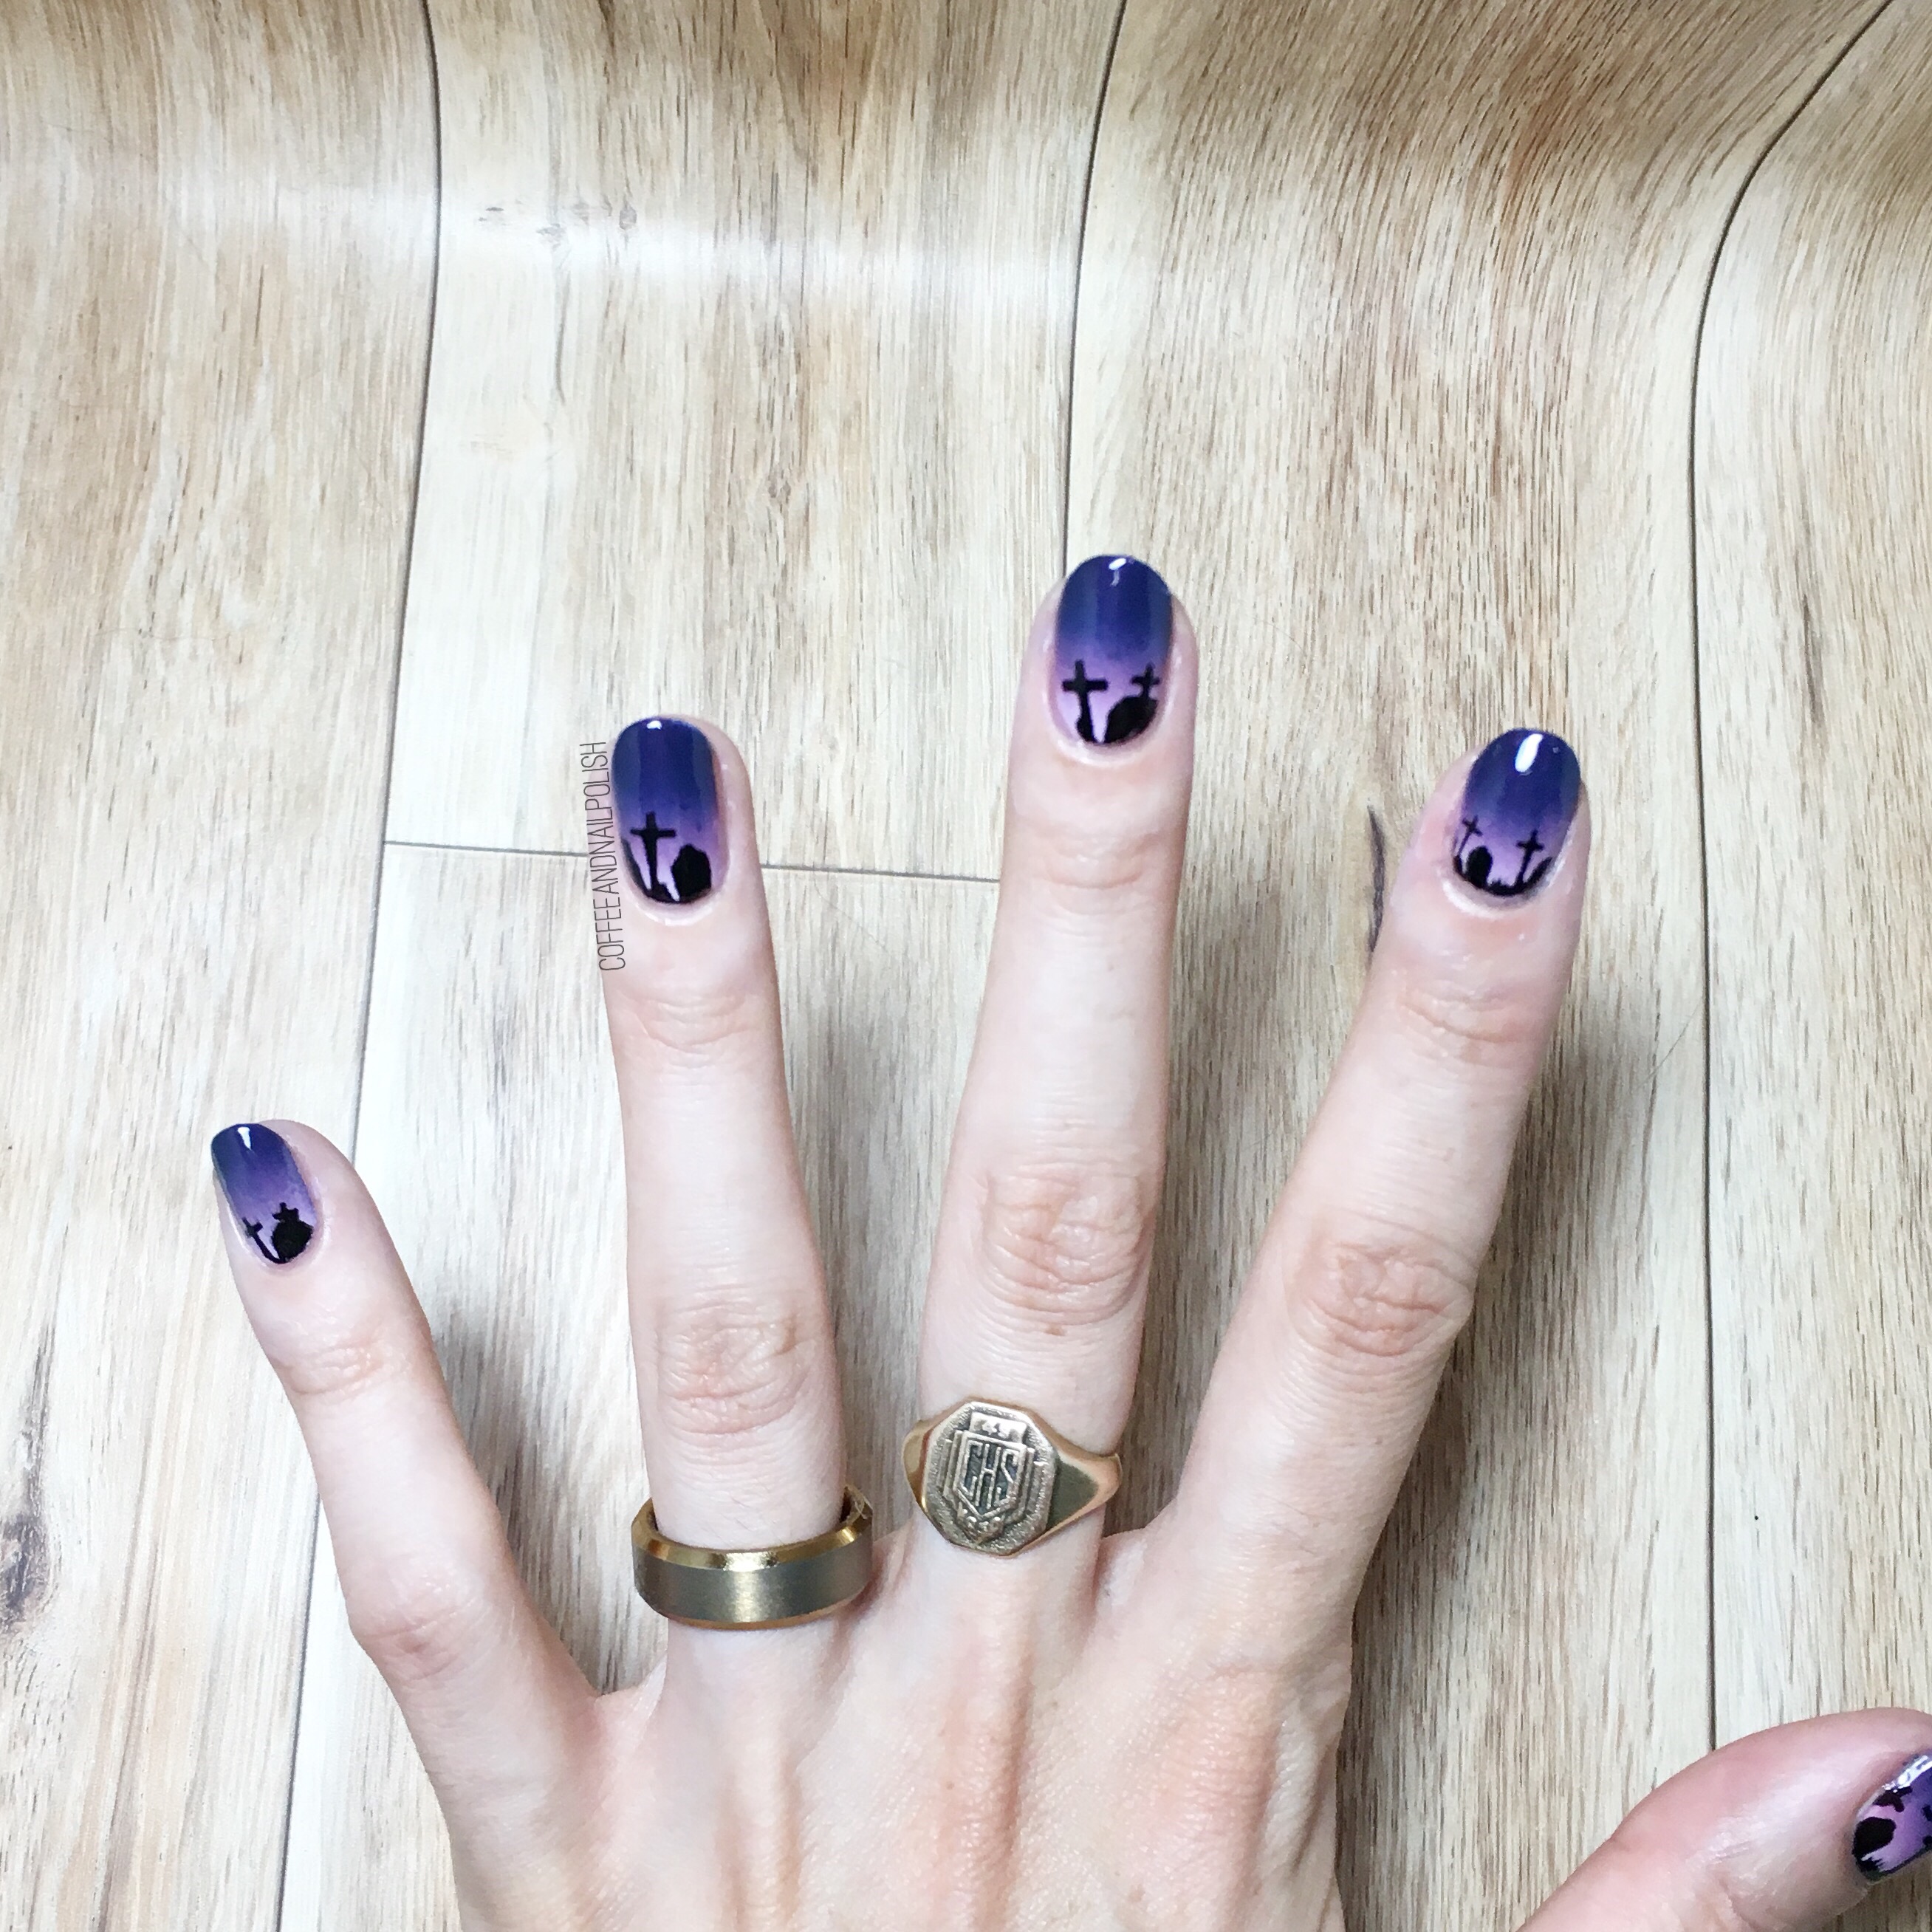
We’re over halfway to Halloween, which it’s time to get serious about Halloween nail designs! & what is more Halloween than spooky graveyard nails! Thanks to What’s Up Nails & Nail Polish Canada, I had a quick & easy time creating the spookiest of nails! 🎃 

The polishes used for this manicure were:

  • Base Coat: OPI Natural Nail Base Coat
  • Top Coat: Cutex Quick Dry Top Coat
  • Essie Go Ginza
  • OPI Auroa Berry-alis 
  • China Glaze Sleeping Under the Stars
  • Essence Back to Black 
  • What’s Up Nails Graveyard Stencils c/o: Nail Polish Canada 

These graveyard vinyls are great because they have multiple ways you can use them—my favourite is to use them as a stencil & paint in the design. I found it worked best by sponging on the black using a tiny piece of make up sponge. You could also apply the stencil to your nail & paint over top or you could use the vinyl itself & seal it all in with top coat. Each sheet of Graveyard vinyls comes with 20 vinyls (inner & outer) in small & large size which means you have a ton of graveyard nails to do in the lead up to Halloween. 

I’ve been lucky enough to team up with Nail Polish Canada to share a code for TEN of my readers to score their very own graveyard vinyls just in time for Halloween! You can click here & enter the code E75337KJX9A1B in order to claim your own set of vinyls. 

What do you think of these graveyard nails? What Halloween design are you most excited to wear this year? Let me know in the comments below. 🖤

Saran Wrap Smoosh Nails

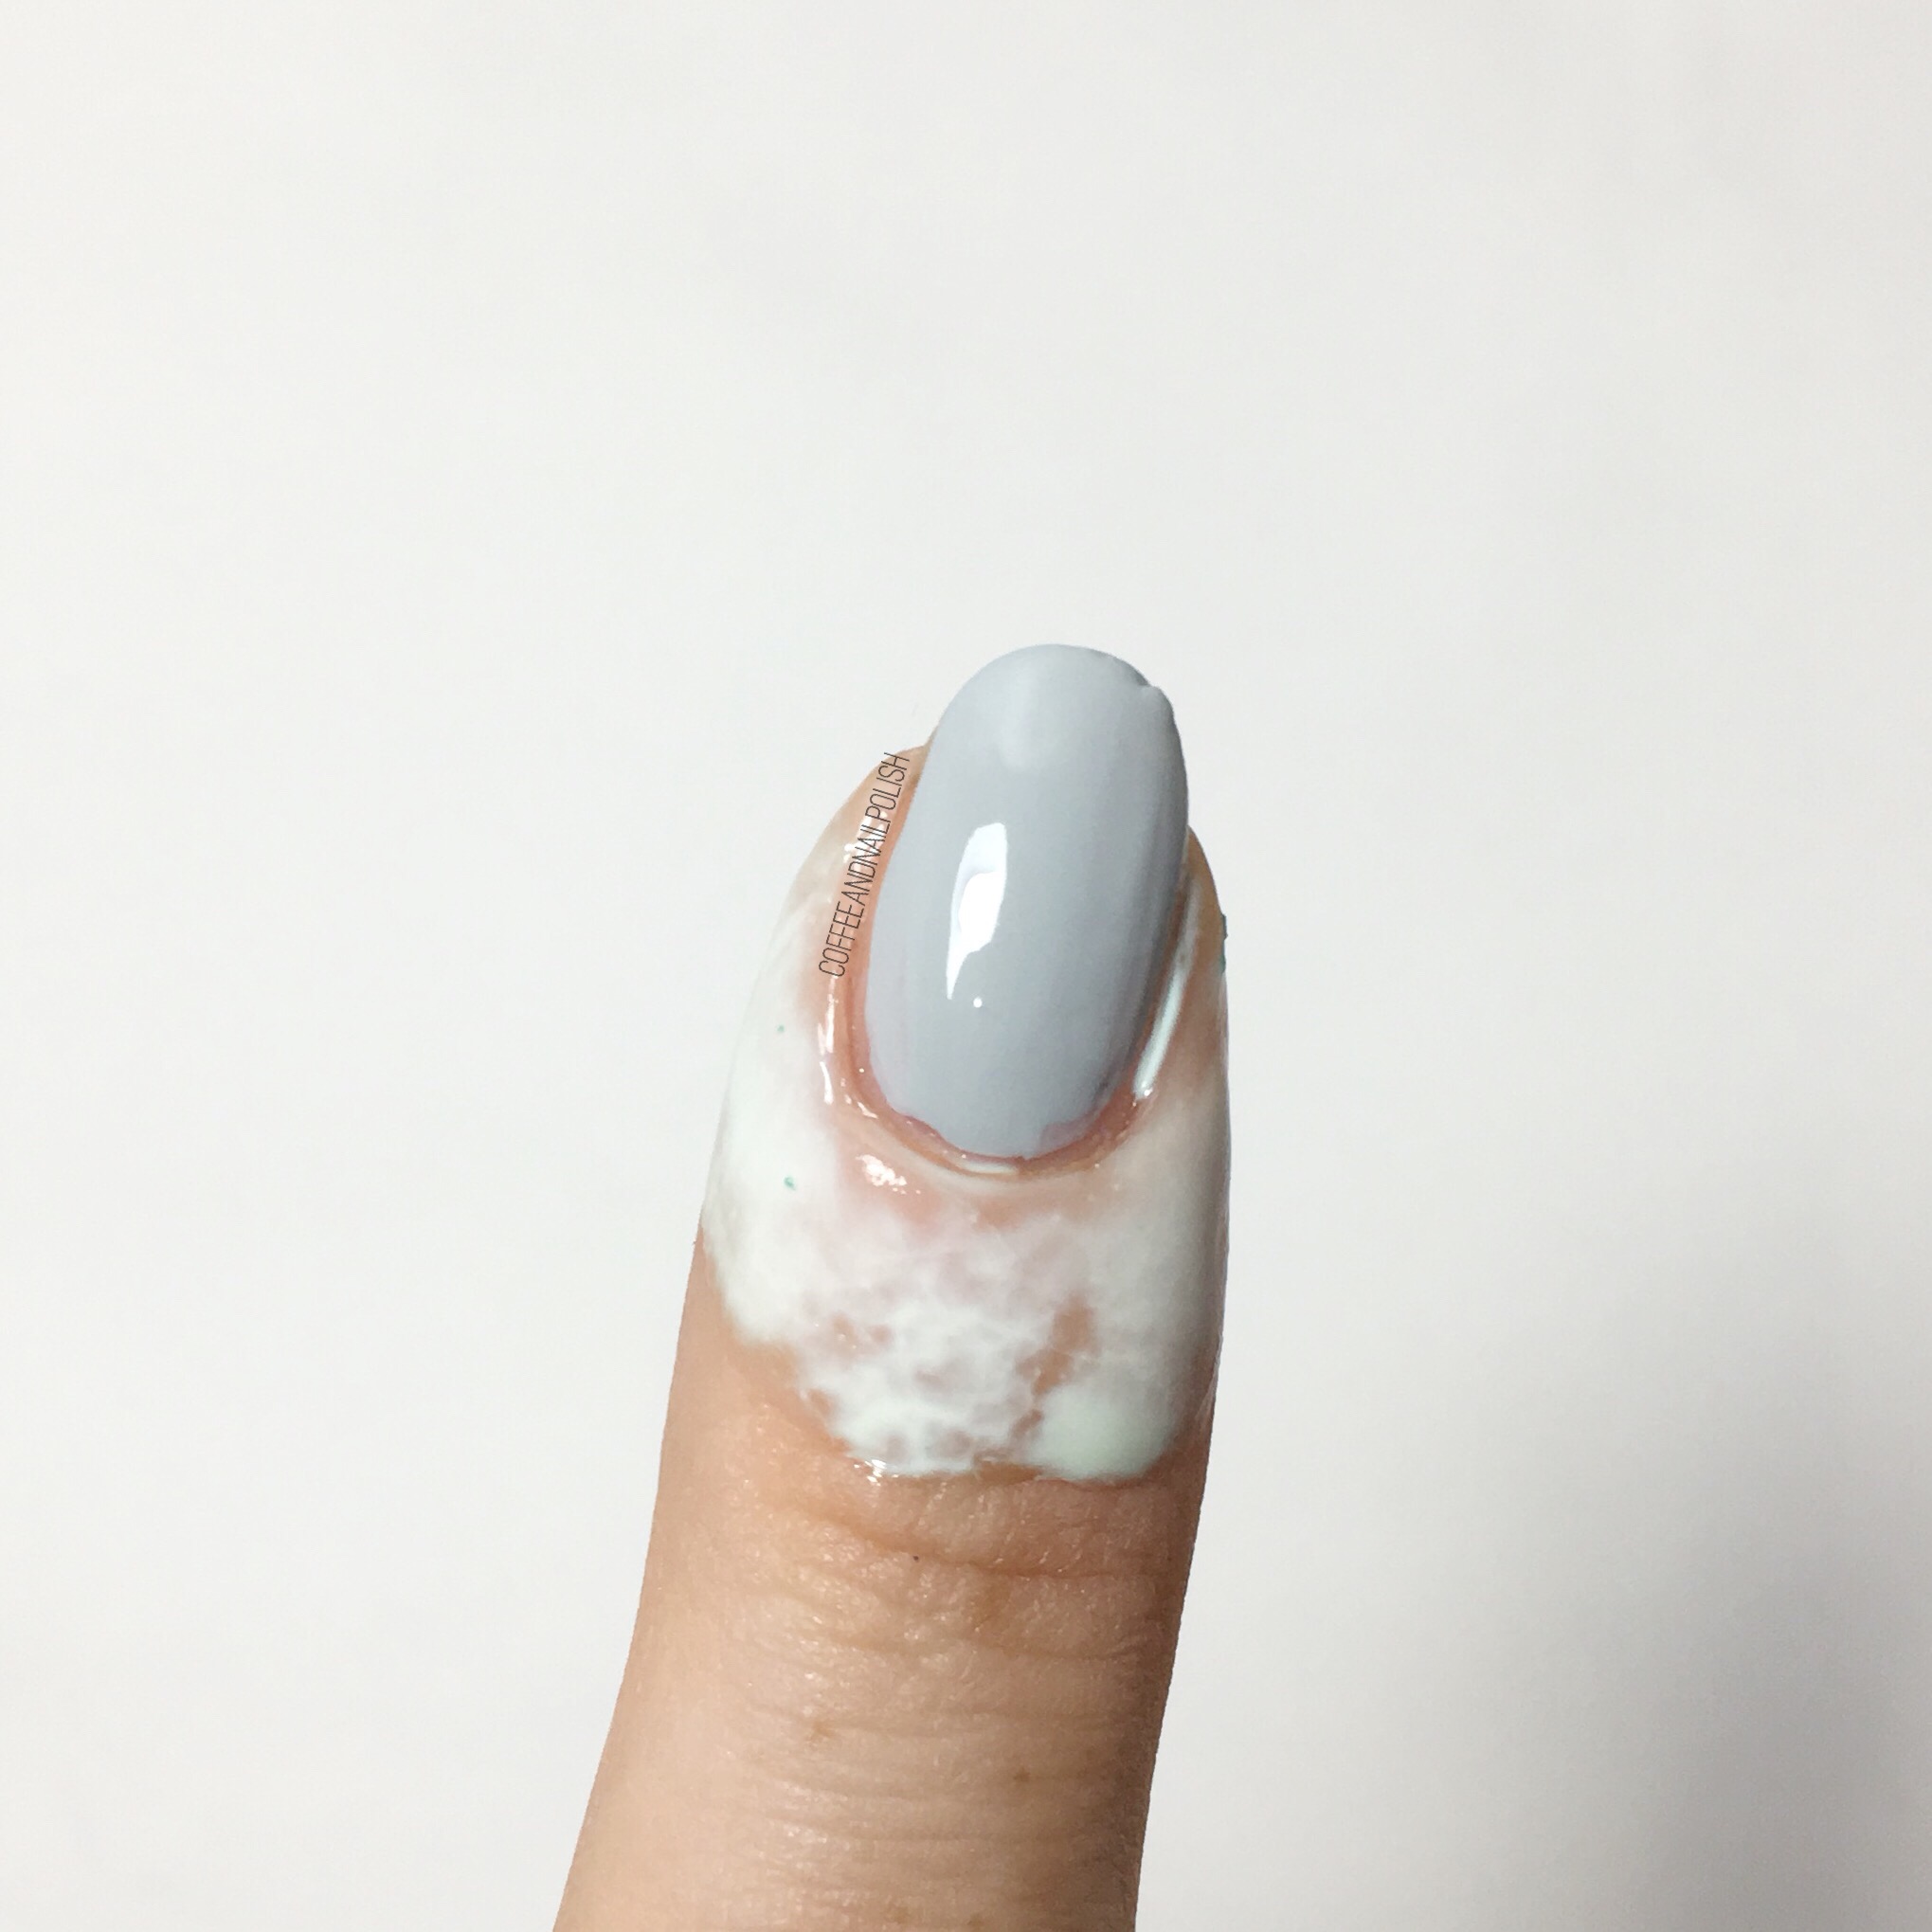
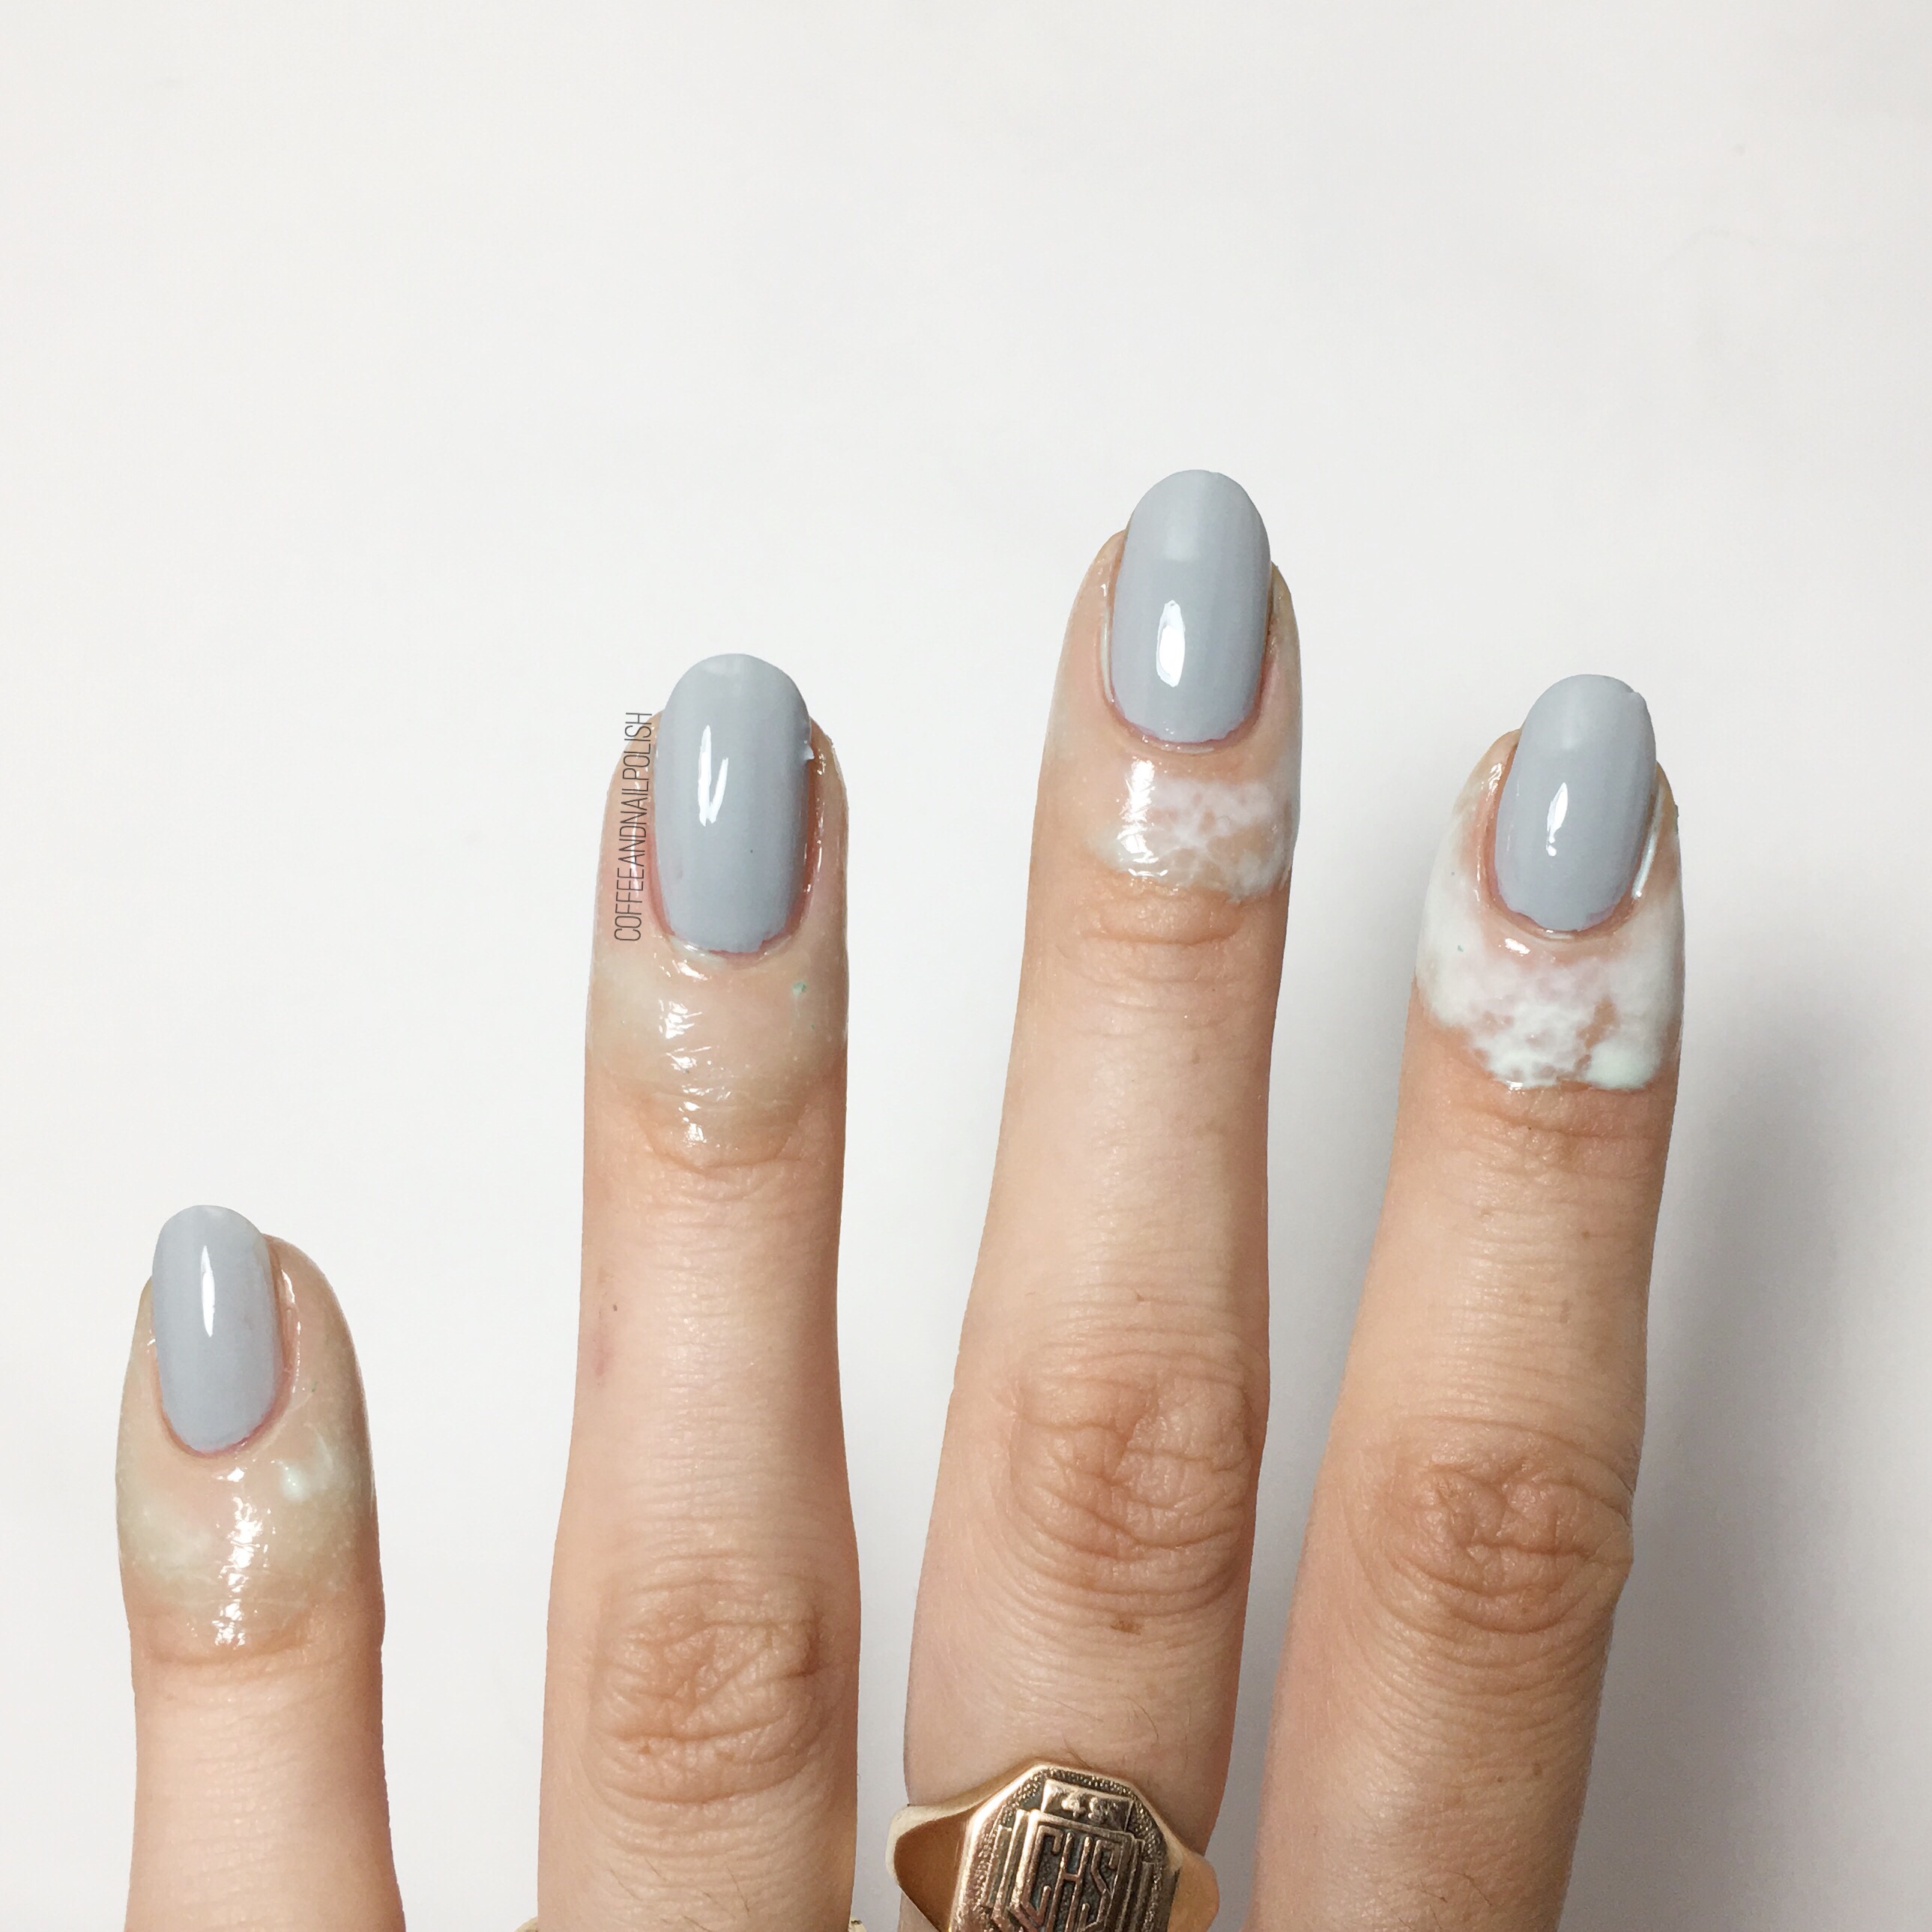
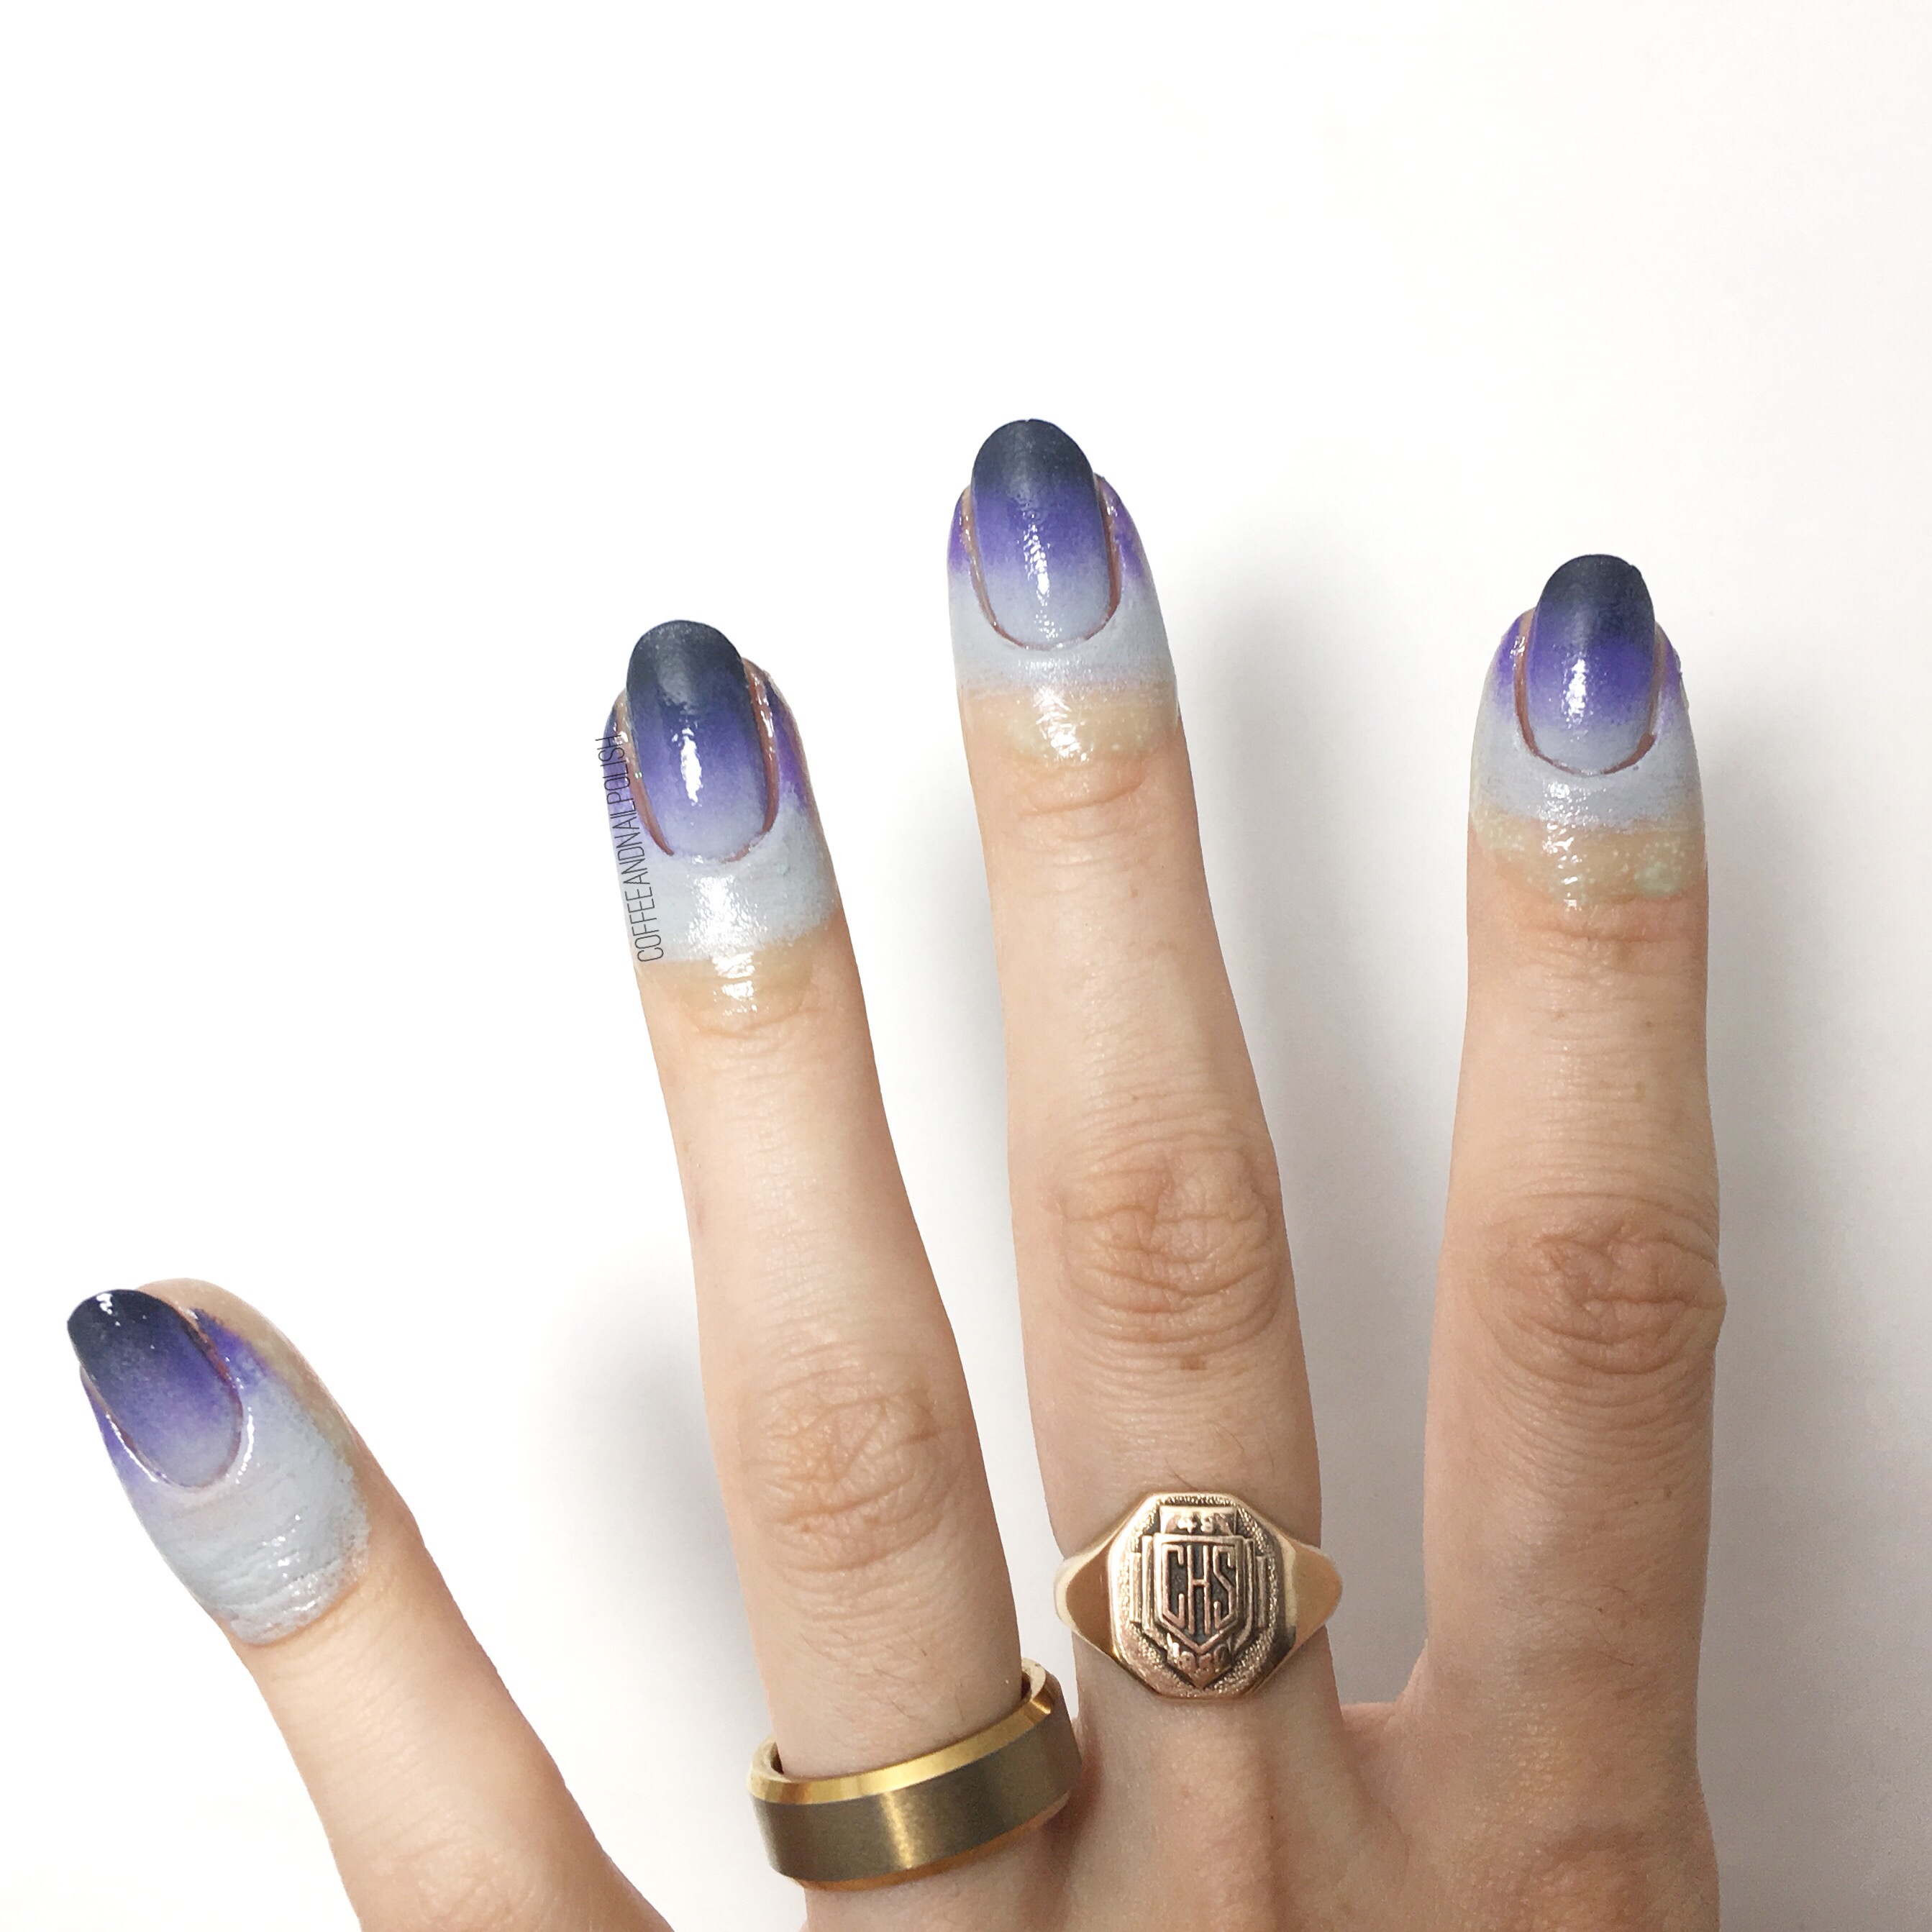
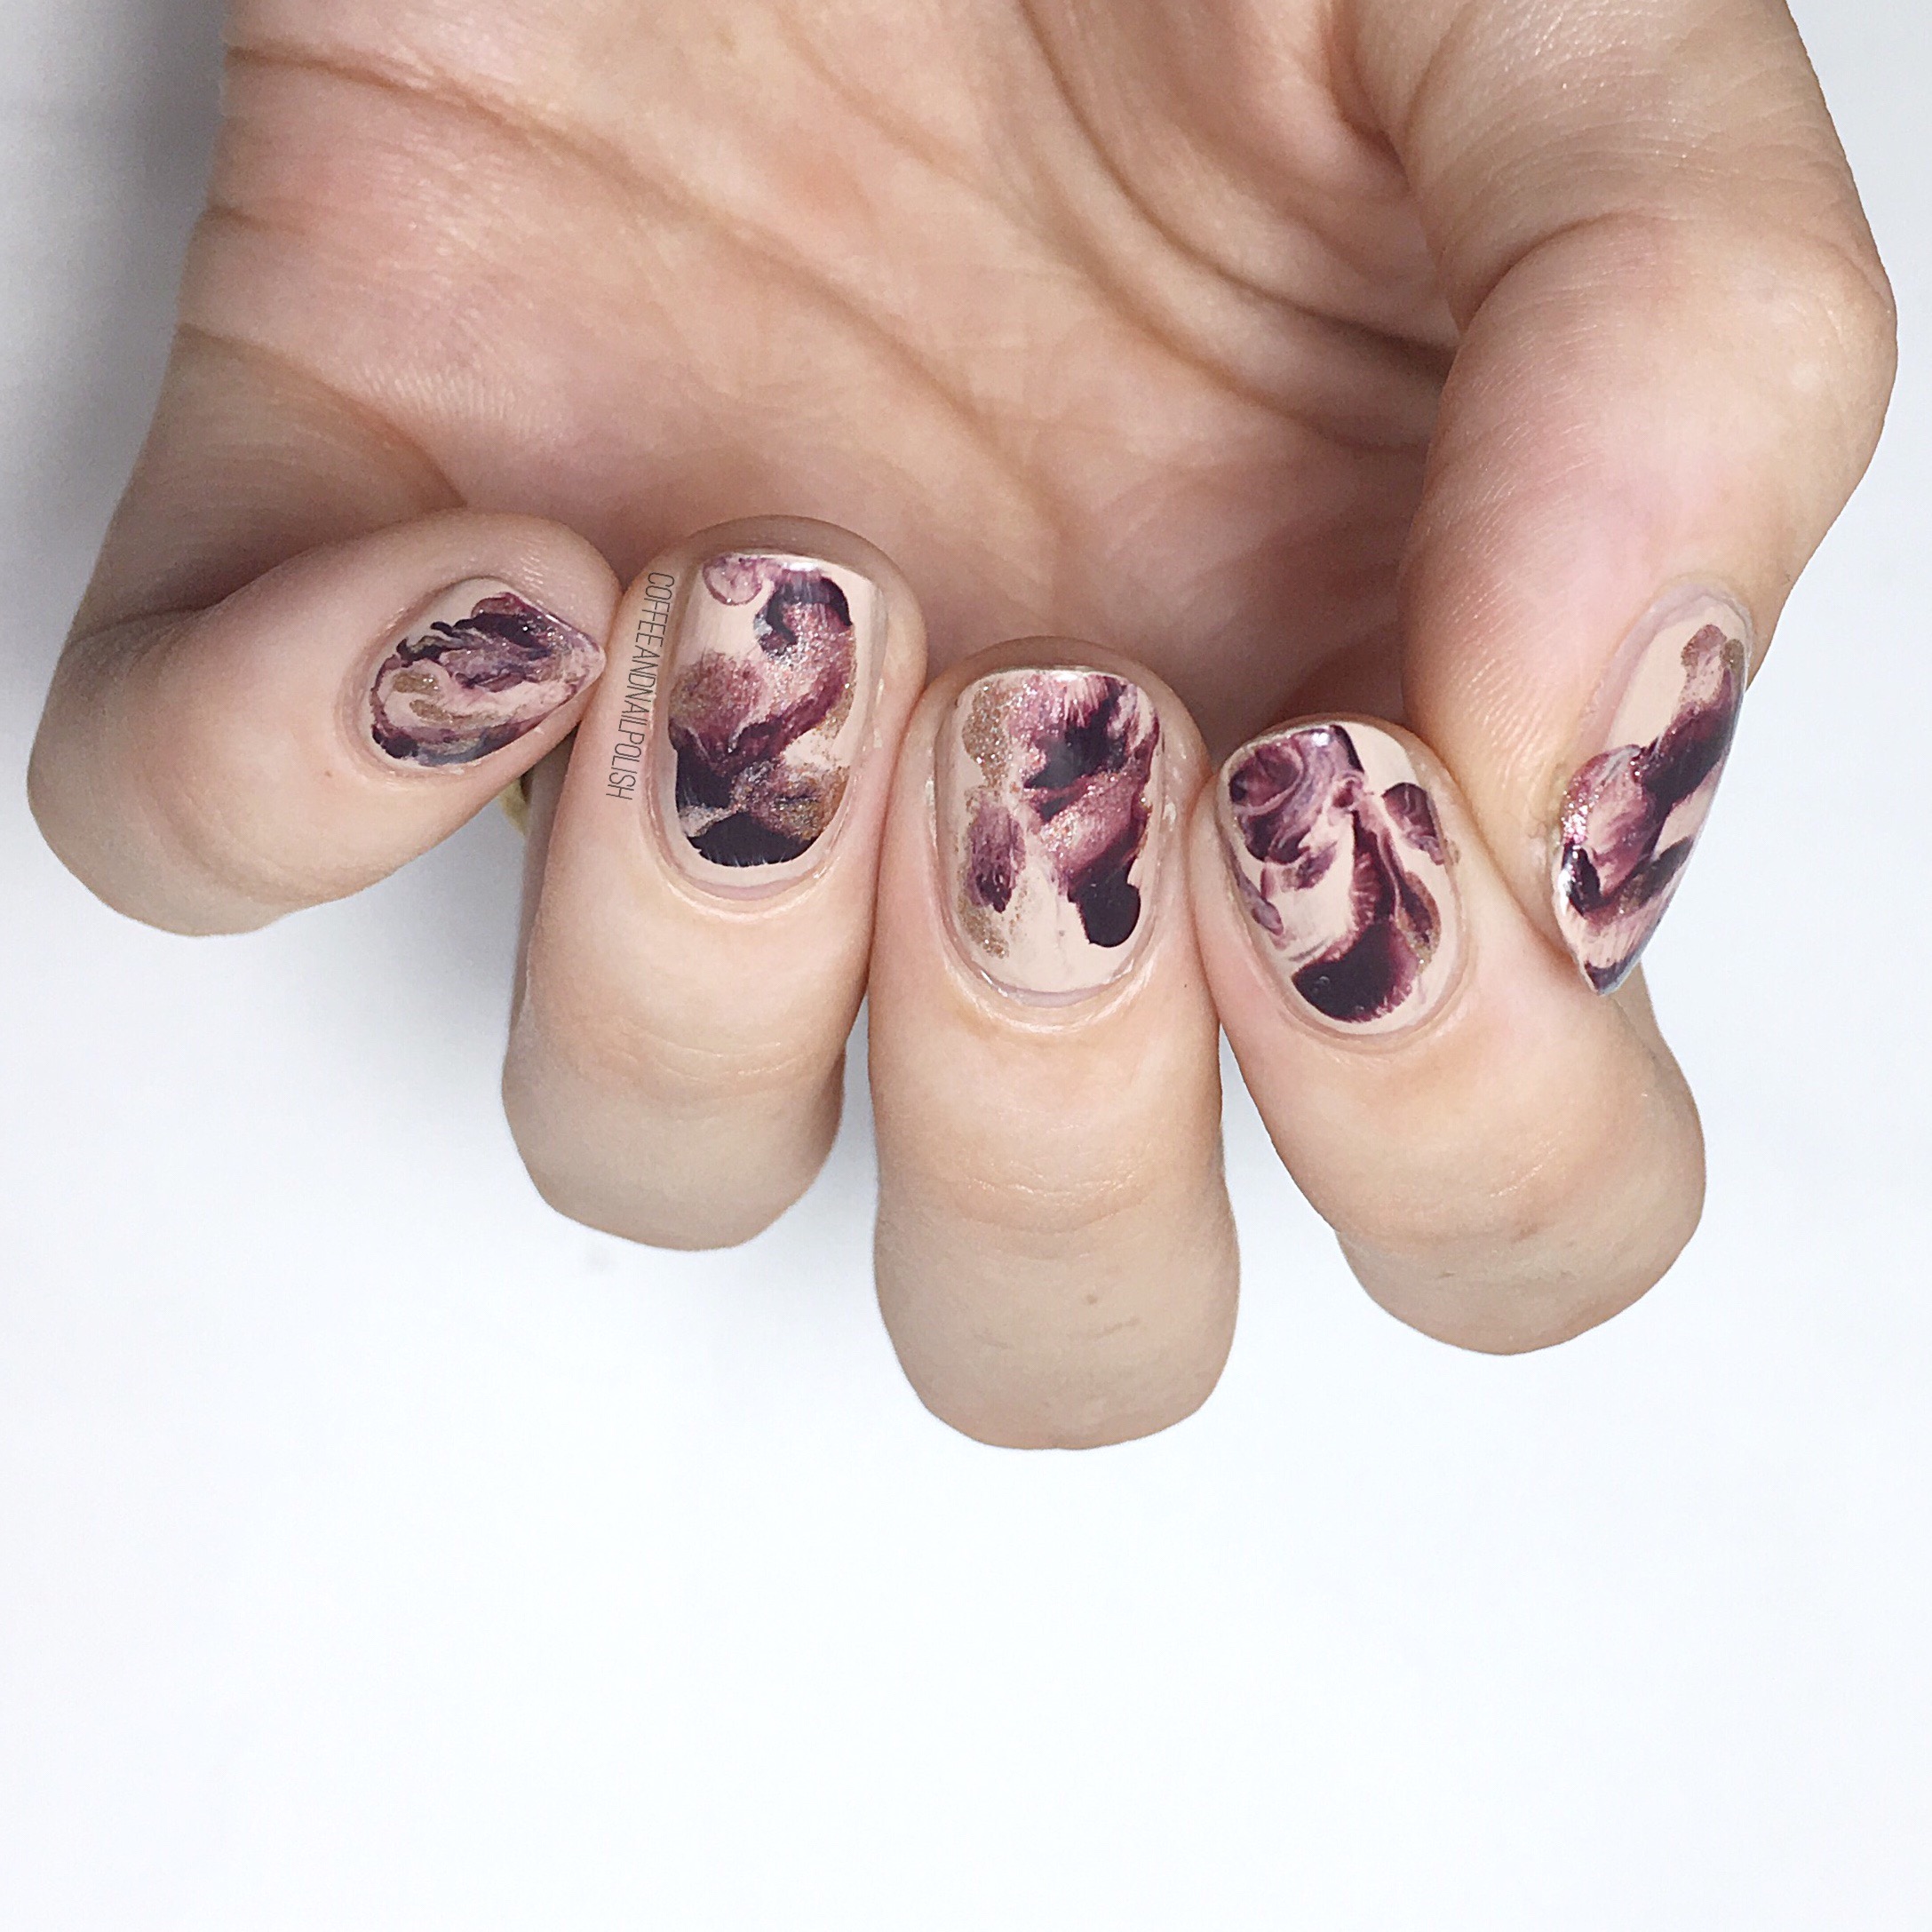
I don’t do a lot of Saran Wrap smoosh nails, mostly because I find them fairly messy (& I ran out of liquid latex & I’m being lazy in replacing it). But every time I see one pop up on my Instagram feed I tell myself I need this technique in my life again. They just always look so cool! I’ve been struggling with inspiration lately, so I decided to risk the messy clean up & do a smoosh. 

For this manicure, the polishes I used were:

  • Base Coat: OPI Natural Nail Base Coat
  • Top Coat: Cutex Quick Dry Top Coat 
  • Essie Cocktails & Coconuts
  • China Glaze VII
  • Quo by ORLY Fairy Godmother
  • Saran Wrap, or plastic bag of some sort. 

If you’ve never done a Saran Wrap smoosh, there are lots of tutorials on the internet (this one from @snowglobenails is great). From my expirence, I find sometimes they can take a few tries before you figure out what works for you, but for me less is more.  I prefer to use maximum 3 shades together, otherwise I find my nails can end up looking kind of swampy. & I also try not to push blend colours too much when pressing down on my plastic. 

What’s your thoughts on smooshy nails? Do you have a favourite colour combination? Let me know your thoughts in the comments below! 

Happy National Coffee Day Nails! ☕️


You know I love a good excuse to celebrate a holiday & what better holiday to celebrate than National Coffee Day! I joined my girls in #thenailartsquad for some caffeine inspired manicures in order to celebrate this day in style! 

Obvious if we’re doing coffee inspired nails, I had to do something Starbucks inspired! I also thought I would pull out some of the acrylic paints I recently picked up for my freehanding details. 


For this design, the products I used were:

  • Base Coat: OPI Natural Nail Base Coat
  • Top Coat: Sally Hansen Diamond Flash
  • Essie Mochacino
  • Essie Cocktails & Coconuts 
  • Sally Hansen Hard To Get
  • Acrylic Paints (black, white, brown & green)
  • Silicone Mat
  • Tiny dotting tool 
  • Small Detail Brush

I had this idea of how I wanted this design to turn out, & it turned out exactly how I imagined in my head… I love when that happens! I used my pink silicone mat to create my “latte art” drag marble decals which (I think) turned out really good. I also tested out my acrylic paints for the first time, & they were so easy to use for nail art! I definitely understand why they are such a popular option for nail art—I would have had a much harder time creating my little Starbucks cup using just regular nail polish. Now I want to buy even more colours to test out designs! 

What do you think of these coffee nails in honour of National Coffee Day? What’s you favourite coffee drink of choice? Obviously I love pumpkin spice this time of year, but if we’re picking favourites I absolutely can’t wait for Gingebread lattes to return! 
Don’t forget to check out the hashtag #thenailartsquad to see all the coffee themed designs, as well as our past collaborations! 

More Fall Leaves! 

Oh yessssss. I swear I’ve been just waiting for September to come back again so I could pull out my Fall leaf nail vinyls. You know my obsession with nail vinyls knows no bounds, & I love that you can pretty much find vinyls or stencils for every occasion & season. These particular leaves vinyls are from The Base Coat (whose site is currently on hiatus) but you can definitely find a ton of different versions of these Autumn themed vinyls with a quick search online.  Xroma Polish & Vinyls sells these uniquely beautiful Autumn stencils while What’s Up Nails sells the more classic Fall leaf stencil.

  • Base Coat: OPI Natual Nail Base Coat
  • Top Coat: Sally Hansen Diamond Flash Top Coat
  • ACO by Ardene Jacob Green
  • Essie Leggy Legend
  • ORLY Brilliant Boysenberry (aka ORLY Space Cadet)
  • Nicole by OPI Best Pink Ever 
  • Revlon Spidey Sense
  • The Base Coat Fall Leaves Vinyls
  • Latex Free Make Up Sponge

I love the shiftiness achieved by combining all these shades together & I think they look really great over my base of my swatch of Jacob Green. The shimmer of these metallic shades really pops over the dark green base colour. It’s literally Fall on my nails & just makes me wish I had a pumpkin spice latte & plaid blanket scarf to go along with them. 


What do you think of these Fall Leaves? Would you rock this design while drinking your favourite Fall drink? Let me know what you think (& what your drink of choice is!) in the comments below. 🍂