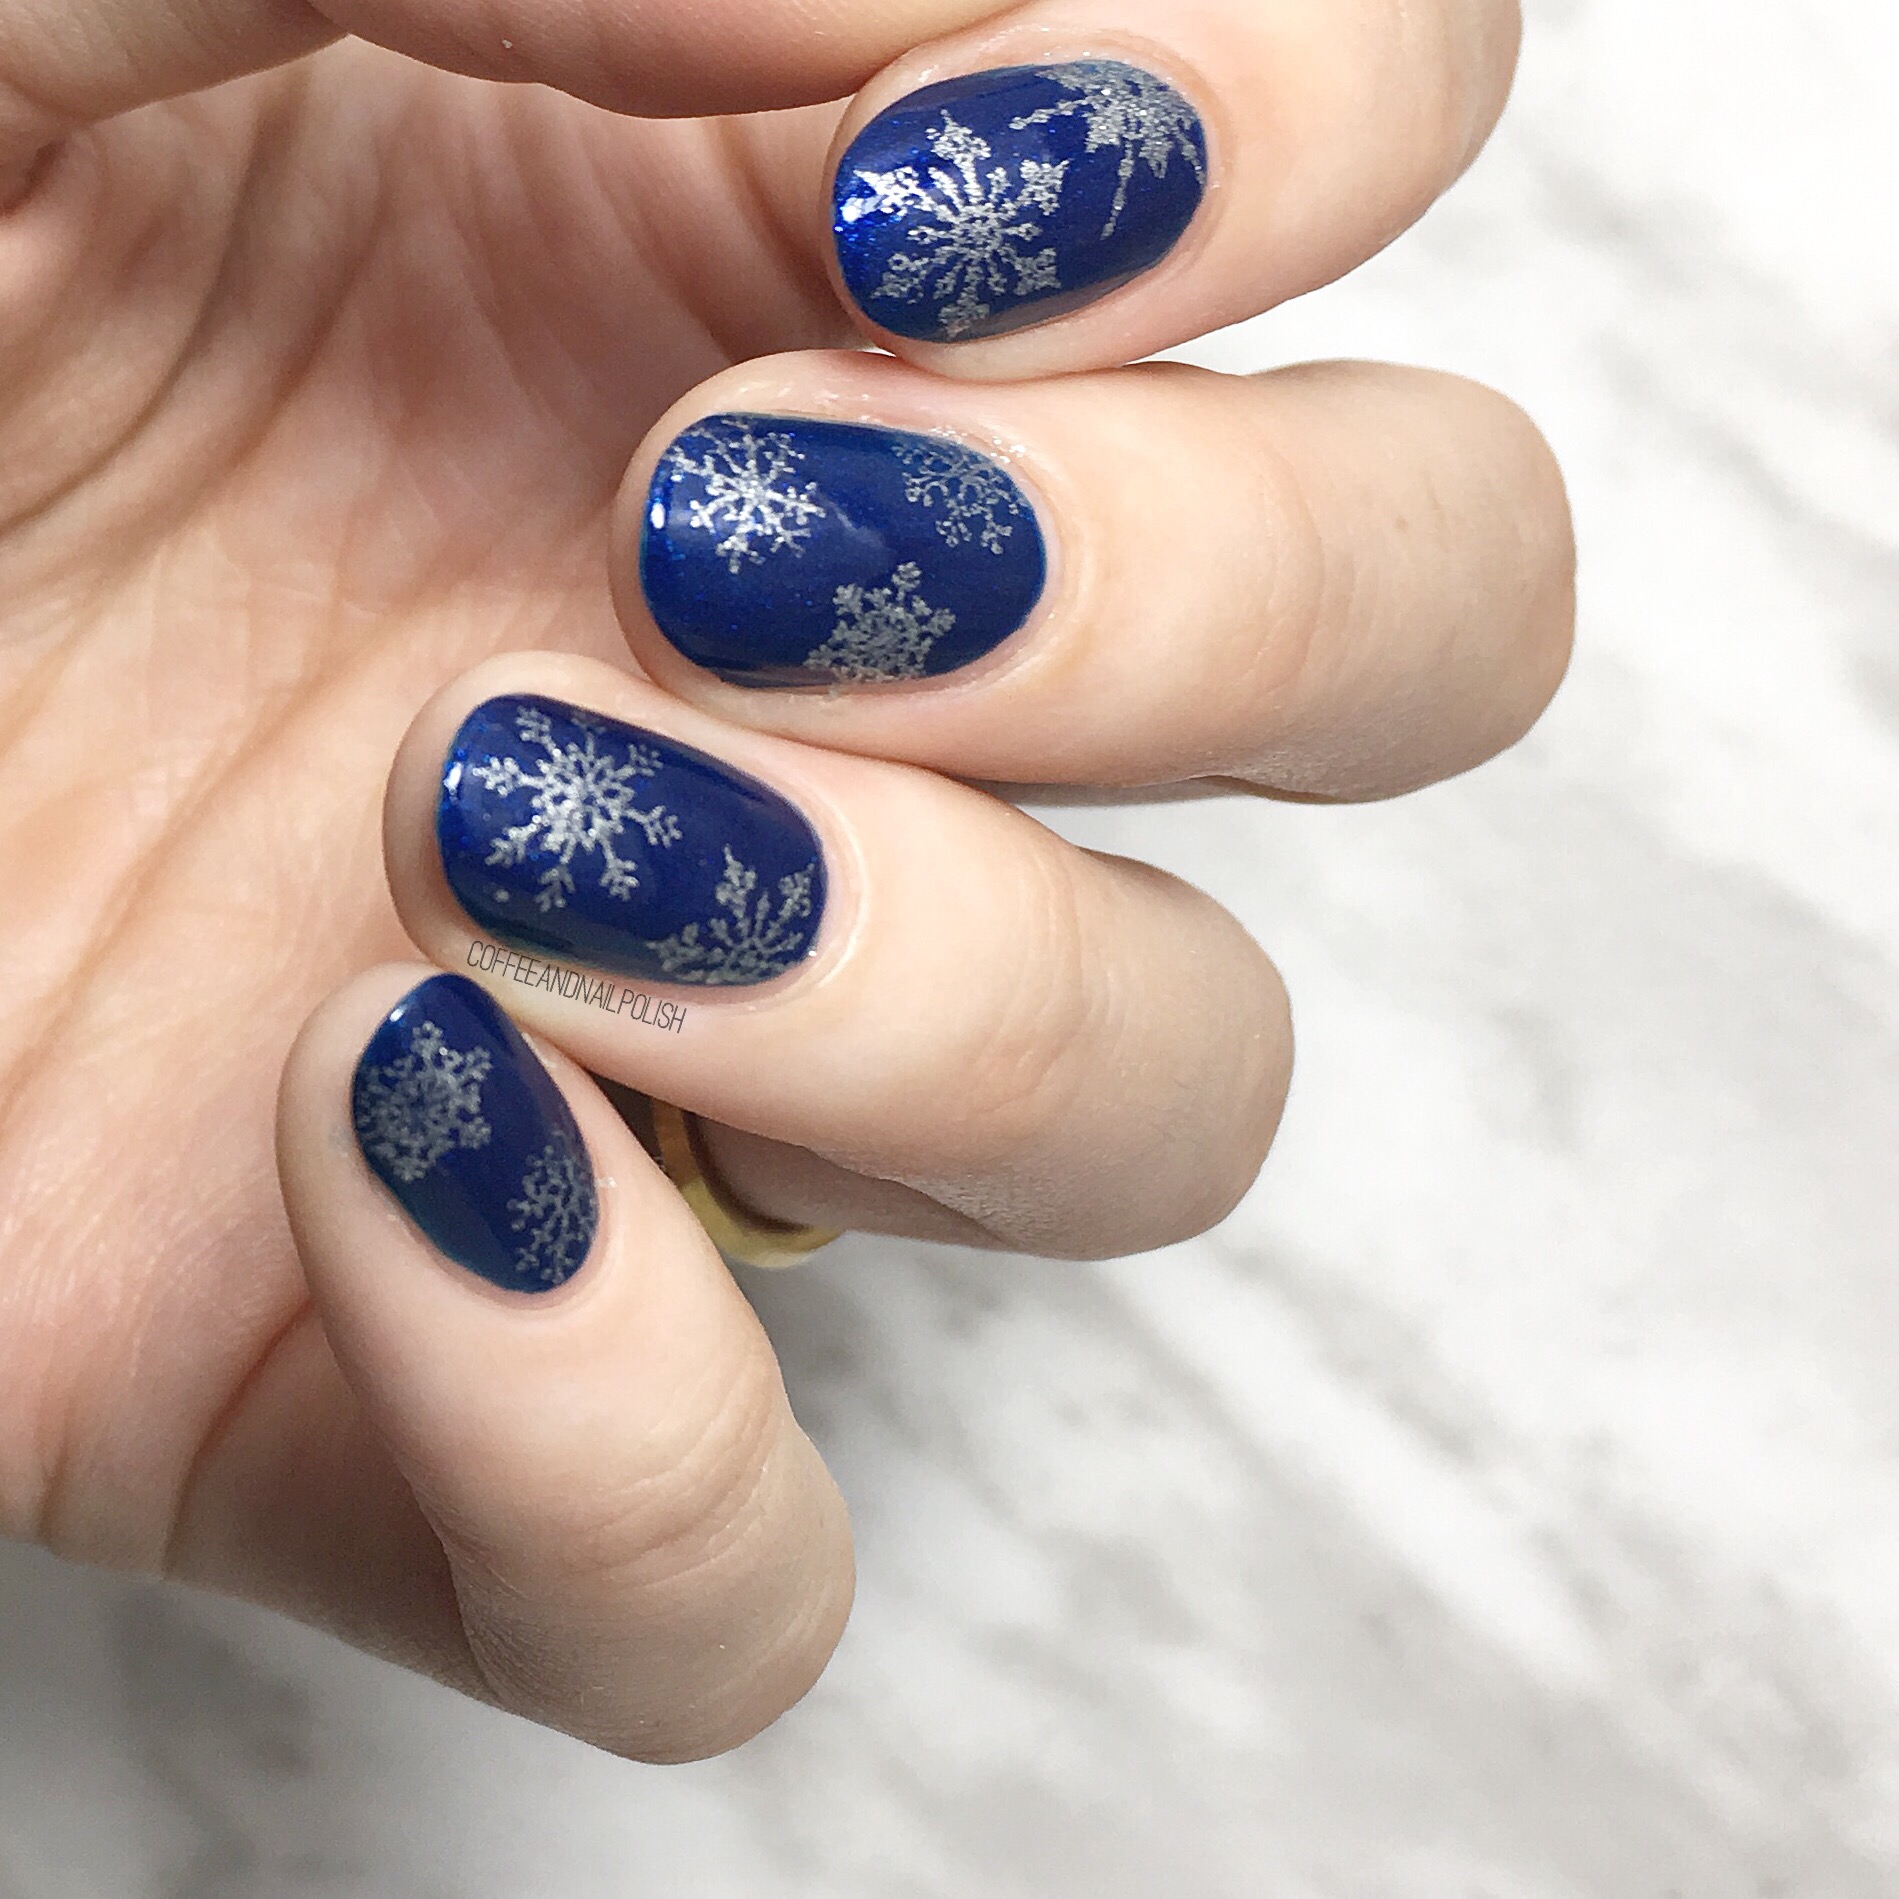
December is speeding by & I’m seriously attempting to fully embrace everything about the Christmas season.Have you put up your tree yet? We’ve been meaning to the last couple days, but still haven’t managed to… sadly I’m allergic to pretty much all trees so we have to stick to an artificial tree. But I did go out & buy a Christmas tree scented candle so the house would smell somewhat seasonal. 🎄 I also decided to create some Christmas tree inspired nails & oh my I’m so in love with how they turned out!

 <<<<<<<<<<<>
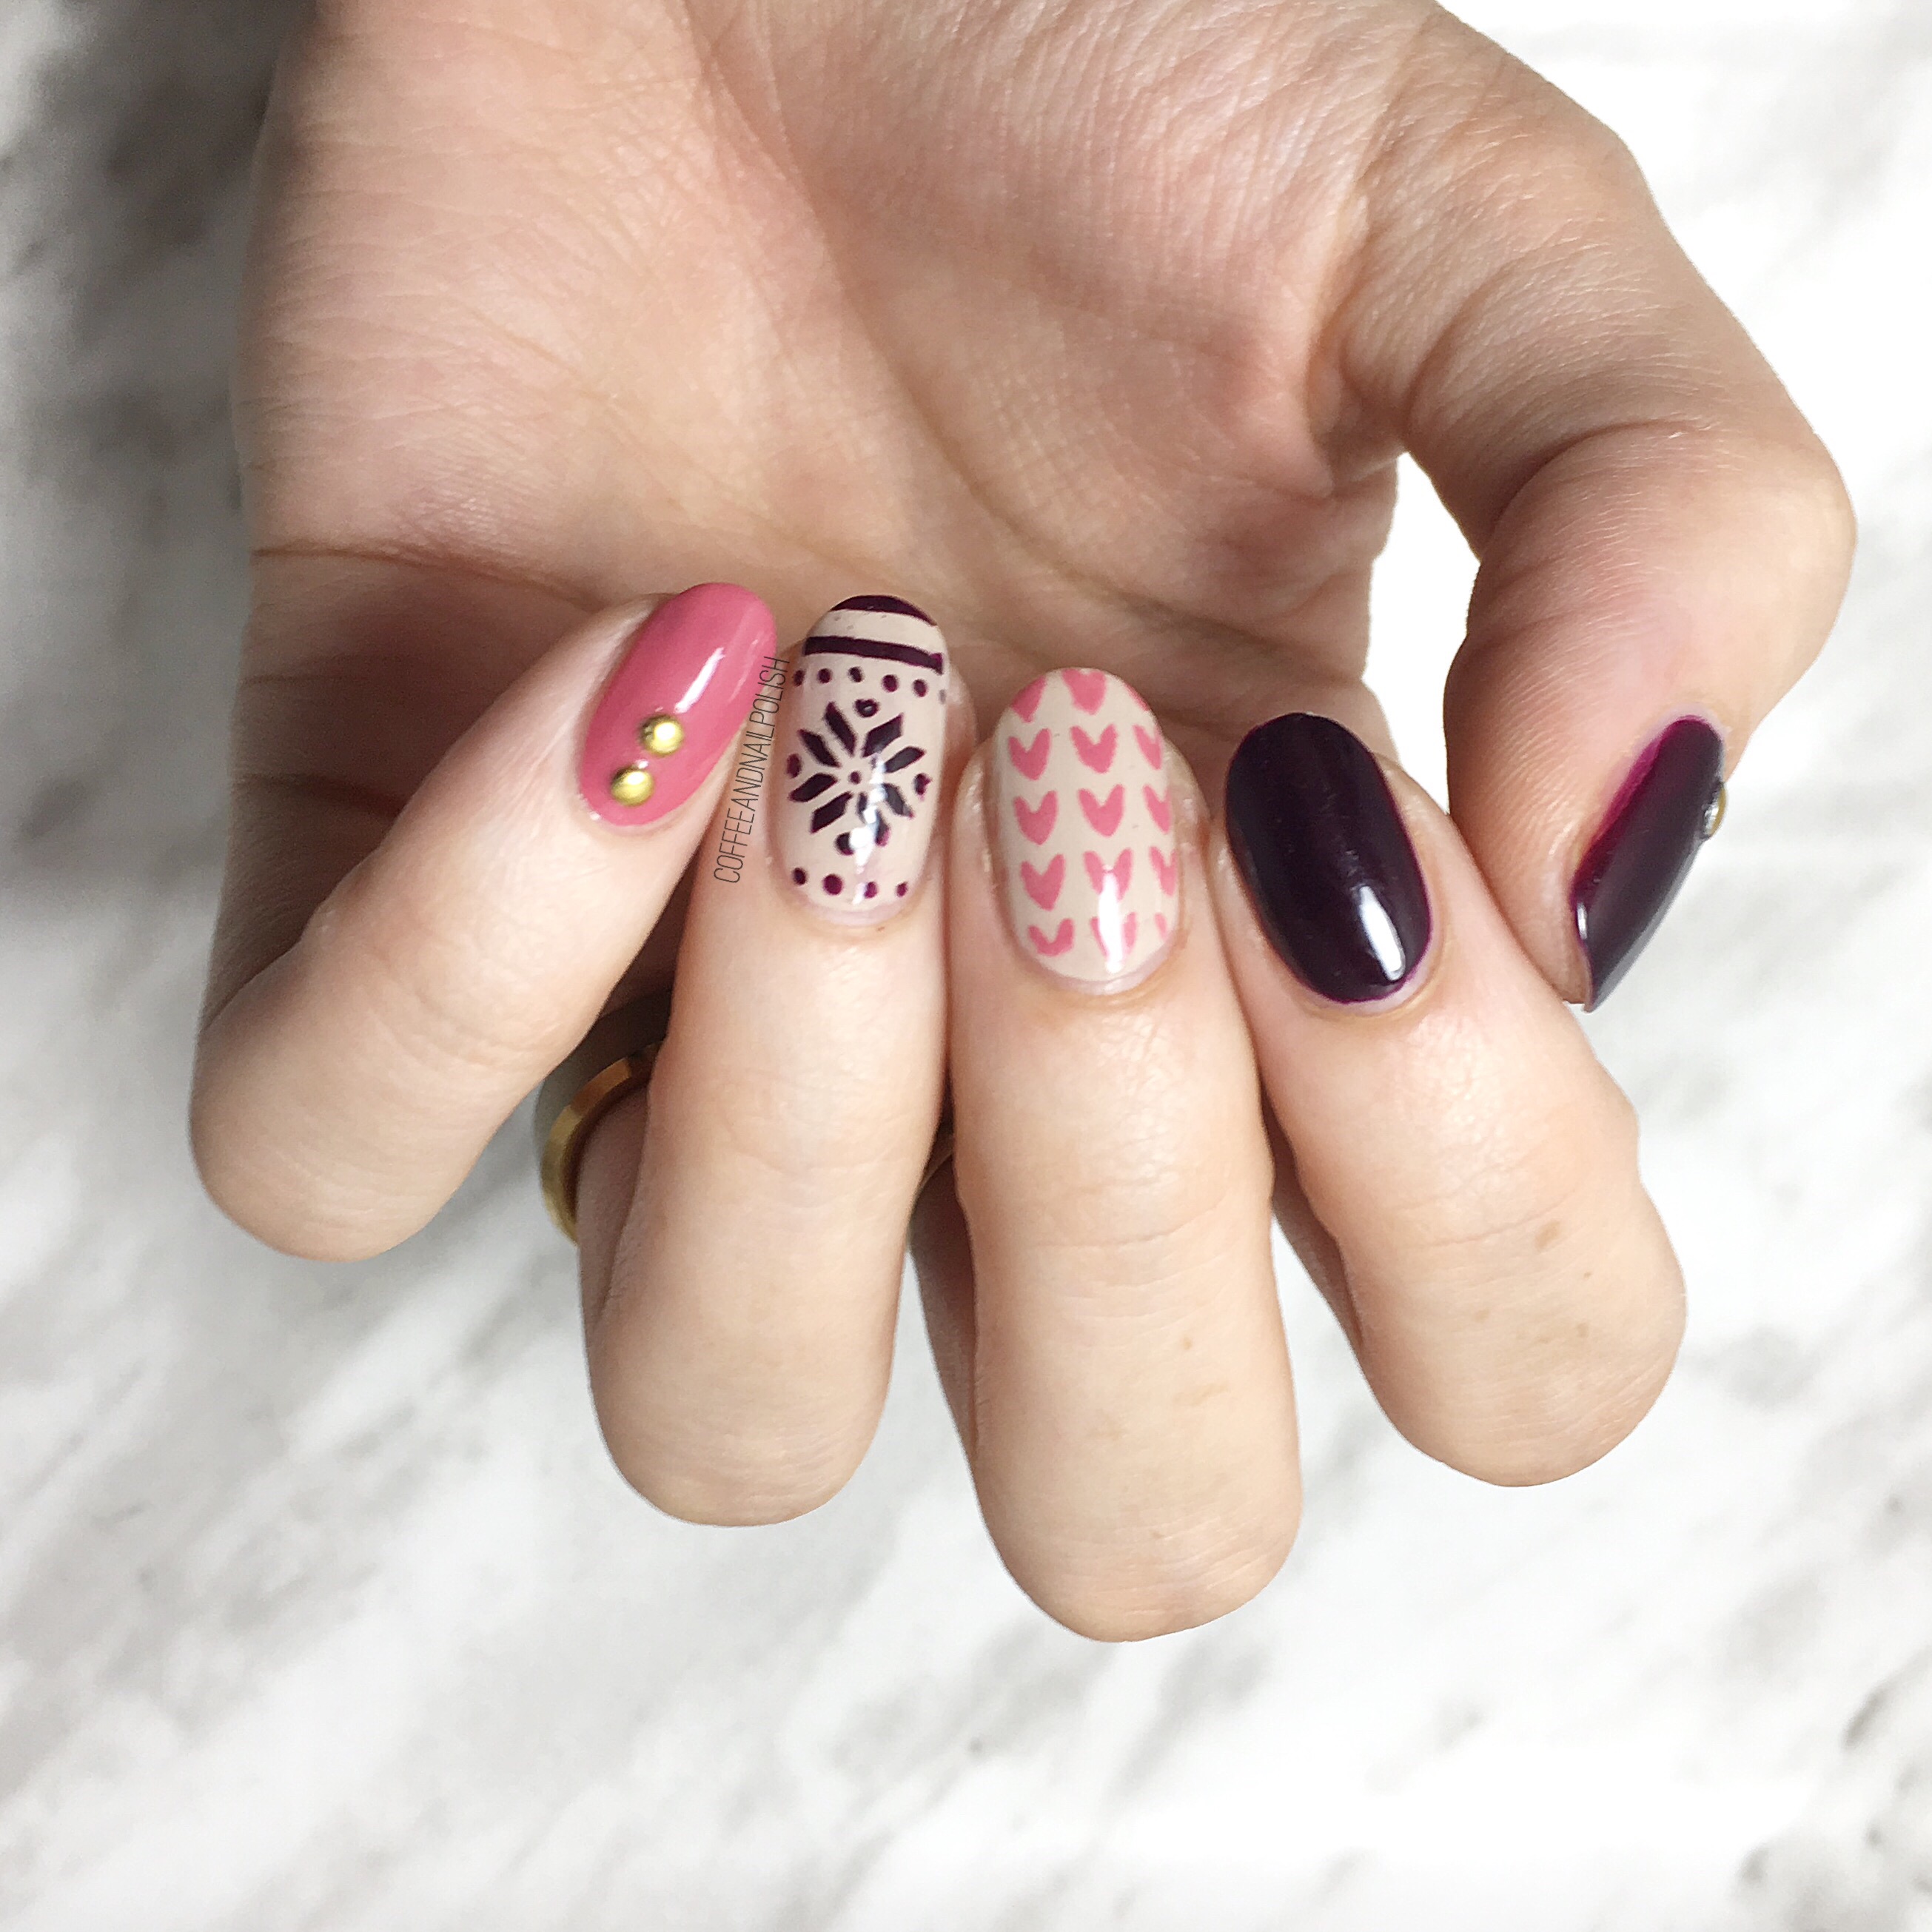
For this manicure, the polishes I used were:
- Base Coat: Nailtek Foundation 2
- Top Coat: Seche Vive
- Essence Give Me Nude, Baby!
- Sally Hansen I ♥️ Nail Art Pen in Green
- Essence The Green & The Grunge
- Essie Stylenomics
- Essie Butler Please
- L’Oréal Carmin Parisien
- China Glaze Metro Pollen-tin
- Sally Hansen Hard As Nails Hard To Get
- Sally Hansen Hard As Nails Black Heart
- Bundle Monster Detail Nail Art Brush
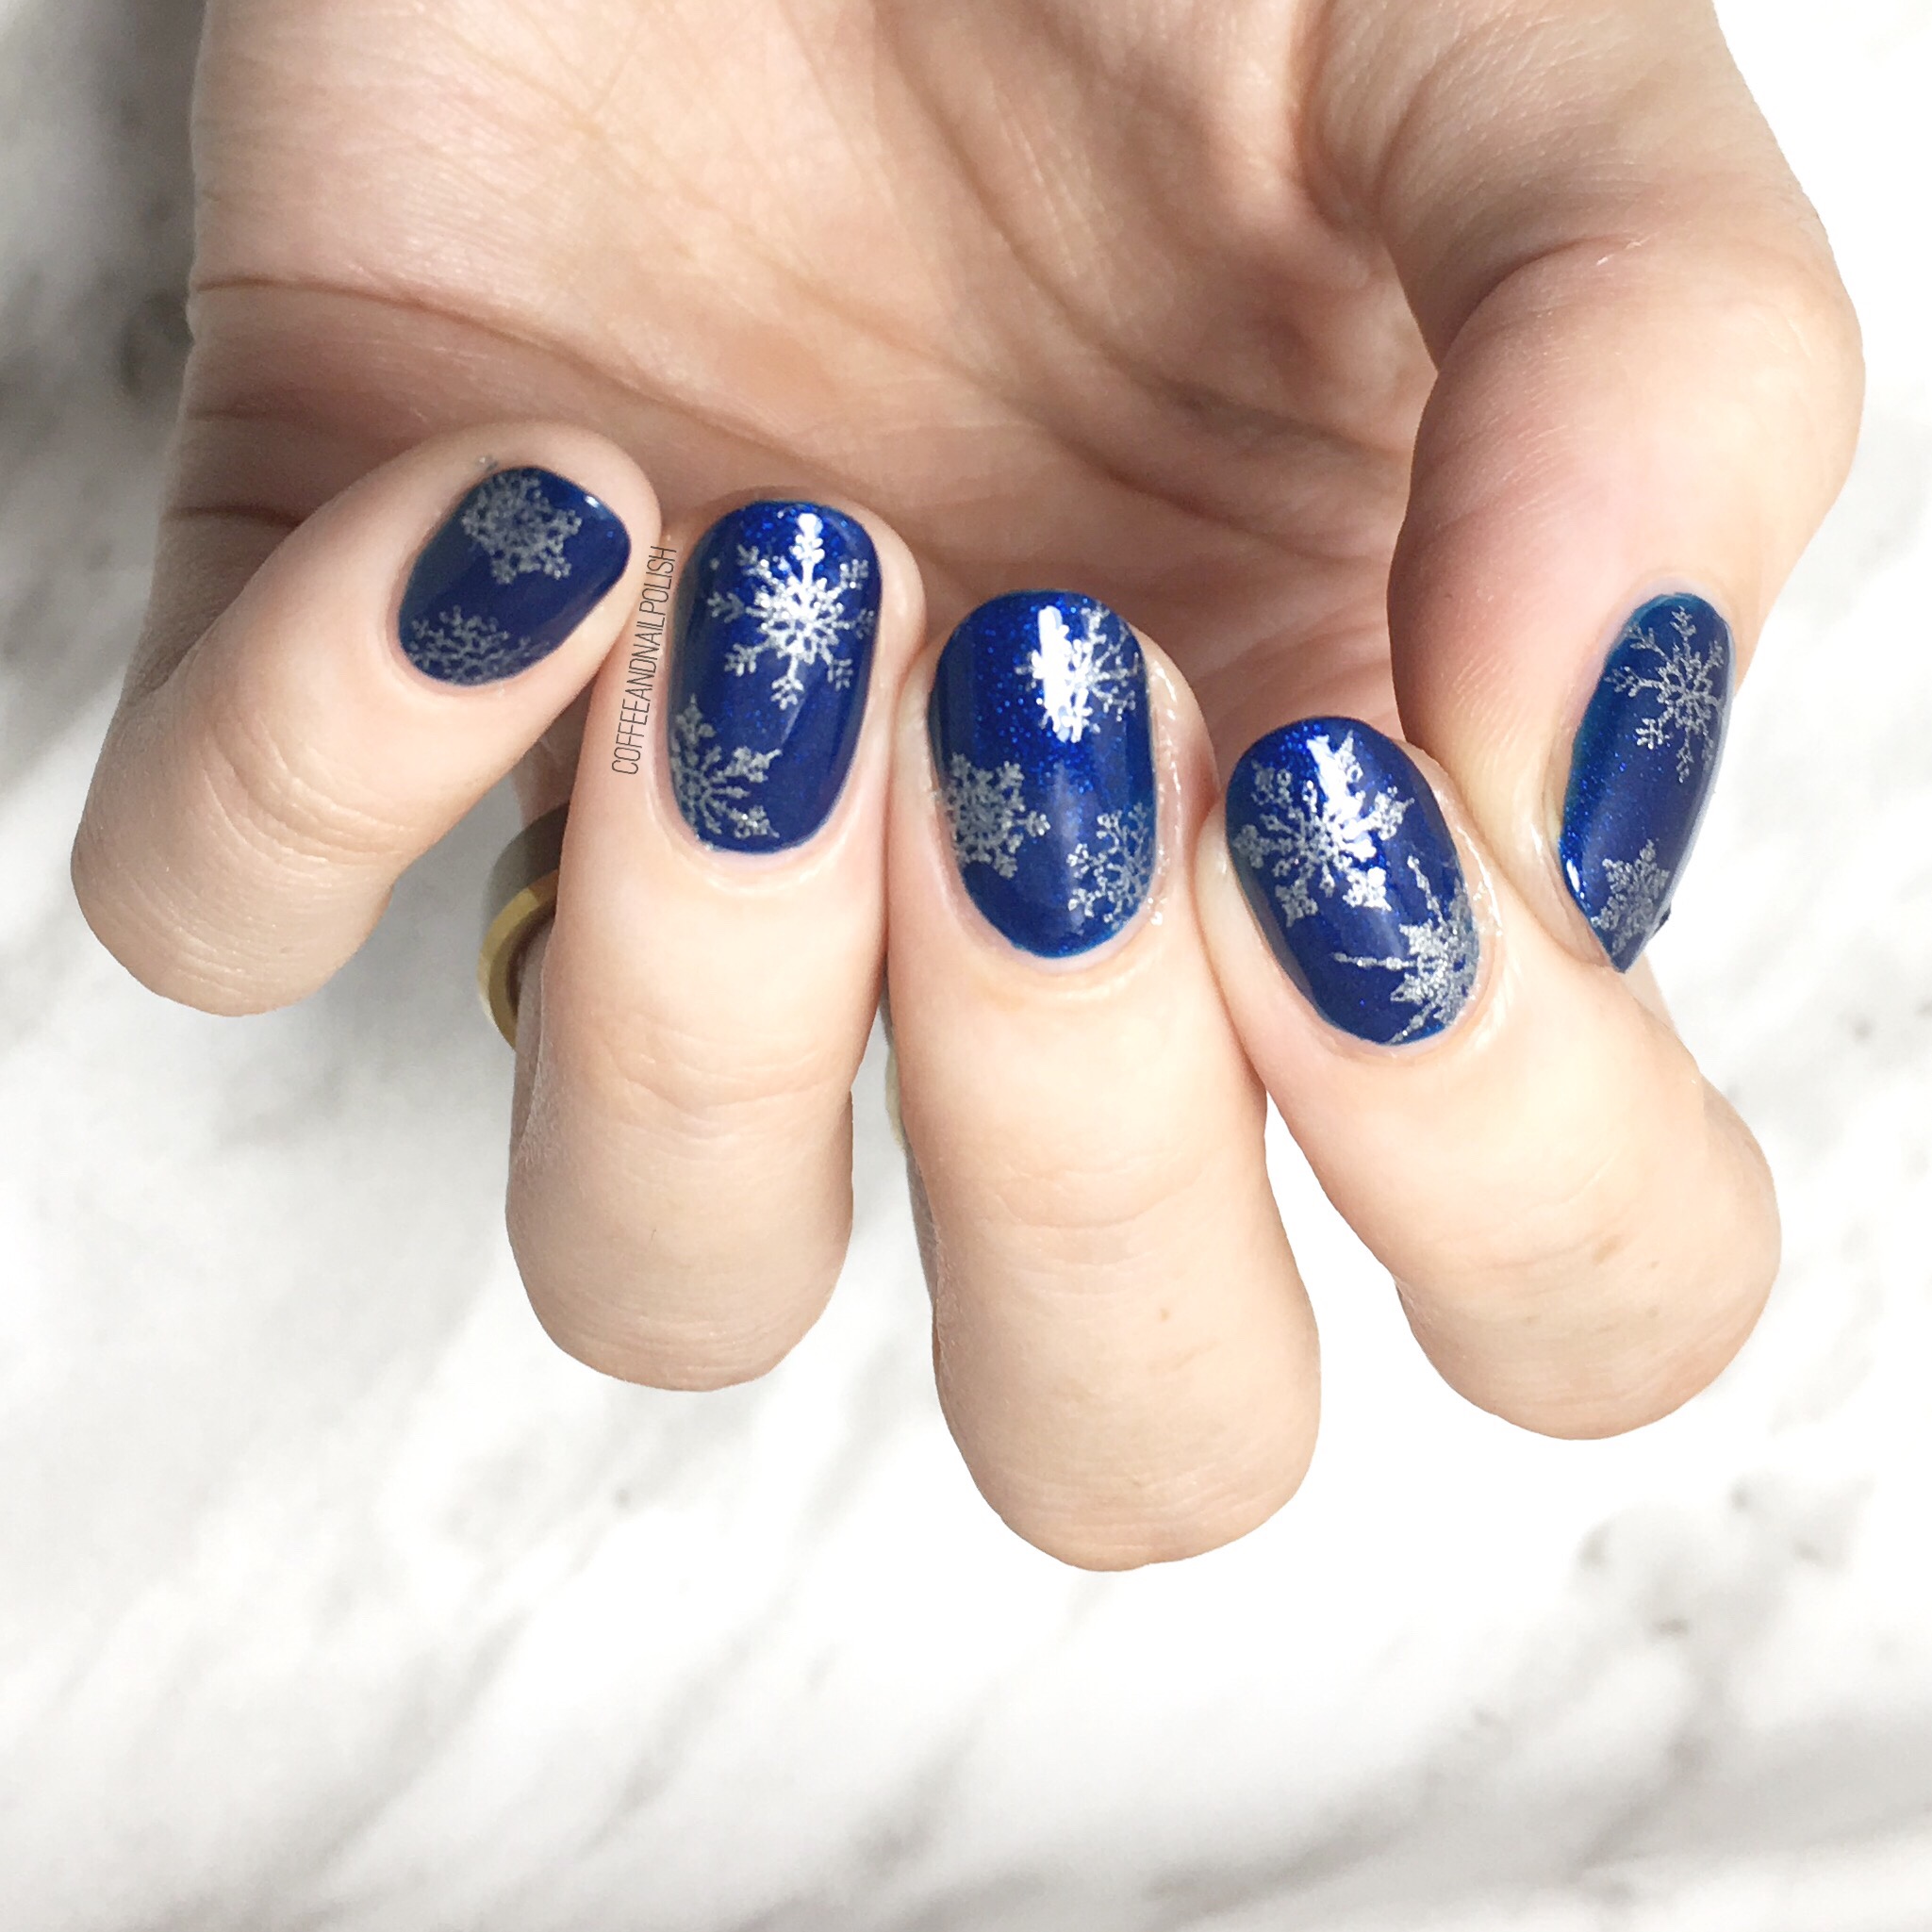
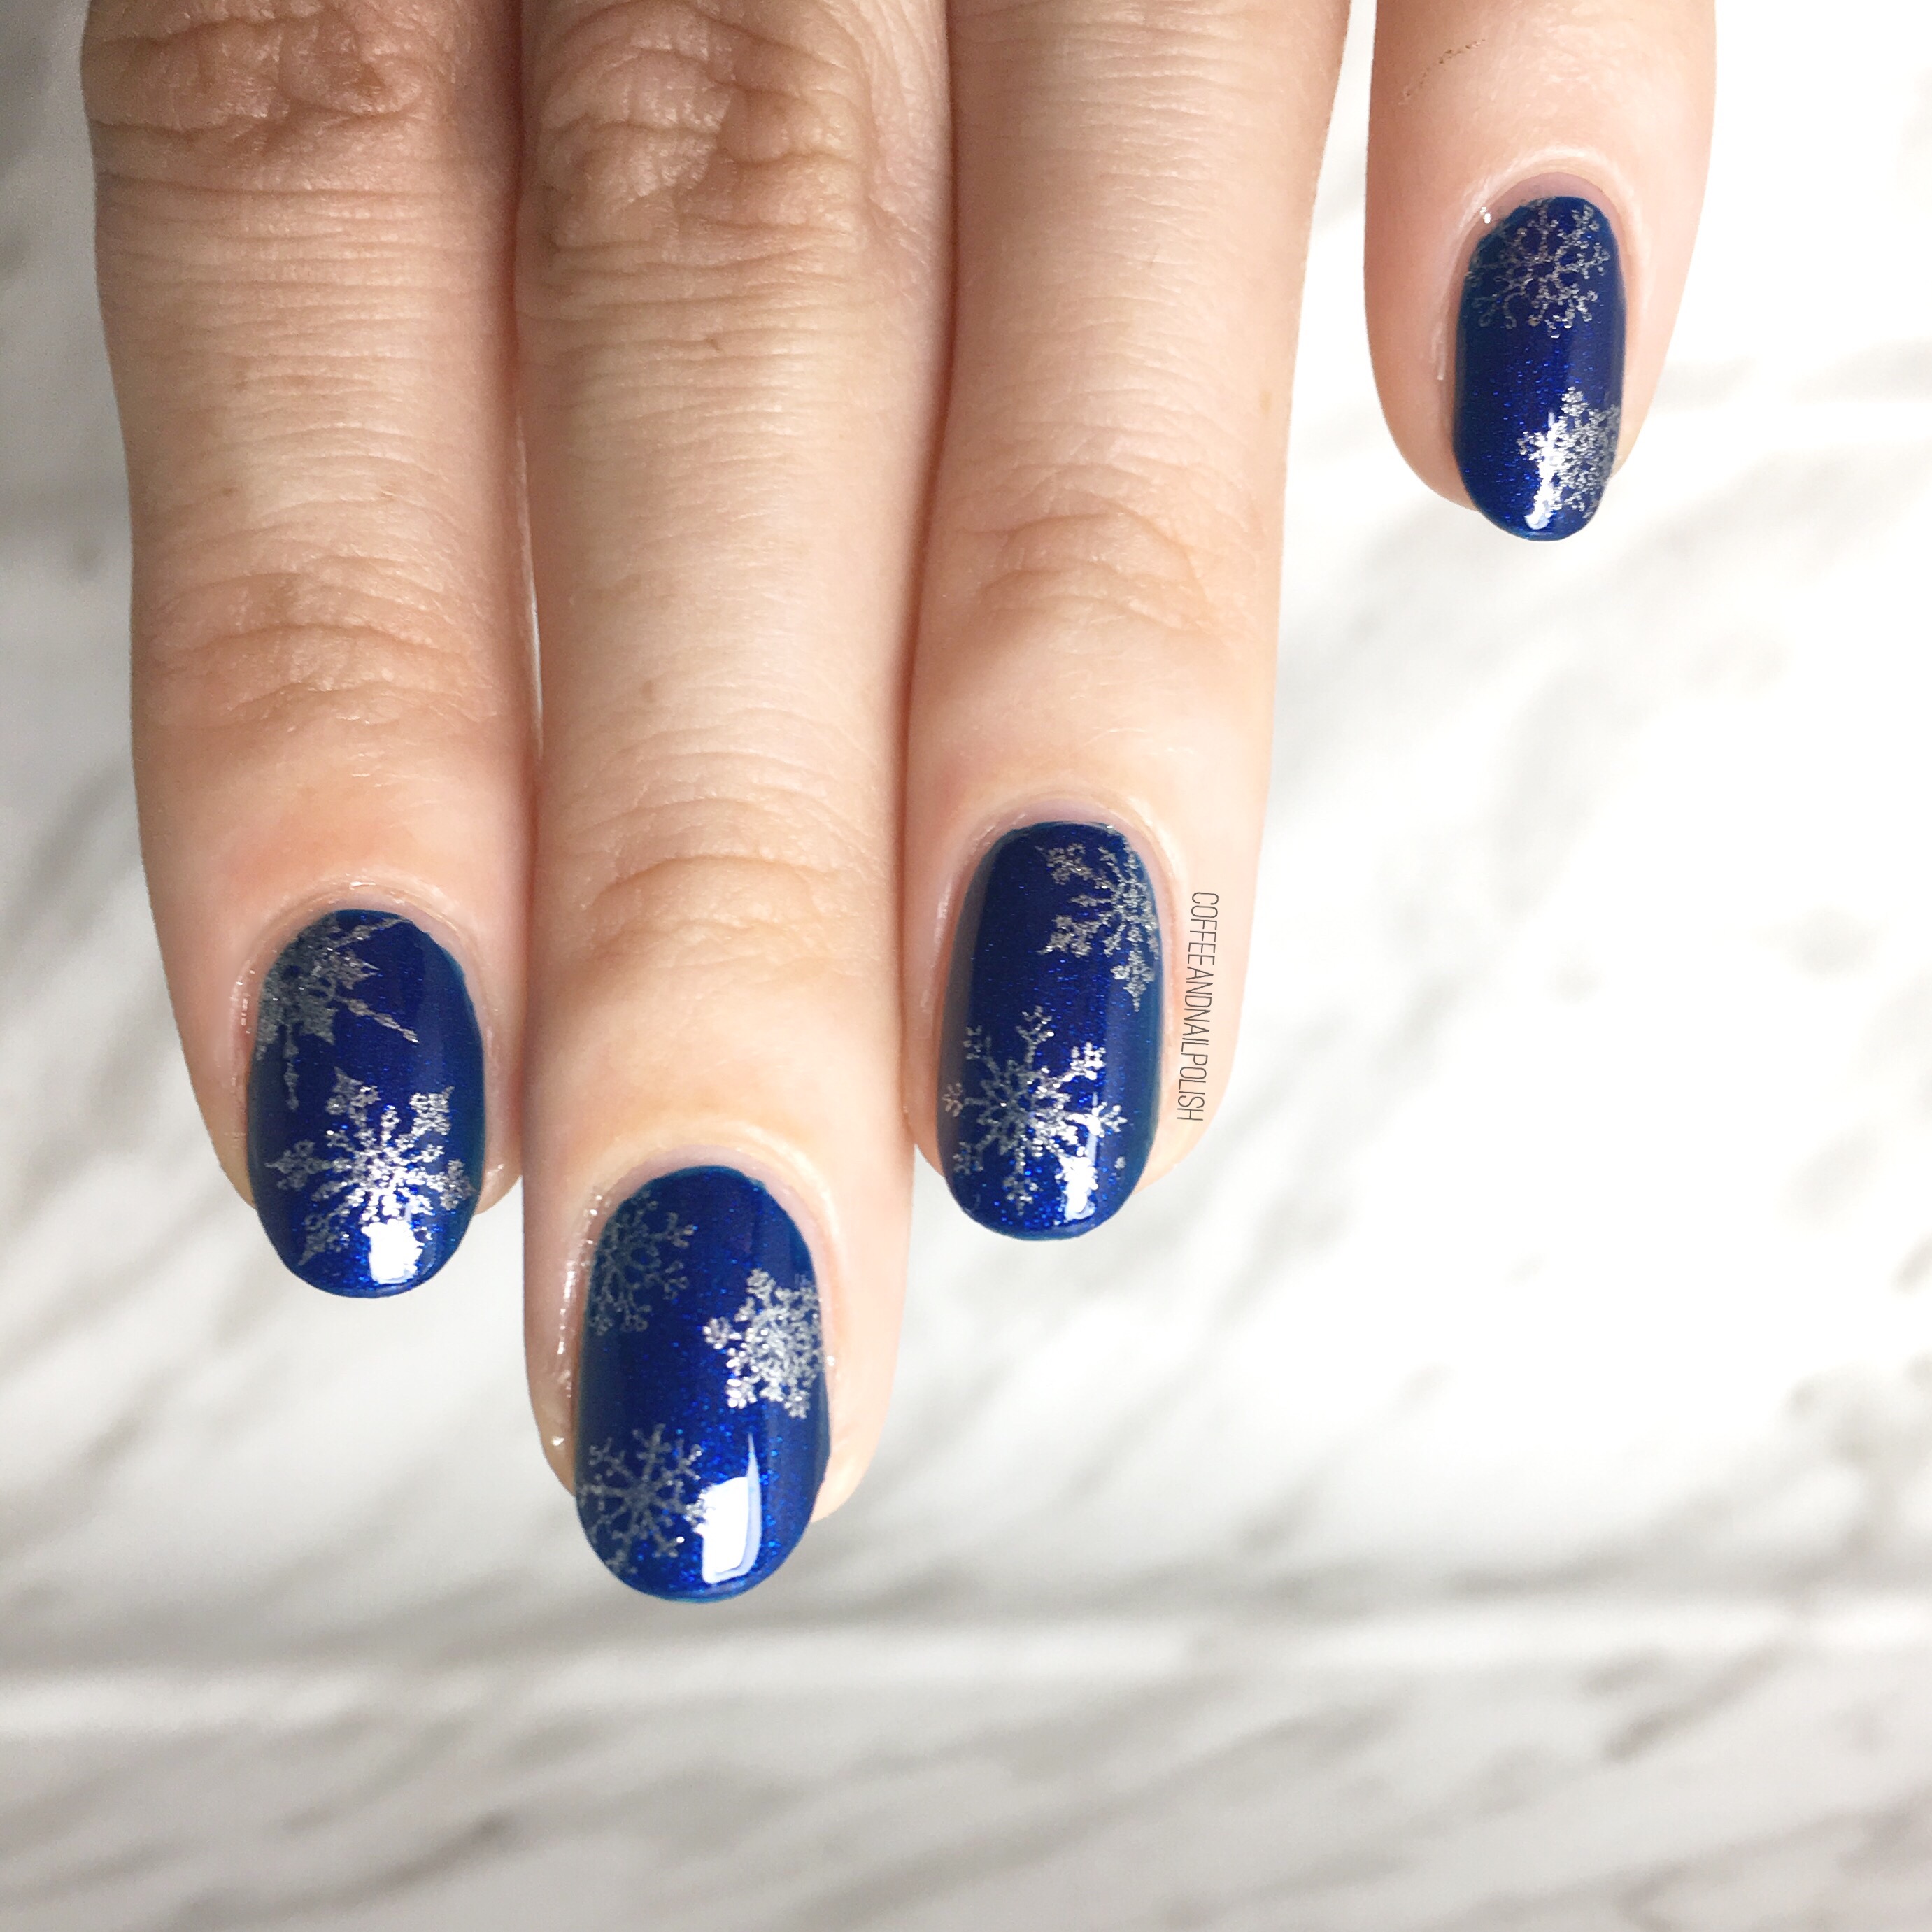
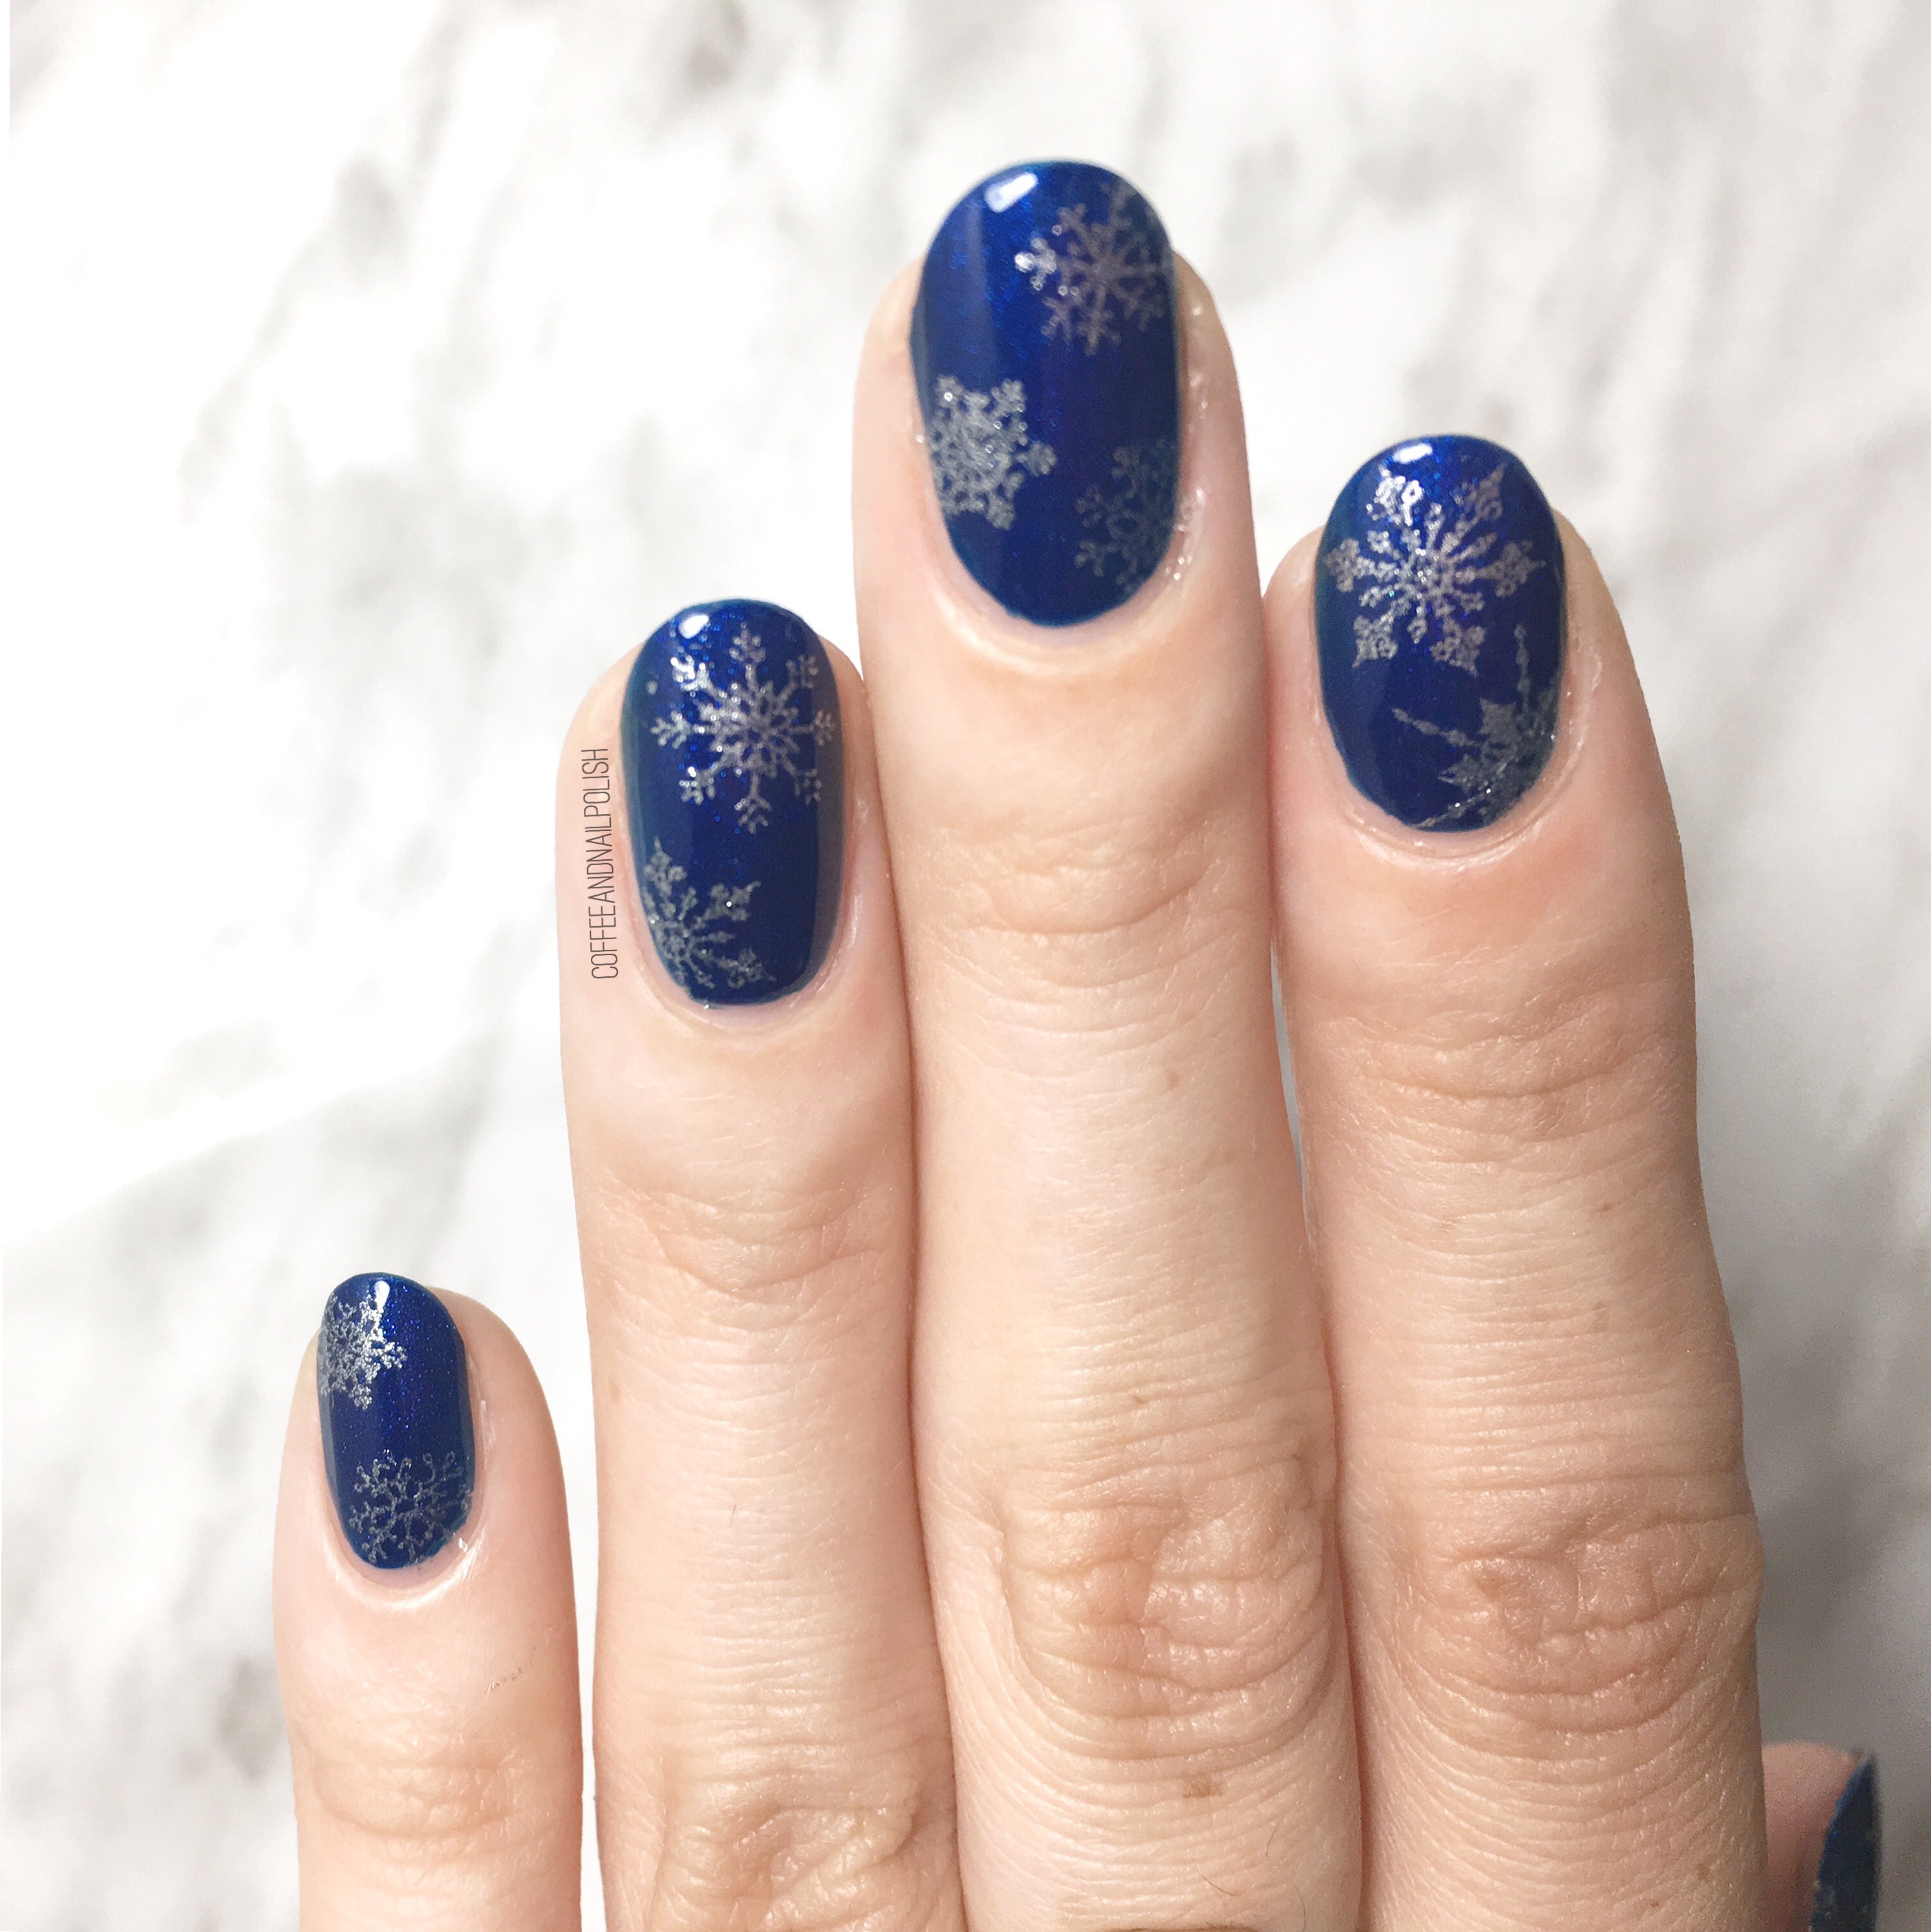
 Sometimes I get really excited about how a manicure turns out & this is one of those times. This isn’t the first Christmas Tree/Tree Branch manicure I’ve attempted, but it’s definitely the best I’ve ever done. I’m just so beyond in love with how it turned out.

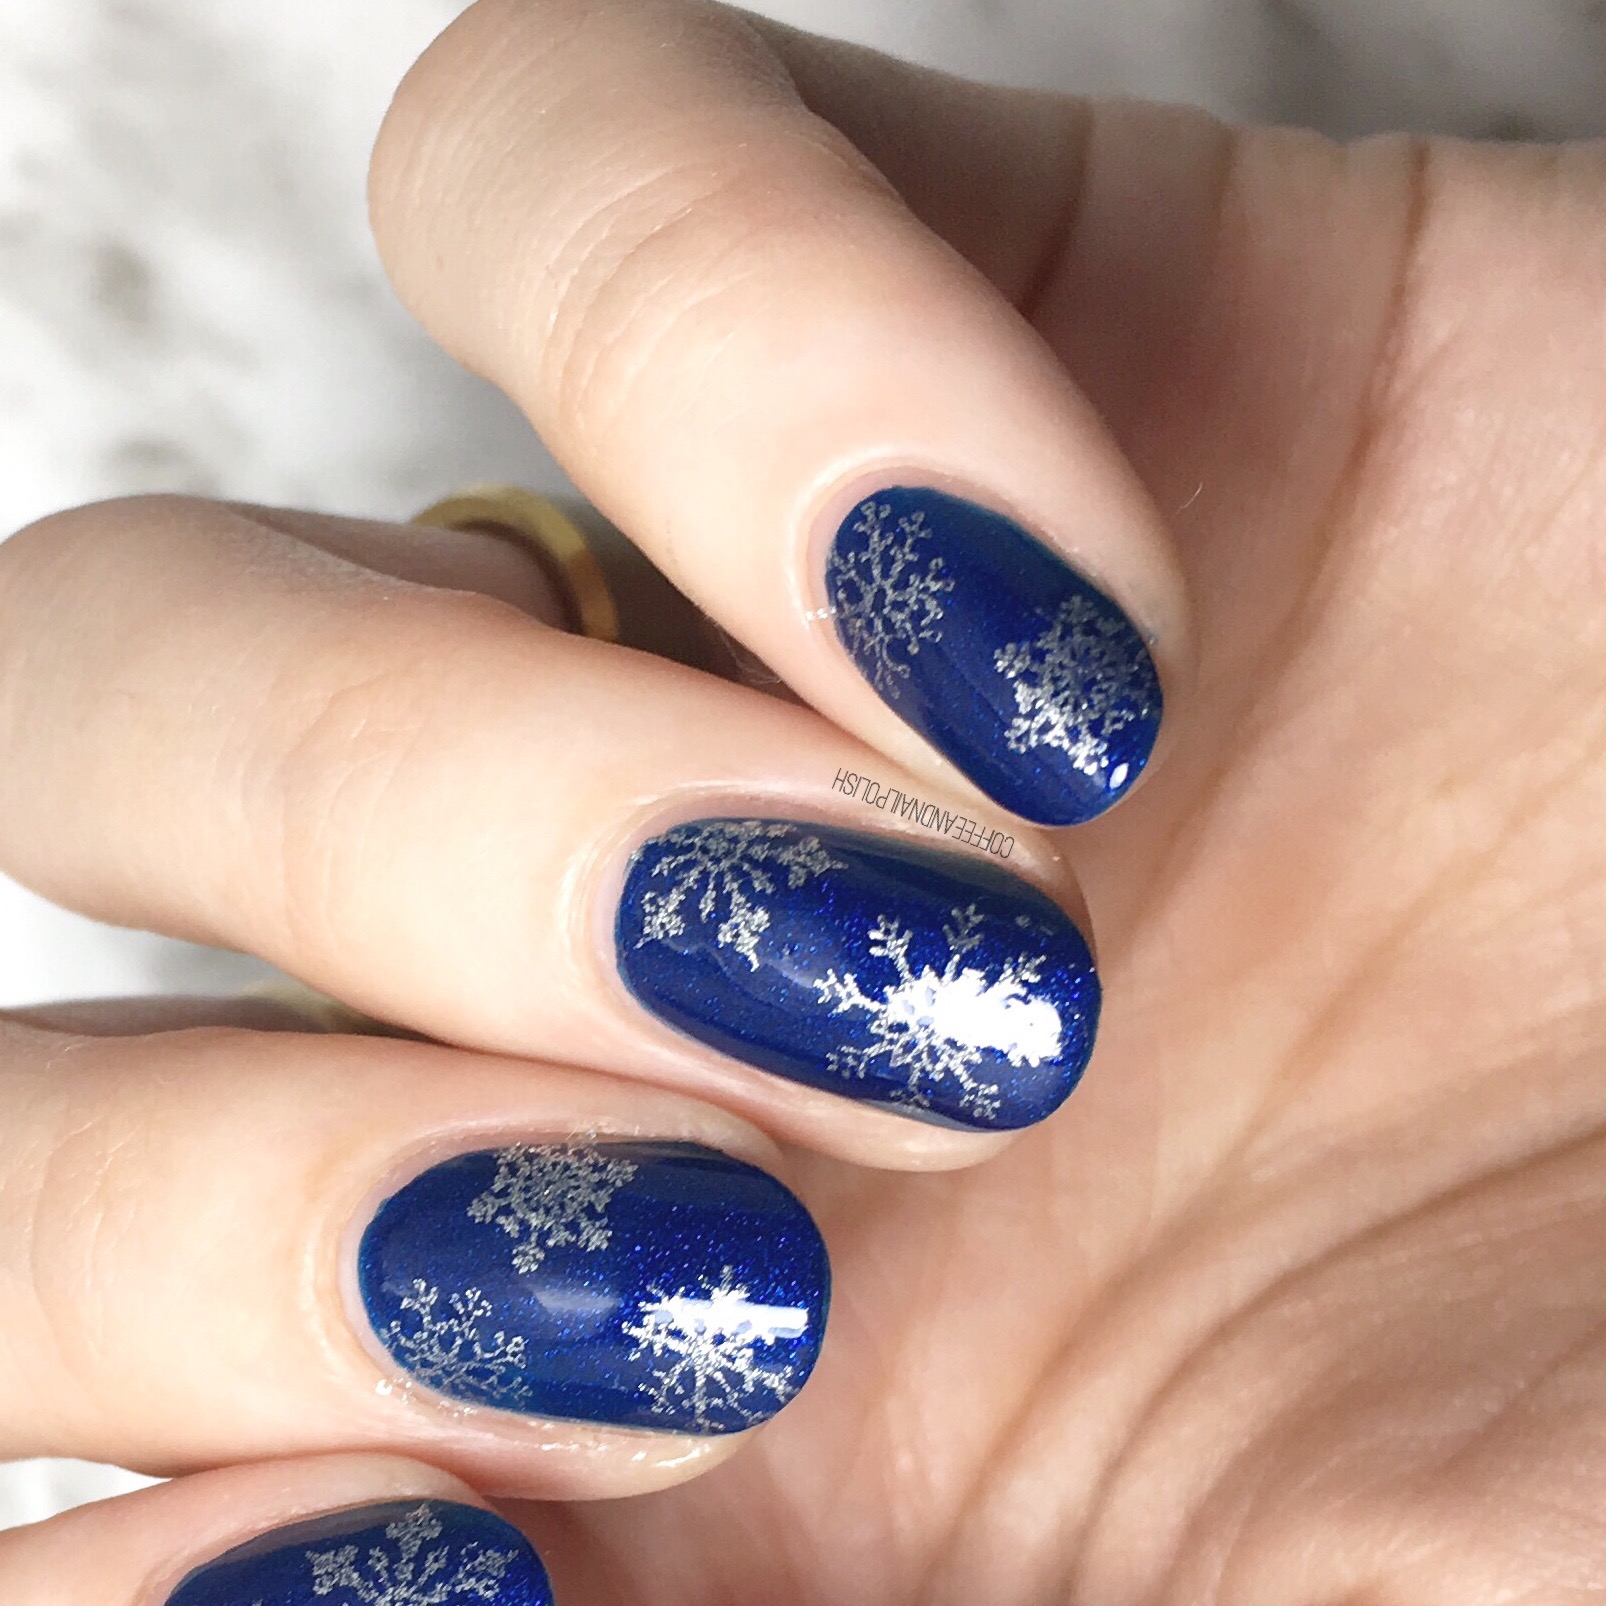
 I love that you can see the individual needles on my “branches”. It reminds me of our own sparse little artificial Christmas tree. True story: it’s the same tree my parents used when I was a kid, & the box still has the K-mart sticker on it from when it was purchased. & K-mart left Canada in 1998 I believe, so this tree is at least 20 years old. Haha. But it’s okay because it’s well loved, full of memories & is still going strong all these years later.
 What do you think of this Christmas tree design? Do you have your tree up yet? Let me know your thoughts in the comments below!


 <<<<<
<<<<<