St. Patrick’s Day Shamrock Nails ☘️

Happy Saturday Lovelies… & happy St Patrick’s Day! It’s been quiet on the blog this week, & if you follow me on Instagram you’ll know I had a bit of an accident involving my son where he scratched my cornea with his nail leaving me temporarily blind Wednesday. It was a little difficult to try & do my nails & write a post so I took a bit of a hiatus but I still wanted to try & do something fun in honour of St. Patrick’s Day, so I can up with a fun shamrock design.

Green is not a usual colour choice for me. I own quite a few greens, but I usually save them for either Christmas or St. Patrick’s Day so I was excited to pull a few out to play with.

The polishes I used for this design were:

  • Base Coat: Quo by Orly Kiss Me, I’m Kind
  • Top Coat: Seche Vive
  • Wrenn Polish I Know Quac is Extra
  • OPI That’s Hula-rious
  • China Glaze Be More Pacific
  • Essence The Green & The Grunge
  • YSL Beauty Vert D’Orient
  • URSugar Nail Vinyls — shamrocks (item #AUB39877)

I started off with a dry brush base using all my greens but YSL Beauty Vert D’Orient & let it dry completely. Then I added the shamrock vinyls over top my design & painted over the whole nail with Vert D’Orient & immediately removed the vinyls revealing my dry brush shamrocks. I think it was a cute way to use a whole bunch of greens & a great design for St Patrick’s Day!

What do you have planned for your St Patrick’s Day? Mine will be spent working & the only green things I’ll be drinking with be green kombucha & matcha lattes… but that’s okay with me! Hope you have a fun (& safe!) St. Patrick’s Day whatever you get up to. 💚 Also head over to my Instagram later on for a bonus nail art look featuring these Shamrock vinyls from URSugar! 🍀☘️🍀

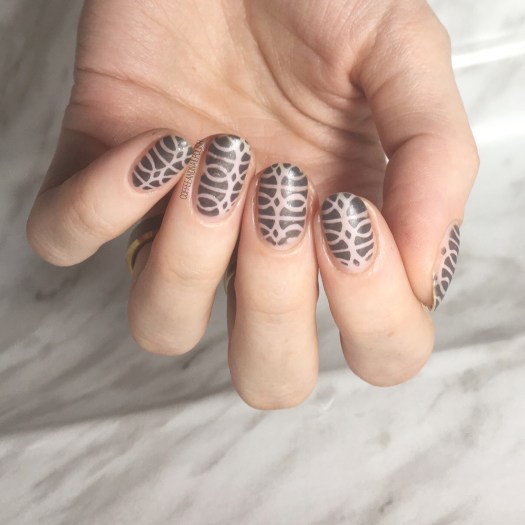
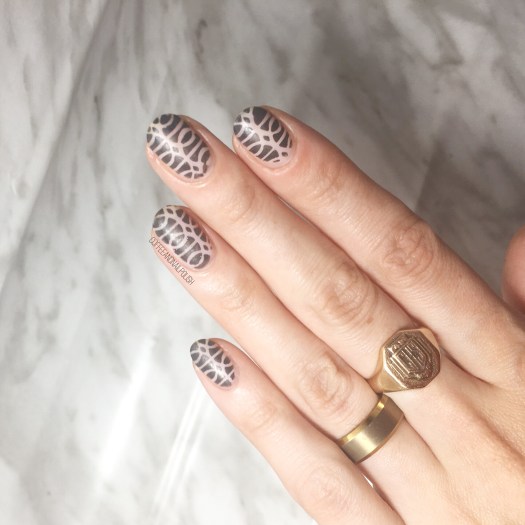
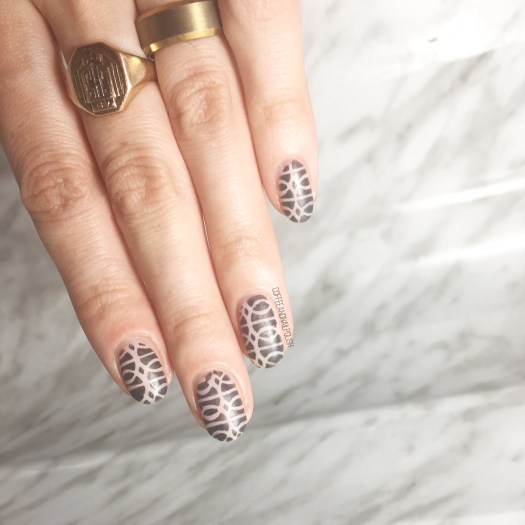
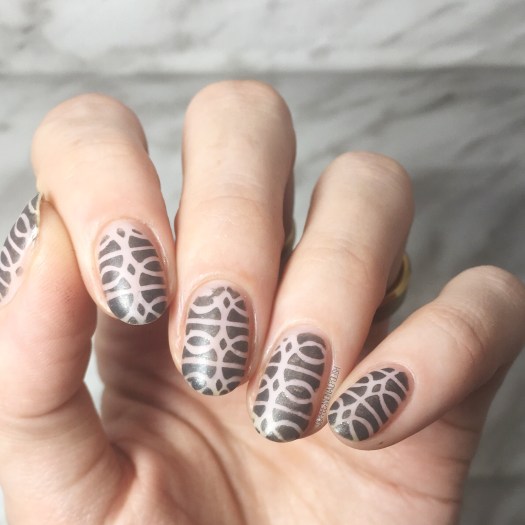
Negative Space Stripes (Again!)

Hello Lovelies & happy Monday! I hope everyone had a fantastic week. I’m getting prepped for a busy week ahead–it’s March Break week which means that it’s going to be busy busy busy for me at work! I’m still getting used to being back to work but that’s why they invented espresso, am I right? I’m also getting used to fitting in doing my nails to my daily routine on top of working & being a Mom–it definitely takes practice! So I’ve been leaning more towards easy nail art looks.

Today’s nails were done using some striping tape from Born Pretty Store (Item #40423) that I recently bought. I picked up a three pack of different sizes that I thought would be perfect for achieving different sized stripes. Plus it’s pretty & purple… & I love purple!

For this manicure, the polishes I used were:

  • Base Coat: Quo by ORLY Kiss Me, I’m Kind
  • Top Coat: Seche Vive
  • Essie Cashmere Bathrobe
  • Essie Where’s My Chauffeur?
  • Born Pretty Store Aurora Rainbow Nail Striping Tape (item #40423)
  • Small detail brush from Bundle Monster
These were so simple to do & I love the pop of colour against the dark grey polish. All I did was apply my different sizes of striping tape over my completely dry base coat, & then painted over top with Cashmere Bathrobe. Then I took my small detail brush & added stripes of Where’s My Chauffeur? freehand. Definitely one of my favourite Spring polishes & it works so well with Cashmere Bathrobe because it stands out so much! You can never go wrong with a good turquoise nail polish.

Also negative space makes me so happy. Like–it’s such an easy way to make your nails look fancy without a lot of work. & I’m all about quick & easy while still looking fancy.

What nails are you rocking to start off your week? What do you think of this negative space look? Let me know your thoughts in the comments below!

More Spring Floral featuring the Sally Hansen Blushed Collection!

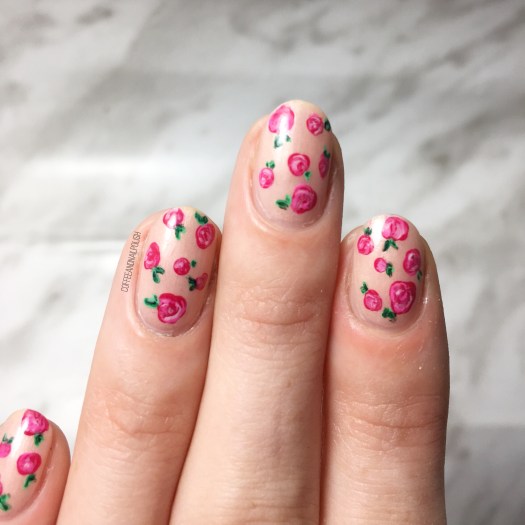
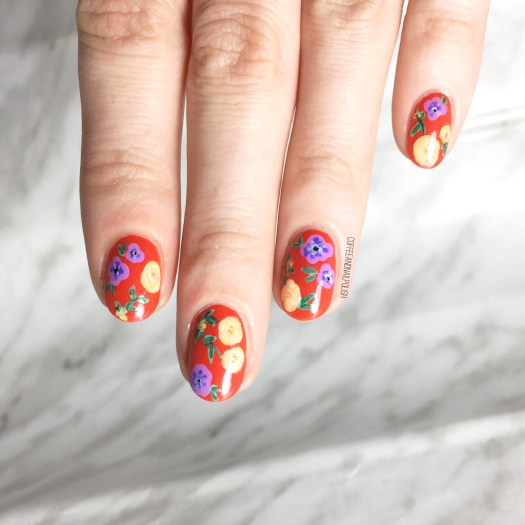
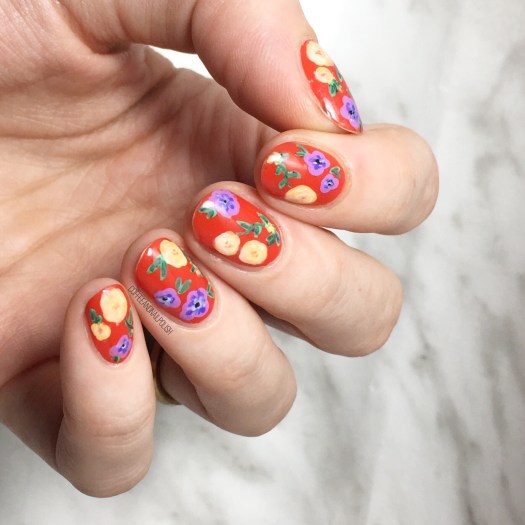
Hello lovelies & happy Wednesday! Hope everyone else’s week is going well. Mine has been busy so far but that hasn’t stopped me from getting up a new post for you! I decided that more floral was in order–which, with 10cm of snow forecasted here, seems much needed. I guess Mother Nature didn’t get the memo that Winter needs to be over.

Maybe these florals will remind her!

For this design, the polishes I used were:

  • Base Coat: Quo by ORLY BreathableKiss Me, I’m Kind
  • Top Coat: Seche Vive
  • Sally Hansen Complete Salon Manicure Off The Shoulder
  • Sally Hansen CSM Killer Heels
  • Sally Hansen CSM Red It Online
  • Sally Hansen CSM Rose To the Occasion
  • Sally Hansen CSM Blush Against The World
  • Sally Hansen I ♥️ Nail Art Pen in Turquoise
  • Sally Hansen Hard As Nails Hard To Get
  • Essie After School Boy Blazer
  • Small & Large Dotting tools
  • Small detail brush from Bundle Monster

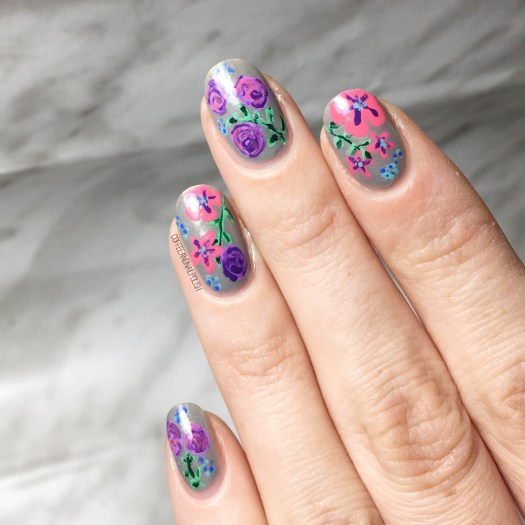
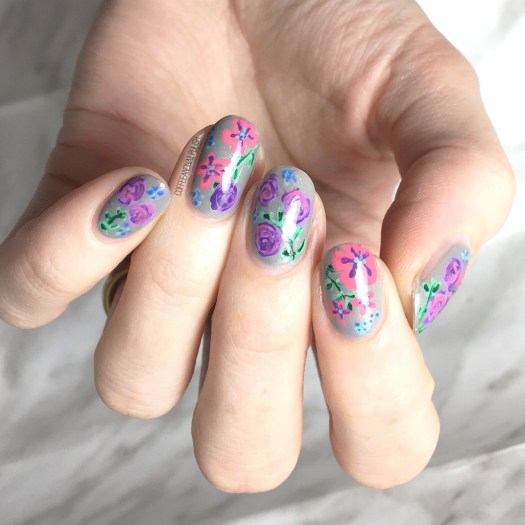
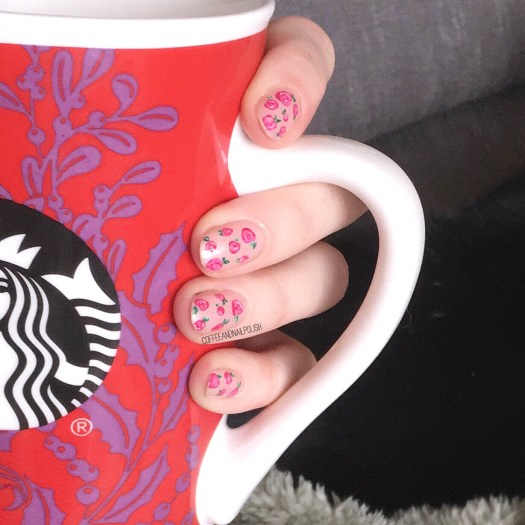
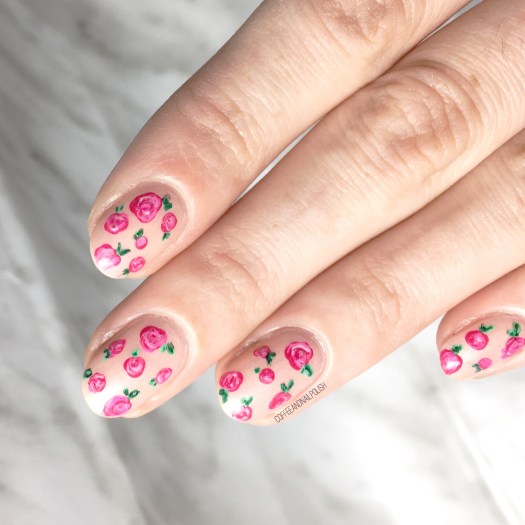
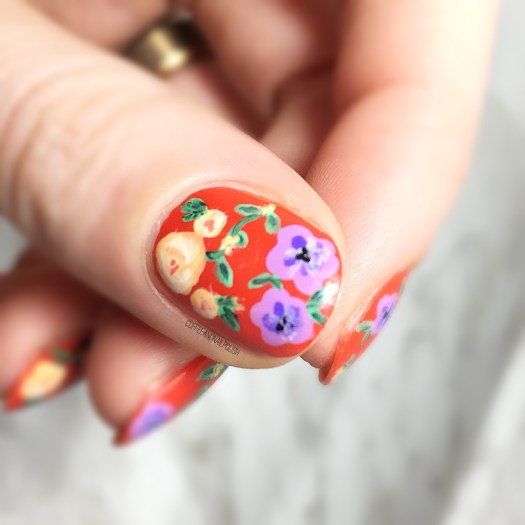
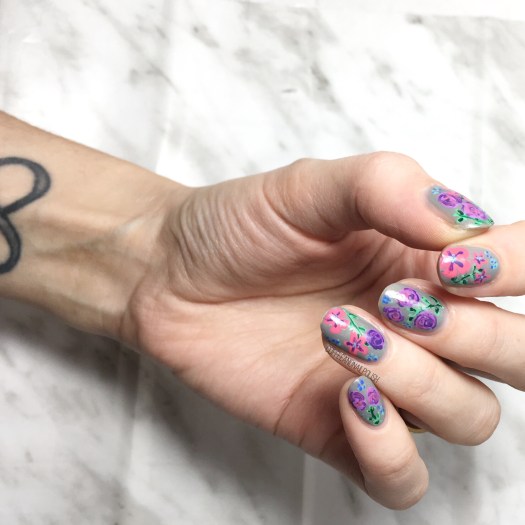
Oooooh I love love love how this mani turned out. I decided to go with blue for my leaves for a different look & I think it turned out really neat! & the dark blue looks so beautiful with the polishes from Sally Hansen’s Blushed Collection… which are so beautiful on their own. & they make for a great colour base for roses.

13 more days until Spring… just 13 more days. Oooooh & it cannot come fast enough. I’m dreaming of flower crowns & summer dresses & so much floral. I just keep staring at the Spring dress section of my closet & dreaming of the day I won’t get frostbite wearing them.

What do you think of this floral design? How are you getting prepared for the warm weather months? On top of floral nails & dresses, I’ve been buying lots of plants for our house so bring a little extra brightness! We haven’t had a chance to paint yet, so the house needs a little extra greenery so it doesn’t feel so drab. 🌿🌱

I’m just a little bit obsessed!

Spring Splotches & Geometric Lines

Happy Monday Lovelies! Today is a super exciting day for me because I’m officially starting at my new job after my week away training, which is both nerve wracking & a brand new adventure for me. Also exciting is today’s manicure which was inspired by a few make up cases I stumbled across at Superstore while grocery shopping.

I love when I find inspiration when I’m not looking for it. This pattern just screams nail art, so obviously I had to snap a picture for future nail designs. I loved the imperfect splotches of colour against the white background & loved how well it paired with the other make up back.

For this manicure, the polishes I used were:

  • Base Coat: Quo by ORLYBreathable Kiss Me, I’m Kind
  • Top Coat: Seche Vive
  • Sally Hansen Hard As Nails Hard To Get
  • Essie Flowerista
  • Essie Too Too Hot
  • Essie Garden Party
  • Essie All the Waves
  • L’Oréal Feeling Kilty
  • Quo by ORLY Nail Art Striper in Black
  • Medium size nail art brush

I just love love love how these turned out! The pretty spring colours, the splotches of colour with the geometric lines. It just turned out as perfect on the nail as I pictured in my head. I feel like I don’t do my freehand lines as often as I used to, so I’ve been trying to practice more!

What do you think of this design… do you think I stuck close enough to my inspiration? Where do you get your nail art inspiration from? Let me know your favourite place to find inspiration (or who inspires you) down in the comments below!

Happy Monday everyone 🌸

Spring Stamping

Happy Friday lovelies! & happy March! Can you believe another month is down? I definitely can’t. Our countdown to Spring is officially at 18 days…. can you tell I’m really excited? Especially since the last couple days have been so beautiful & warm! I can’t wait. Which also means my nails have to match.

Give me all the Spring polish picks!

For this manicure, the polishes I used were:

  • Base Coat: Quo by ORLY Breathable Kiss Me, I’m Kind
  • Top Coat: Seche Vive
  • Essie In The Cab-Ana
  • Essie All the Wave
  • Born Pretty Store Stamping Plate BP-L026 (item #21812)
  • Born Pretty Store Clear Jelly Stamper
  • Edge Perfection Cuticle Barrier

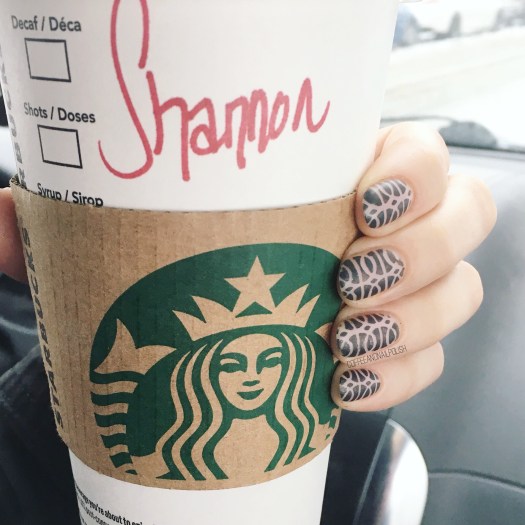
I really love the blue on blue with the vine pattern. It reminds me of a Spring dress pattern! & you know how much I love my dresses & cant wait to wear them again. Hopefully maybe by Easter & the end of the month I’ll be able to wear a few. A girl can dream!

I’m so glad I bought this stamping plate from Born Pretty! There are so many beautiful patterns that are going to be perfect for Spring & Summer. Obviously I love freehanding Floral patterns, but something I just don’t have the time to do it so this gives me another option. Plus leaves have never been my strong suit–Roses I can do, but try & freehand a leaf & sometimes it just ends up looking like a green blob. If I’m feeling some greenery, this will definitely make me less frustrated, which I am so happy about.

What do you think of this Spring design? Are you as ready for Spring as I am? Let me know your thoughts in the comments below! 🌿🌱