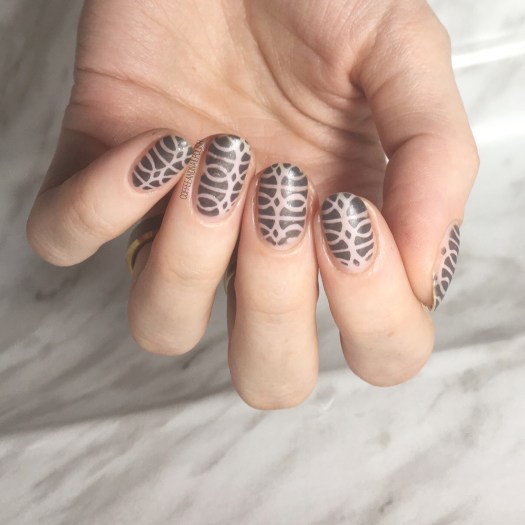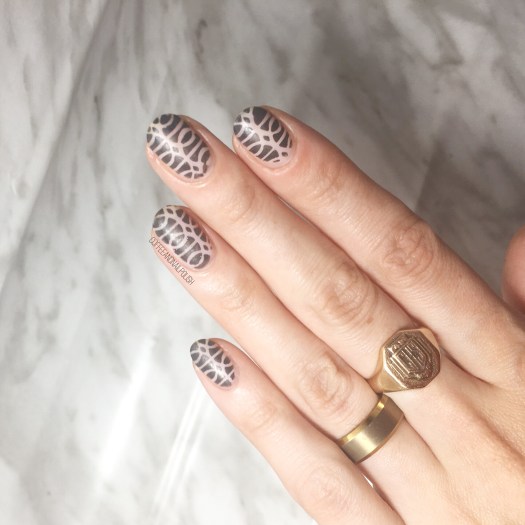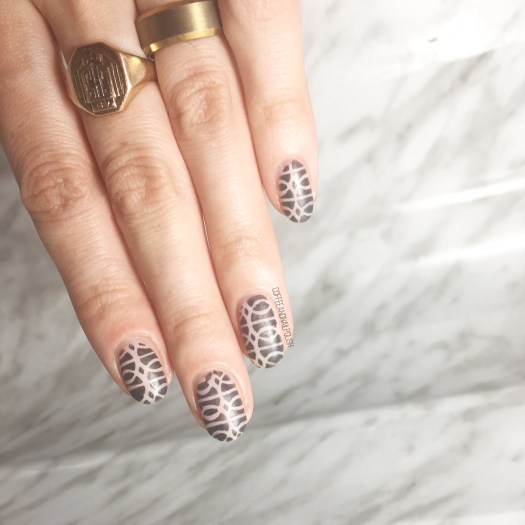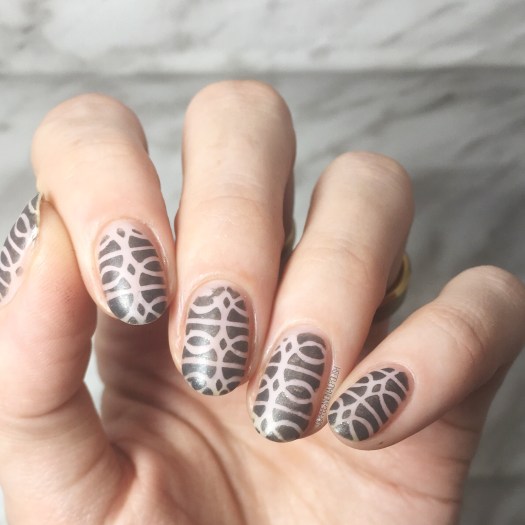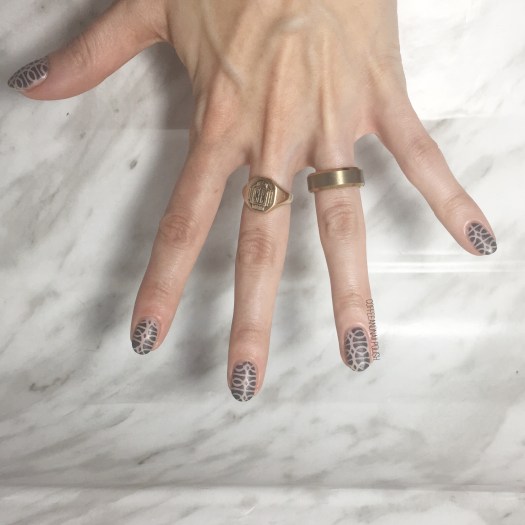
Matte Greyscale Ring Pattern Nails

Happy Friday!

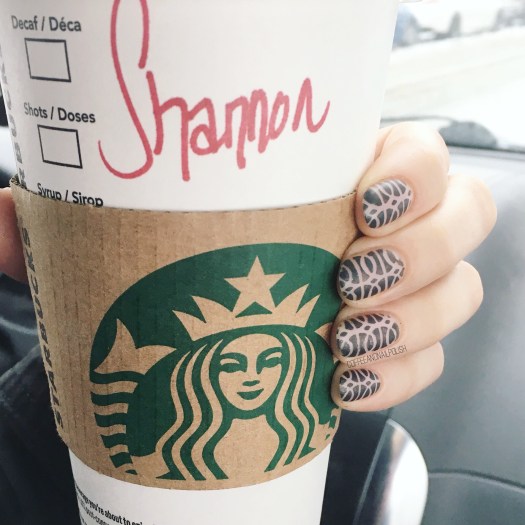
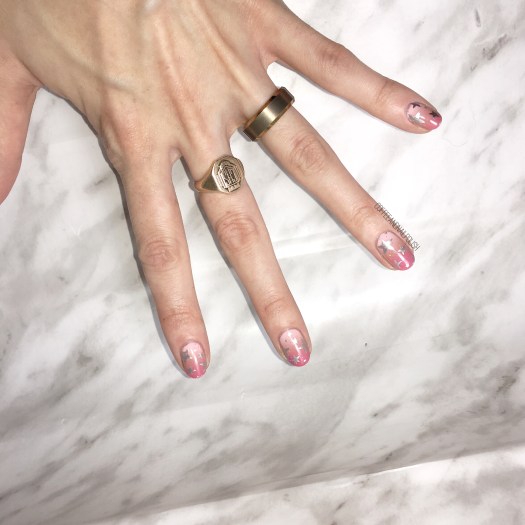
Today’s nails are definitely matching the weather in Halifax–completely greyscale. Cloudy skies, rainy,  & lacking any colour what-so-ever.

I thought after all that pink & red for Valentine’s, a palate cleanser manicure was in order. Pink is nice, but I don’t think I’m used to wearing so much of it on my nails. I’ve also been doing house planning (figuring out room paint colours & putting together some prints for our walls) & completely obsessed with everything grey. So naturally that means it will end  up on my nails eventually!

img_8007

For this manicure, the polishes I used were:

  • Base Coat: Quo by Orly Breathable Kiss Me, I’m Kind
  • Top Coat: Seche Vive
  • Matte Top Coat: Butter London Matte Finish
  • OPI My Pointe Exactly
  • Essie Cashmere Bathrobe
  • Xroma Polish & Vinyls Ring Vinyls
  • Edge Perfection Cuticle Barrier
  • Latex Free Make Up Sponge

I love colourful manicures, don’t get me wrong! & I really enjoyed wearing all that pink for Valentine’s Day. But sometimes I just want to wear something a little more monochromatic & simple on my nails. Plus any time I get to wear Essie Cashmere Bathrobe–which is my ALL TIME favourite grey–is a good day & matte top coat just makes it look even better. To me, this design is just absolutely perfection.

img_8012

I feel like with all the stamping I’ve been doing, I’ve been neglecting my nail vinyls a bit! I’ve been organizing my nail room though, so hopefully I will be starting to use them more often. But not next week… next week I have a special theme planned for all my manicures, but you’ll have to stay tuned to see what it is!

What do you think of this greyscale manicure? What is your favourite palate cleanser manicure or polish? Let me know your thoughts in the comments below!

Pretty Pink Gradient & Stamping

Happy Tuesday everyone!

We’re quickly speeding through February, can you believe we’re already half way through? Kind of crazy! Today I have a super fun gradient design to share. I’ve been kind of obsessed with gradients lately–I go through fazes, & now that I’m all stocked up on my Edge Perfection I’ve been a little gradient crazy.

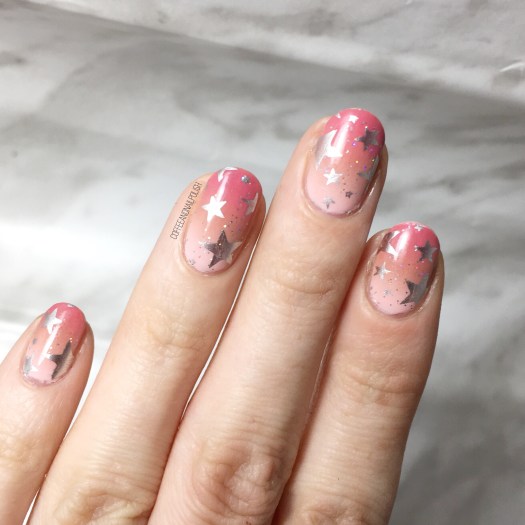
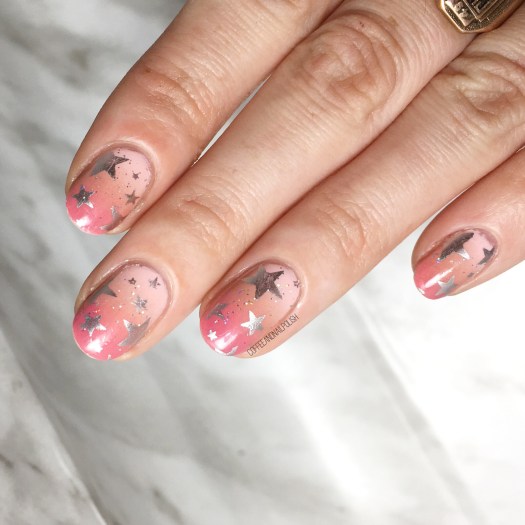
For today’s design, I was feeling pink. I wanted something a little Valentine’s Day-esque without being too over the top. I started out with the gradient, then added some holo glitter. & then I thought–why not some stamping too? I was a bit scared it was all going to be too much, but I think because I didn’t use contrasting colours, the whole design really works together.

For this manicure, the polishes I used were:

  • Base Coat: Quo by Orly Breathable Kiss Me, I’m Kind
  • Top Coat: Seche Vive
  • Joe Fresh Cotton Candy
  • Sally Hansen Xtreme Wear Mauve Over
  • China Glaze Life is Rosy
  • Quo by Orly Falling Star
  • Essie No Place like Chrome
  • Born Pretty Store Image Plate BP-L006 (item #17924)
  • Edge Perfection Cuticle Barrier

I’m really loving this gradient!

& obviously I took some macro shots! You see the holo glitters much better this way, since my desk lamp doesn’t show them off as well as I would like. Also it shows off the blend on this gradient, which I have to admit, I’m pretty proud of. Especially since my early gradients looked something like this.


I’m so happy with this whole design! I know it’s not oh my god Valentine’s Day, but it’s pretty & pink & what is more lovely than that?

What do you think of this design? Do you like all the layers, or do you think it’s too busy? Let me know your thoughts in the comments below!

Bestie Twin Baby Boy Birthday Nails with @hjs_nails

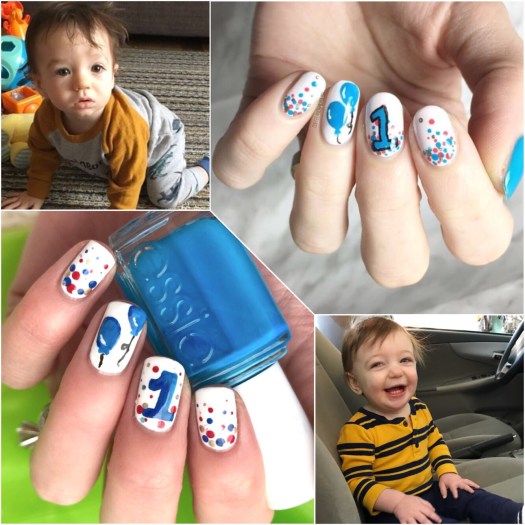
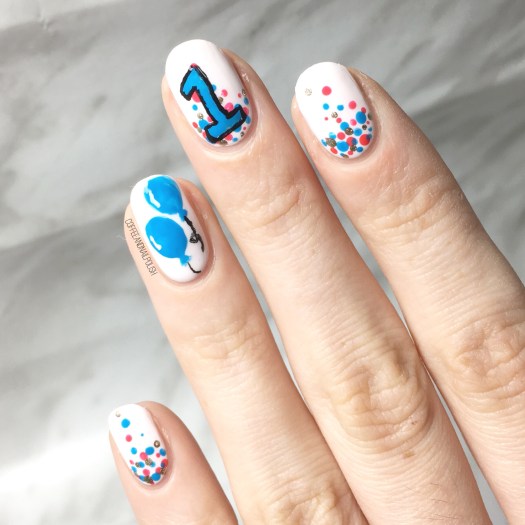
Happy Tuesday lovelies! Today I have a very special nail collab to share with you. One of the most amazing things about the nail community is the way it brings people together. Last August I did a mani swap with Hannah from @hjs_nails & we bonded over the fact we both had baby boys in February. Since our beautiful little guys share a birthday month we decided to team up & do some Bestie Twin Baby Boy Birthday Nails in their honour.

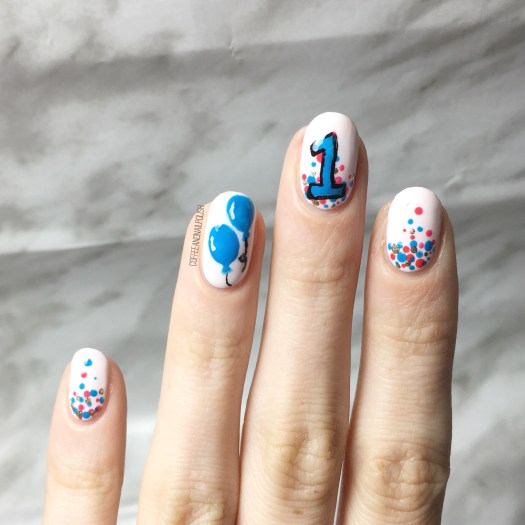
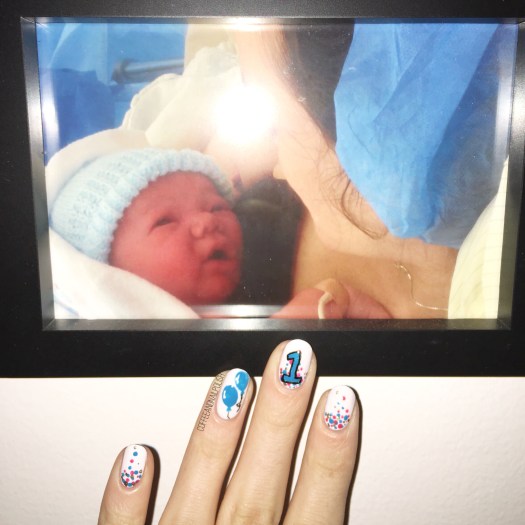
How handsome do our little guys look hanging out beside their special birthday manicures! For our designs, Hannah & I created a fun celebratory design featuring a gradient dotticure (to represent confetti), some balloons & the number one. Hannah had painted her nail design first, so I followed her polish picks to match the best I could.

For this manicure, the polishes I used were:

  • Base Coat: Quo by ORLY Breathable Kiss Me, I’m Kind
  • Top Coat: Seche Vive
  • ORLY Decades of Dysfunction
  • Essie Strut Your Stuff
  • Essie Too Too Hot
  • L’Oreal Feeling Kilty
  • Sally Hansen Hard As Nails Black Heart
  • Small detail brush from Bundle Monster
  • Small dotting tool from Bundle Monster

How cute did this design turn out?! The colour combination reminds me of a race car, which is perfection when celebrating baby boys. My little guys birthday isn’t until Thursday, but it still works because on this day last year I was on day 2 of my 54 hour labour! It’s kind of crazy to believe that I am almost the Mom of a one year old. This year has certainly been a whirl wind, & it definitely hasn’t been easy to balance Mom-life with non-Mom life (like blogging & doing my nails) but I wouldn’t trade it. It’s been a very interesting adventure.

My nails & my 9 pound baby boy.

Hope you liked this design! & don’t forget to pop over to Hannah’s instagram (@hjs_nails) & give her mani some love too!

Have a happy Tuesday! 🎈🎉🎁

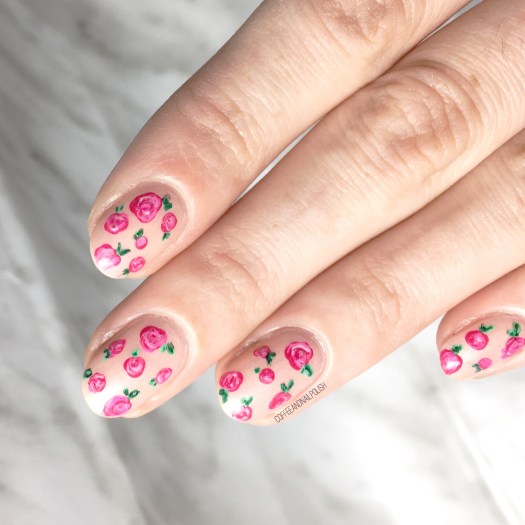
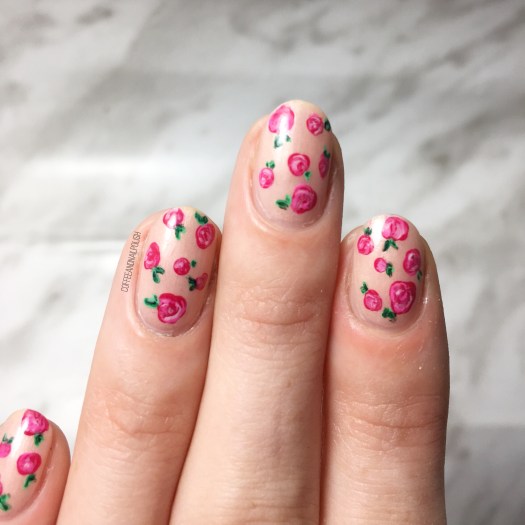
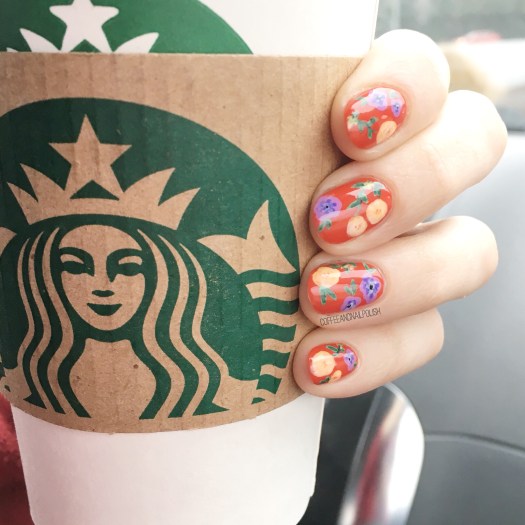
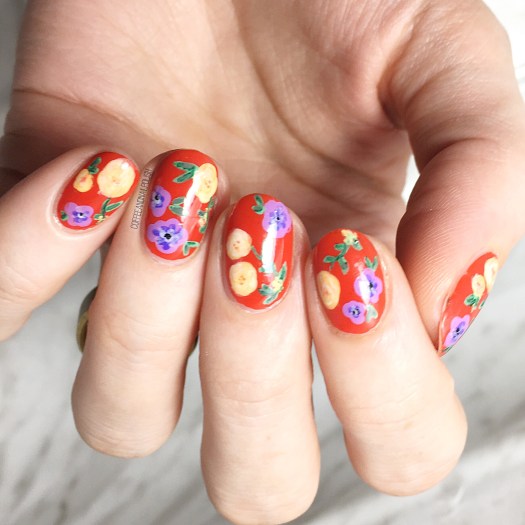
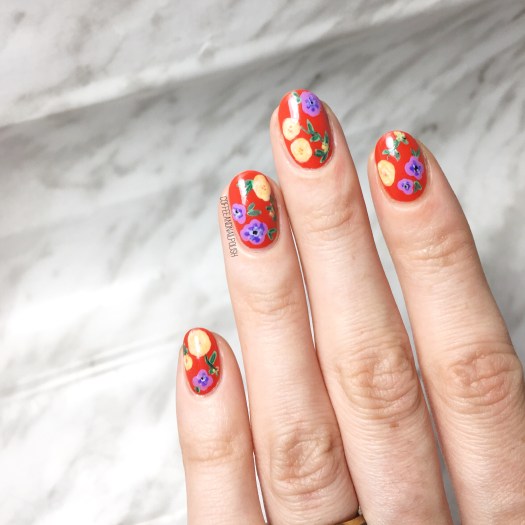
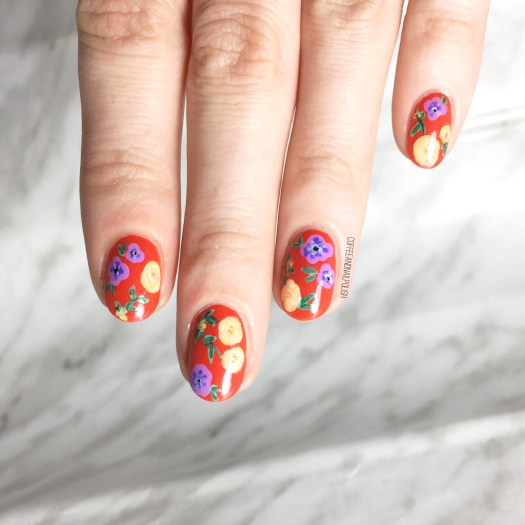
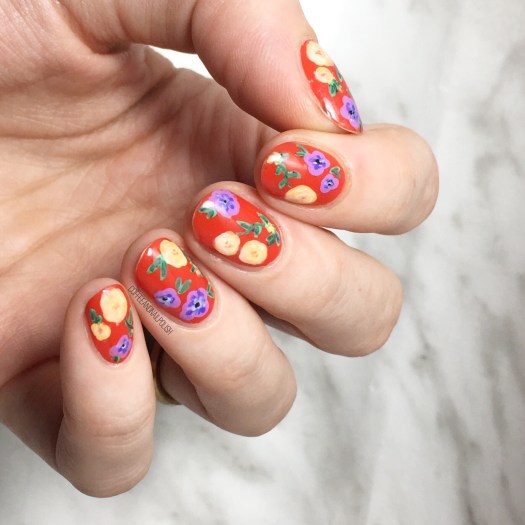
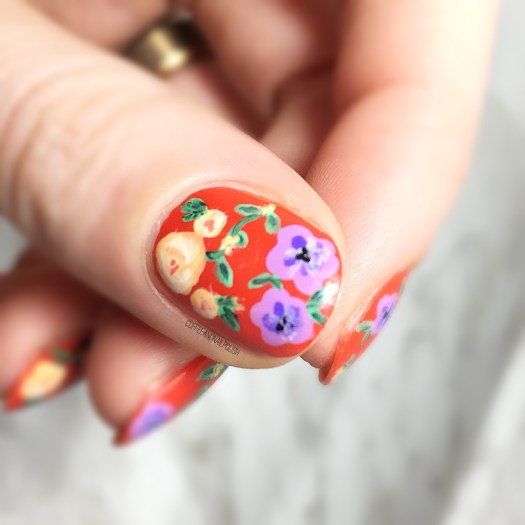
Negative Space Floral

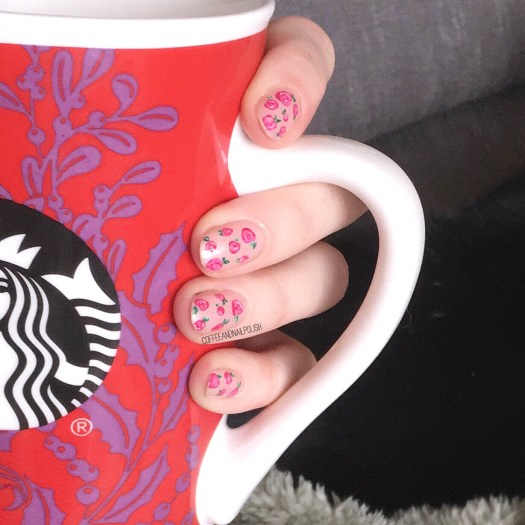
We’re currently being bombarded with 25+ cm of snow here in Halifax, which is not so much fun. I’m really not a Winter person (well, once Christmas is over anyways.) So how about some floral nails to cheer us up? I wore this design this weekend, but with a raging Winter storm outside as we speak I kind of need something pretty & Spring-y to cheer me up. Did I mention I’m really, really over Winter?

Did you know it’s 49 days until Spring? Just a fun fact to get you through those long, chilly days ahead. Unless you’re in the Southern Hemisphere, in which case do you have a spare room because I’m coming to visit!

I took so many pictures of this design. I know every floral manicure is my new favourite, but this one just turned out so well I couldn’t help but take a million pictures of it.

For this manicure, the polishes I used were:

  • Base Coat: Nailtek 2
  • Top Coat: Seche Vive
  • Matte Top Coat: L’Oréal the Matte Velvet
  • Essie The Girls Are Out
  • OPI My Pointe Exactly
  • China Glaze Ever Glaze Don’t Grape About It
  • Sally Hansen Instadri Petal Pusher
  • Essie Bachelorette Bash
  • Sally Hansen I ♥️ Nail Art Pen in Green
  • Essence The Green & the Grunge
  • Essie Play Date
  • Sally Hansen Xtreme Wear Mellow Yellow
  • Small detail brush (Born Pretty Store)
  • Small & large dotting tools (Bundle Monster)

So many polishes were used for this design, but it was so worth it. & I think the matte top coat just makes the end result that much more beautiful. This is definitely not a quick to do design, but floral just makes me so happy I don’t even care! 💗 I hope you love floral, because I have a feeling there will be a lot of floral leading up to Spring. Also even though it’s snowing today, I’m totally pulling out my favourite floral romper, since I have no plans on leaving the house today… except to maybe go to Starbucks & get coffee but even then I won’t be leaving the car.

What are your thoughts on today’s floral design? Are you a fan of floral nails? Let me know your thoughts in the comments below!

Mermaid Nails using NailStuff.ca Aqua Collection Flakies

Happy Saturday! Today I’m sharing one of the prettiest designs I think I’ve ever done–a mermaid design using the Aqua Collection flakies from NailStuff.ca. It felt like ages since I created mermaid nails, & those flakies were just sitting there staring at me, waiting to be used. I couldn’t decide which colour to use so I decided why not use all three! & the end result is pretty much the prettiest nails I’ve ever worn!

For this manicure, the products I used were:

  • Base Coat: Nailtek 2
  • Top Coat: Seche Vive
  • Essie After School Boy Blazer
  • Fingerprints Peel Off Base Coat
  • Nailstuff.ca Aqua Collections flakies (Mermaid, Lagoon & Abyss)
  • What’s Up Nails Scale Vinyls
  • Edge Perfection Cuticle Barrier

These were surprisingly easy to do–I applied my base colour (Essie Under the Twilight) & my top coat & let it dry completely. When my base was completely dry, I applied my vinyls to each nail & then went over top with Fingerpaints Peel Off Base Coat. I’ve found that using it helps adhere the flakies best. Without waiting, I then dipped my sponge (that comes with the flakies) into each pot & rubbed the flakies over top in certain spots. I then repeated it again using the other two pots of flakies. When I felt like I had filled in the vinyls enough, I removed them immediately, & finished off the design with top coat.

Just look at that macro! It looks like jewels on the nail. I’m seriously in love. My only regret is that I didn’t think to top it with matte top coat before I removed them. Can you imagine how pretty they would have looked matte?

what do you think of this design? Do you see mermaid nails or dragon nails? Let me know your thoughts in the comments below!

*PR SAMPLE* Some of these items were sent to me for review. However, all opinions are my own.