Happy Wednesday lovelies! I hope everyone is having an excellent week so far. Today marks the second post of my all floral week! & yes, I’m still obsessed. I went shopping yesterday for new work clothes (because I start training at my new job next week) & I kept having to tell myself to not buy all the florals, since I already have a closet full of floral patterned shirts. However, you can never have enough floral on your nails.
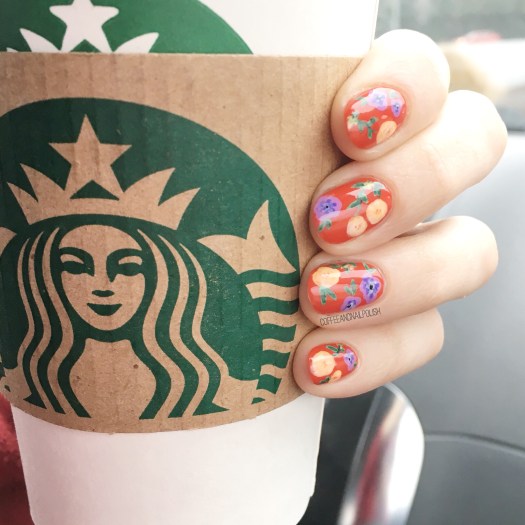
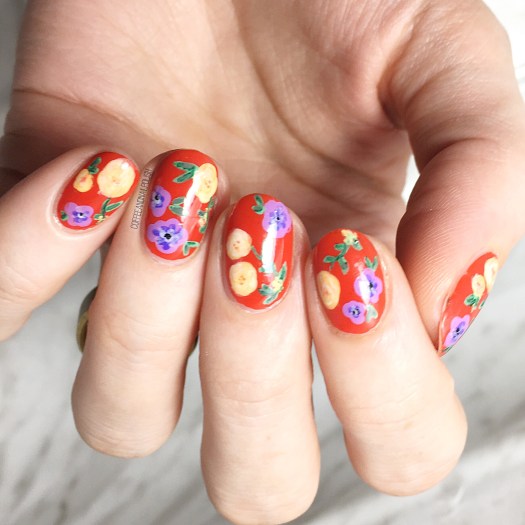
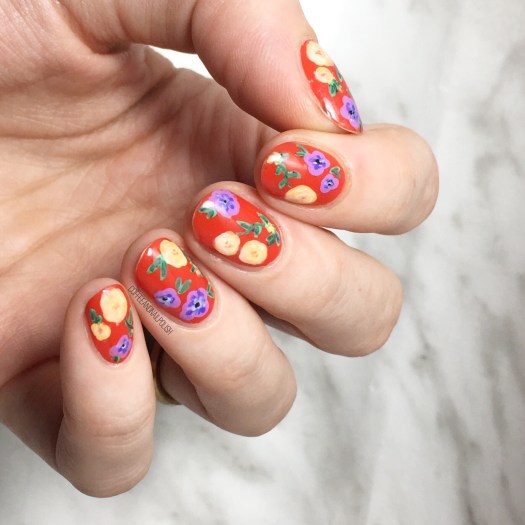
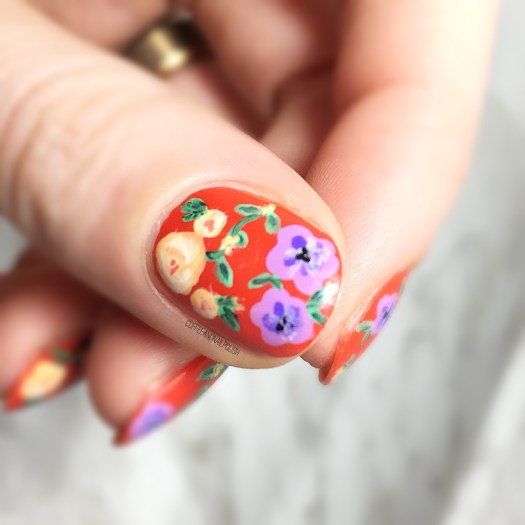
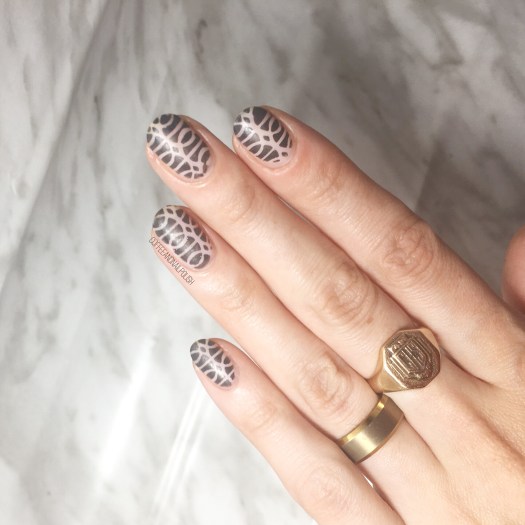
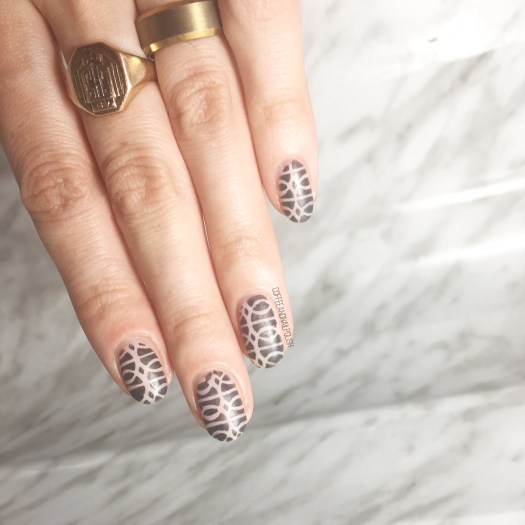
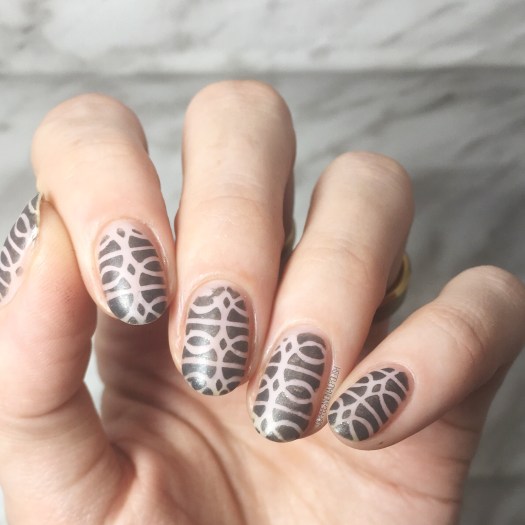
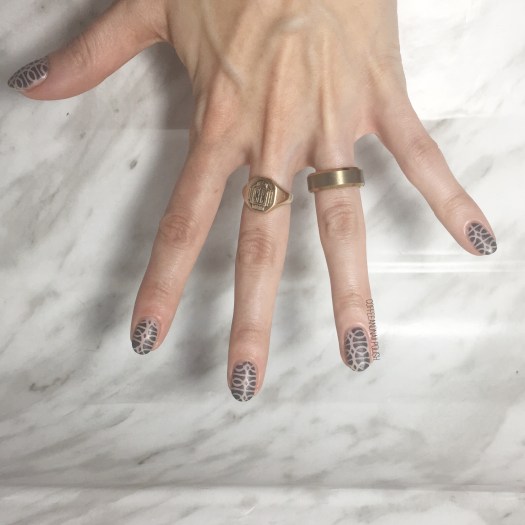
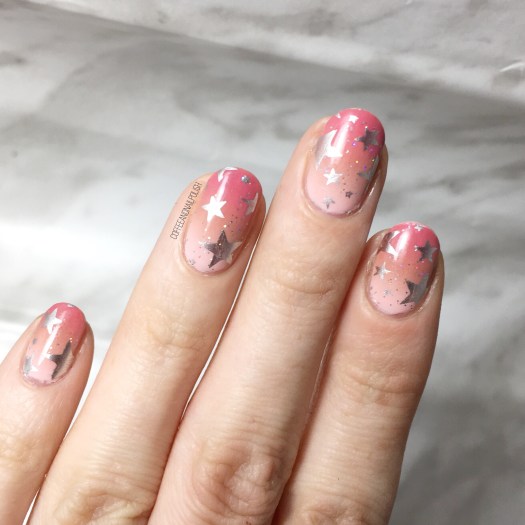
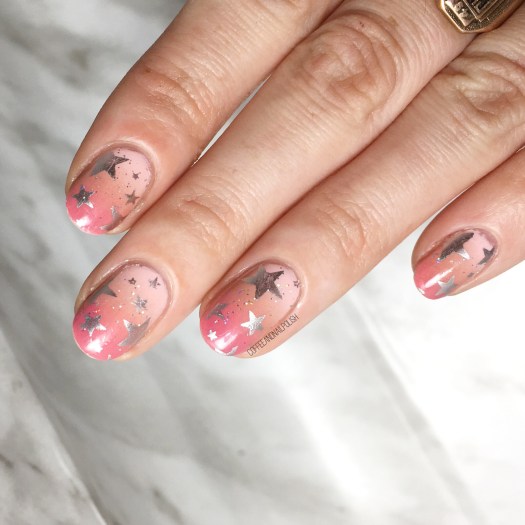
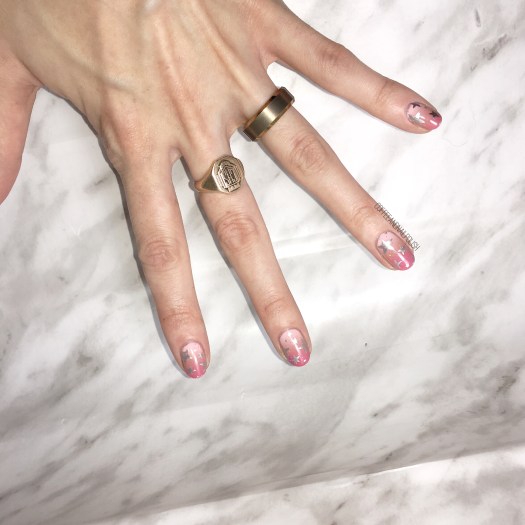
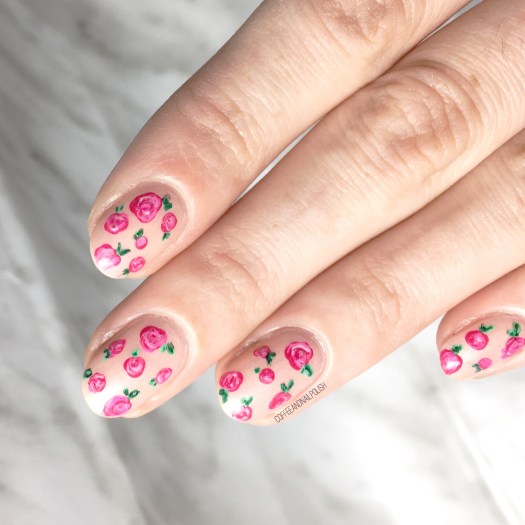
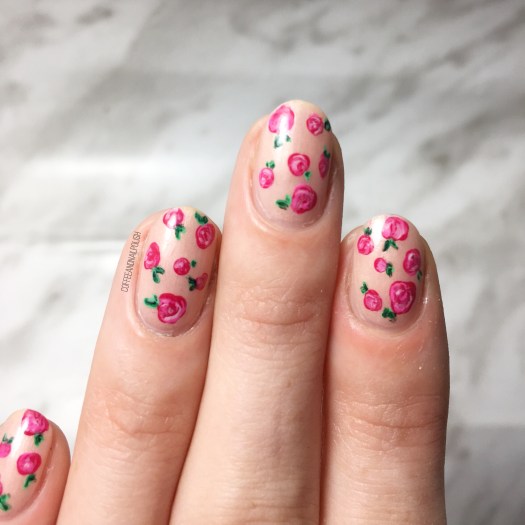
Today’s design is you classic vintage floral design. When I got my first ever dotting tool, I was obsessed with these simple kind of designs & nothing has changed in the last 6 years. They’re still one of my favourites, especially because they’re just so easy to do! Plus they always look so pretty & girlie on the nail.


For this manicure, the polishes I used were:
- Base Coat: Quo by ORLY Kiss Me, I’m Kind
- Top Coat: Seche Vive
- Essence Nude Glam Iced Strawberry Cream
- Essie Bachelorette Bash
- Sally Hansen Xtreme Wear Tickled Pink
- OPI Two Timing the Zones
- Sally Hansen I ♥ Nail Art Pen in Green
- Essie Off Tropic
- Dotting Tool from Bundle Monster
- Small Detail Brush from Bundle Monster

Who else remembers my very first ever floral posted on here? Almost 4 years & I’m never bored with these designs. I don’t think I could ever be bored by a floral design. According to the “floral nails” tag, I’ve done 46 designs so far. That’s a lot of flowers! Haha, you’d think that after 46 different floral designs I would be tired, but going through that tag just makes me want to do more. I think I’m addicted. But honestly, is there ever such a thing as too much floral? I just want Spring so badly.

What do you think of this simple vintage floral? Have you ever/would you ever try this design yourself? Share you thoughts in the comments below, & let me know what you think!