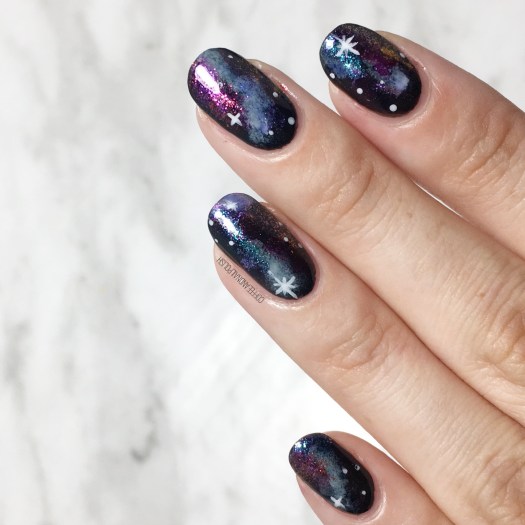
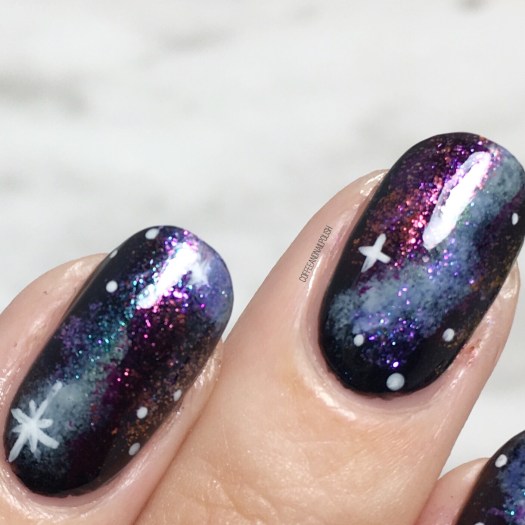
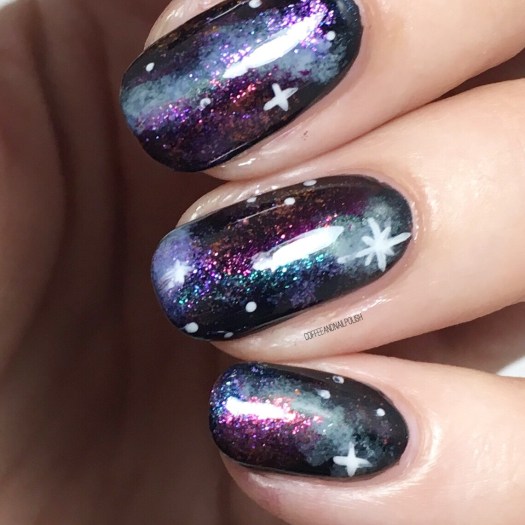
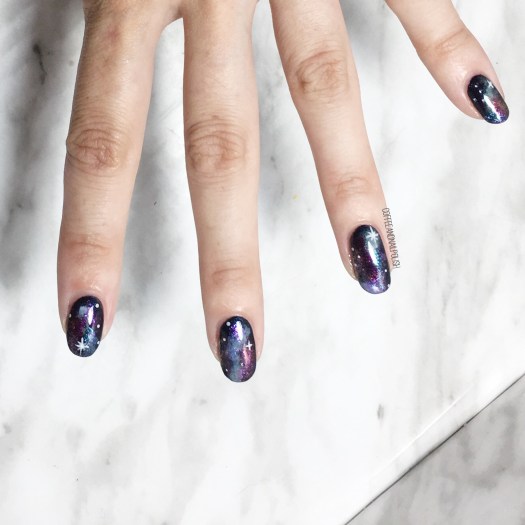
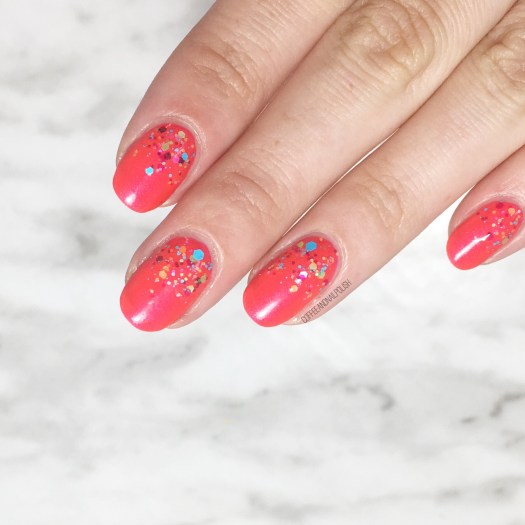
Hello lovelies! I’ve got another fun design to share with you. I felt a bit like I was getting a little too premature with the Fall colours, so I decided that I needed some bright & more Summer-like colours in my life again.
Today’s design is a fun quatrefoil design using some vinyls from What’s Up Nails, which I haven’t pulled out in a while. In fact, after going through my stash of vinyls I’m definitely going to need to order some more soon because I’m starting to run out of my favourites!
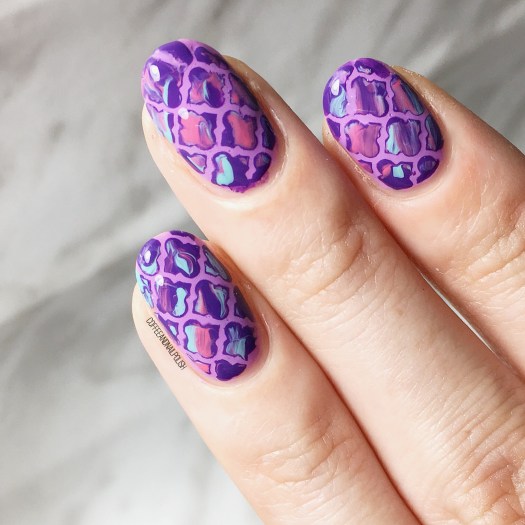
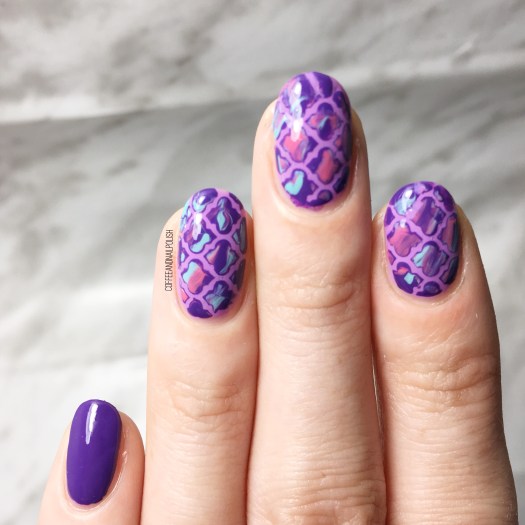
For this manicure, the polishes I used were:
- Base Coat: Sally Hansen Complete Salon Manicure Strengthening Base Coat
- Top Coat: Essie Gel Couture
- Sinful Colors Amethyst
- Essie Play Date
- Essie Mint Candy Apple
- Sally Hansen Miracle Gel Bourbon Belle
- What’s Up Nails Moroccan Nail Vinyls
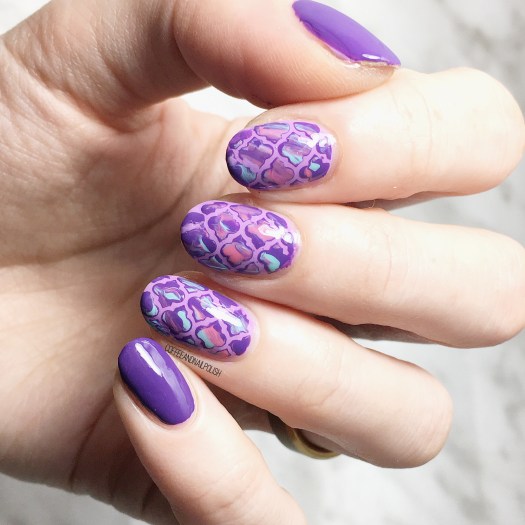

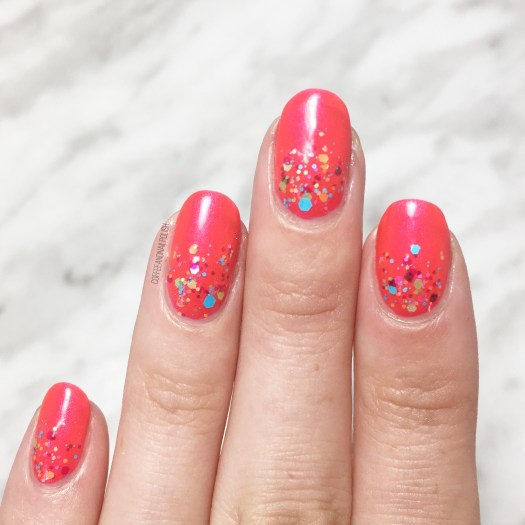
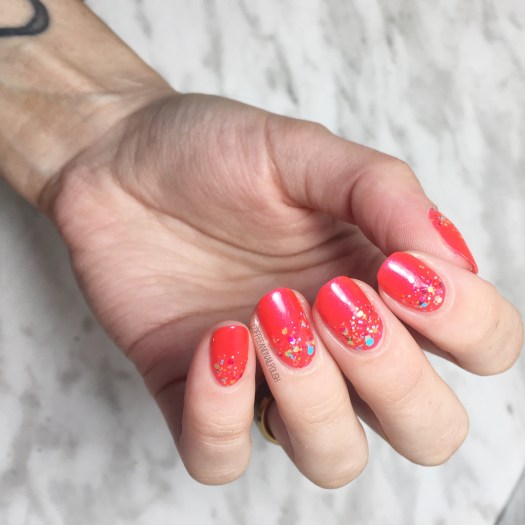
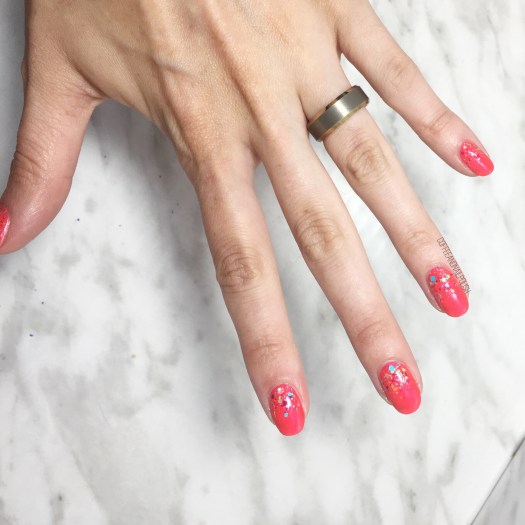
I thought this look turned out really unique, although using a white base might have made the pattern pop even more.
Also I would have loved to have done this on all my fingers, but like I said I’m starting to run low on my Moroccan nail vinyls so I have to use them sparingly until I order more of them. But I do think the three accent nails look really neat! & the bright polishes I picked are a little bit more Summer-y than a lot of my nail art has been lately.

What do we think about how this look turned out? Would you try out this design? Let me know in the comments below!