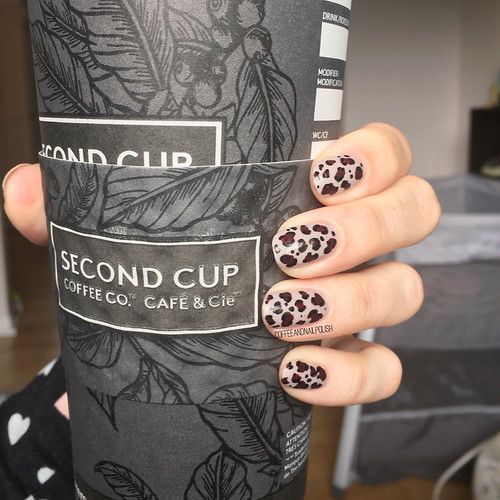

Hello lovelies! Today I have some more nail art to share with you, this time outside the Glam Nails nail art challenge I’ve been participating in this month! It’s been absolute ages (a year!) since I last created a leopard print design, so it felt really, really overdue. & since I’ve been seriously drawn to Fall colours lately, I decided that colour scheme was what I needed right now.
The polishes I used for this manicure were:
- Base Coat: Sally Hansen Complete Salon Manicure Strengthening Base Coat
- Base Coat: Quo by ORLY Bonder Base Coat
- Top Coat: Essie Gel Setter
- Quo by ORLY Staycation
- Essence Plump Power
- Sally Hansen I ❤️ Nail Art Pen in Black
- NailStuff.ca dotting tool


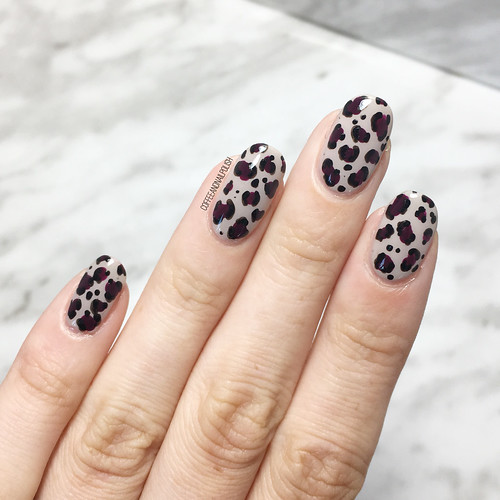
So painting my nails right now is still a bit of a struggle right now. Mostly, I’ve been trying to paint my nails when both the babes sleep, either during nap time during the day, or at night after bedtime. Sometimes it works out for me, & sometimes it takes me two days to create a design. For this particular design, I wanted to do something less complicated but still fancy. My secret weapon for a quick leopard print nail art is always my Sally Hansen I ❤️ Nail Art Pen in Black as it seriously cuts down on time when drawing the outline of my leopard.

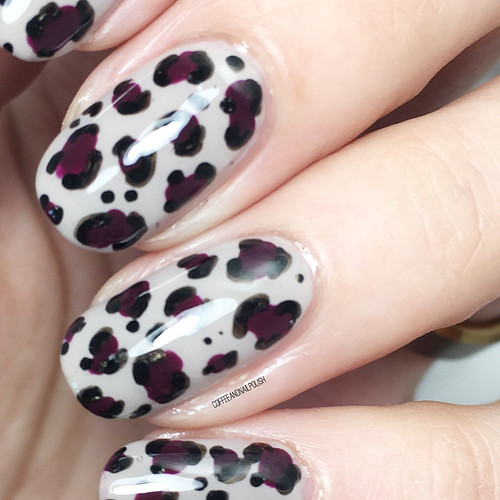
Someday I’ll attempt a classic leopard print colour scheme, but today is not that day. It’s just way more fun playing around with unusual colour schemes. Plus I really love the dark purple on the grey-ish base. I feel like this colour combination is going to be used a lot as Autumn creeps closer–it would look so good together in a dotticure or as a chevron moon design!


What do you think about this leopard print design? Would you rock this design? Let me know all your thoughts down in the comments below!