Hello lovelies, & happy Thursday! Lots of new manicures for you thousands week! Also still absolutely obsessed with Fall shades & colour schemes right now. I’ve been so busy I haven’t been able to start decorating my house for Autumn, & I really need to get to Dollarama to stock up on cute Fall decor. But at least I can rock Autumn on my nails!
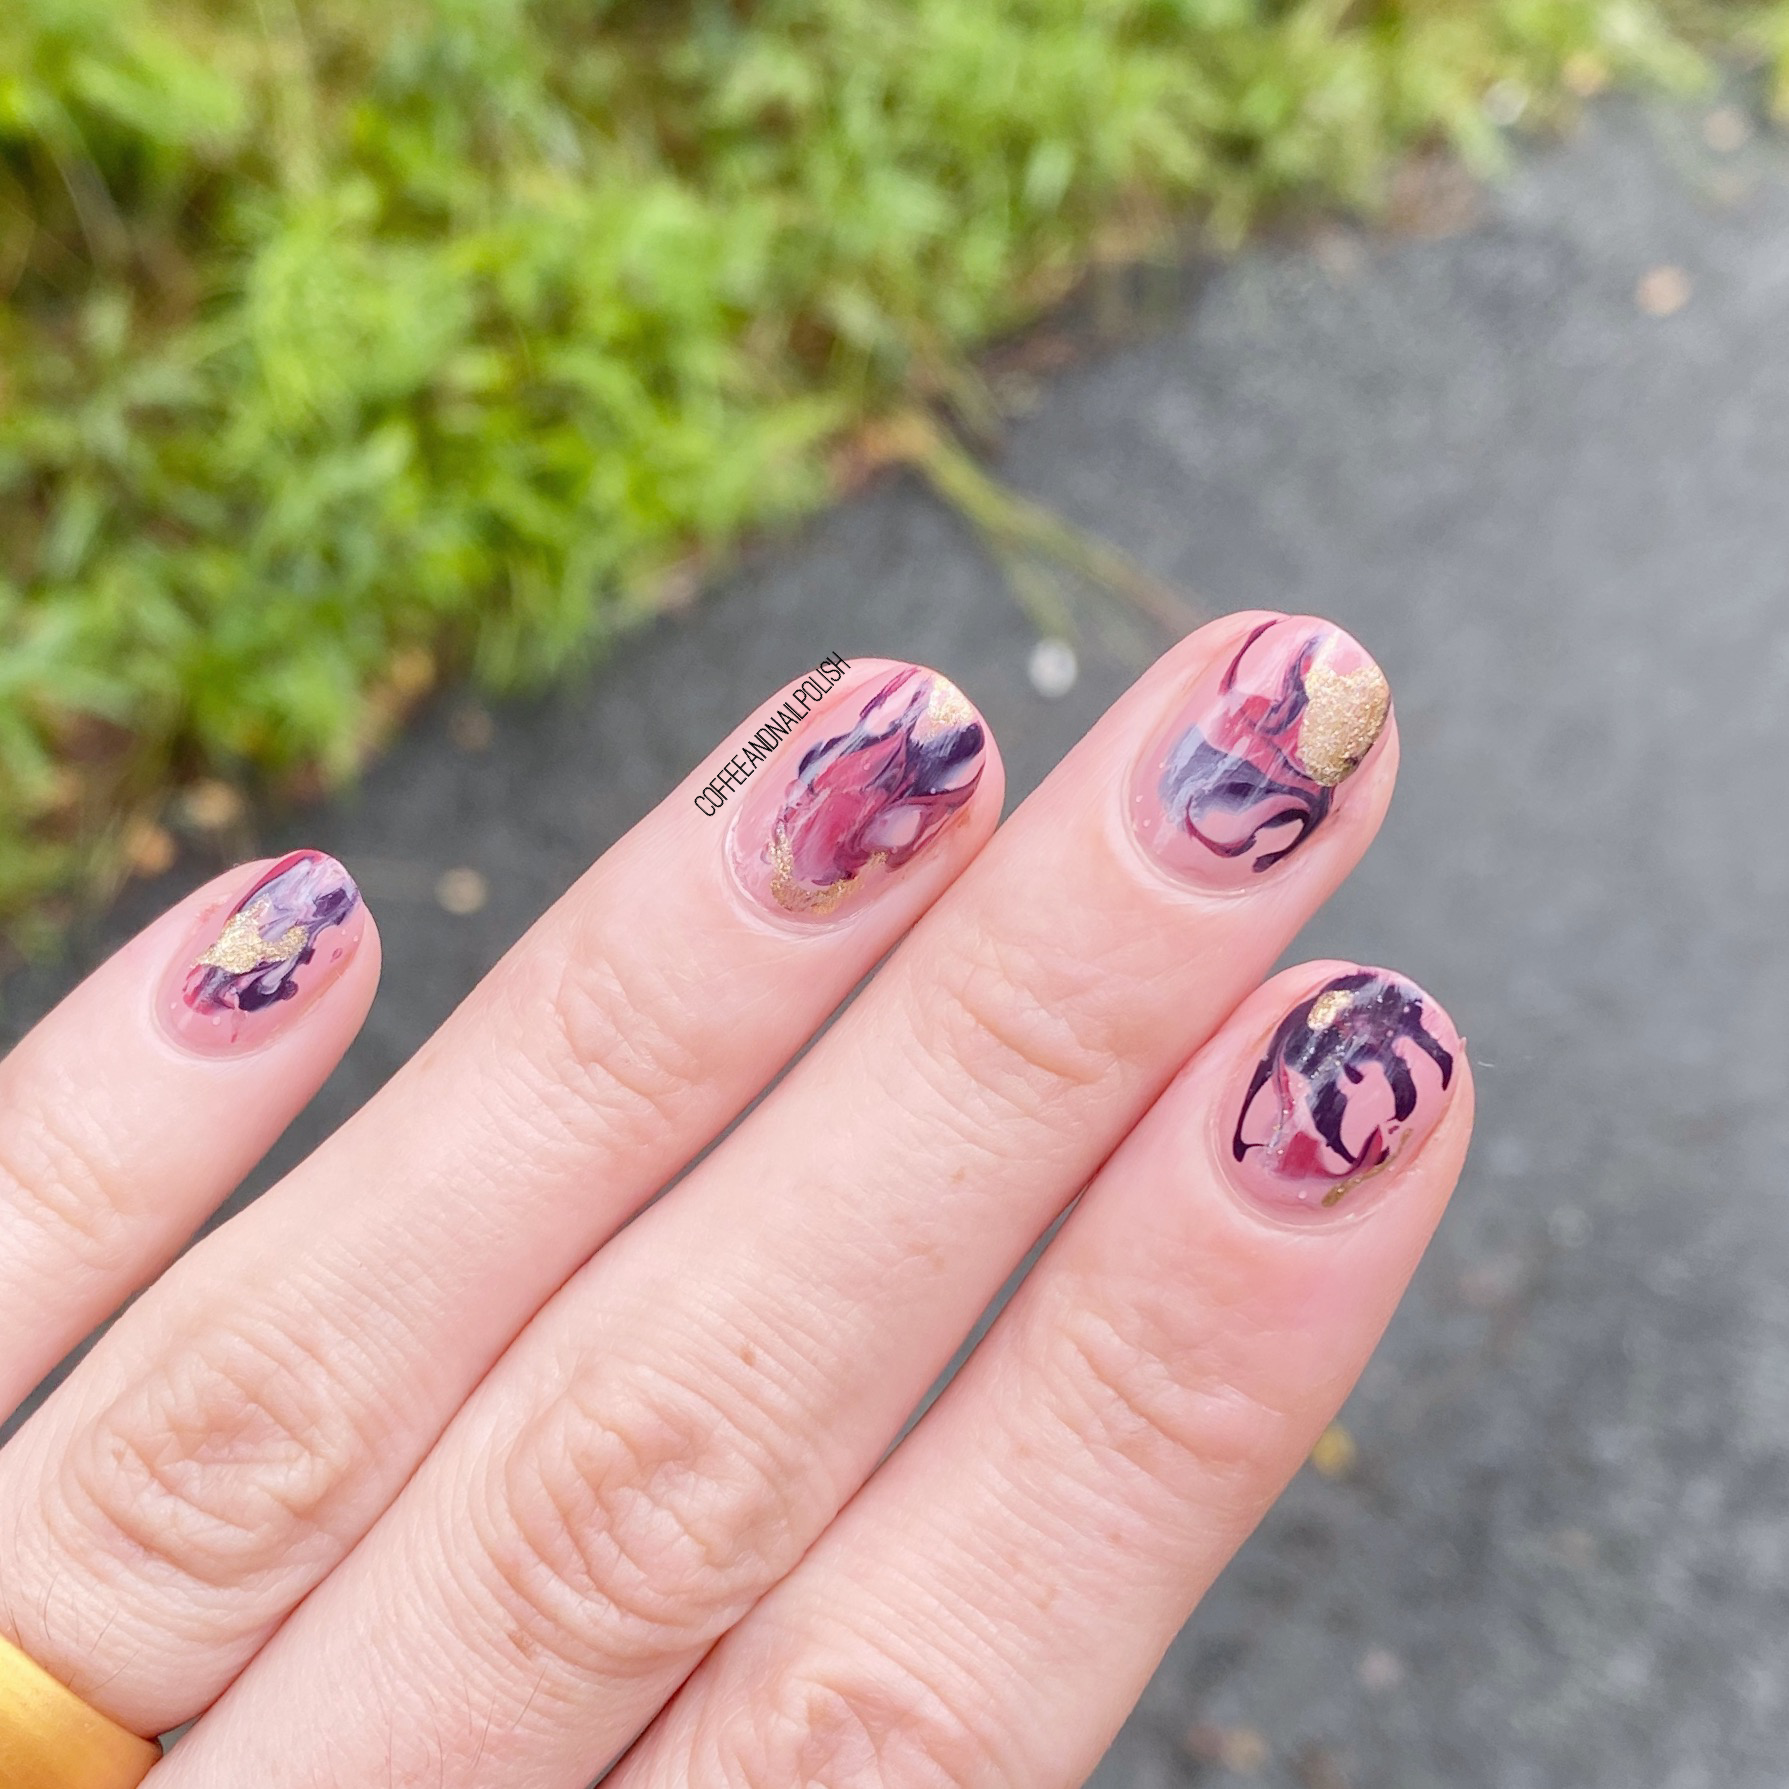
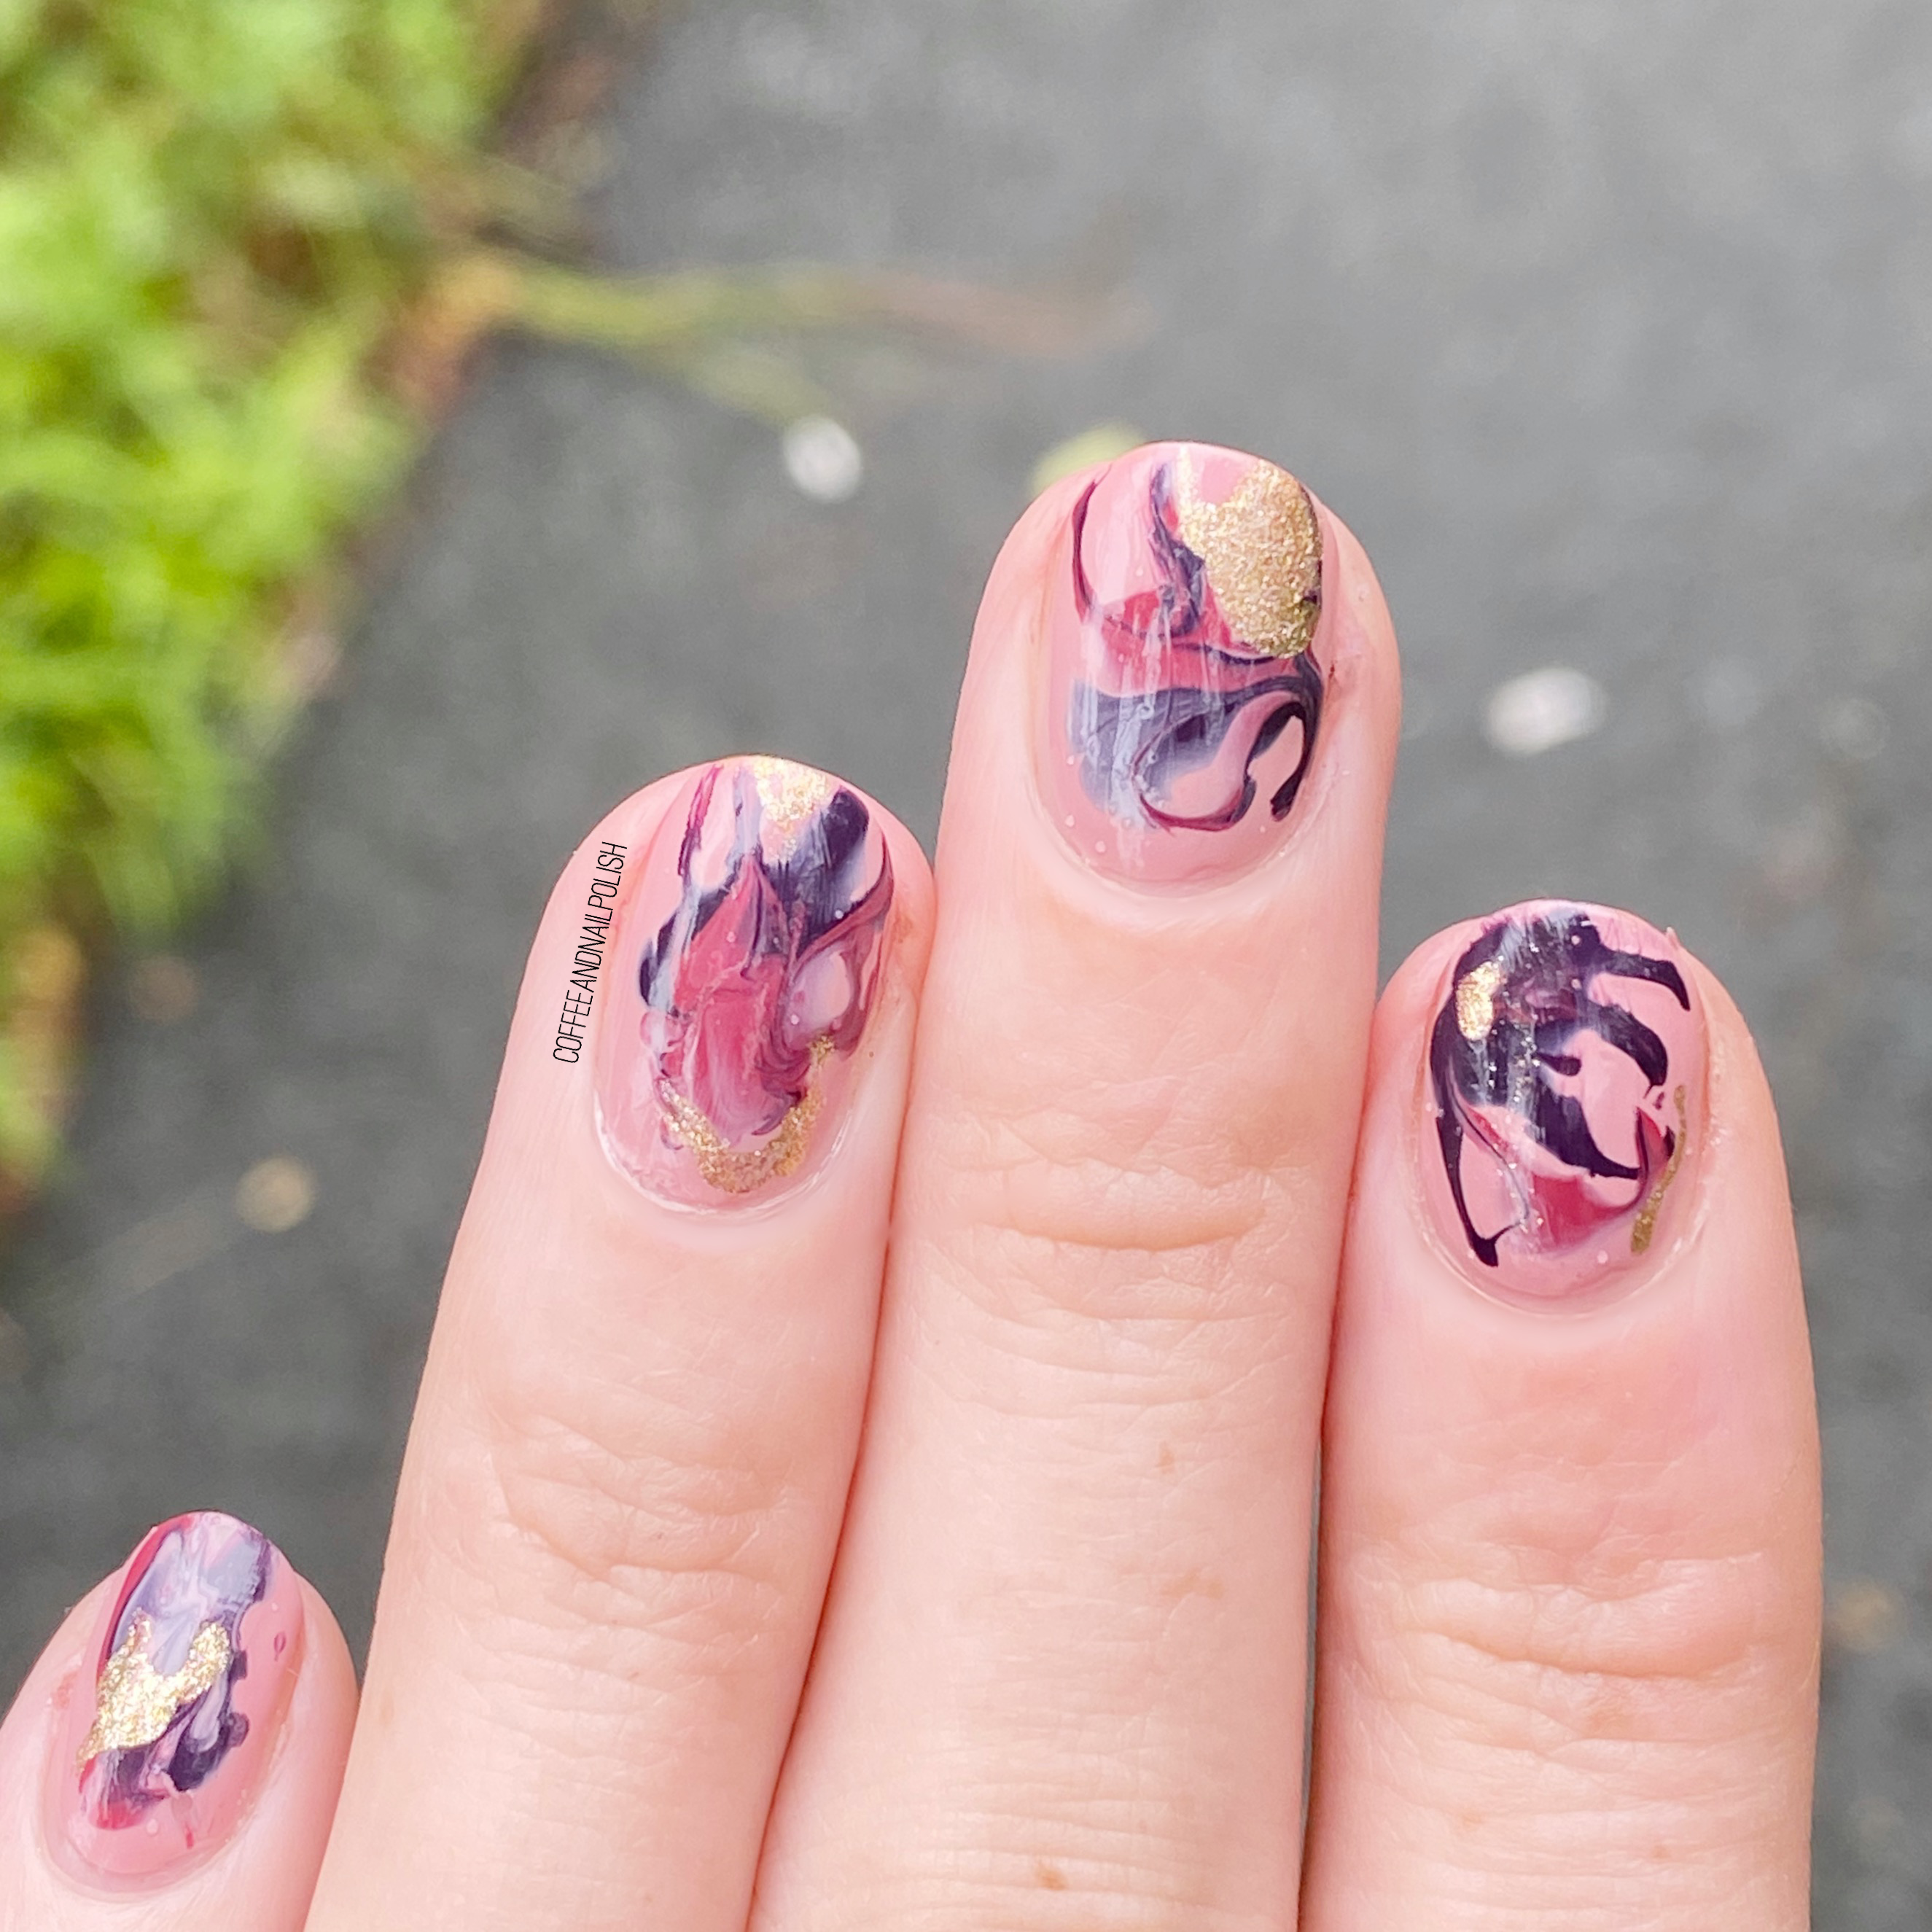
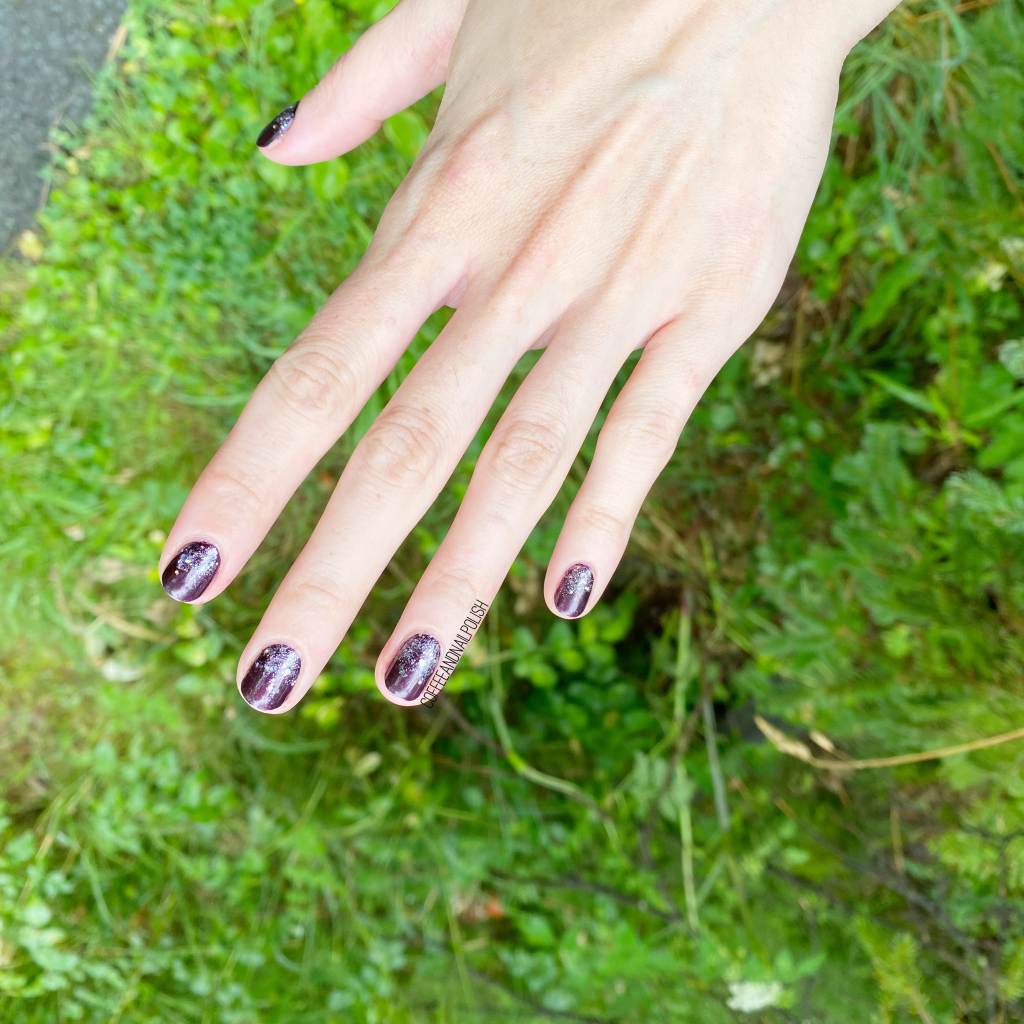
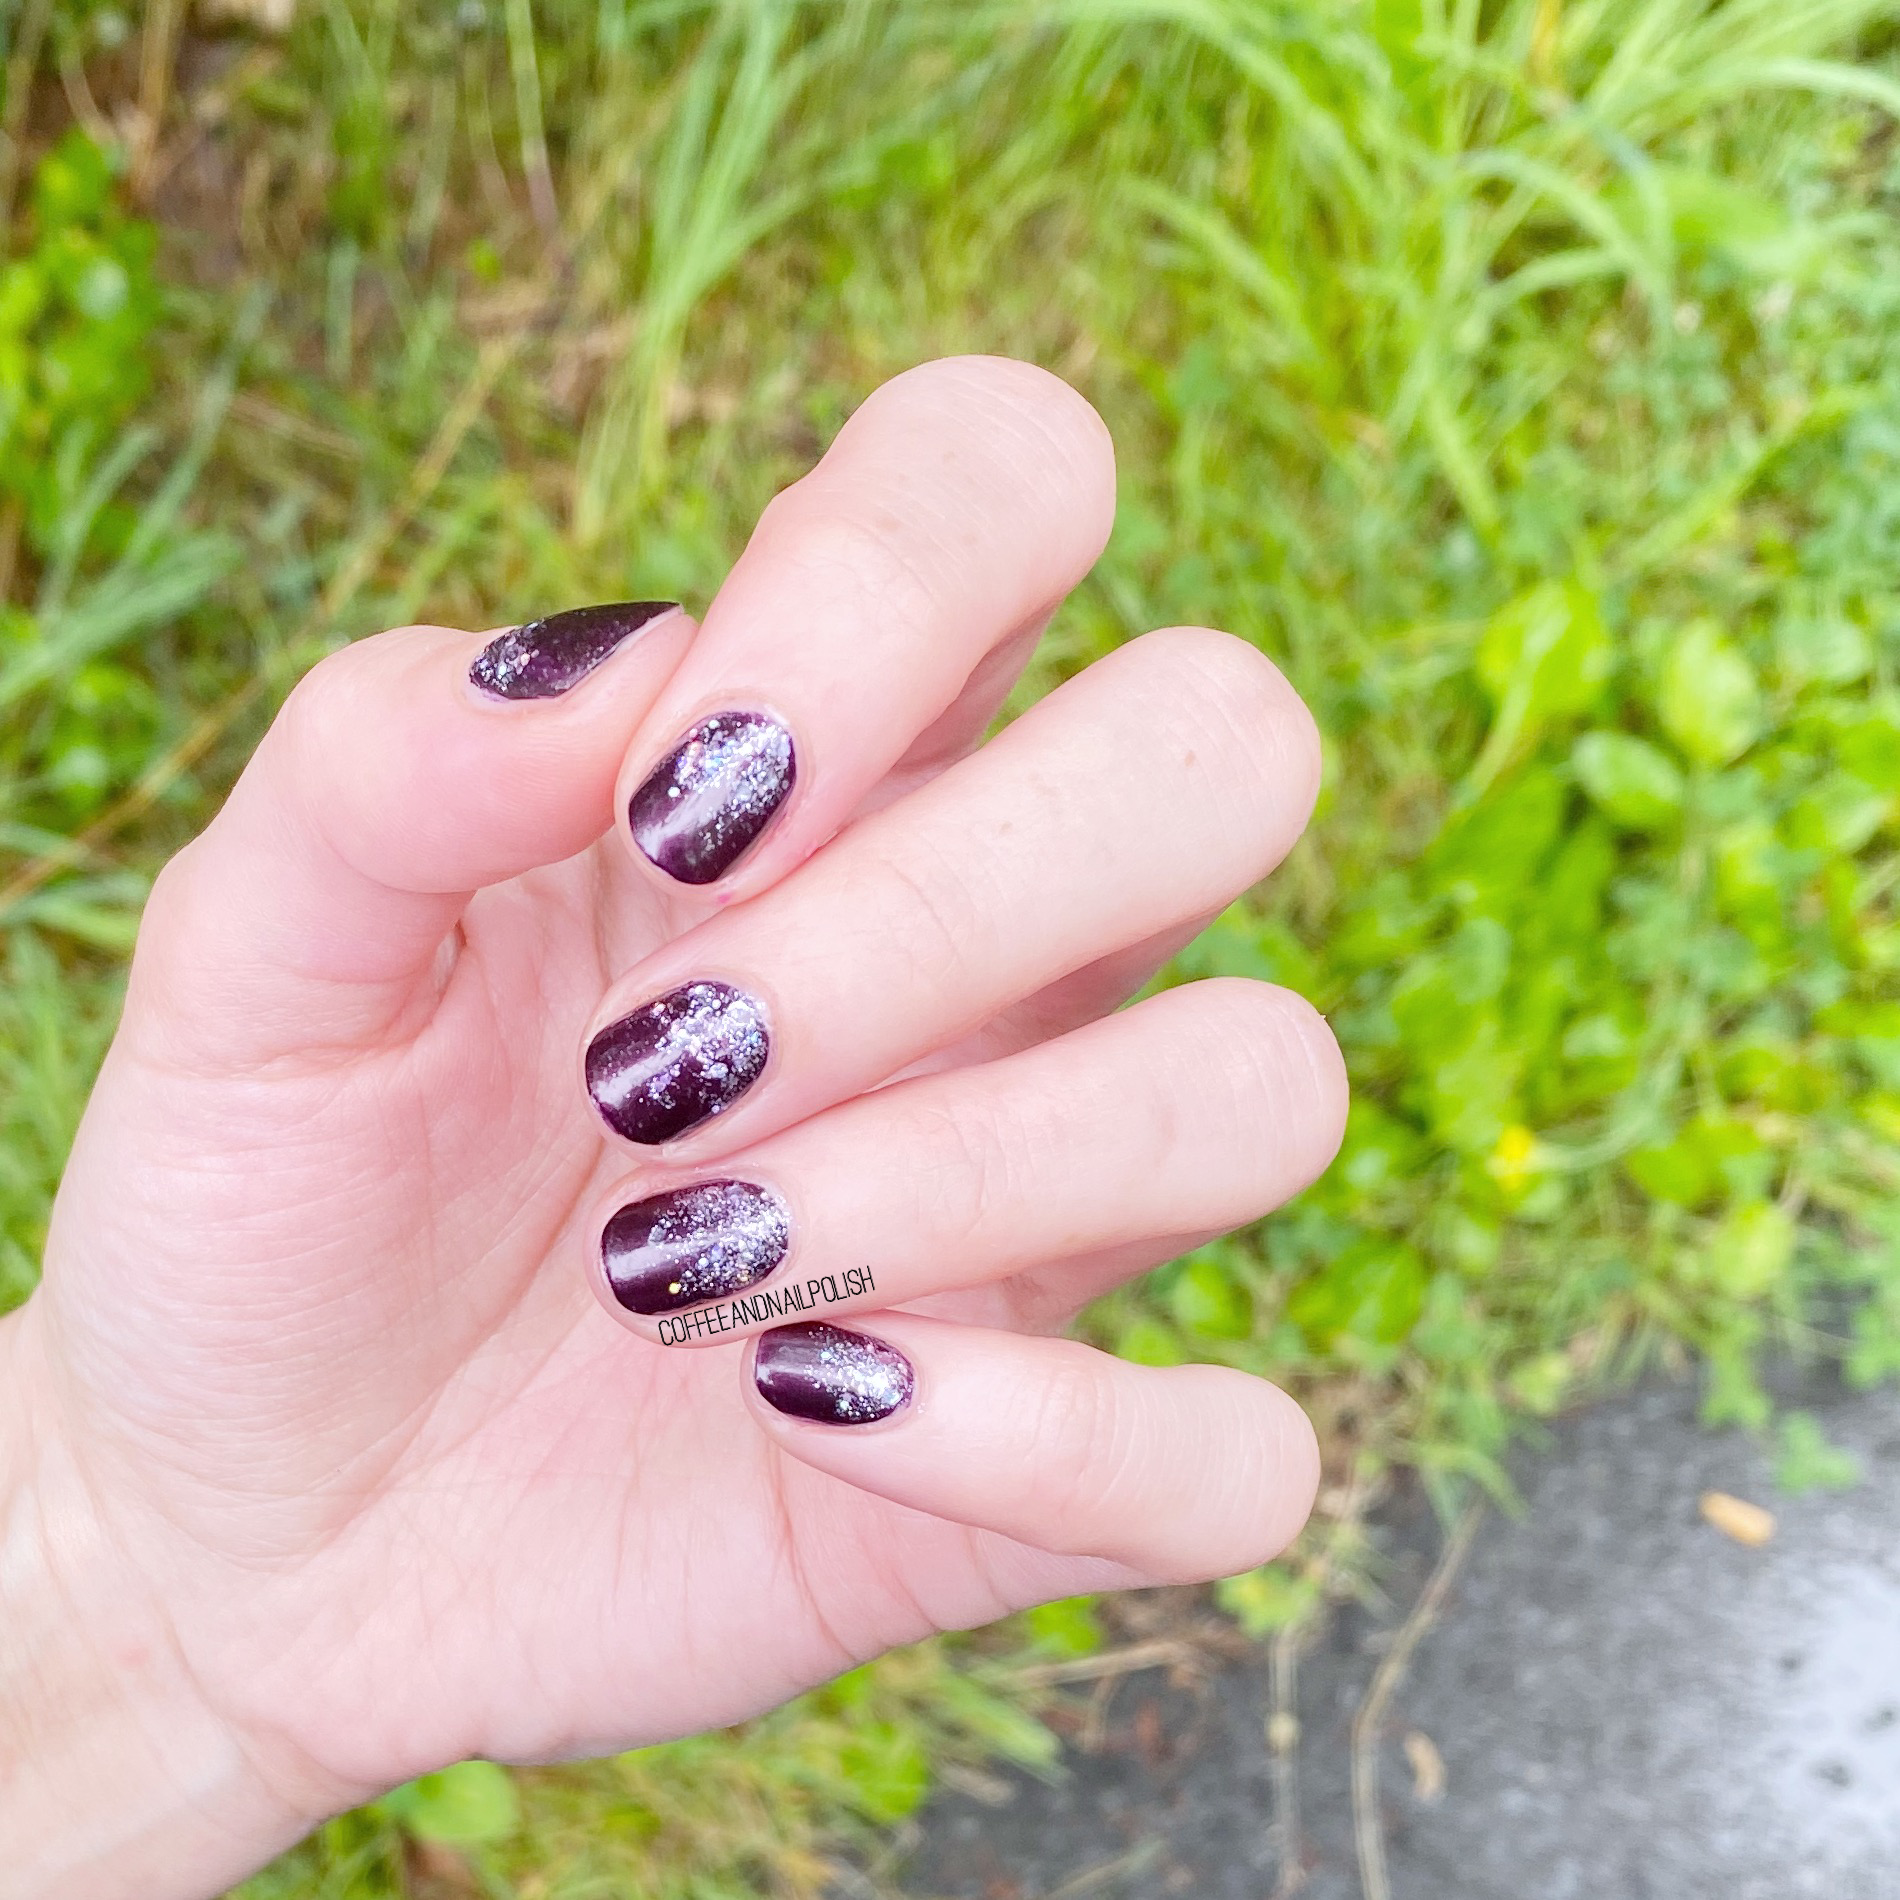
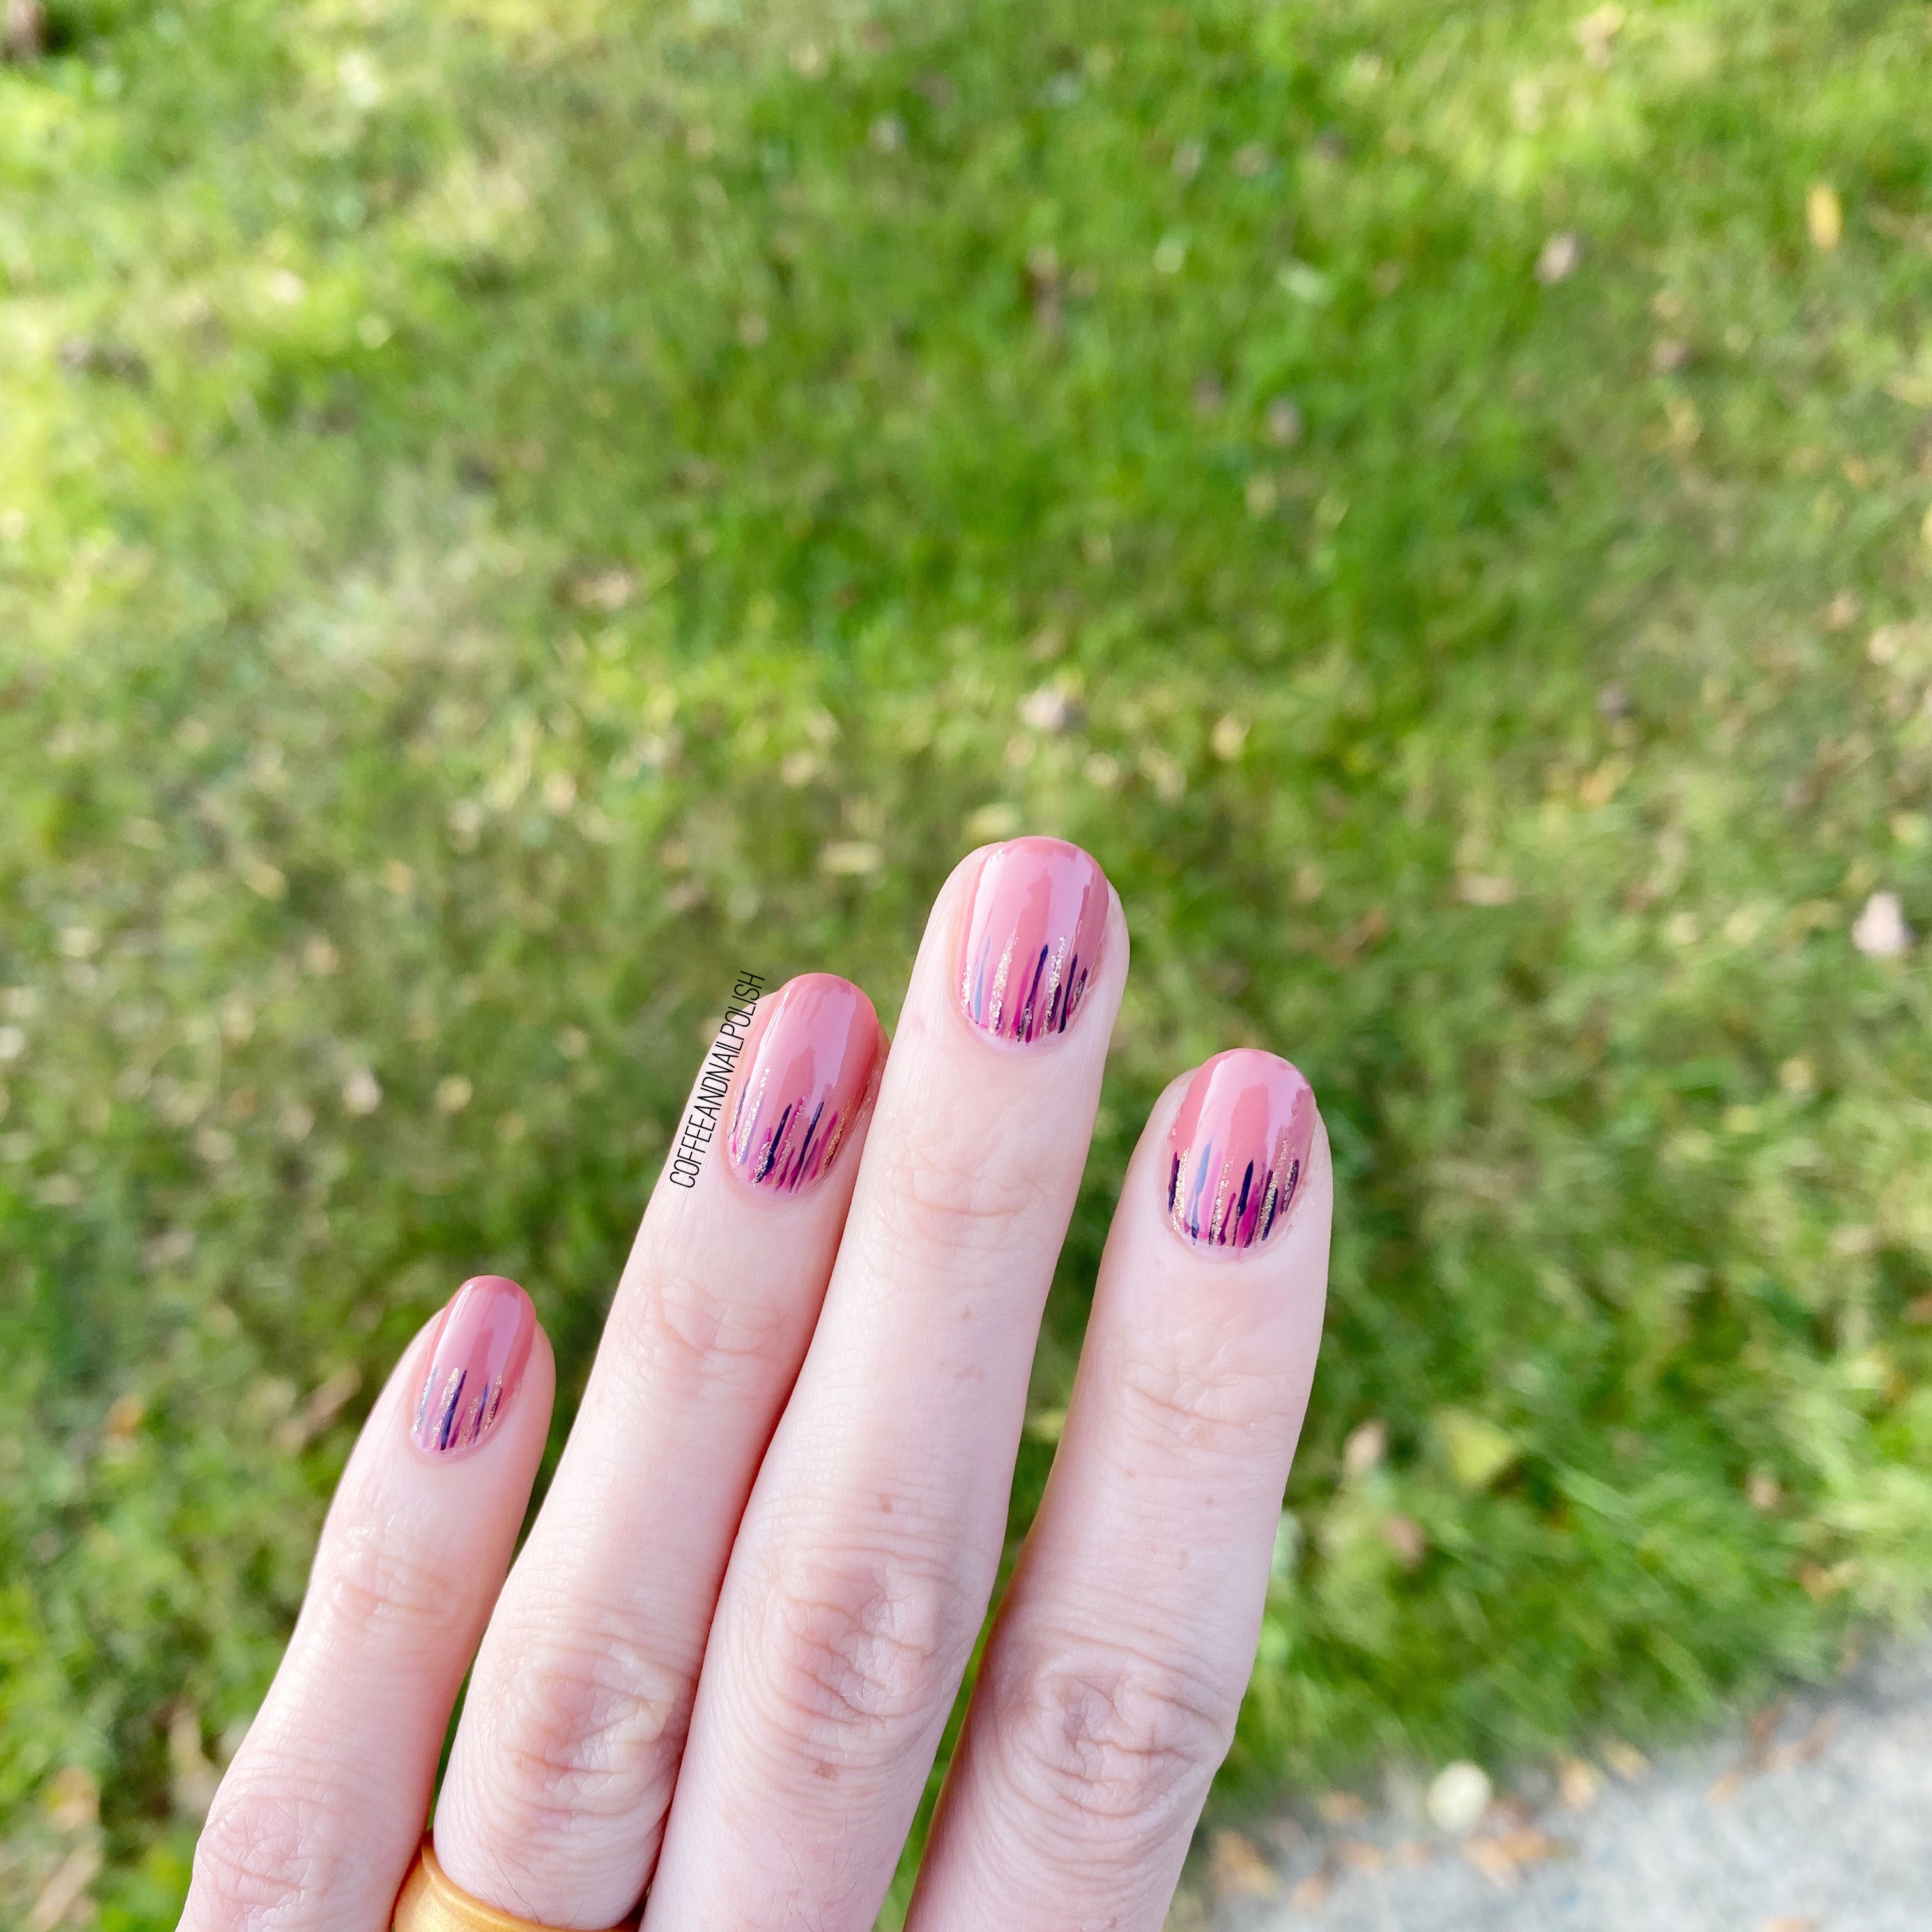
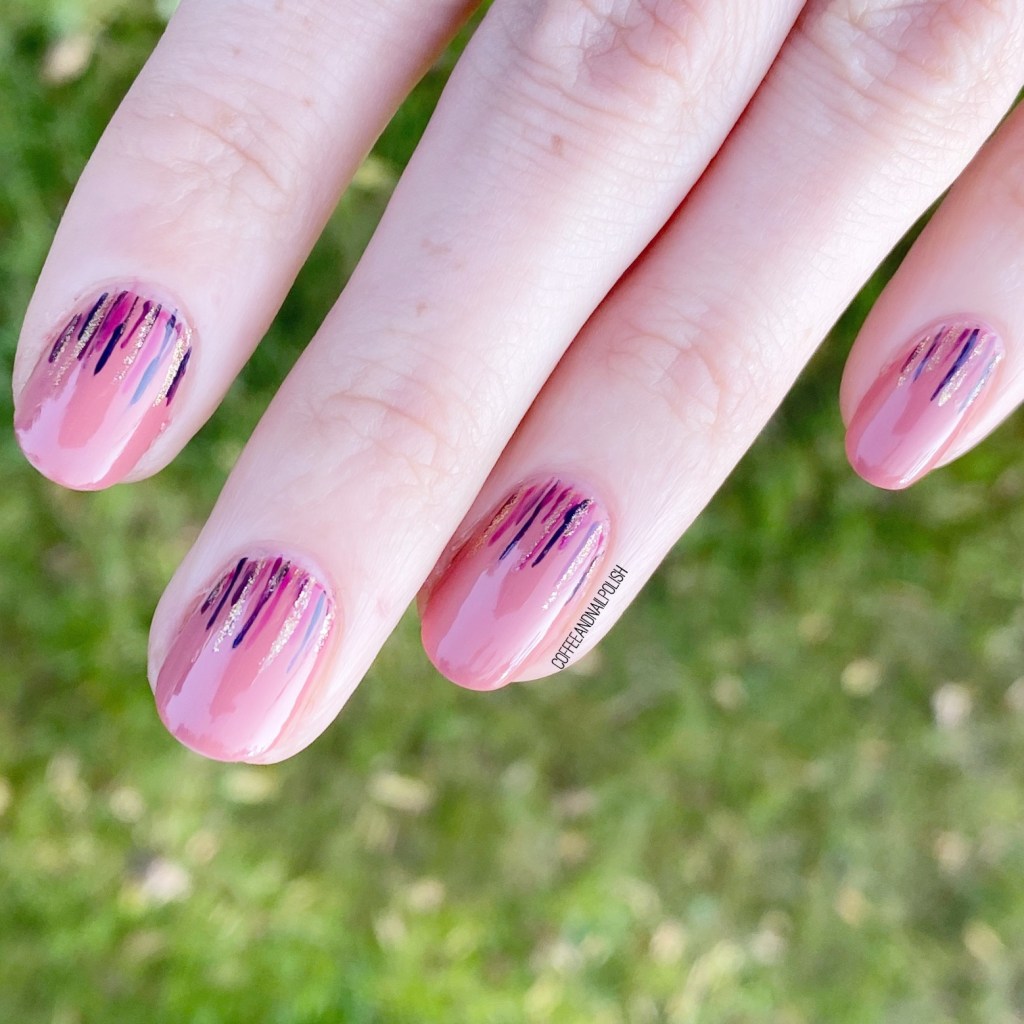
It’s been a while since I last painted some waterfall nails. I really wanted to wear this pretty dusty salmon pink shade (Sally Hansen So Much Fawn which I scored for $1 on clearance at Shoppers recently) & I really wanted to pair it with some darker, complimentary shades. & I’m obsessed with the end result!
For this manicure, the polishes I used were:
- Base Coat: Sally Hansen Hard As Nails
- Top Coat: Essie Speed Setter
- Sally Hansen Complete Salon Manicure So Much Fawn
- Sally Hansen CSM Pat On The Black
- Sally Hansen Good Kind Pure Eco-Rose
- L’Oréal Feeling Kilty
- NailStuff.ca 4mm Micro Detail Brush (COFFEE10 saves you 10%!)

It’s been a while, but my lines are too shakey (thank goodness!) I’m really loving this hint of colour on the pale base. All the polishes are perfect for Autumn! 🍂 & you can never go wrong with a little hint of gold. Plus this is a surprisingly easy look to achieve!

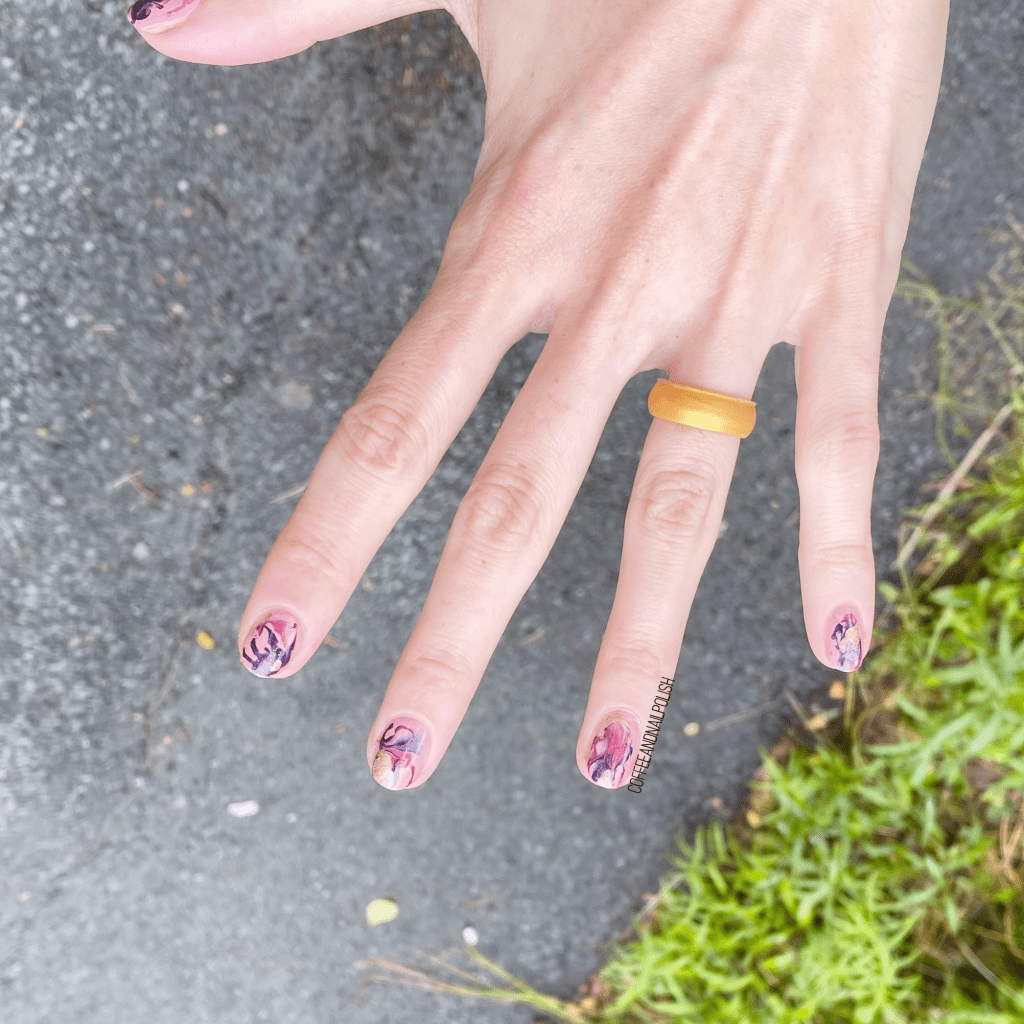
What do you think about this Fall inspired waterfall? I’m absolutely loving this darker colour scheme.
Also it’s almost October which means it’s almost time for Halloween mania to begin! Share down below what designs you might want to see.
(I’m also participating in GlamNailsChallenge October so stay tuned!)