Contains PR
Hello lovelies & happy Monday! It’s a very, very snowy Monday here… & I won’t lie, it’s kind of nice. Giving me a few Christmas vibes, I won’t lie.
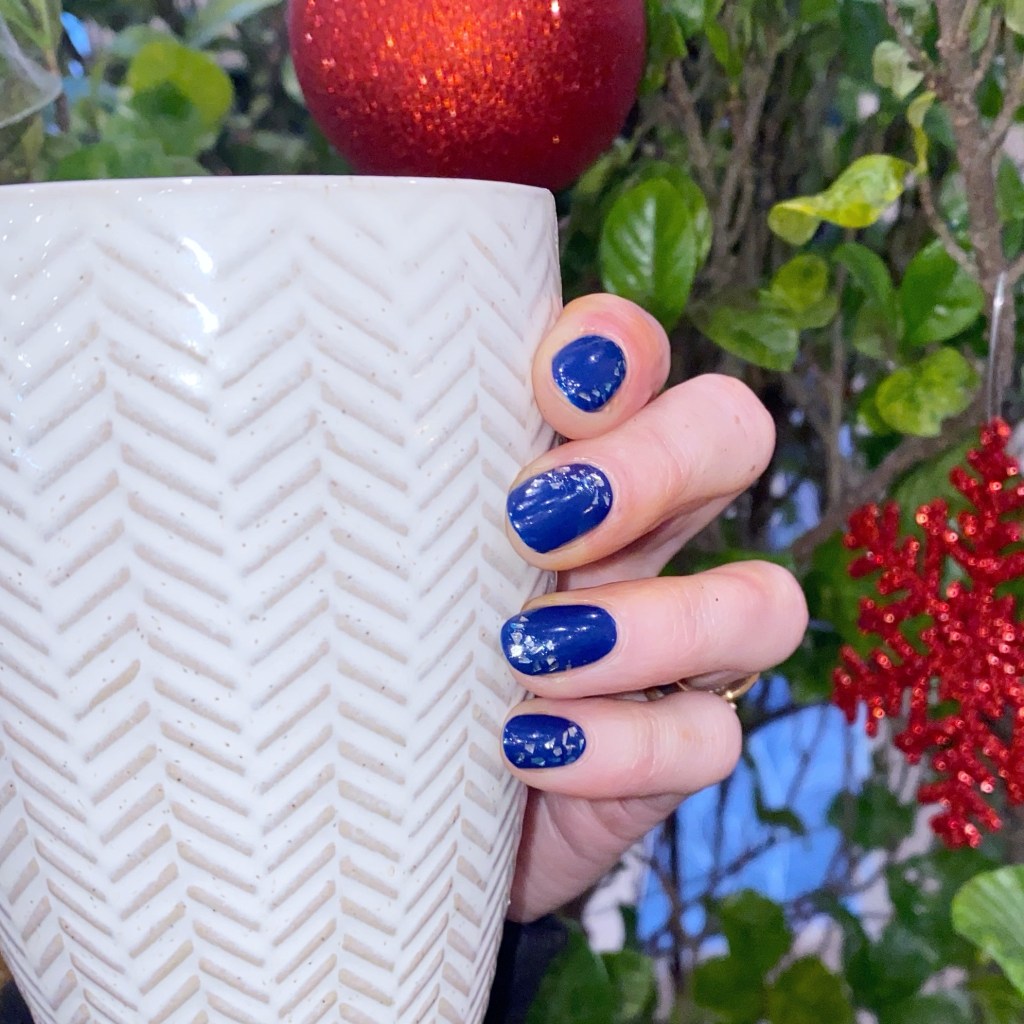
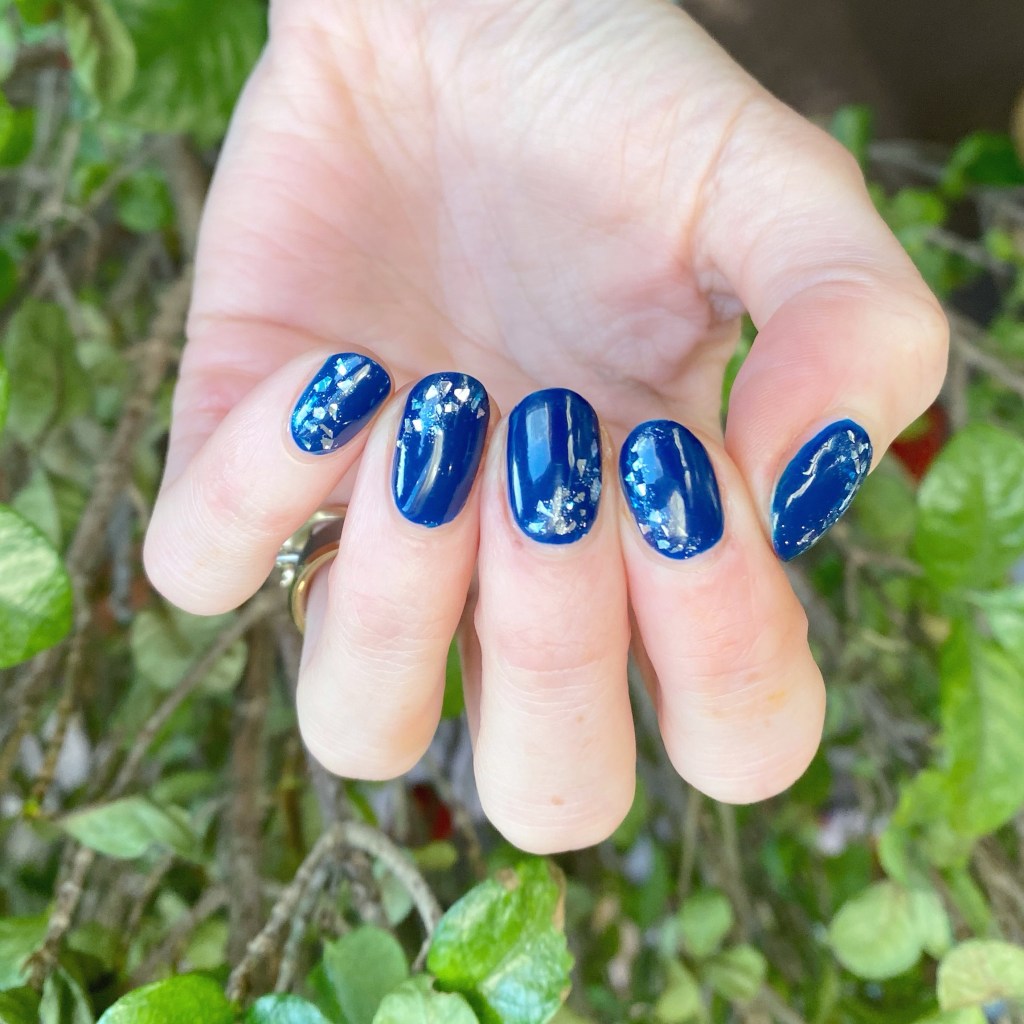
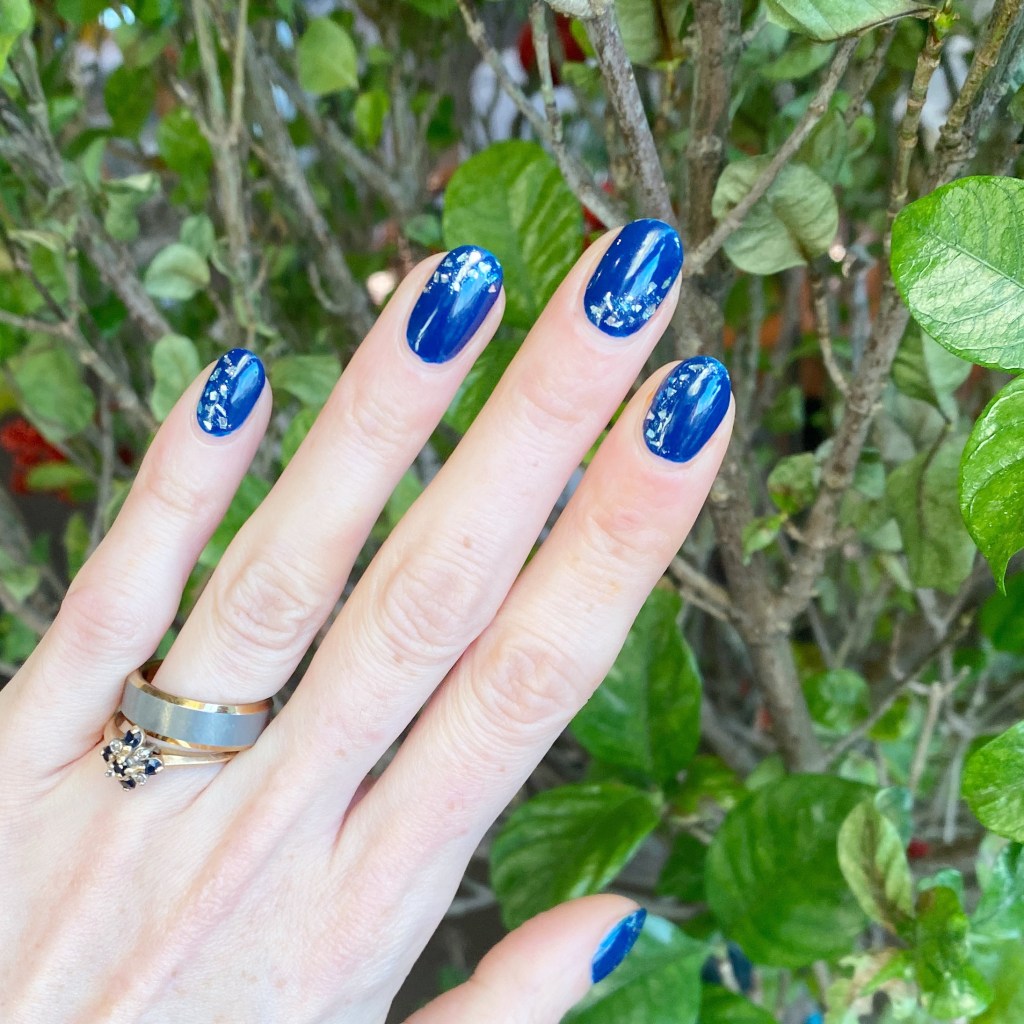
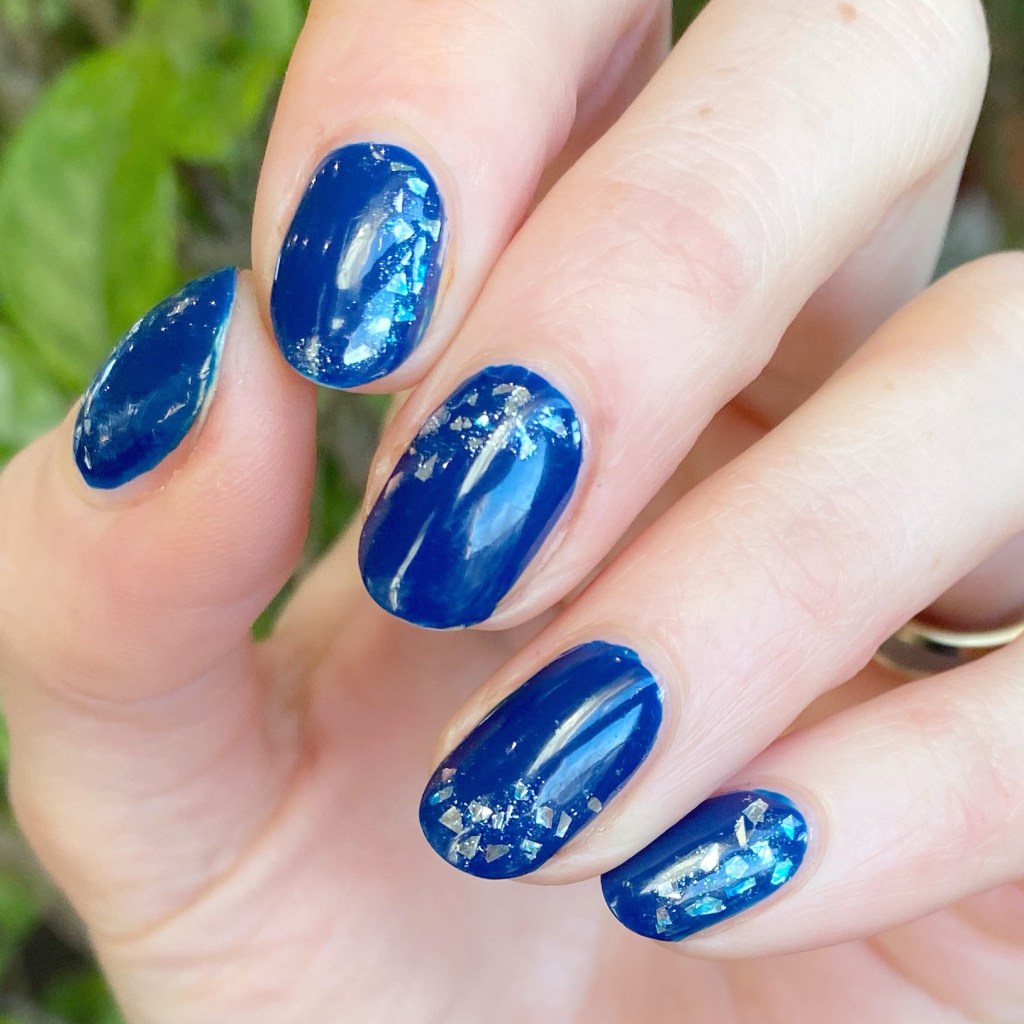
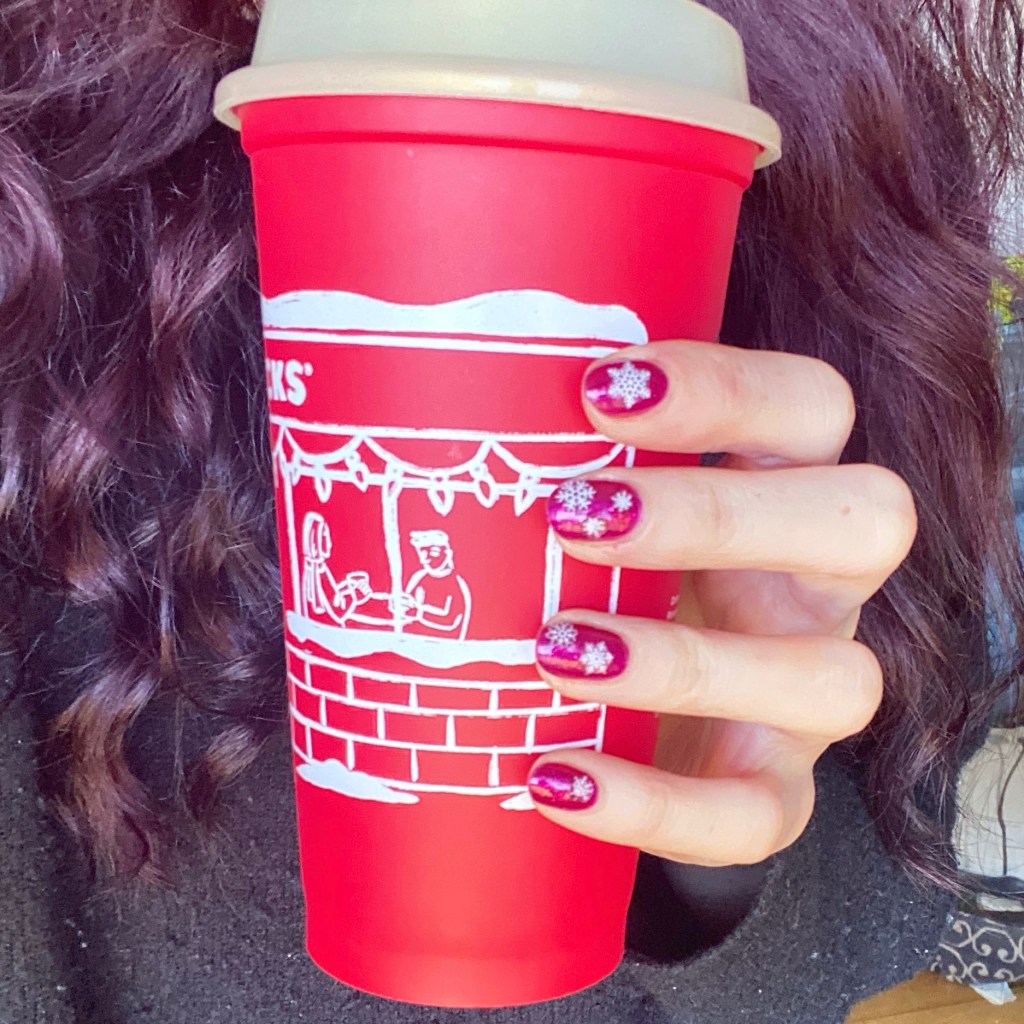
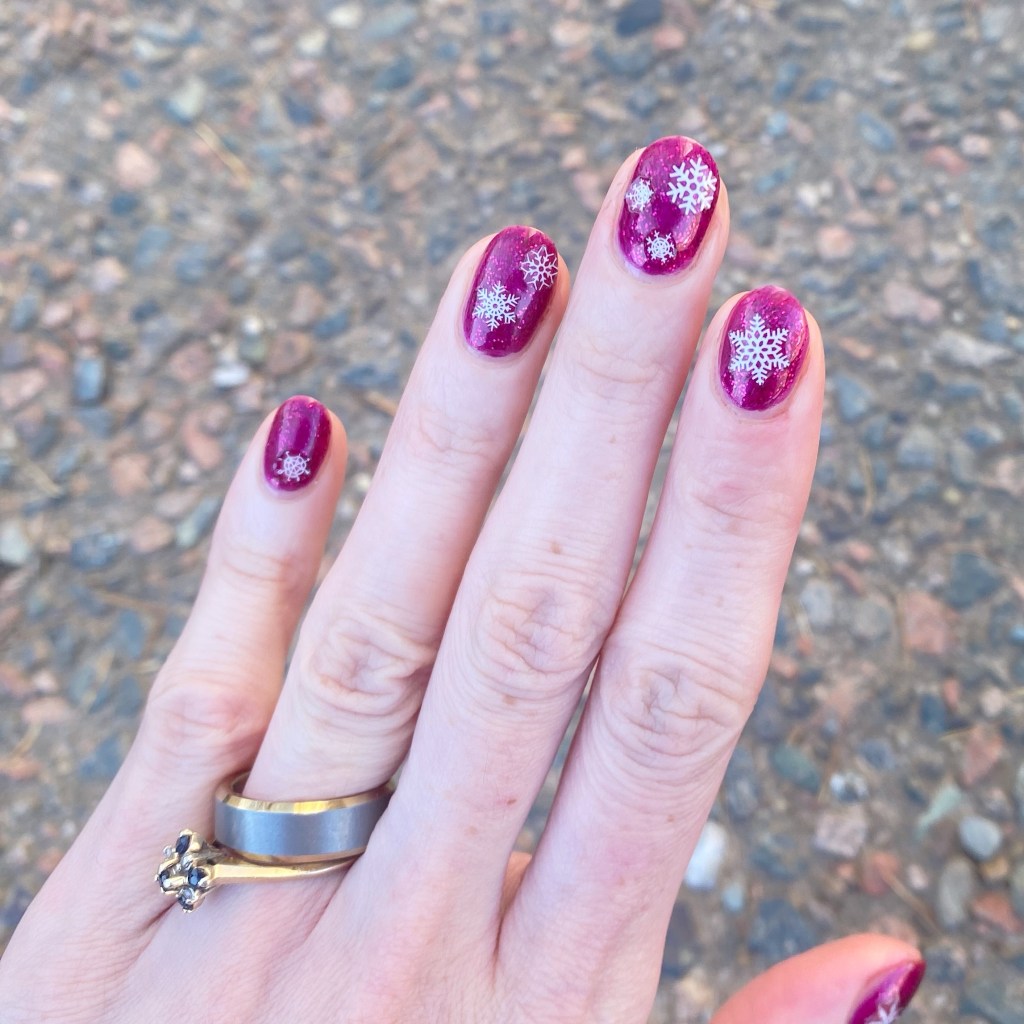
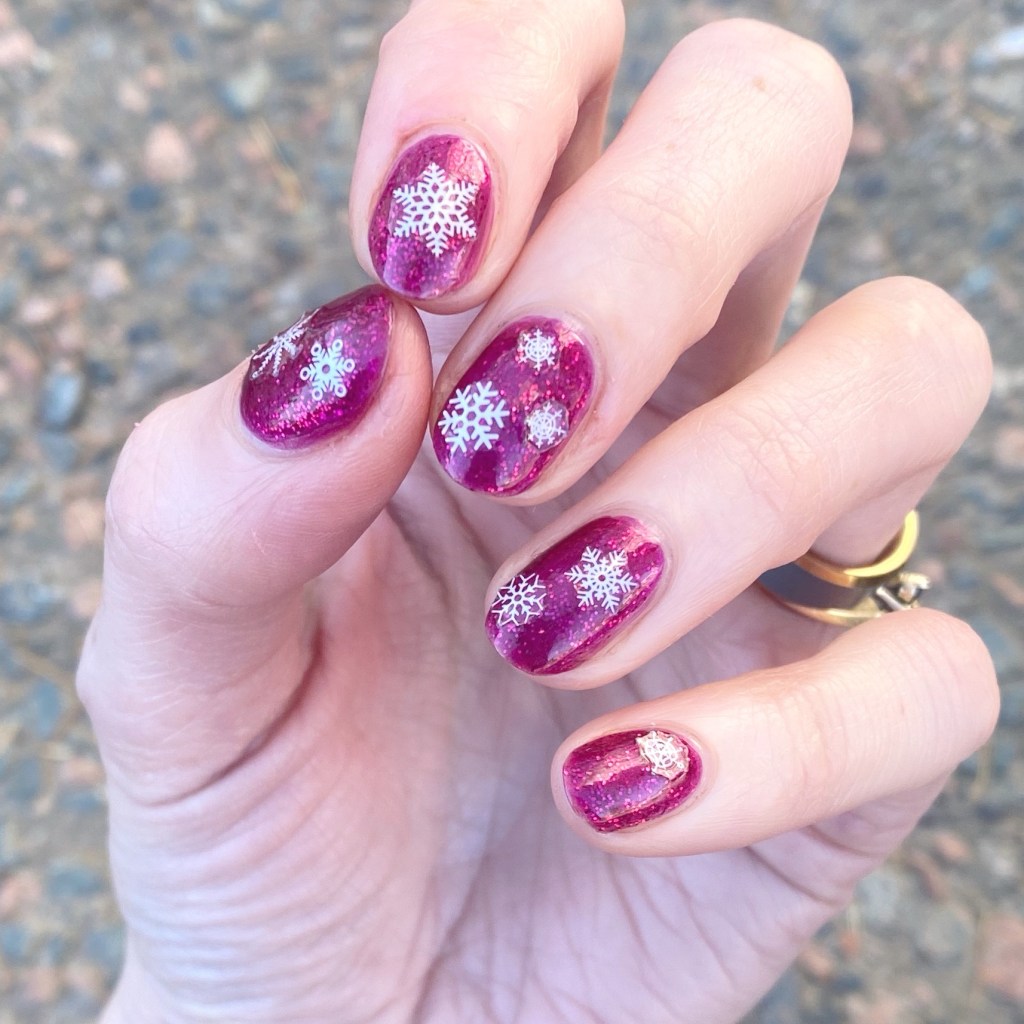
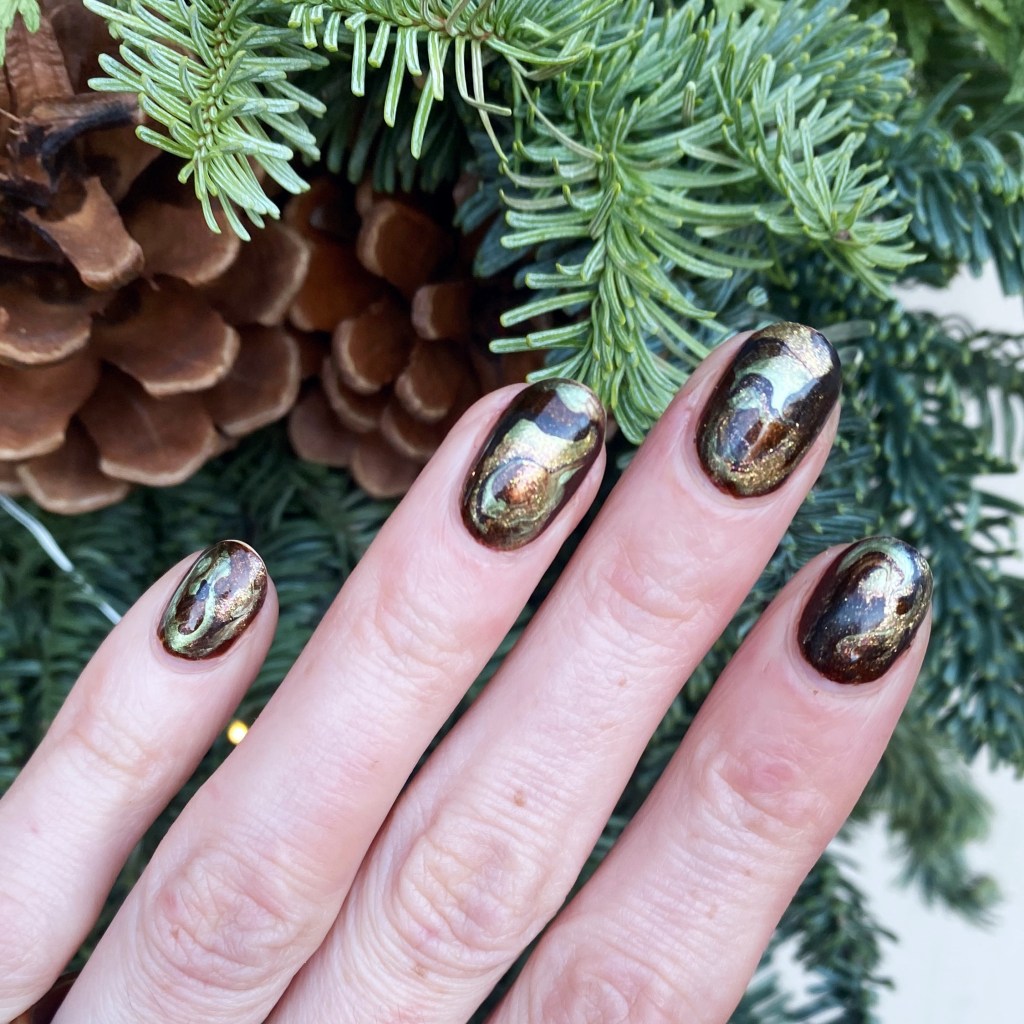
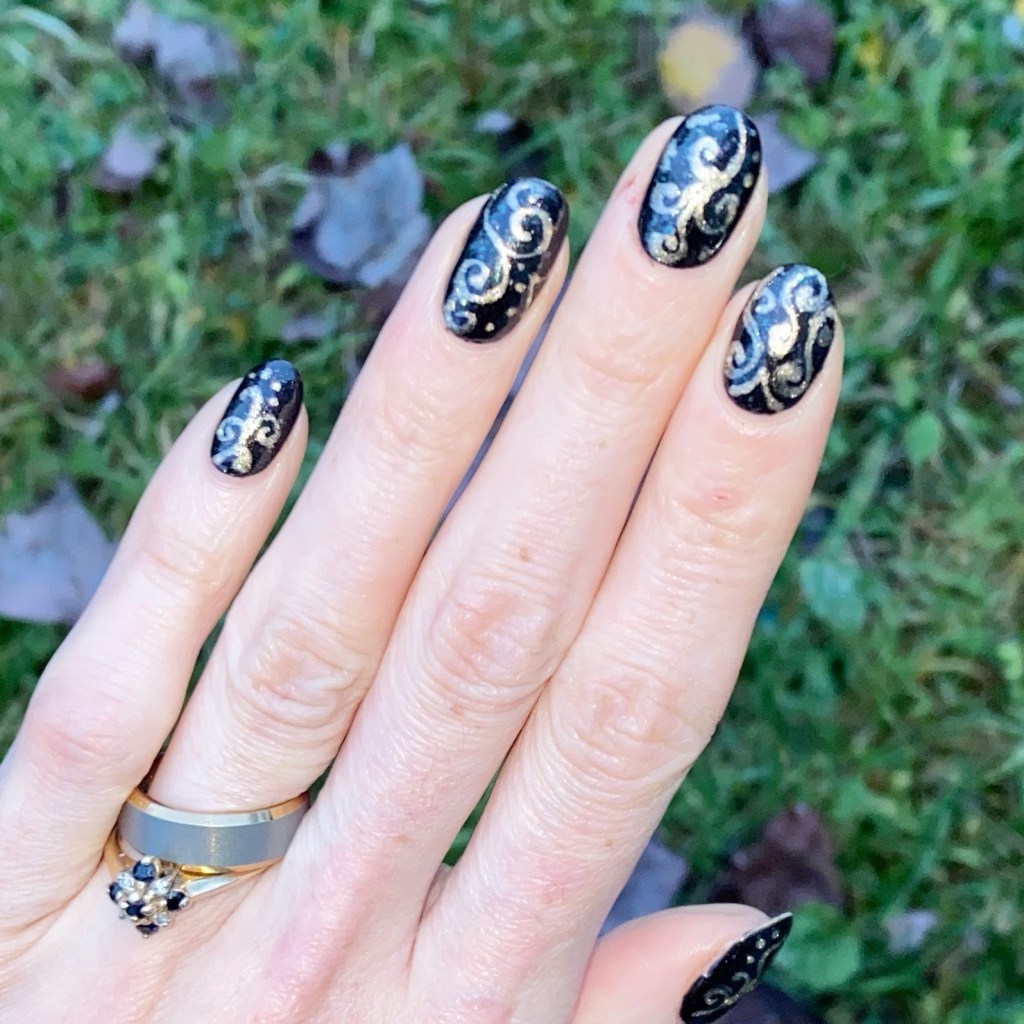
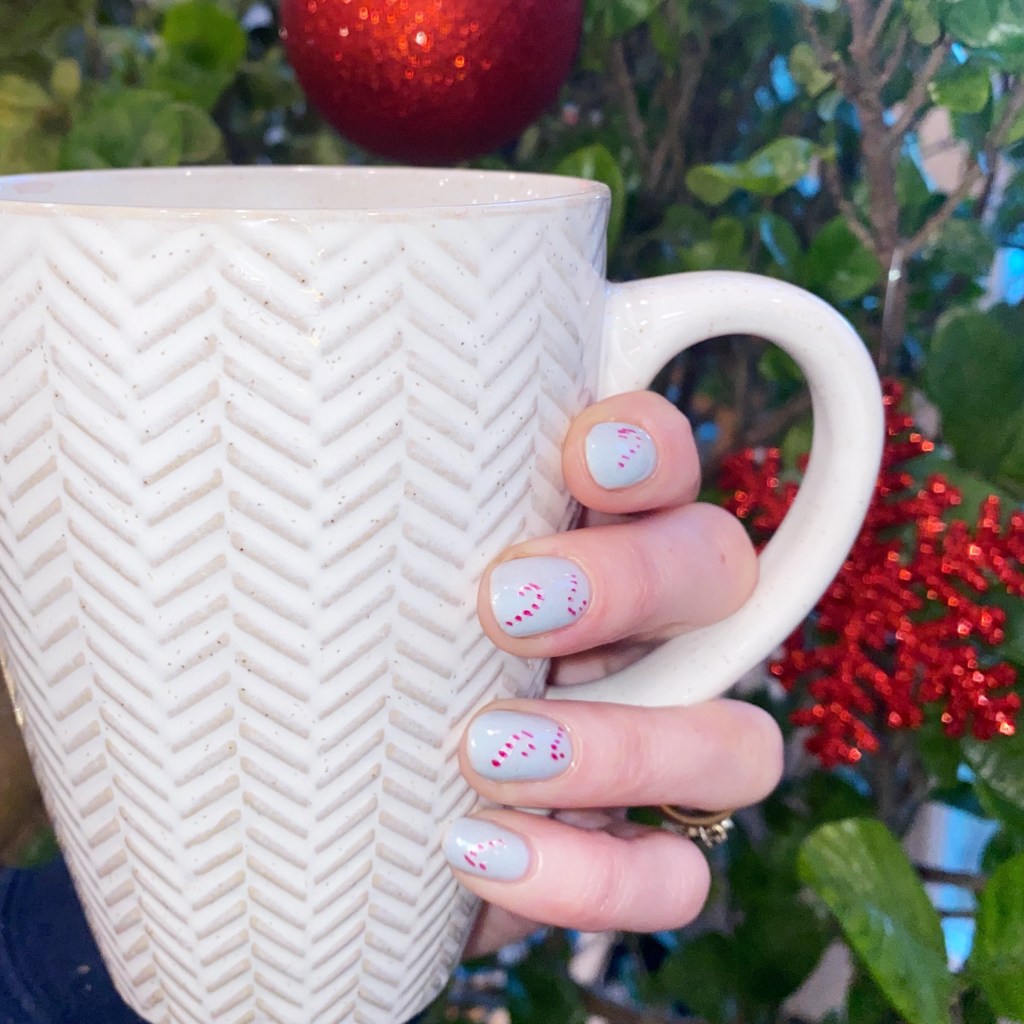
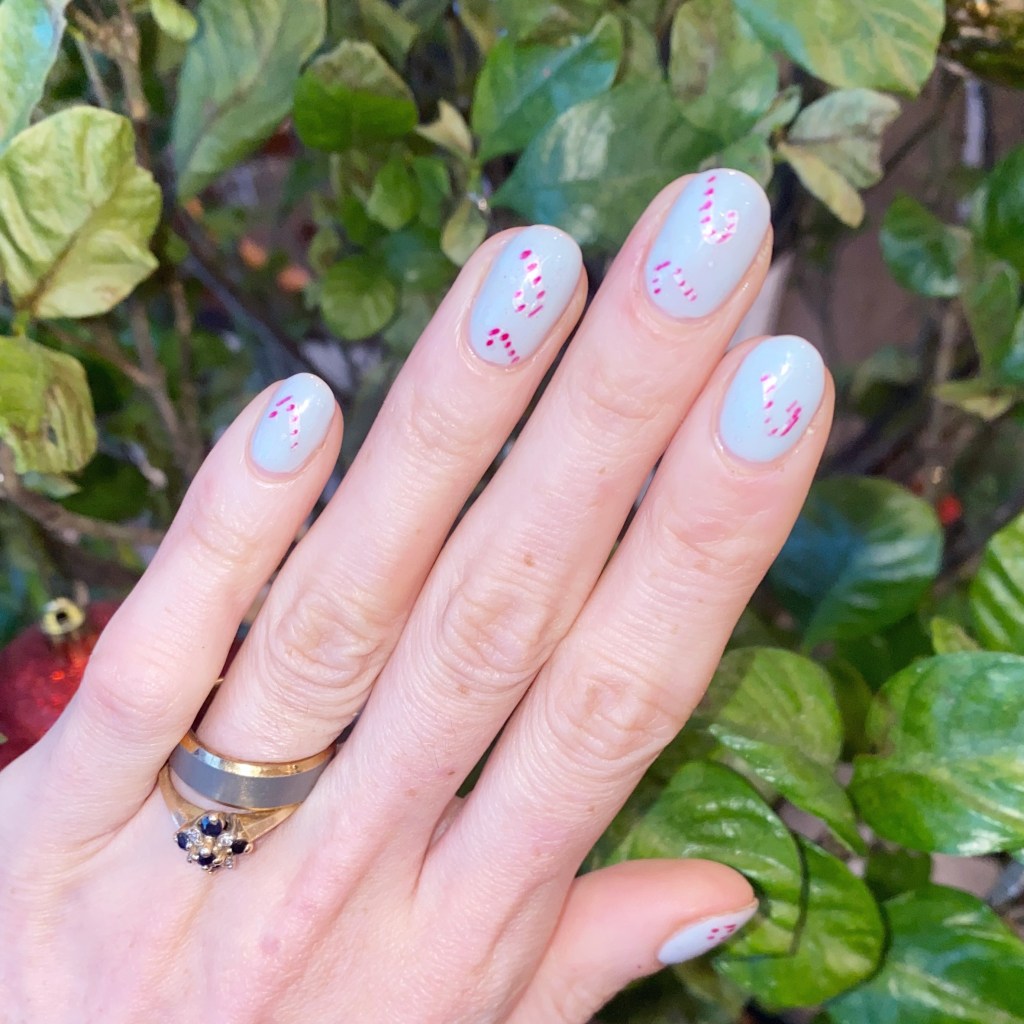
So naturally that means let’s share some more holiday inspired nails. & I couldn’t not use my two new Butter London shades I featured yesterday — with the help of another Butter London shades in my stash.
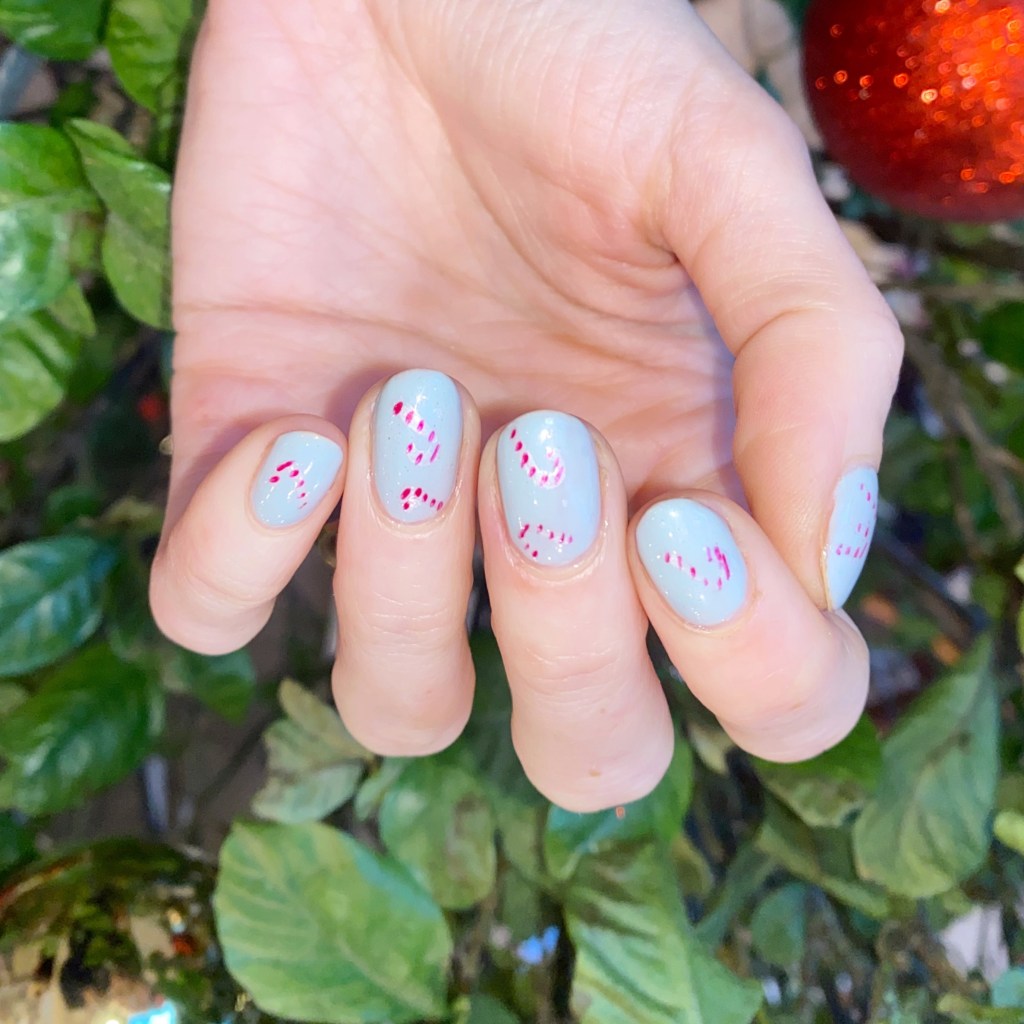
The polishes I used for this manicure are:
- Base Coat: Sally Hansen Miracle Cure
- Top Coat: Essie Speed Setter
- Butter London Frozen Loch *pr
- Butter London Branwen’s Pearls *pr
- Butter London Saucy Jack
- NailStuff.ca 4mm Micro Detail Brush

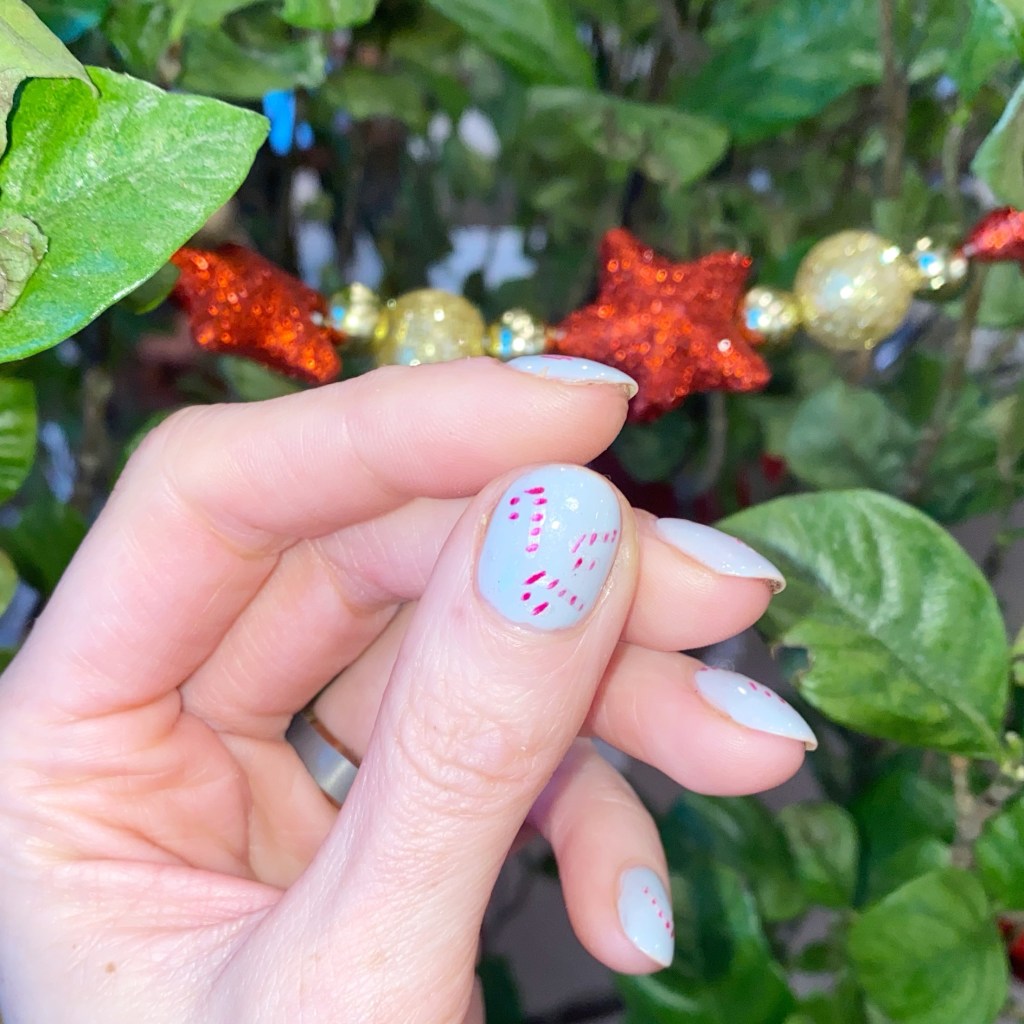
I just love a dainty candy cane look, & this one turned out just how I imagined it in my head. The pearlescent finish of Branwen’s Pearls was the perfect base for my tiny little candy canes, & the blue base of Frozen Loch helped them pop on the nail!
I got so many compliments on these at work, which always makes me happy! It always makes my day when someone else notices — & loves — a design I’ve created.
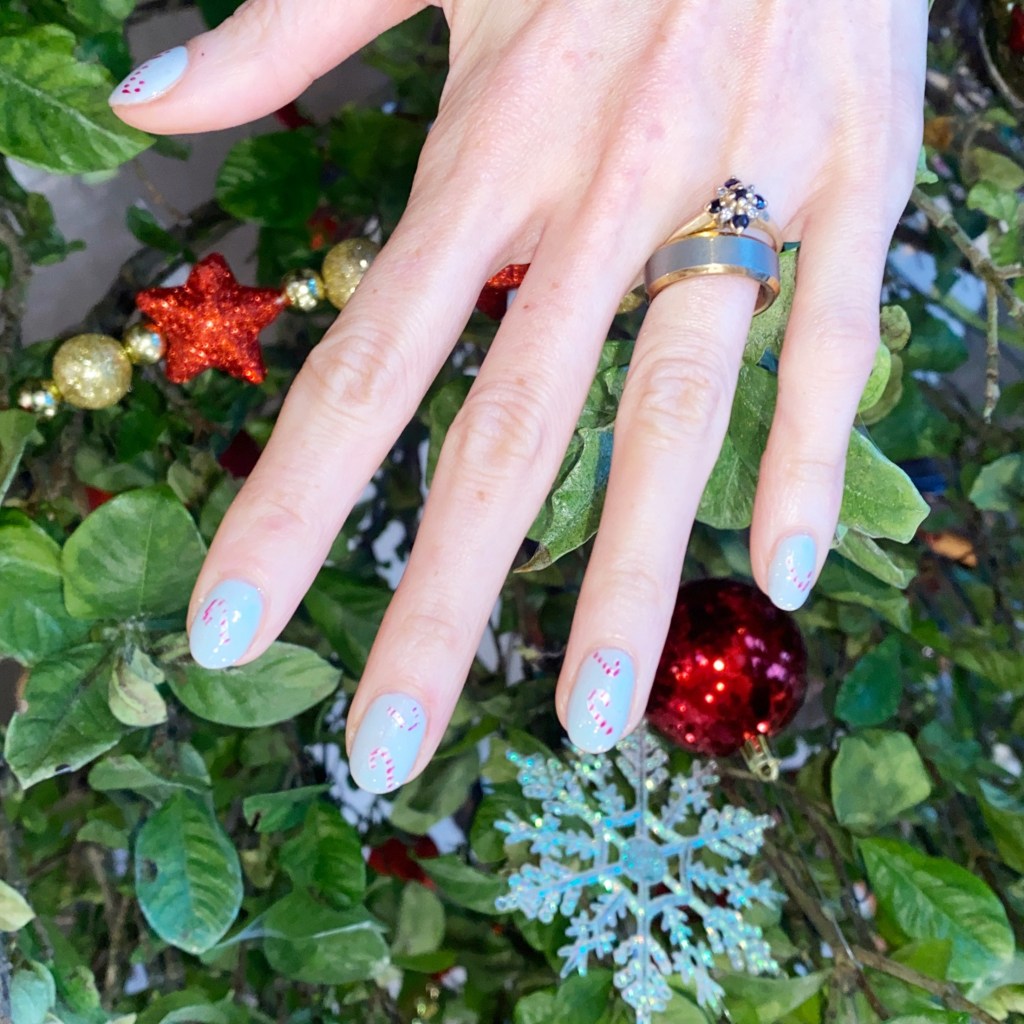
So what do we think of these cutie candy cane nails? Do you think they’re fun & dainty? I’m really trying to come up with some fun holiday nail art looks — maybe even some I’ve never tried before — to end off this year with a bang, so please let me know what nail art designs you’d like to see!
Enjoy your Monday
🖤