Spring Robin’s Egg Nails

Hello lovelies & happy Monday.

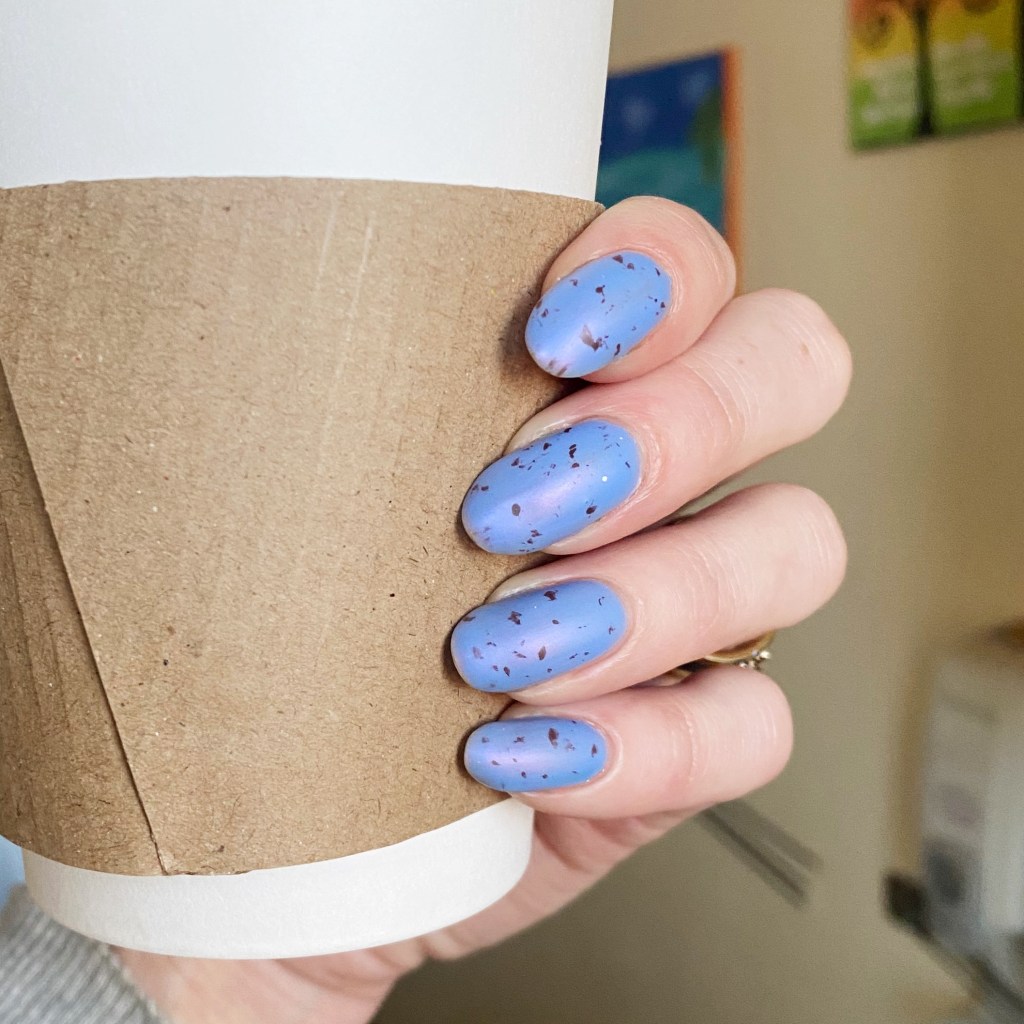
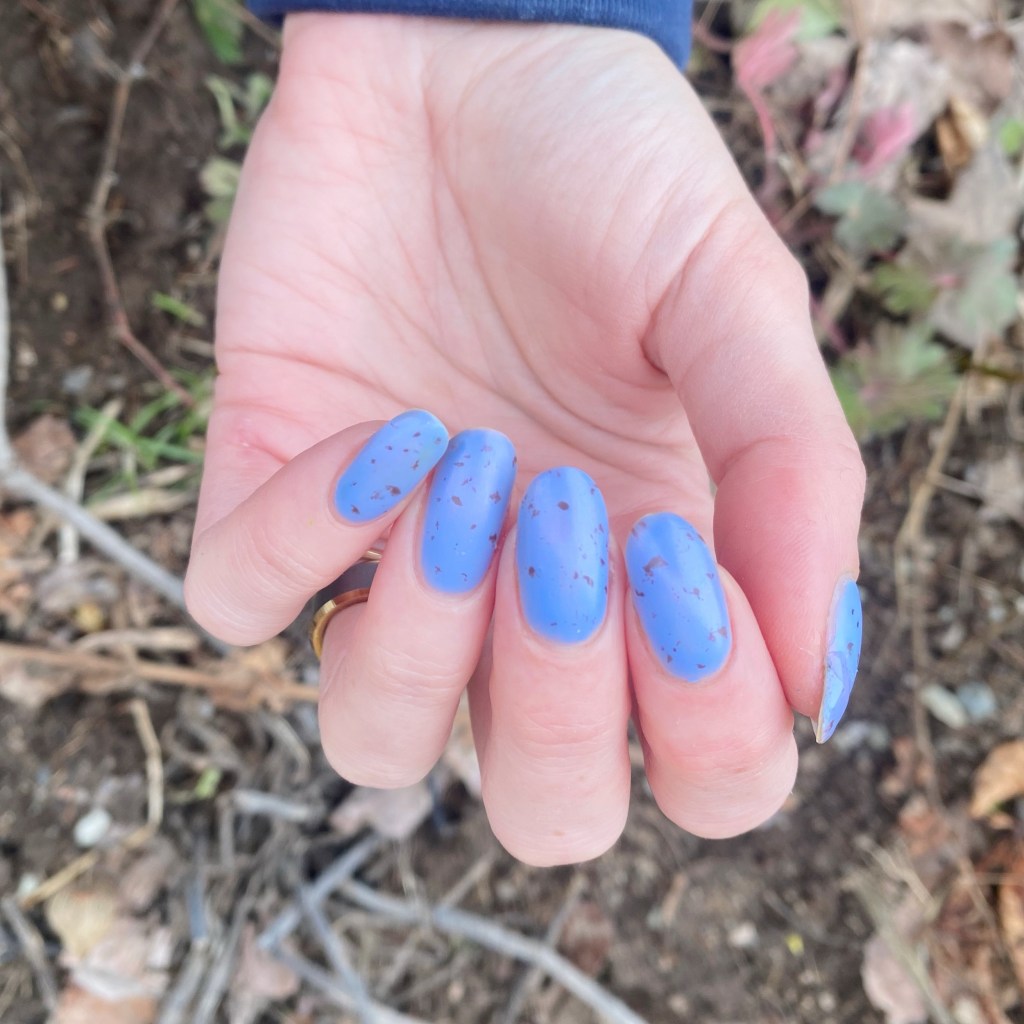
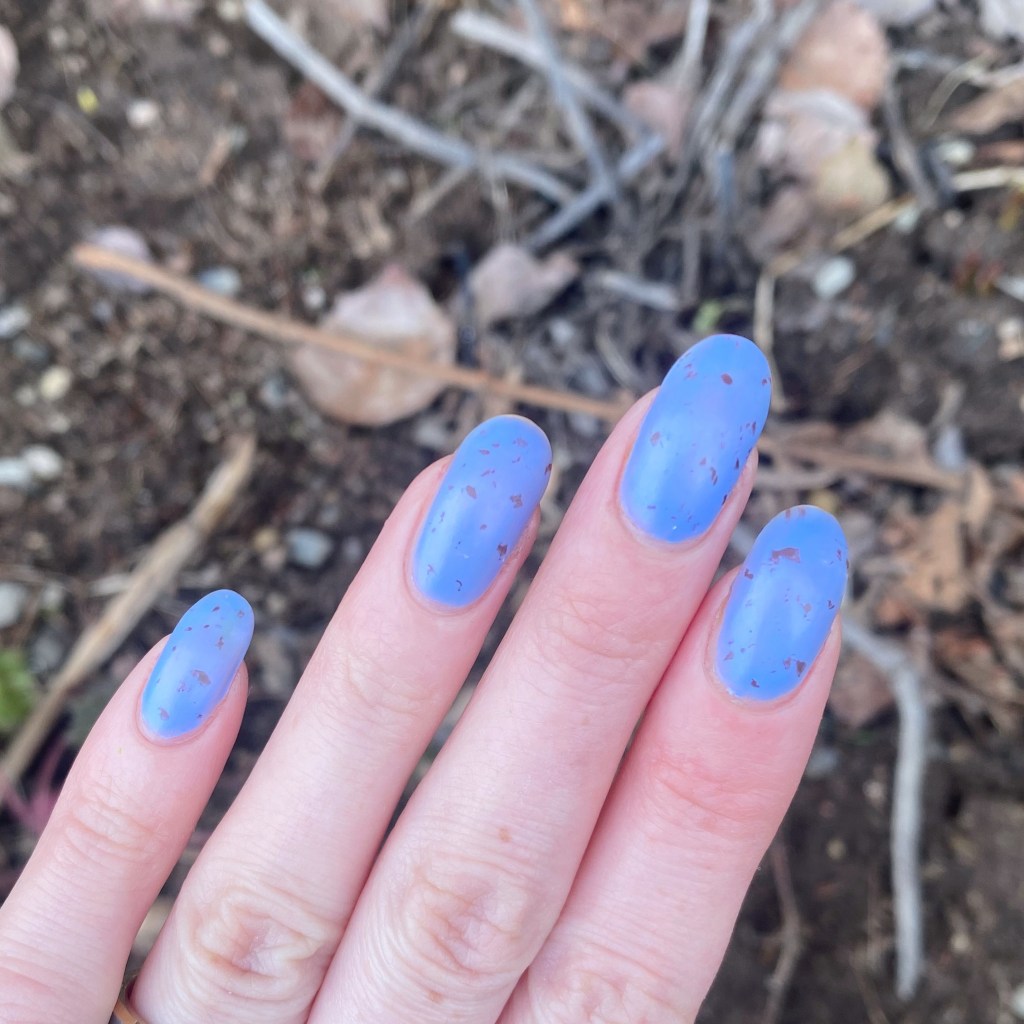
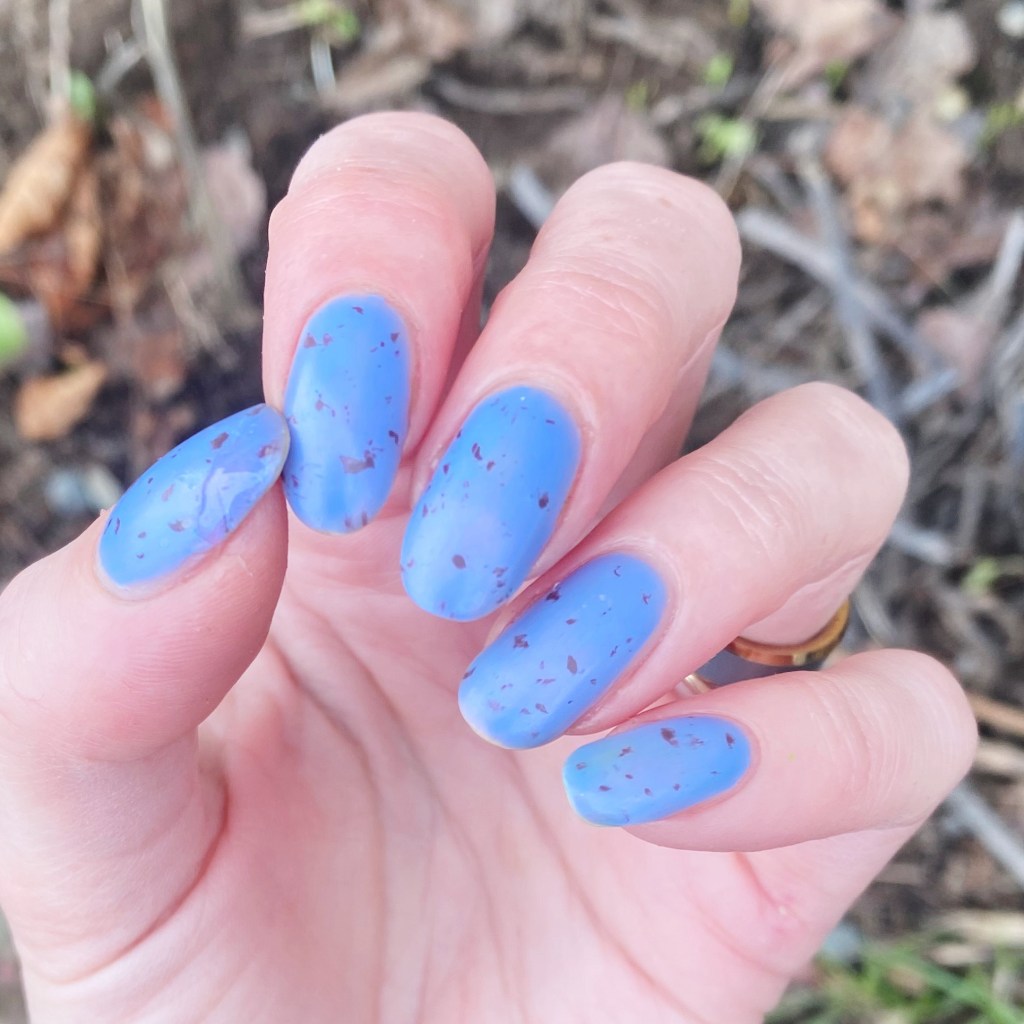
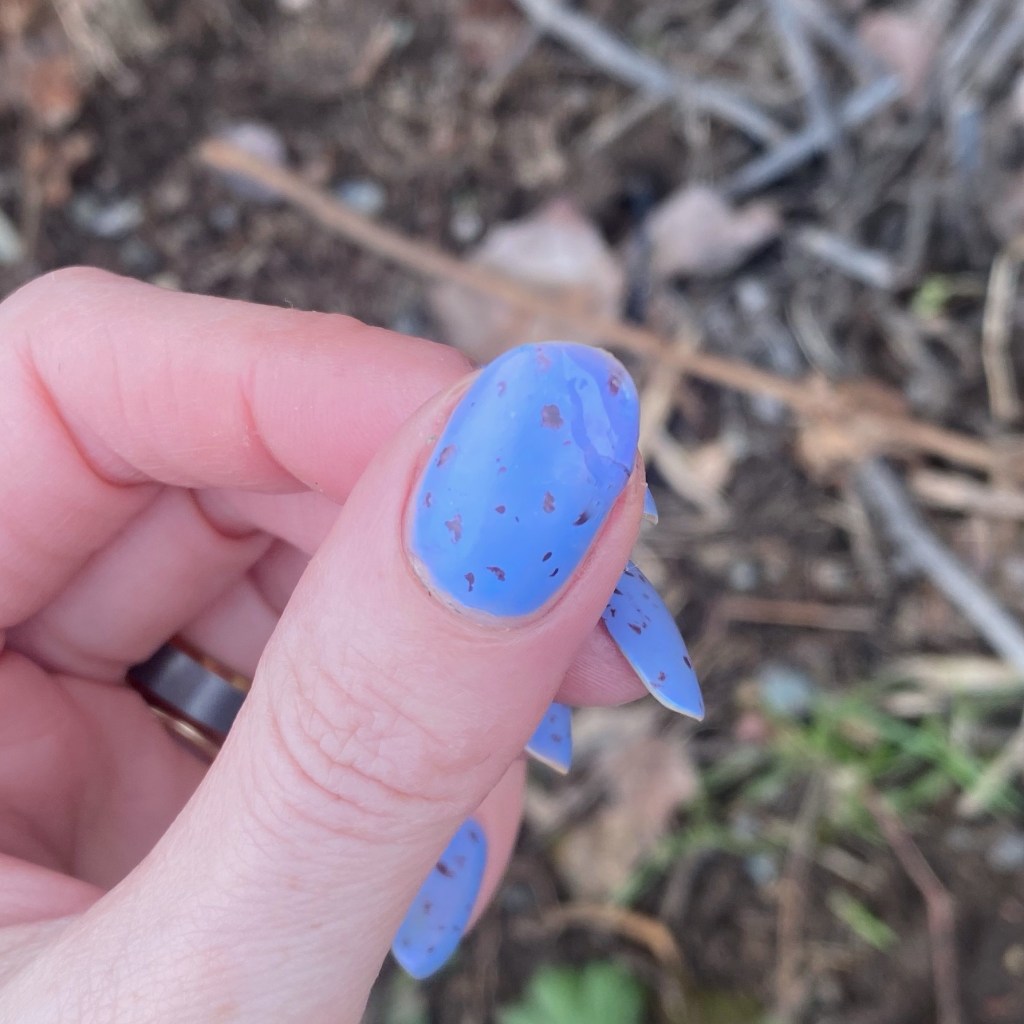
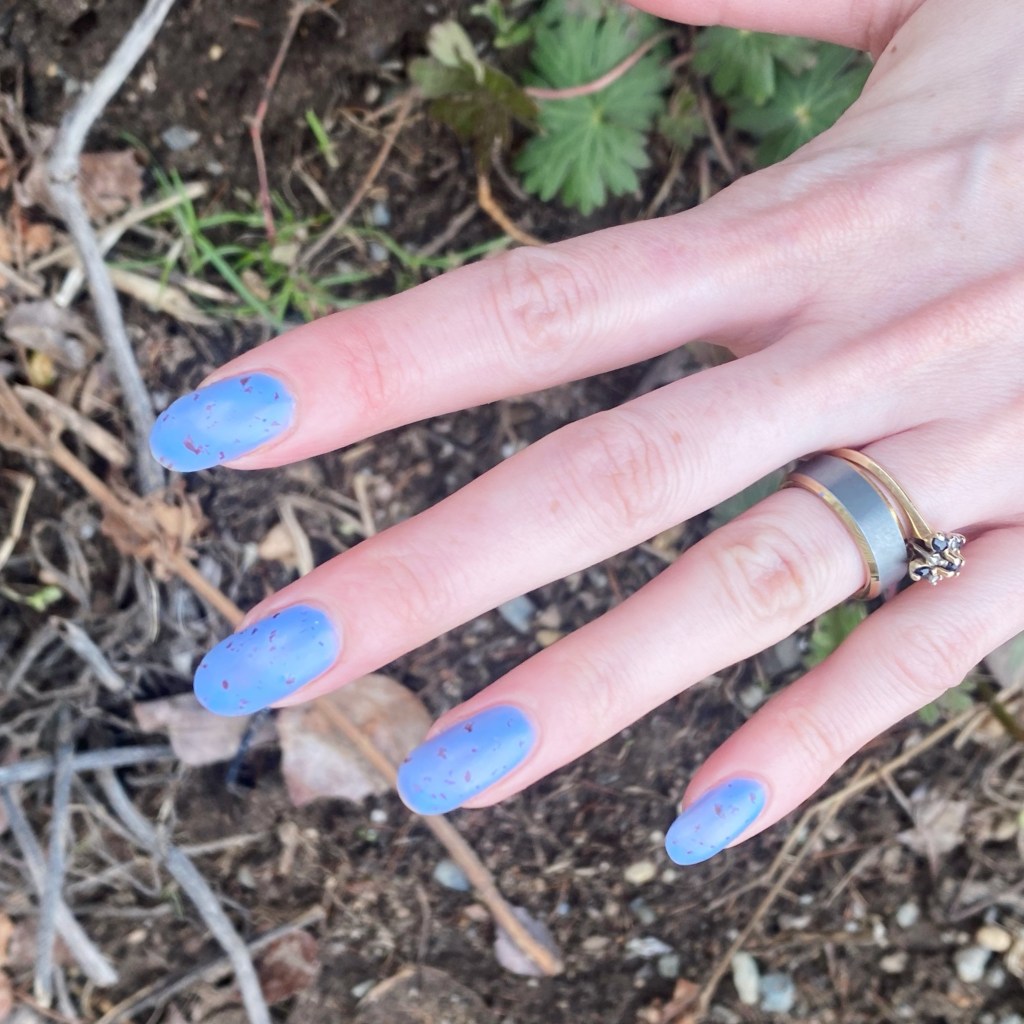
Starting off this full first week of Spring… with a snowstorm. & oh, how I wish I were kidding. But it isn’t going to stop me from rocking some Spring inspired nails! & what is more Spring like than some robin’s eggs? I recently score a killer deal on an Essie shade at my local Shoppers ($1 clearance!), & it was the perfect Spring-y blue, so I knew it would be perfect for some speckled egg nails.

The polishes I used for this manicure are: 

  • Base Coat: Sally Hansen Maximum Grow
  • Top Coat: Seche Vive Gel Like Top Coat
  • Matte Top Coat: NailStuff Essentials Matte Top Coat
  • Essie You Do Blue
  • OPI That’s What Friends Are Thor
  • Small nail art brush

I won’t lie, these nails are actually super super easy to do. All you need to do is create some messy specks using a nail art brush — the messier the better. But the real trick to this look is obviously the matte top coat to give it that eggshell finish. & bam! Instant Spring inspired Robin’s egg nails.

&, obviously, if you paint you nail a selection of pale pastel shades, you could create Mini Egg inspired nails easily (as I have done in years past).

What do you think of my Robin’s Egg nails? Would you wear a simple nail art like this to channel Spring? Let me know all your thoughts in the comments below!

♥︎

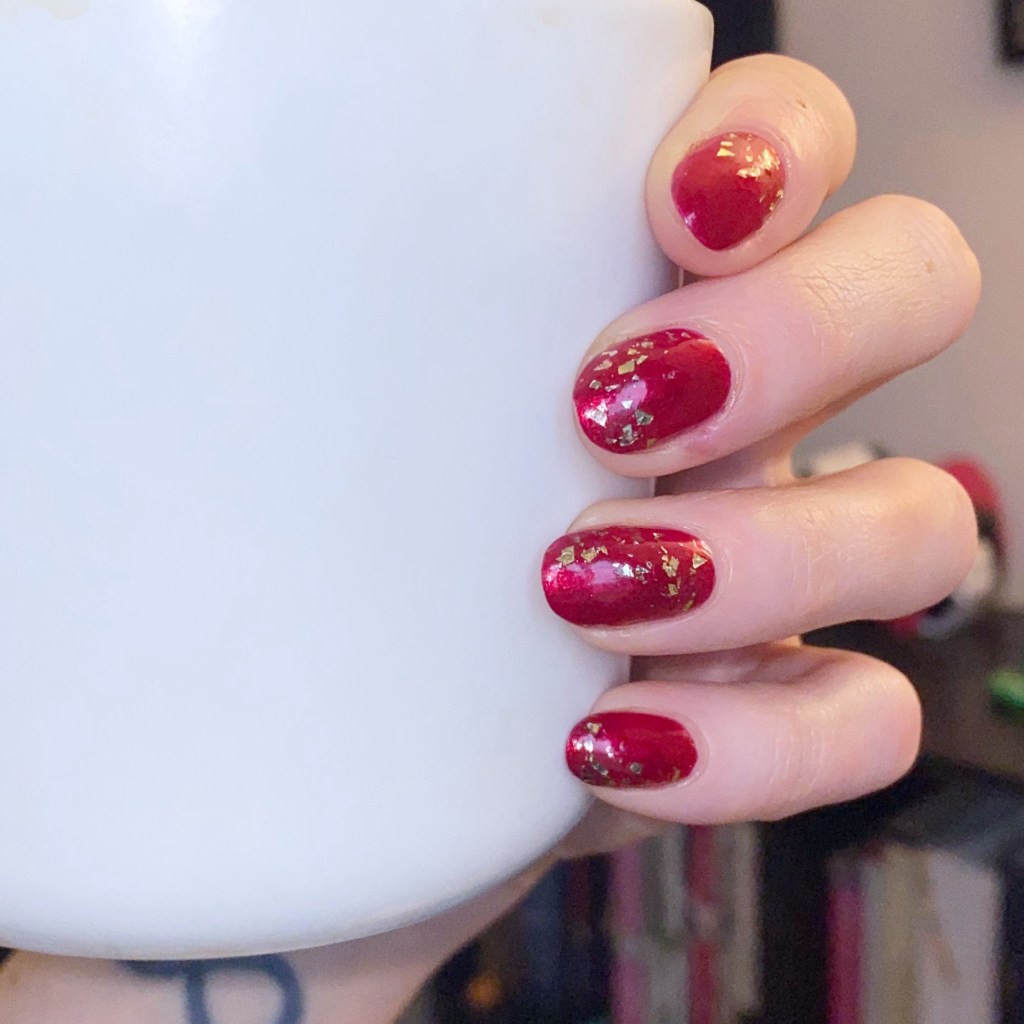
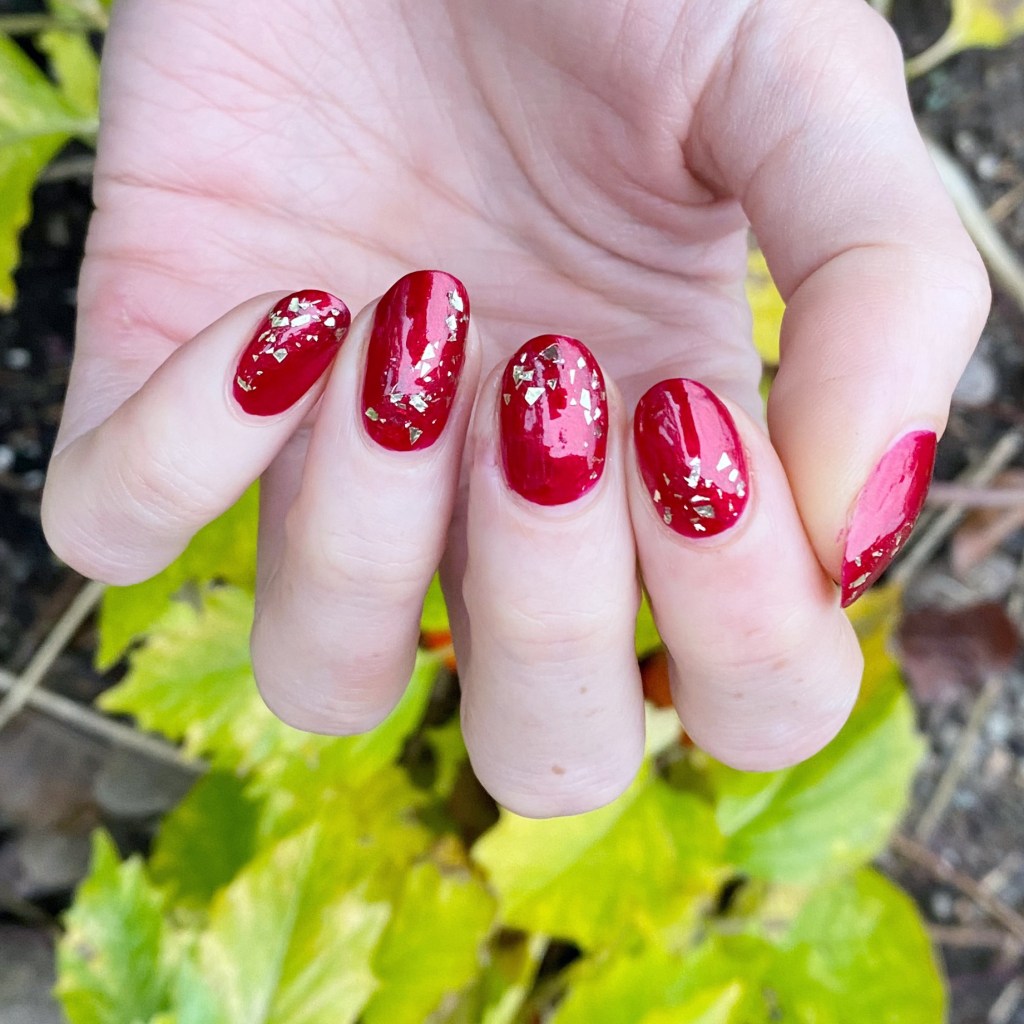
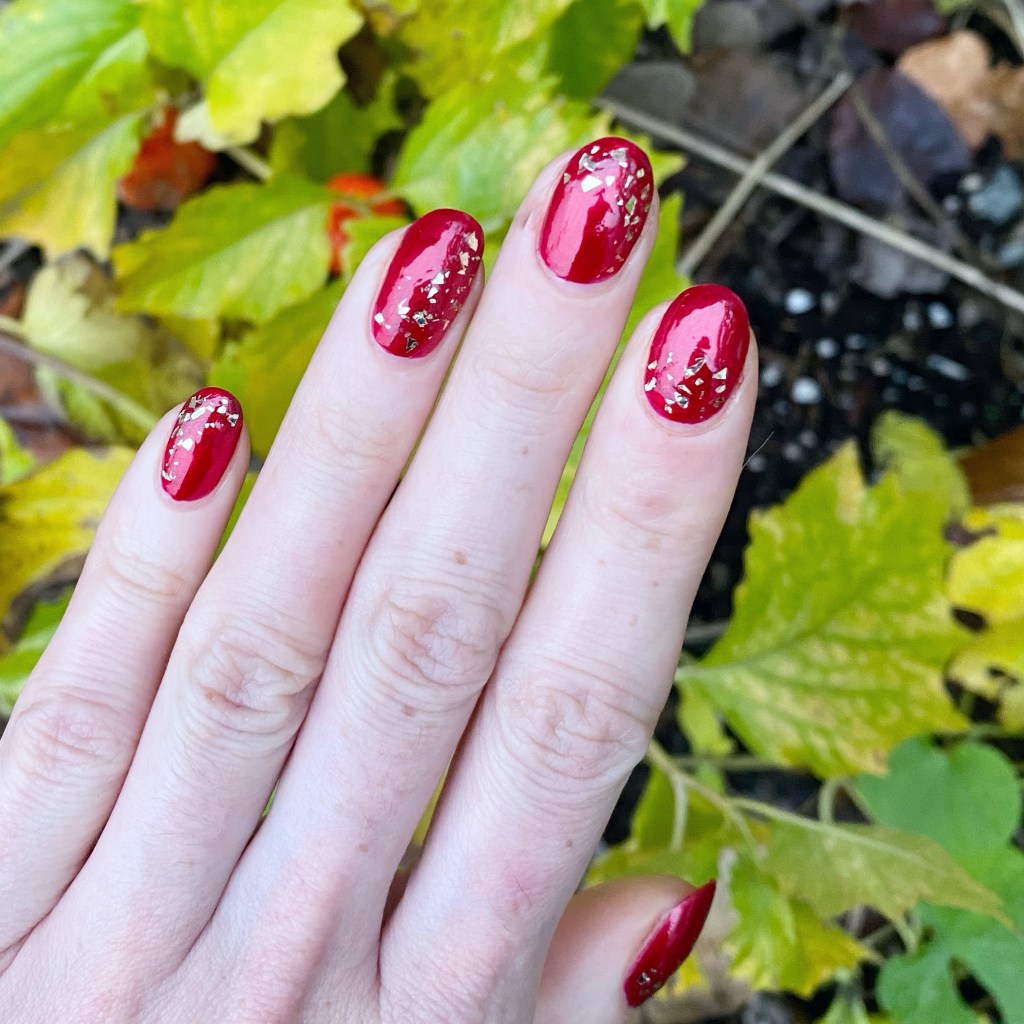
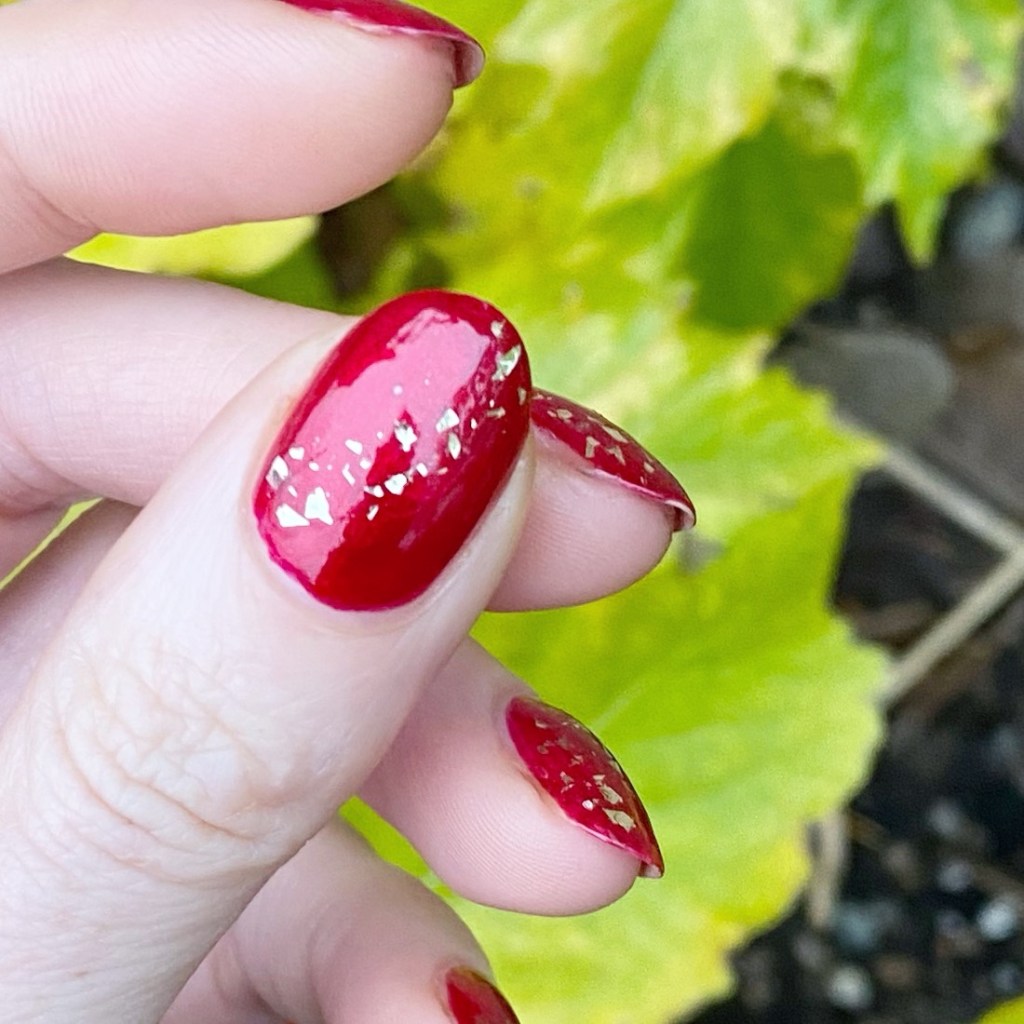
Red & Gold Shattered Glitter Placement ✨❤️

Hello lovelies & happy Wednesday! It’s another chilly wet Winter day, & the January vibes are just not it. Have I mentioned I’m not a fan of Winter?

But I have just the thing to cheer myself up… new (sparkly) nails! There is nothing that I love more than some sparkle when I’m feeling down, & I recently pulled out a glitter topper I had almost forgotten I owed. The end result was another perfect glitter placement design.

I’m never going to get tired of these!

The polishes I used for this manicure are: 

  • Base Coat: Sally Hansen Miracle Cure
  • Top Coat: Seche Vive Gel Like Top Coat
  • Orly Color Blast Garnet Luxe Shimmer
  • Sinful Colors Twilight Twinkles
  • Small dotting tool

I know this isn’t a super complicated look — still trying to ease myself back into nail art inspiration — but I love how these look. They’re just fun, & pretty, & I never get tired of red nail polish. I also feel like these would be so pretty for February & Valentine’s Day nails!

What do you think about these red shattered glitter nails? Do you love? Also — as always, if you can think of any glitters similar to these in different colours, let me know. I used to have a holographic silver one by Color Club that dried up that I’m desperate to replace!

Happy Wednesday

🖤

Kiss Products Voguish Fantasy Press On Nails — Christmas Party Ready Nails

•contains pr/gifted items

Good morning lovelies & happy Tuesday!

Kiss once again spoiled me, & recently sent me a box of Christmas cheer in the shape of their Press On Nails & False lashes! The perfect thing to help me get Holiday ready quickly.

Sunday night I had a get-together with my former Candy Store coworkers, so I thought a set of nails would be perfect for the occasion — & who can say no to candy cane inspired nails!

These nails were fairly easy to apply. The trick is to make sure you pick out the size/style you need for each nail prior to starting your application, & laying them out in order. Then, start from your pinky nails & work your way to your thumb. I find this especially important to do when you’re doing nails with any significant length — like these ones!

Now for these nails I was only planing on wearing them for the night, so instead of using the included glue, I chose to use sticky tabs to apply them which I find a better option for shorter term wear. Each pack does come with the Kiss Nail Glue, which from my previous experience does last really well & holds up against every day use.

What do you think about these Kiss Voguish Fantasy nails? Would you rock press on nails like this for a super quick & easy party look? Let me know all your thoughts in the comments below!

🖤

Purple & Gold Dotticure 💜✨

Hey beauties, happy Wednesday!

It’s another snowy Wednesday here, which is making this December feel very festive. I think this is the most snow we’ve had in a December in longer than I can remember. Now if only I could get enough holiday spirit to get my shopping finished.

Today I’m sharing a pretty holiday-esque design. Not outright Christmas, but using some older season Holiday polishes so I feel like it counts! Plus it wouldn’t look out of place at a Holiday party while you drink too many eggnogs!

The polishes I used for this manicure are: 

  • Base Coat: Sally Hansen Miracle Cure
  • Top Coat: Essie Speed Setter
  • Morgan Taylor Plum-thing Magical (2017 Little Miss Nutcracker collection)
  • OPI Rolling in Cashmere (Gwen Stephanie Holiday 2014 collection)
  • Small-ish dotting tool

Oh goodness, I just adore a good dotticure. The gold looks lovely against the purple-y plum base, especially with its shimmer. This is such a simple look to do, but eye catching at the same time. I love it! & sometimes I just need to rock a colour other than red or green, you know?

What do you think of the glam dotticure? Would you wear a design like this? Can you believe we’re two weeks away from Christmas Eve, & 15 days away from Christmas morning? Crazy!

Happy Wednesday

🖤

Cute Candy Cane Nails (featuring Butter London Winter 2025 shades) ❄️

Contains PR

Hello lovelies & happy Monday! It’s a very, very snowy Monday here… & I won’t lie, it’s kind of nice. Giving me a few Christmas vibes, I won’t lie.

So naturally that means let’s share some more holiday inspired nails. & I couldn’t not use my two new Butter London shades I featured yesterday — with the help of another Butter London shades in my stash.

The polishes I used for this manicure are: 

  • Base Coat: Sally Hansen Miracle Cure
  • Top Coat: Essie Speed Setter
  • Butter London Frozen Loch *pr
  • Butter London Branwen’s Pearls *pr
  • Butter London Saucy Jack
  • NailStuff.ca 4mm Micro Detail Brush

I just love a dainty candy cane look, & this one turned out just how I imagined it in my head. The pearlescent finish of Branwen’s Pearls was the perfect base for my tiny little candy canes, & the blue base of Frozen Loch helped them pop on the nail!

I got so many compliments on these at work, which always makes me happy! It always makes my day when someone else notices — & loves — a design I’ve created.

So what do we think of these cutie candy cane nails? Do you think they’re fun & dainty? I’m really trying to come up with some fun holiday nail art looks — maybe even some I’ve never tried before — to end off this year with a bang, so please let me know what nail art designs you’d like to see!

Enjoy your Monday

🖤