Mermaid Nails

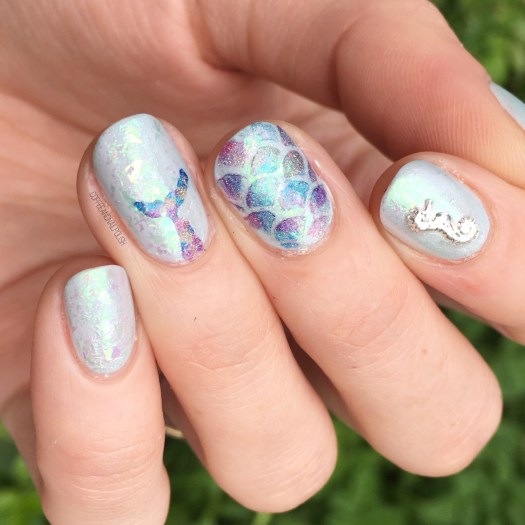
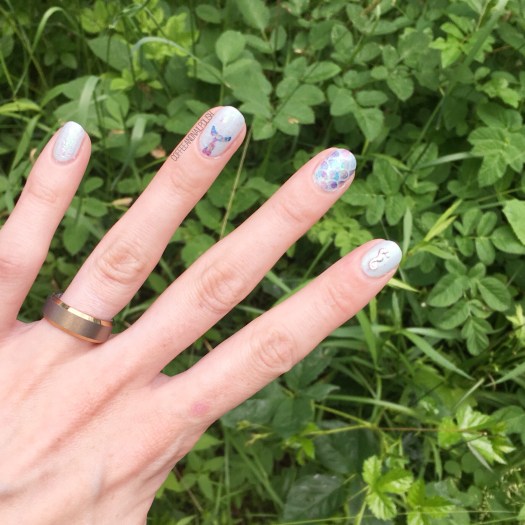
It feels like ages since I last pulled out my mermaid stencils for some mermaid nails. The other night I was playing with some new flakies from NailStuff.ca & after looking at them on my nails, I couldn’t help but think they would make an amazing base for a mermaid nail design! I’ve had this mermaid tail idea floating around a while, so I grabbed some more vinyls from What’s Up Nails (I believe it’s suppose to be a whale tail) & have it a go.

For this manicure, the polishes I used were:

  • Base Coat: OPI Nail Envy
  • Top Coat: Essie Speed Setter
  • FingerPaints Fun Peel Off Base Coat (to apply flakies)
  • Sally Hansen Miracle Gel Ocean Daze
  • NailStuff.ca Flakies — these guys aren’t currently available but there is a huge selection here!
  • What’s Up Nails Scale Stencils
  • What’s Up Nails Whale & Tale Stencils
  • Color Club Eternal Beauty
  • Layla Cosmetics Mermaid Spell
  • Color Club Crystal Baller
  • Wrenn Polish Mesmerizing
  • Wrenn Polish Summer Sands
  • NailStuff.ca Summer Nail Wheel — Silver seahorse stud

This design didn’t quite turn out how I pictured on my head, but that’s mostly the tail look on my ring finger. I really wish it was bigger. I do however love the holo scales over the flakie base just makes me so happy! I also wish I had done that look on the majority of my fingers with just the stud being my accent! (& if I had more of these nail vinyls left, I probably would have… going to need to buy some more ASAP!)

Also holo & flakies have to be the most beautiful combination. Definitely trying out these flakies OVER holo next!

What do you think of this mermaid nail design? Are you a fan of the holo & flakie combo? Let me know what you think down in the comments below! 🧜🏼‍♀️

White & Purple Drag Marble 💜

Good Morning lovelies & happy Tuesday! Hope everyone had a fantastic beginning to their week.

Today I’m showing off some brand new nails & a design I haven’t done in a while: drag marble. I literally couldn’t remember the last time I attempted one–I’ve been trying so many awesome marbling techniques–that it felt like a good time to give an old favourite another try!

For this manicure, the polishes I used were:

  • Base Coat: OPI Nail Envy
  • Top Coat: Essie Gel Setter
  • Sally Hansen Complete Salon Manicure Lets Snow
  • Sally Hansen Miracle Gel Just Maui’d
  • Color Club Eternal Beauty
  • Bundle Monster drag tool.

Drag marbles were my first foray into marble nails because they seemed like the least messy option! Definitely takes a bit of practice to keep your nails from looking swampy (or one colour completely taking over the entire nail!) but once you get that down, the end result can be stunning!

Of all my nails, I think my ring finger probably turned out the best, followed by my middle finger. Sadly, I was using a more than half empty bottle of top coat, so there were way too many bubbles happening… but I guess that helps add to the marble effect! & thankfully you can’t really see them from far away. It was just me they bothered immensely.

What do you think of this drag marble design? What’s your favourite marble technique? Let me know all your thoughts down below!

Floral & Holo

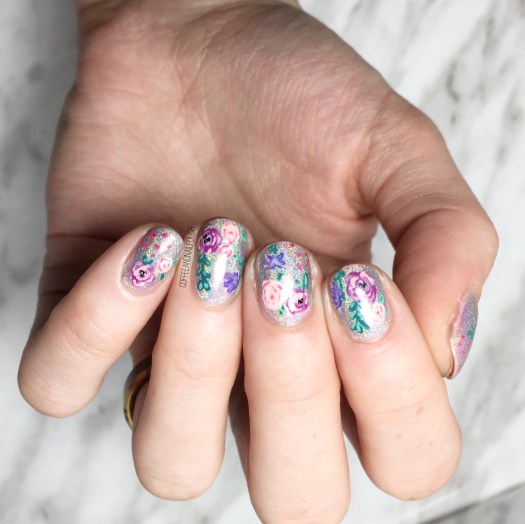
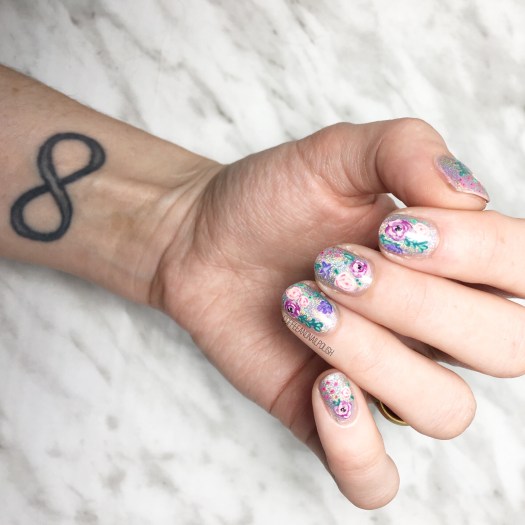
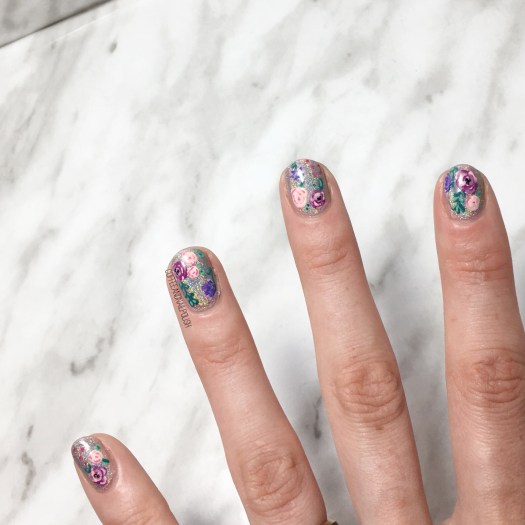
Holy how is it July already? Seriously, it feels like just yesterday I was posting Christmas designs & now it’s hot & humid & I’m so excited I can finally pull out all my fun Summer dresses to wear without needing leggings underneath. I’ve been rocking a lot of floral lately… especially on the nails.

I know that it doesn’t matter what time of year it is, I’m pretty much always going to rock floral. But when the sun is shining & the temps are climbing, wearing floral just feels right!

For this manicure, the polishes I used were:

  • Base Coat: OPI Nail Envy
  • Top Coat: Essie Gel Setter
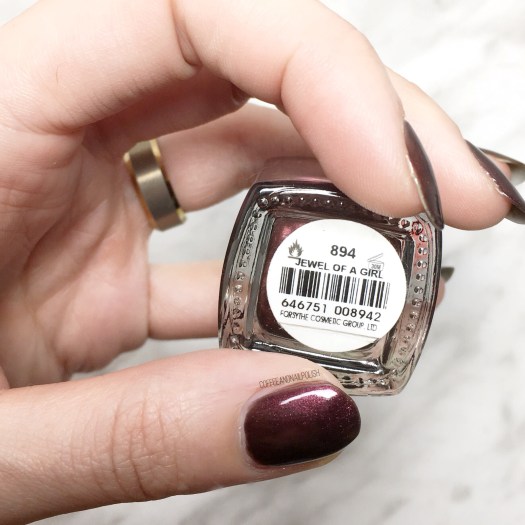
  • NailStuff.ca holo powder (applied over Sally Hansen Complete Salon Manicure Rose to the Occasion)
  • Essie Playdate
  • Color Club Pucci-licious
  • Sally Hansen CSM Killer Heels
  • Sally Hansen CSM Red It Online
  • Sally Hansen CSM Rose To the Occasion
  • Sally Hansen CSM Blush Against The World
  • Sally Hansen I ♥️ Nail Art pen in green
  • Quo by ORLY Second Hand Jade
  • Bundle Monster small detail brush
  • Bundle Monster small & large dotting tool

Oh man, this holo powder from NailStuff.ca is one of my all time favourites. Easy to apply & such a strong holo look. I never thought of using it as a base for nail art, but it was the perfect base for this floral. Plus in the sunlight…. oh, in the sunlight. I’ve been obsessing over wearing holo nails on good days because it’s so distracting! I would be lying if I said I didn’t get caught staring at my nails once or twice (or five times) while wearing this mani!

what do you think of this design? Are you a fan of a holo base for nail art? Share your thoughts in the comments below & let me know what you think. ♥️

Easy Pink Flower Print 🌸

Happy Wednesday loves! & it’s a floral kind of Wednesday. I mean, every single day is a floral kind of day, but with the less than seasonable weather happening outside I figured some more floral print was needed.

This is also a super simple design that I think almost anyone could do on their nails, so it’s a great design for nail art beginners. For this design, I decided to pull out my trusty Sally Hansen nail art pens.

The polishes I used for this design are:

I don’t know if you’ve used the Sally Hansen I ♥️ Nail Art pens before, but they’re one of my favourite nail art tools. I’ve been using them for years & years & I keep buying them because they are great for creating easy designs, from floral to polka dots to delicate patterns. In fact, I recently lost of my green pen (the joys of a busy 1 year old who likes to hide things!) so I will be purchasing a whole bunch of new ones on pay day.

For this design, I made sure my base was nice & dry & then went in with my magenta pen & drew the flower petals. Afterwards, I went back & dotted the middle with my secondary colour (Flip Flop Fantasy) & added some white dots with my white pen. Bam! Instant flower pattern nails with minimal effort.

What do you think of this easy flower design? Let me know your thoughts in the comments below!

Pastel Dry Brush & Polka Dots

Happy Tuesday lovelies! If it’s possible for the Tuesday after a long weekend to be happy. I mean, I worked 2/3 days of this long weekend so I’m not even sure what a long weekend is anymore! But that’s okay… I’m feeling minuscule-ly better & I have a fun new manicure to share with you.

Today’s design is actually inspired by a design from a very long time ago! Okay maybe it was only 3 years ago, but it feels like forever since my nails were that kind of amazingly long. Last time, my polish picks were more in the neon family, so I decided this time to stick to more pastels. & oh yes, do I love how the colours went together!

For this design, the polishes I used were:

  • Base Coat: Quo by Orly Breathable Kiss Me, I’m Kind
  • Top Coat: Seche Vive
  • Wet n Wild Clear Polish
  • Sally Hansen Complete Salon Manicure Let’s Snow
  • Sally Hansen Miracle Gel Ocean Daze
  • Sally Hansen Miracle Gel Bourbon Babe
  • Color Club Pucci-licious
  • Sally Hansen I ♥️ Nail Art pen in black

Dry brush is such a fun technique to create on the nails, because depending on the look you’re going for you can use a clear polish or smudgy top coat to blend your colours together & let dry for a few minutes & use a non-smudging top coat to keep the look of your dry brushing more in tact. I wanted to create a more blended look, so I applied a coat of Wet n Wild’s clear polish over top, & brushed it a few times so the shades would blend together better. In this case, it’s good to smear your design. I also tend to do this with other nail art like gradients or Saran Wrap marbles, but I want to colours to blend together as much as possible.

I’m loving the vibrancy of these shades. They remind me of Summer & I love Summer. Suddenly wishing I could find a bikini with a similar dry brush & polka dot pattern on it. Or maybe a dress… something fun & Summery I could wear on more than just my nails.

what do you think of these pastel dry brush & polka dot nails? Is this a look that you would wear for summer? Share your thoughts down in the comments below!