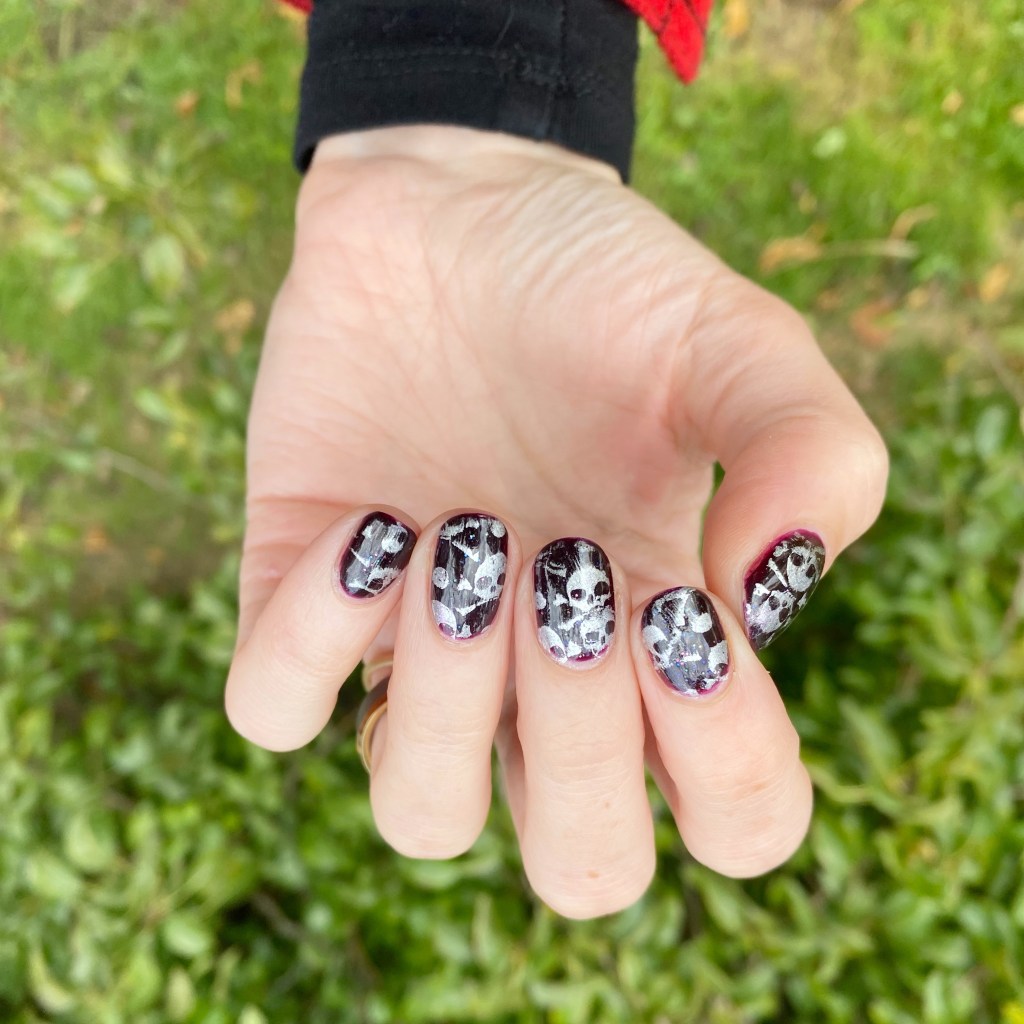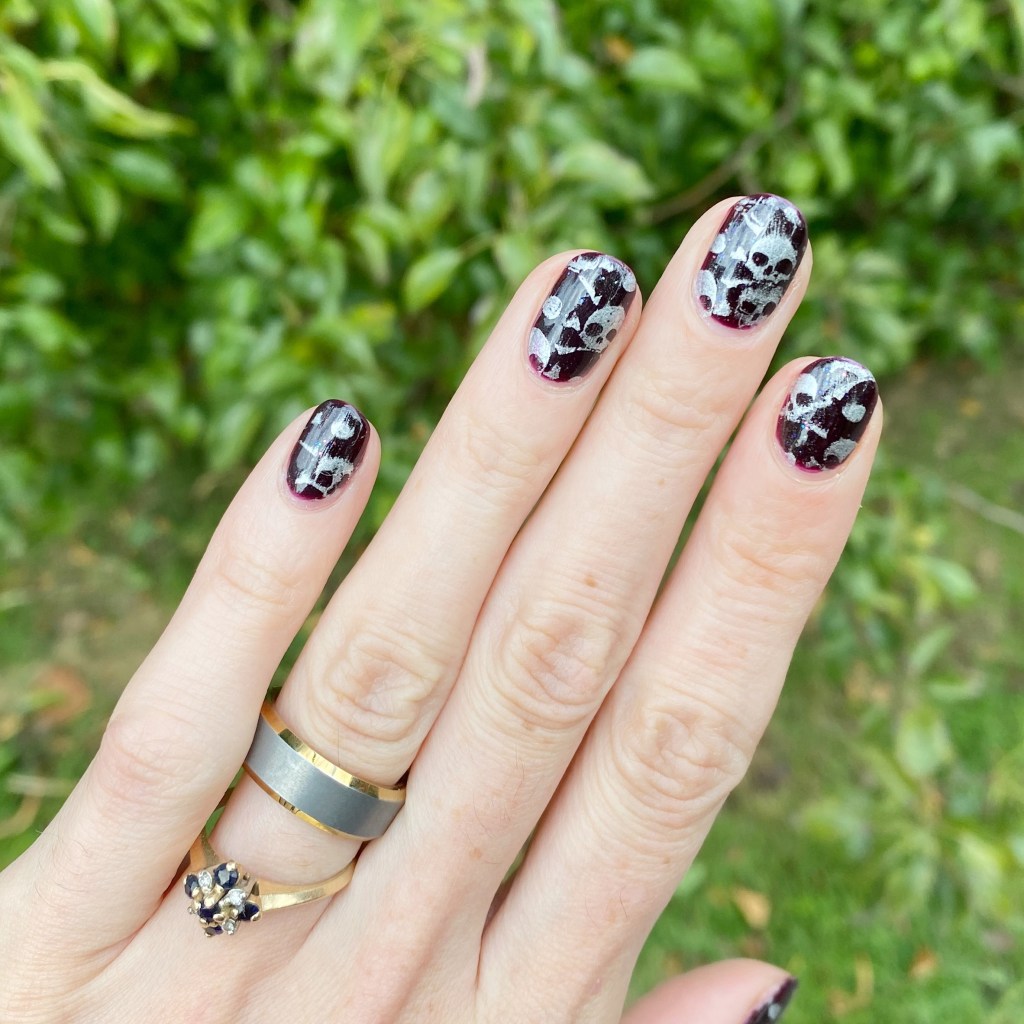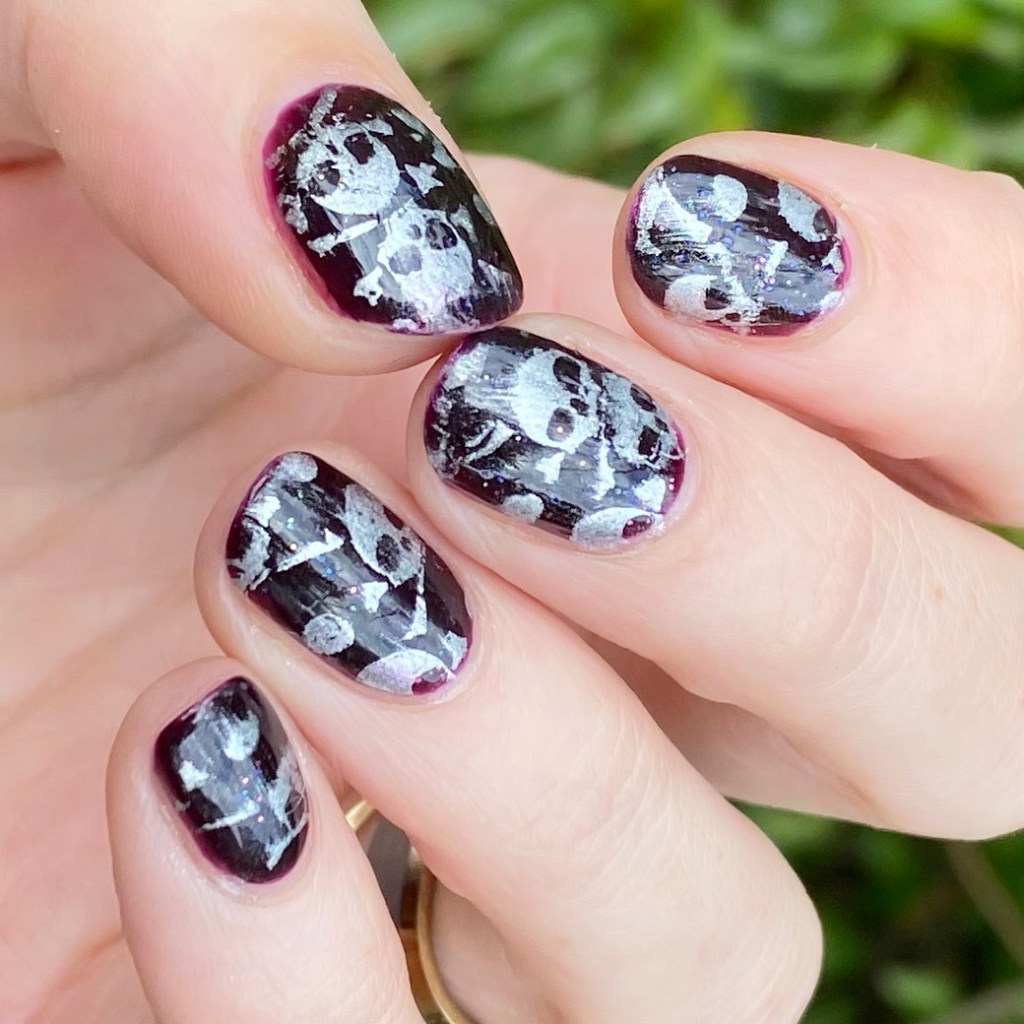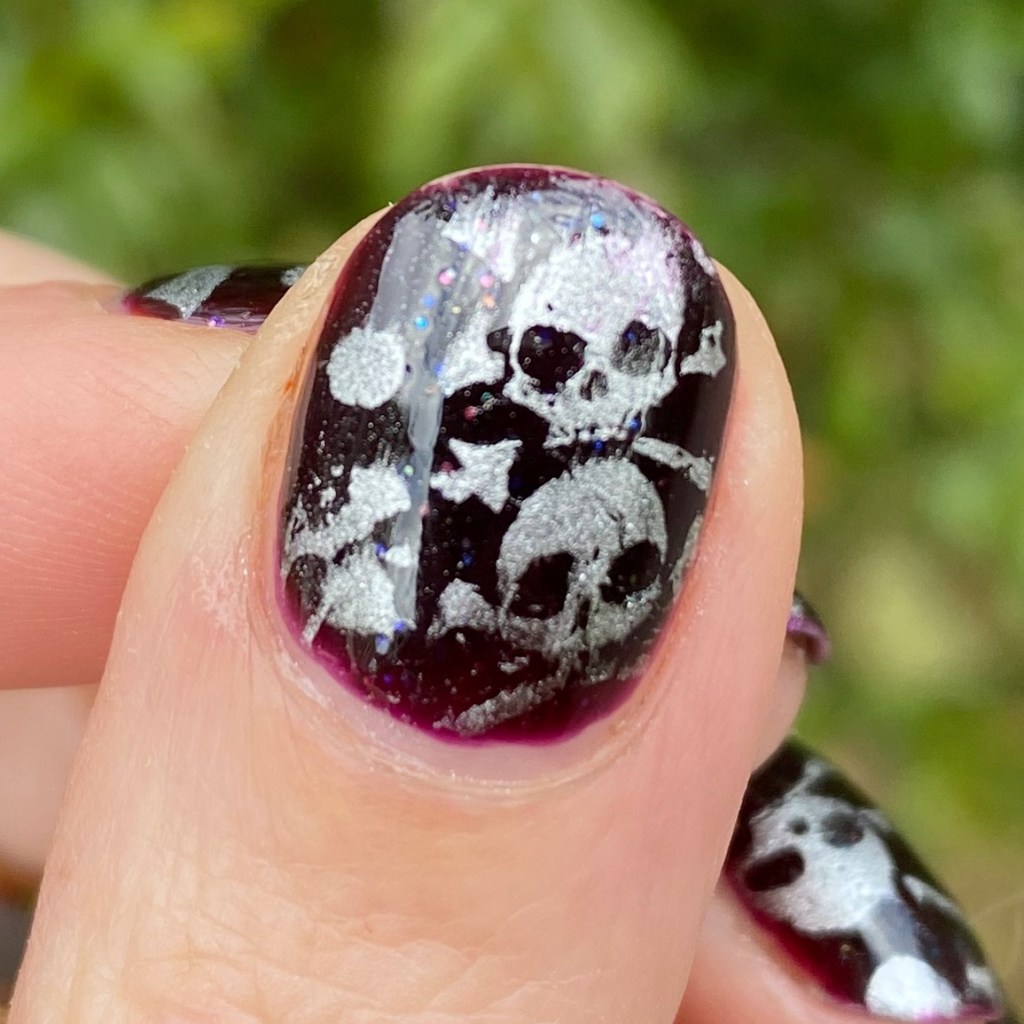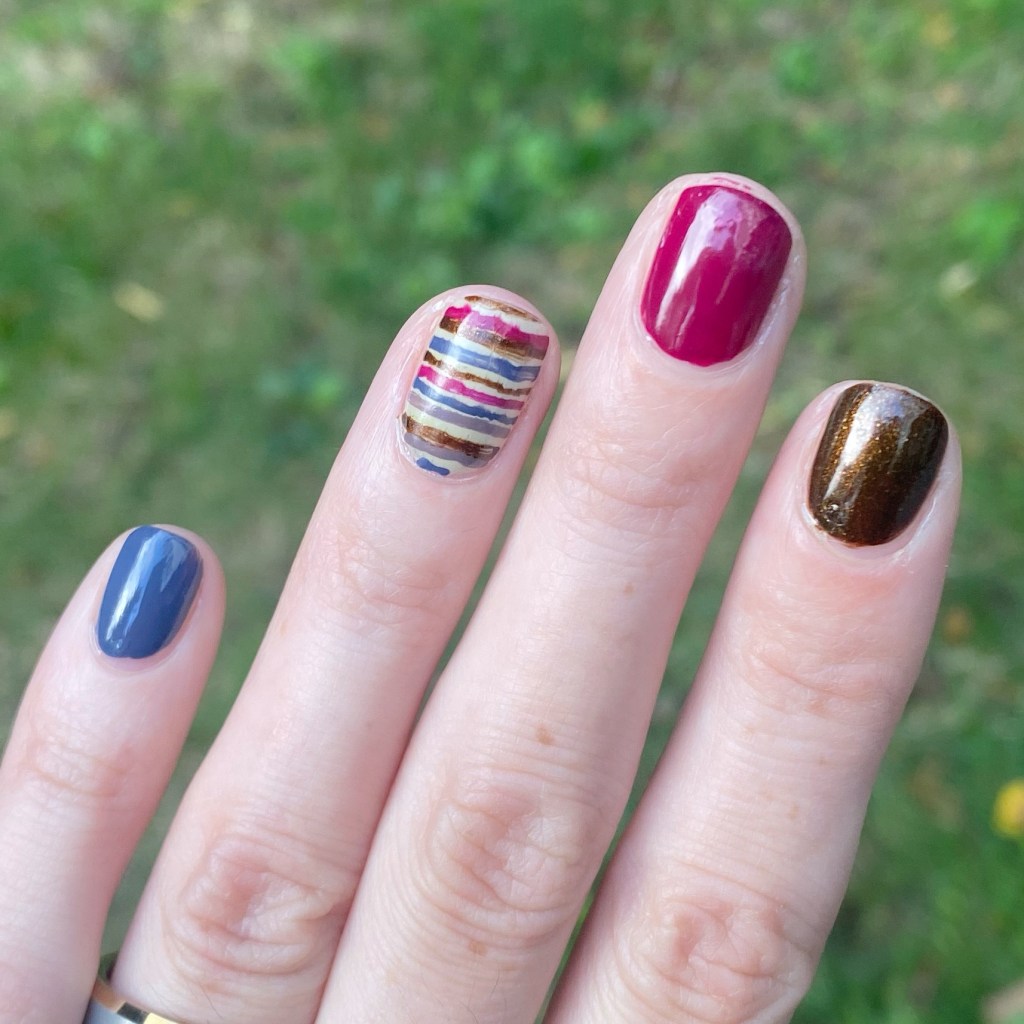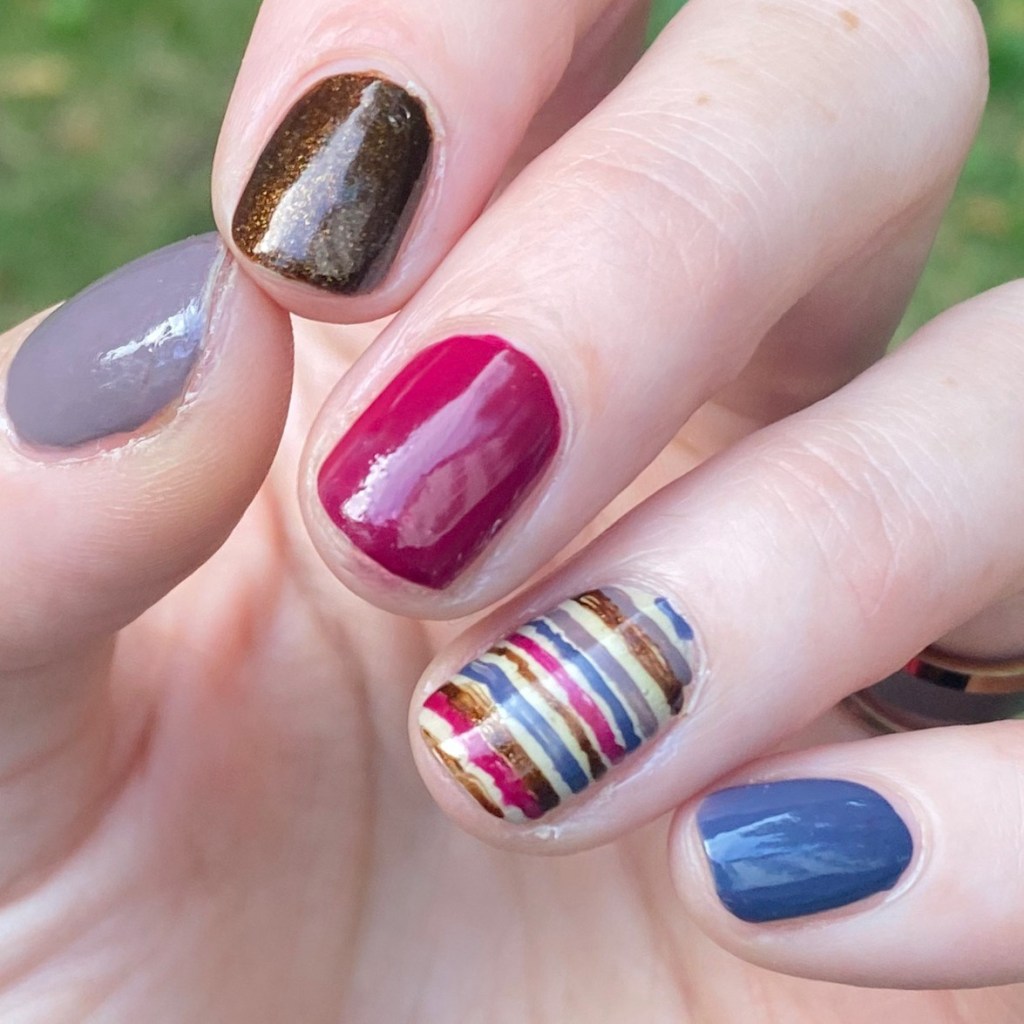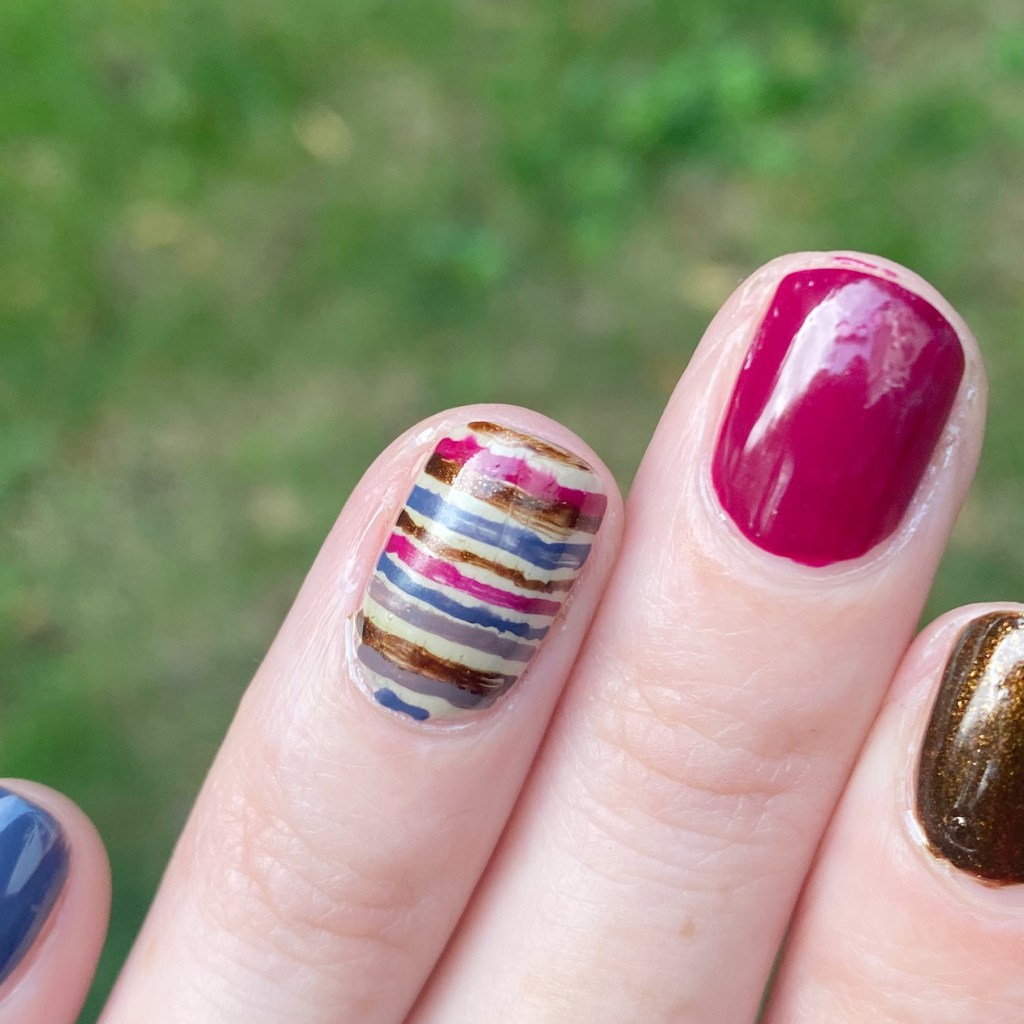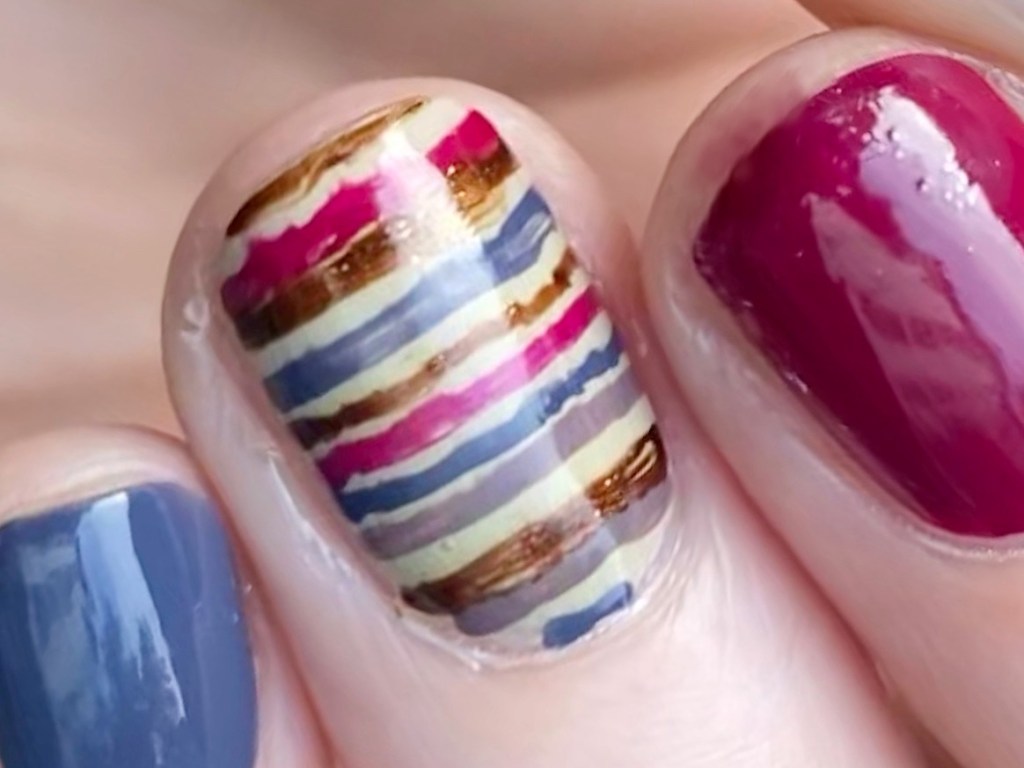
Messy Skittle Stripe Accent Nail

Hey beauties & happy Friday! It’s crazy, & rainy, & a lot right now. But Autumn is in the air, the kids are back to school, all the coffee shops are releasing their Autumn menu — we’re featuring a spicy iced chai latte right now with pumpkin cold foam at my cafe — & I’m about ready to break out my faux Doc Martens & over the knee socks.

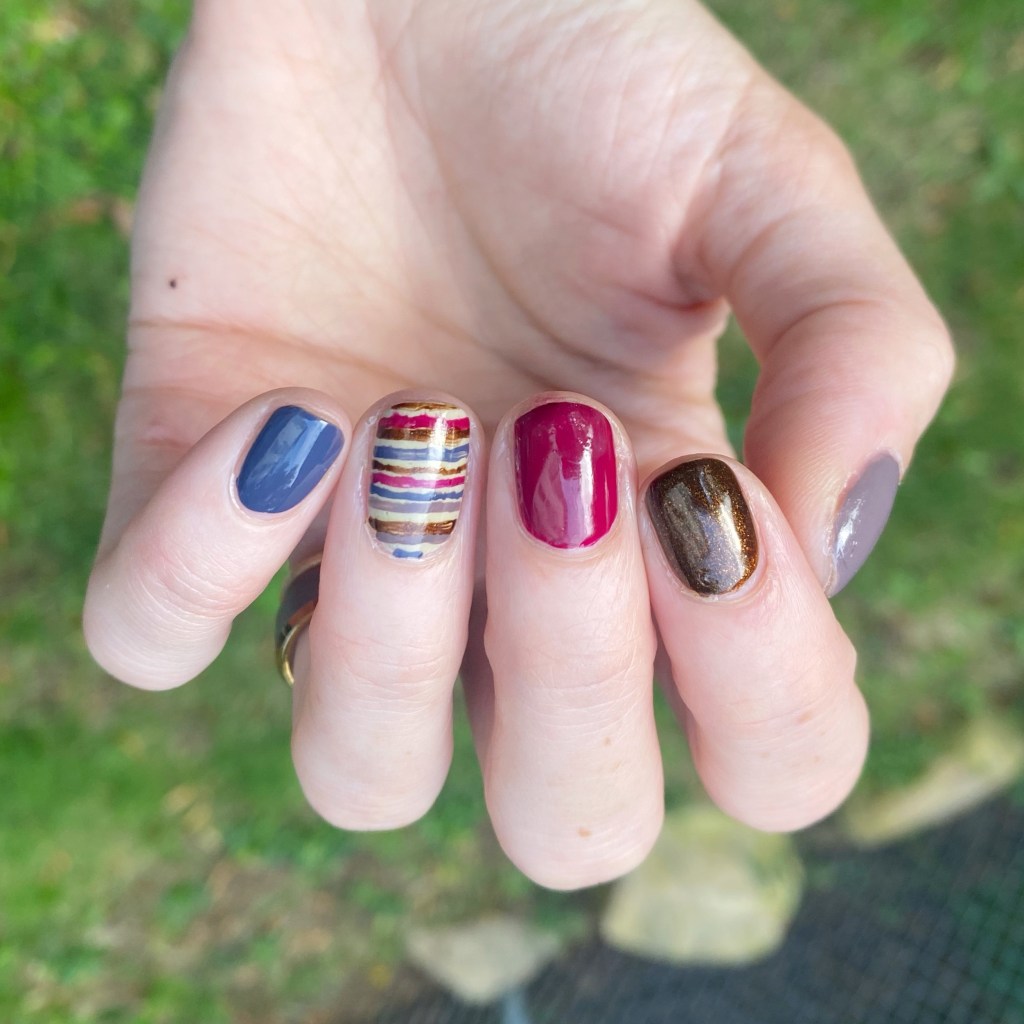
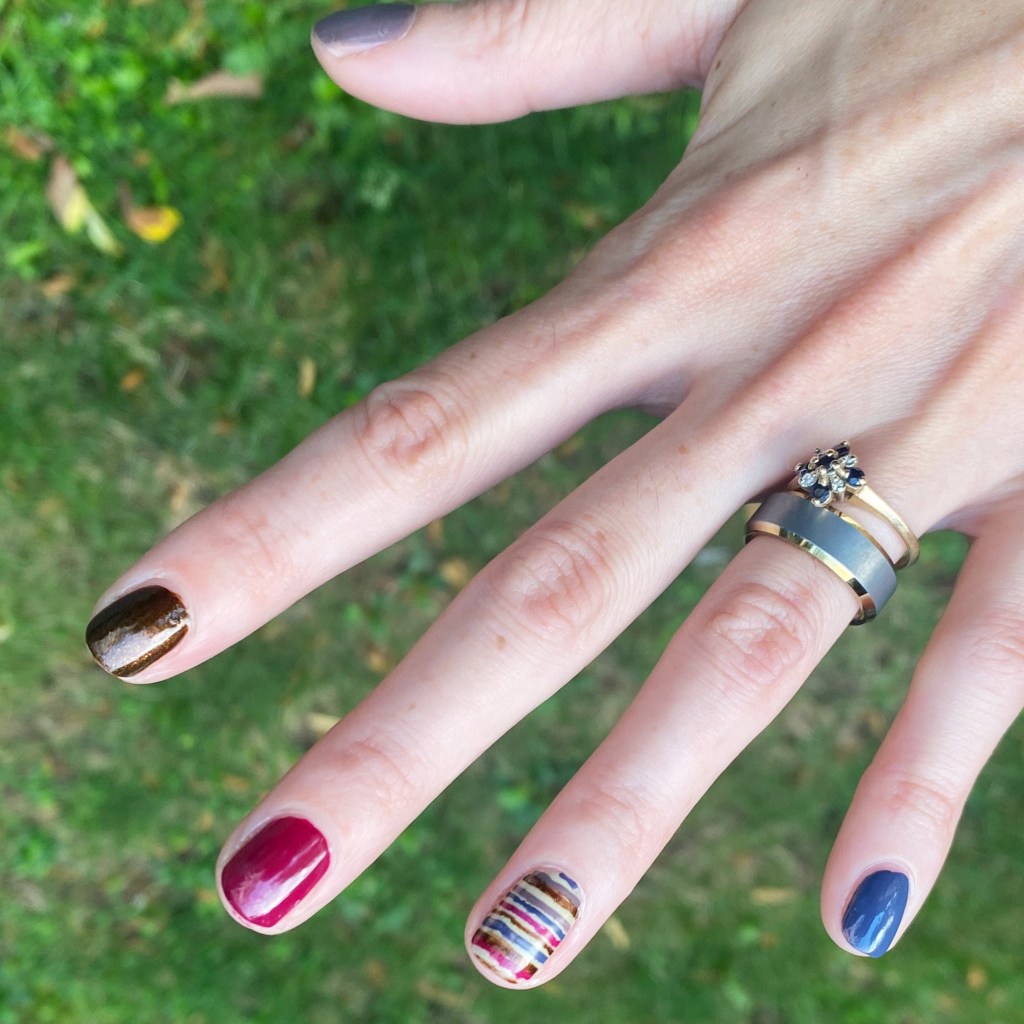
I’m also just loving Autumn shades on my nails. I decided I really wanted to do a skittle design, but with a little twist. & I love this combination of colours! I feel like it turned out really, really fun… even with some seriously rustic stripes.

The polishes I used for this manicure are: 

  • Base Coat: Essie Hard To Resist Strengthner
  • Top Coat: Sinful Colors Power Paint Top Coat + Essie Speed Setter
  • Essie Expressie Feel The Hype
  • Essie Cacti On The Prize
  • Morgan Taylor Looking For A Wing Man
  • ORLY Buried Alive
  • Color Club Grey (No Name)
  • NailStuff 7mm Mermaid Tail Liner Brush

So when I did these nails at first, I was a bit uncertain about how they looked. But that happens sometimes, & I’m definitely in love with how they look now. & I think all the different colours look beautiful & complimentary.

What do you think about this messy strip look? It’s definitely a little rustic, but like I said… I ended up really liking the whole look.

I’d love to know what you think about this design. Let me know all your thoughts down in the comments below!

Happy Friday ♥︎

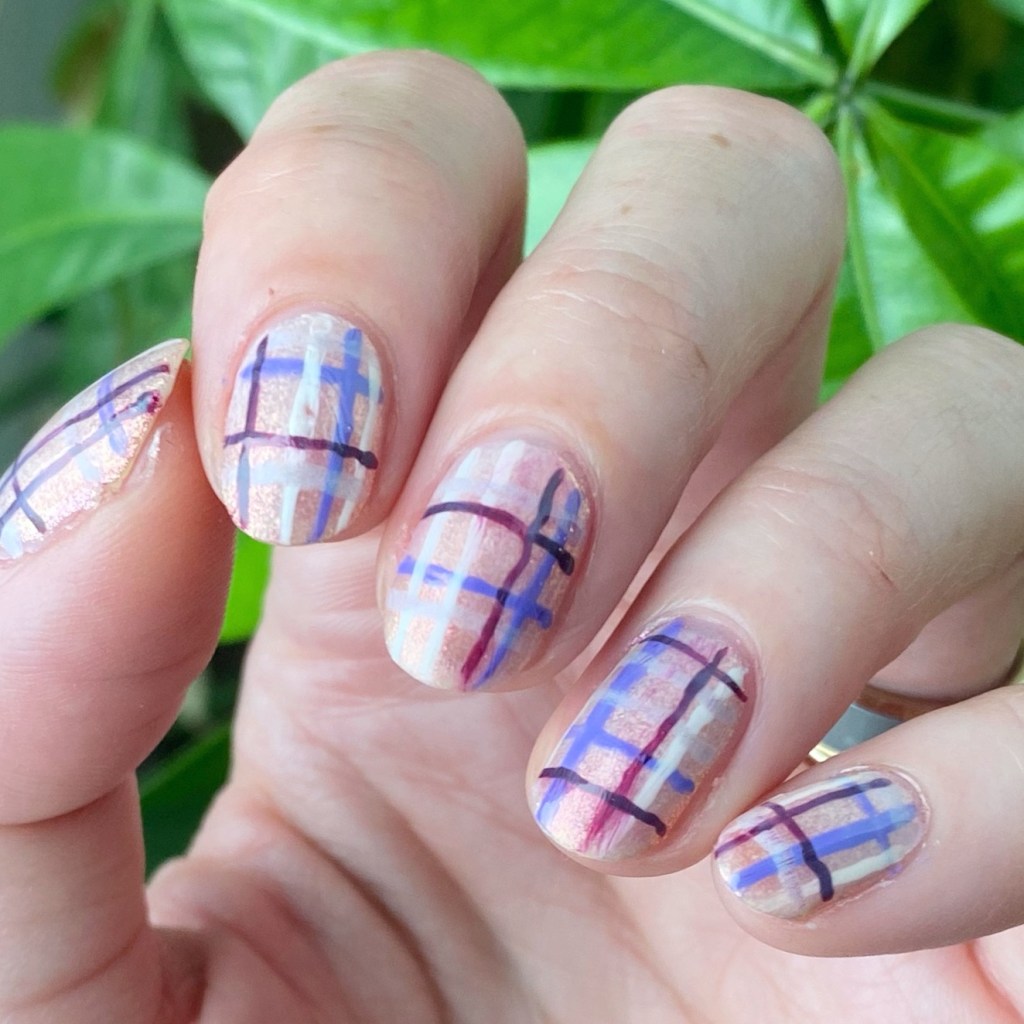
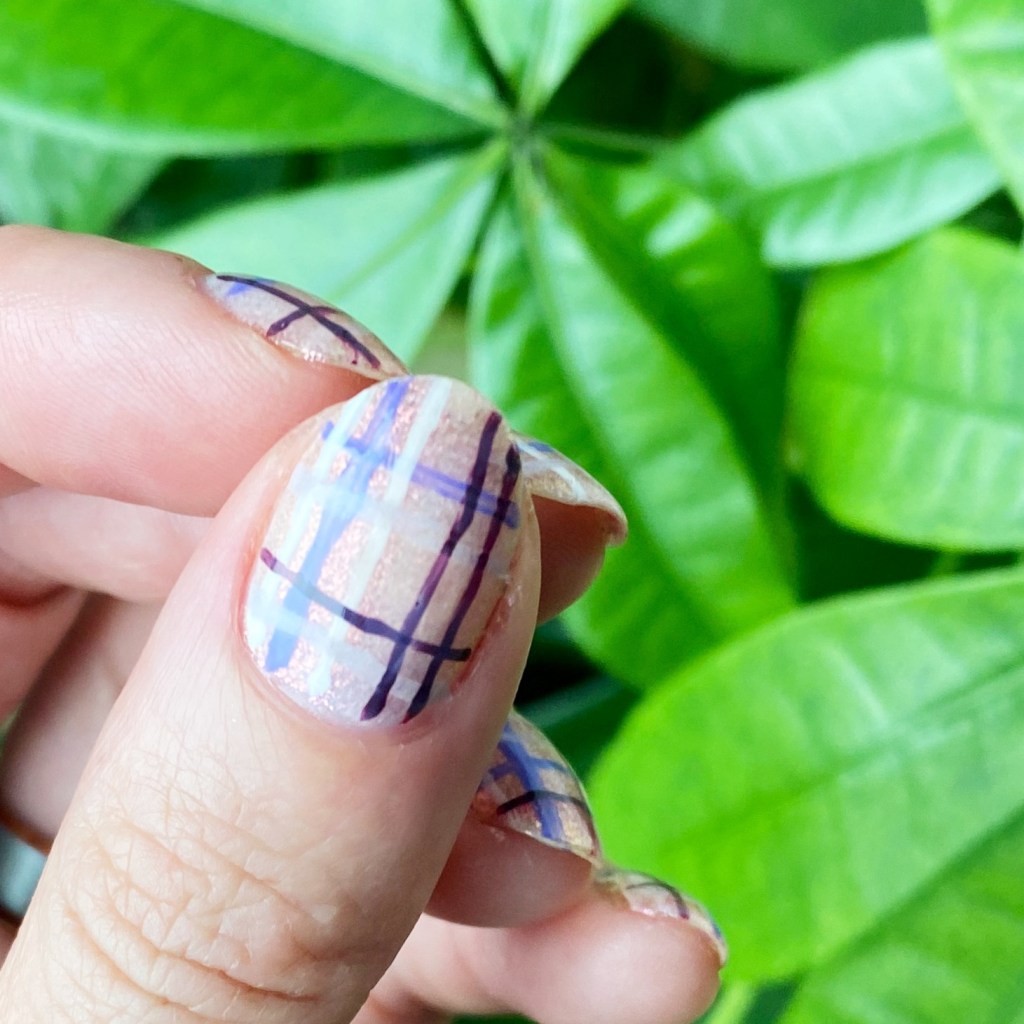
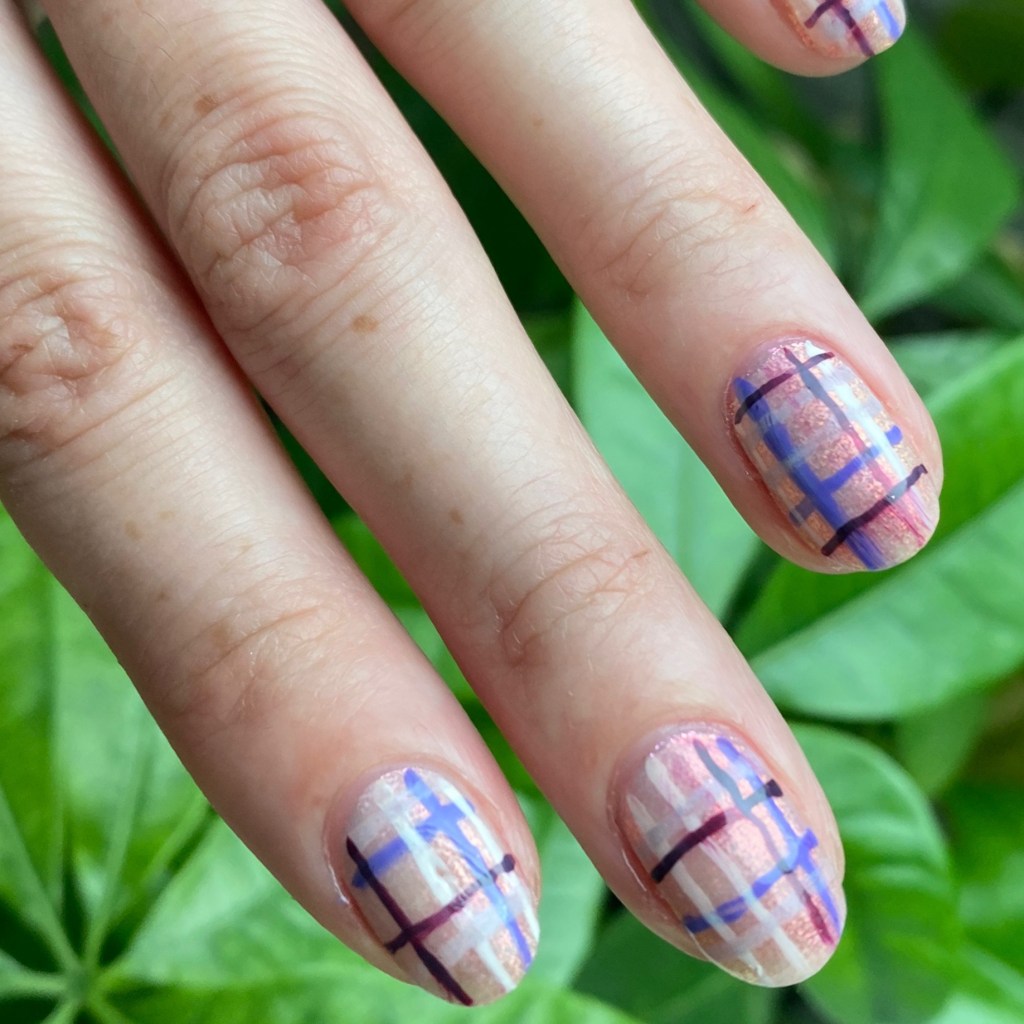
August Plaid Nails

Hello lovelies & happy August!

This Summer has been speeding by at record speed, & it’s been a busy one at that. I’ve still been painting my nails, but mostly solid colours. & I really miss nail art. So I’m going to make a conscious effort to create some fun nail art looks, even if it’s not at the same frequency I used to do.

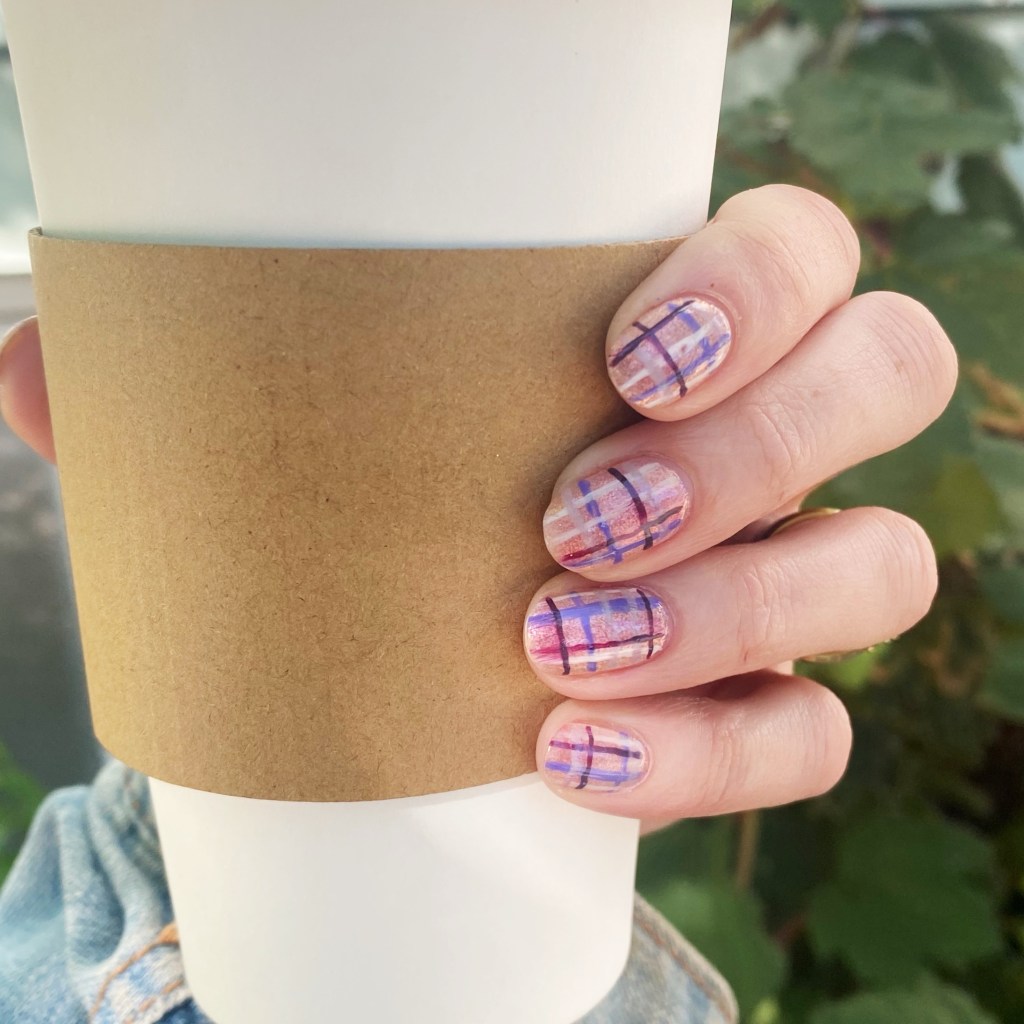
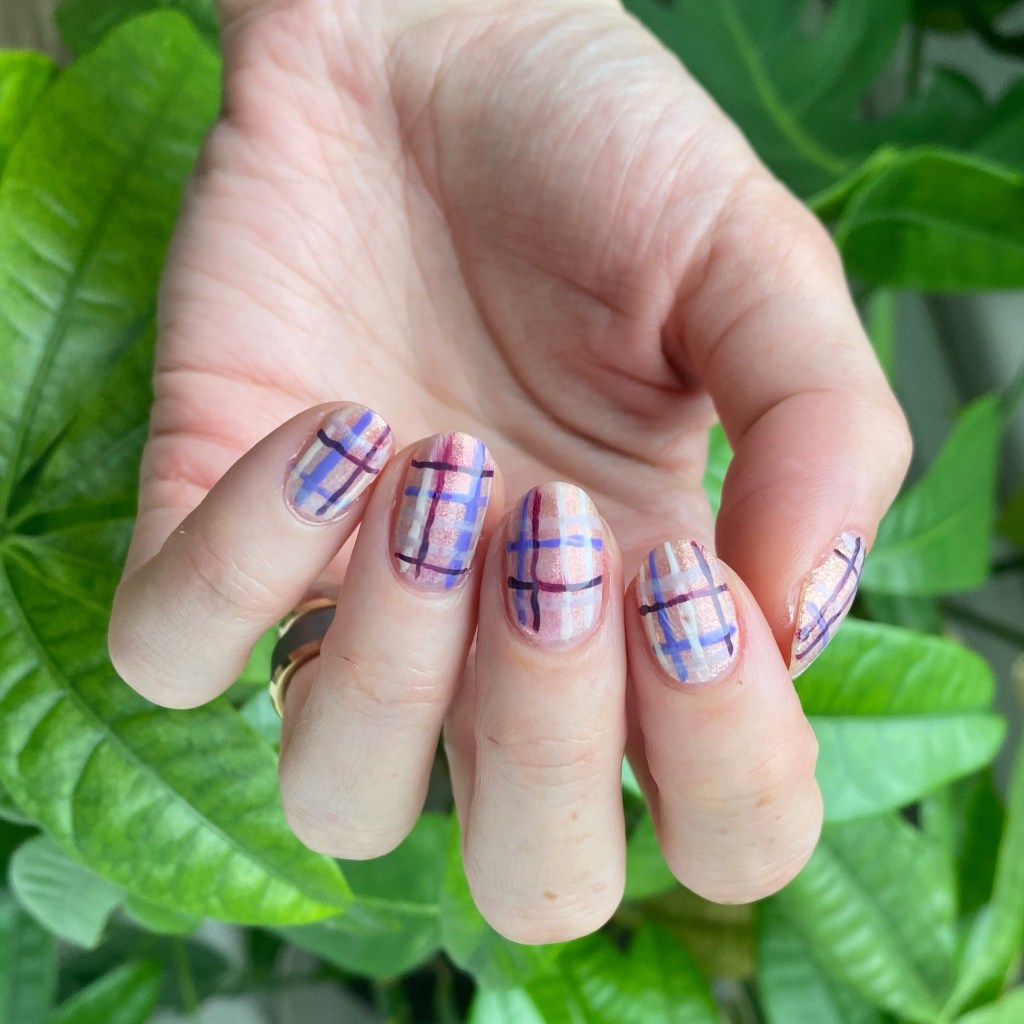
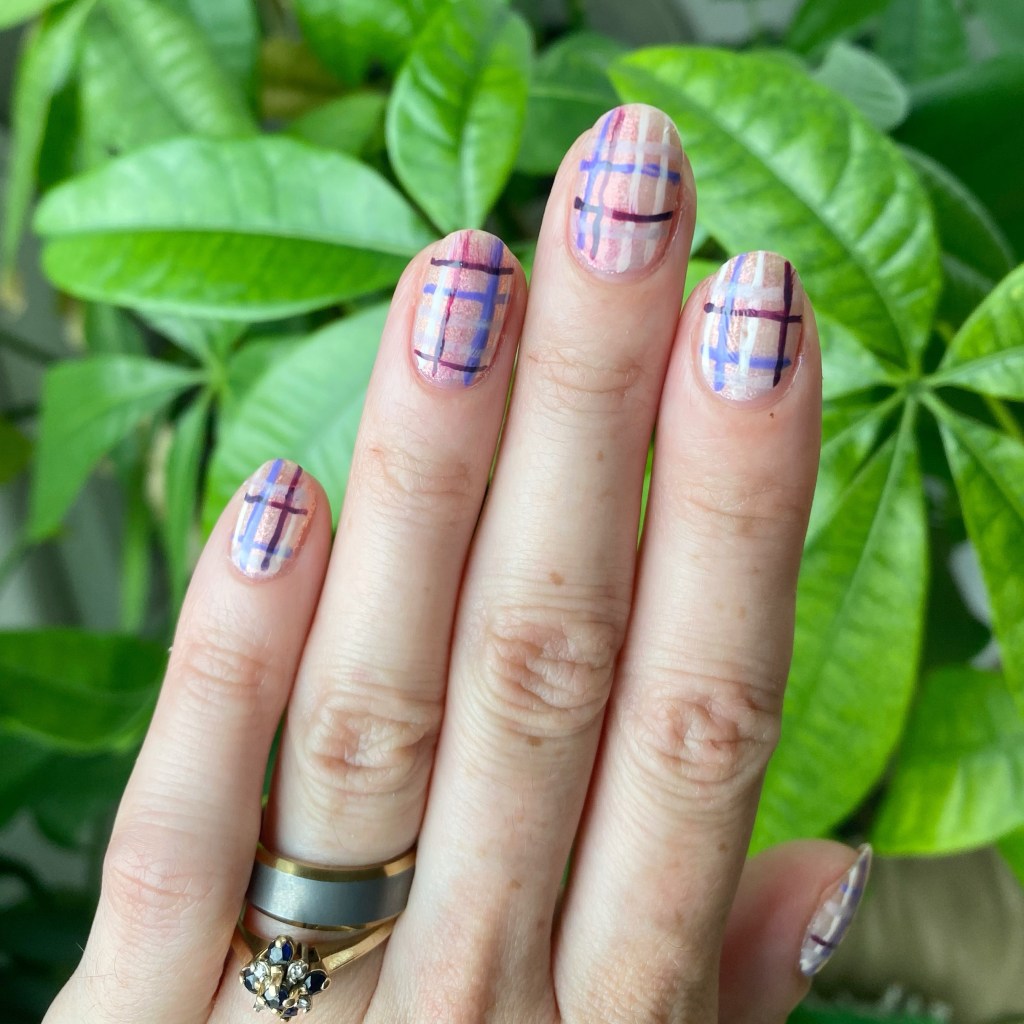
& I absolutely love this nail art look. Obviously, being August I can hear the faint call of Autumn — but I’m trying to stay in the Summer moment. Hence a fun plaid look, but with a bit of Summer feel.

The polishes I used for this manicure are: 

  • Base Coat: Essie Hard To Resist Strengthner
  • Top Coat: Sinful Colors Power Paint Top Coat + Essie Speed Setter
  • Color Club Totally Inno-cent
  • Color Club Pucci-licious
  • Color Club Twice Bitten
  • Londontown Opal
  • Orly Breathable Barely There
  • Wet n Wild 2% Milk
  • NailStuff.ca 16mm Striper Brush

To stay I’m obsessed with this look would be an understatement. The shimmery flakie base is really pretty, & I tried to choose lighter shades for my plaid stripes. I feel like this is the perfect melding of Summer vibes, with just a hint of Autumn on the breeze.

Are my lines perfect? No. But I’m trying to be okay with not being perfect with my nail art. It’s more fun when I’m not constantly stressing over how things look.

What do you think of these Summer-y plaid nails? Is this a nail art look that you could see yourself wearing? Let me know all your thoughts on this nail art look, & what you think of how they turned out!

Happy Thursday.

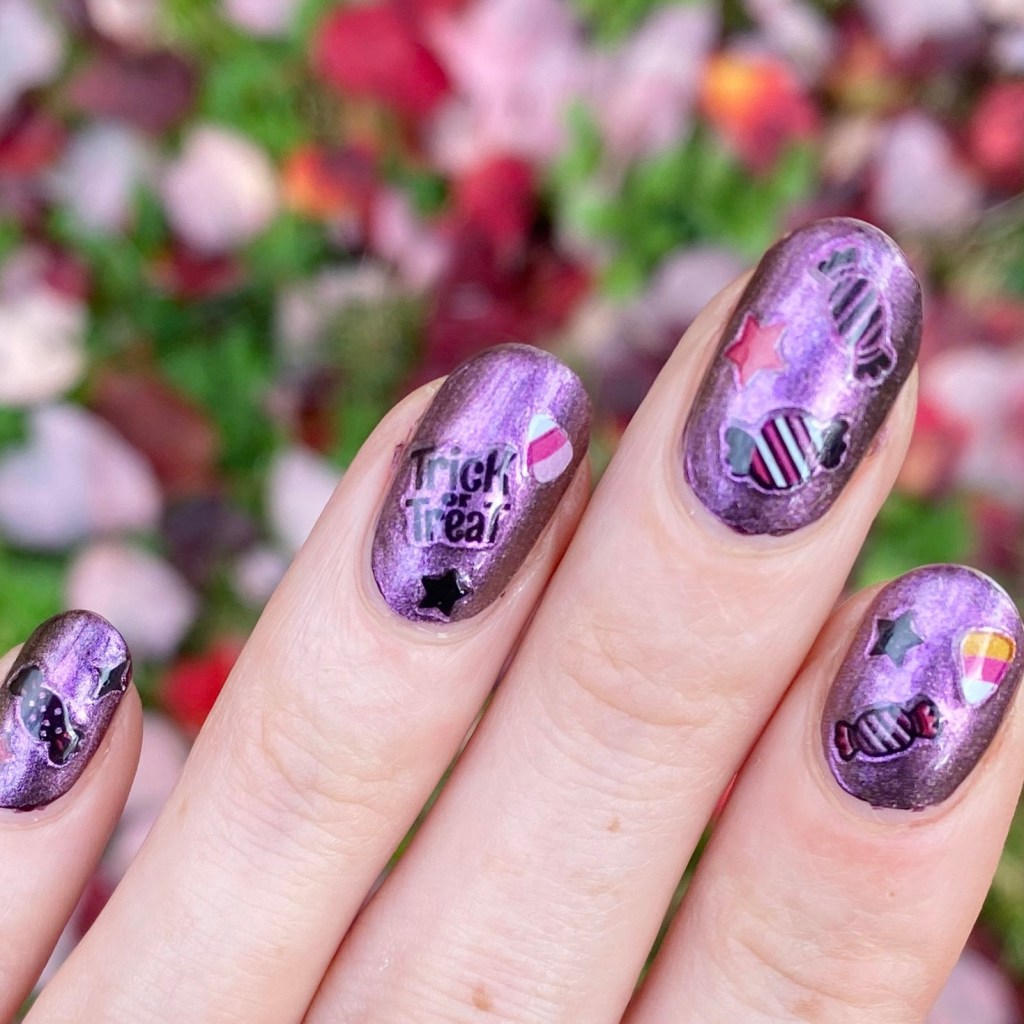
GLAM NAILS CHALLENGE OCTOBER 2025 — Trick or Treat 👻 🍬

Hello lovelies & happy Wednesday! Can you believe we are only 9 days away from Halloween? Where the heck has this month gone?! It also means we only have 3 prompts of Glam Nails Challenge October to go before the end of the month. I’ve absolutely enjoyed jumping back into these month challenges, & I’m excited to finish up this month & start planning for my nail art for the rest of the year!

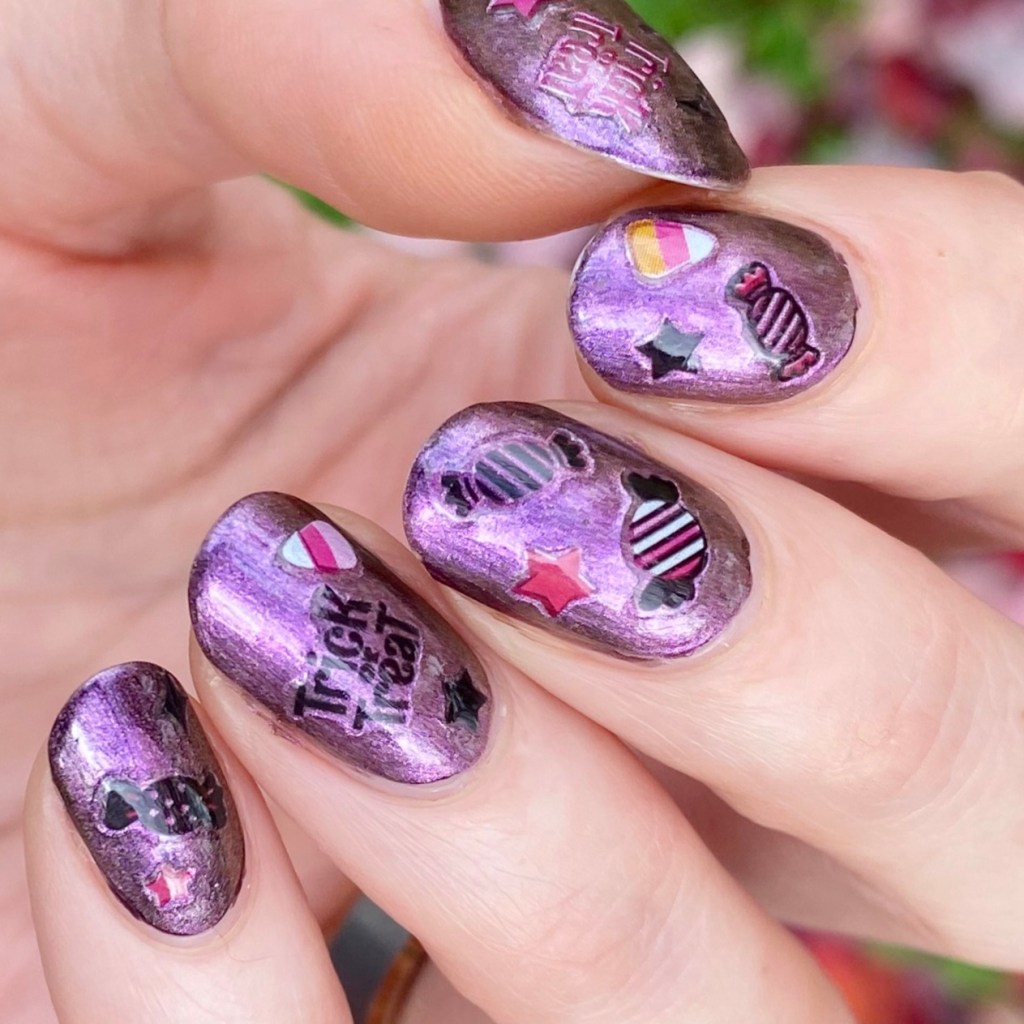
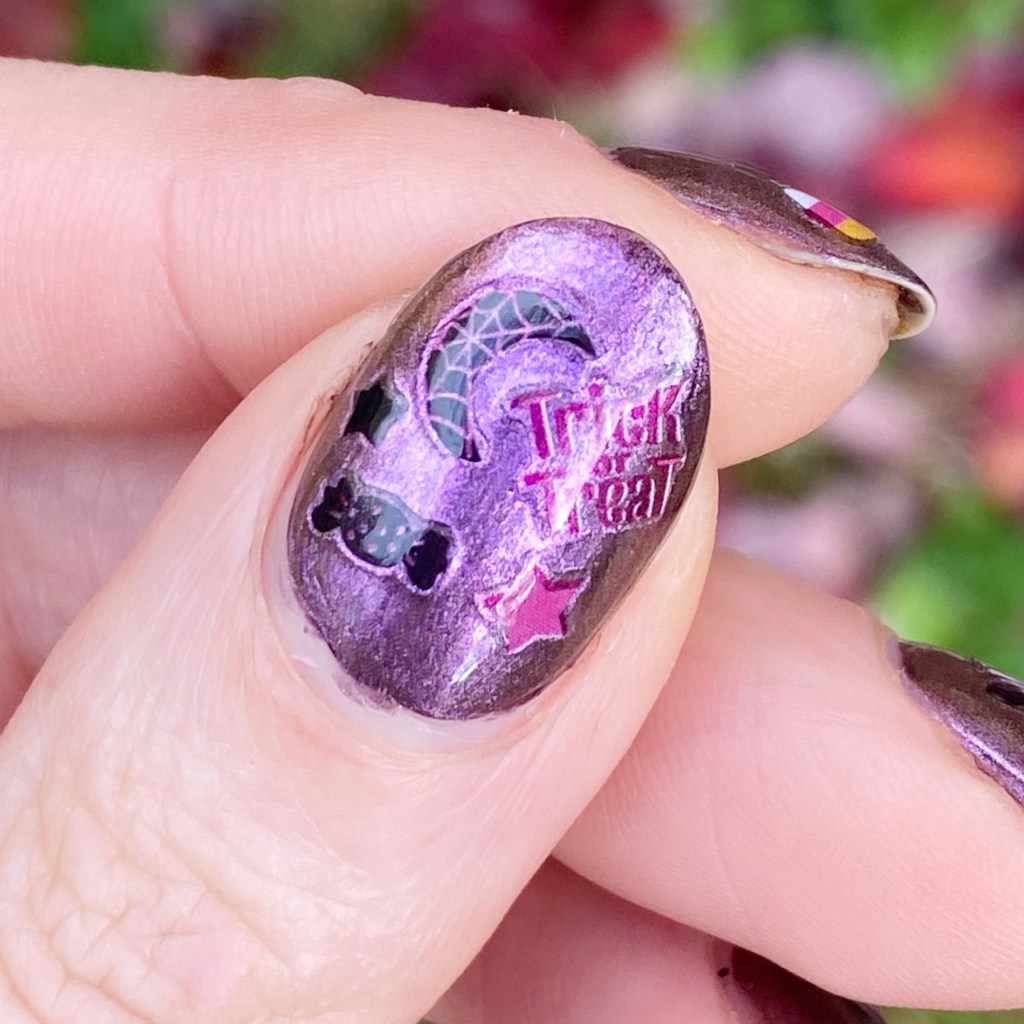
Today’s prompt is Trick or Treat, which is such an ambiguous prompt. But, I did pick up those Wet n Wild Fantasy Makers nail art stickers & there was some fun candy stickers, plus a few that say Trick or Treat. So I instantly knew that they would be perfect for this particular prompt, & I couldn’t wait to use them again!

The polishes I used for this manicure are: 

  • Top Coat: Sally Hansen InstaDri Top Coat (red bottle) 
  • Base Coat: Essie Hard to Resist (purple)
  • Colour Club Purple Haze layered over OPI Lincoln Park After Dark
  • Wet n Wild Fantasy Makers Nail Art Stickers Trick Me, Treat Me style

How fun are these stickers? I know I said it in my previous post featuring them (my birthday nails), but I just love these stickers. I will definitely say though — you want to apply these stickers after your base is fully dry. I had a much better application this time with a manicure that was done the night previously, as opposed to a base that was still tacky & wet. They sit much flatter on the nail, & I think look much smoother as well.

What do you think about my fun Trick or Treat design for this prompt of Glam Nails Challenge October? Do you love these cute Halloween nail art stickers? I purchased my sheet at Shoppers Drug Mart for $7.99 CAD, but I have also seen them available at Walmart in previous years. I kind of wish I had also purchased the other style of stickers (with cute little Ghost Face stickers) but when I went back to find them, they were already sold out at my local store.

Happy Wednesday loves!

♥︎

Pretty Floral Bouquet Nails

Hello lovelies & happy Wednesday! I hope everyone is enjoying their week so far — & if things are feeling rough right now, I hope at least you have a little bit of calm in your life to sooth those moments.

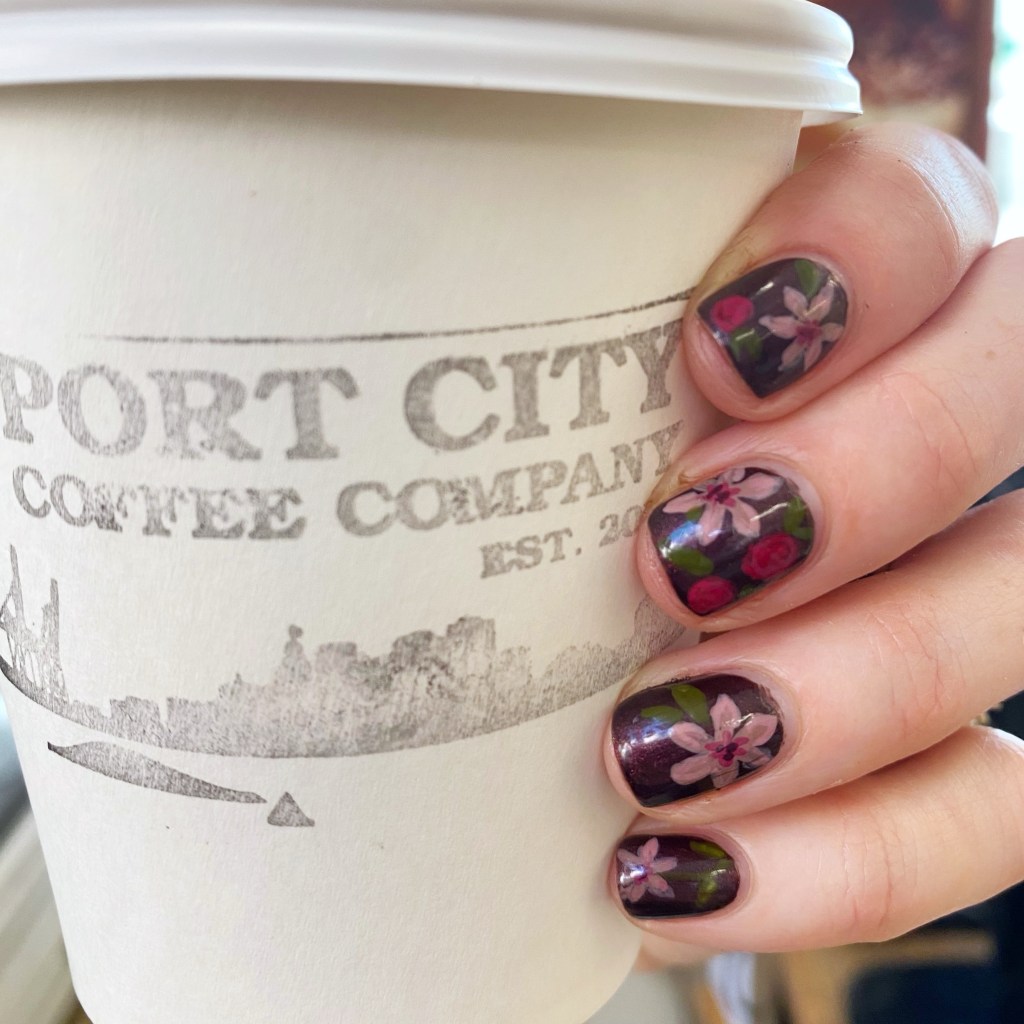
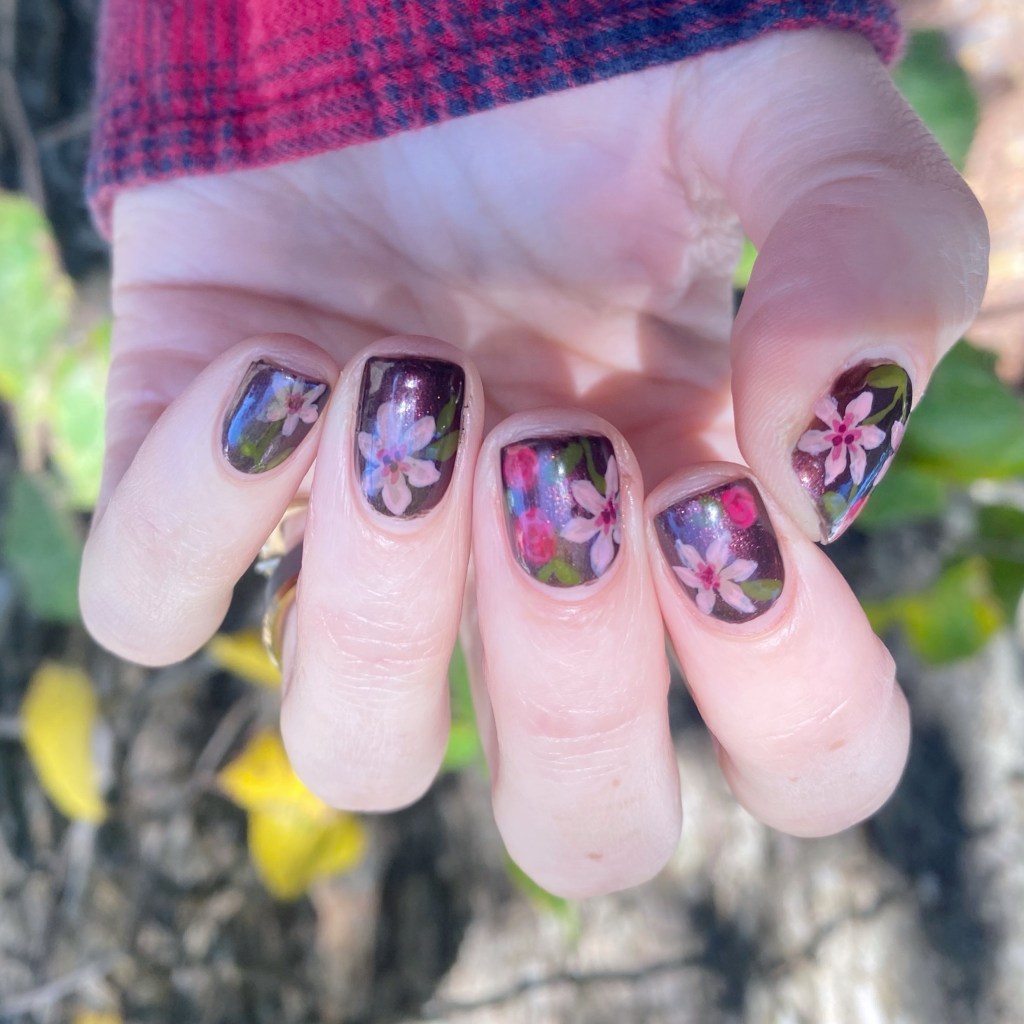
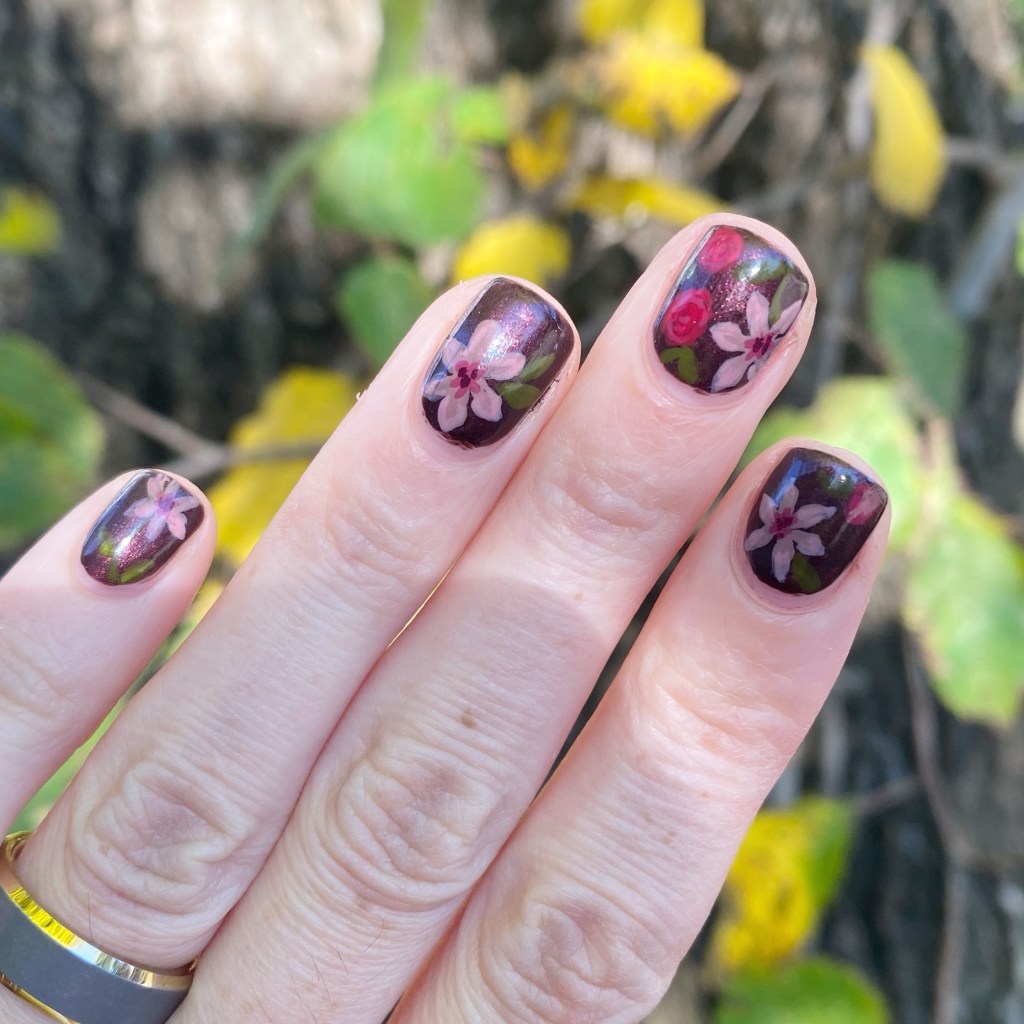
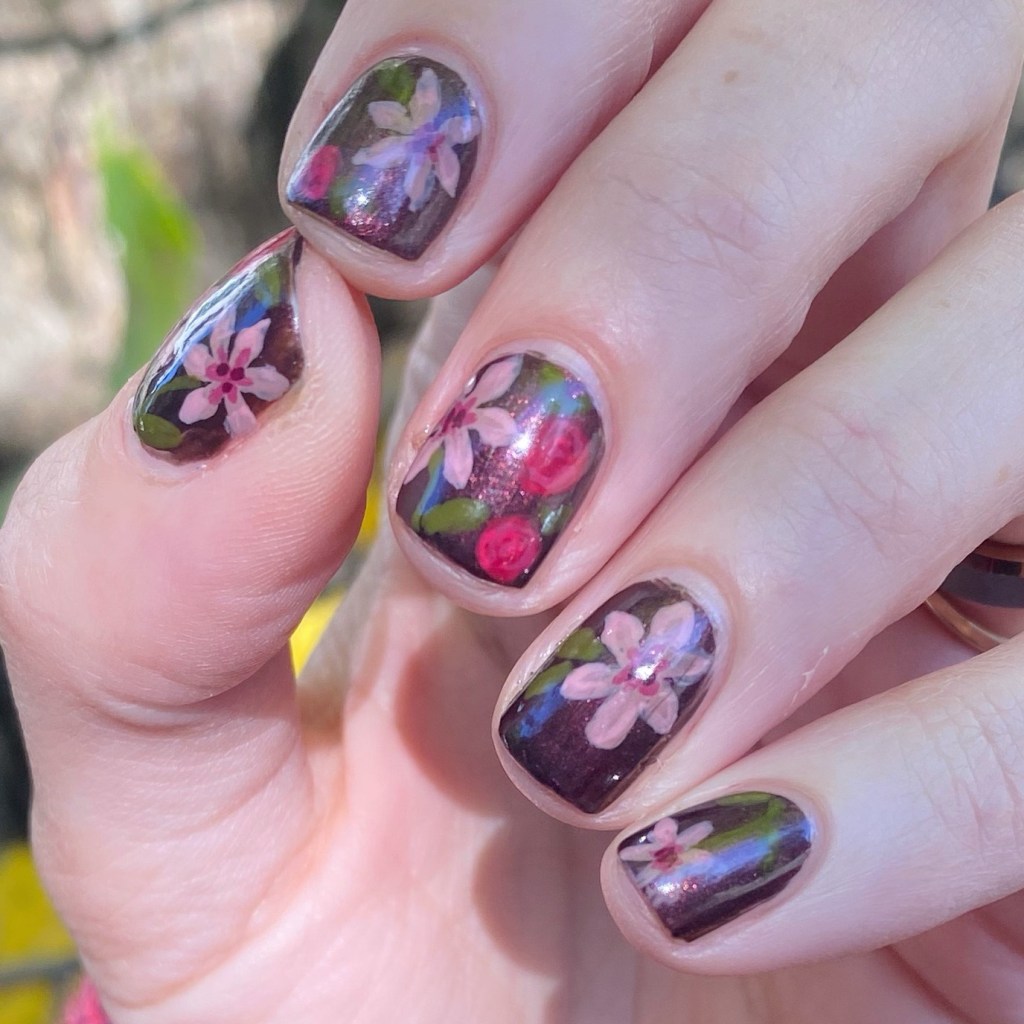
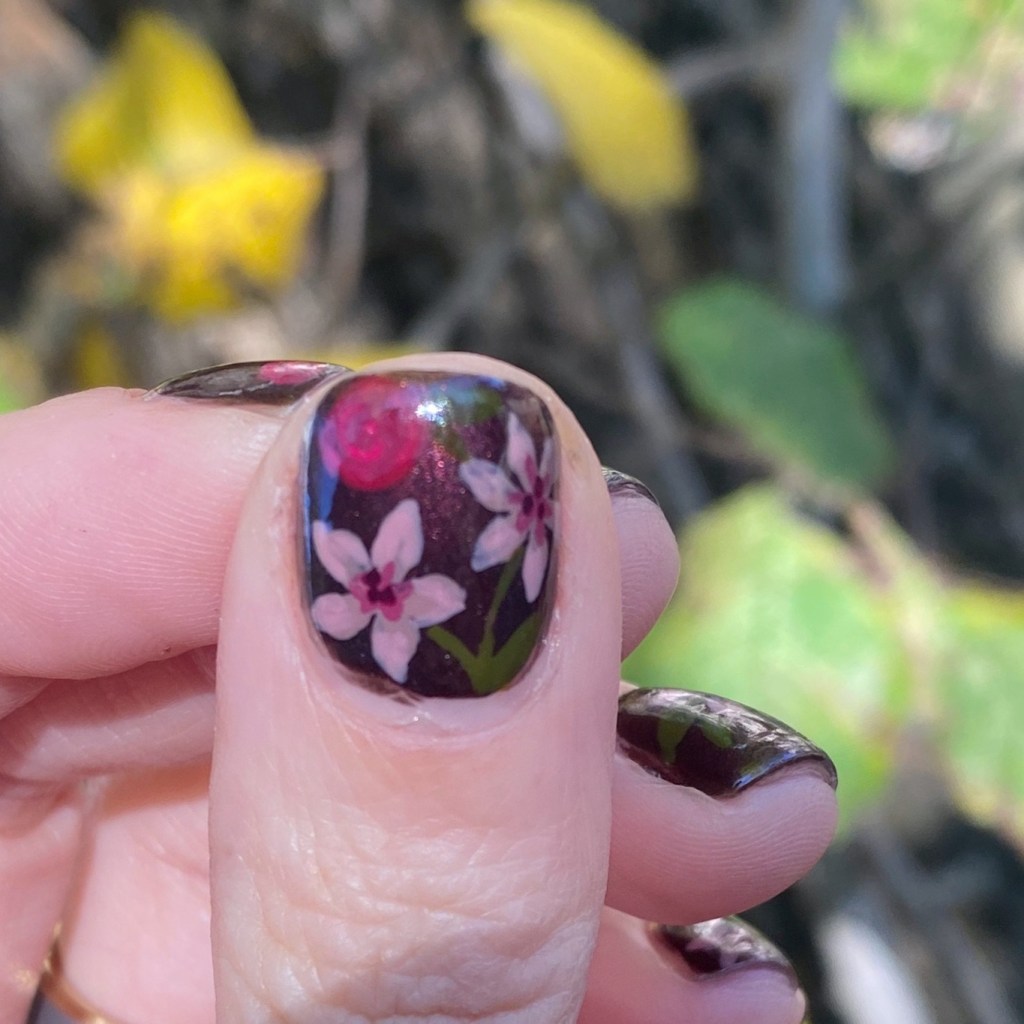
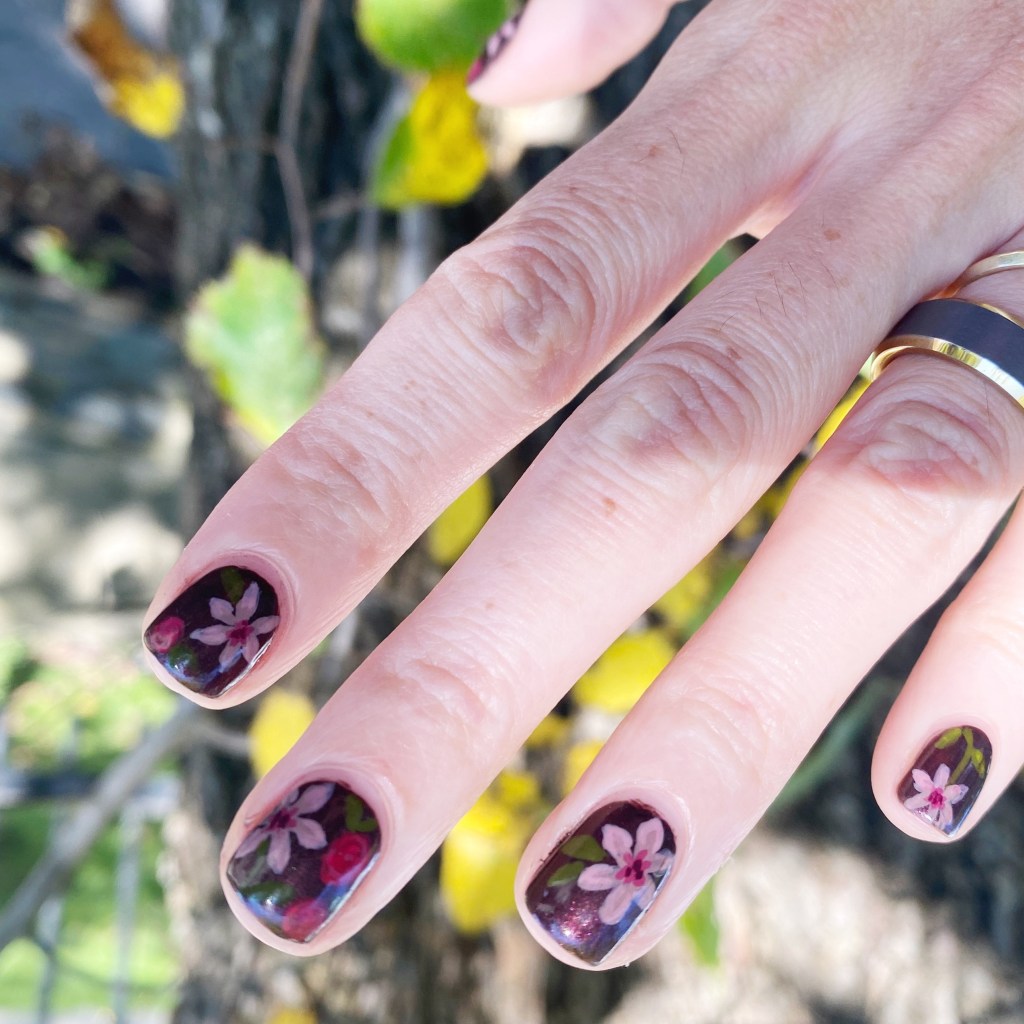
Today I’m excited to share off some pretty floral nails I did recently. After a bit of a nail art hiatus, I’m feeling good again about painting my nails — even if 95% of the nail I’ve been doing has been hand painted florals. Floral just makes me happy, so I’m going to keep wearing it.

Today’s look is especially pretty because I painted it over another beautiful holographic base shade. When the sun is shining, that just calls for all the holo!

The polishes I used for this manicure are: 

  • Top Coat: Essie Gel Couture Top Coat 
  • Base Coat: China Glaze Calcium Gel Fortifier
  • Sally Hansen InstaDri Euphoric
  • NailStuff.ca Holo Top Coat*
  • Color Club Pucci-licious
  • Butter London Coming Up Roses*
  • Essie Swoon in the Lagoon
  • Essie Set in Sandstone*
  • Essie Cute As A Button
  • Essie Wind in the Willow *
  • Essie Off Tropic *
  • Nailstuff.ca Mermaid Tail 7mm liner brush
  • NailStuff.ca Dotting Tool 

*pr/gifted

These were a bit time consuming to paint, but the end result was totally worth it. I absolutely love the bright floral over the super shiny holographic base. It was exactly how I was hoping it would turn out, & I couldn’t be happier with it.

I just love floral nails so much.

What do you think of this beautiful floral bouquet nails? Do you think it looks pretty over such a holographic base? Let me know all your thoughts down in the comments below, & if you’re enjoying all the floral nails I’ve been sharing.

Happy Wednesday

♥︎

Bright & Vibrant Colour Blocking

Hello lovelies & happy Wednesday! & Happy April! I hope everyone is having a great week so far — it’s been a very, very wet start to our week here, but hopefully that will encourage some beautiful Spring flowers to pop up in our garden.

The polishes I used for this manicure are: 

  • Top Coat: Essie Gel Couture Top Coat 
  • Base Coat: Essie Hard to Resist Advanced
  • ORLY Put The Top Down
  • Color Club Pucci-licious
  • Essie Bustling Bazaar
  • Quo by ORLY Black Striper
  • NailStuff.ca 16mm Striper Brush

I love a good negative space colour block look, but I usually only do it with 2 colours — so I thought I would add a 3rd to change things up a little bit. Plus these colours are so bright & vibrant & completely make me forget the mucky weather we’ve been having — & make me think of Spring & Summer days to come! (Just ignored the raindrops that fell on them while I was trying to take pictures.)

What do you think about these colour blocking nails? Are you a fan of this peek a boo negative space look that I have going on? Let me know all your thoughts down in the comments below! & let me know what you’re wearing on your nails right now.

🖤