Easy Navy & Neon Half Moons 

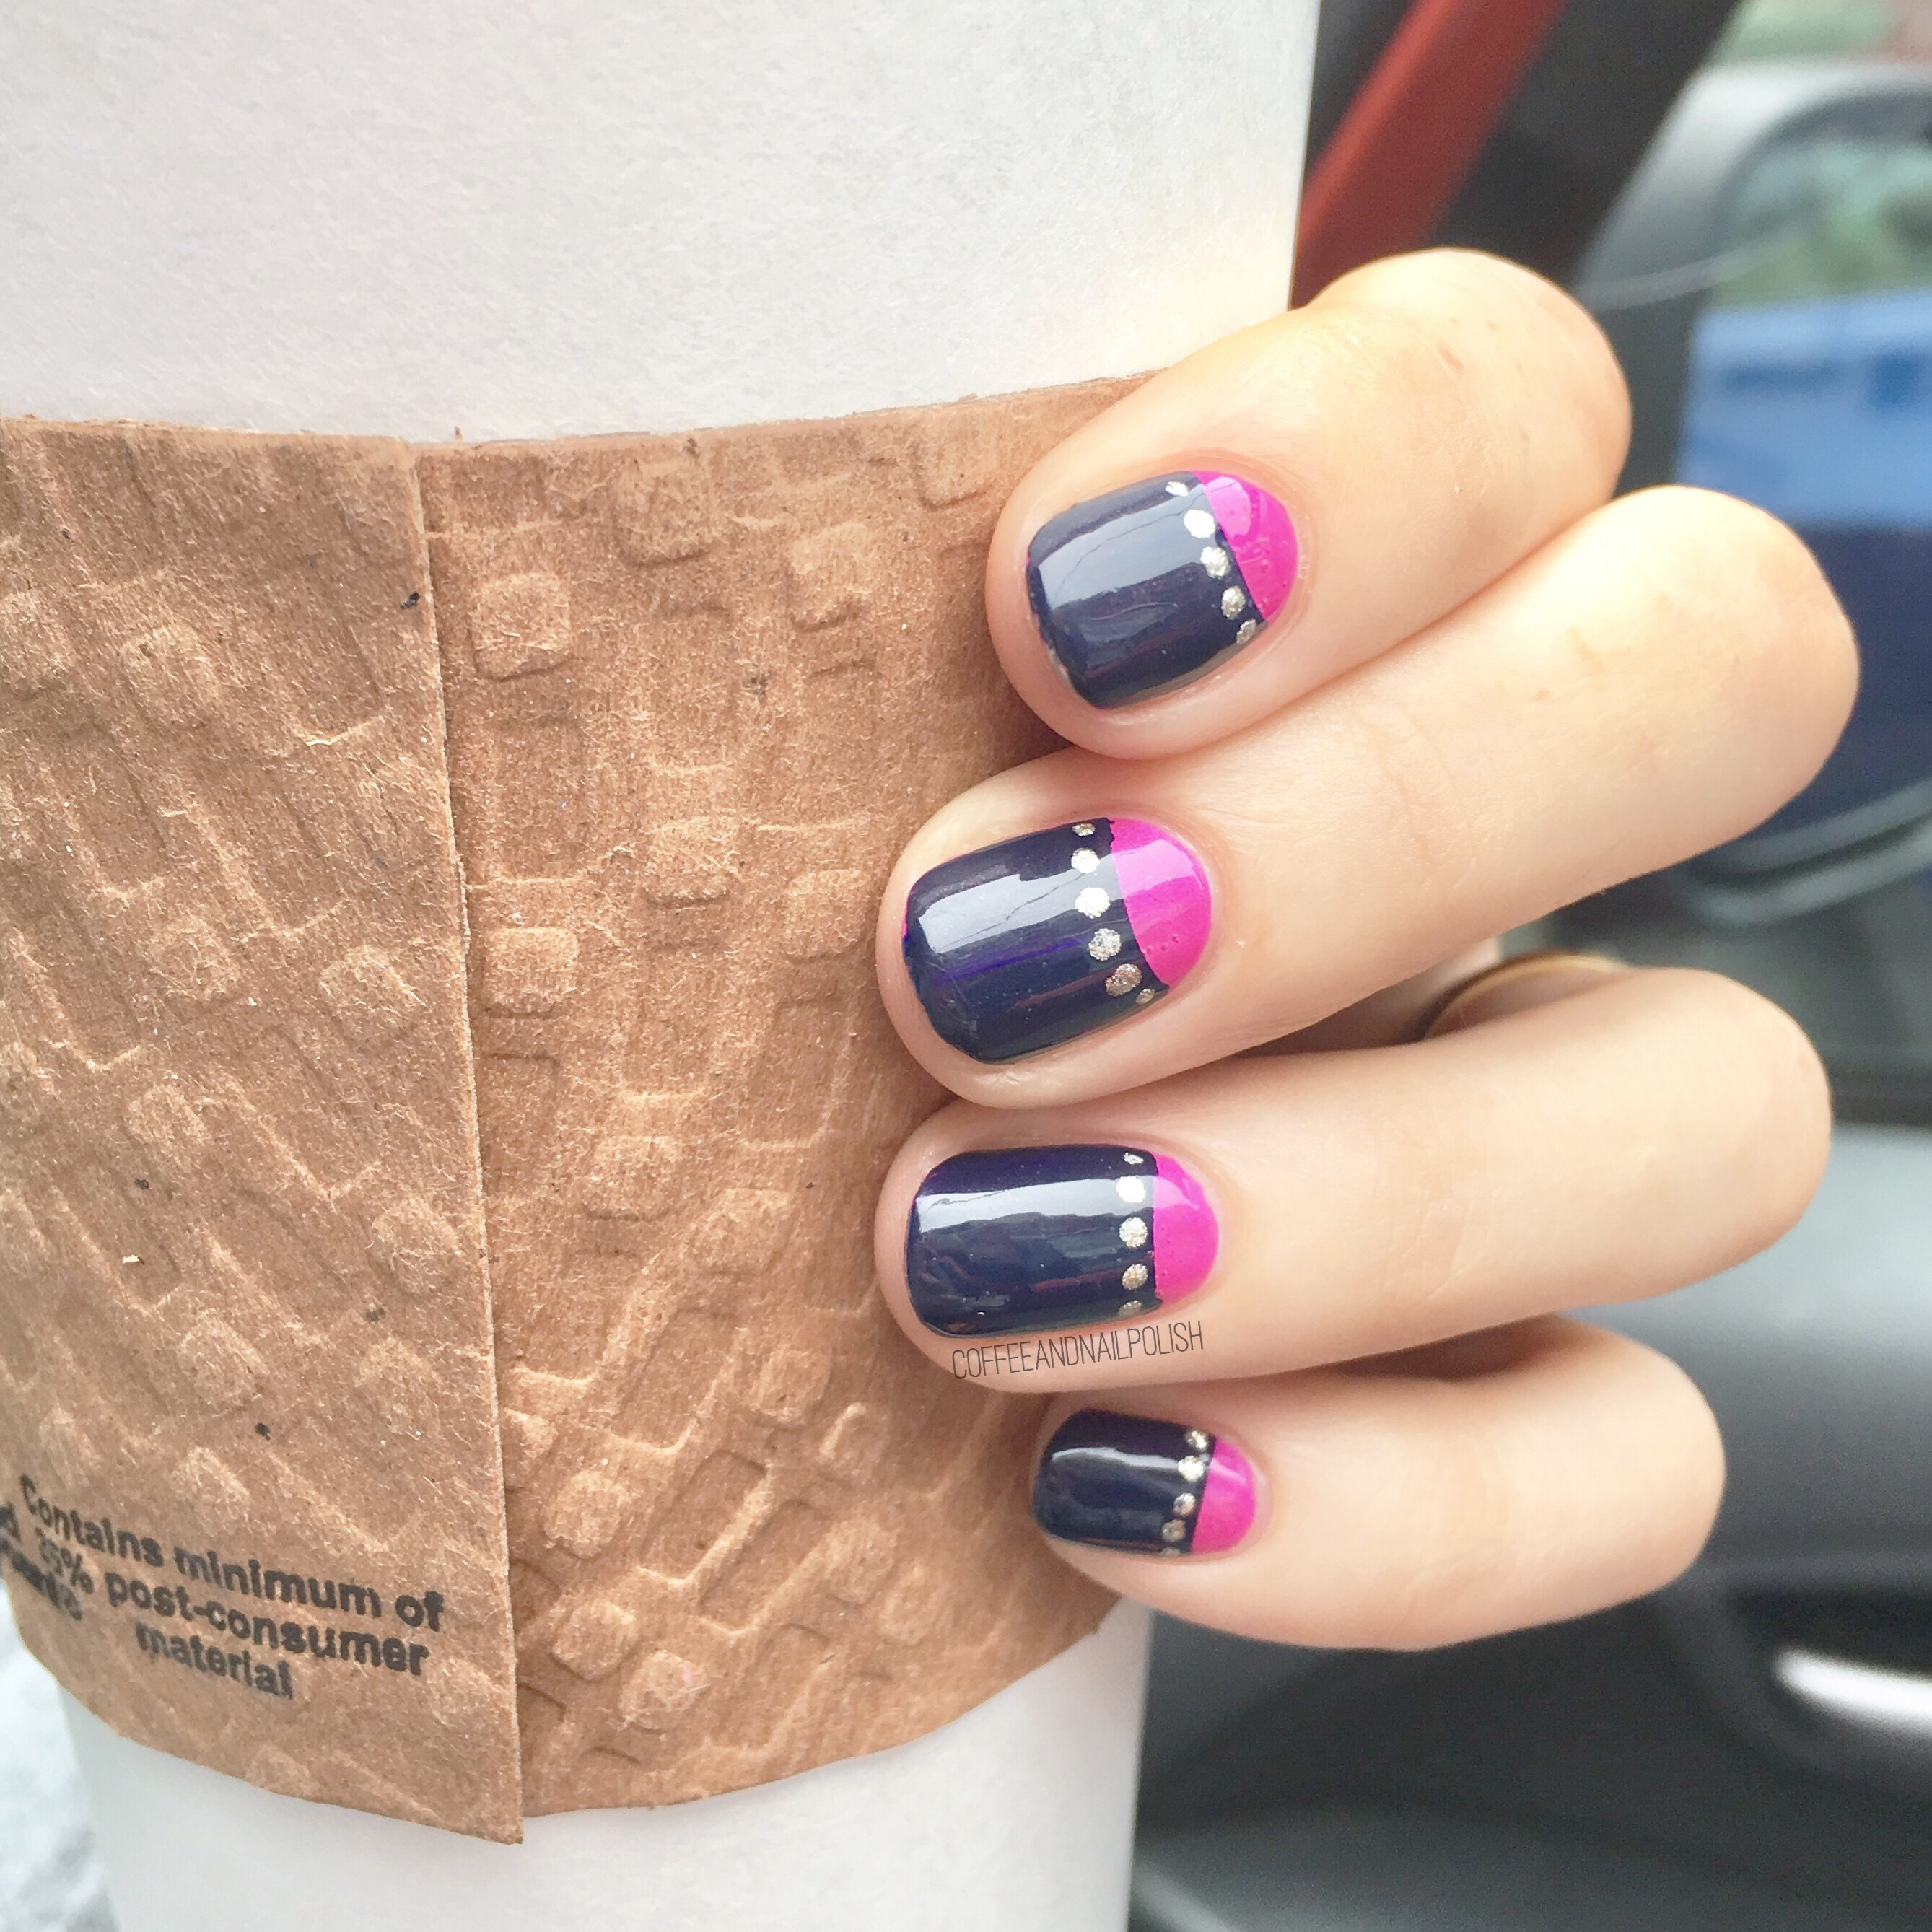
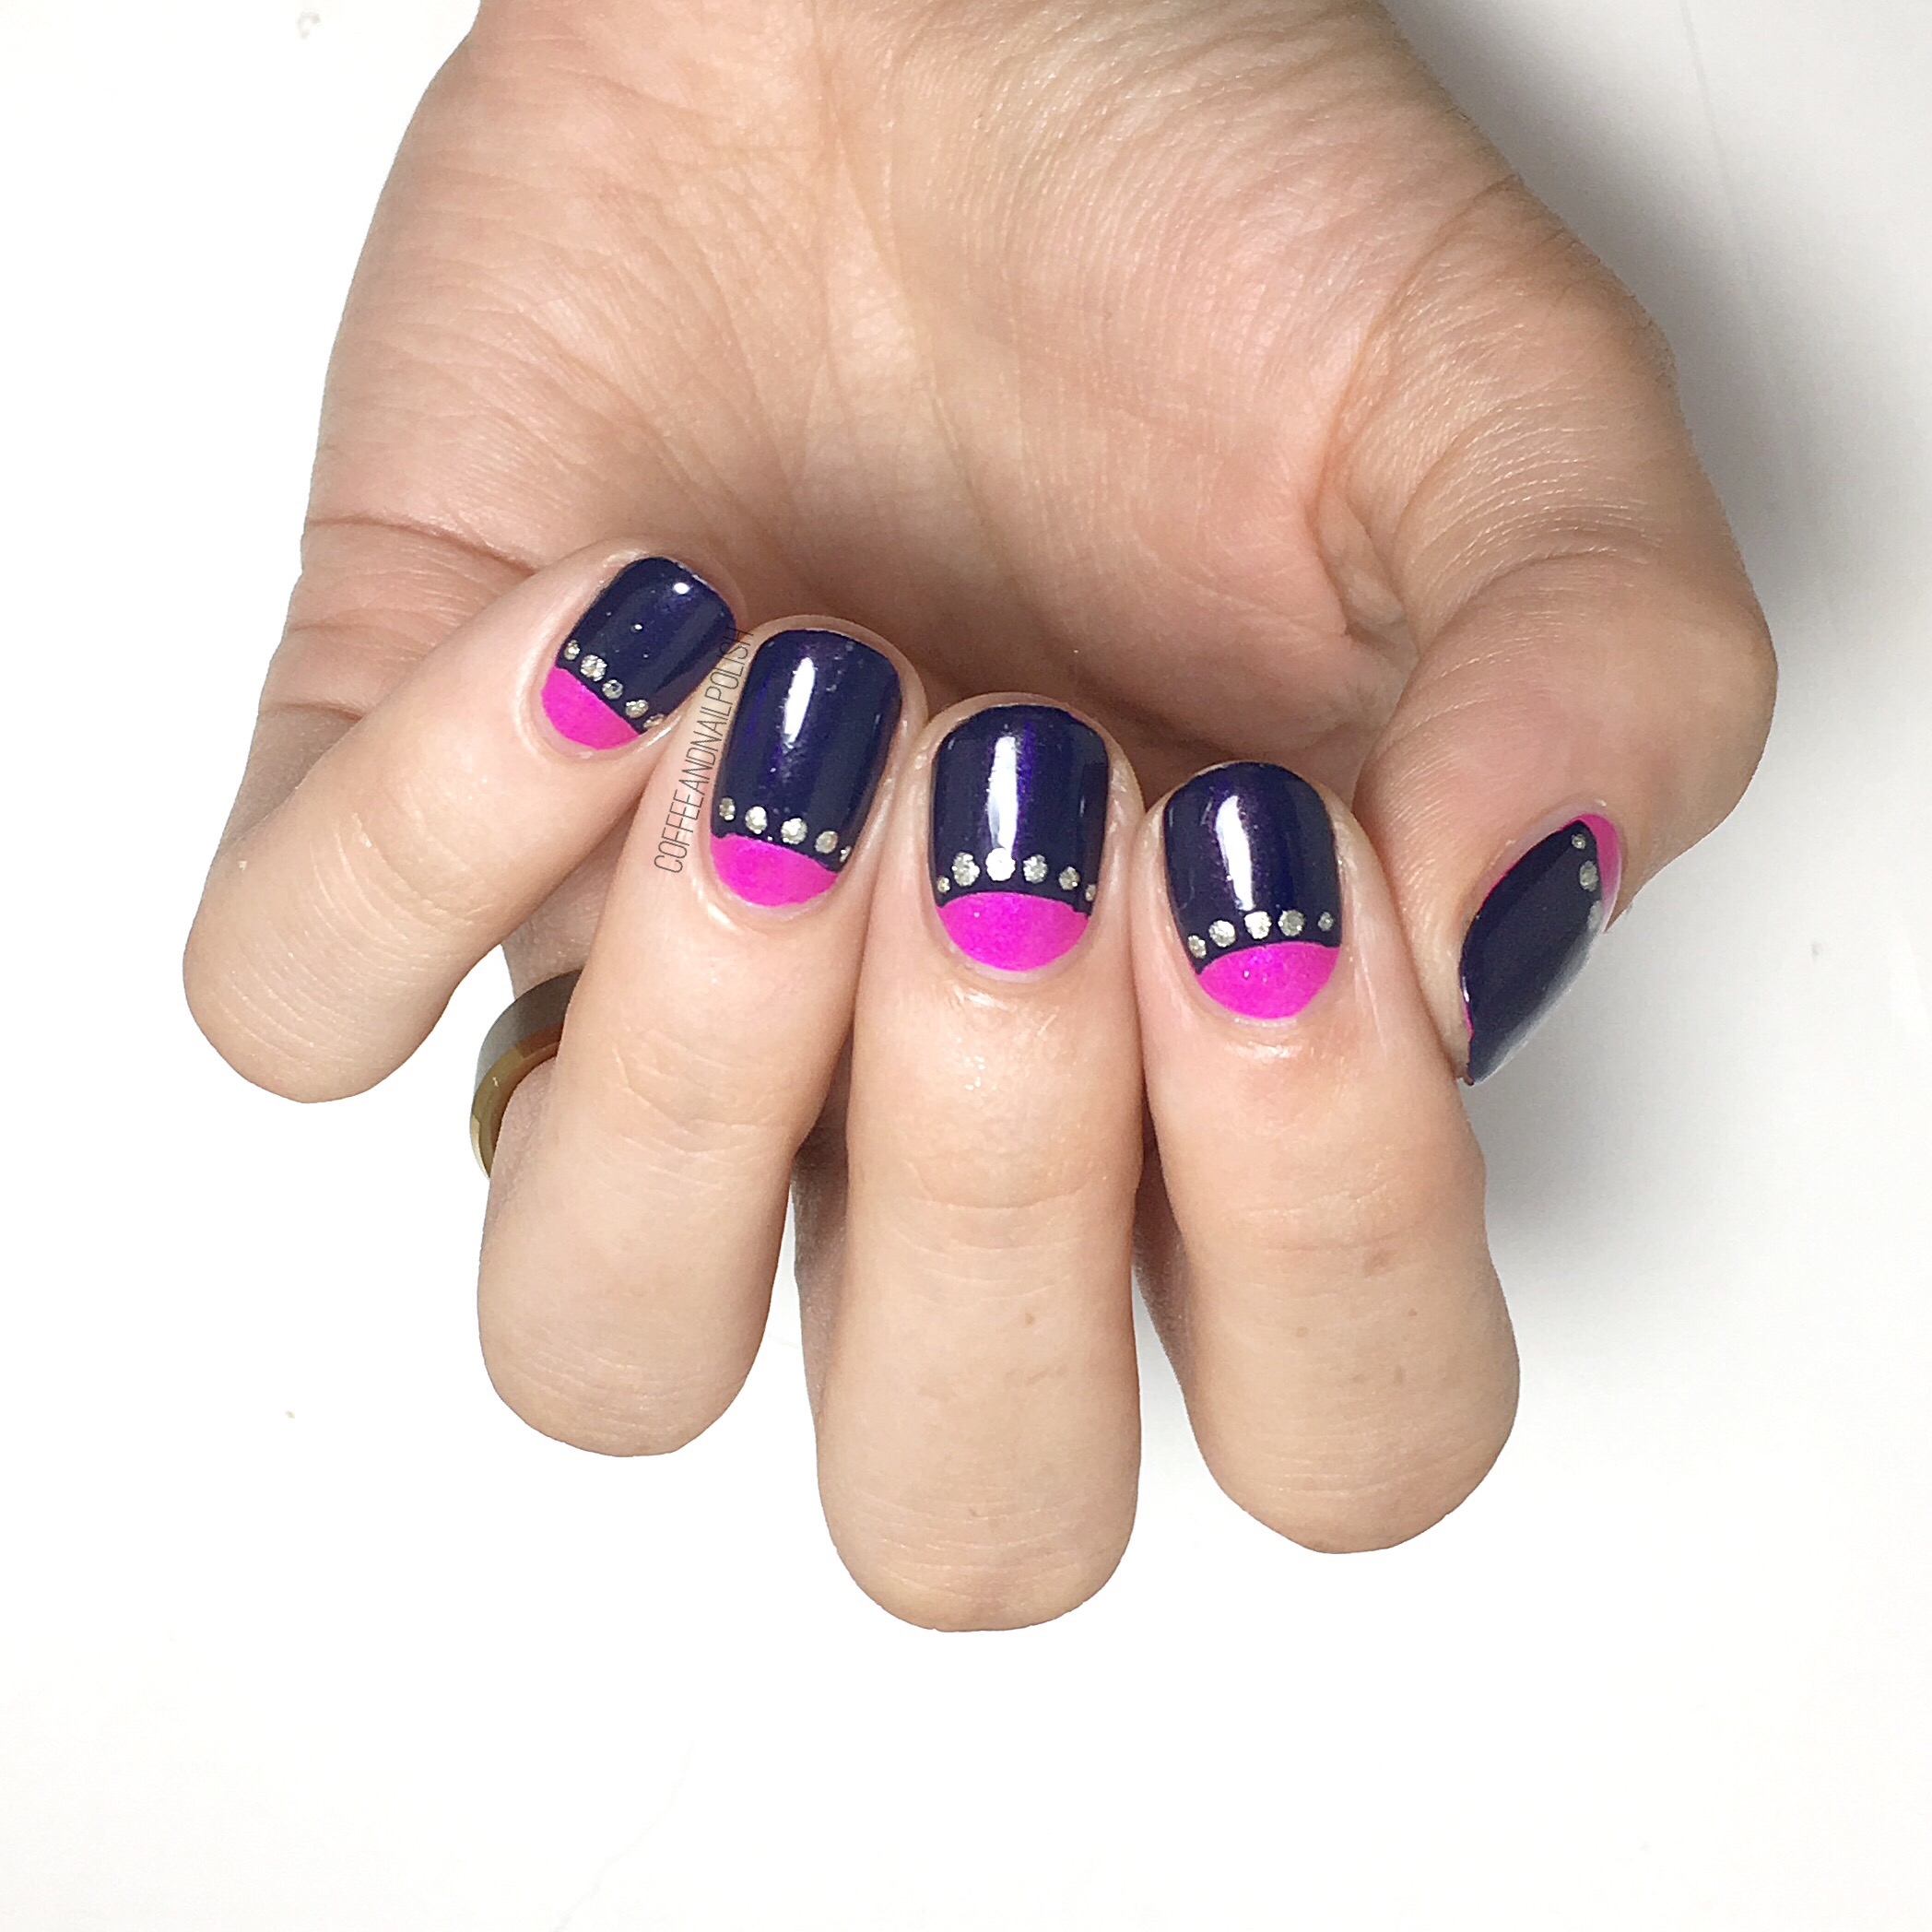
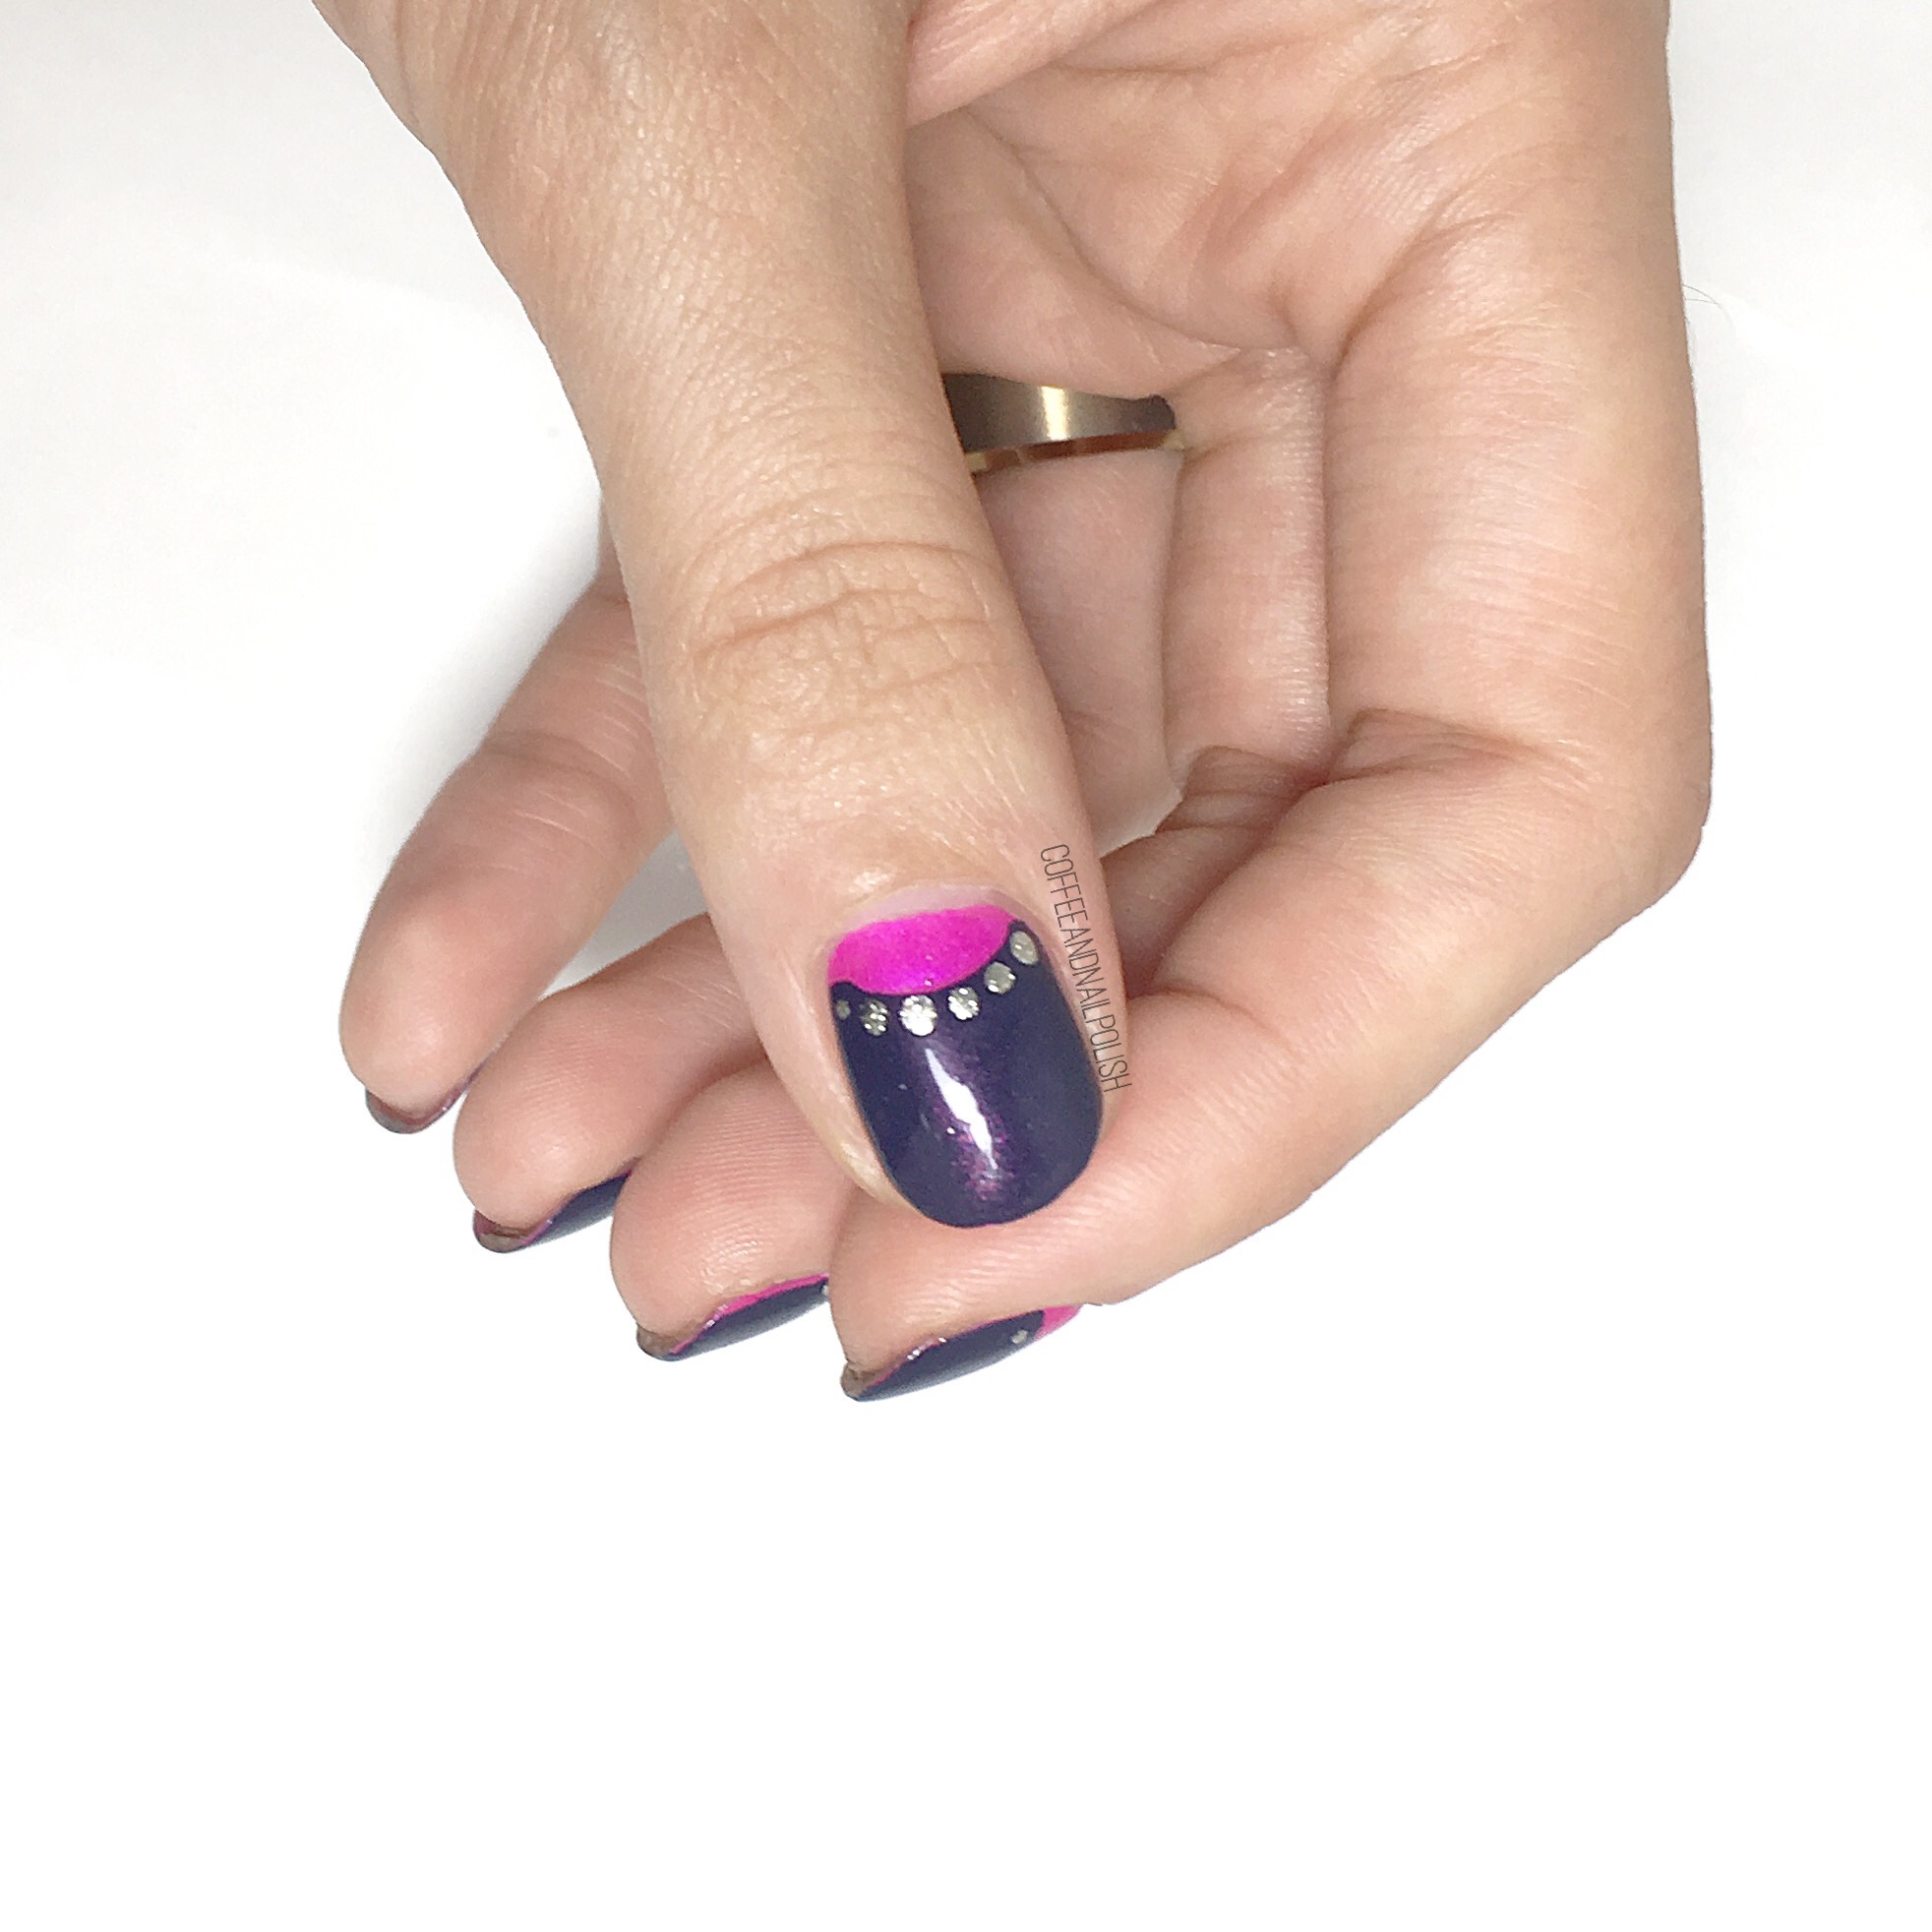
I’m sure I’m not the only one whose first nail art involved those paper hole re-enforcements. This design is very reminiscent of those early nail art designs when all I had at my nail art disposal was those little sticky circles & a $1.99 dotting tool by Essence. & even though it’s a relatively simple design, I think it looks so classy & chic! 

For this manicure, I used:

  • Base Coat: Cutex Brittle Nail Fix
  • Top Coat: Cutex Quick Dry Top Coat
  • China Glaze Purple Panic
  • China Glaze Sleeping Under the Stars
  • Essie Jiggle Hi, Jiggle Lo
  • Paper Hole re-enforcements (I buy mine from the Dollar Store)
  • Small dotting tool (like this one from Essence!)  

If you’re looking for an easy, simple nail art design this would be a great option! The hardest part is waiting for your base colour to dry (& thanks to quick dry top coat, even that comes pretty easy.) I really like this colour combination–you have Purple Panic with all its neon beauty topped with Sleeping Under the Stars which has that very pretty pink shimmer that compliments the neon pink really well. This is a great in-between mani. & a little more sparkle by adding those gold dots. 


What do you think of this mani? What is your favourite old school nail art technique? Let me know your thoughts in the comments below! 

Graphic Lines Over Watercolour 

I teased these geometric freehand nails this weekend, which you may have seen on Instagram, so I’m excited to finally share the whole look! I just needed to do some really poppy Summer nails to counter act the fact I’m craving Fall colours so bad. I also feel like I haven’t been practicing my freehand lines enough, so I wanted to play around with my black striper. This design isn’t perfect but I do quite enjoy how they turned out. 

The polishes used for this design are:

  • Base Coat: Cutex Brittle Nail Fix
  • Top Coat: Cutex Quick Dry Top Coat
  • Sally Hansen Hard As Nails Hard to Get
  • Color Club Evolution 
  • Sally Hansen Miracle Gel Wet My Thistle
  • ACO by Ardene Road to No Where 
  • Essie Cute As A Button
  • China Glaze Sun Upon my Skin
  • Art Club Nail Art Striper in Black
  • Latex Free Make Up sponge 

Bright & colourful & fun was what I was going through with these nails & I feel like I was pretty successful. Of all my nails, my thumb was my absolutely favourite (& I feel like it turned out the best of all 10 nails). I think it had something to do with my striper polish. The more I use it though, the more I’m realizing I need to try out aryclic paint. I know I keep saying that, but the more I use my stripers, the more frustrated I get with how easily they thicken up. So hopefully the next time I show off a freehand line design, I’ll be sharing my expirences with acrylic paint! 


What do you think of this design? Have you ever used acrylic paint for nail designs? Let me know your thoughts in the comments below! 

Happy Birthday Canada Day Nails 🇨🇦

Happy Canada Day! 🇨🇦 Today is an important birthday for my country–it’s the 150th birthday of Canada’s Confederation. & in honour of the occasion I created these festive nails using maple leaf stencils I received in honour of the occasion free from Nail Polish Canada (& thanks so a discount code @jennieshaw posted a few weeks back). 

For this manicure I used:

  • Base Coat: L’Oréal All In One
  • Top Coat: Essie Speed Setter
  • Essie Too Too Hot
  • China Glaze Ruby Slippers
  • Sally Hansen Hard As Nails Hard To Get
  • Xroma Polish & Vinyls Skinny Waves Vinyls
  • What’s Up Nails Canadian Flag Nail Stencils c/o: Nail Polish Canada

I hope everyone is having a fabulous Canada Day (& it’s not too rainy where you are!) Myself & the baby are heading on vacation tomorrow so we’re keeping our plans low key today since he’s a little too young for fireworks this year. We are however having a fun Canada Day supper with my inlaws before we leave. Whatever your plans are today, I hope it includes a little red & white (& maybe something maple flavoured). 

How are you celebrating Canada’s 150th Birthday?! Let me know in the comments below! 

Rockstar Nails 

Happy Wednesday Everyone! So I recently upgraded my little iPhone 5c to the much more impressive iPhone 6s so expect my photos to start looking much more awesome! However, I still have some old pictures on my 5c left for posting in the mean time so I might mix them up. It all depends on how easily I can transfer the pictures. But for right now, I have these fun star nails to share! 

For this manicure, I used:

  • Base Coat: Perfect Formulas Pink Gel Coat
  • Top Coat: Cutex Quick Dry Top Coat
  • China Glaze Ever Glaze Optimal Opal 
  • Revlon Gwen’s Crush
  • Xroma Polish & Vinyls Star Spiral Stencils

Once again, I pulled out my Xroma vinyls for these nails. These star spiral stencils are great because you get two vinyls in one! I also grabbed my bottle of Revlon Gwen’s Crush which I haven’t worn longer than I can even remember. Gwen’s Crush is from the 2014 Amazing Spider-Man 2 collection Revlon released & one of the collections in the early days of my blog I freaked out about. It’s such a pretty colour–why oh why do I let these colours get lost in my stash for so long? It makes me sad. 

What are you wearing on your nails on this Wednesday? Let me know in the comments below! 💗

Craving Spring with Wavy Pattern Nails

TGIF! I mean I’m on maternity leave so sometimes I forget what day it actually is. But it’s supposed to be semi-warm & sunny this weeekend & some what Spring-like so I am very excited for the weekend to come! So in honour of the sunny days to come, I did this wavy design using some Spring shades & wavy nail vinyls from Xroma Polish and Vinyls

For this manicure I used:

  • Base Coat: Perfect Formula Pink Gel Coat
  • Top Coat: Cutex Quick Dry Top Coat
  • China Glaze Ever Glaze Don’t Grape About It
  • Sally Hansen Hard As Nails Hard To Get
  • ORLY Gumdrop
  • Sally Hansen X-treme Wear Babe Blue 
  • Xroma Polish and Vinyls Skinny Waves Nail Vinyls
  • Dotting tool

I’m loving these vinyls from Xroma Polish and Nail Vinyls! They’re just so easy to use. This manicure only took me about 1/2 hour to do (after my initial polish had dried) including placing all my vinyls. & no issues with polish bleeding under the vinyls, which I hate so much. Even better, these wave vinyls were long enough I could cut them in half on some nails which meant I used less. 


This colour combination looks so pretty together, I love it. What is it about purple & mint that looks so stunning when paired? Definitely just feels like Spring-time to me. 💜 

What do you think of these wavy patterned nails? What colours are you wearing most lately? Let me know in the comments below.