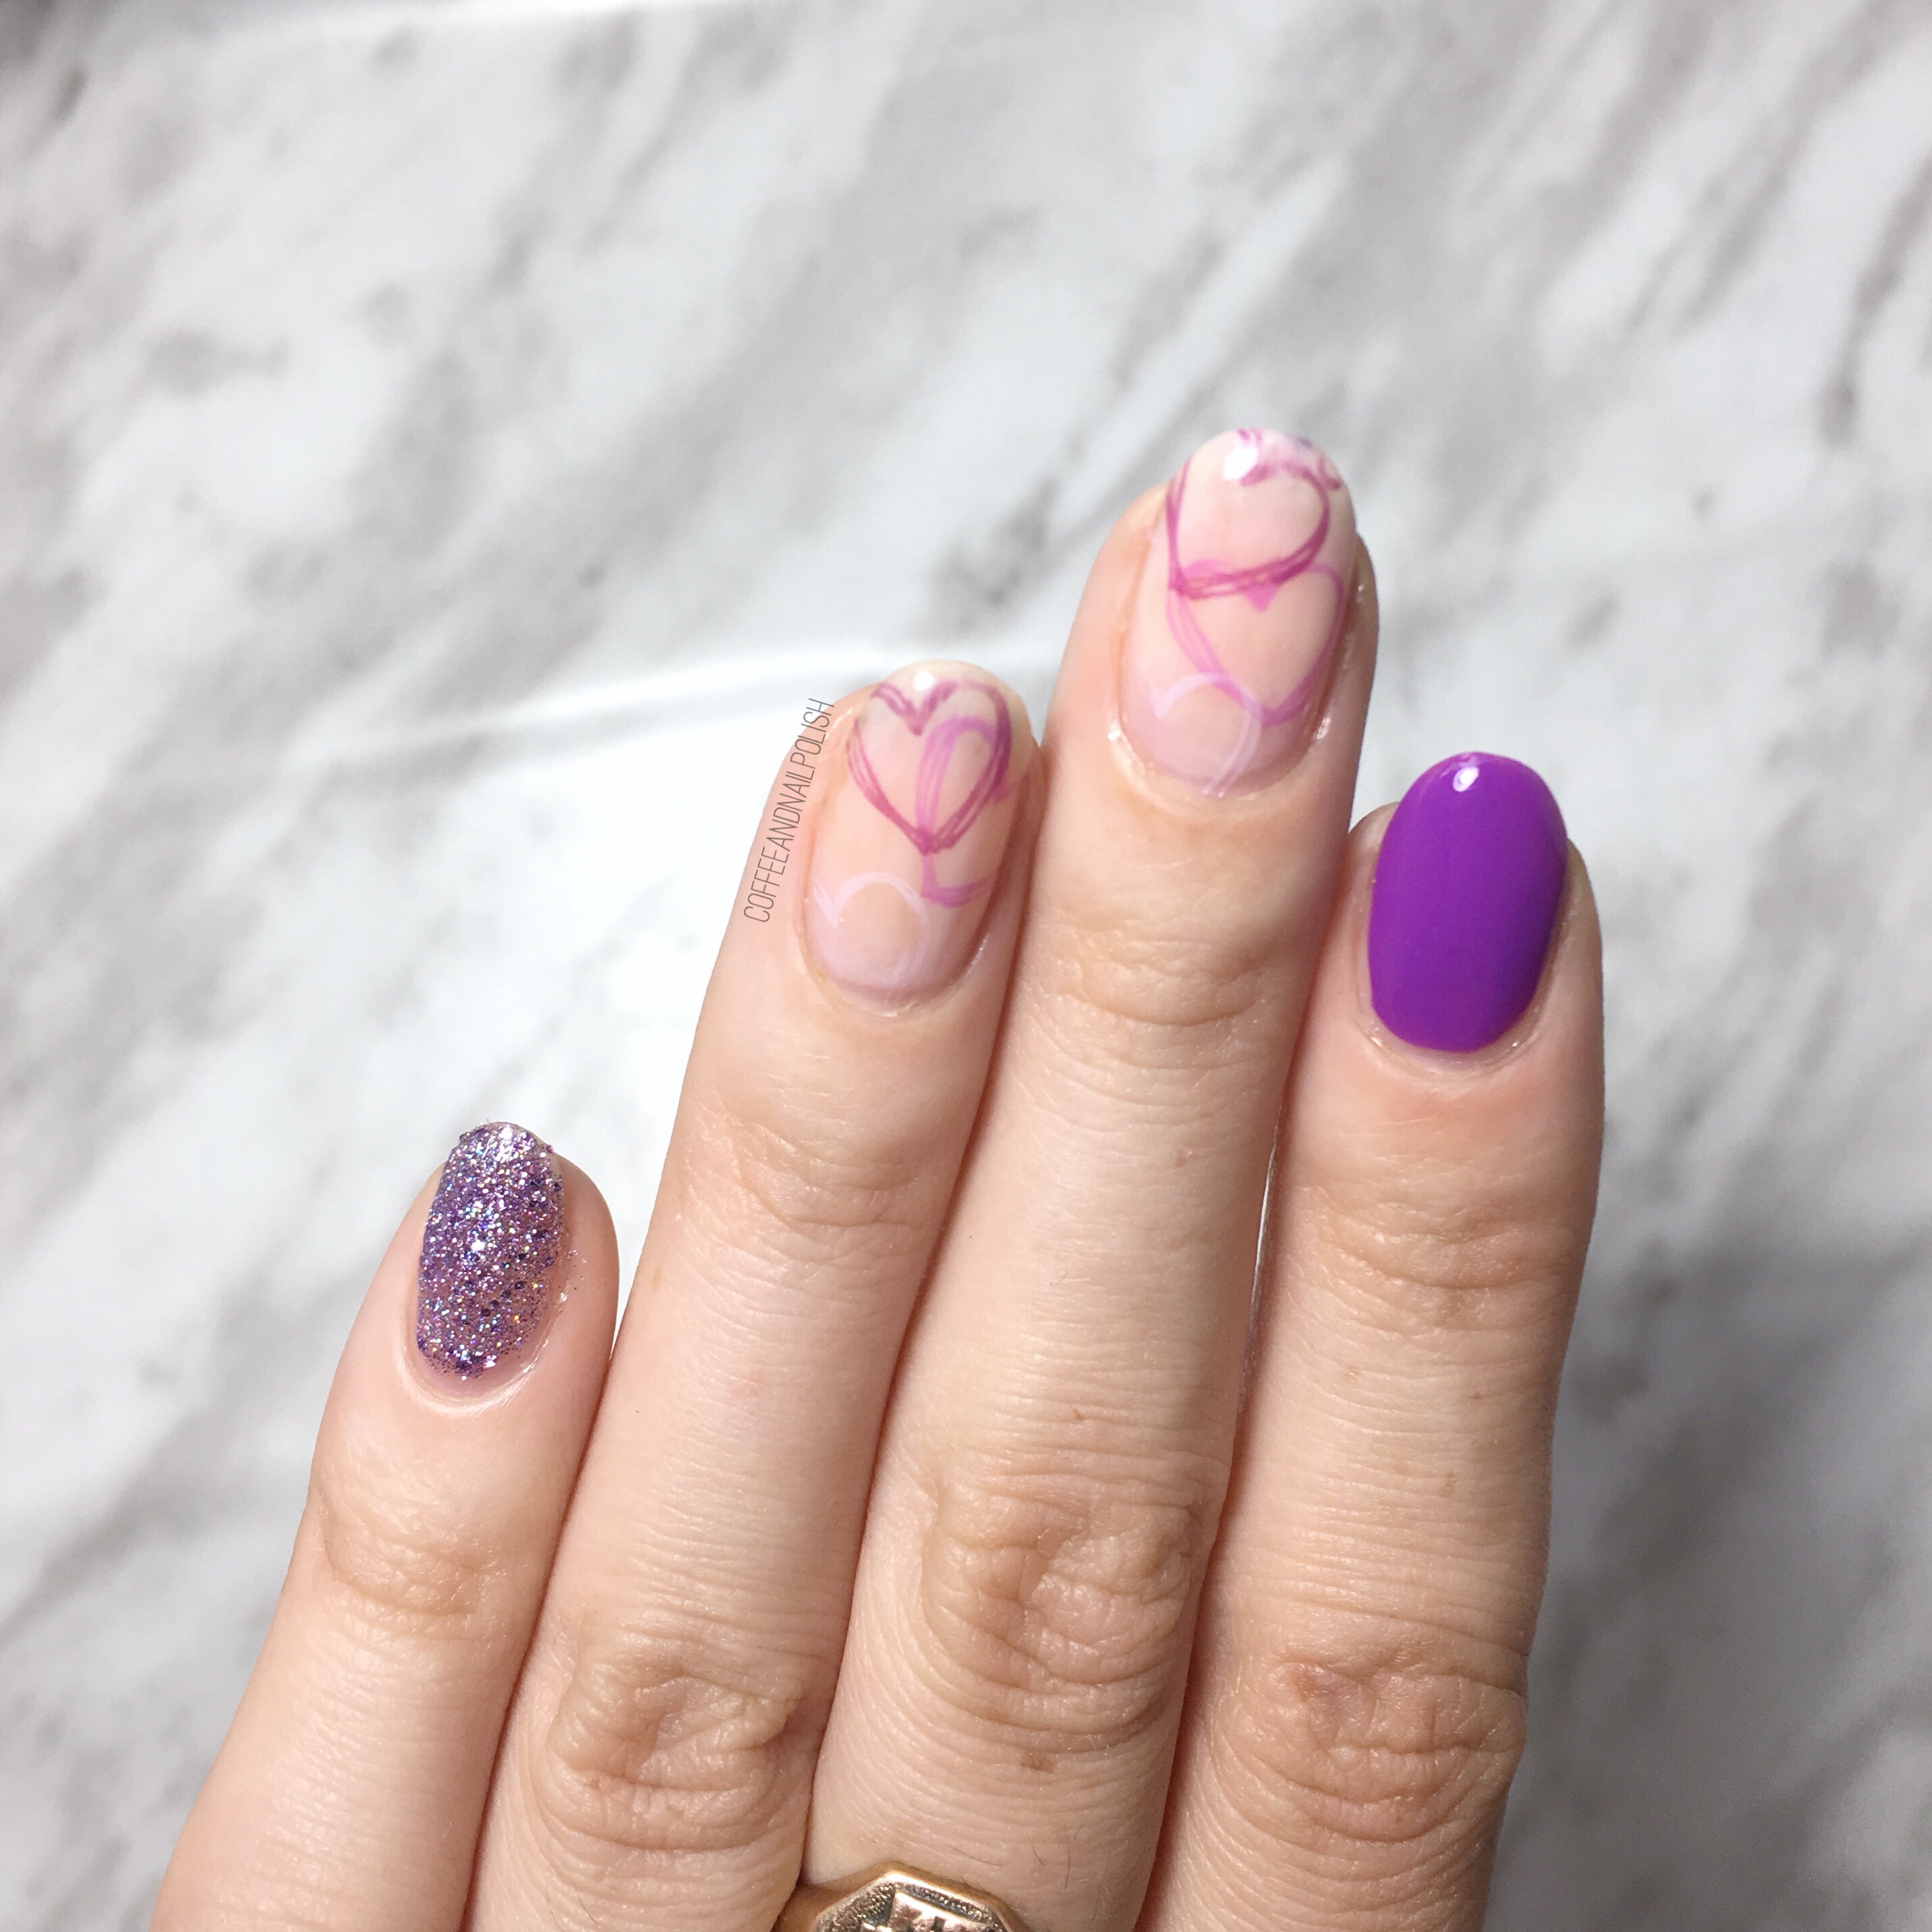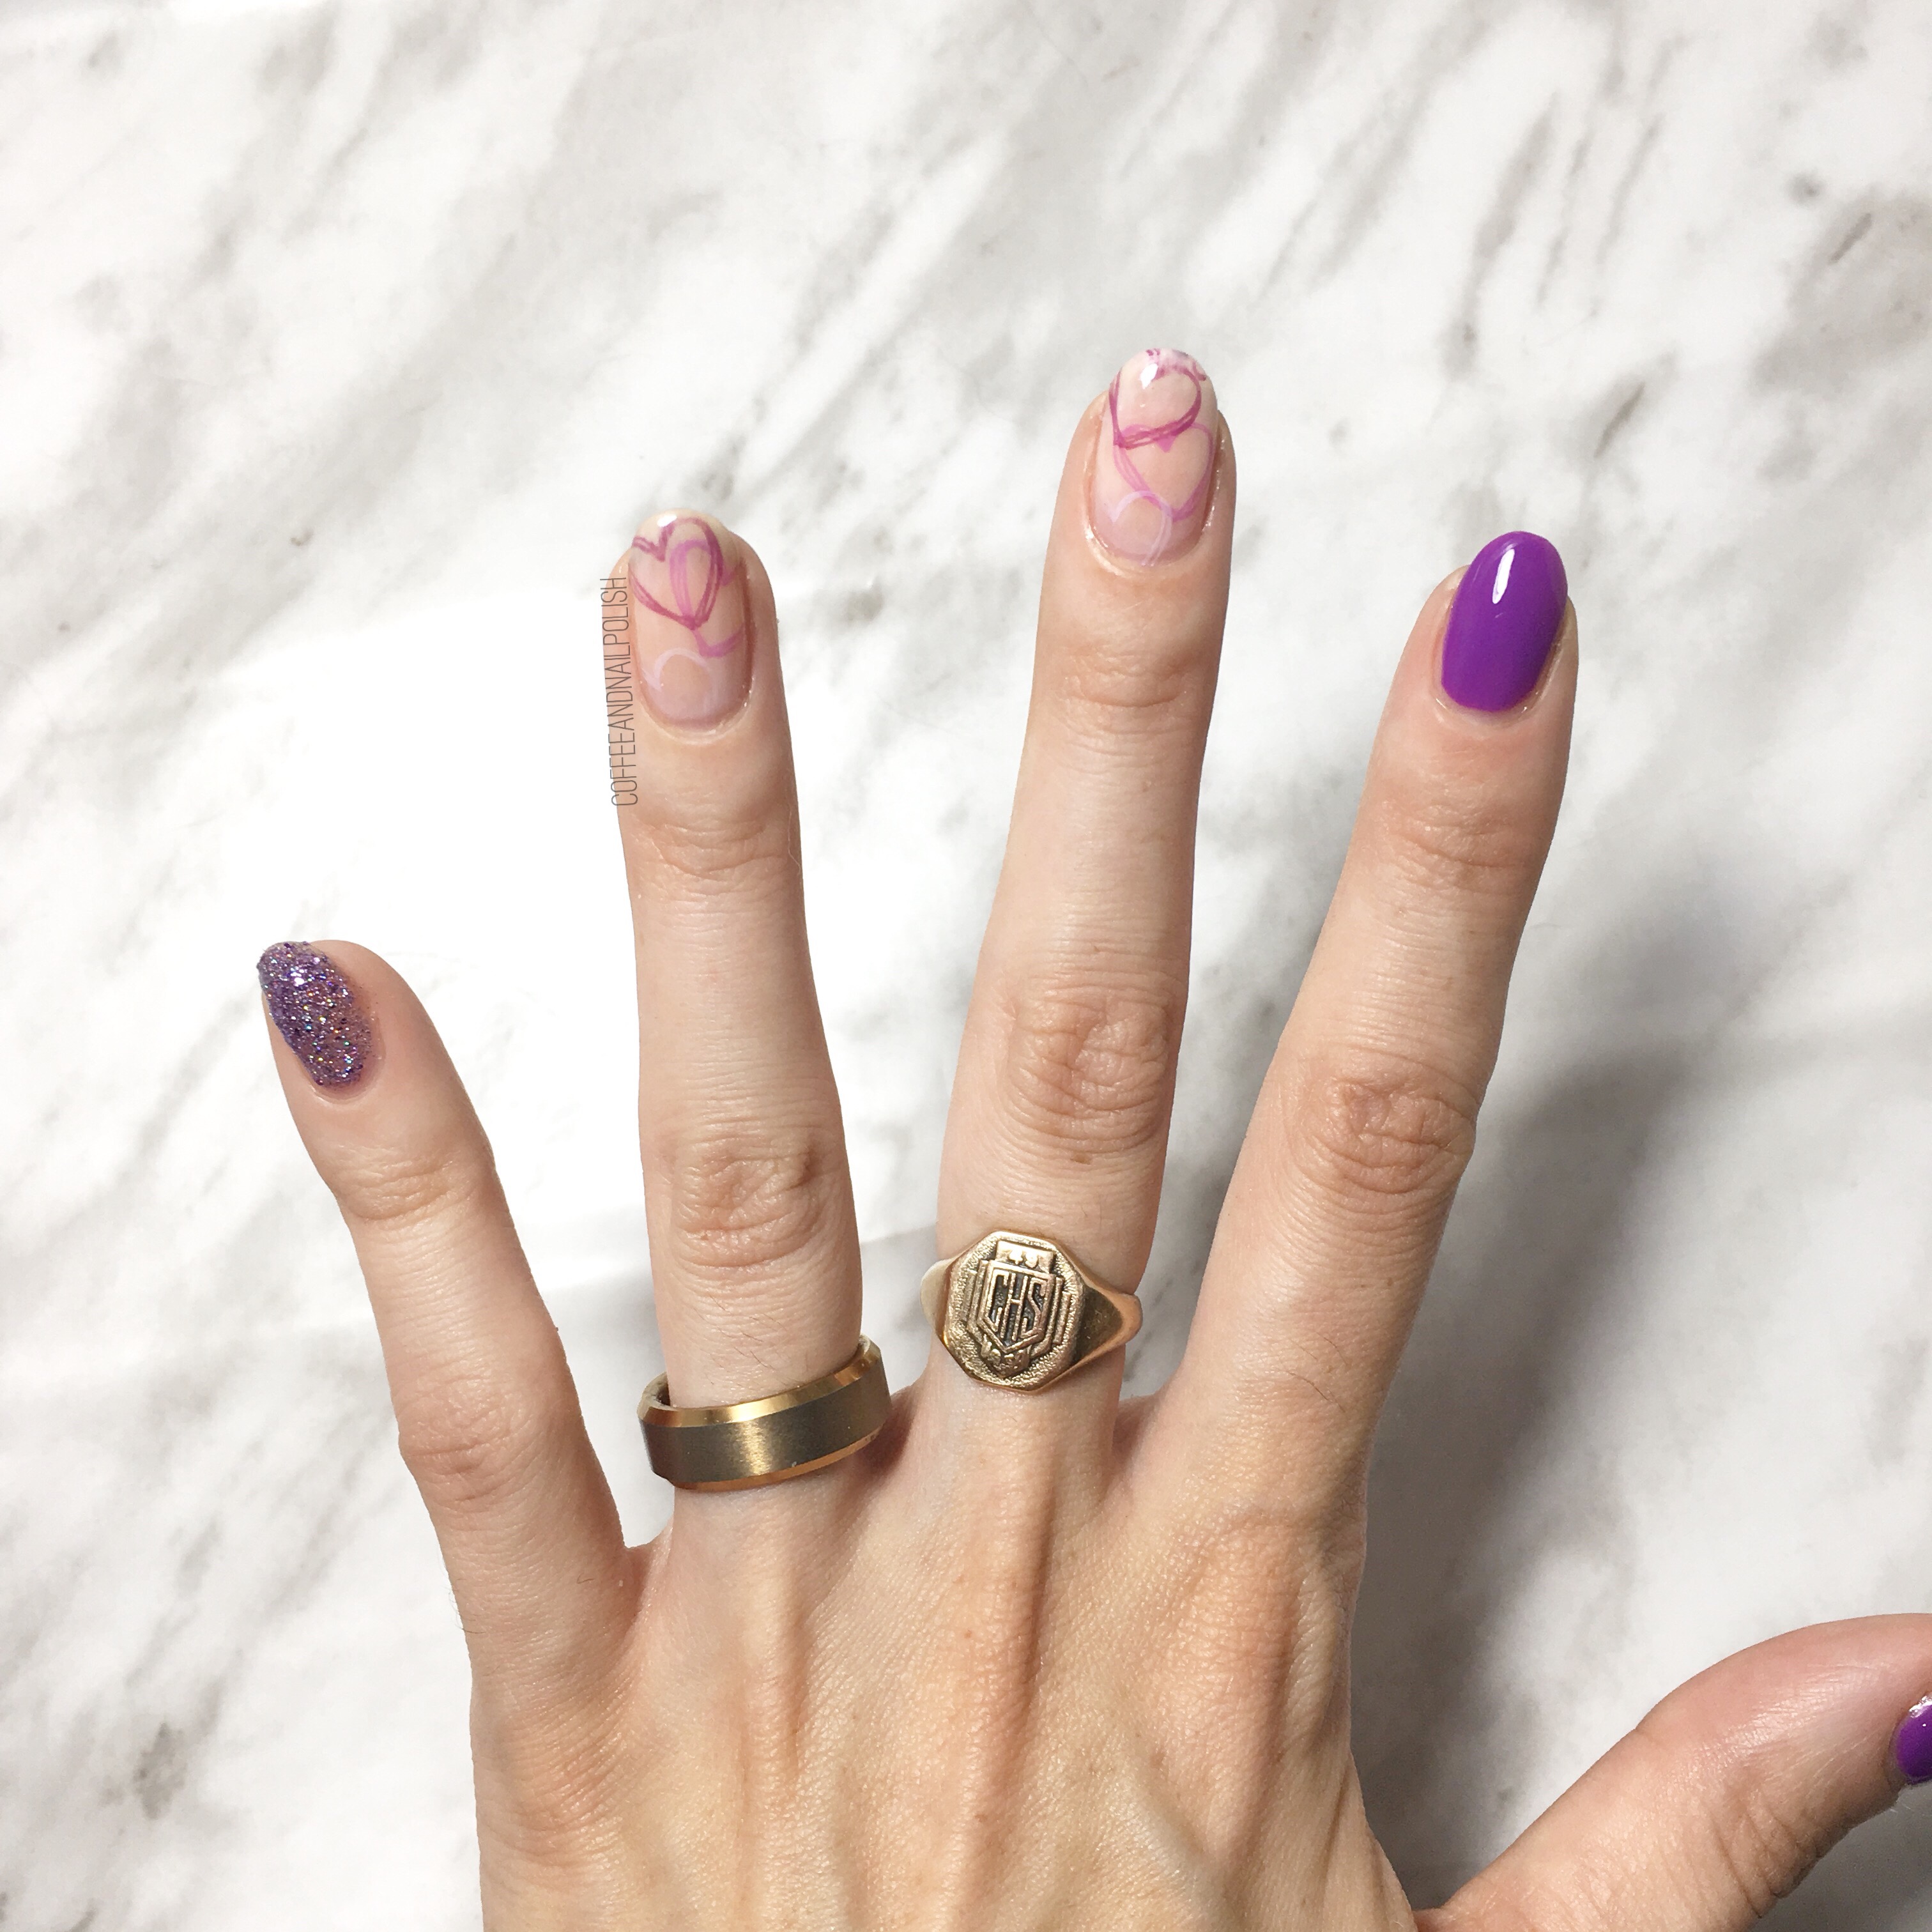
Saran Wrap Smoosh Nails

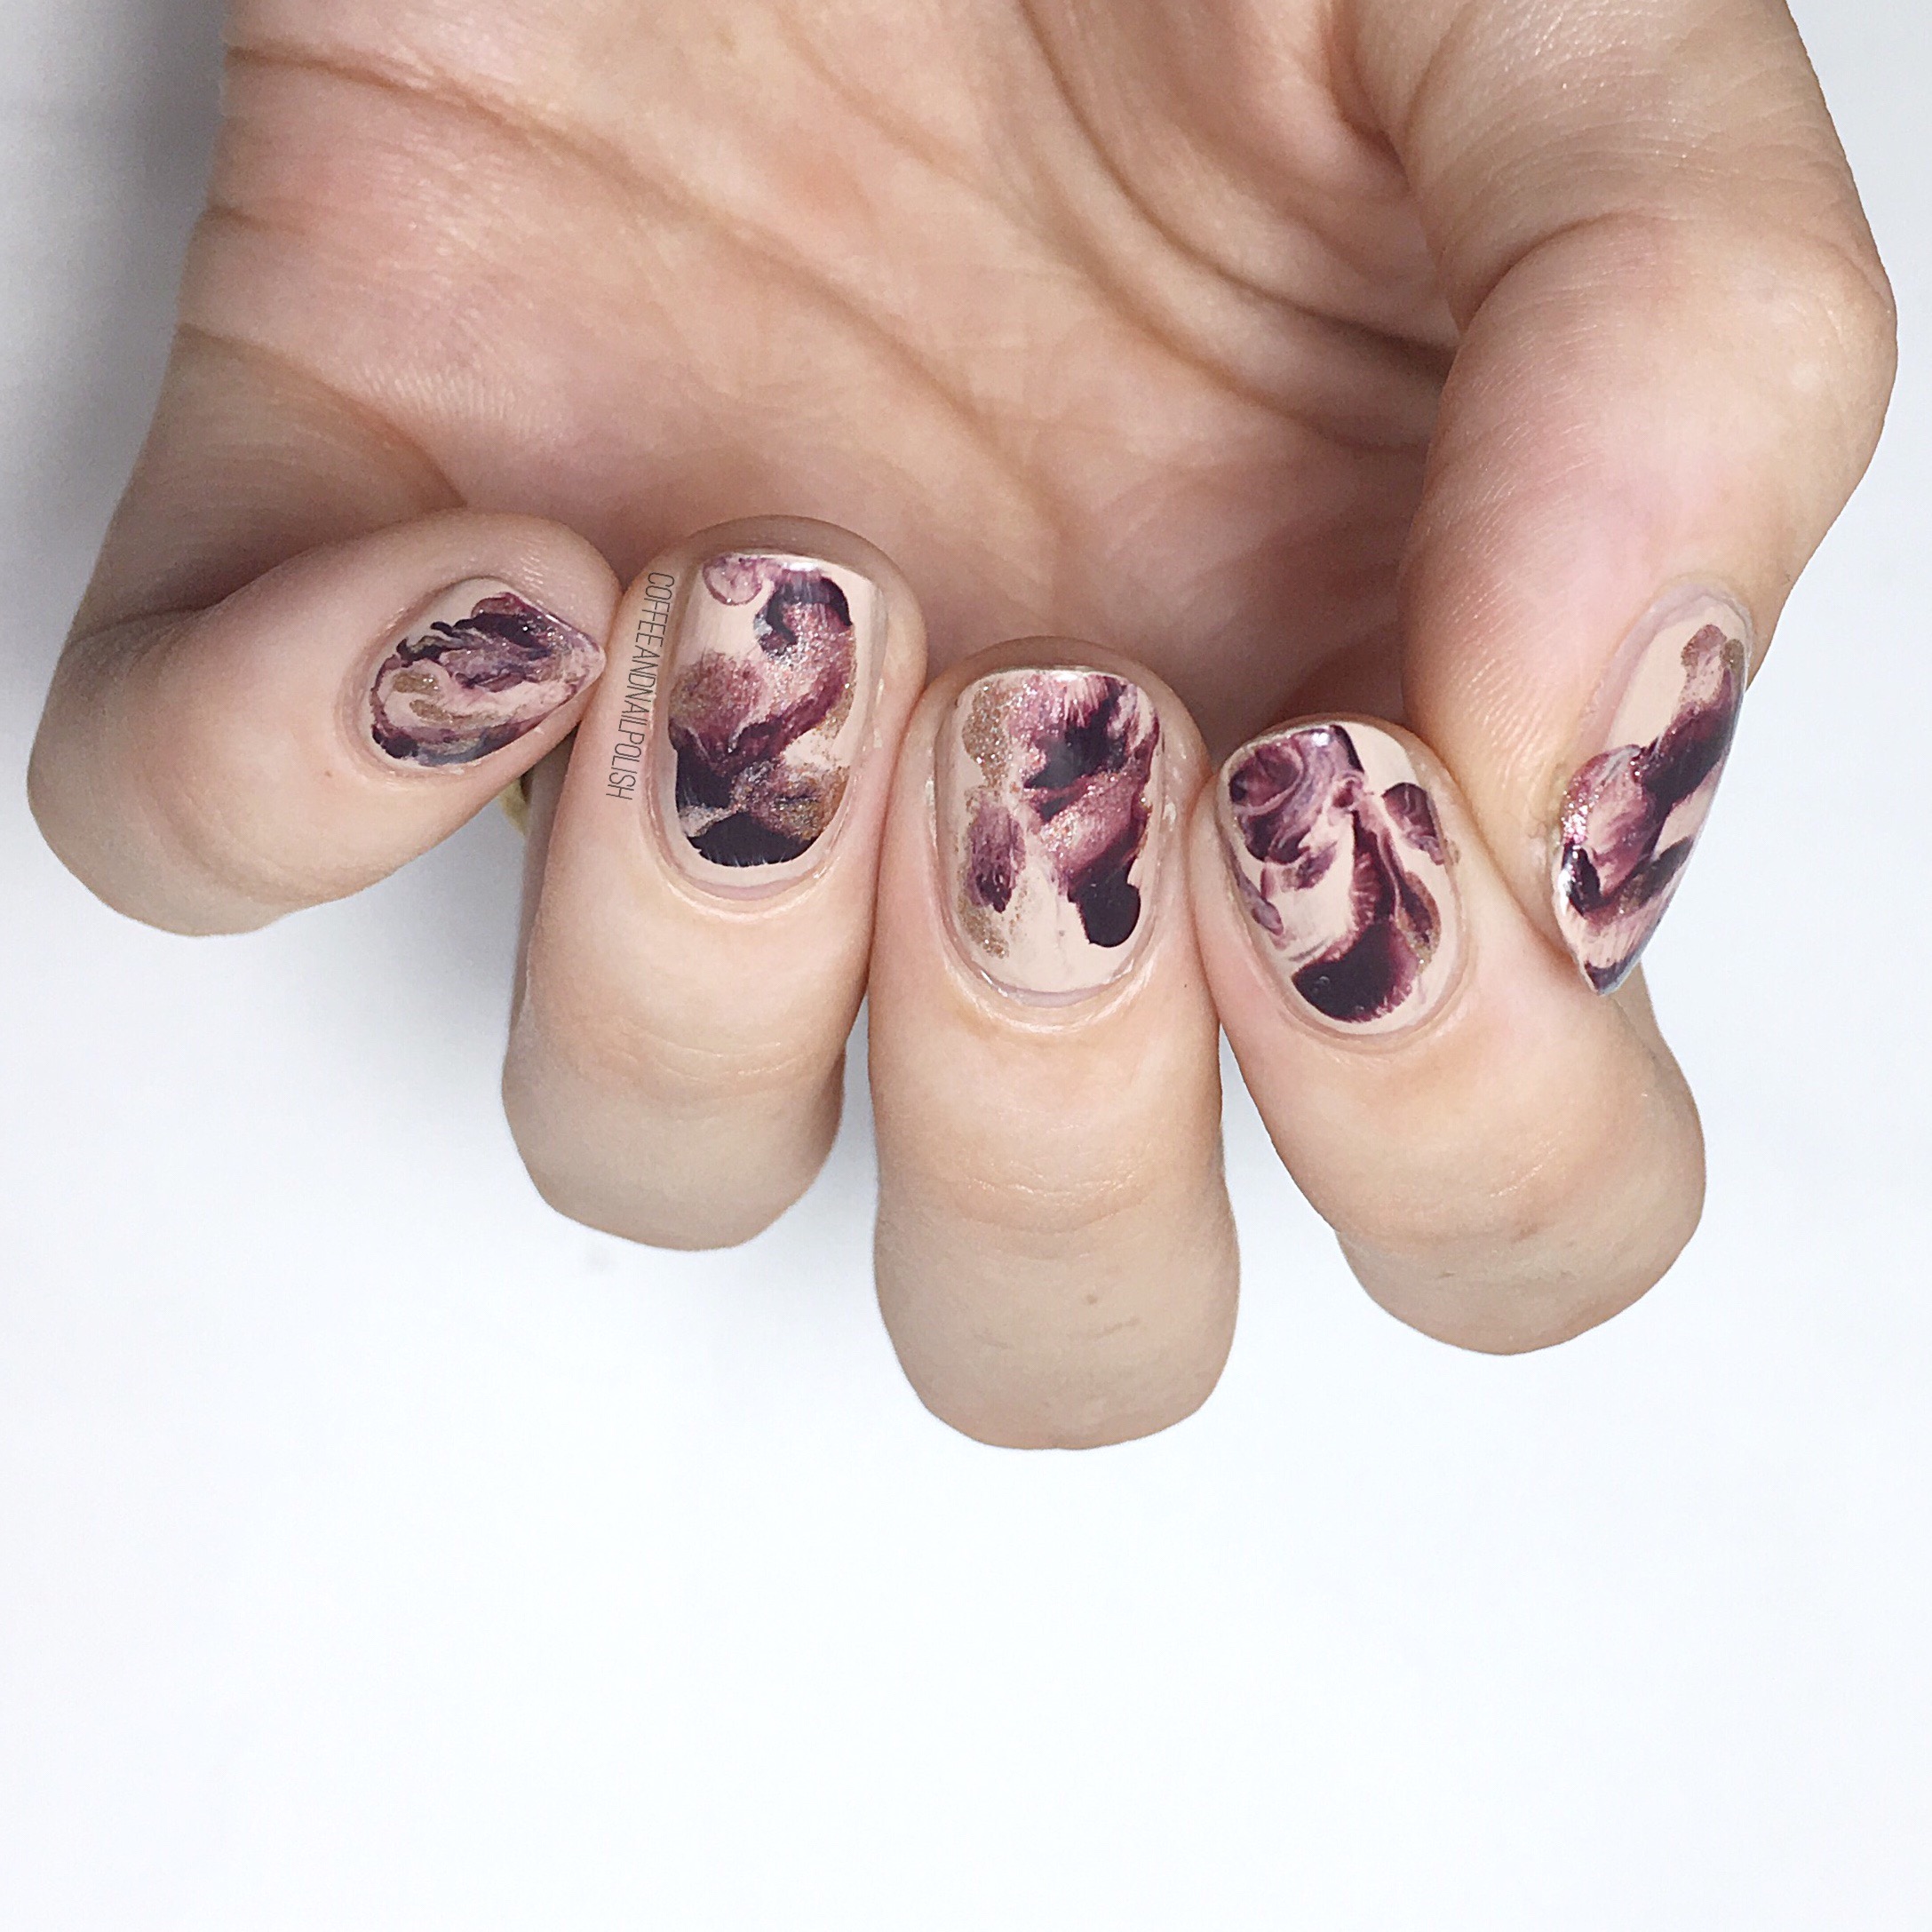
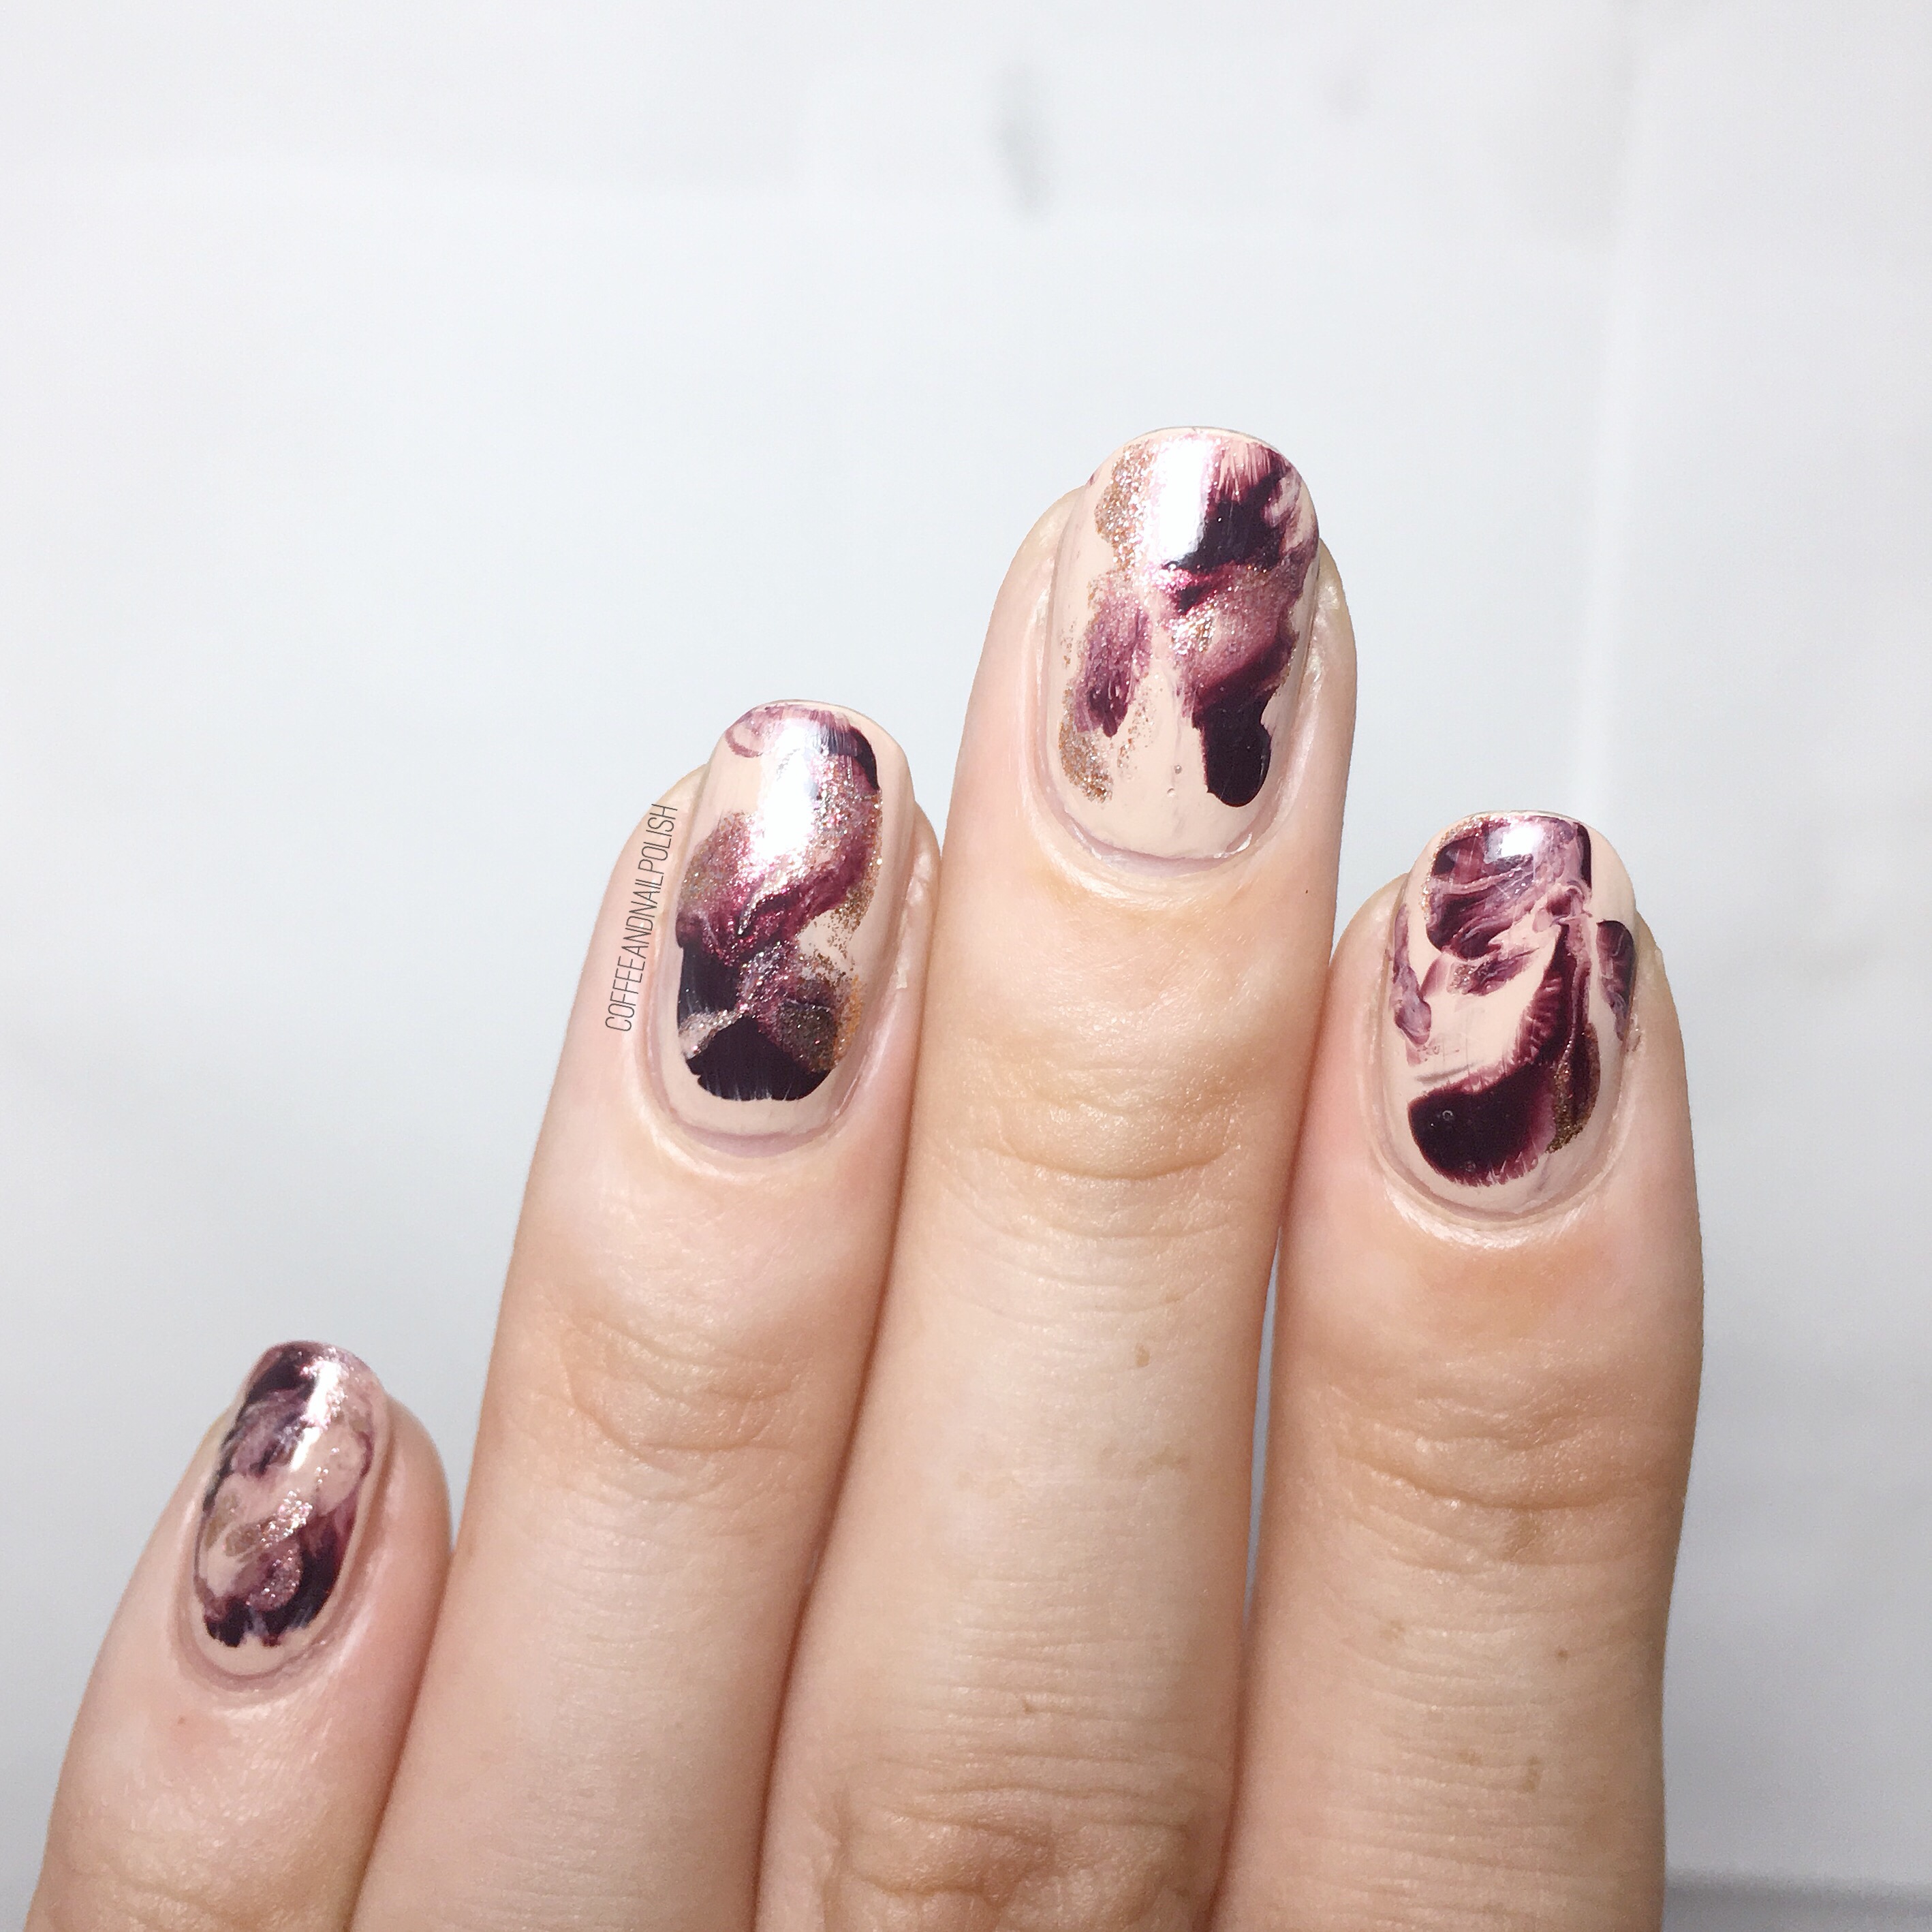
I don’t do a lot of Saran Wrap smoosh nails, mostly because I find them fairly messy (& I ran out of liquid latex & I’m being lazy in replacing it). But every time I see one pop up on my Instagram feed I tell myself I need this technique in my life again. They just always look so cool! I’ve been struggling with inspiration lately, so I decided to risk the messy clean up & do a smoosh. 

For this manicure, the polishes I used were:

  • Base Coat: OPI Natural Nail Base Coat
  • Top Coat: Cutex Quick Dry Top Coat 
  • Essie Cocktails & Coconuts
  • China Glaze VII
  • Quo by ORLY Fairy Godmother
  • Saran Wrap, or plastic bag of some sort. 

If you’ve never done a Saran Wrap smoosh, there are lots of tutorials on the internet (this one from @snowglobenails is great). From my expirence, I find sometimes they can take a few tries before you figure out what works for you, but for me less is more.  I prefer to use maximum 3 shades together, otherwise I find my nails can end up looking kind of swampy. & I also try not to push blend colours too much when pressing down on my plastic. 

What’s your thoughts on smooshy nails? Do you have a favourite colour combination? Let me know your thoughts in the comments below! 

Dripping Blood French Featuring URSugar Vinyls


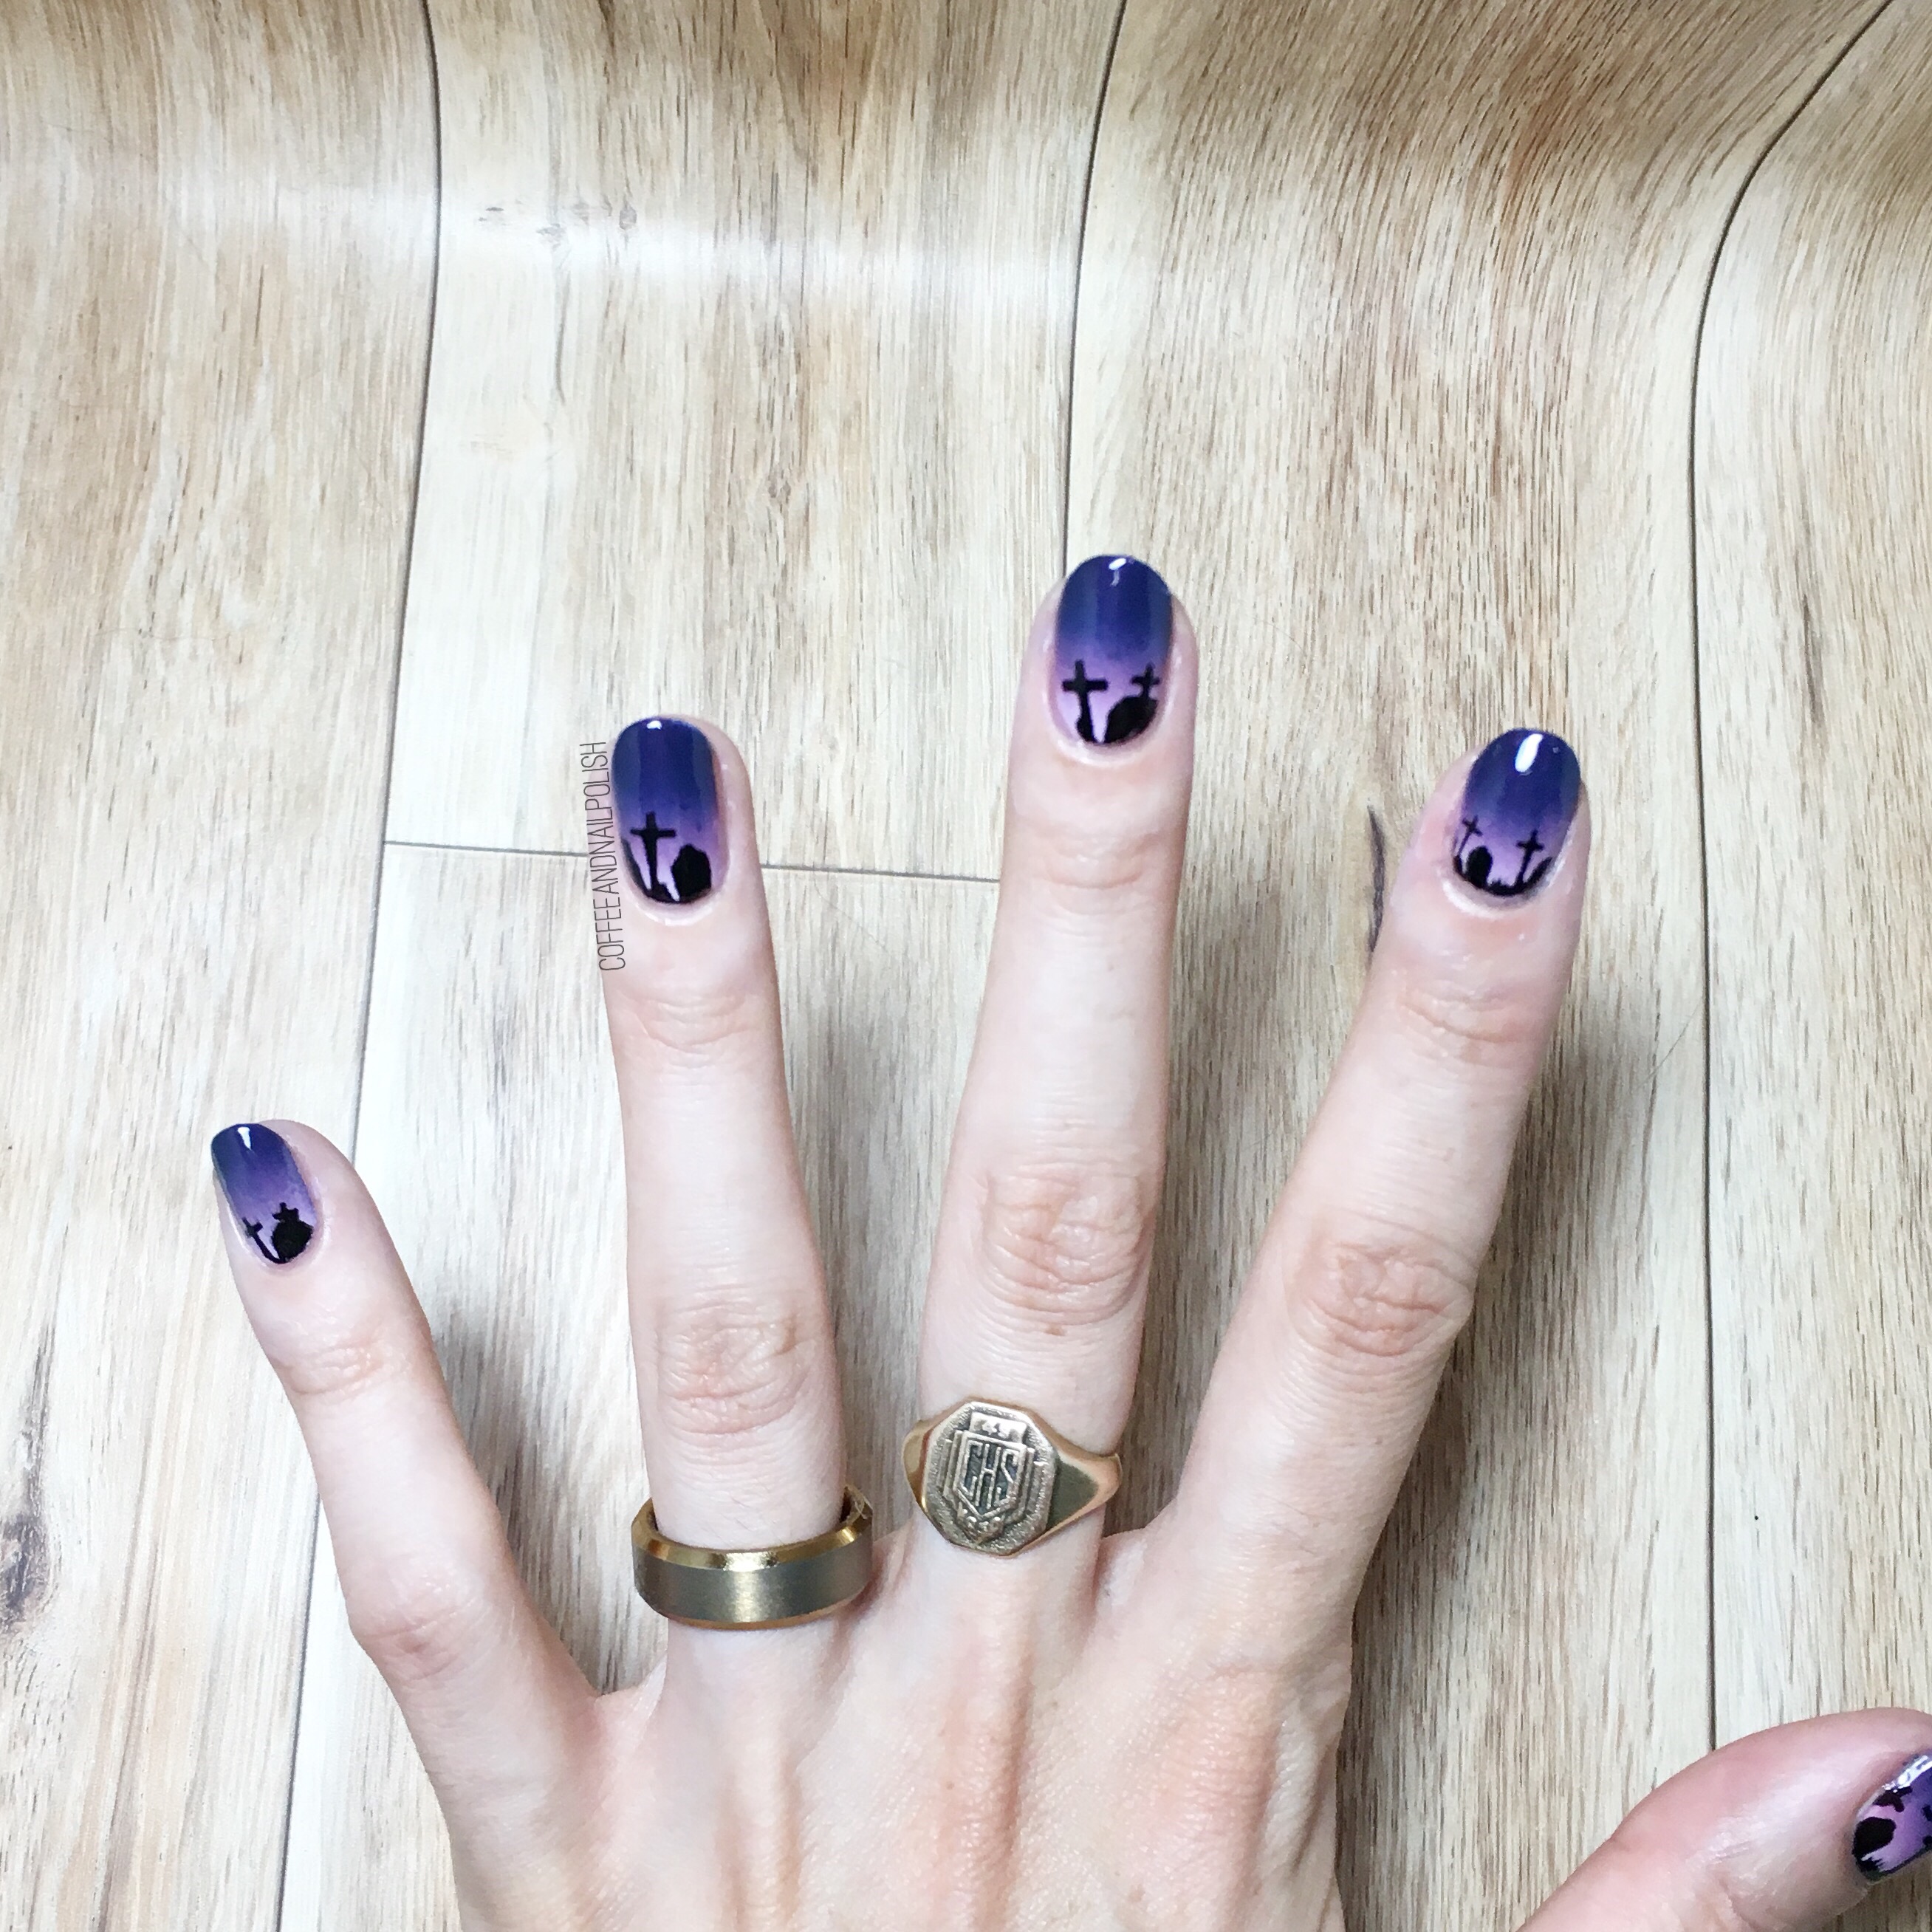
Ready for some more Halloween inspired nails? Today I have what I’m calling a dripping blood “French” Manicure that has just the right amount of scary & sparkles—which is just how I like my Halloween designs! 

The few times I’ve tried to do a dripping design, I’ve always done it using a dotting tool (which isn’t always easy to accomplish the right look.) These drippy nails were made much easier by using URSugar Vinyls which were kindly sent to me for review. 

For this manicure, the polishes used were:

  • Base Coat: OPI Natural Nail Base Coat
  • Top Coat: Cutex Quick Dry Top Coat
  • Gosh Holographic Hero
  • China Glaze Ruby Pumps
  • URSugar Drip Nail Vinyls item #AUB39877 —click to buy

These URSugar vinyls are great for a design like this. You have two options—you can paint your nails a base shade & apply the stencils & paint over with a second shade, pull off & reveal or you can use the other half to paint inside (like a stencil). I find the second option works best for a design like this, done at the tip of your nails. 

What do you think of this Halloween-y take on a French manicure? Would you wear this design? Let me know your thoughts in the comments below! 

*PR SAMPLE* Some of these items were sent to me for review. However, all opinions are my own. 

Bestie Twin Nails with @torisprettythings


I always get really, really excited when I can team up with fellow nail polish addicts I love, admire & am inspired by. So I was really excited when I had the opportunity to team up with Tori of @torisprettythings

I’ve been friends with Tori on Instagram for a long time, but somehow we’ve never come together for a collaboration. 😳 Thankfully we’ve finally amended that with these fun Fall polka dot nails inspired by a mani she found on Pinterest originally by Oooh Shinies


For this manicure, the polishes I used were: 

  • Base Coat: OPI Natural Nail Base Coat
  • Top Coat: Sally Hansen Diamond Flash 
  • Essie Wrap Me Up
  • China Glaze Champagne Bubbles
  • Essie Leggy Legend
  • OPI My Private Jet
  • Small & tiny dotting tool. 

How perfectly Fall is this manicure? Both Tori & I are all about that Fall weather so we were pumped to team up on some Autumn inspired nails. I haven’t done a dotticure this fun in a while so it was really fun to sit down & play around. 

 Sometimes the simpler designs actually bring out your most creativity. This isn’t a super hard design & would be great for a nail art beginner! All you need is a dotting tool & some complimentary shades & people will be in awe of your nails. I am going to be doing a whole week of beginner nail art designs coming up (I’ve already been collecting & playing with manicure ideas) but this would definitely be on the list of great beginner designs. 

What do you think of this bestie twin nail collaboration? Don’t forget to check out Tori’s Instagram…. not just for all the beautiful nail art inspo she posts, but also her awesome OOTD & make up looks. 

Fall Inspired Floral Accent Nails 🌻🍁

I am not one of those people that thinks floral should exclusively be worn only in the Spring/Summer. Seriously, I don’t think there is a season that can’t use a little floral inspiration. For today’s design, I used some Fall inspired shades to achieve my look.


For this design, the polishes I used are:

  • Base Coat: OPI Natural Nail Base Coat
  • Top Coat: Cutex Quick Dry Top Coat
  • Essie Cashmere Bathrobe
  • Essie Wrap It Up
  • Essie The A List
  • Essie Too Too Hot
  • Essie Peach Daiquiri 
  • China Glaze Sun Upon My Skin
  • Sally Hansen I ♥️ Nail Art Pen in Green
  • Essie Off Tropic 
  • Dotting Tool from Bundle Monster
  • Small Nail Art Brush from Bundle Monster

Floral nails always take a few (dozen) polishes to get right, but I never seem to mind because of how beautiful they look. My flowers still aren’t as perfect as I dream about them being, but I still always have fun painting them on. Hopefully if I keep practicing, some day I can get my floral up there with the likes of @polishpeach & @just1nail! They’re serious floral nail goals–I wish I knew the secrets to painting such realistic & beautiful designs!


& just for fun, here is a shot of my nails & my sons sippy cup that is inspired by a Starbucks cup! When I was pregnant my Mom & my Aunt both bought me one so now the whole family can match with our coffee cups. Haha I think it’s too cute & I figured why not borrow it for a “coffee shot” since I had forgotten to take one with my own coffee.


What do you think of this Fall floral design? Do you think floral nails are perfect for any time of year? Let me know your thoughts on this mani in the comments below!

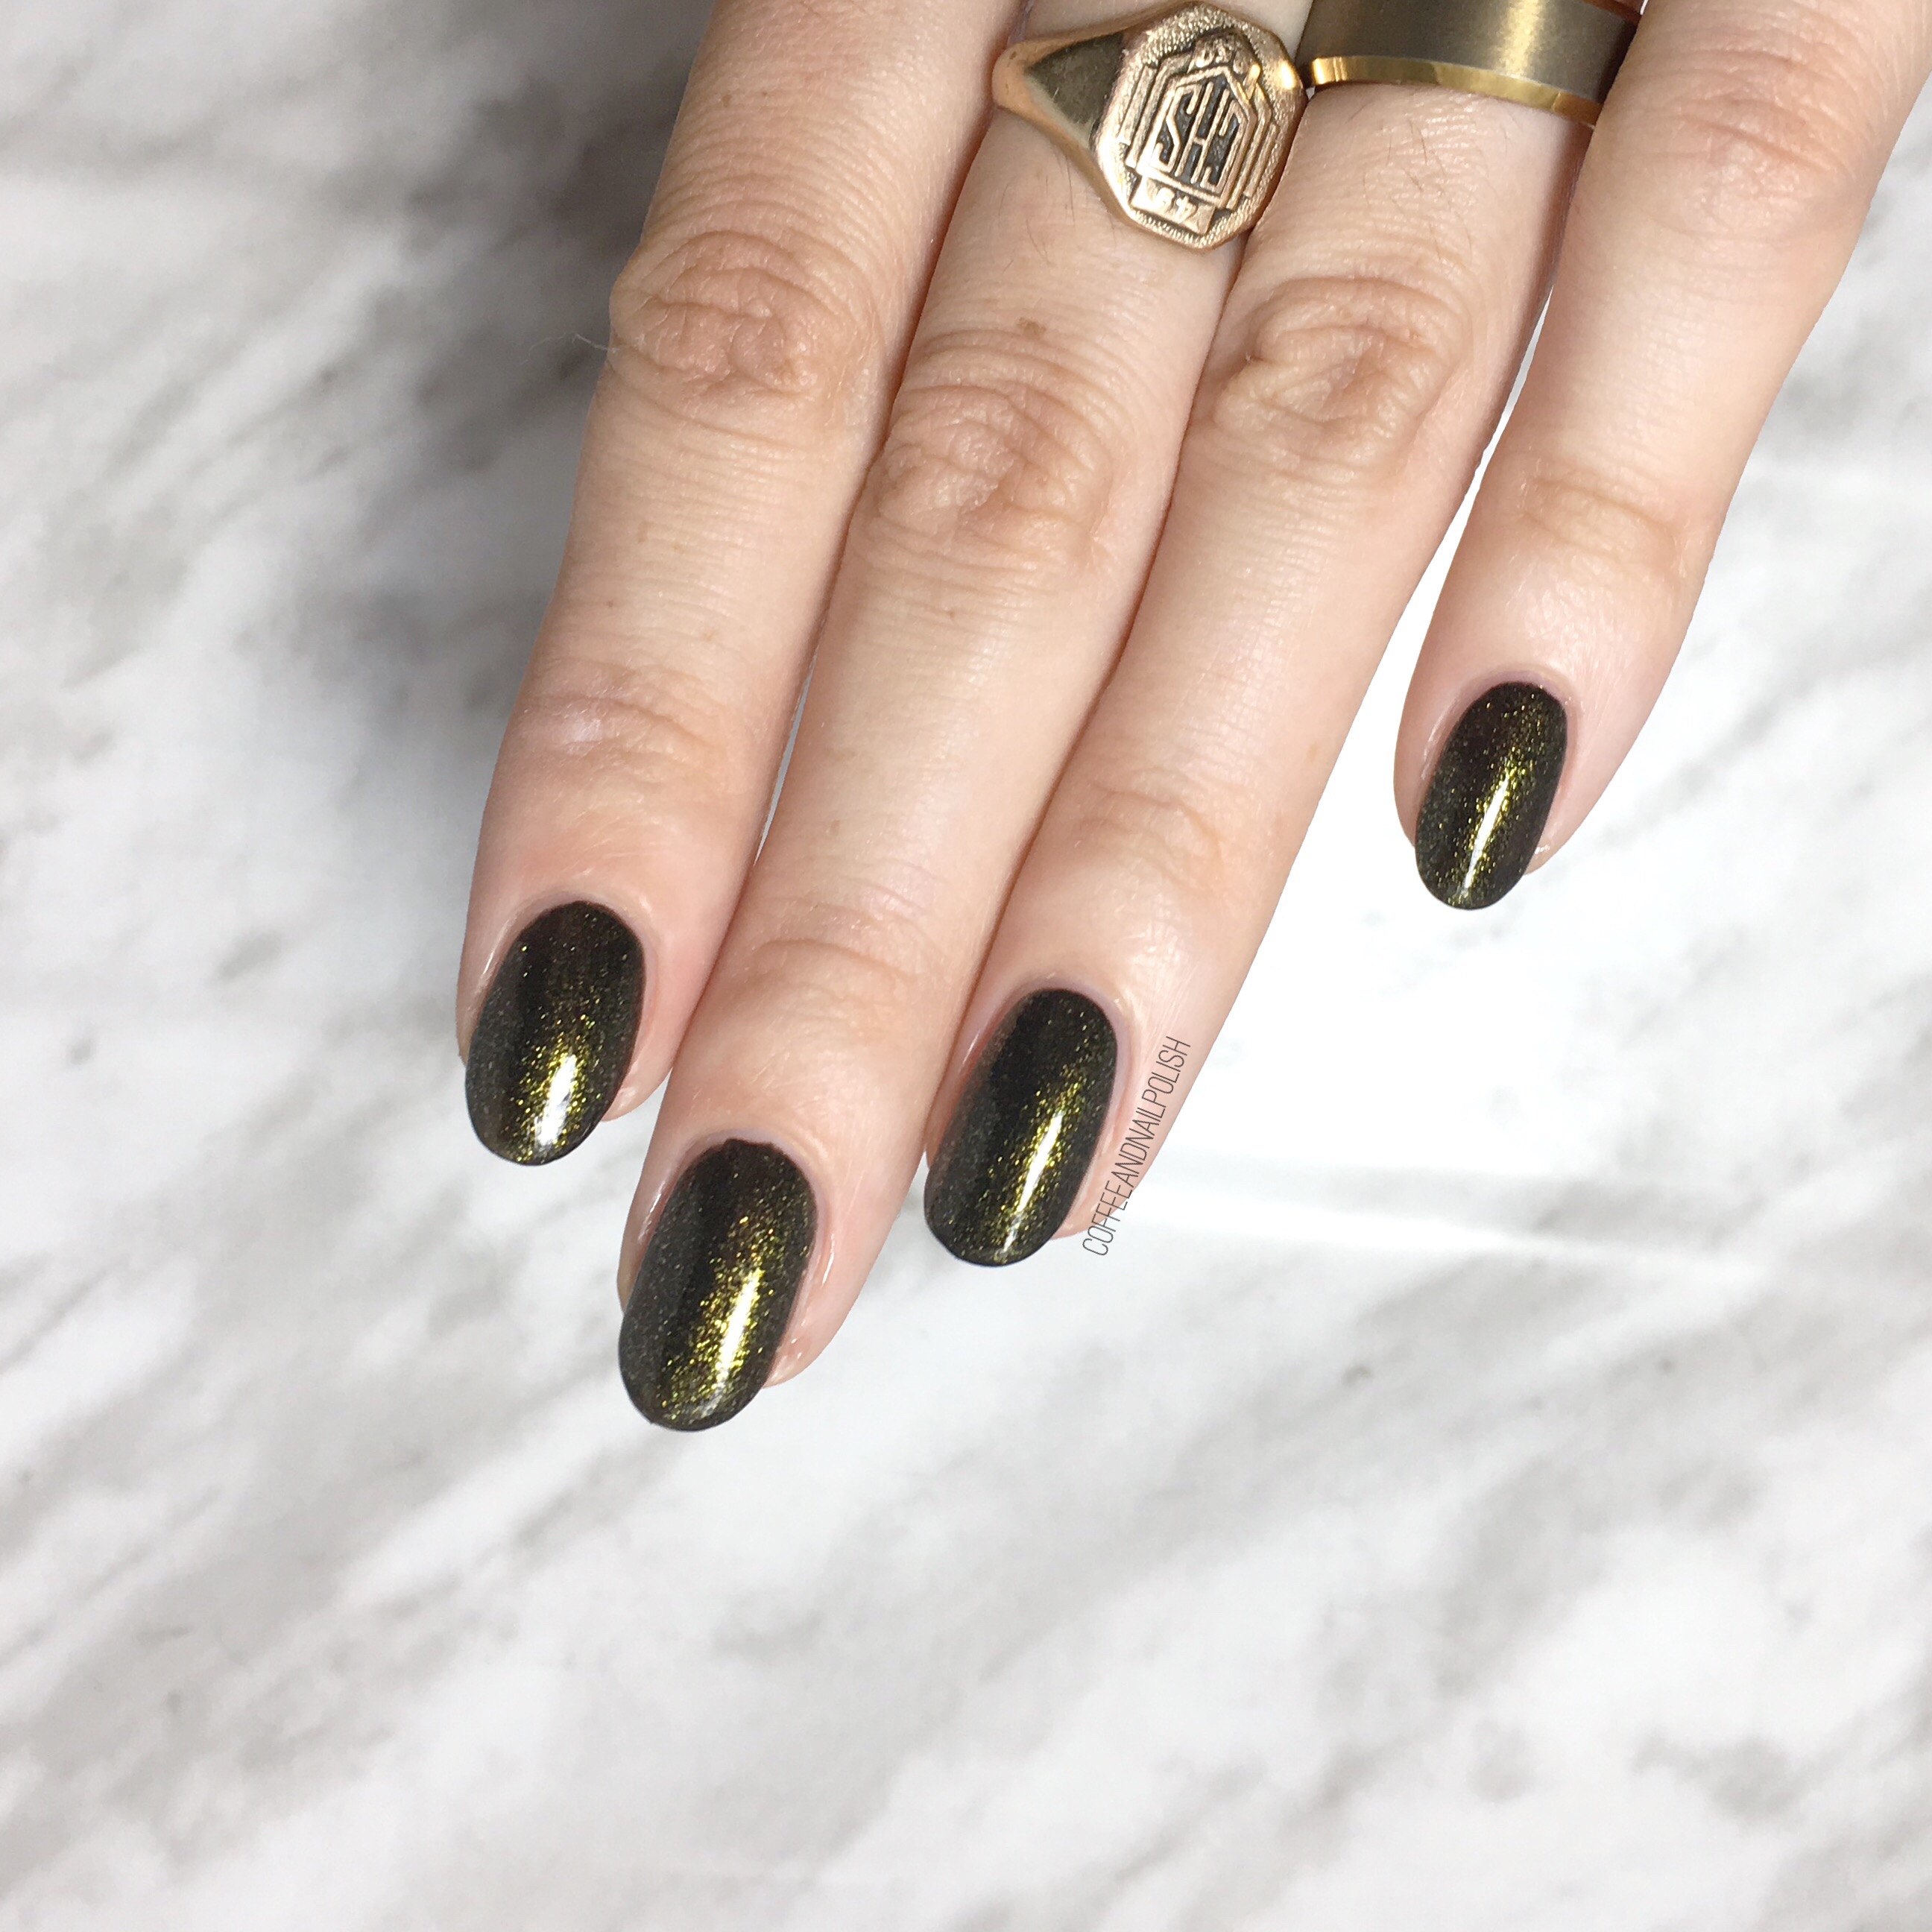
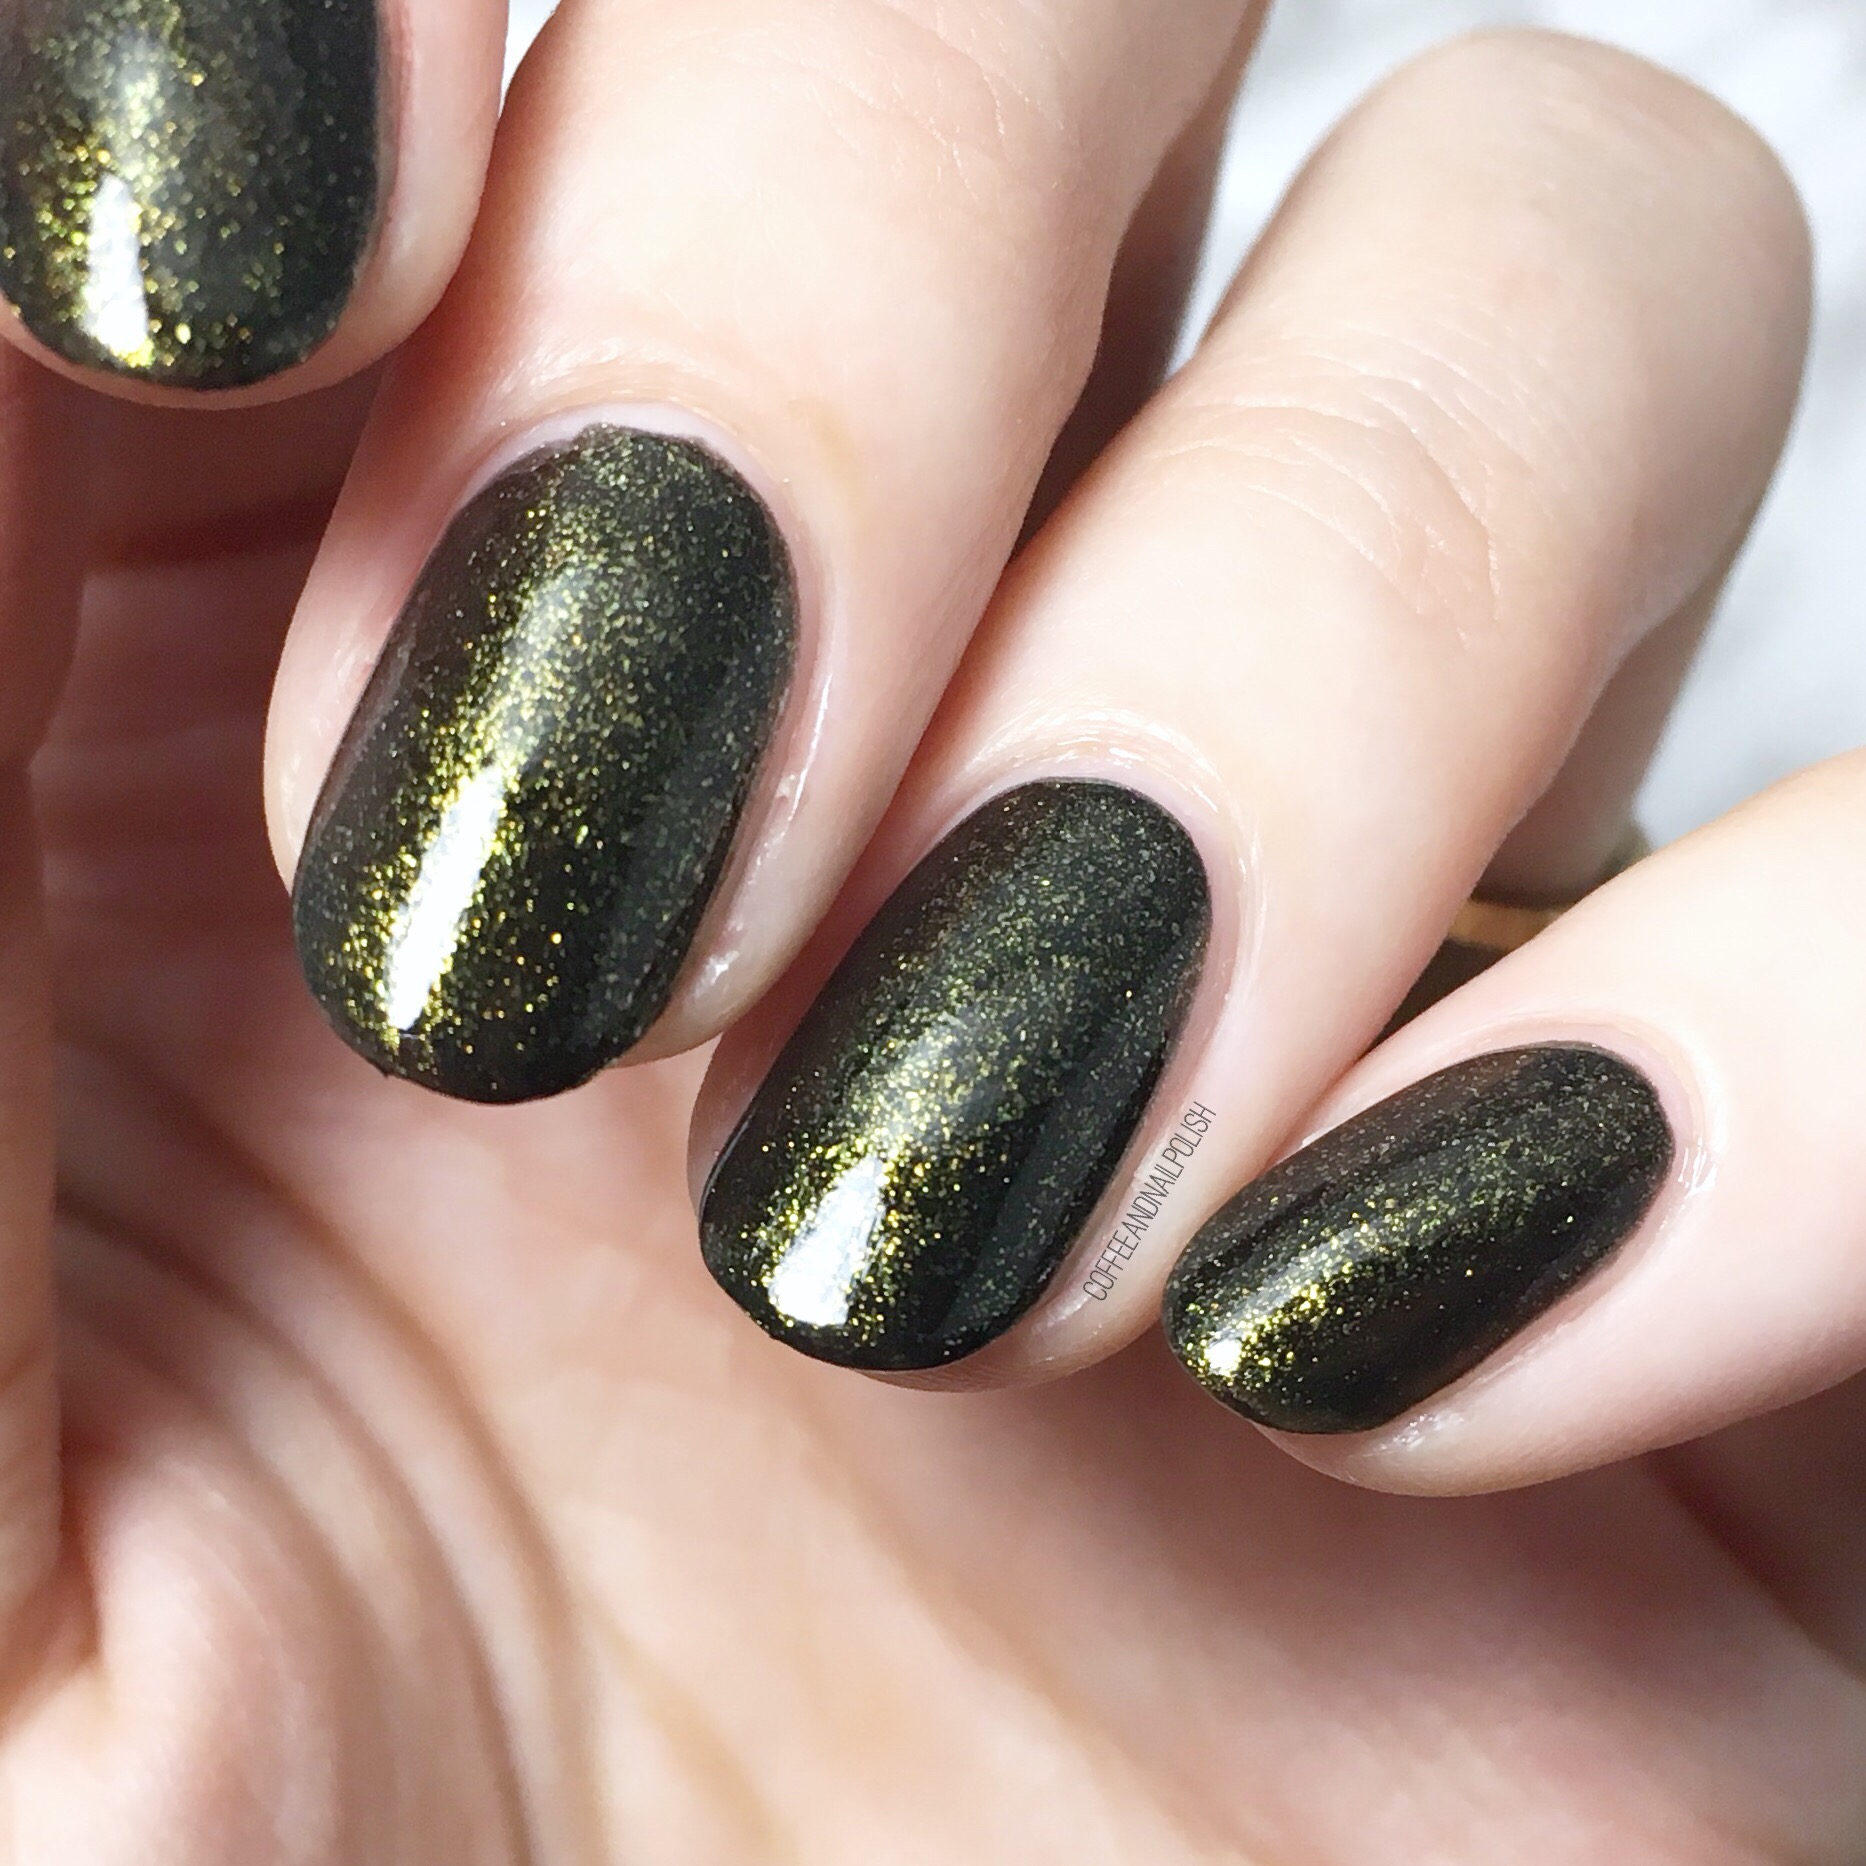
Geometric stamping over Sally Hansen Mermaid’s Tale 

Yesterday I featured a swatch of Sally Hansen CSM in Mermaid’s Tale–a beautiful teal jelly glitter shade. Today I have the mani I did using that shade as my base colour! I’ve really had a lot of fun getting into stamping, & practicing, so I decided to try stamping a pattern over the glitter. I knew black wouldn’t show up over such a dark base, so I decided to grab something fun & bright (Turquoise) & the end result turned out perfect. 

For this manicure, the polishes used were:

  • Base Coat: Finger Paints Peel Off Base Coat for Glitter
  • Top Coat: Cutex Quick Dry Top Coat
  • Essie Under the Twilight 
  • Sally Hansen Complete Salon Manicure Mermaid’s Tale
  • China Glaze Turned Up Turquoise
  • Born Pretty Store Clear Jelly Stamper item #24059
  • Older Born Pretty Stamping Plate that’s no longer available — this plate contains the same image. 

Can I just say how impressed I am with how well Turned Up Turquoise stamps? I was shocked with how opaque it was on the nail, especially over such a dark base colour. I wasn’t sure how it was going to look, but it turned out awesome! I always find myself so drawn to dark shades in the Fall months, but the pop of colour over top works well for a transitional manicure–just enough of Summer & just enough of Fall, all in one design. 


What do you think of this stamping? What polishes do you love for stamping? Share all your secrets in the comments below! I’m going to be ordering a bunch of new stamping plates (especially Halloween/Christmas themed plates) in the next couple days so I’m looking for all the best stamping polishes for playing.