Easy Navy & Neon Half Moons 

I’m sure I’m not the only one whose first nail art involved those paper hole re-enforcements. This design is very reminiscent of those early nail art designs when all I had at my nail art disposal was those little sticky circles & a $1.99 dotting tool by Essence. & even though it’s a relatively simple design, I think it looks so classy & chic! 

For this manicure, I used:

  • Base Coat: Cutex Brittle Nail Fix
  • Top Coat: Cutex Quick Dry Top Coat
  • China Glaze Purple Panic
  • China Glaze Sleeping Under the Stars
  • Essie Jiggle Hi, Jiggle Lo
  • Paper Hole re-enforcements (I buy mine from the Dollar Store)
  • Small dotting tool (like this one from Essence!)  

If you’re looking for an easy, simple nail art design this would be a great option! The hardest part is waiting for your base colour to dry (& thanks to quick dry top coat, even that comes pretty easy.) I really like this colour combination–you have Purple Panic with all its neon beauty topped with Sleeping Under the Stars which has that very pretty pink shimmer that compliments the neon pink really well. This is a great in-between mani. & a little more sparkle by adding those gold dots. 


What do you think of this mani? What is your favourite old school nail art technique? Let me know your thoughts in the comments below! 

Patterned Watercolour Nails Inspired by @thesammersaurus

So I’ve been feeling a little stuck, inspiration wise, & when I feel lost for ideas I love browsing through the feeds of my favourite nail artists to see what catches my eye. I was scrolling through @thesammersaurus‘s instagram feed & came across a gorgeous geometric design from 3ish years ago. I’ve been a massive fan of Sammy’s for a long time–she was one of the first nail art blogs I discovered–& I love how she comes up with awesome, creative designs & rocks those shorter nails!  It gives hope to those out there who don’t have crazy long nails. So when I discovered this gorgeous design I loved, I popped over to her blog & found all the details of her design to make painting my recreation way easier! 

For the manicure, the products used were:

  • Base Coat: Cutex Brittle Nail Fix
  • Top Coat: Cutex Quick Dry Top Coat
  • Essie Go Ginza 
  • Essie Play Date
  • Sally Hansen Xtreme Wear Royal Hue
  • Sally Hansen Hard As Nails Hard To Get
  • OPI My Favourite Ornament 
  • Xroma Polish & Vinyls X Stencil (I cut off the bottom) 
  • The Base Coat Triangle Pattern Stencil
  • Latex Free Make Up Sponge 

Thanks to my vast collection of vinyls, I was able to cheat & skip having to place striping tape/skinny vinyls individually for a relatively easy to do manicure! (Thank god for that!) I also used a make up sponge instead of the Saran Wrap technique for my colour blending on the accent nails. But even though I didn’t follow her exactly, I feel like this recreation turned out Pretty on point. Just please ignore the shrinkage on my middle finger nail. 😂


Do you have a favourite nail art you love to turn to for nail art inspiration? Where is your favourite place to get nail art inspiration from? Let me know in the comments below! 💜

SWATCH SUNDAY: Wrenn Polish! 

Good Morning & happy Sunday! Today I’ve got a really exciting swatch Sunday post for you featuring three very gorgeous shades from Wrenn Polish. You have no idea how excited I was when my package from Alissa showed up on my door step, & I couldn’t wait to swatch these gorgeous shades to show off to you! 

A little preemptive warning–this post is going to be long & full of pictures of these stunning polishes. 

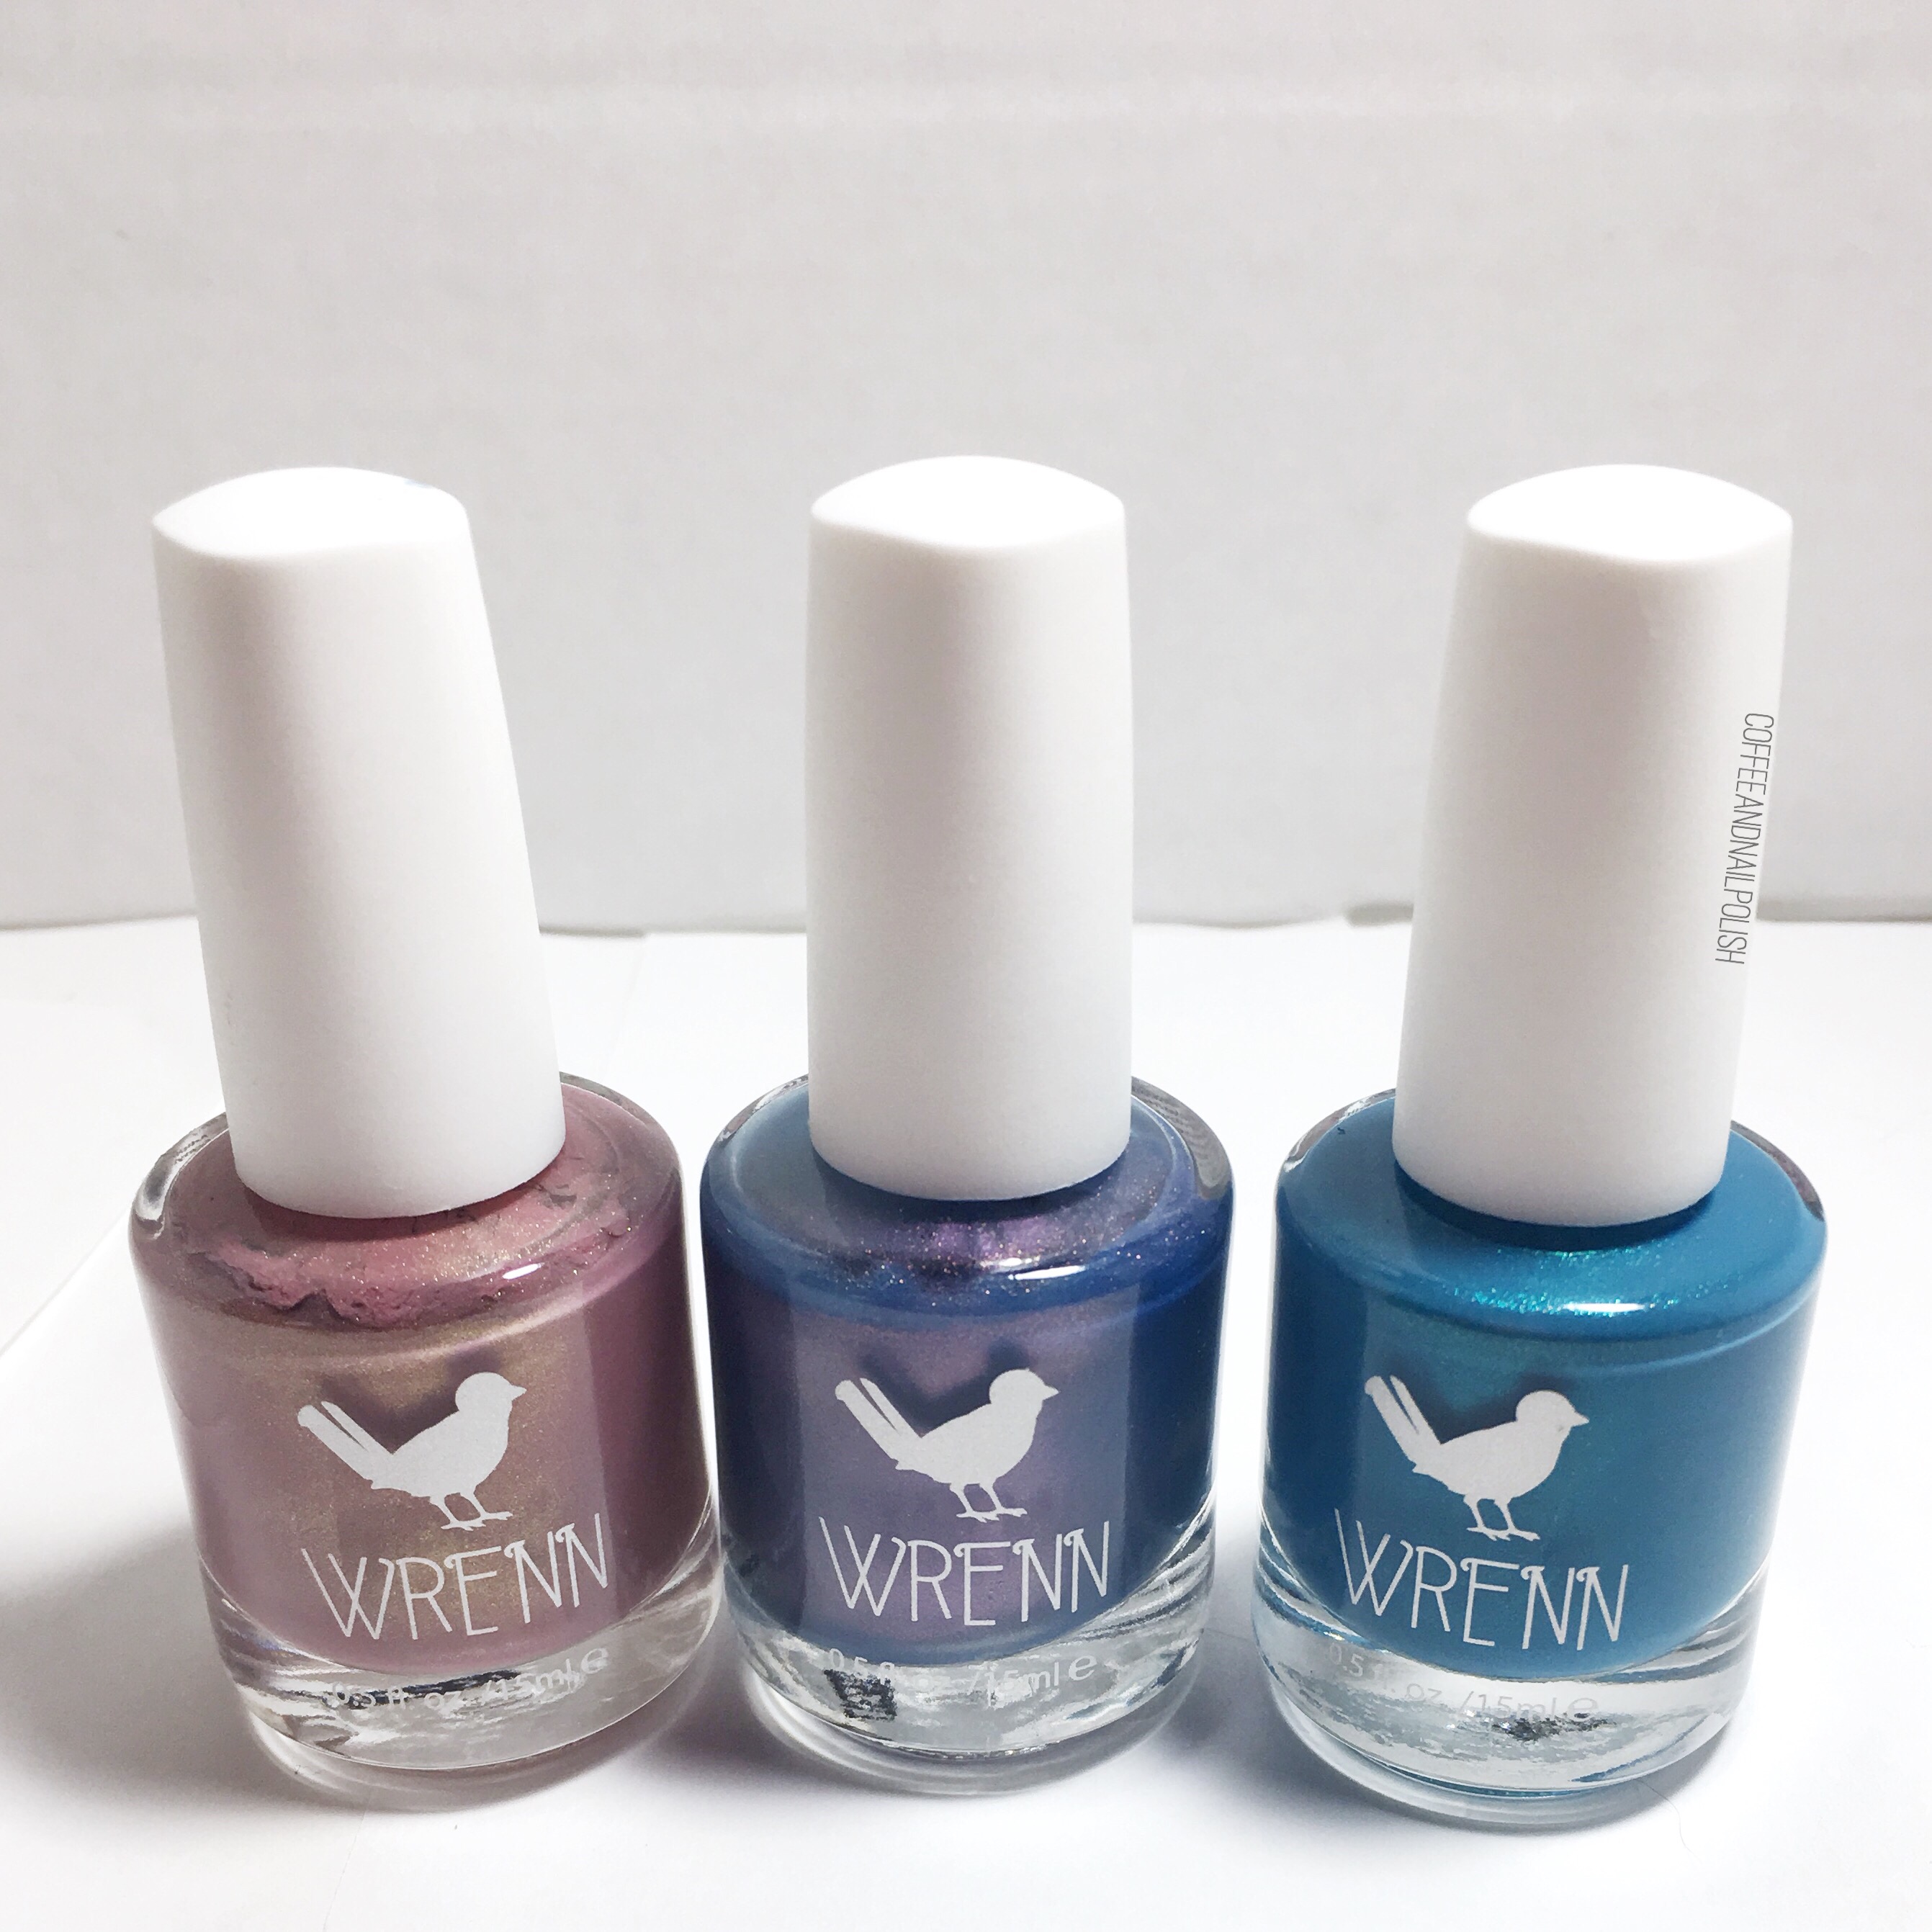
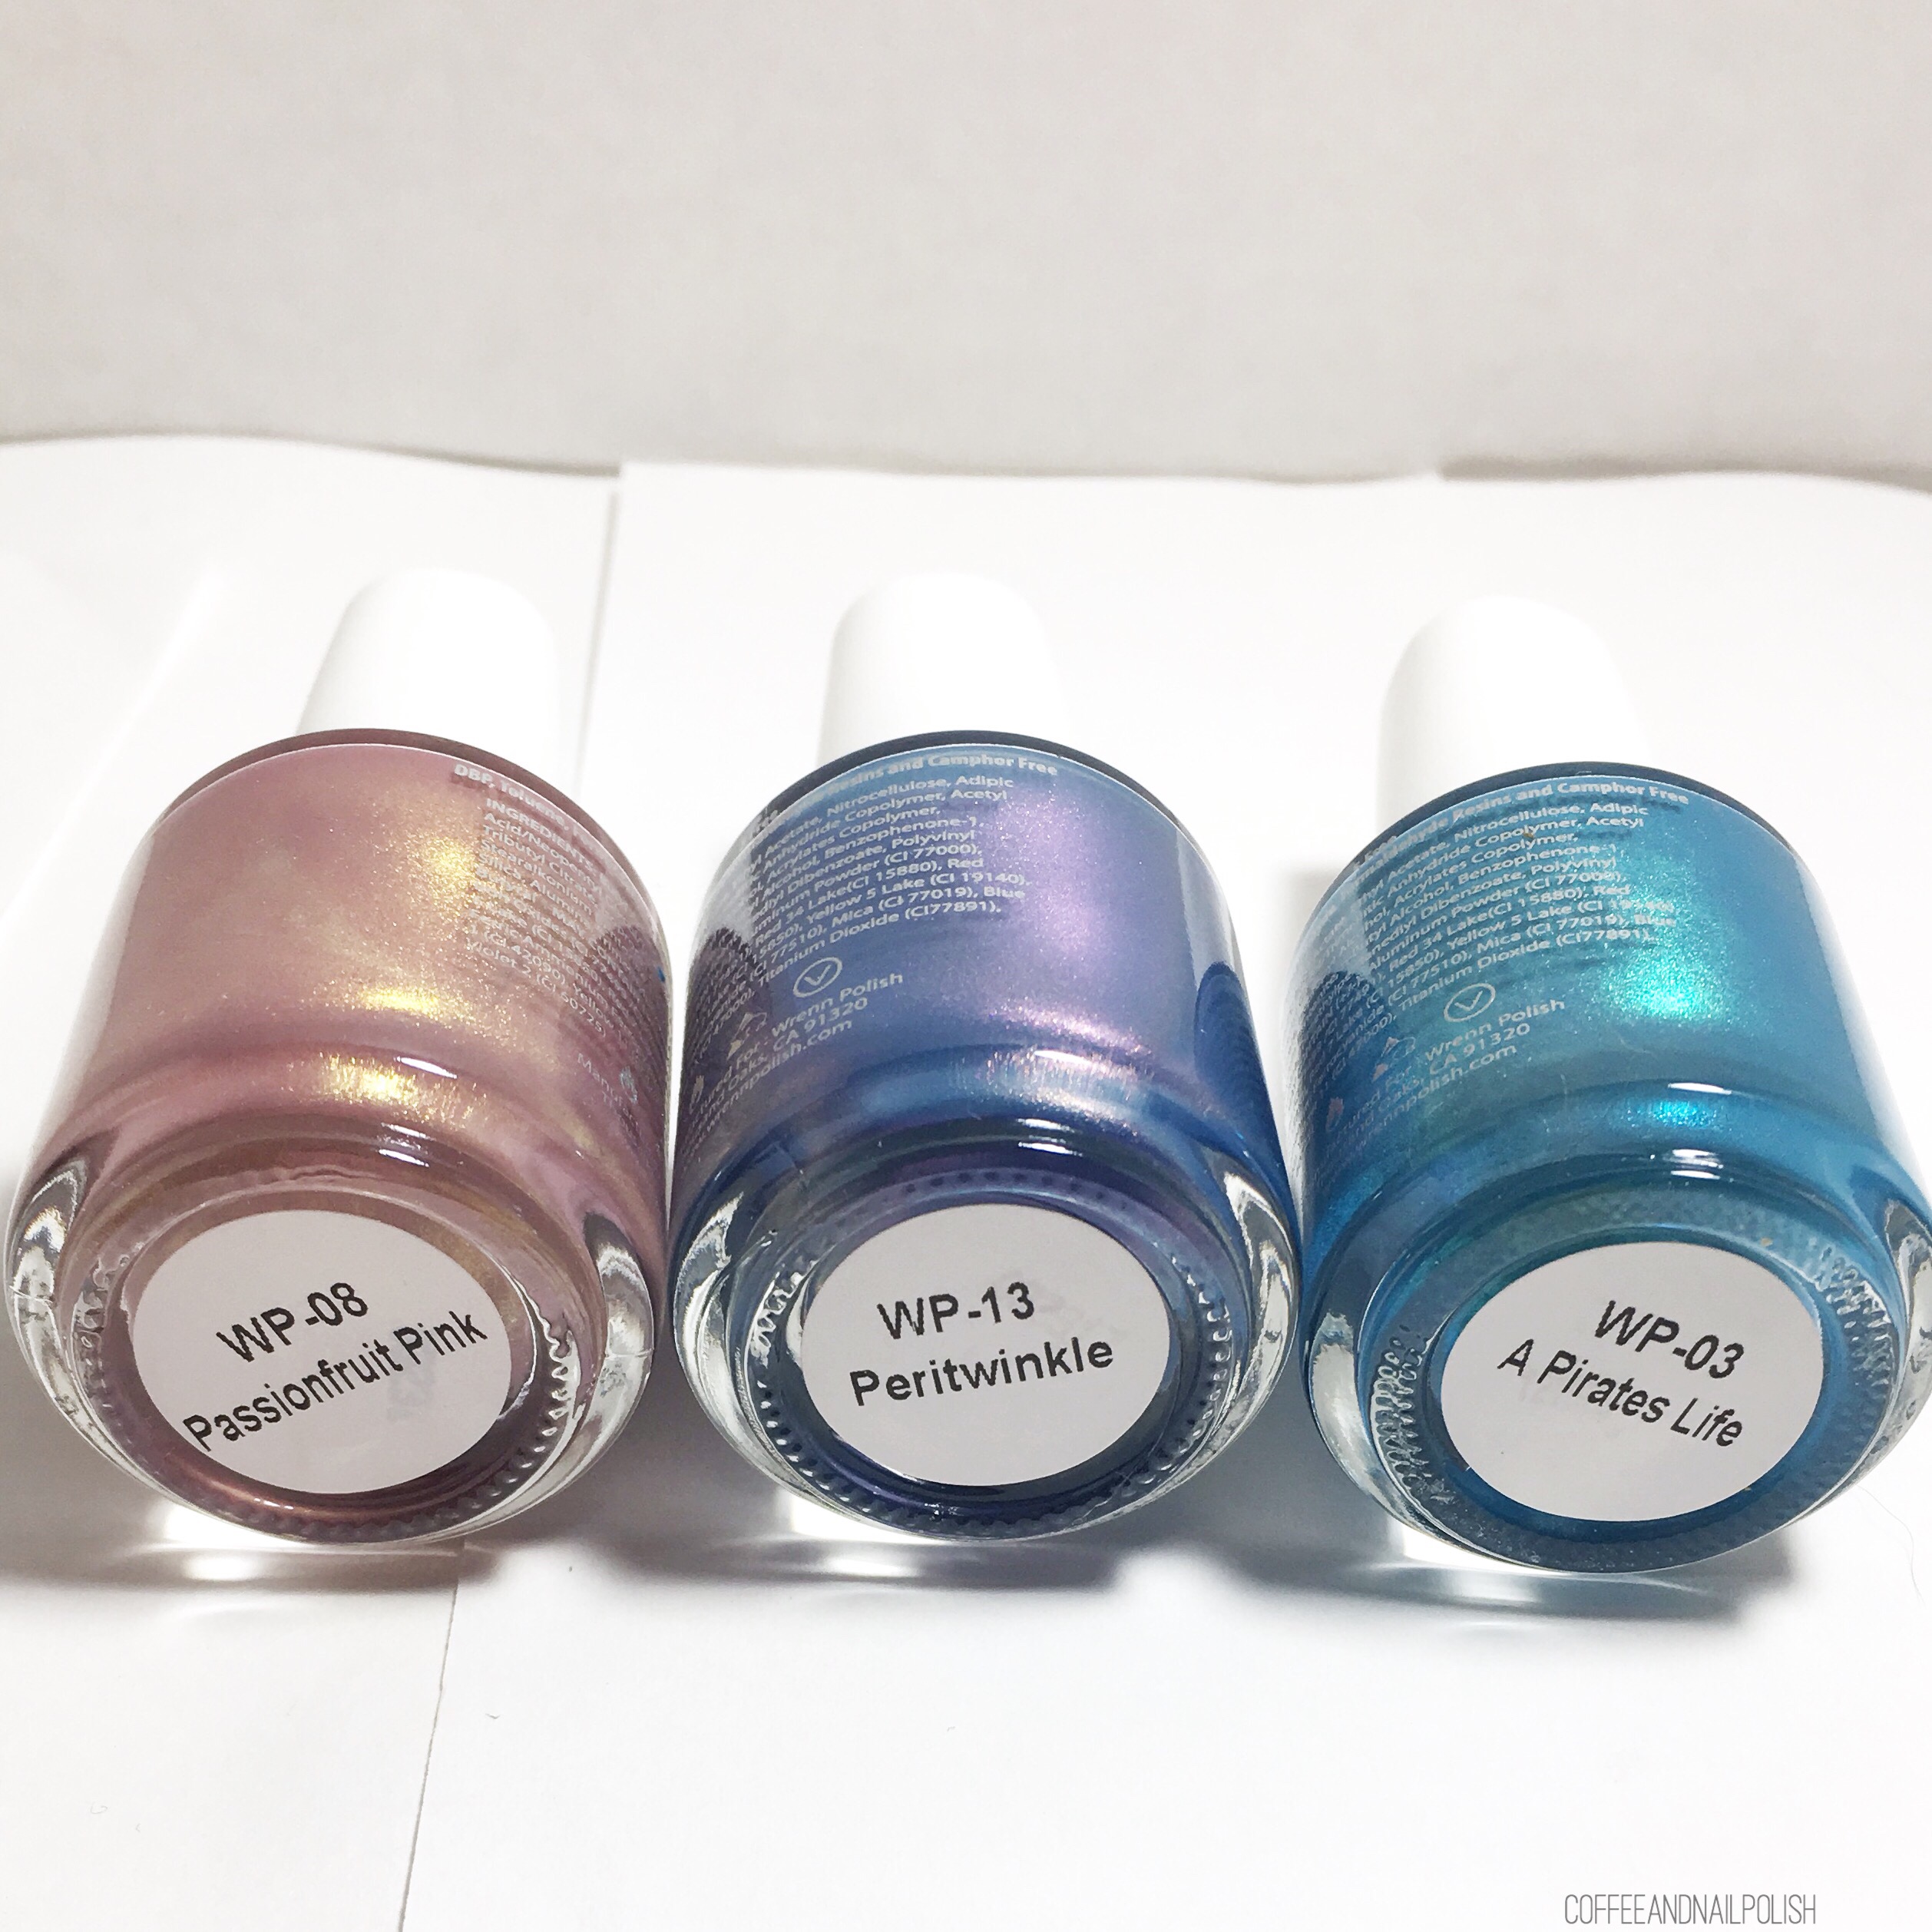
Wrenn Polish is a subset of Shop Wrenn which encompasses both these beautiful 5-free vegan & cruelty free nail polishes & their hand made Druzy stone jewelry which inspires it. I was lucky enough to receive three shades for review: Passionfruit Pink, Peri*twinkle* & A Pirates Life


Passionfruit Pink

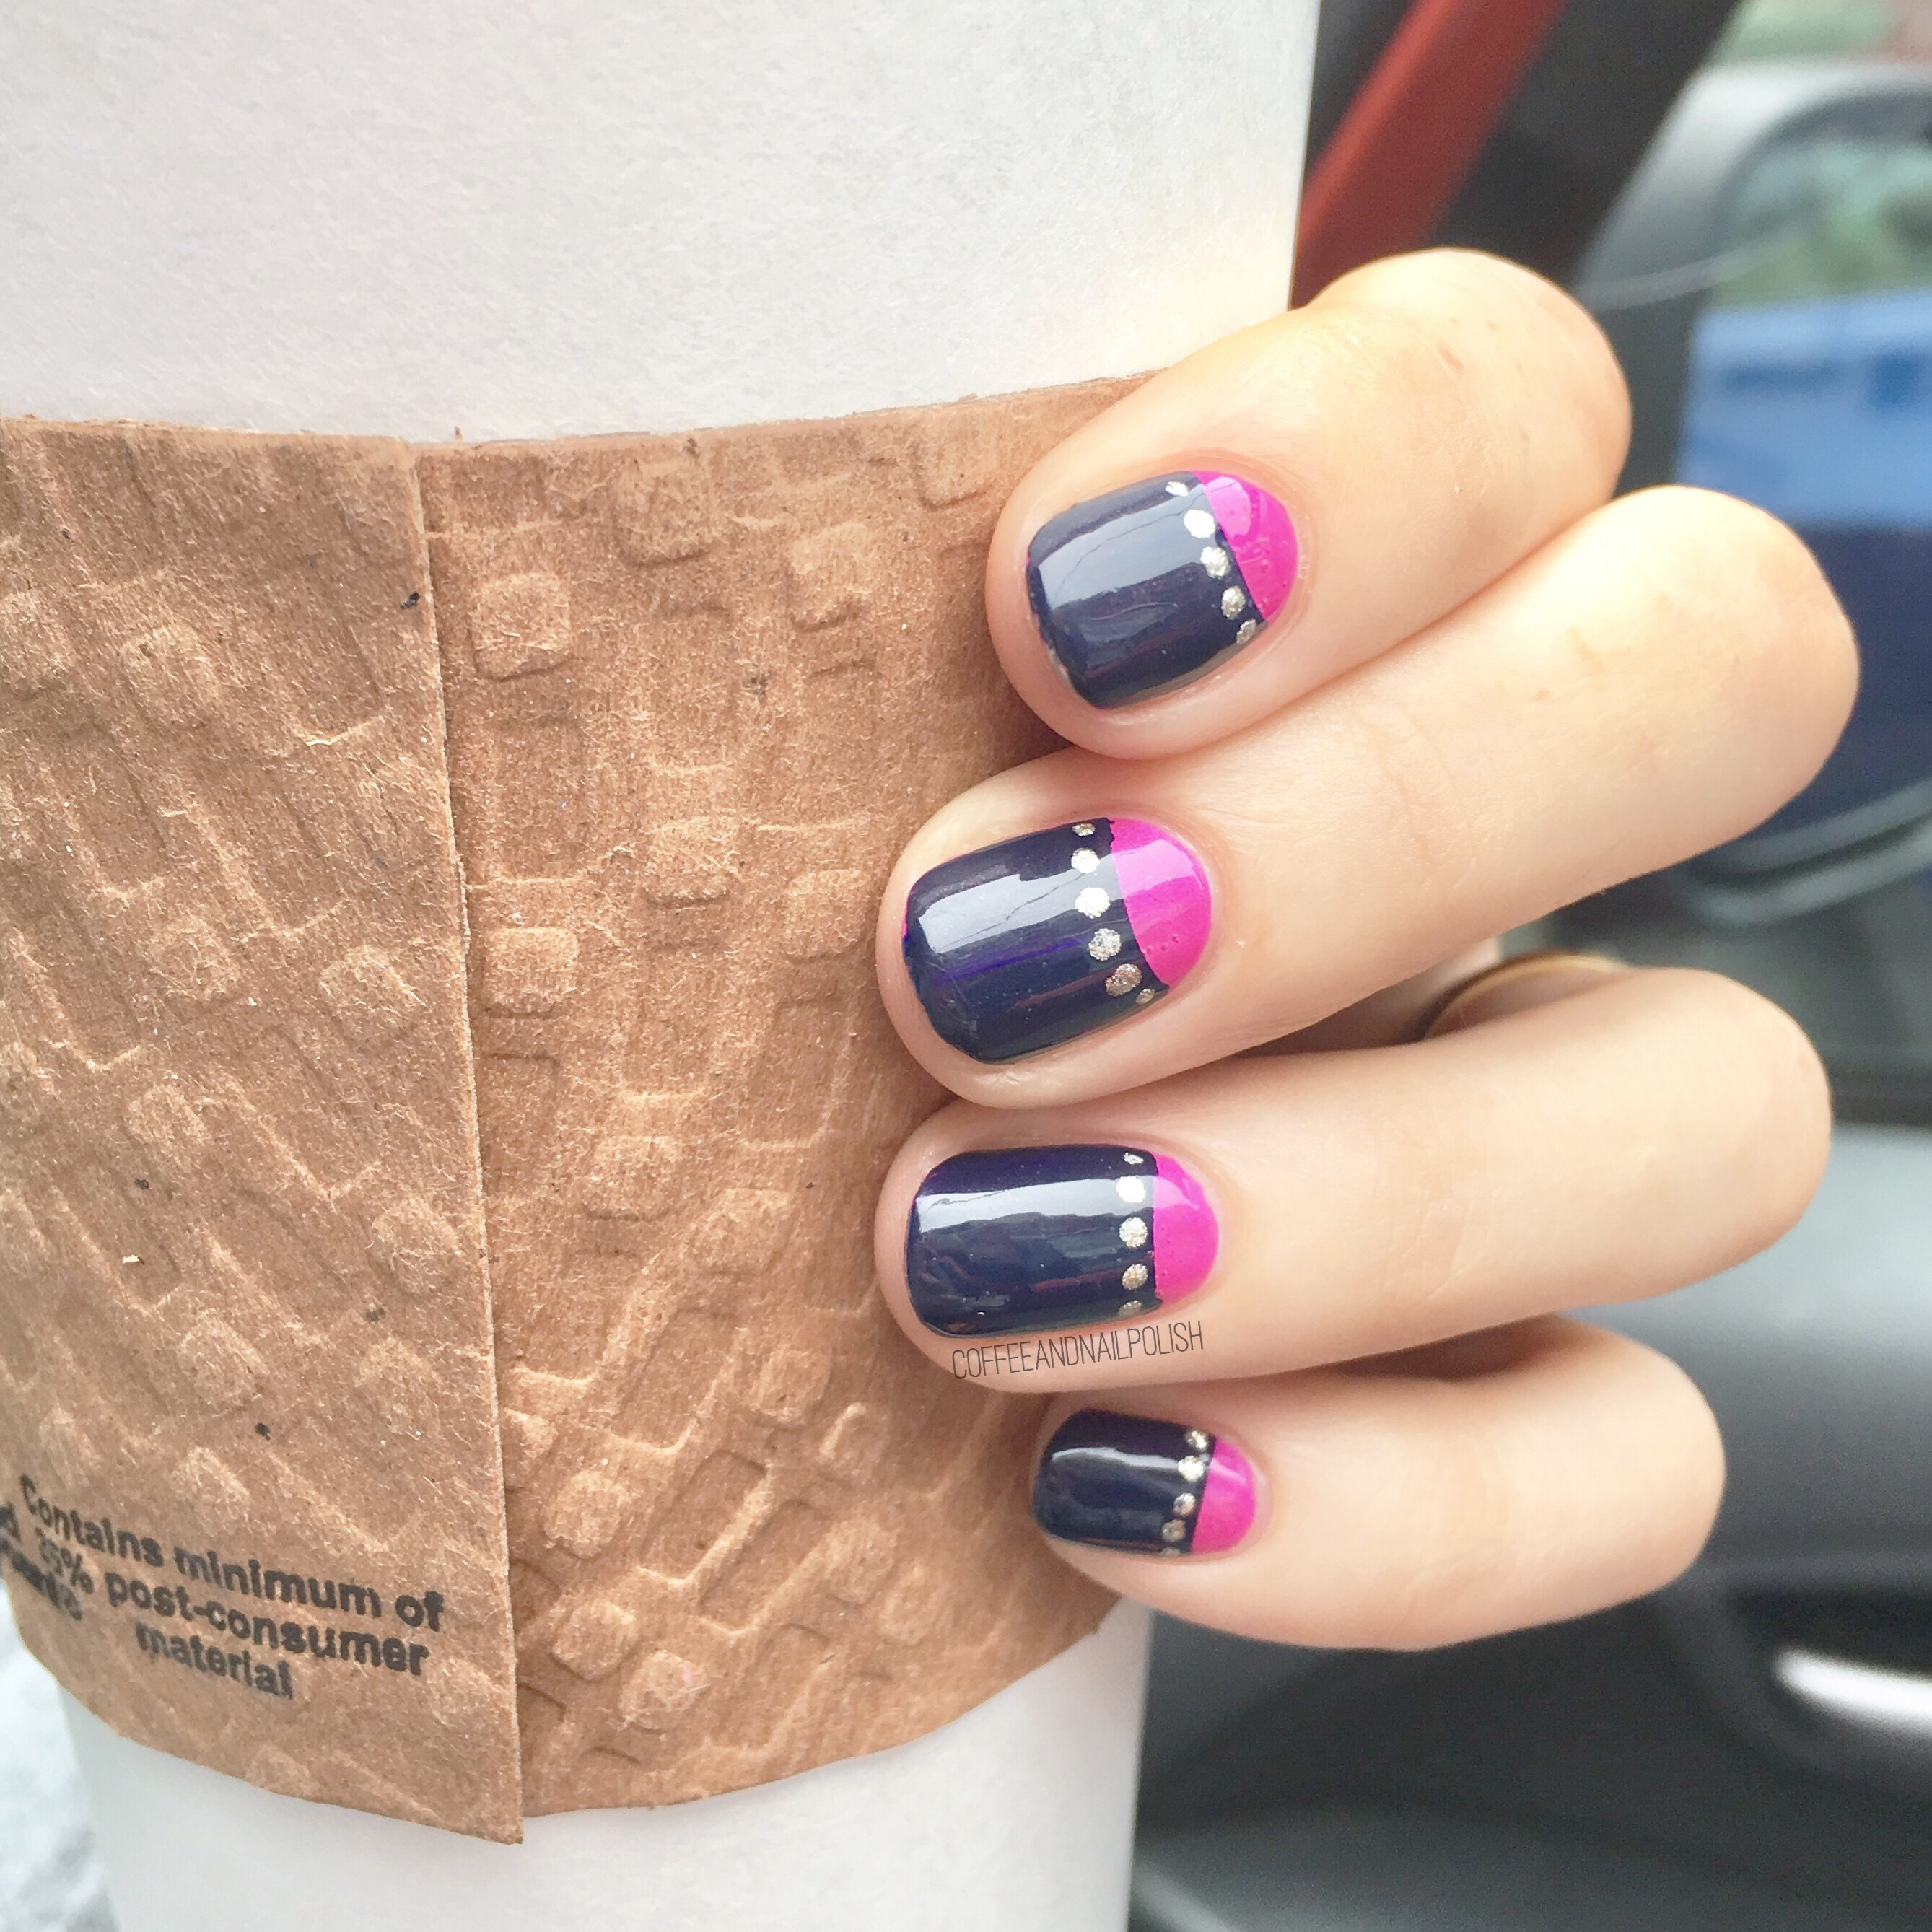
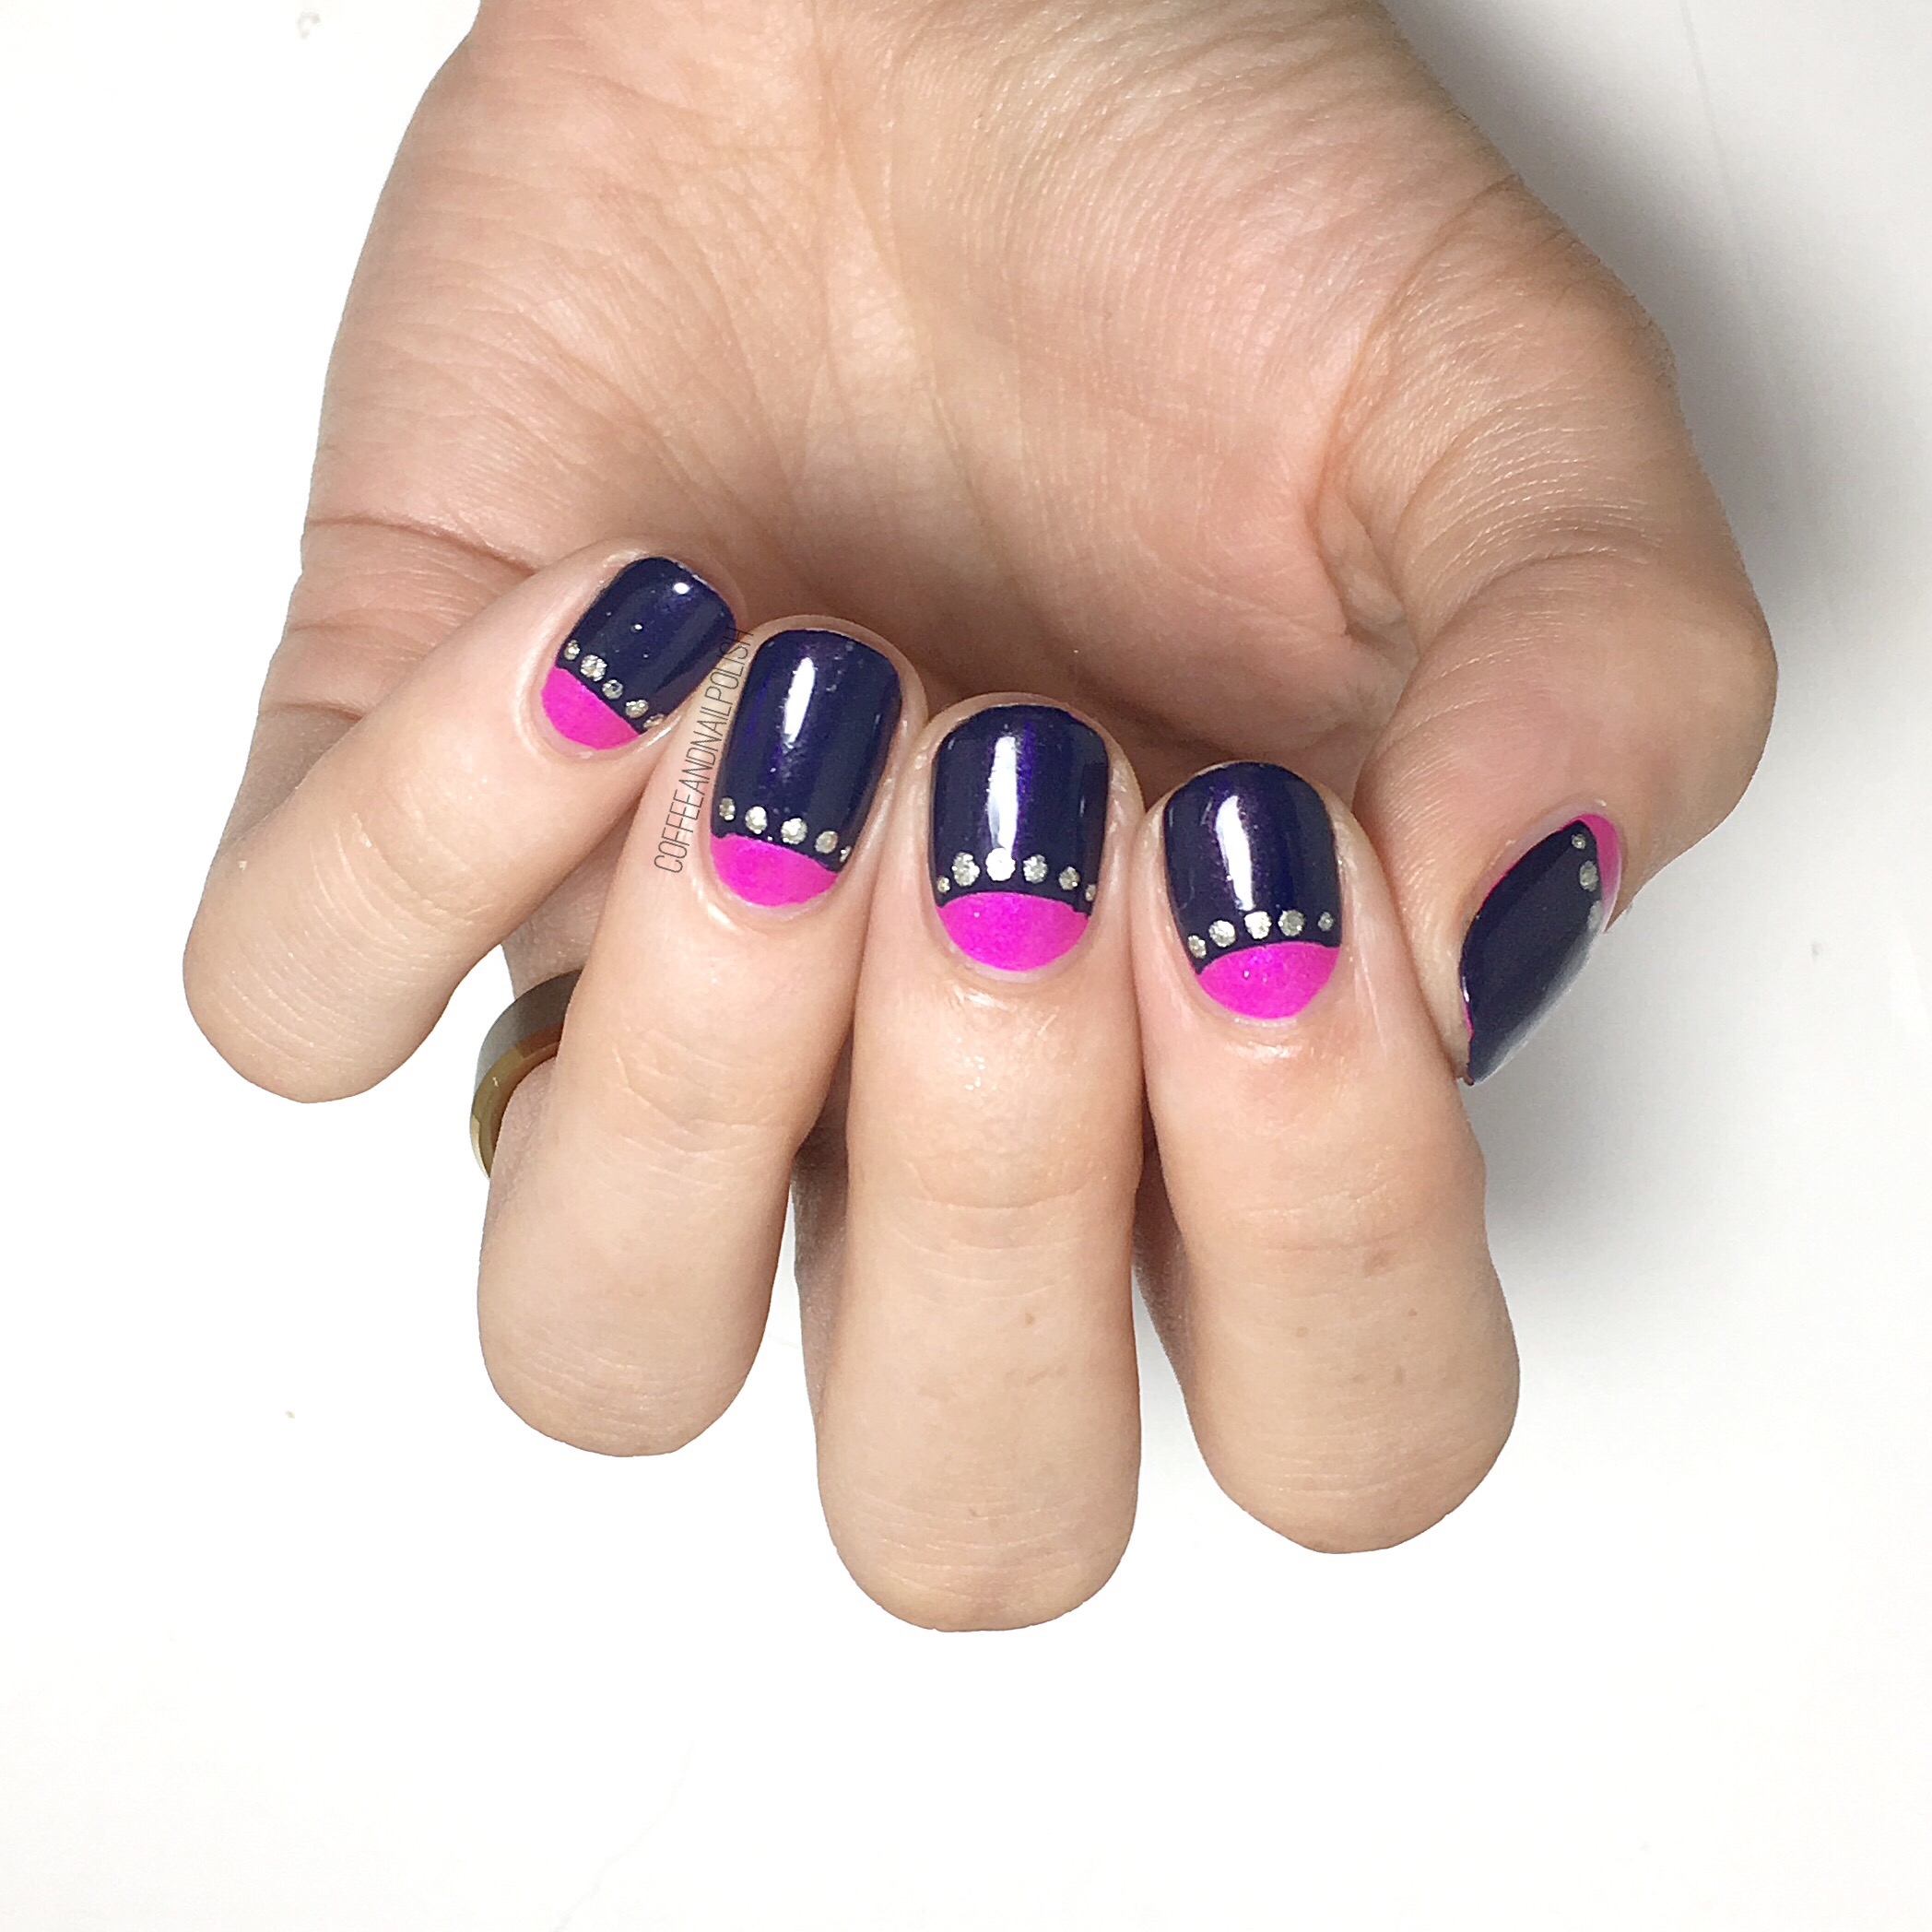
Passionfruit Pink is a dusty dark blush shade that is infused with the most vivid gold shimmer. For my swatch, I had perfect opacity in 2 coats. As soon as I painted Passionfruit Pink on my nails, I knew this was going to be a go to shade for Fall. The pink on its own is a lovely, girlie shade but with the gold shimmer it becomes so much more. & unlike a lot of other nail polishes, this shimmer does not hide on the nail. As you can see from my pictures, it’s in your face & just as present on the nail as it is in the bottle! You can easily understand how these are inspired by Shop Wrenn’s beautiful stone jewelry. 
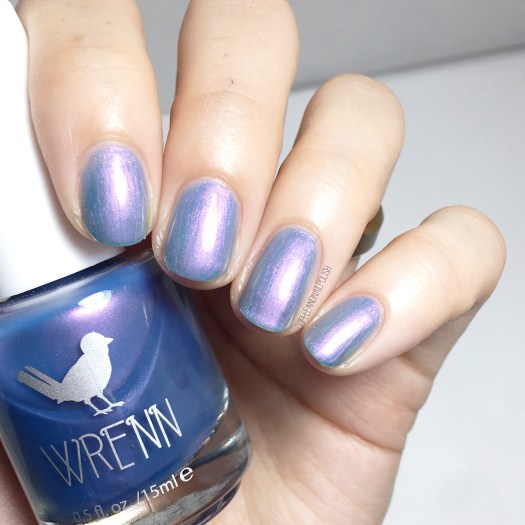
Peri*twinkle*

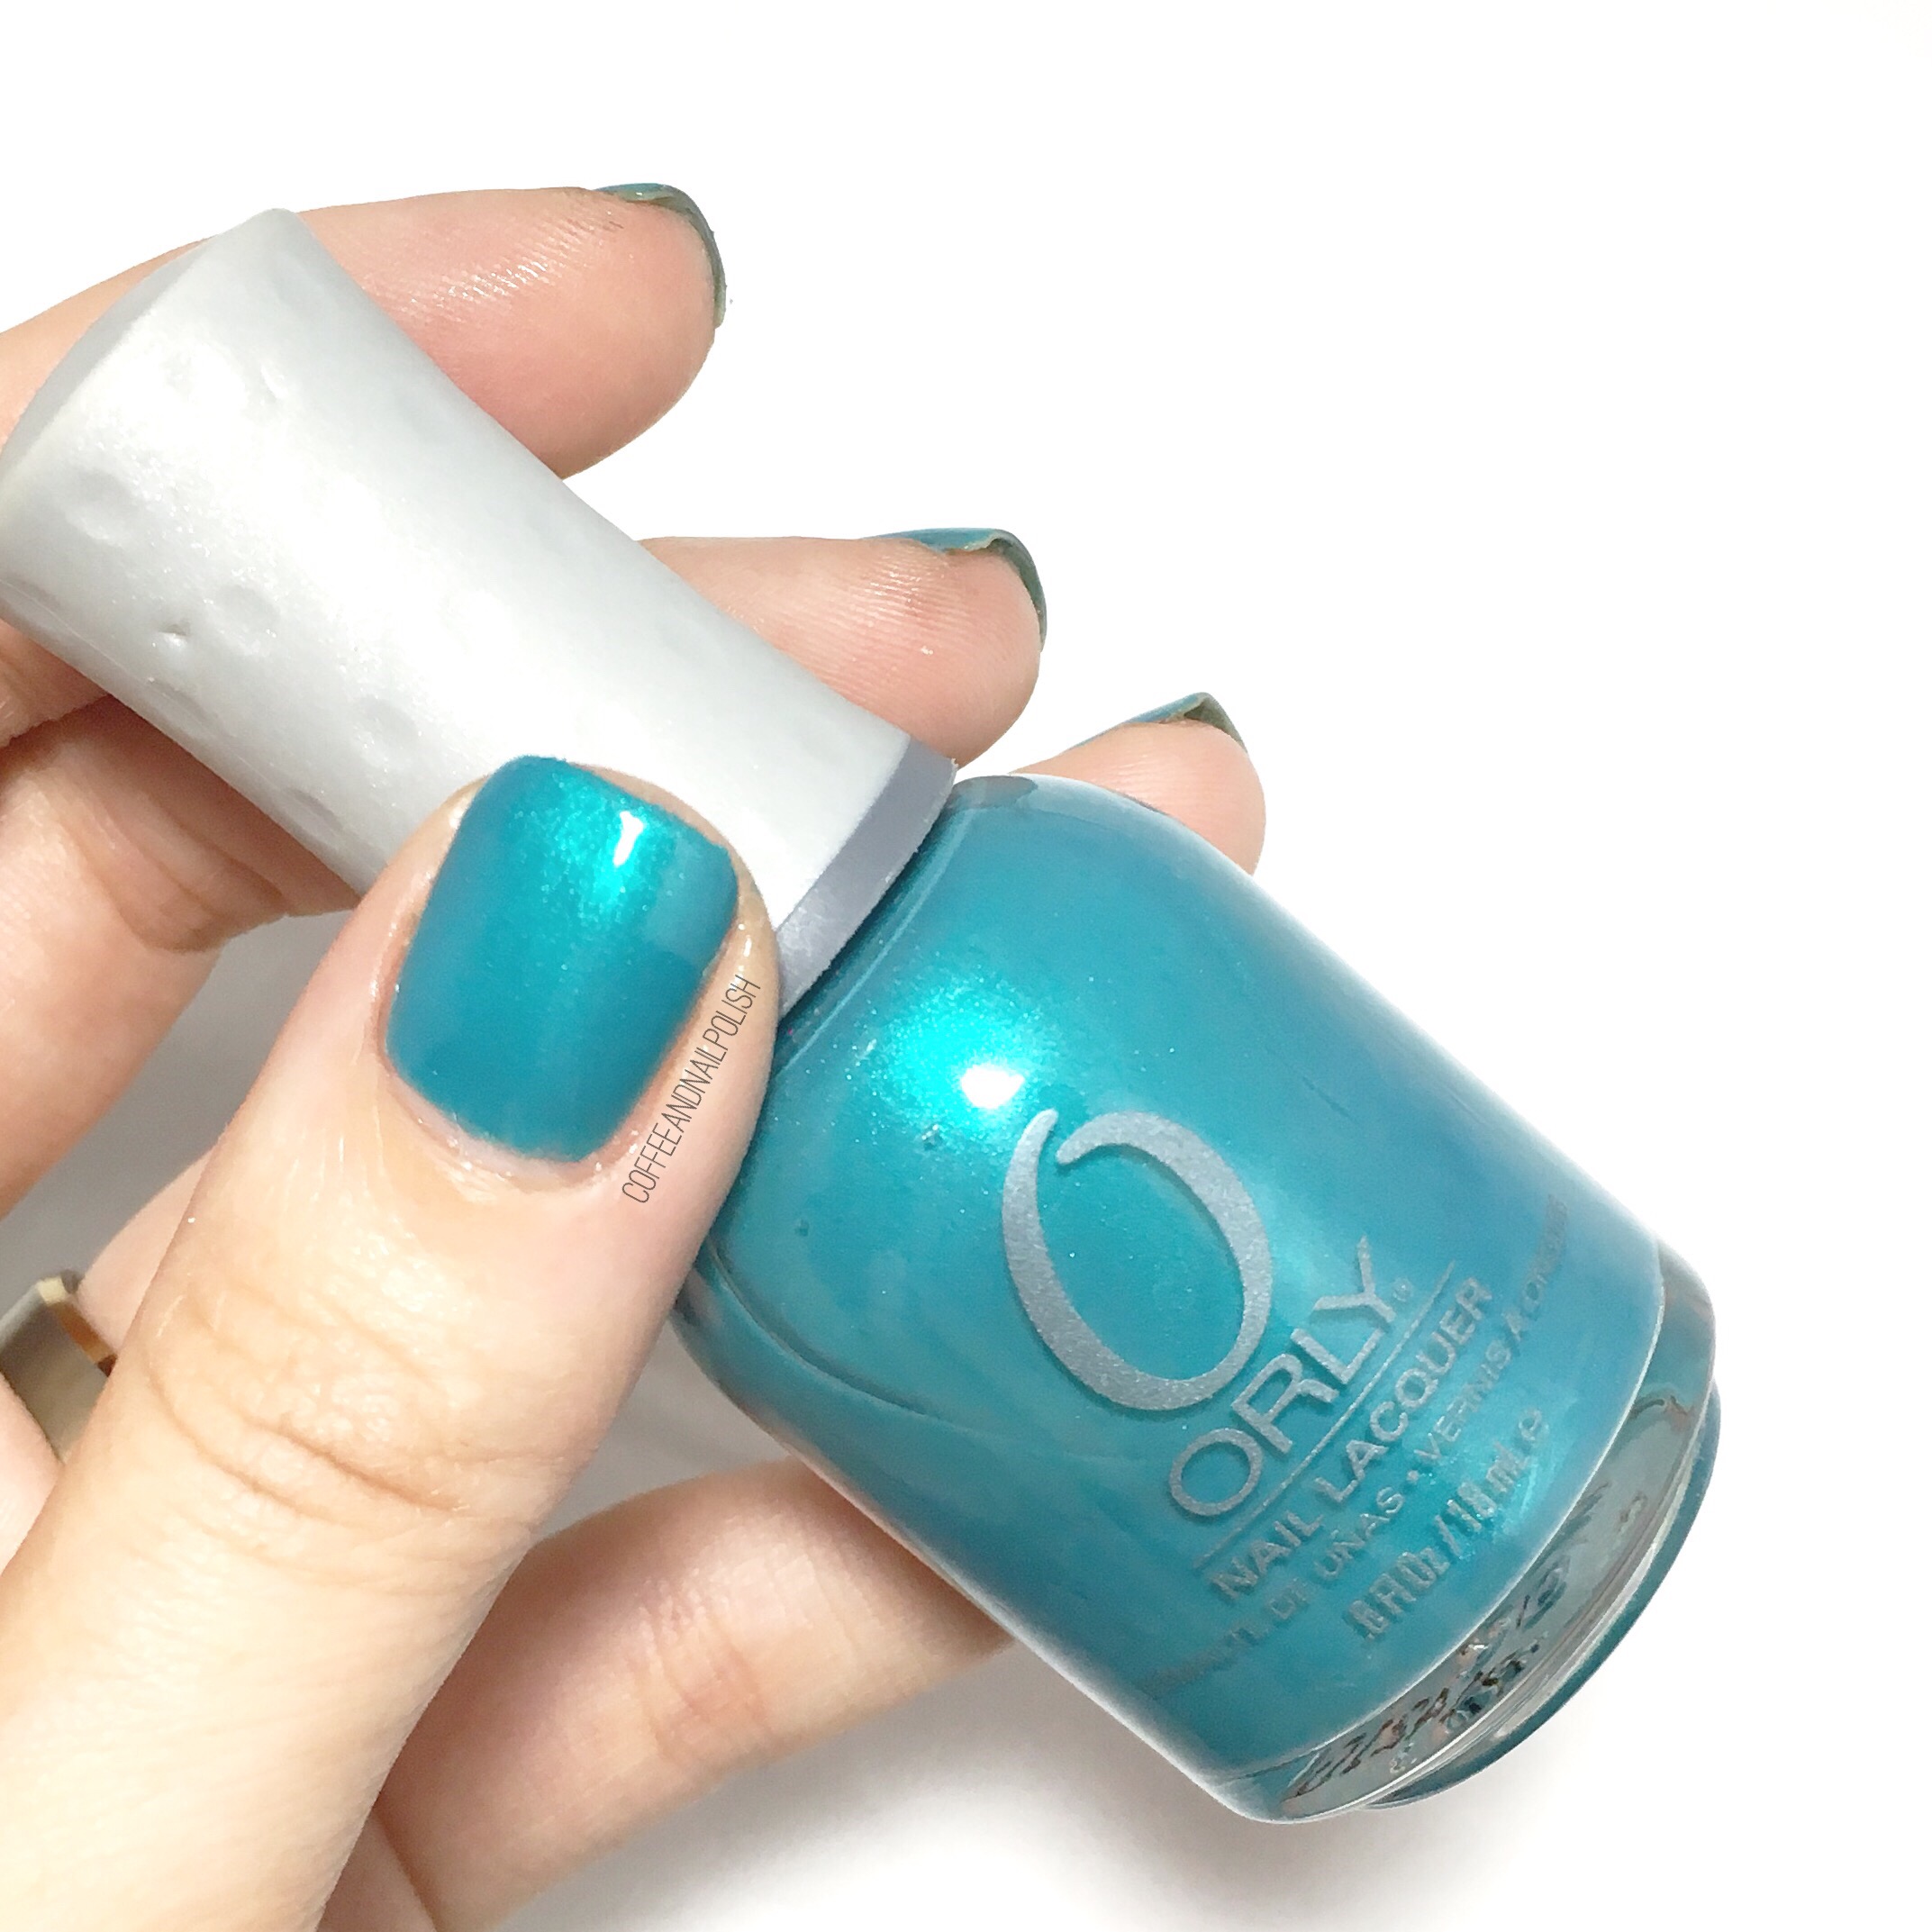
Peri*twinkle* is a blurple beauty that took three thin coats for full opacity. The formula on this shade was a little bit thinner than the other two, which was the reason for the extra coat, but I feel like if you were just looking for a sheer polish to add a little shimmer to your nails, one coat would be perfect for you. Depending on the angle, you can get flashes of pink, purple or blue & it’s so distractingly beautiful. I also would be very curious to see what it would do layered over some dark undies! The flash of different colours just makes this shade so beautiful & unique. I thought it might be similar to Quo by ORLY Sweet Dream, but Peri*twinkle* has a much more vivid shift & is much more blurple. 
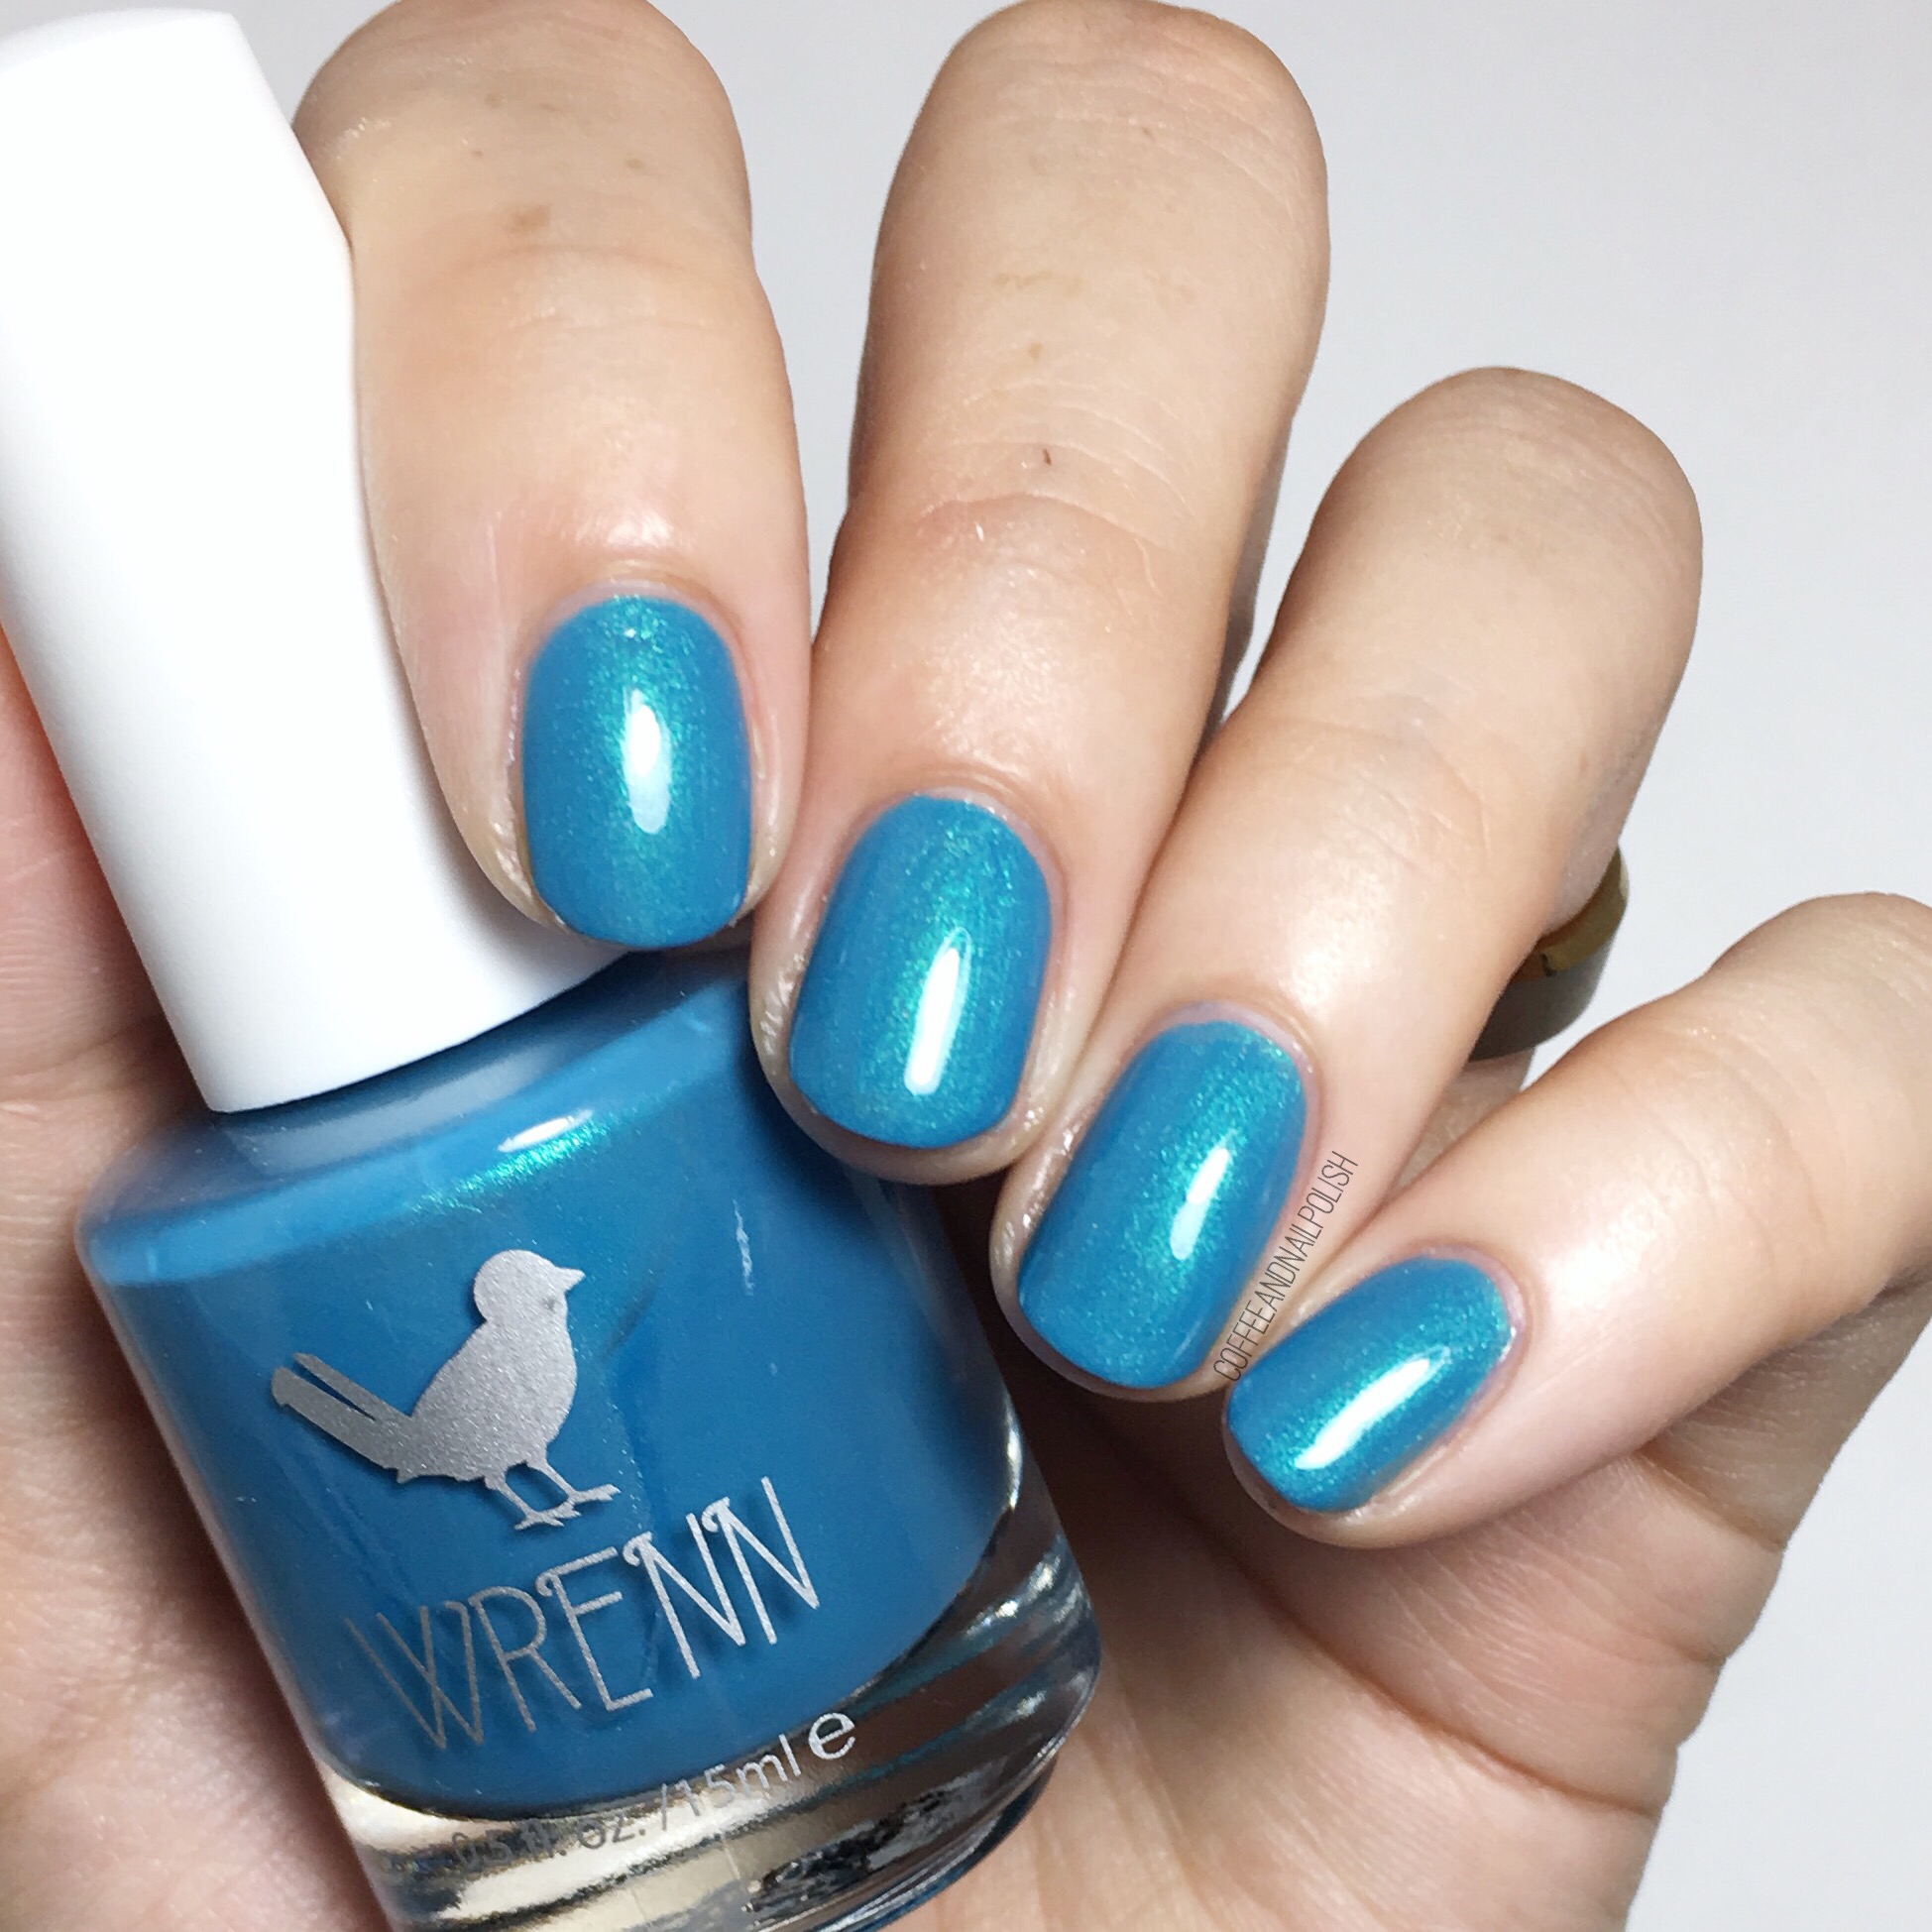
A Pirates Life

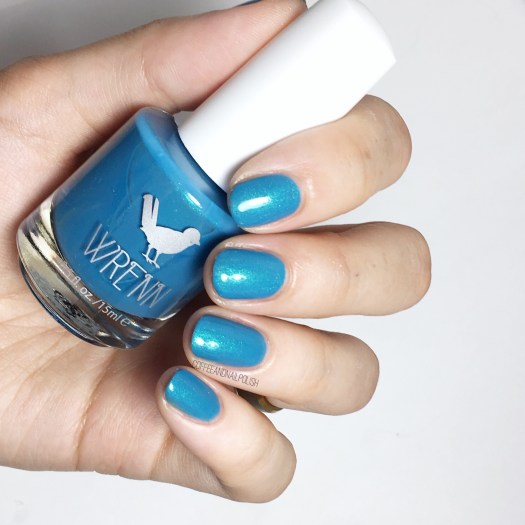
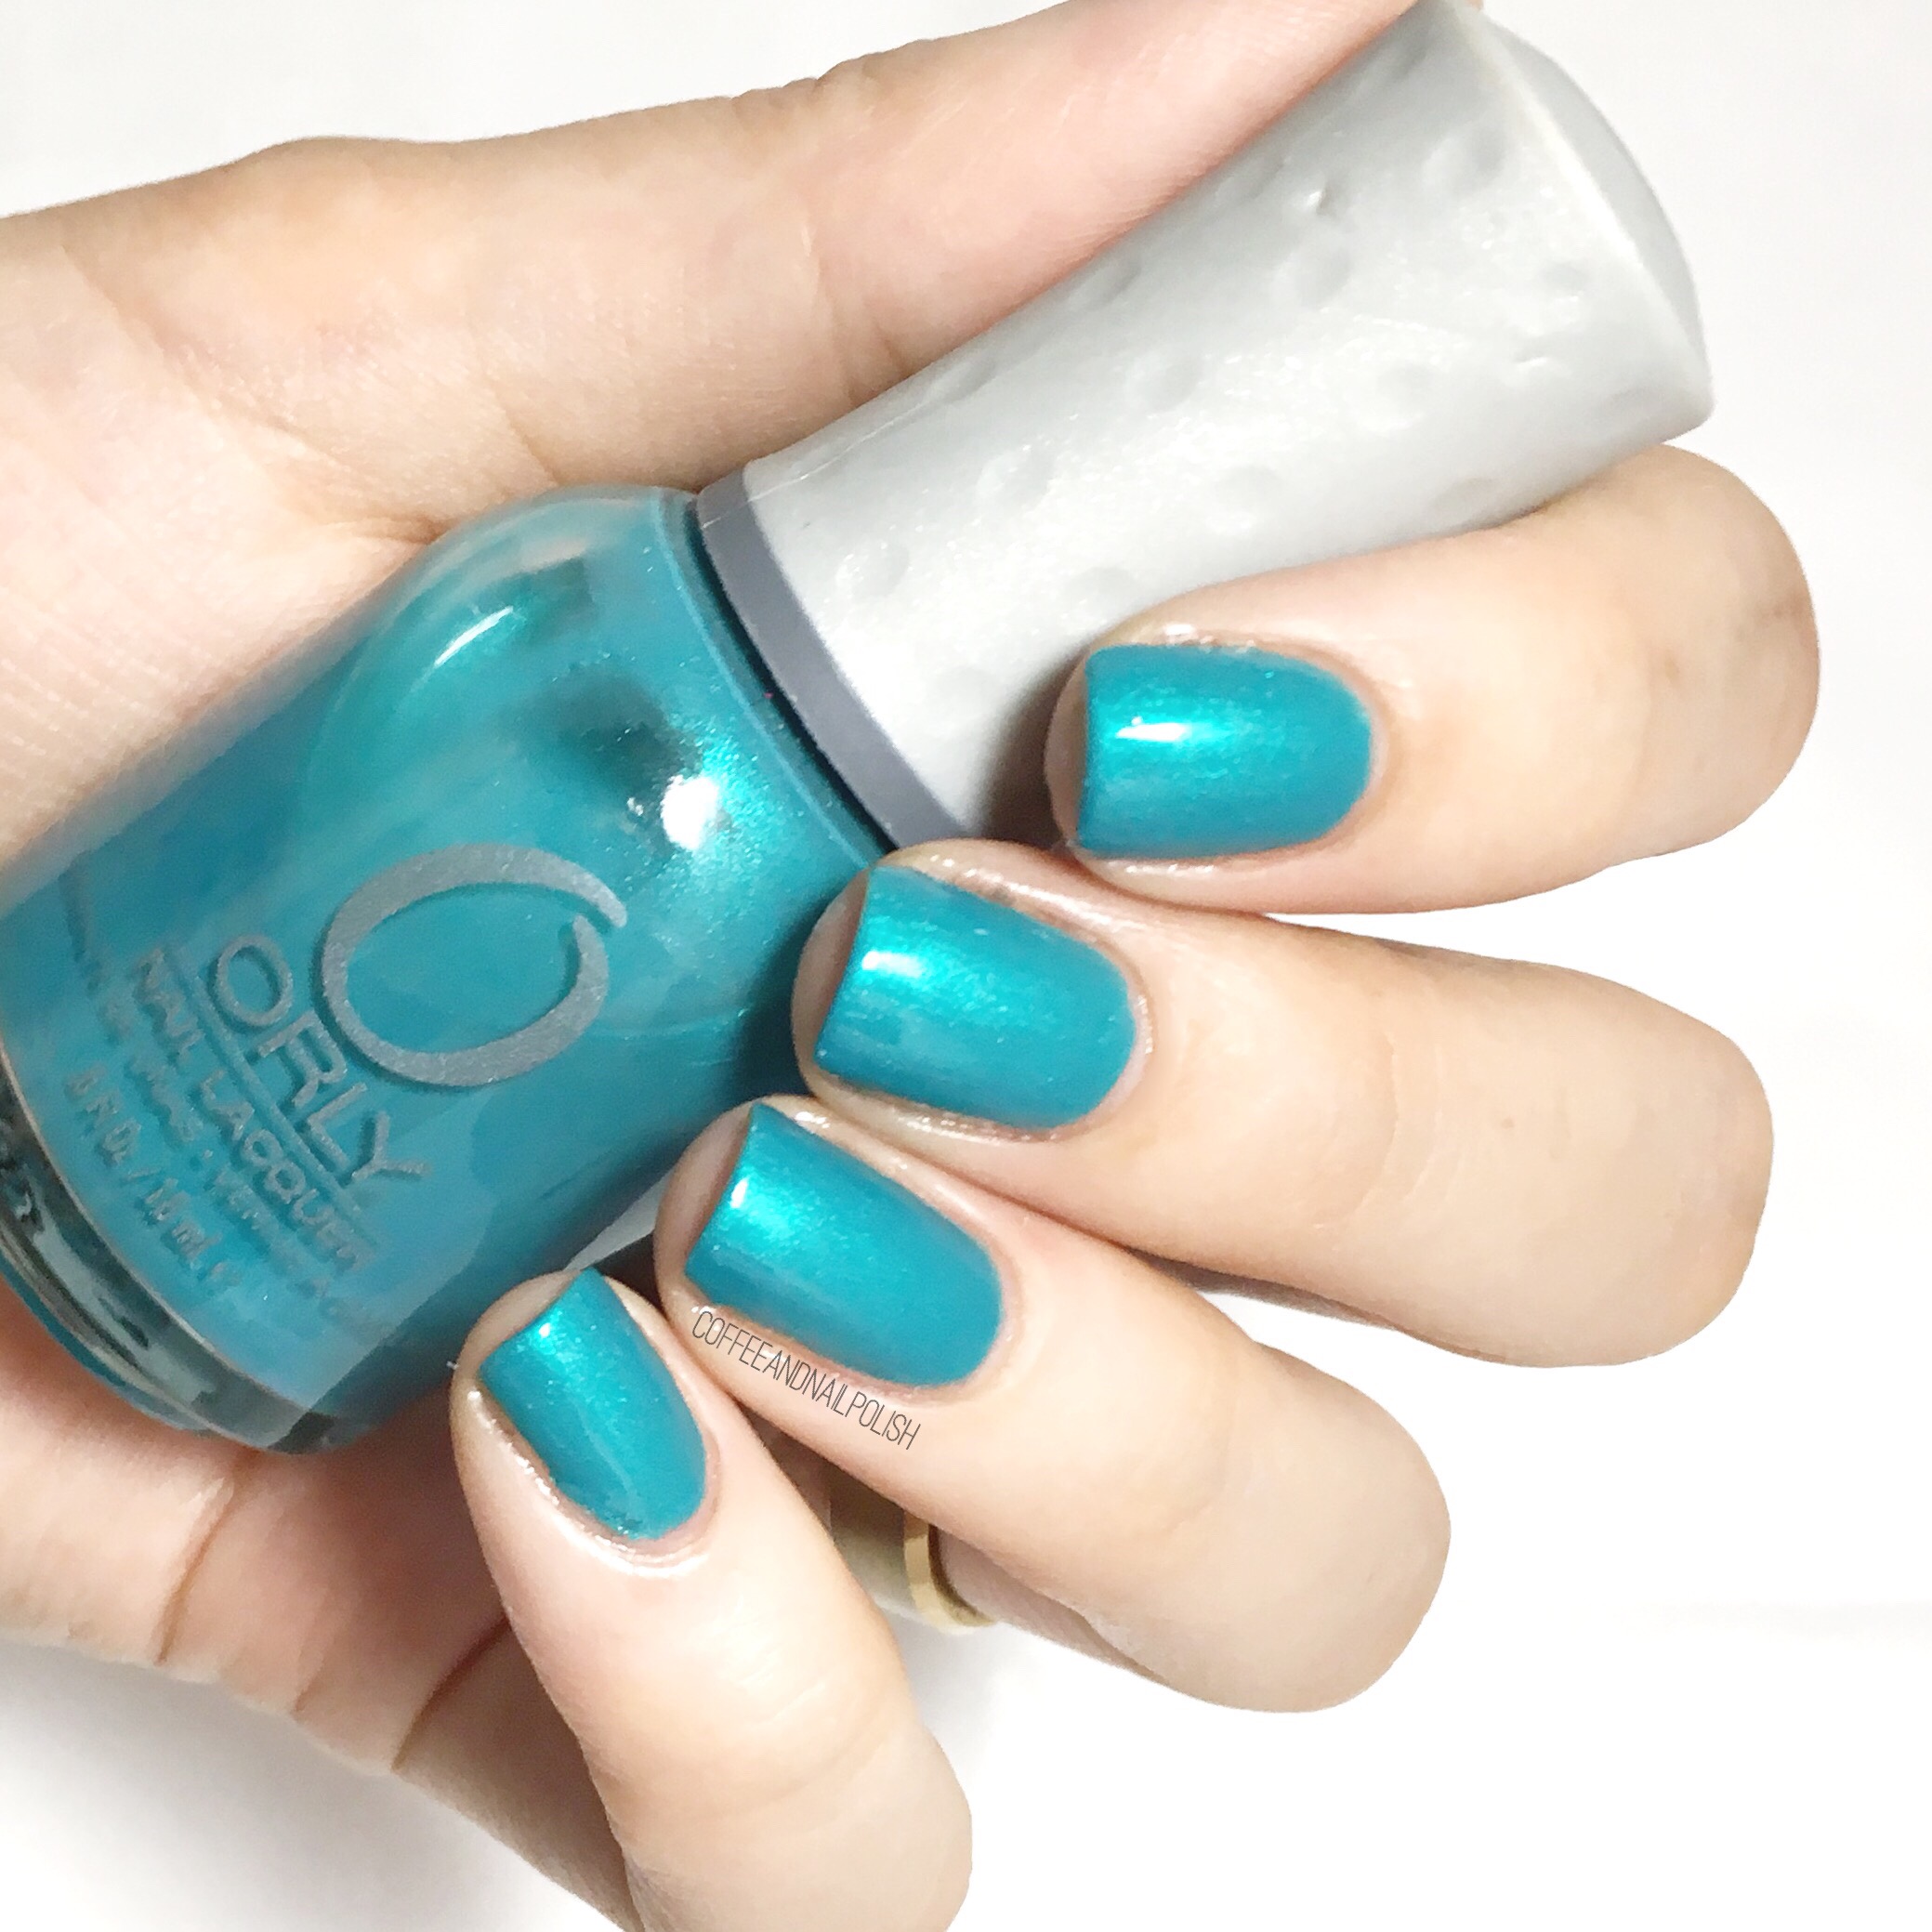
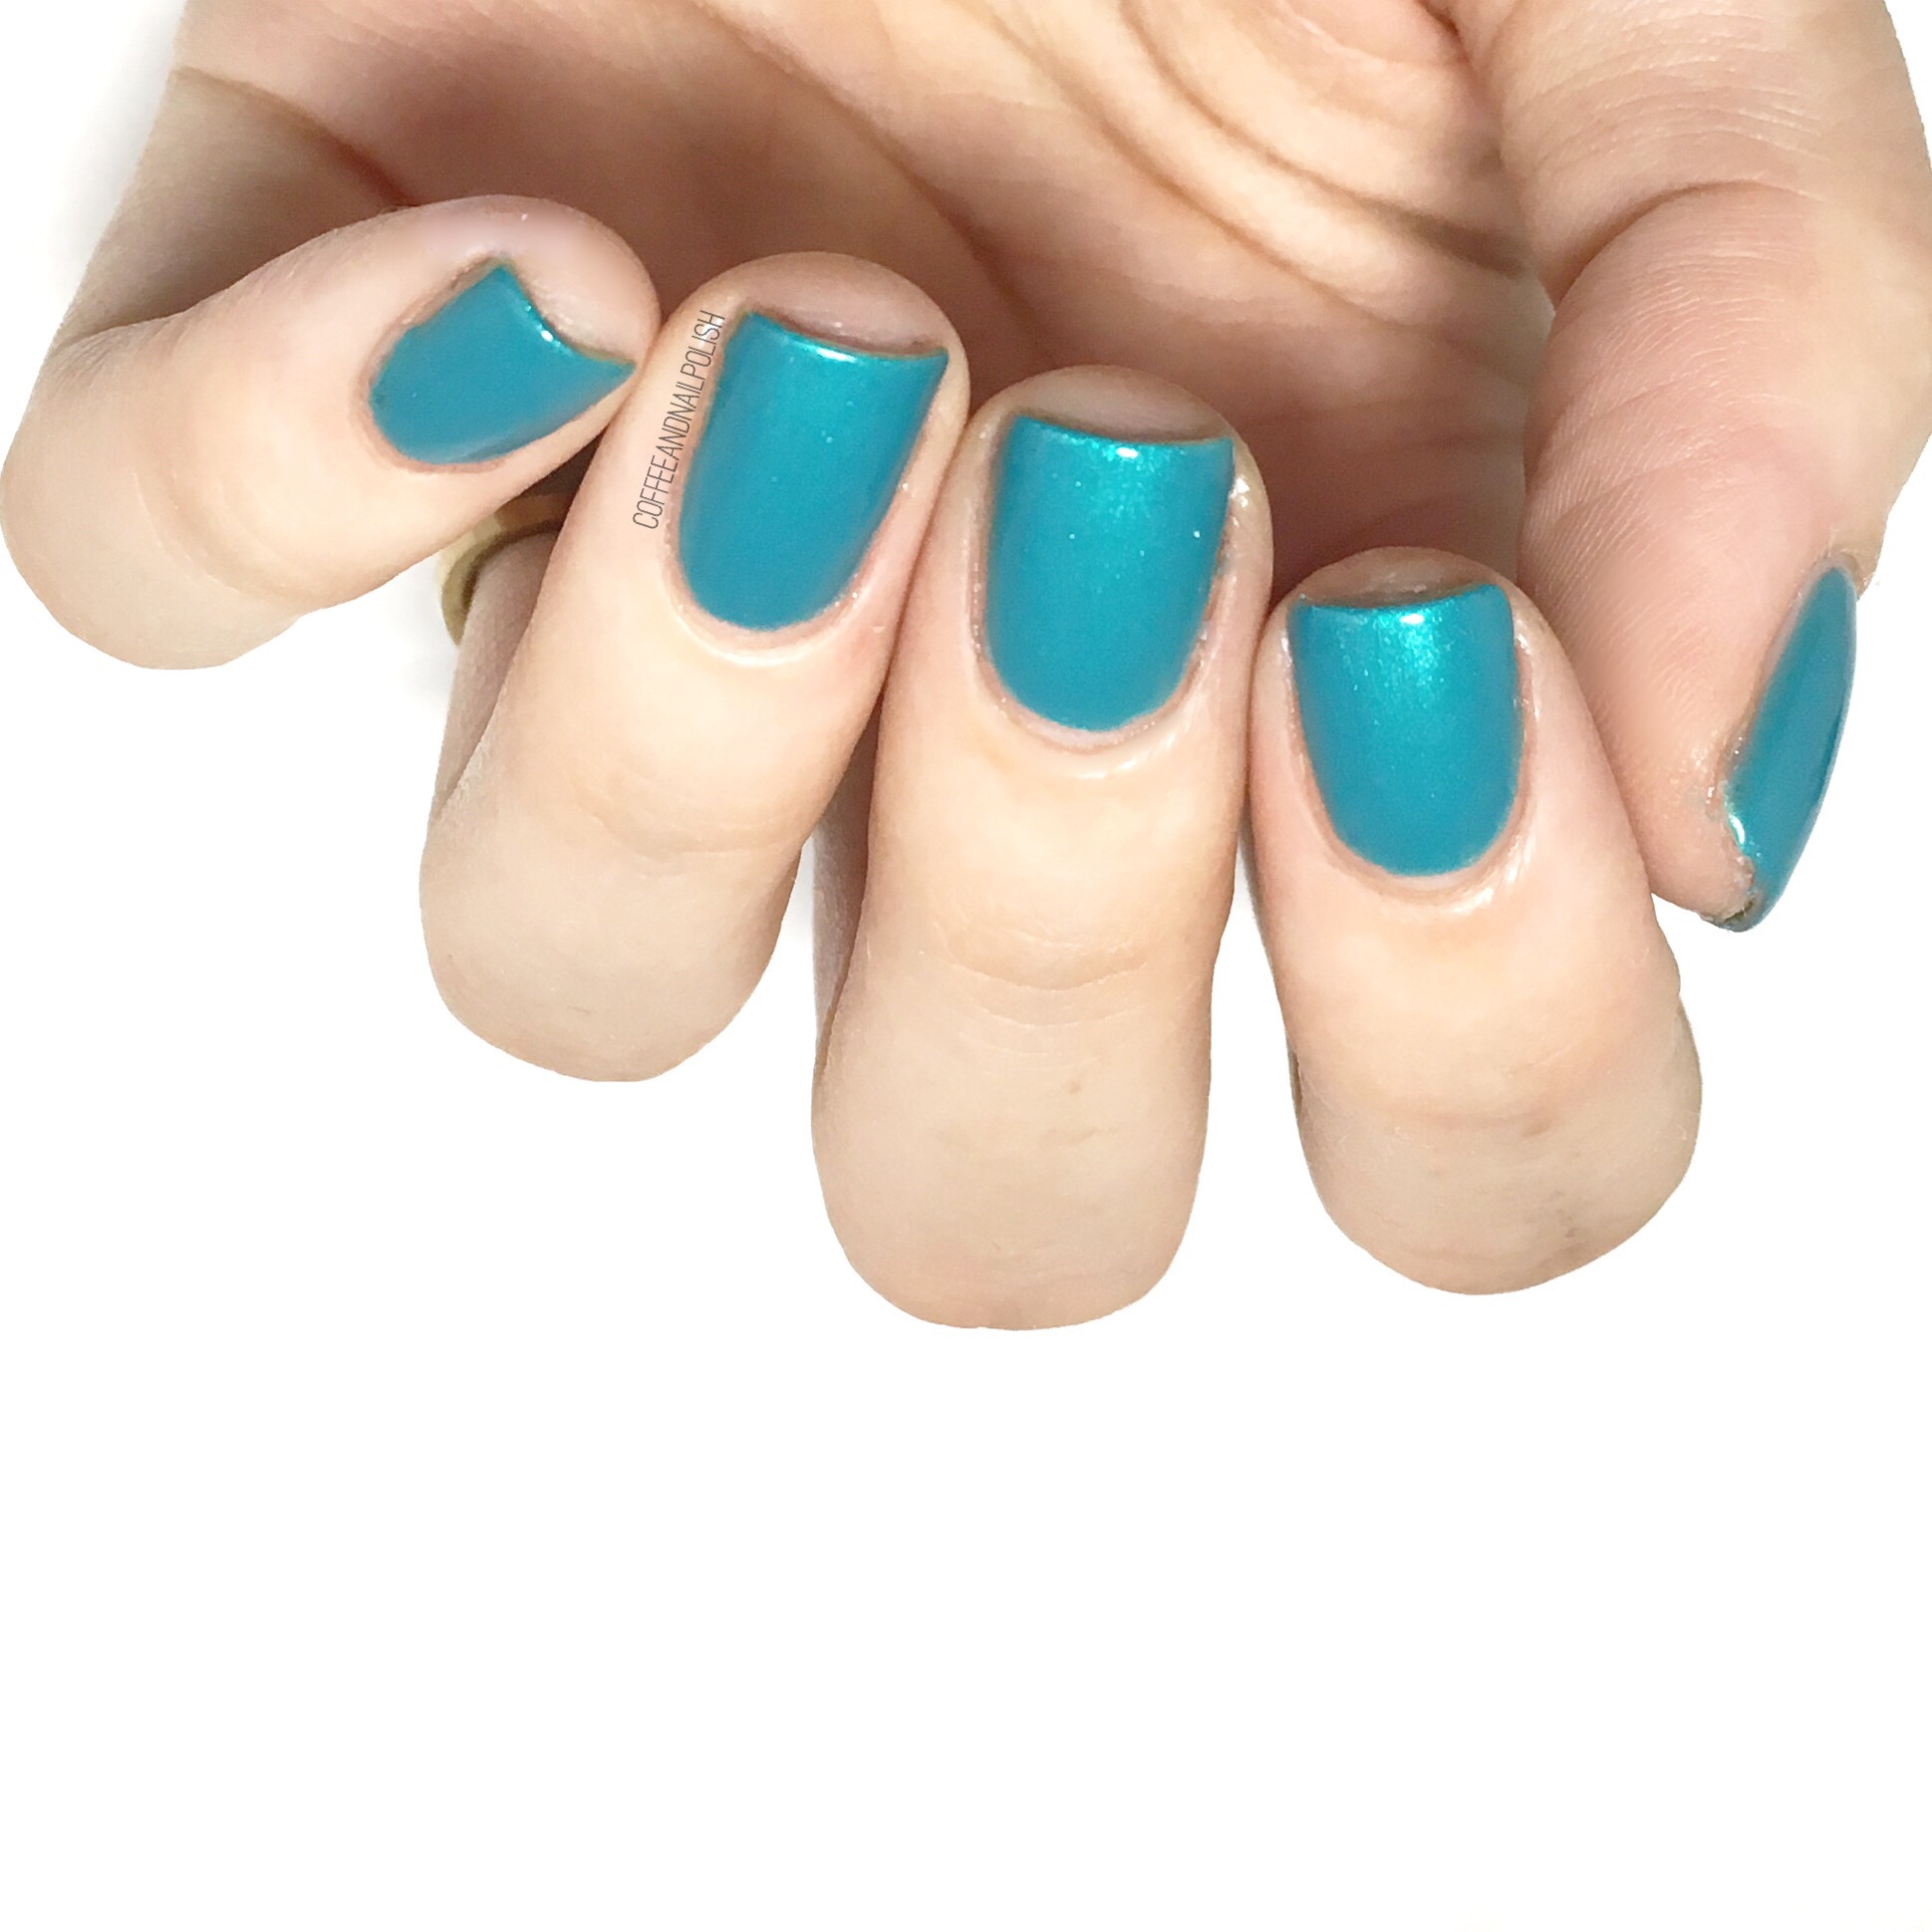
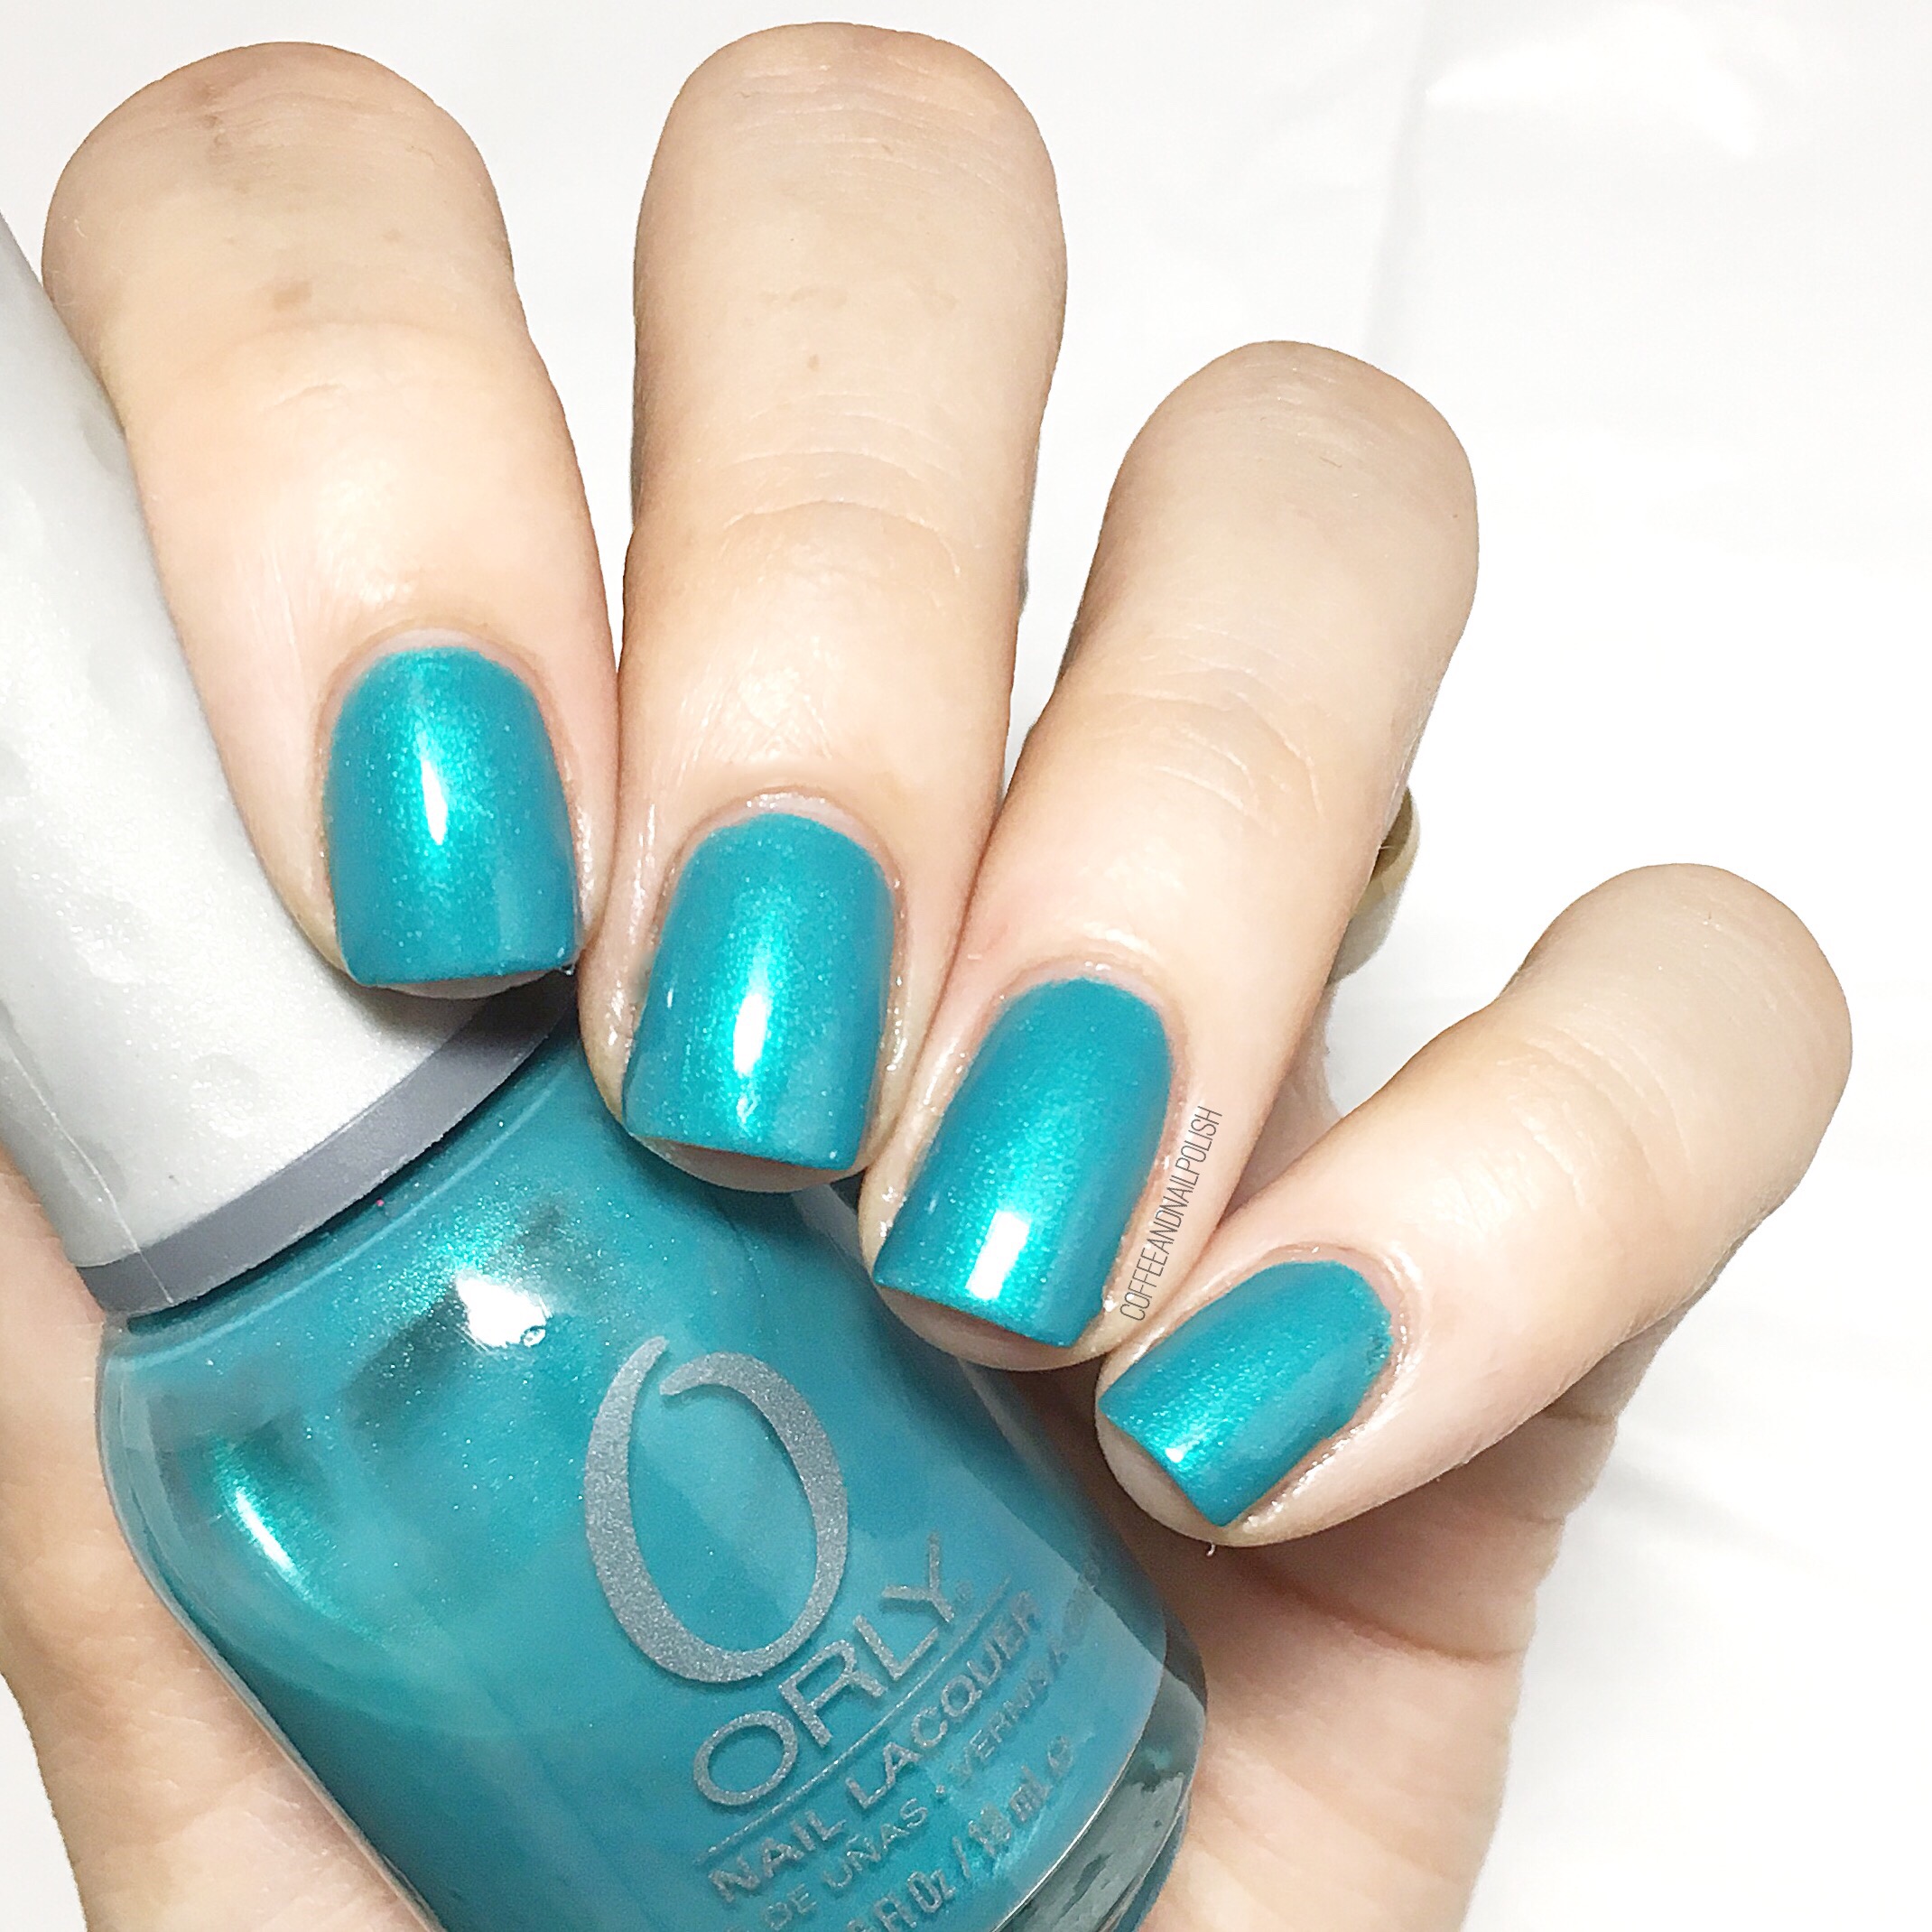
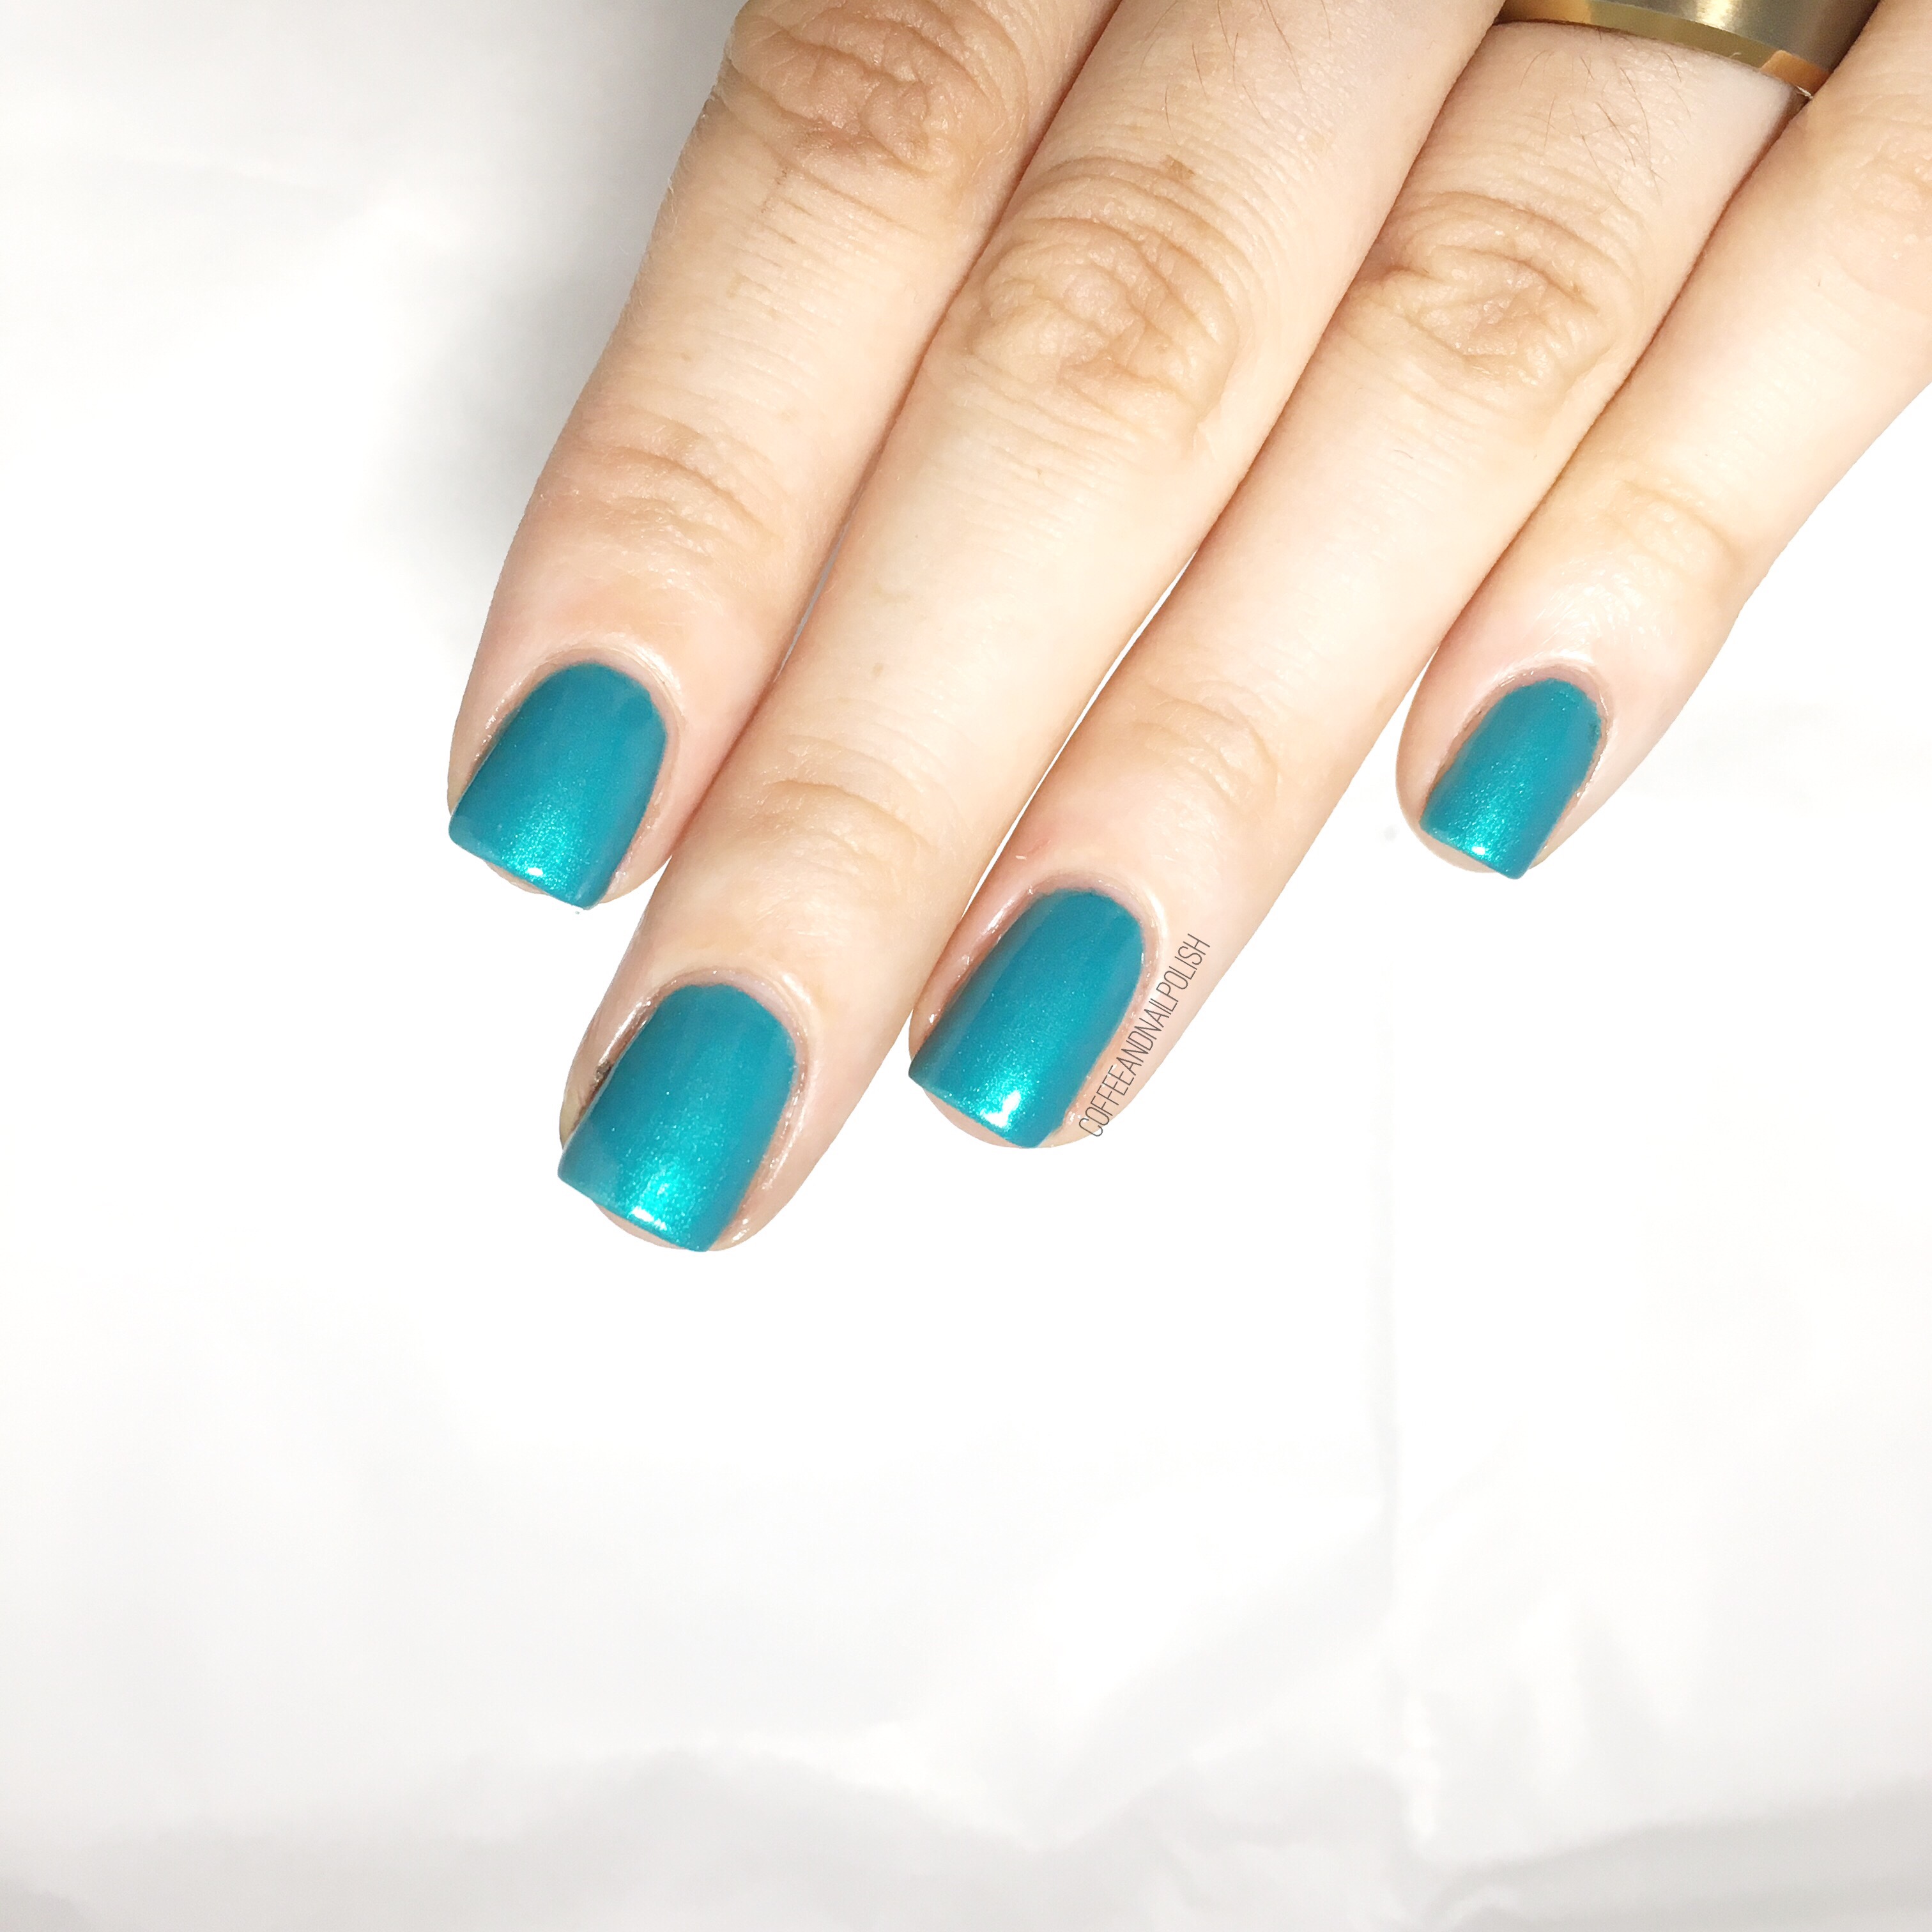
A Pirates Life, the final shade I received for review, is absolutely my favourite. That’s two coats for opacity & honestly they went on like a dream. The formula on all these polishes are incredibly smooth & easy to use & A Pirates Life is the most perfect of the three I tried. The flash of turquoise shimmer just makes it the perfect beach blue–you can’t help but think of Caribbean waters when you stare at it (which makes the name very fitting). You can easily see how these shades are inspired by the Caribbean Druzy stone. 


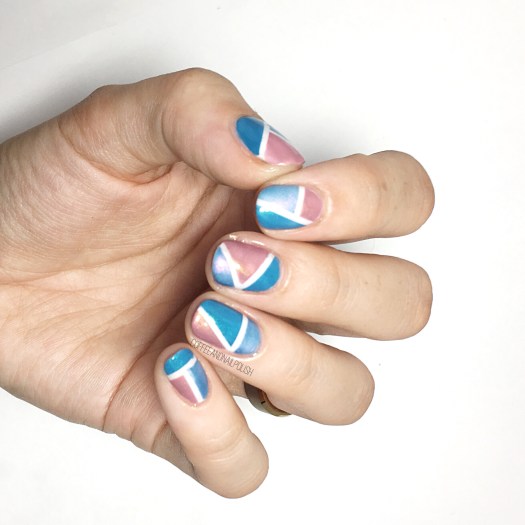
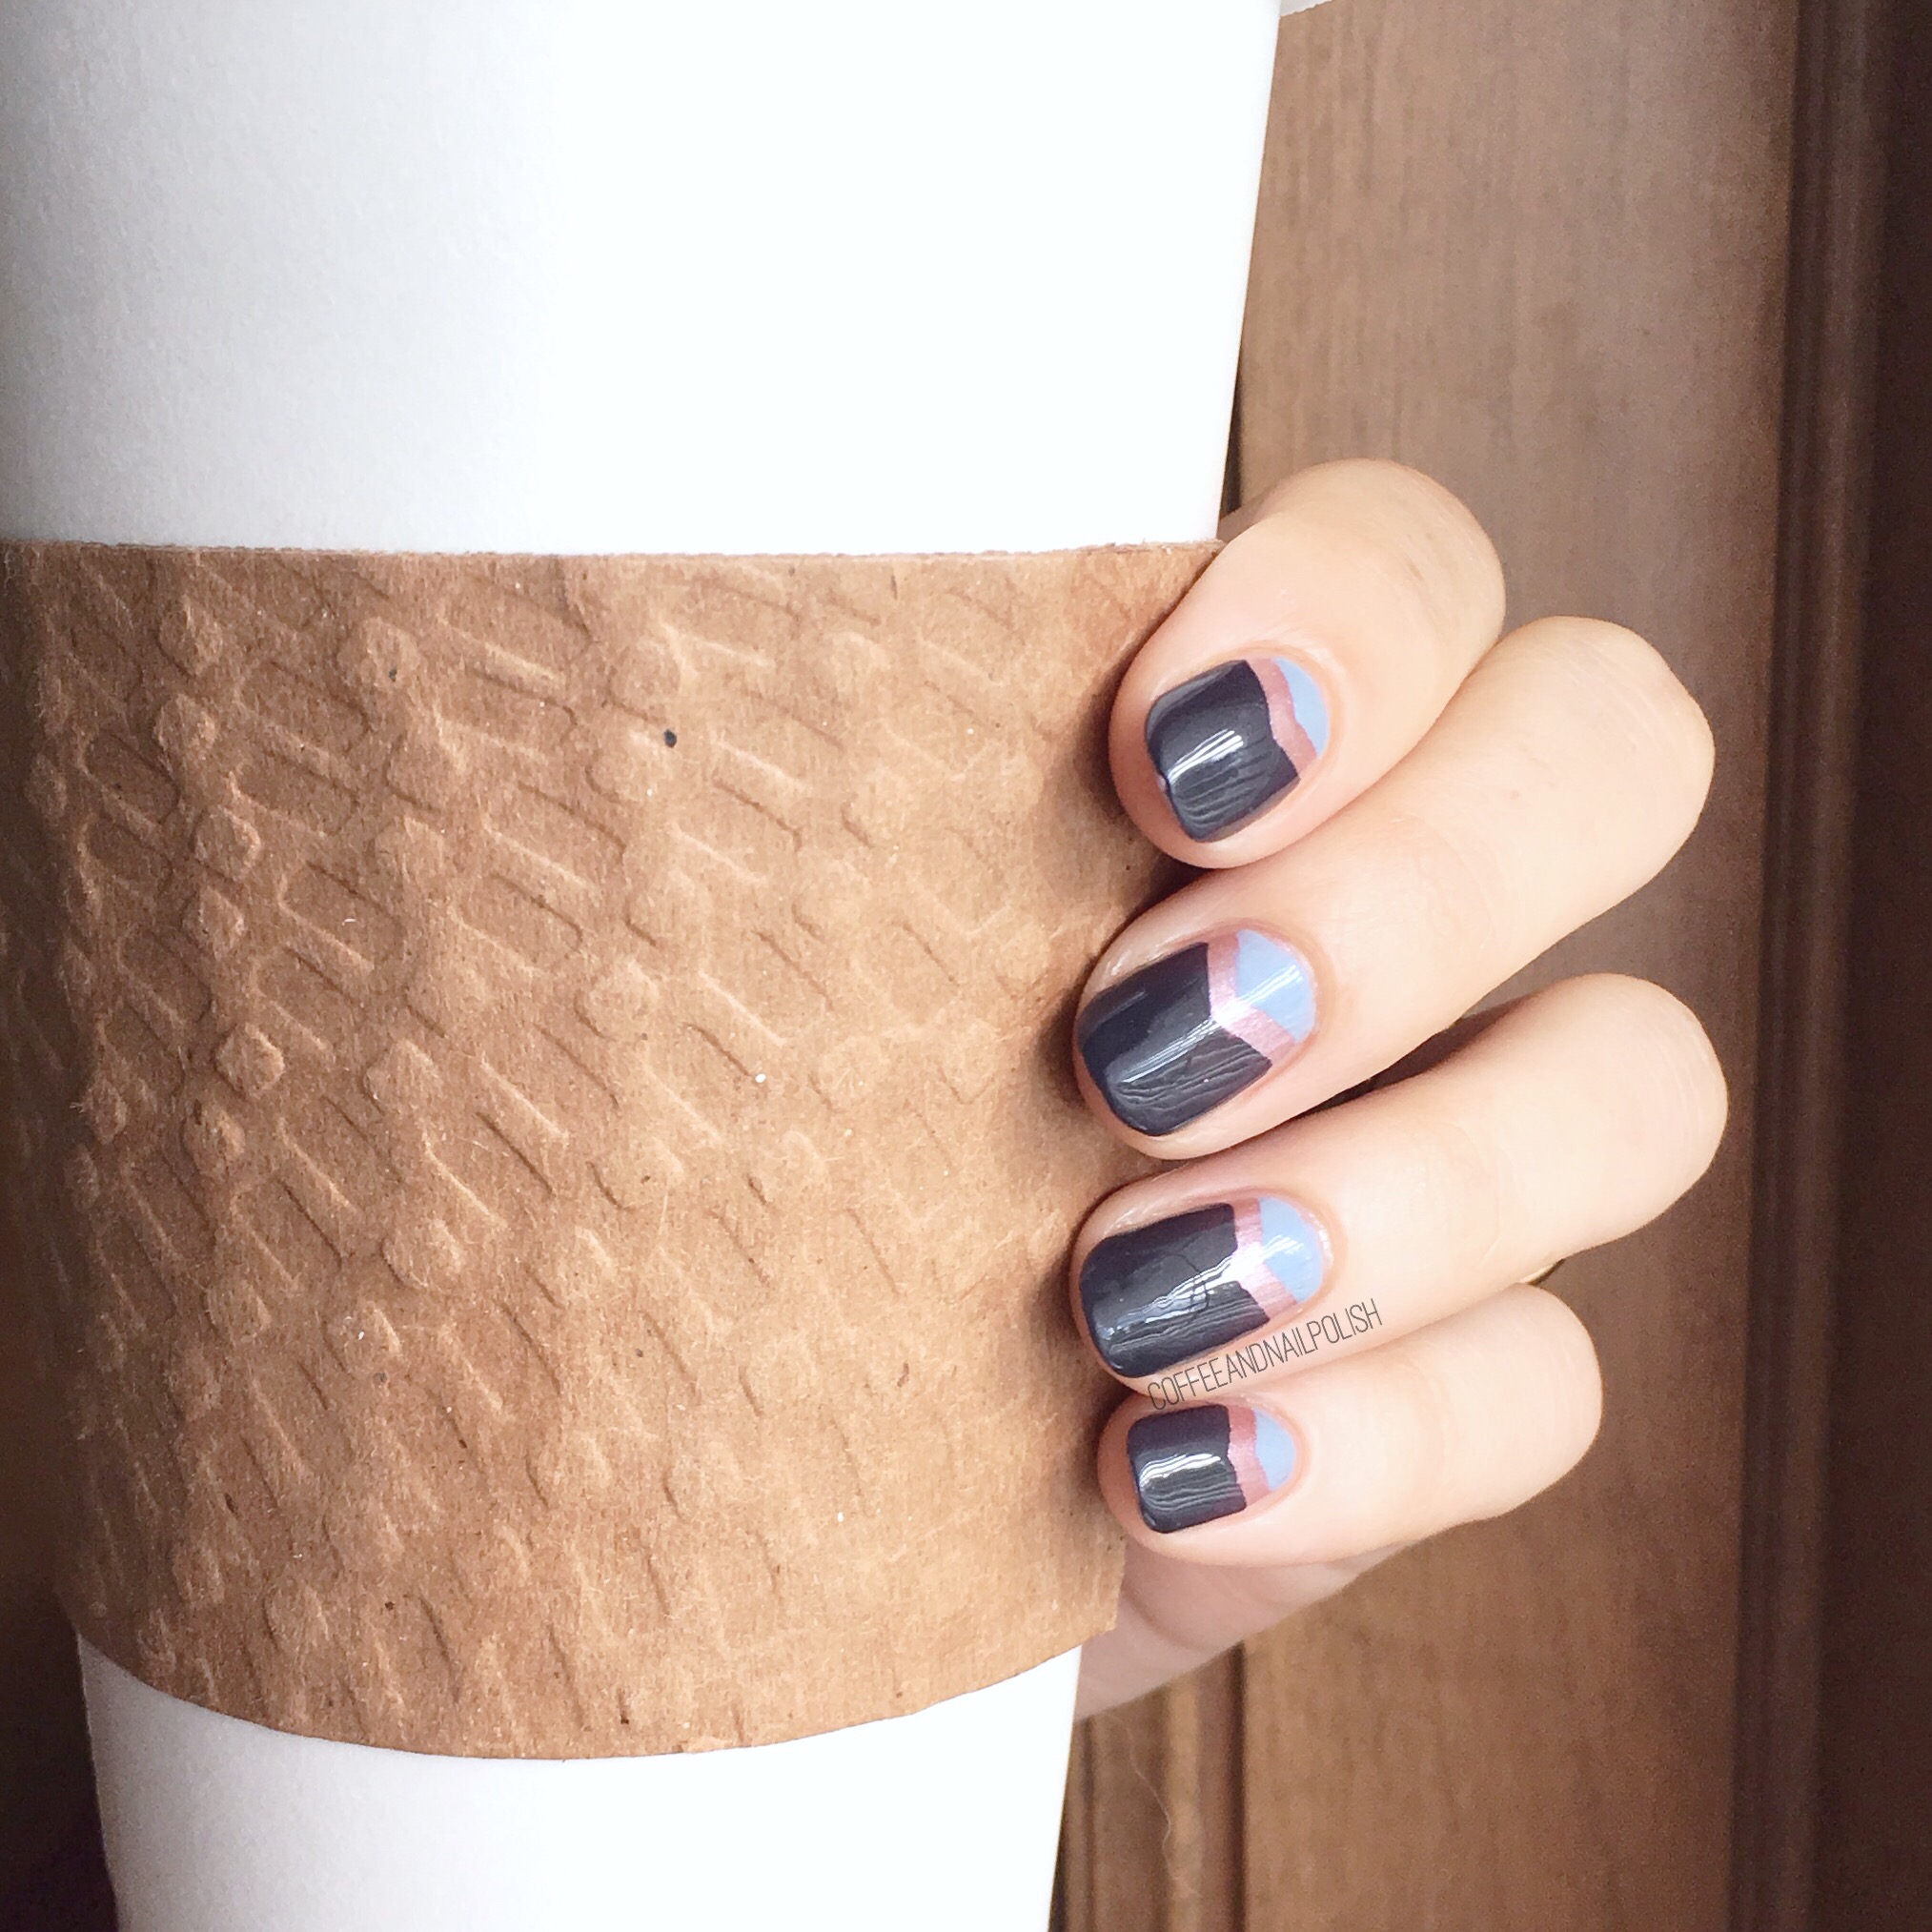
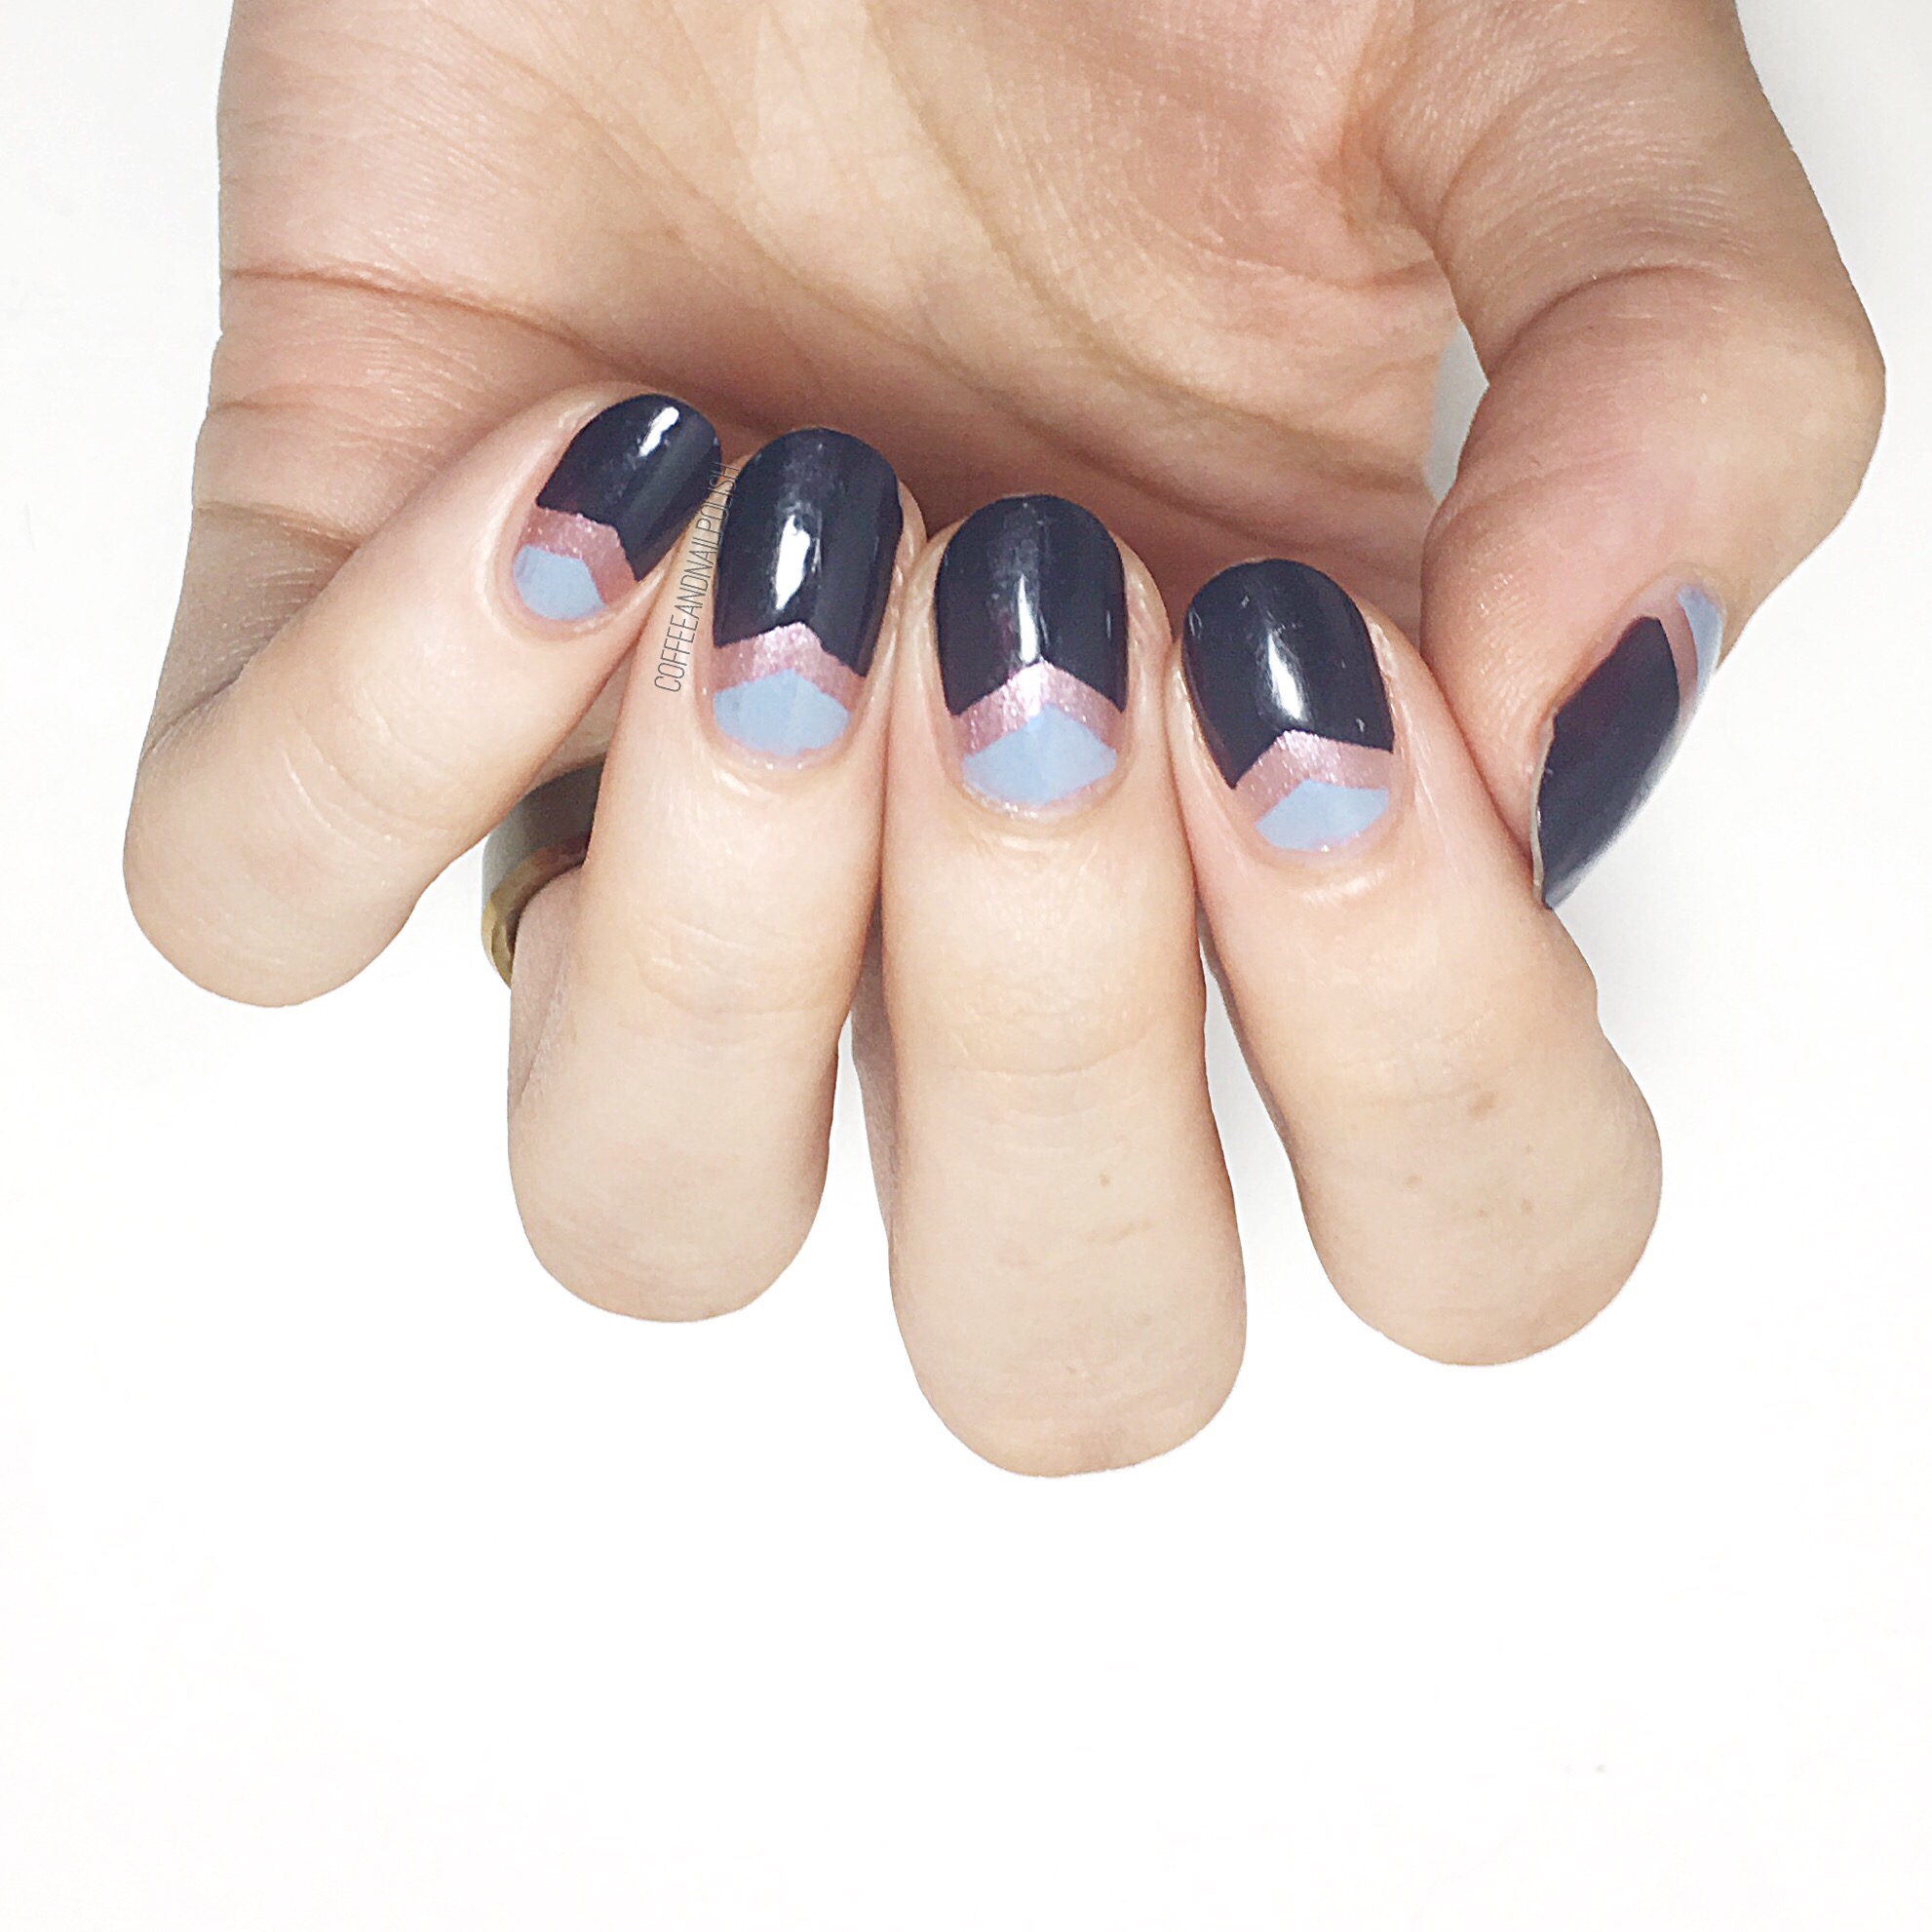
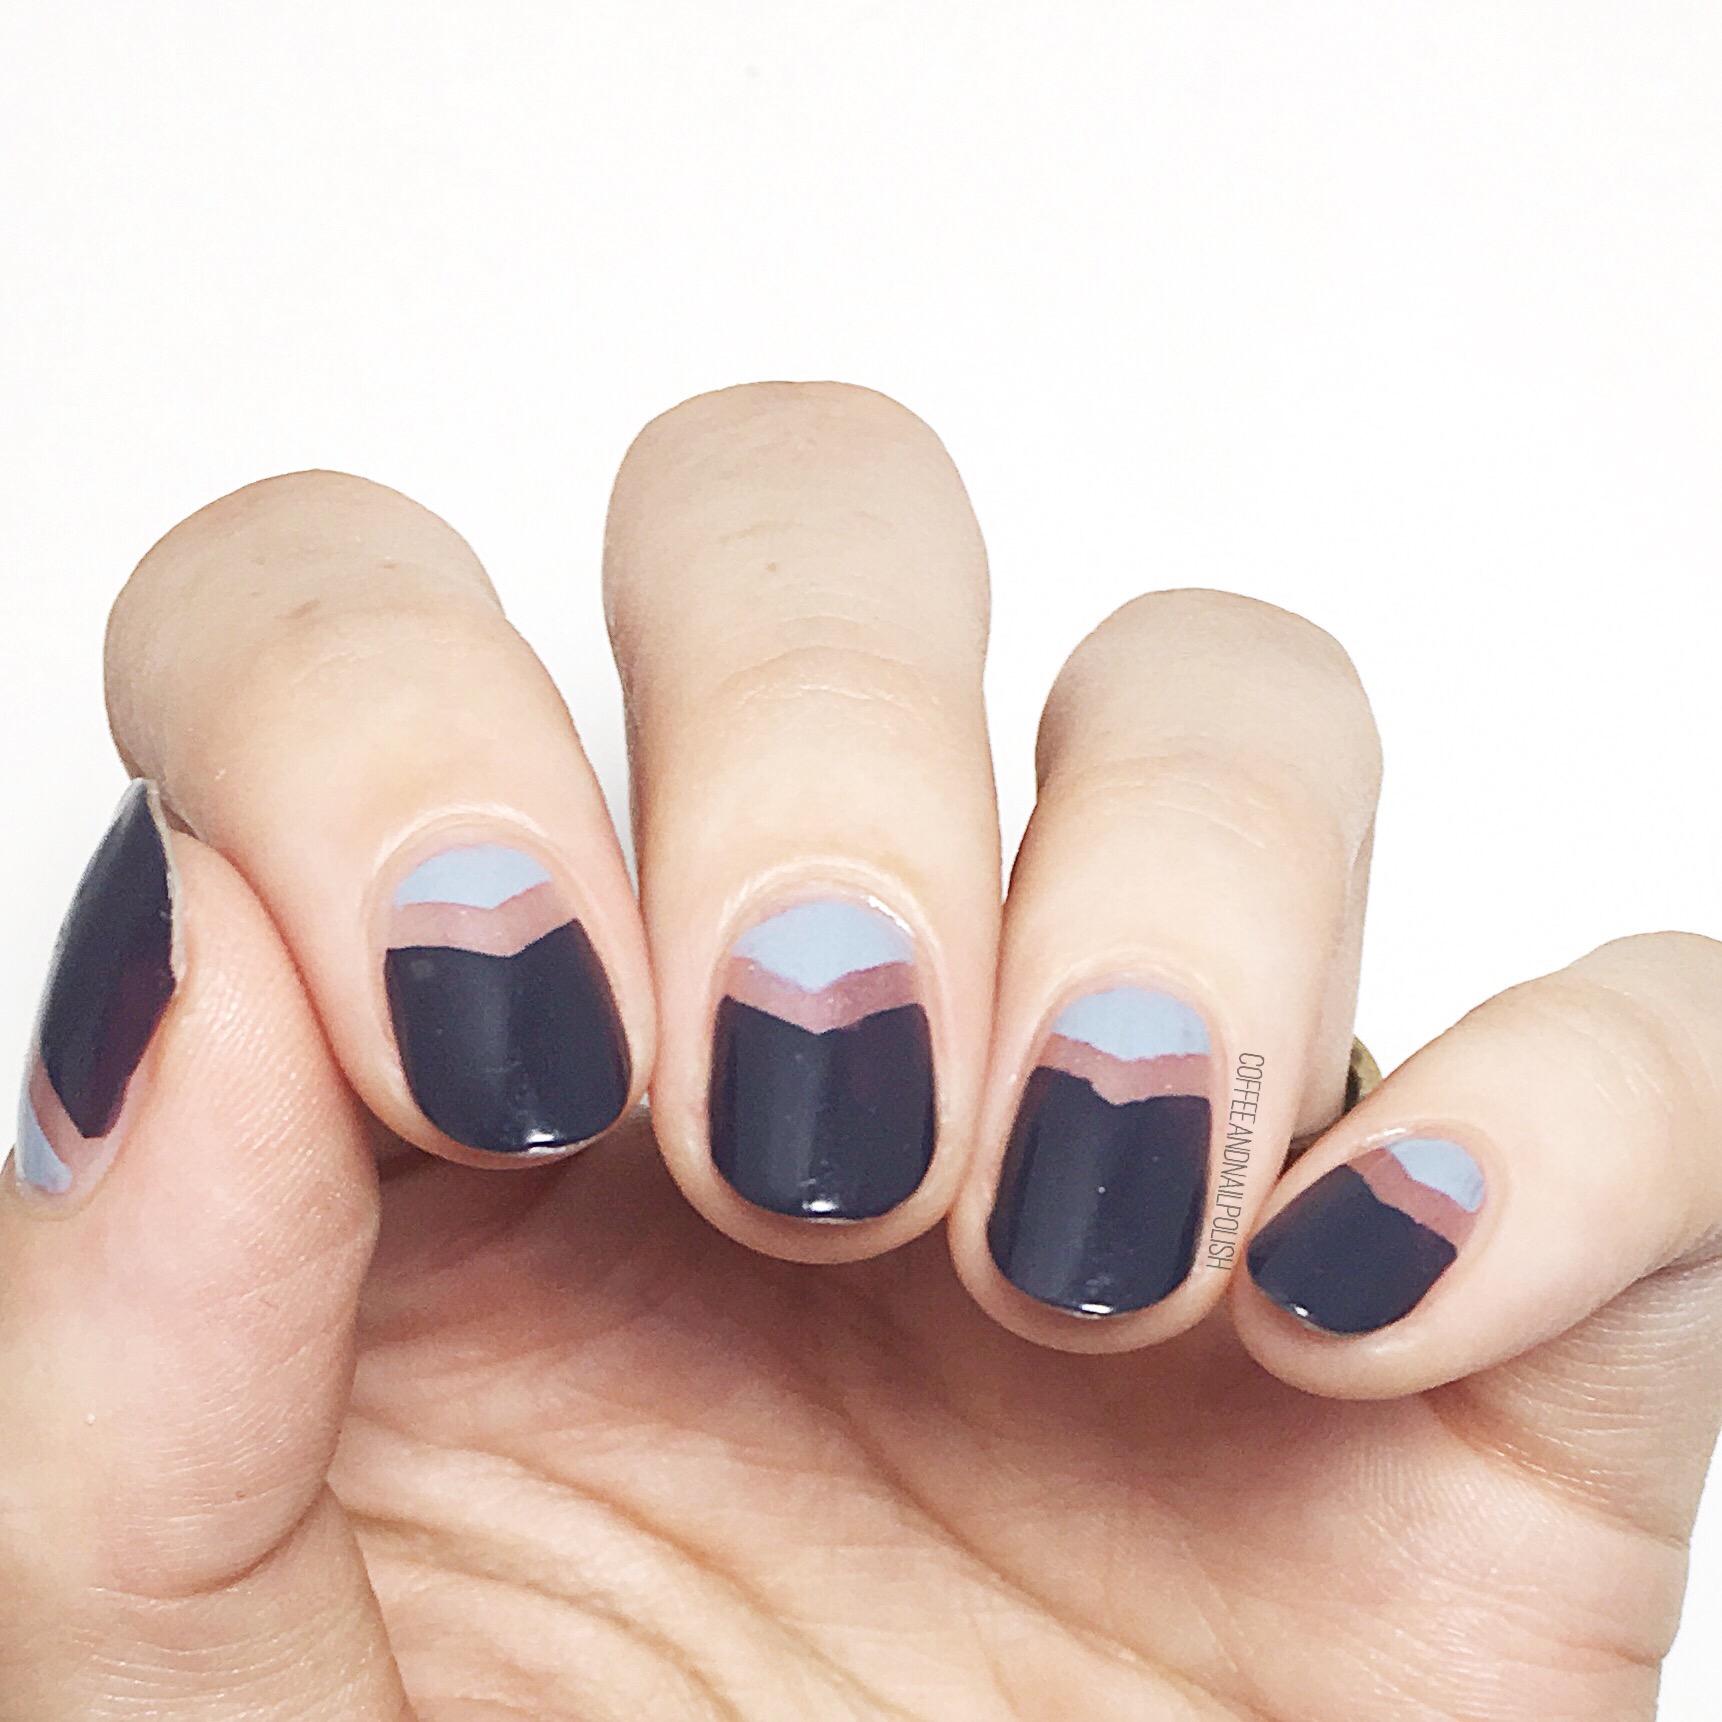
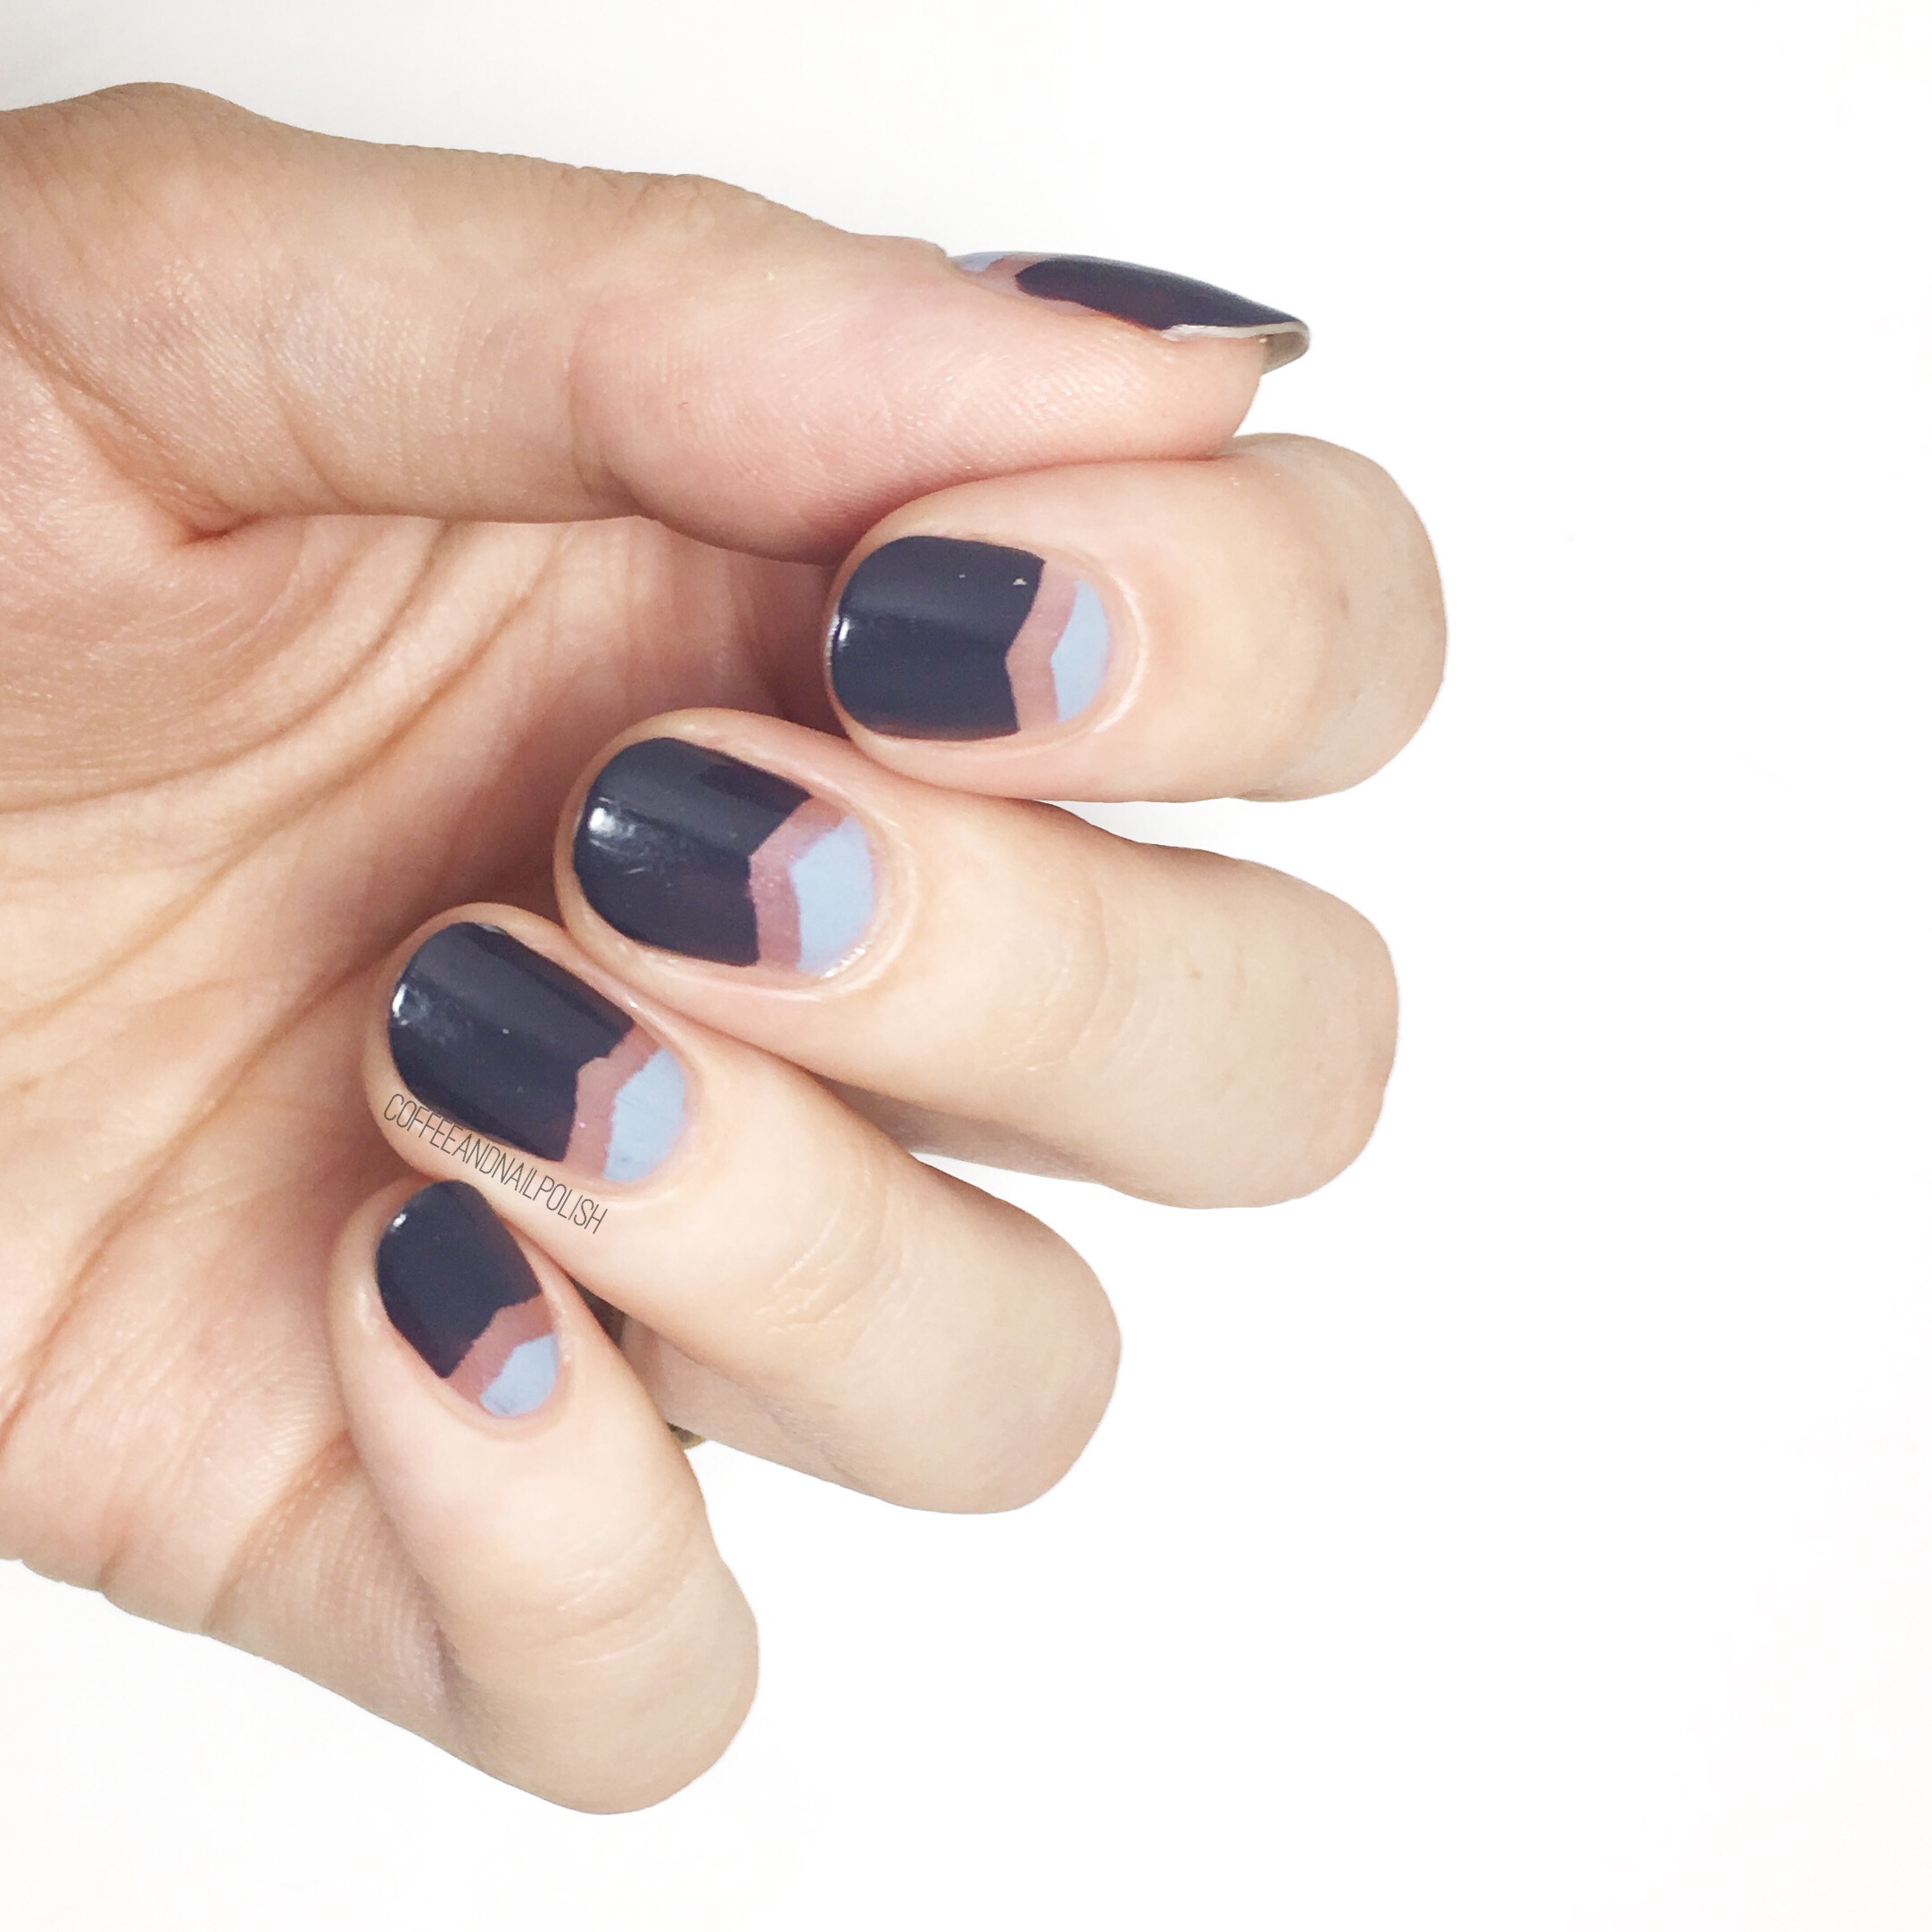
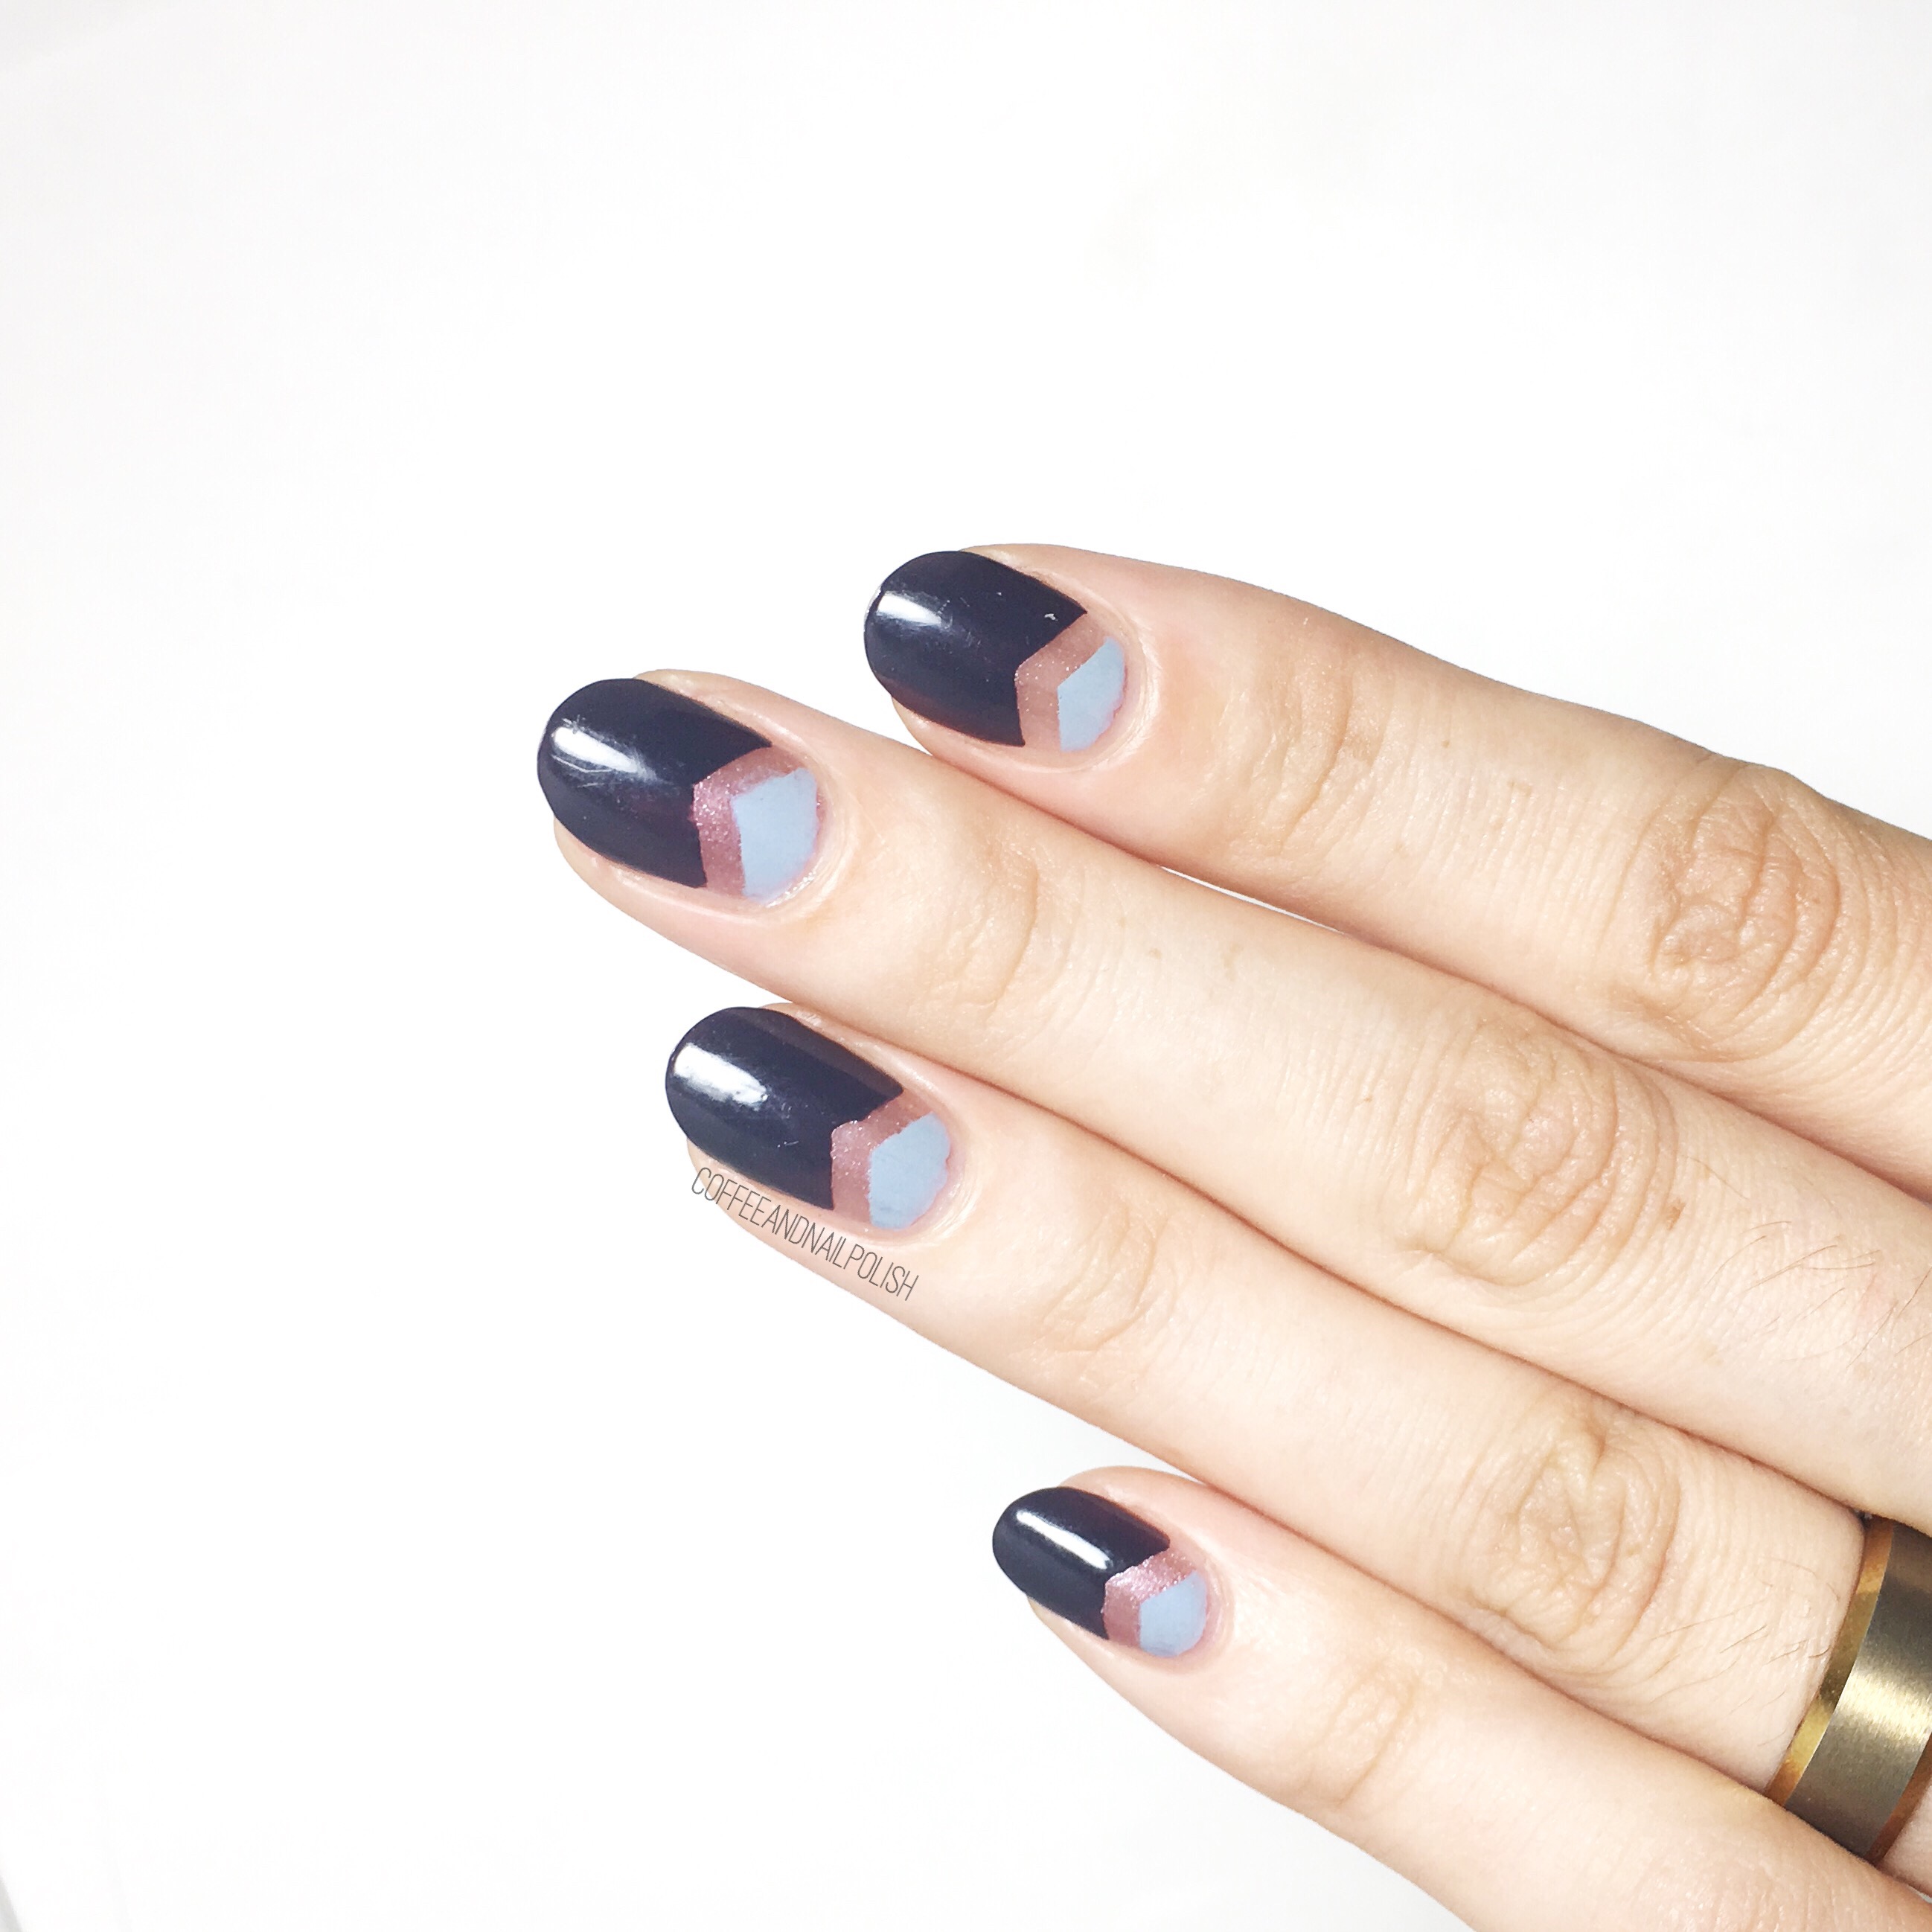
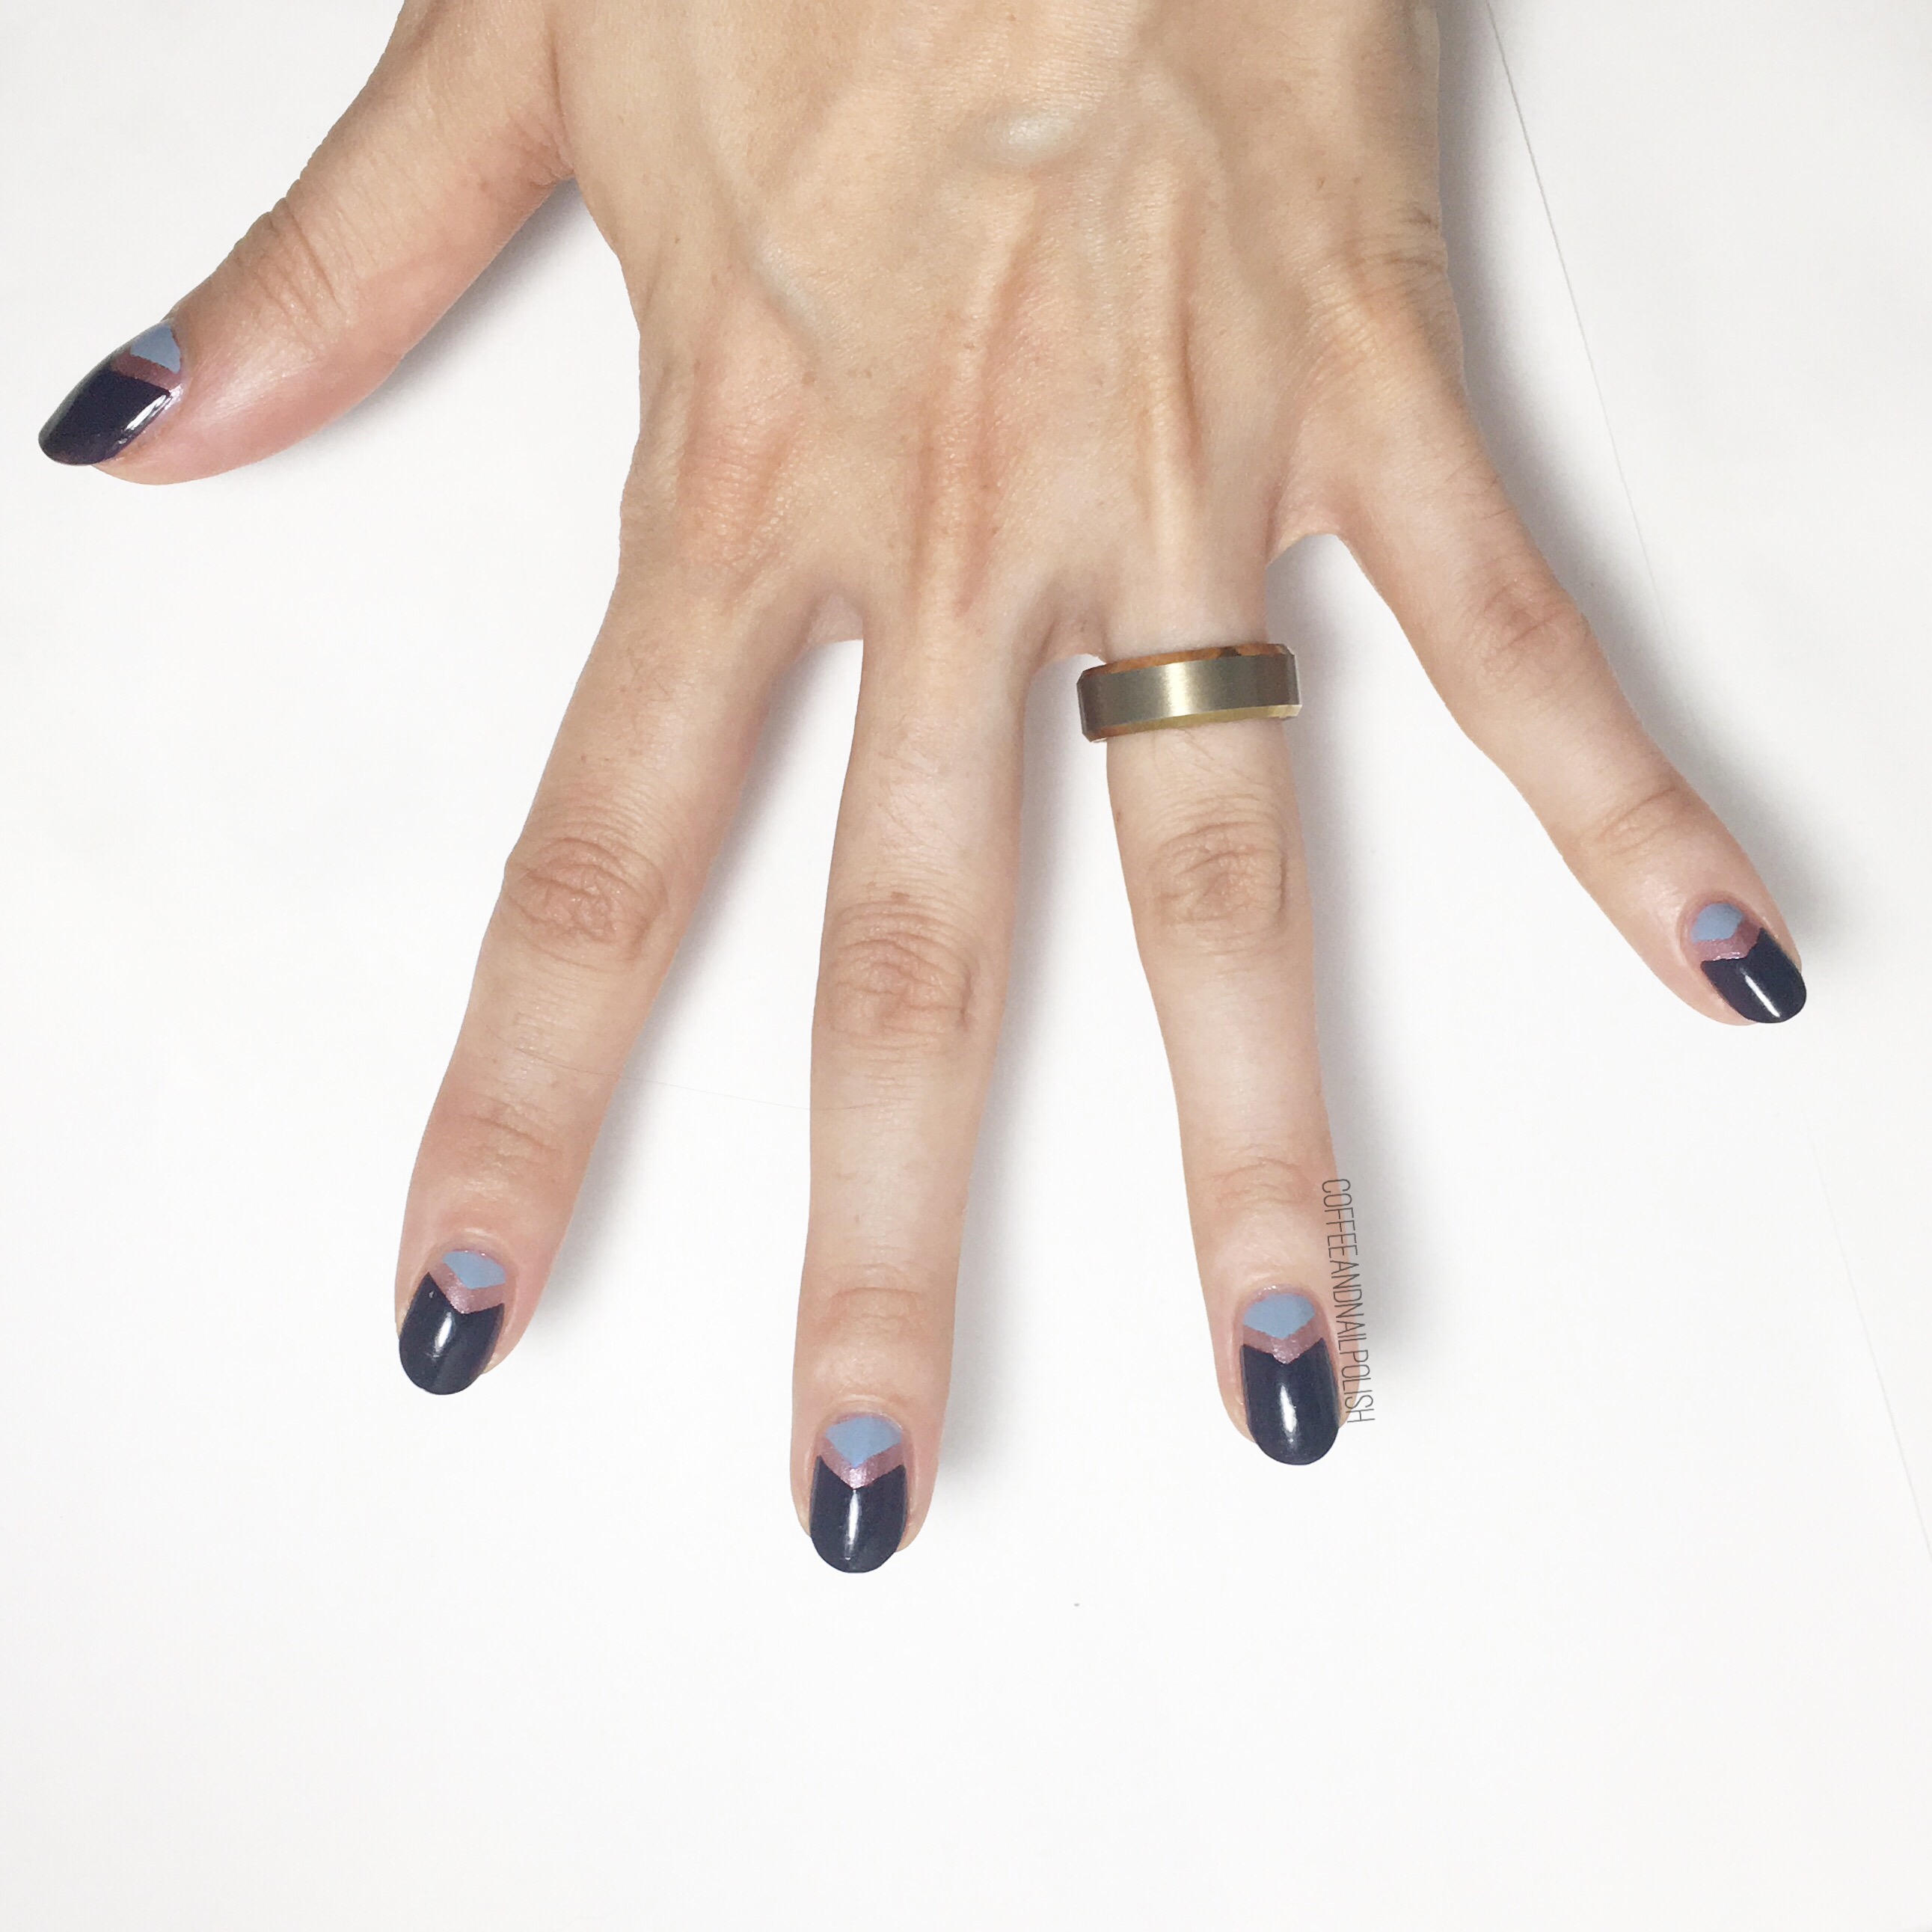
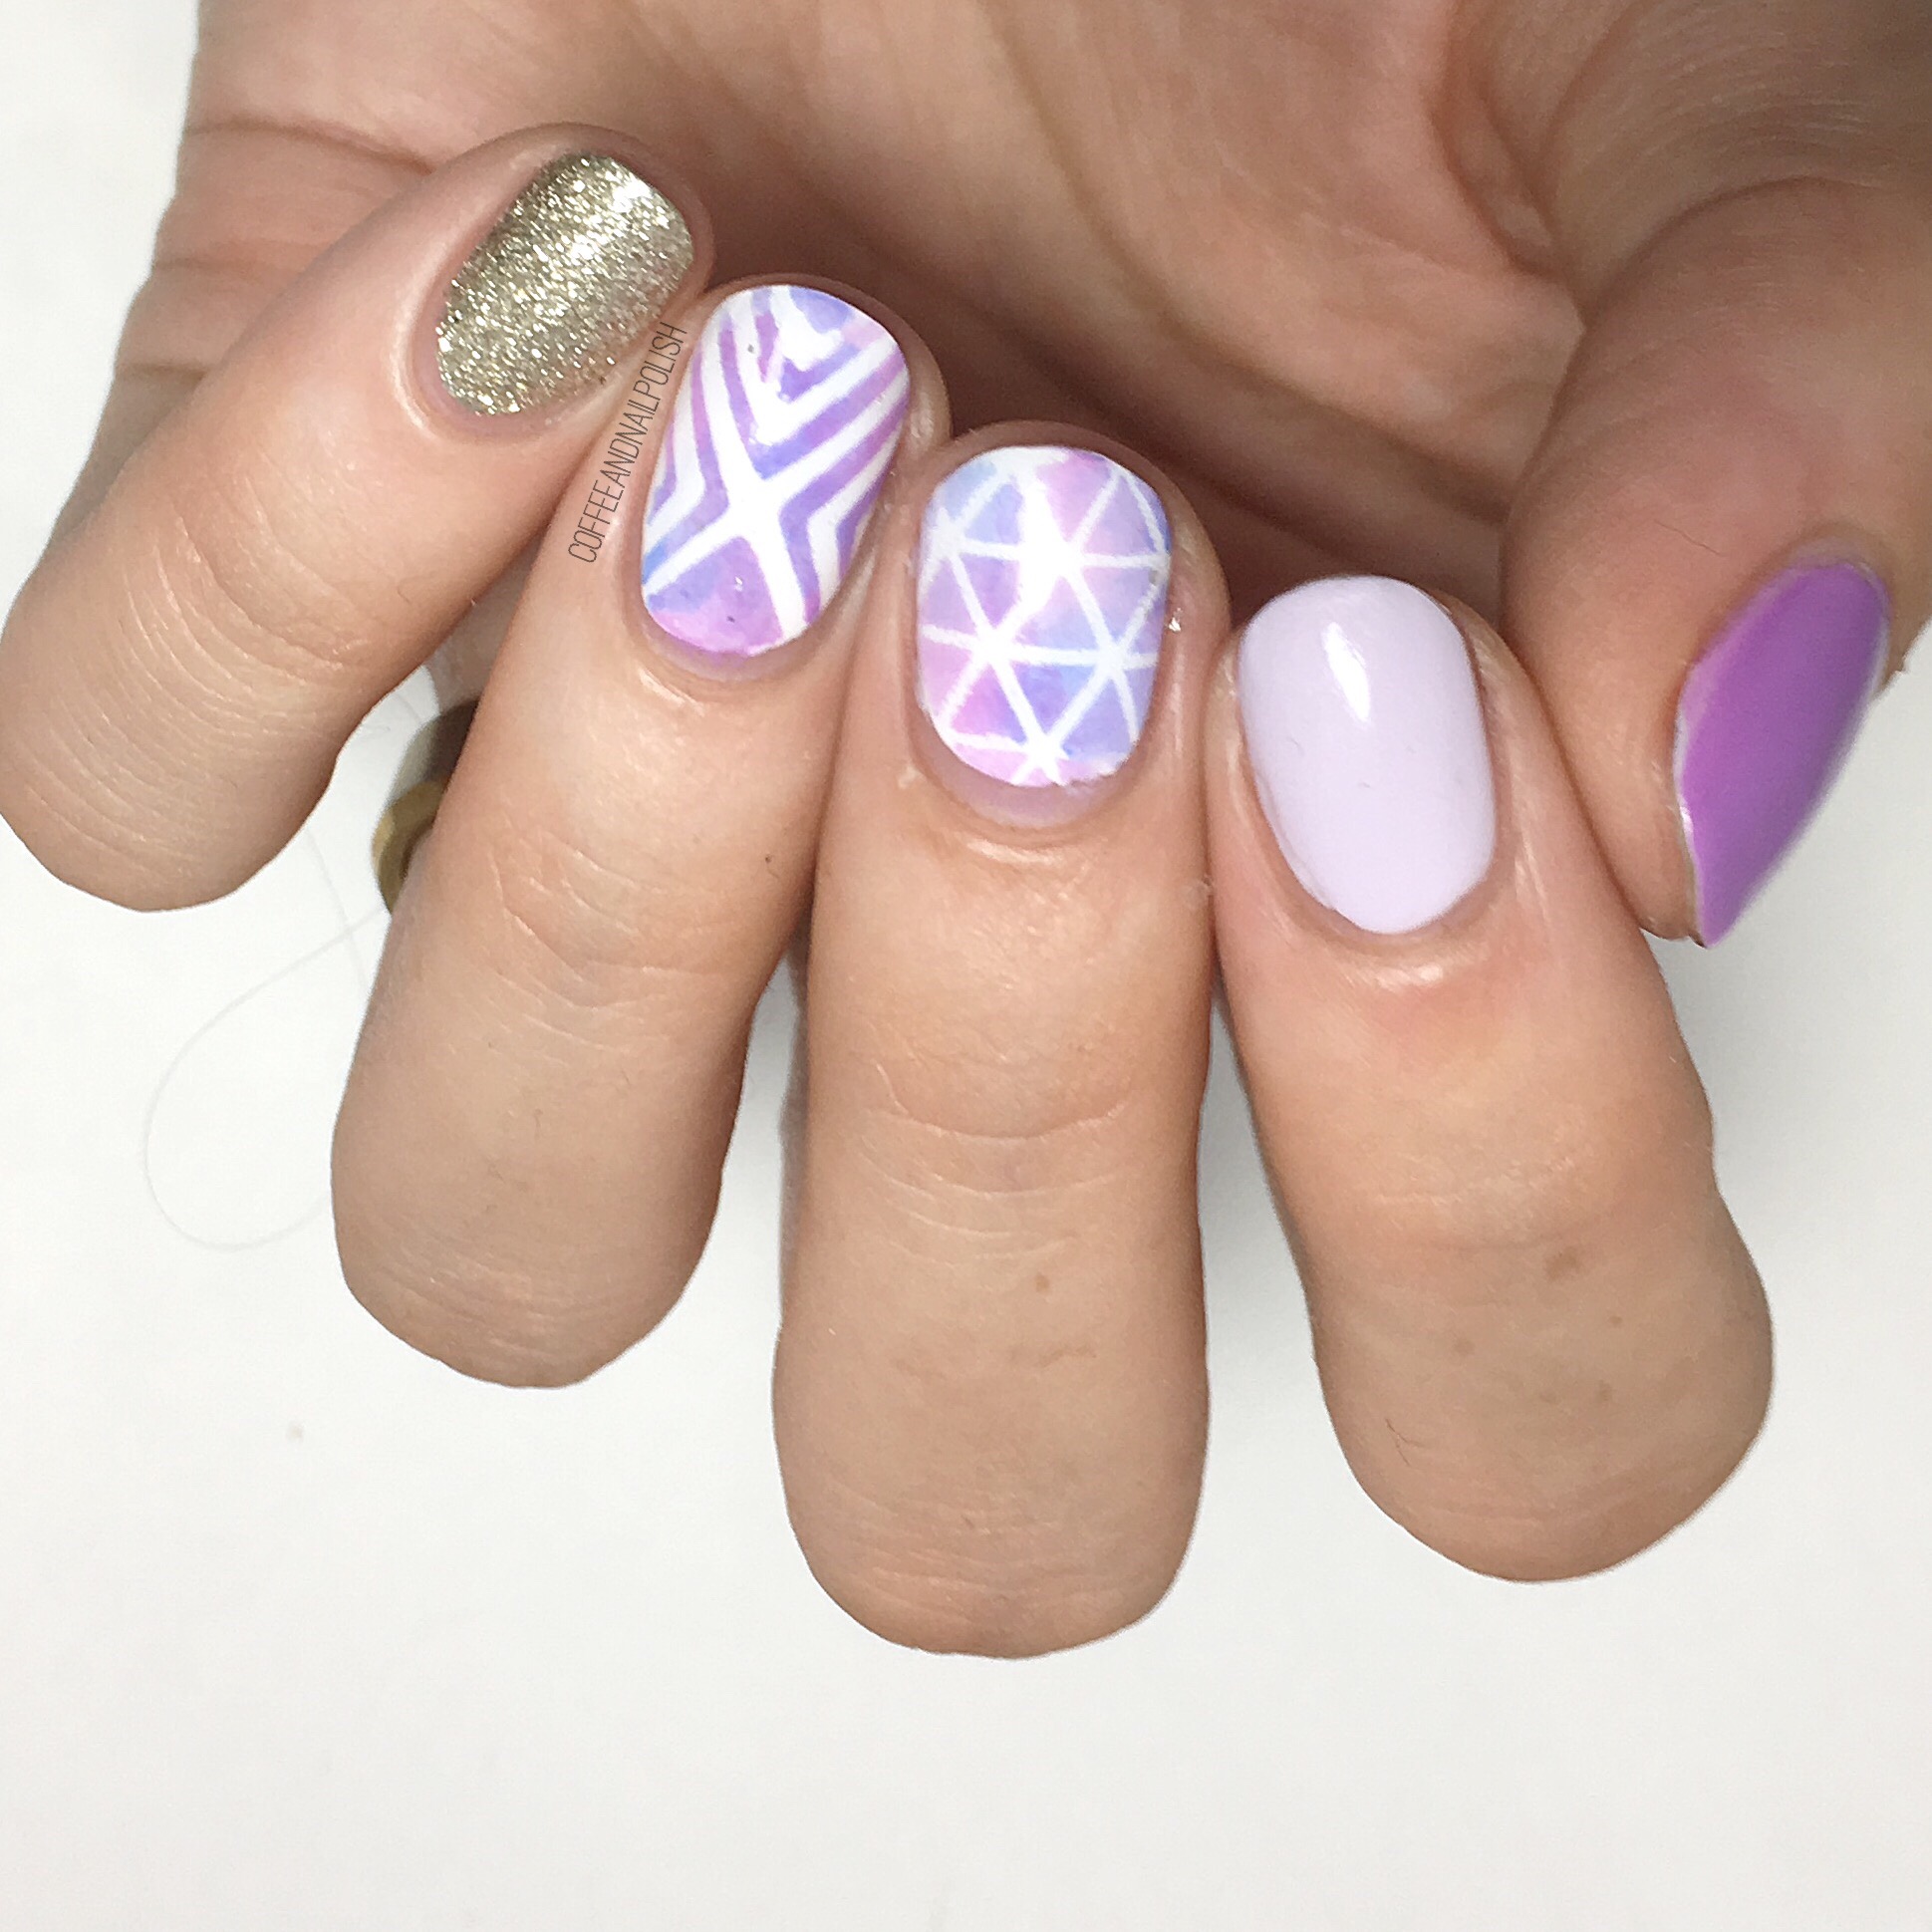
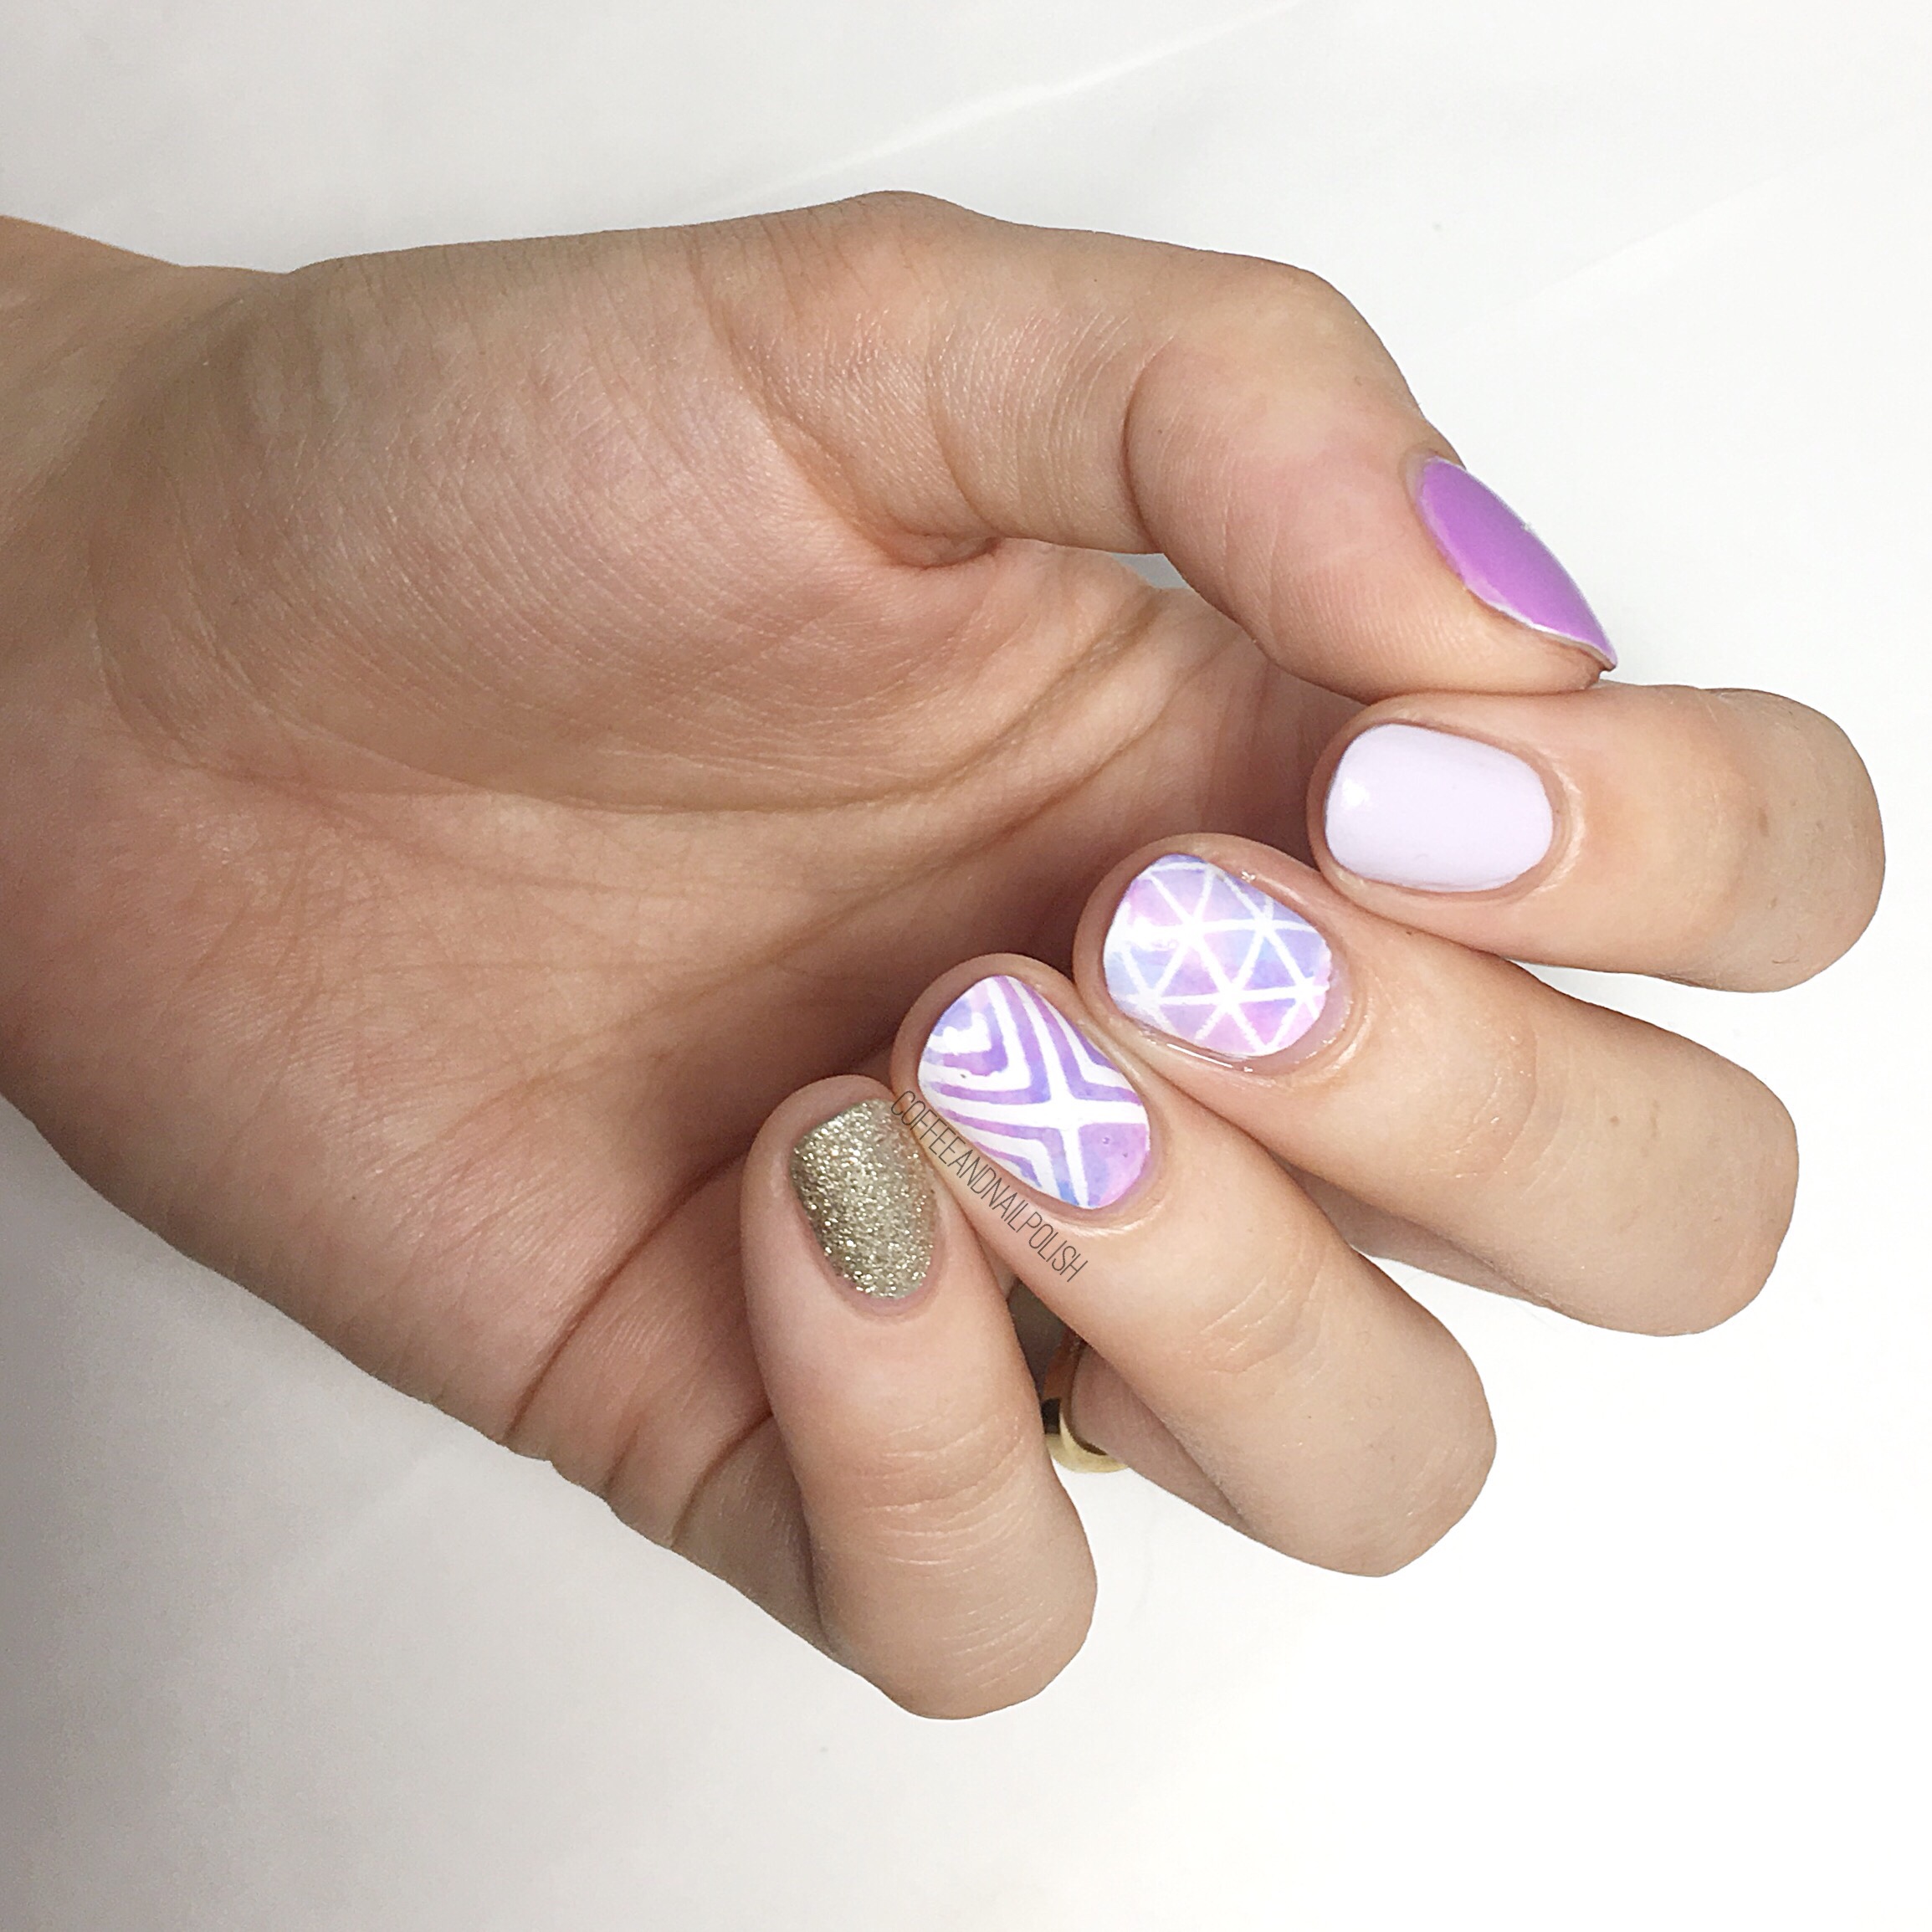
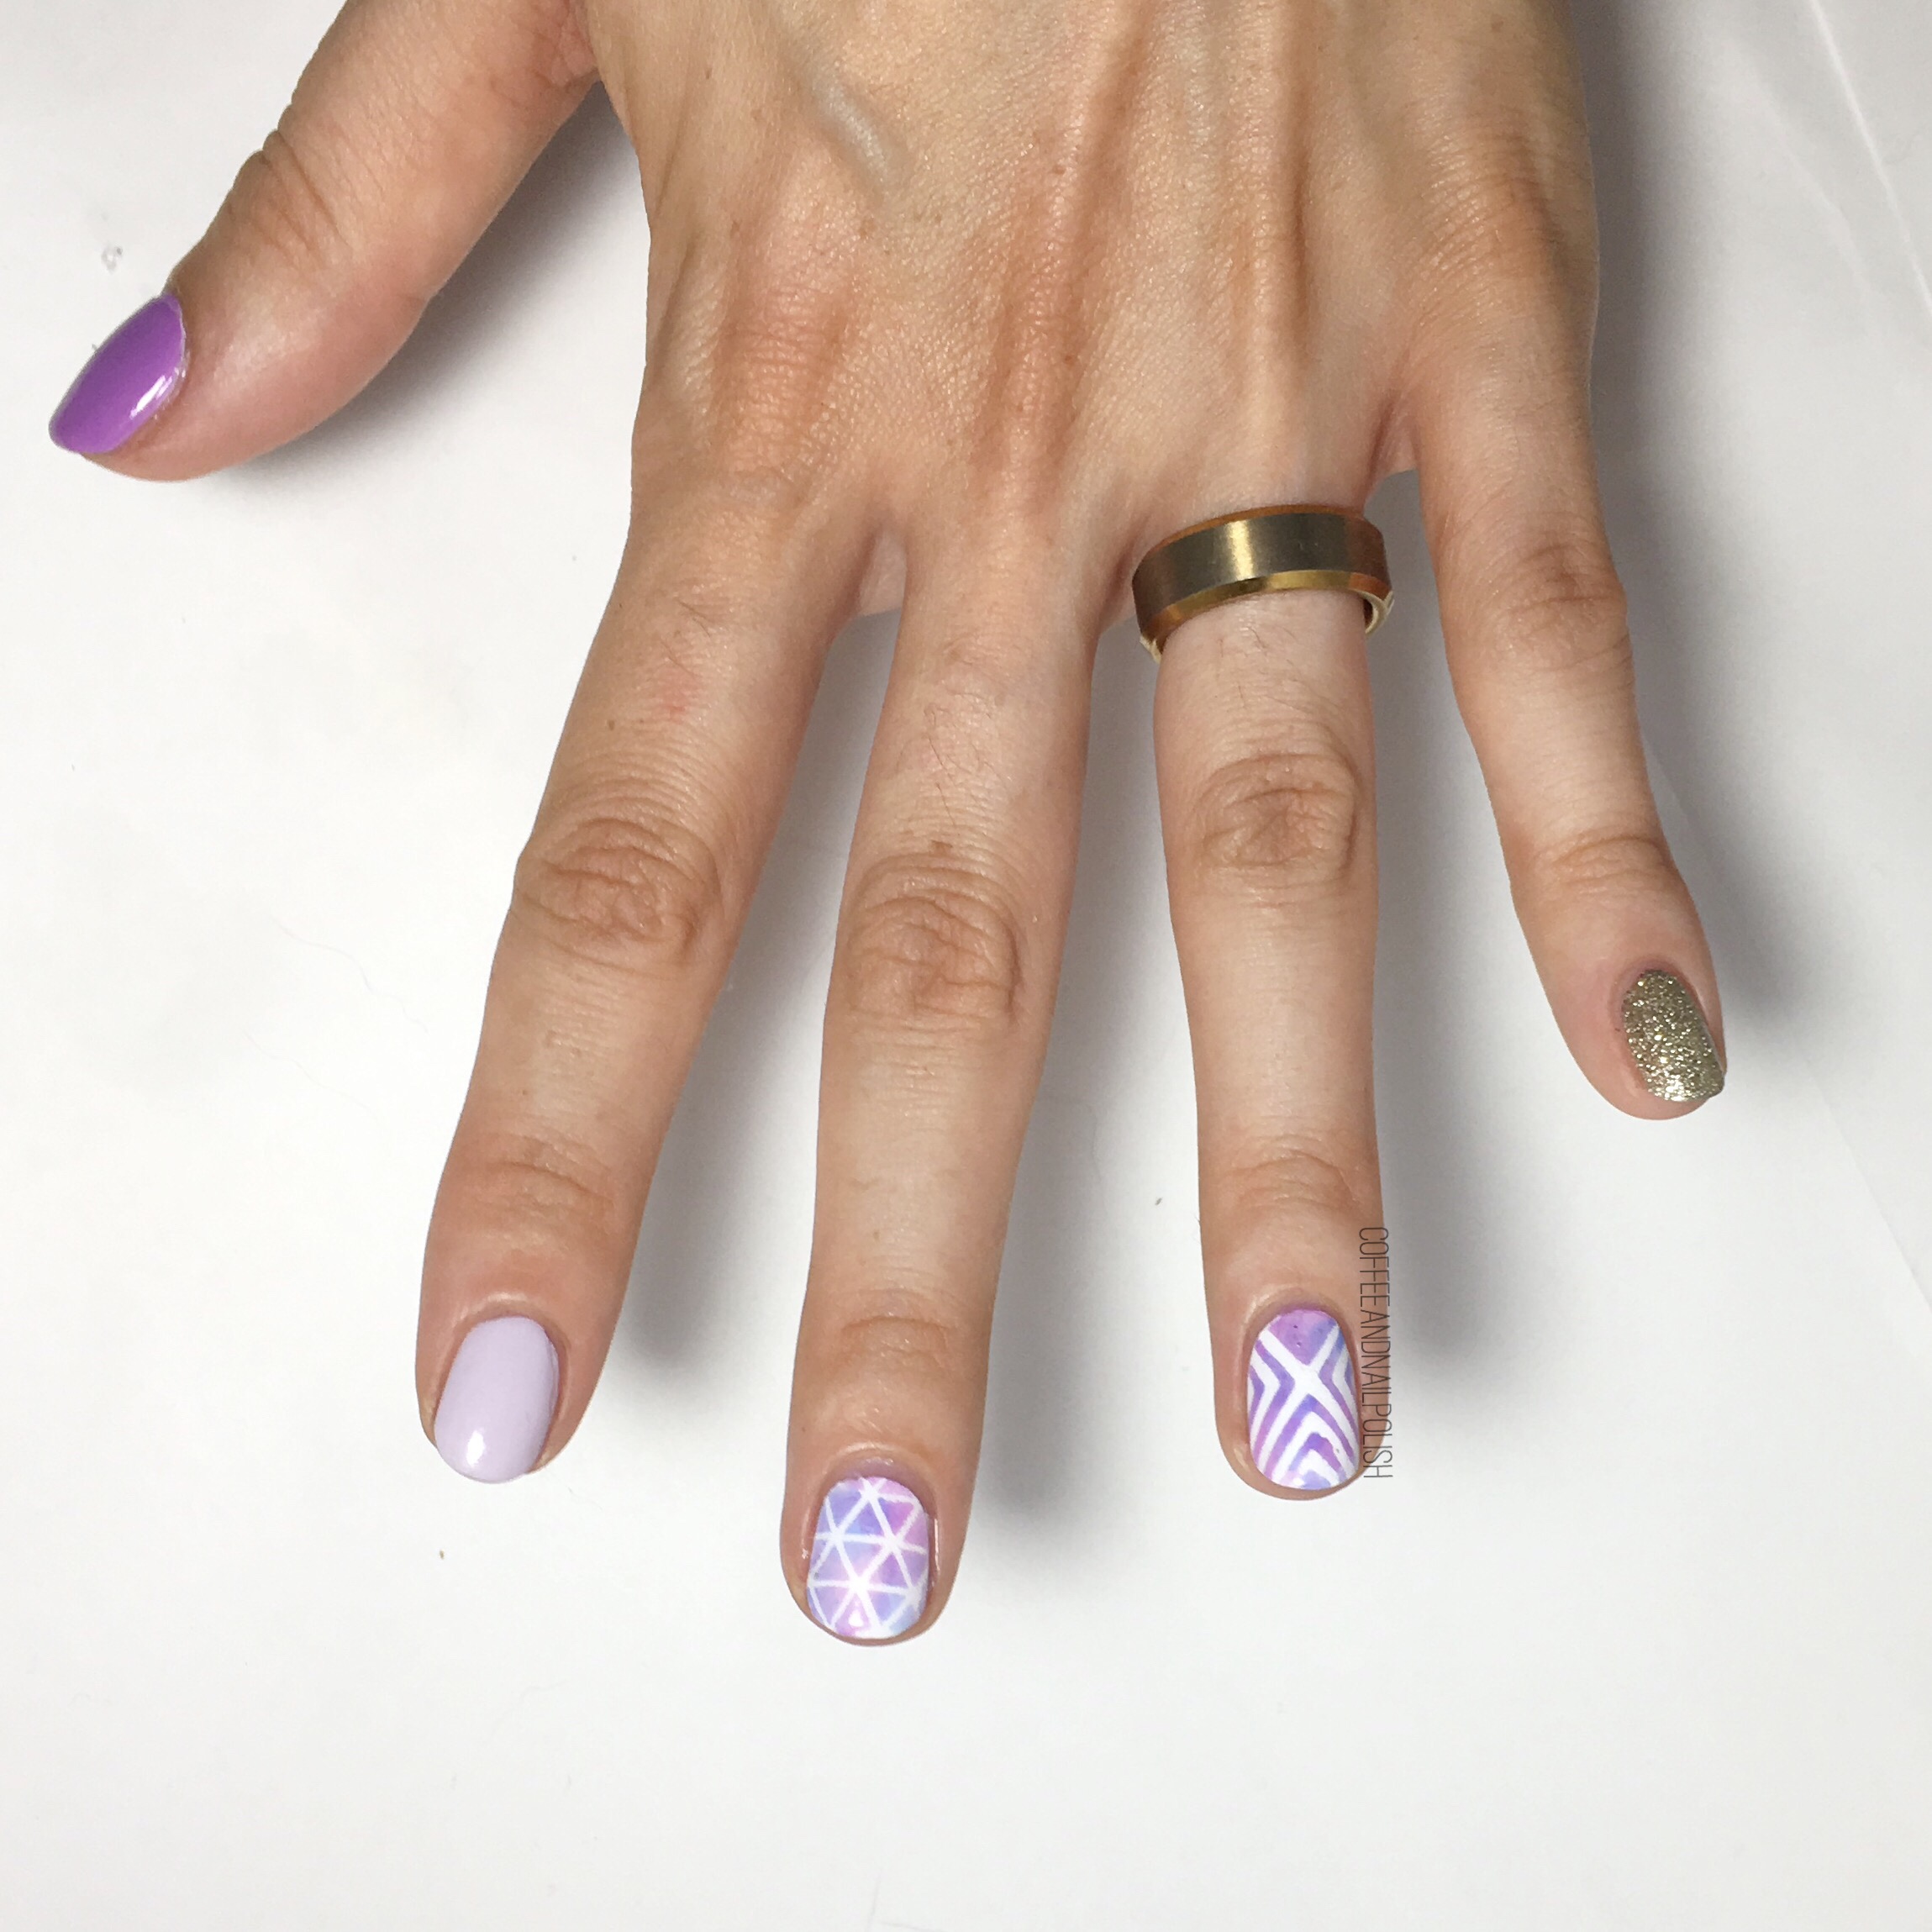
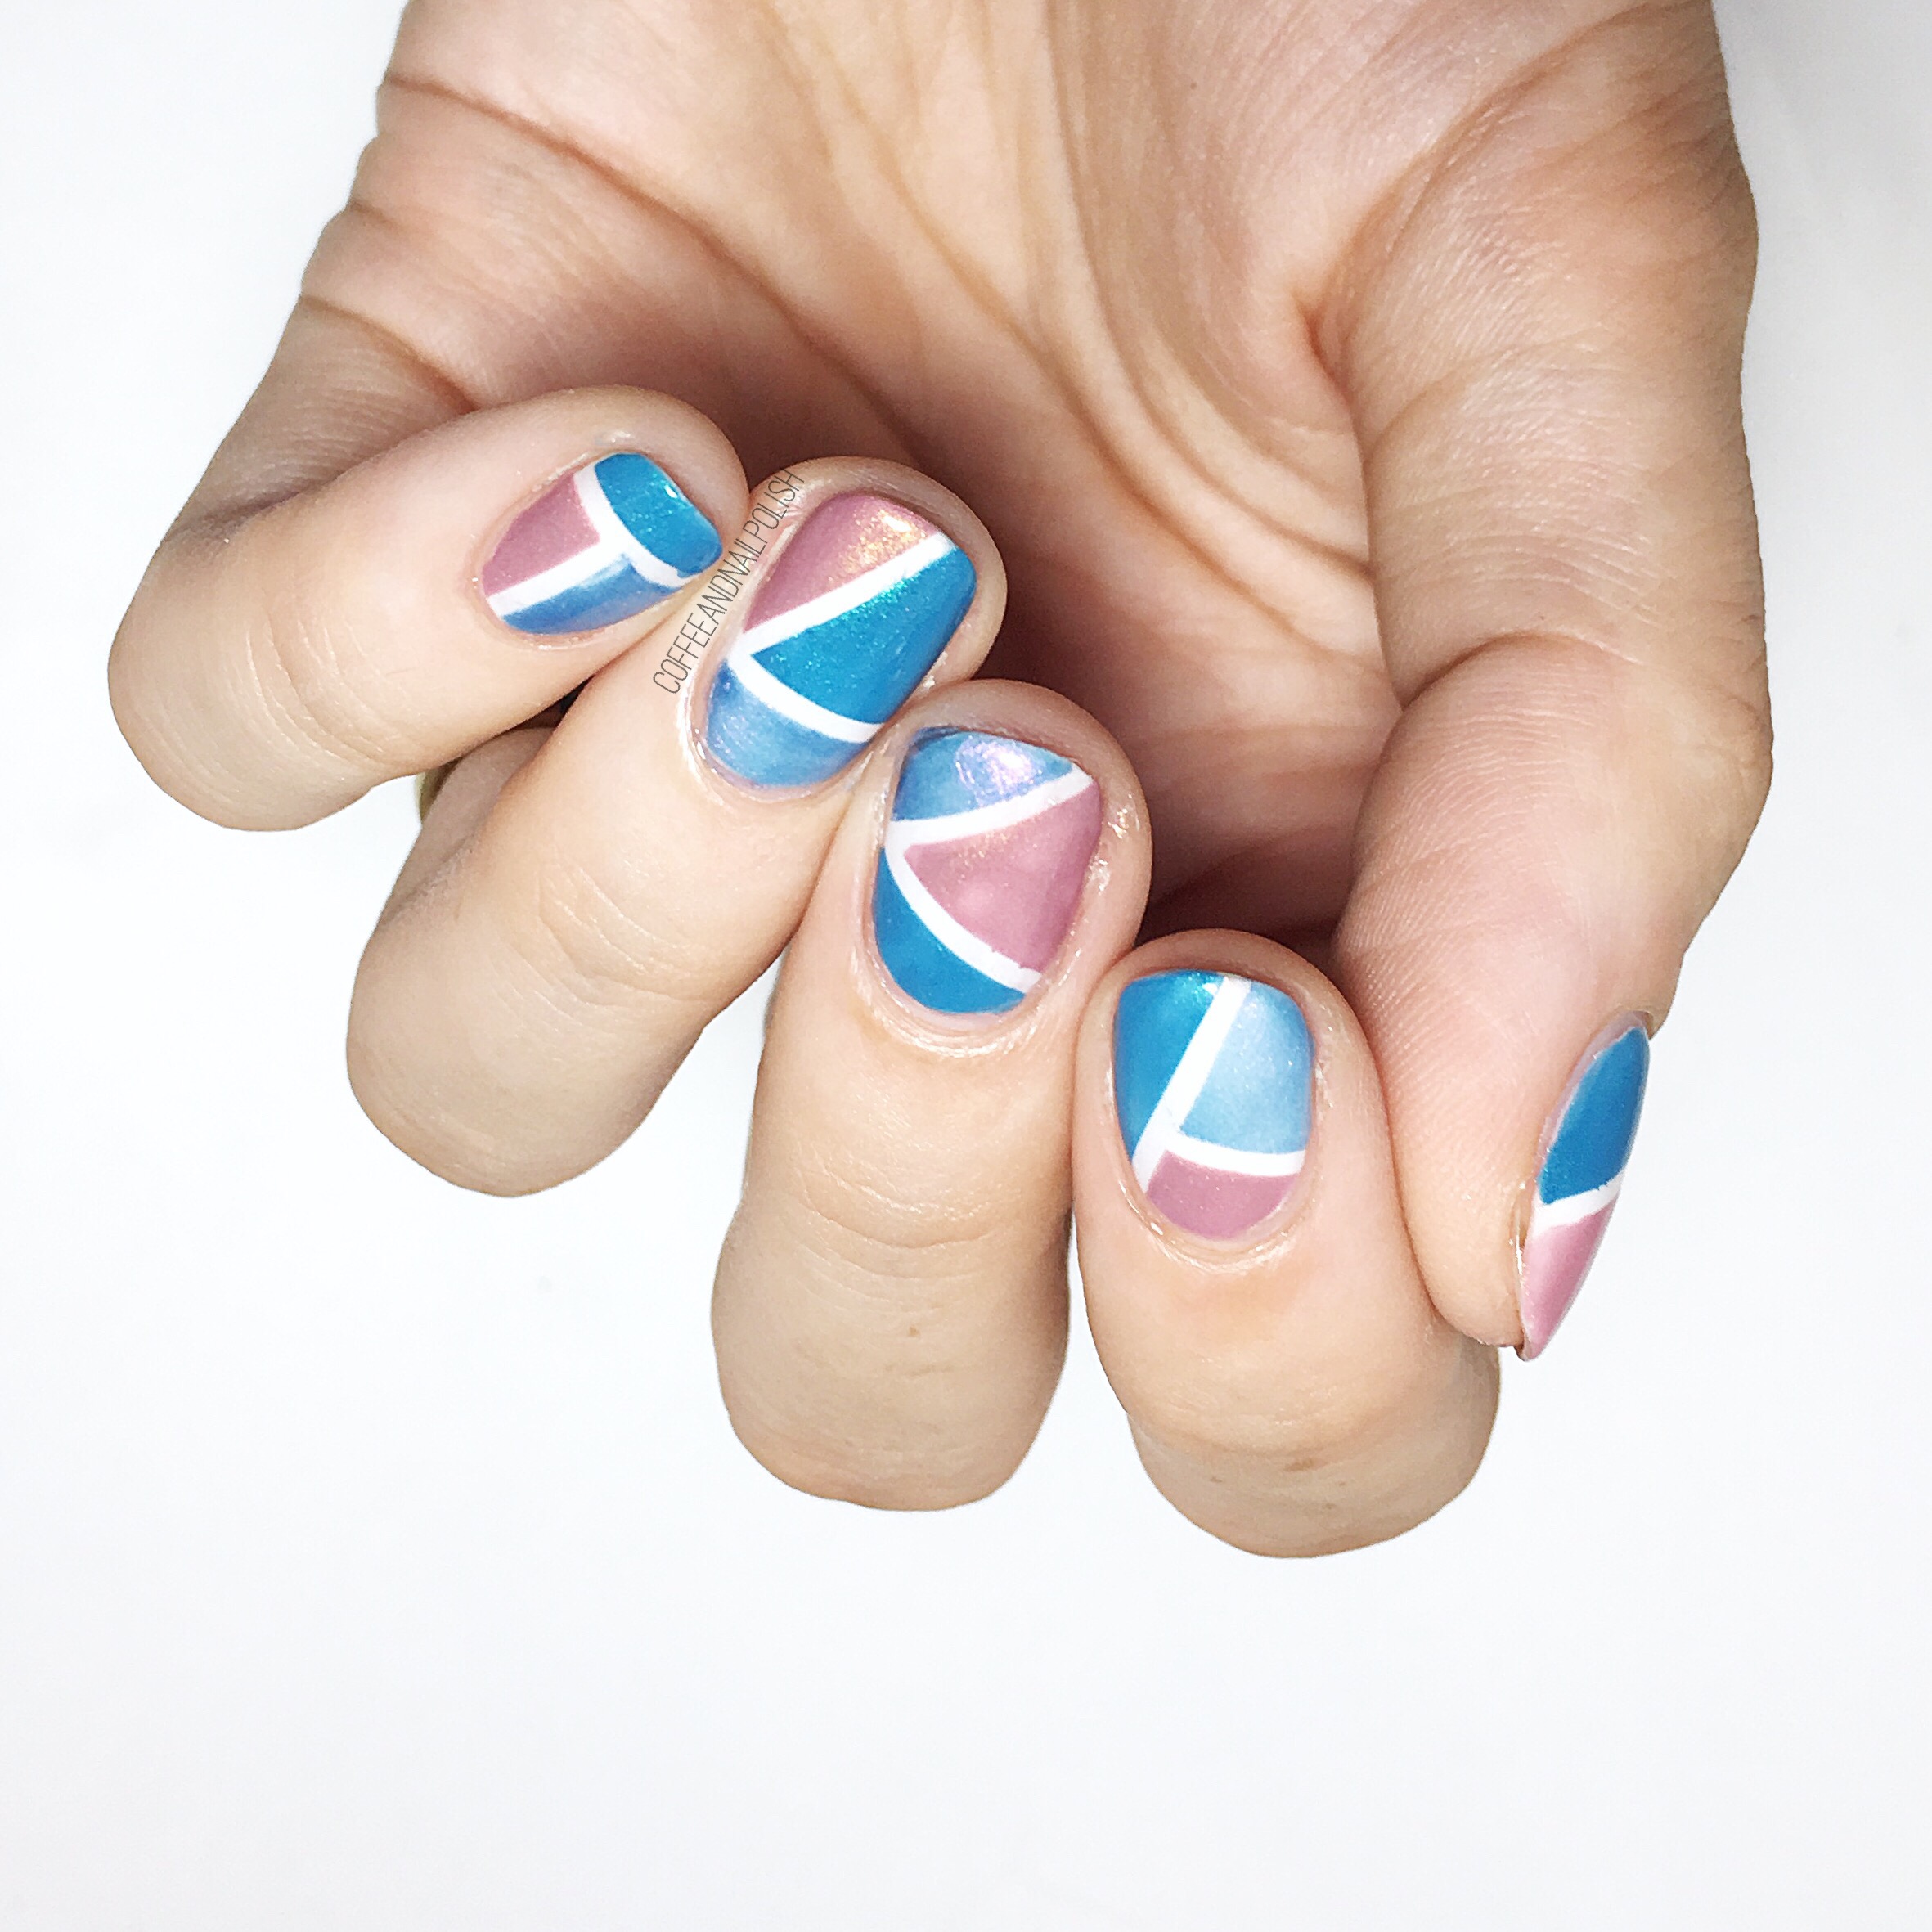
Now I couldn’t not pair all these shades together, so after failing at a gradient I decided my next best option was a colour block! & oh boy did it turn out pretty. I used Essie Sweet Soufflé for my base (because of its own underlying shimmer) & the straight vinyls from Xroma Polish & Vinyls to mark off my blocking. 

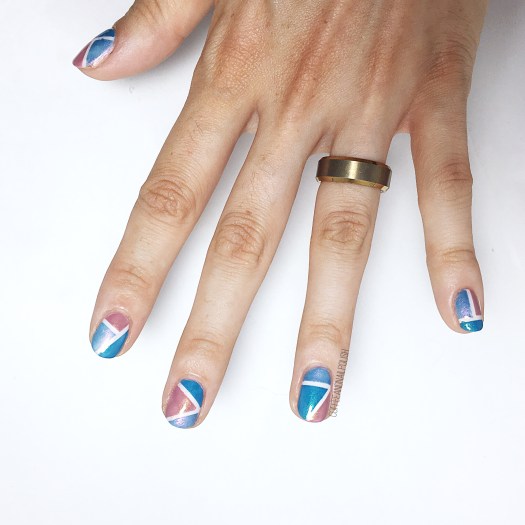
All three Wrenn Polish shades went on easily & levelled well even before top coat. The shades are unique & it is so easy to see where they draw their inspiration from! If you’re interested in picking up these shades for yourself, you can buy them from the Shop Wrenn Website. & don’t forget to check out her gorgeous jewelry designs to compliment your nails! 

What do you trying of these Wrenn Polish colours? Which shade is your favourite? Let me know in the comments below! 

*PR SAMPLE* Some of these items were sent to me for review. However, all opinions are my own. 

SWATCH SUNDAY: ORLY Bailamos

Do you remember you very first polish of certain brands? I posted my very first Essie a while back, so I thought it would be fun to swatch another first polish… my very first ORLY! I picked up this shade (ORLY Bailamos) back in 2010ish at Winners. According to my internet googling abilities, it was originally released as part of the Summer 2010 collection. 

Bailamos is a stunning turquoise shimmer that screams Summer. Most importantly, it’s opaque in two easy coats. & considering this polish is 7 years old, the formula is still as flawless as when I first bought it. Obviously my weakness for a good blue/teal/turquoise polish has lasted a long, long time. 

Do you have this gorgeous ORLY shade in your collection? After searching this shade, I’m bummed I haven’t pulled it out of my stash to wear my often. Truthfully it did spend a good 2 years sitting in my parents addict (more props to that awesome formula for lasting!) but even still I can’t believe I haven’t reached for it more often. It’s just so pretty. Also I can only imagine how gorgeous this shade would look matte! Must try that next! 

What was your very first ORLY shade? Let me know in the comments below! 

Feeling Blue… Stripes 💙

Happy Friday! It’s been so long since I played around with my stripers, which used to be one of my favourite nail art tools, so I figured why not pull them out for some fun stripes. This used to be my go-to design whenever I had nubbins, & it makes somewhat medium  length nails look even longer! (& who doesn’t want their nails to look longer?)

For this manicure I used:

  • Base Coat: L’Oréal All in One
  • Top Coat: Essie Speed Setter
  • Sally Hansen Miracle Gel Beatnik 
  • Kiss Products Nail Art Striper in Black
  • Kiss Products Nails Art Striper in White
  • Jordana Cosmetics Pop Art Nail Design in Blue Abstract

After spending the majority of June not wearing any blue nails, I must say it was nice to pull out again. I purchased Sally Hansen Beatnik on clearance at Shoppers while on my no-blue-nails crusade (I know, I have a sickness), so I was excited to finally get it wear it. & it really is such a pretty colour. That’s why I thought just some simple striping would really compliment the colour & I was right! 

What are you wearing on your nails right now? Let me know in the comments below!