Hello lovelies & happy Thursday! We’re back into our nail art routine & I have another fun look to share. Two things I’ve been trying to do this year: wear more of my polishes from deep in my stash, & bring my manicures back to the beginnings. Sometimes it’s fun just to go a little more simple. I’ve been seeing a few looks of simple vertical stripes — @xglitzandpolishx & @apolishedcolleen recently did beautiful versions that I’m obsessed with.
So I decided to do my own version!
For this manicure, the polishes I used were:
- Base Coat: Essie Treat Love & Color Gloss Fit (clear)
- Base Coat: OPI Nail Envy
- Top Coat: Sally Hansen Miracle Gel Top Coat
- China Glaze Jungle Queen
- China Glaze Up All Night
- Straight Nail Vinyls
.

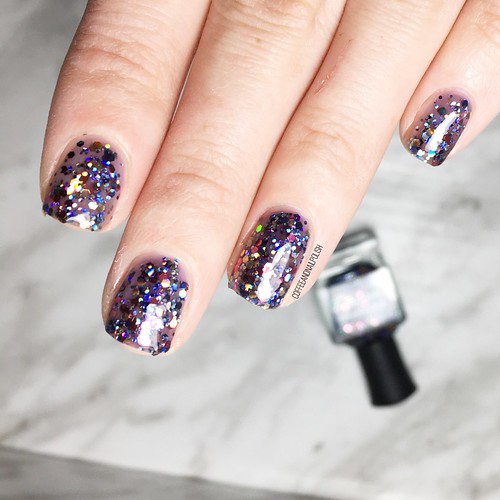
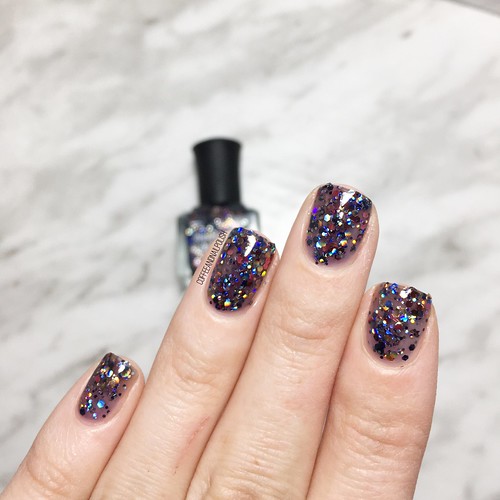
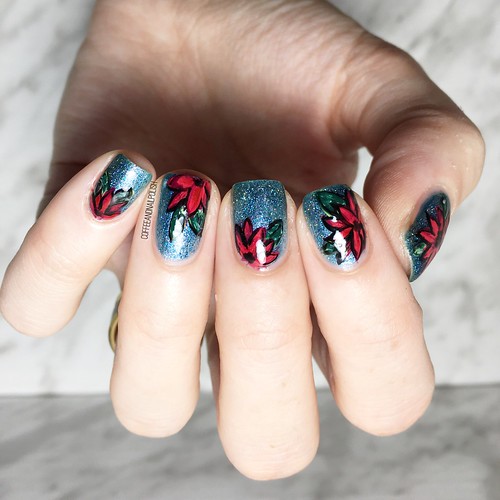
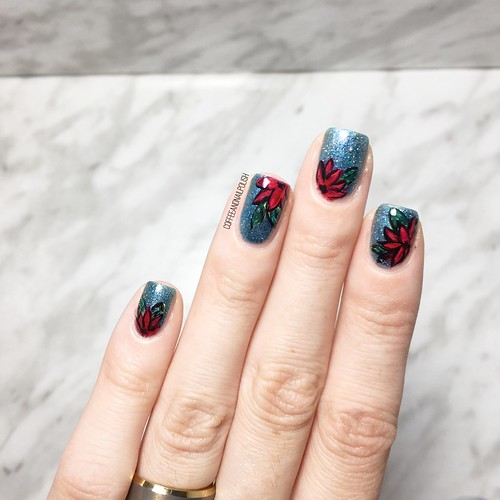
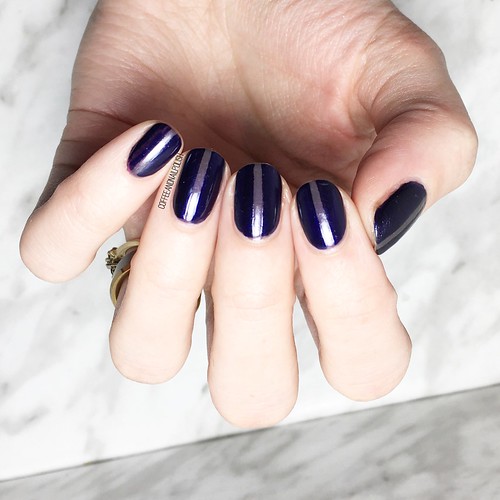
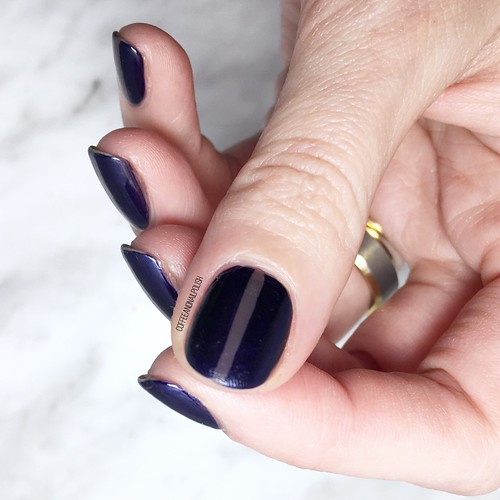
For this look, I decided on two shades that would compliment each other really well, but was kind of a subtle look. First I grabbed Jungle Queen because it’s a gorgeous shade which I don’t wear nearly enough & the grey-ness of it is something I love in the depth of January. It is a bit of a darker shade, so I needed to find something dark that it would still pop against. China Glaze Up All Night has been in my stash for a long time (since before baby #1) but I haven’t worn it… ever. That’s kind of crazy because it’s SUCH a pretty shade.

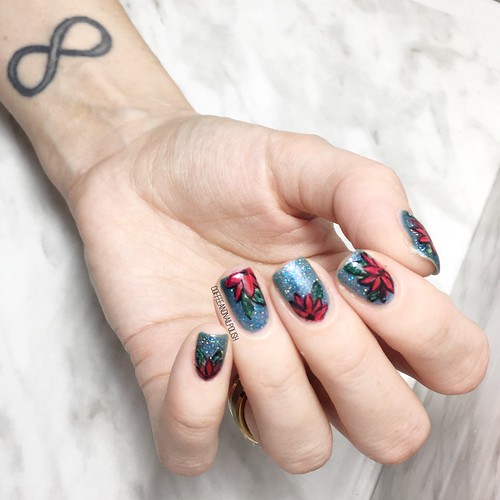
I think my only regret with this look is a wish I had gone with skinnier nail vinyls/striping tape. But I think these single stripe nails are so chic, & they end up making your nails look SO long. Such a fun look to wear, & there are so many different ways to wear it & so many different colour combinations.
Have you done this single stripe design yet? What do you think about this subtle version of this look? Hope over to Instagram (since my blog comments don’t seem to want to work), & let me know what you think & what colour combinations you would rock.