Drag Marble DecalsĀ 


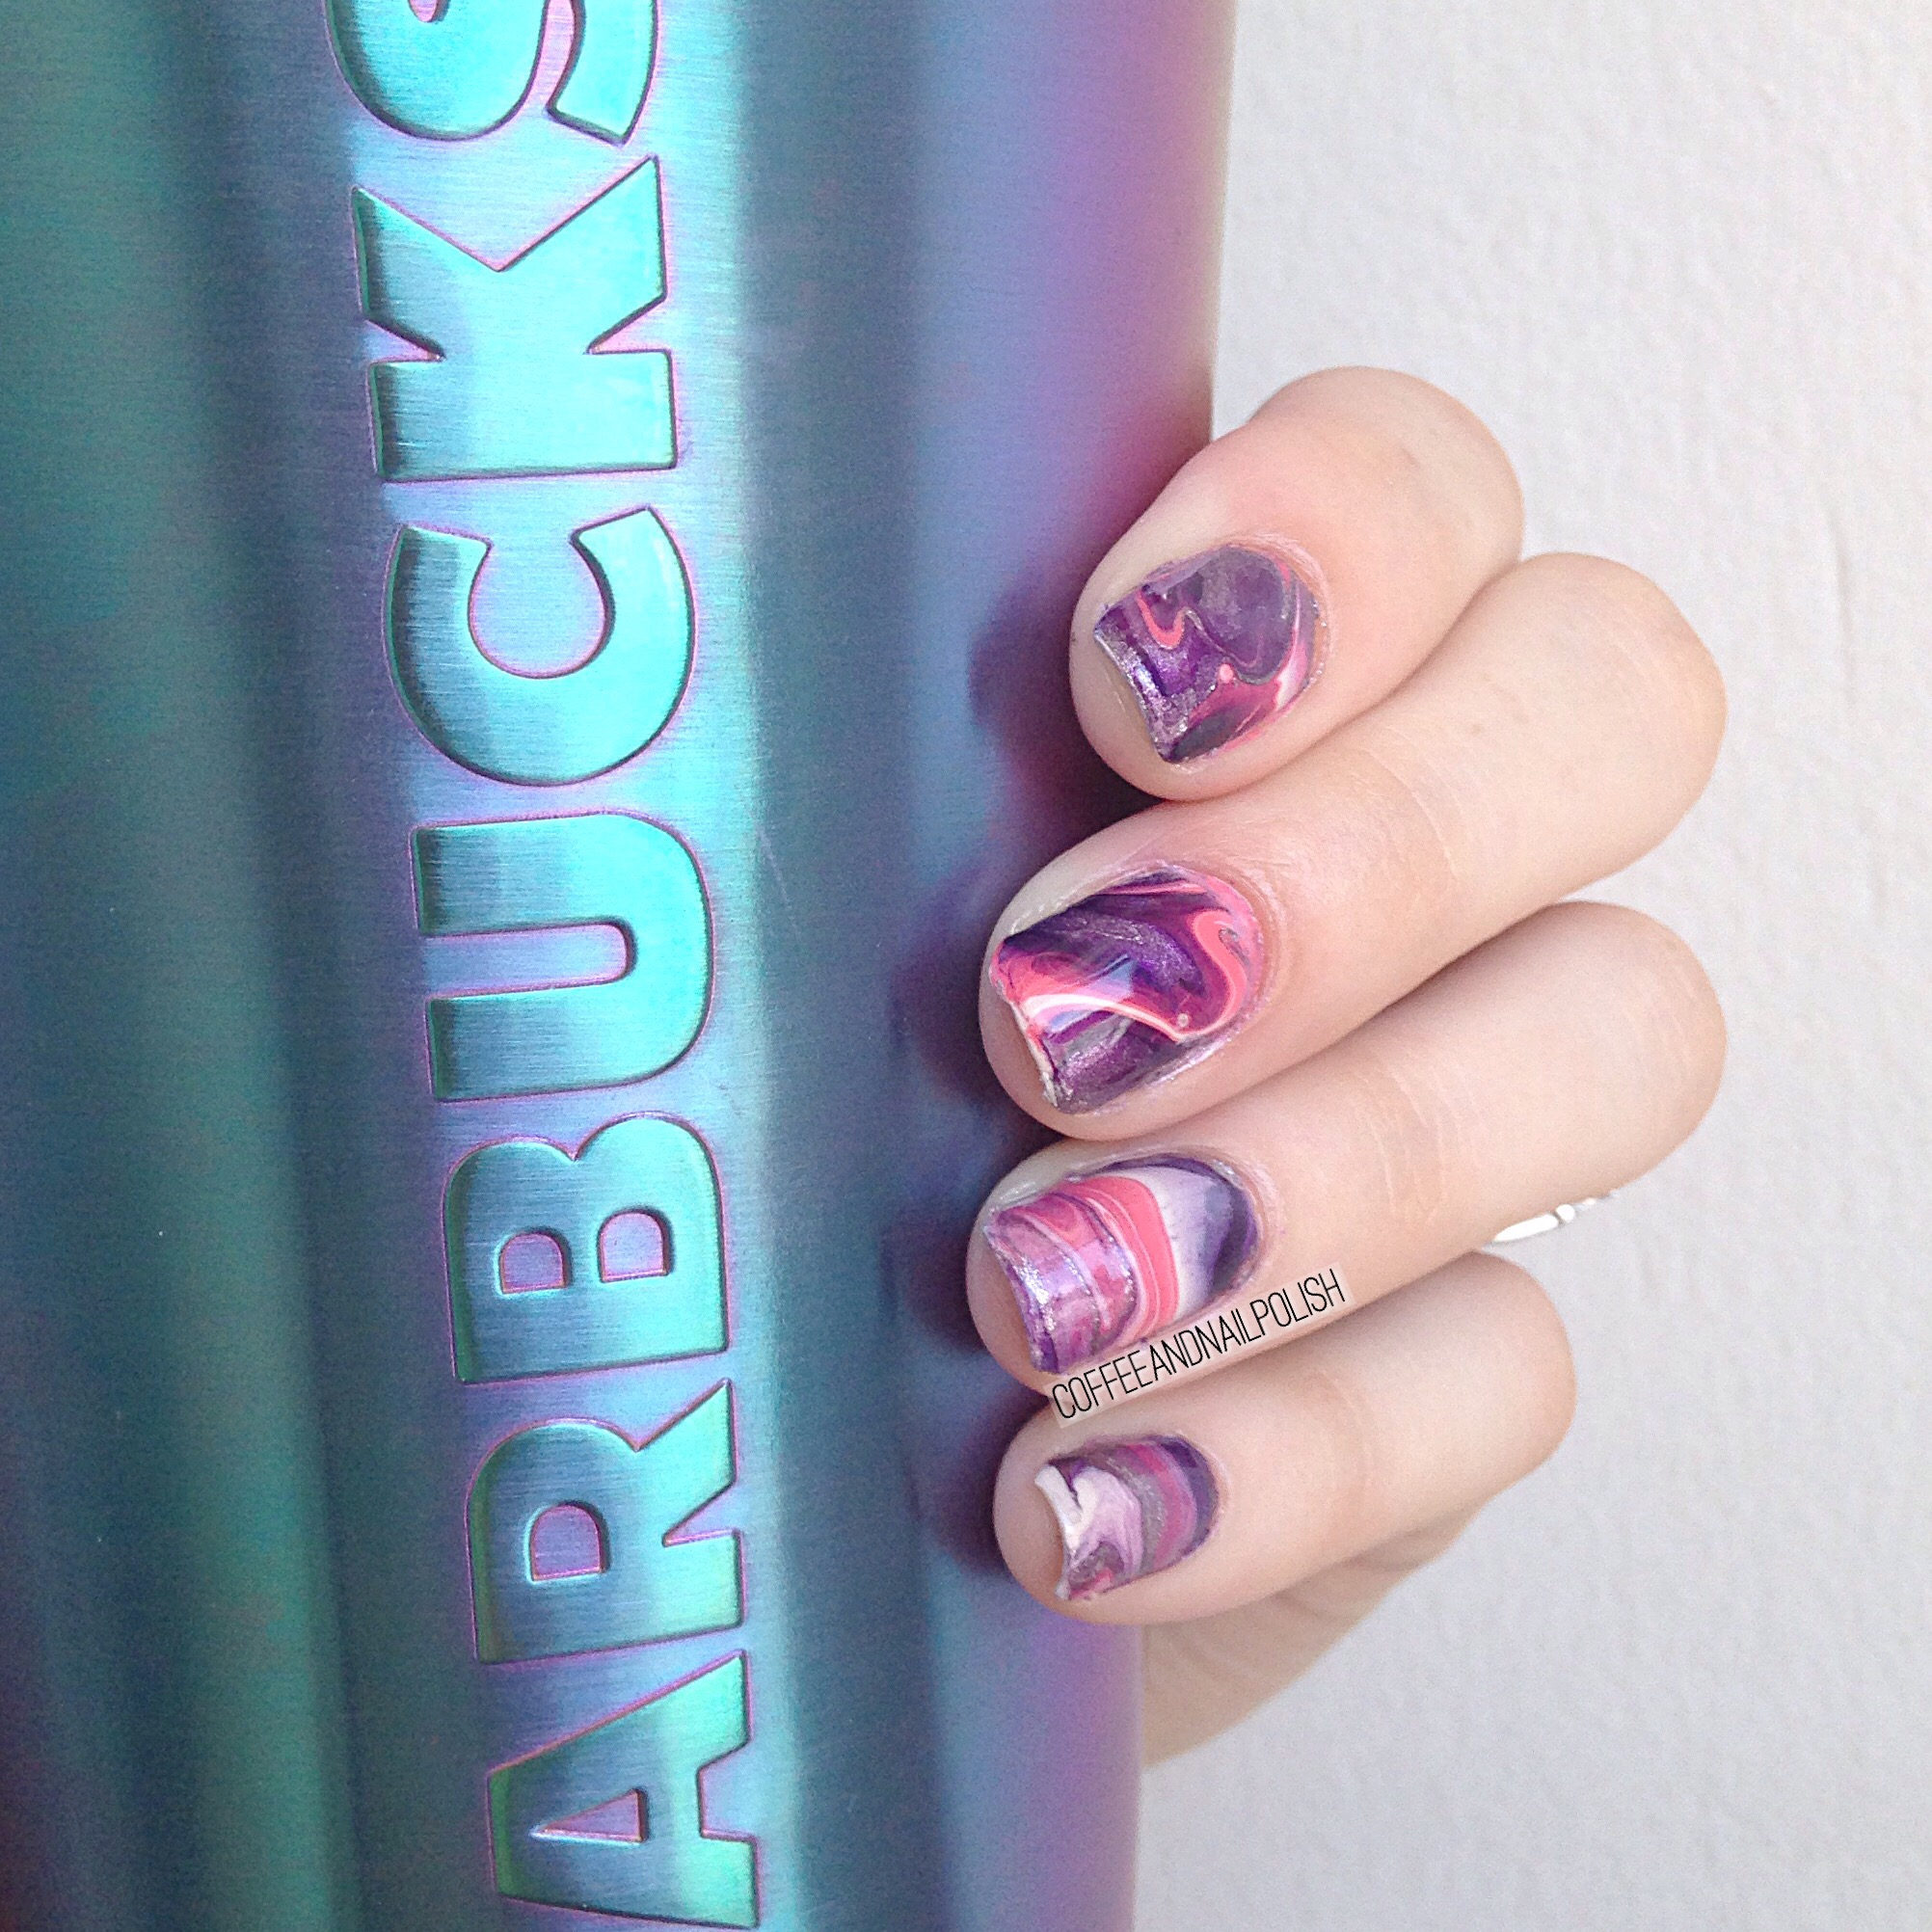
If you’ve been around a while, you’ve probably heard me mention before how I can’t water marble. I’ve tried to do it, I really have but the results never turn out quite right. So thanks to rewatching old Simply Nailogilcal videos on YouTube, I wanted to see if I can cheat at watermarble using my silicone mat, ala Cristine!

So for my first Drag Marble decal experiment, I decided to try a couple different designs that would sort of look like watermarble (if you didn’t look too closely). I did about 15 different decals using different polishes to see which colours/polish formulas worked best & picked the three best to apply.

For each manicure I used my silicone craft mat & a water marble tool from Bundle Monster. For how to apply decals, there are lots of useful tutorials on YouTube. I also topped all designs with my Cutex Quick Dry Top Coat.
Continue reading “Drag Marble DecalsĀ “

Drip Marble decals inspired by @SimplyNailogicalĀ 


I’ve tried water marbling, & it was… not my thing. I’ve tried drag marbling, & it’s usually hit or miss. But I really love marbled nails, so naturally when I picked up a silicone craft mat I knew I needed to try drip marbling recently done by @simplynailogical.


For this mani I used:

  • ORLY Decades of Dysfunction 
  • Sally Hansen Pretty Piggy
  • Nicole by OPI We Got Beiber Fever
  • Finger Paints Wanna Gogh Dance?
  • ACO by Ardene Base Coat
  • Cutex Quick Dry Top Coat

To create my decals, I started off by dropping my polished of choice onto the mat, starting with my lightest colour (ORLY Decades of Dysfunction) as my base, then continued with my darker colours, & finished with my metallic shade (Finger Paints Wanna Gogh Dance?). Once all my colours were down, I moved my mat around to create my marbled effect. Once I was happy with one decal, I’d let it sit & dry for a few minutes before starting on the next one. When I was happy with the amount of decals I’d made, I left them to Dry for a few hours (around 2 hours).

I’m not going to lie, trying to apply these wasn’t the easiest. I started off by painting my accent nails with a base colour (again I used ORLY Decades of Dysfunction) and let dry. I then peeled off my decal & figured out which part I wanted on my nail, trimming it down to a more manageable size. When I was ready, I applied a coat of my ACO by Ardene base coat & immediately stuck my decal onto the nail. Using a brush dipped in acetone, I cleaned up around the cuticle. This was probably the least fun part–I wish I had better nail art scissors to trim off the access instead! When the decal was fully cleaned up & my cuticles were clean I sealed everything in with top coat to finish. I also surrounded my cuticles in oil to help after all that remover. No one likes wrecked cuticles.

And how does the final result look?

Continue reading “Drip Marble decals inspired by @SimplyNailogicalĀ “

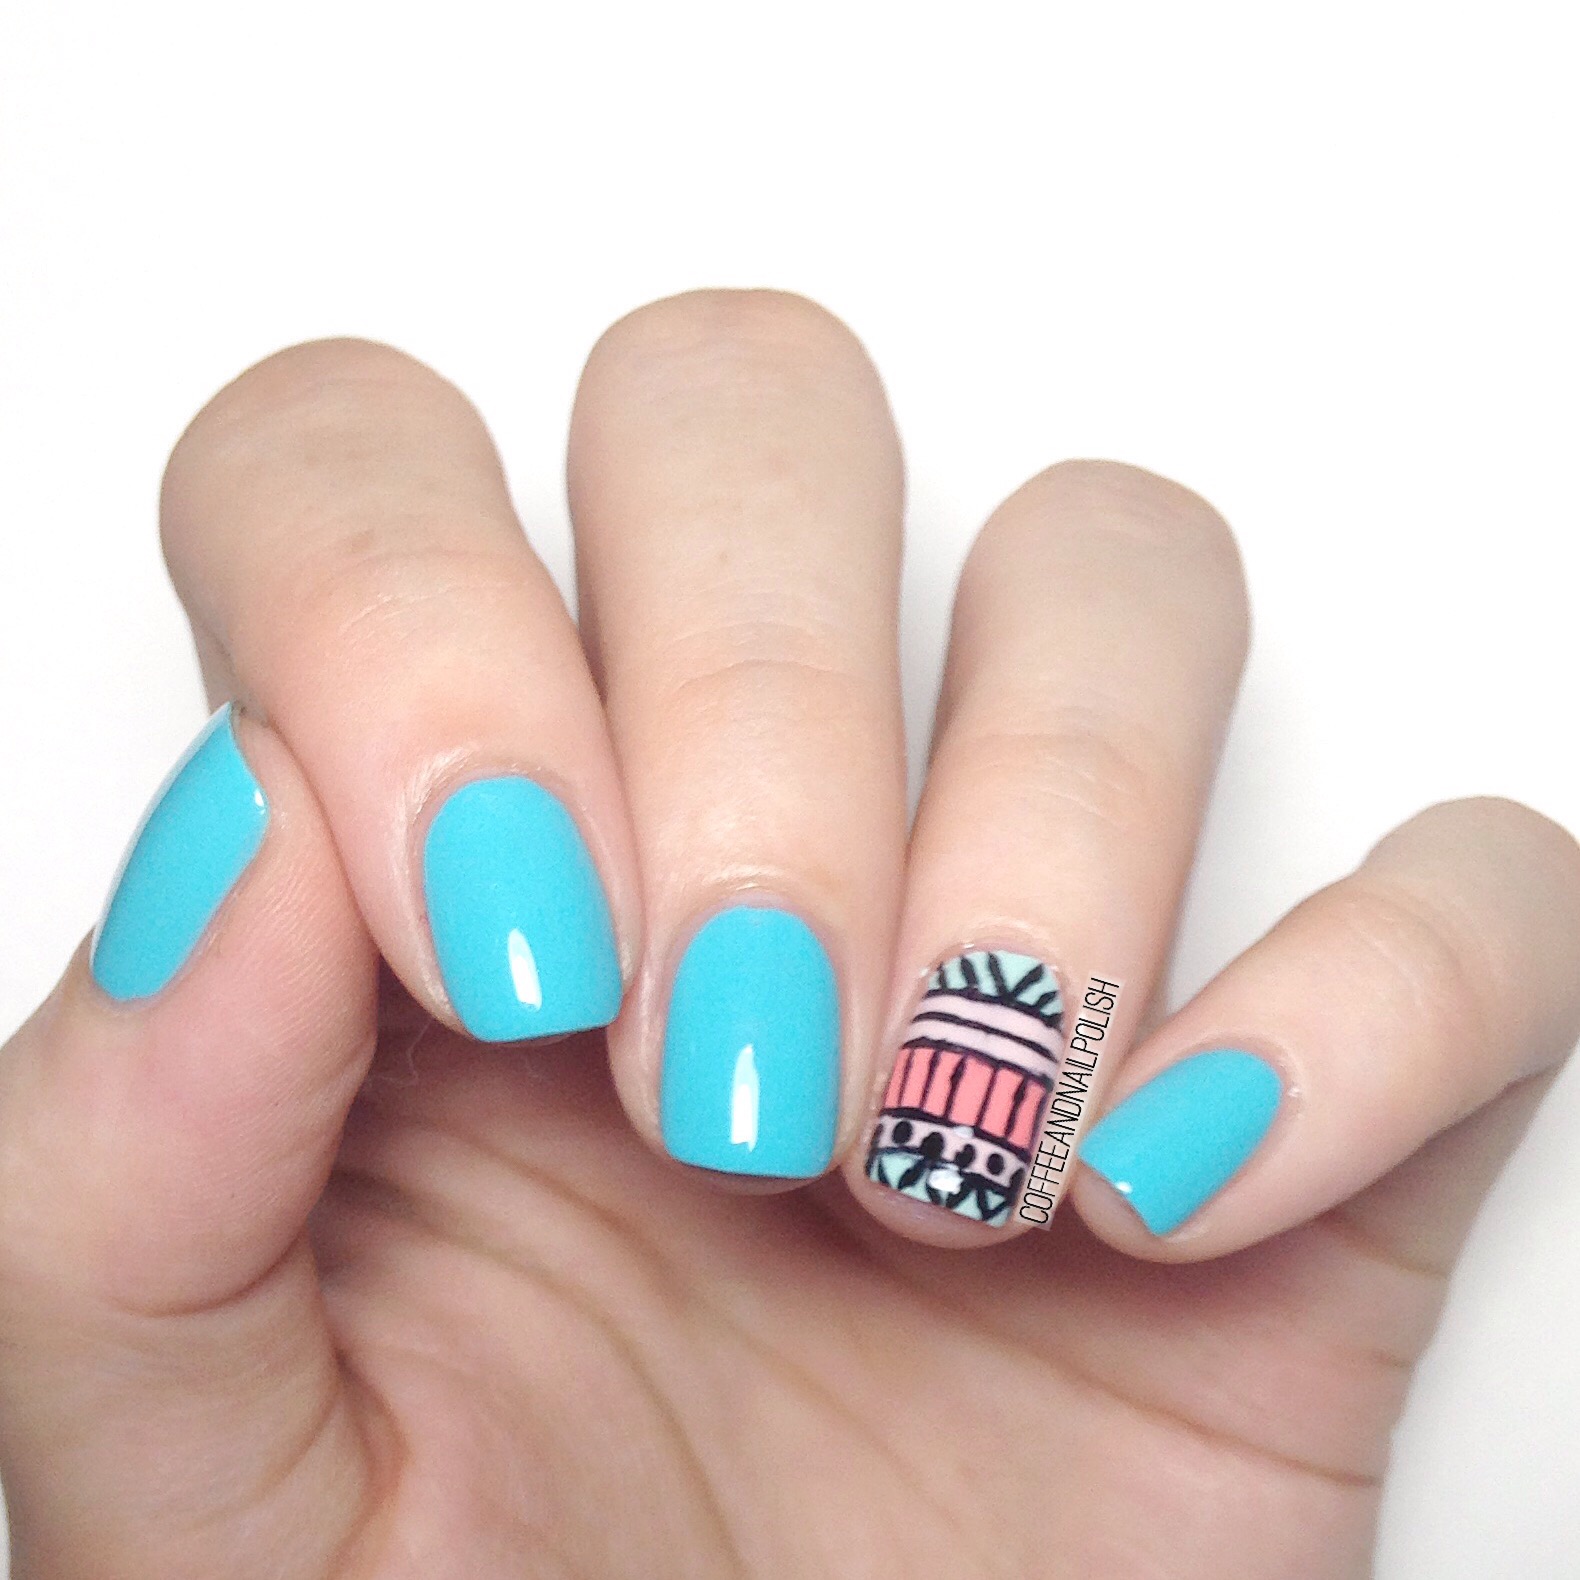
Tribal Print Accent Nail

Today I have some more nail art to share with you! I’m really enjoying being able to do my nails again. It’s surprising how relaxing it is to be able to sit down & pull out my polishes at the end of the night.


It’s been a while since I did anything tribal-esque on my nails, so I felt like it was about time. Again, I continued the trend with some pretty Spring polishes that I haven’t pulled out in a while.

For this manicure, I used:

  • ACO by Ardene Whacky
  • ACO by Ardene Flawless
  • Essie Mint Candy Apple
  • Essie Lounge Lover 
  • Kiss Products Nail Art Striper in Black
  • Cutex Quick Dry Top Coat
  • Thick striping tape from Born Pretty Store.
  • Small dotting tool.

It’s been too long since I’ve tried to freehand lines like this, hence why I only did an accent nail, & used striping tape to create my thick lines. I really should invest in some acrylic paint for nail art, eventually. (Although I’ve been saying that for ages, & still haven’t.) Even with the wonky lines though, I really love this accent nail. Makes me feel like I’m officially back in the nail art game again!

I think if I went with some pastel polish, & white lines, these would be great for Easter Egg nails! I’m starting to plan my Easter manicures so I will have to try this again with the right colour palette.


What do you think of my tribal-esque accent nail? Let me know in the comments below!

My Spring Polish Picks


If you’re like me, your love of nail polish may run into barriers such as money & time. Being a new Mom, I can’t afford to go crazy on buying nail polish like I used to, because you know… diapers. That means when I do want to buy polish, I have to make sure it is really something special. So instead, I’ve been “shopping” my own stash instead of buying new polishes.

In that spirit, I decided to go through & pick my favourite polishes for Spring from the shades I already own! It took me a while to pick my personal favourites from all the polishes I own, but these are all shades I can see myself reaching for in the coming months, & screams Spring to me!  I’ve listed the seasons these polishes were released, but I know some are part of the permanent core collections.

Continue reading “My Spring Polish Picks”

More Fun With Nail Vinyls!

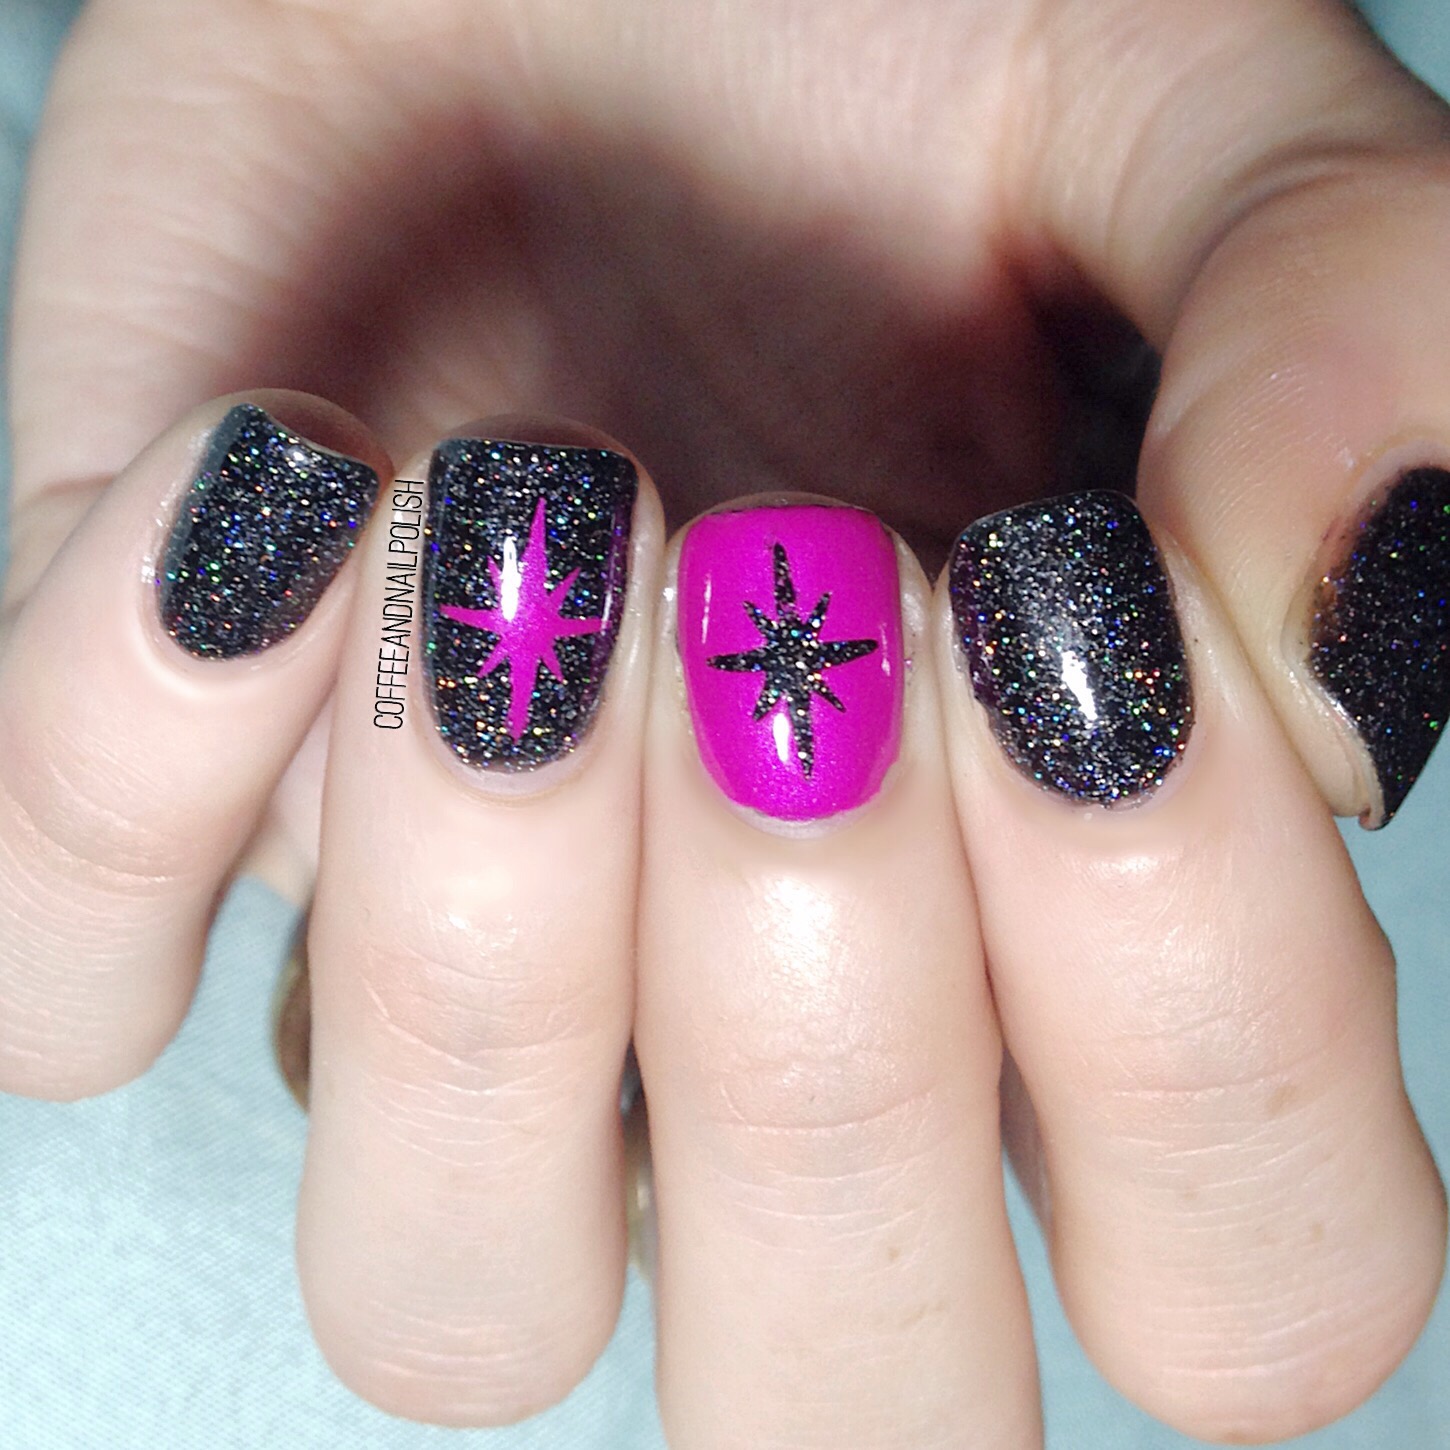
Hello lovelies! Today I have a simple but fun manicure I did using nail stencils from My Nails Did Vinyls. 

I purchased these stencils back before Christmas from her holiday collection, then forgot to use them! Whoops. But I’ve been in such a nail vinyl kick, I wanted to figure out a way to use them in a manicure so I decided to pair them with this beautiful holo polish from ACO by Ardene called Grunge Goddess. 

The polishes I used for this manicure were:

Oh man, I just love this combo together. The combo of the black holo and neon fushia kind of reminds me of Star Sapphire.

 I rarely ever wear black polish all on its own anymore–not since High School–but I’m ALL about this black holo! And it just pairs so well with China Glaze Purple Panic. It’s the kind of manicure I could see myself wearing for a girls night out. 


What do you think of this mani and colour combo? Let me know in the comments below!