Cosy Sweater Nails

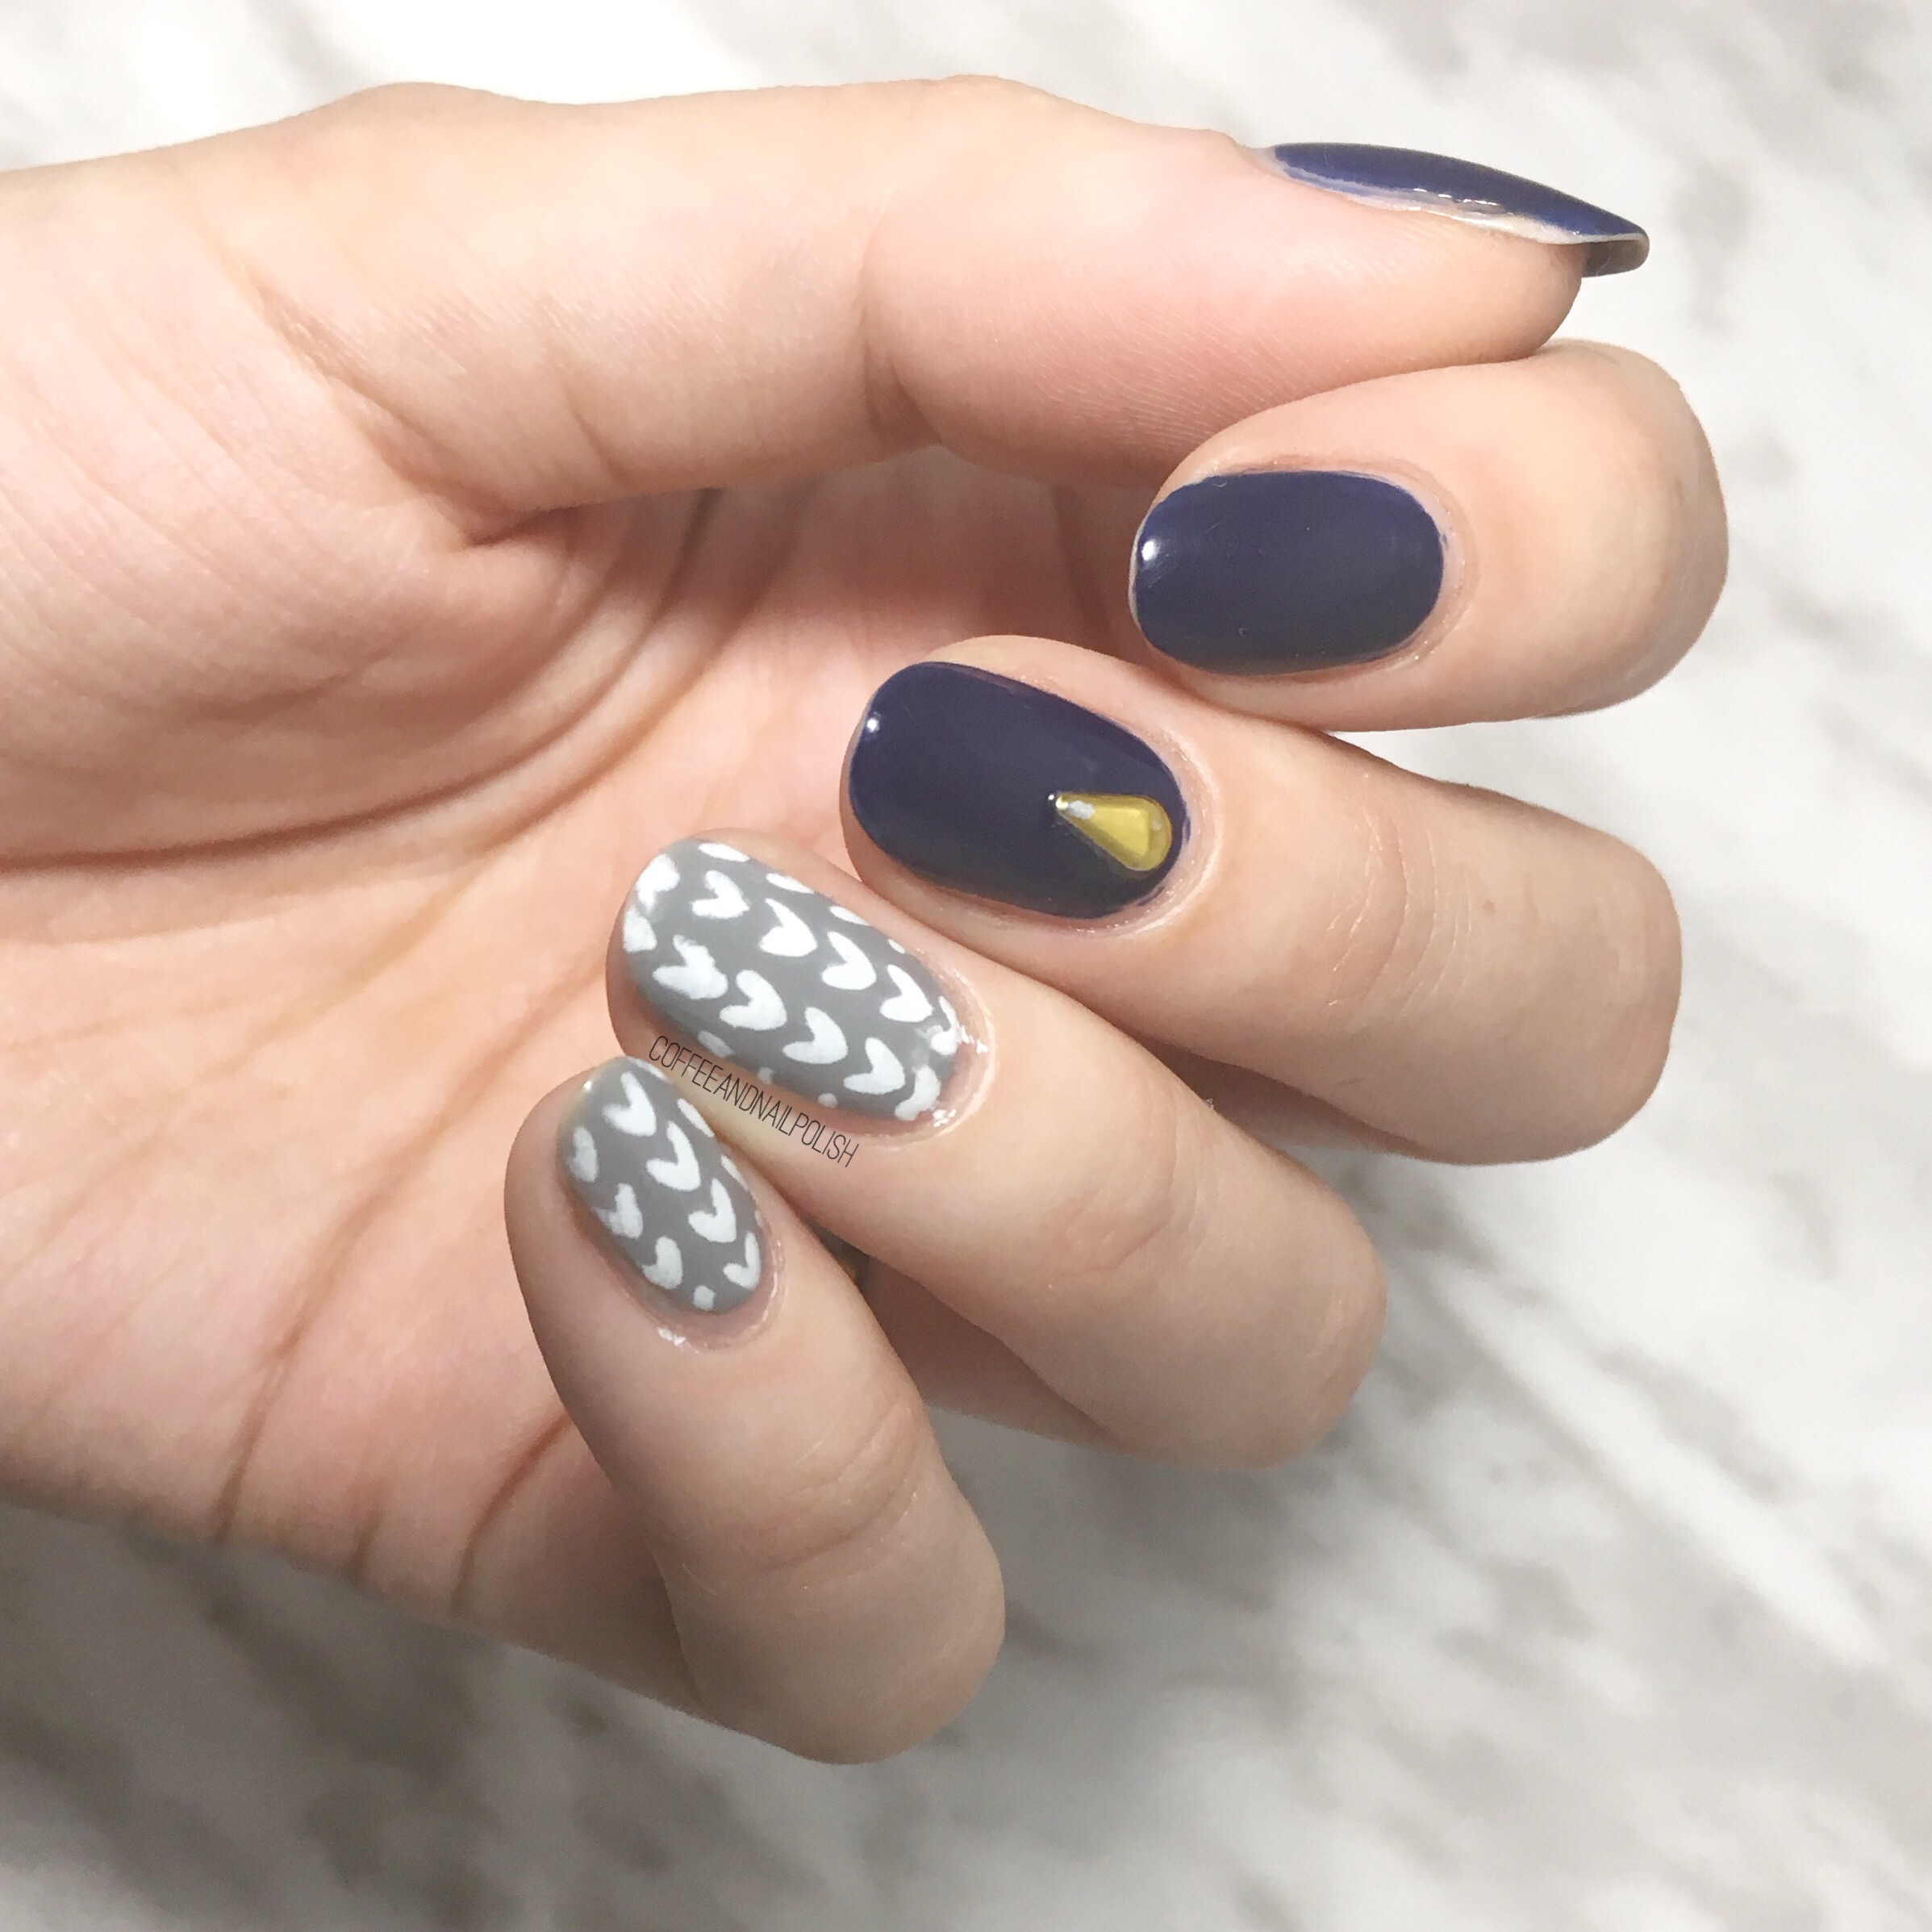
Temperatures have been feeling much more seasonal the last couple days here in Halifax, which means I’ve been living in my most cosy of sweaters. & it also means I’ve been seriously digging sweater nail art! 

There is just something unnatural about rocking knit nails when it’s 18 degrees celsius outside (that’s 64 degrees fahrenheit to my non-Canadian friends!) So as soon as temperatures started to dipped, I decided to pull out my knit nail vinyls for some perfectly November-worthy nails. 
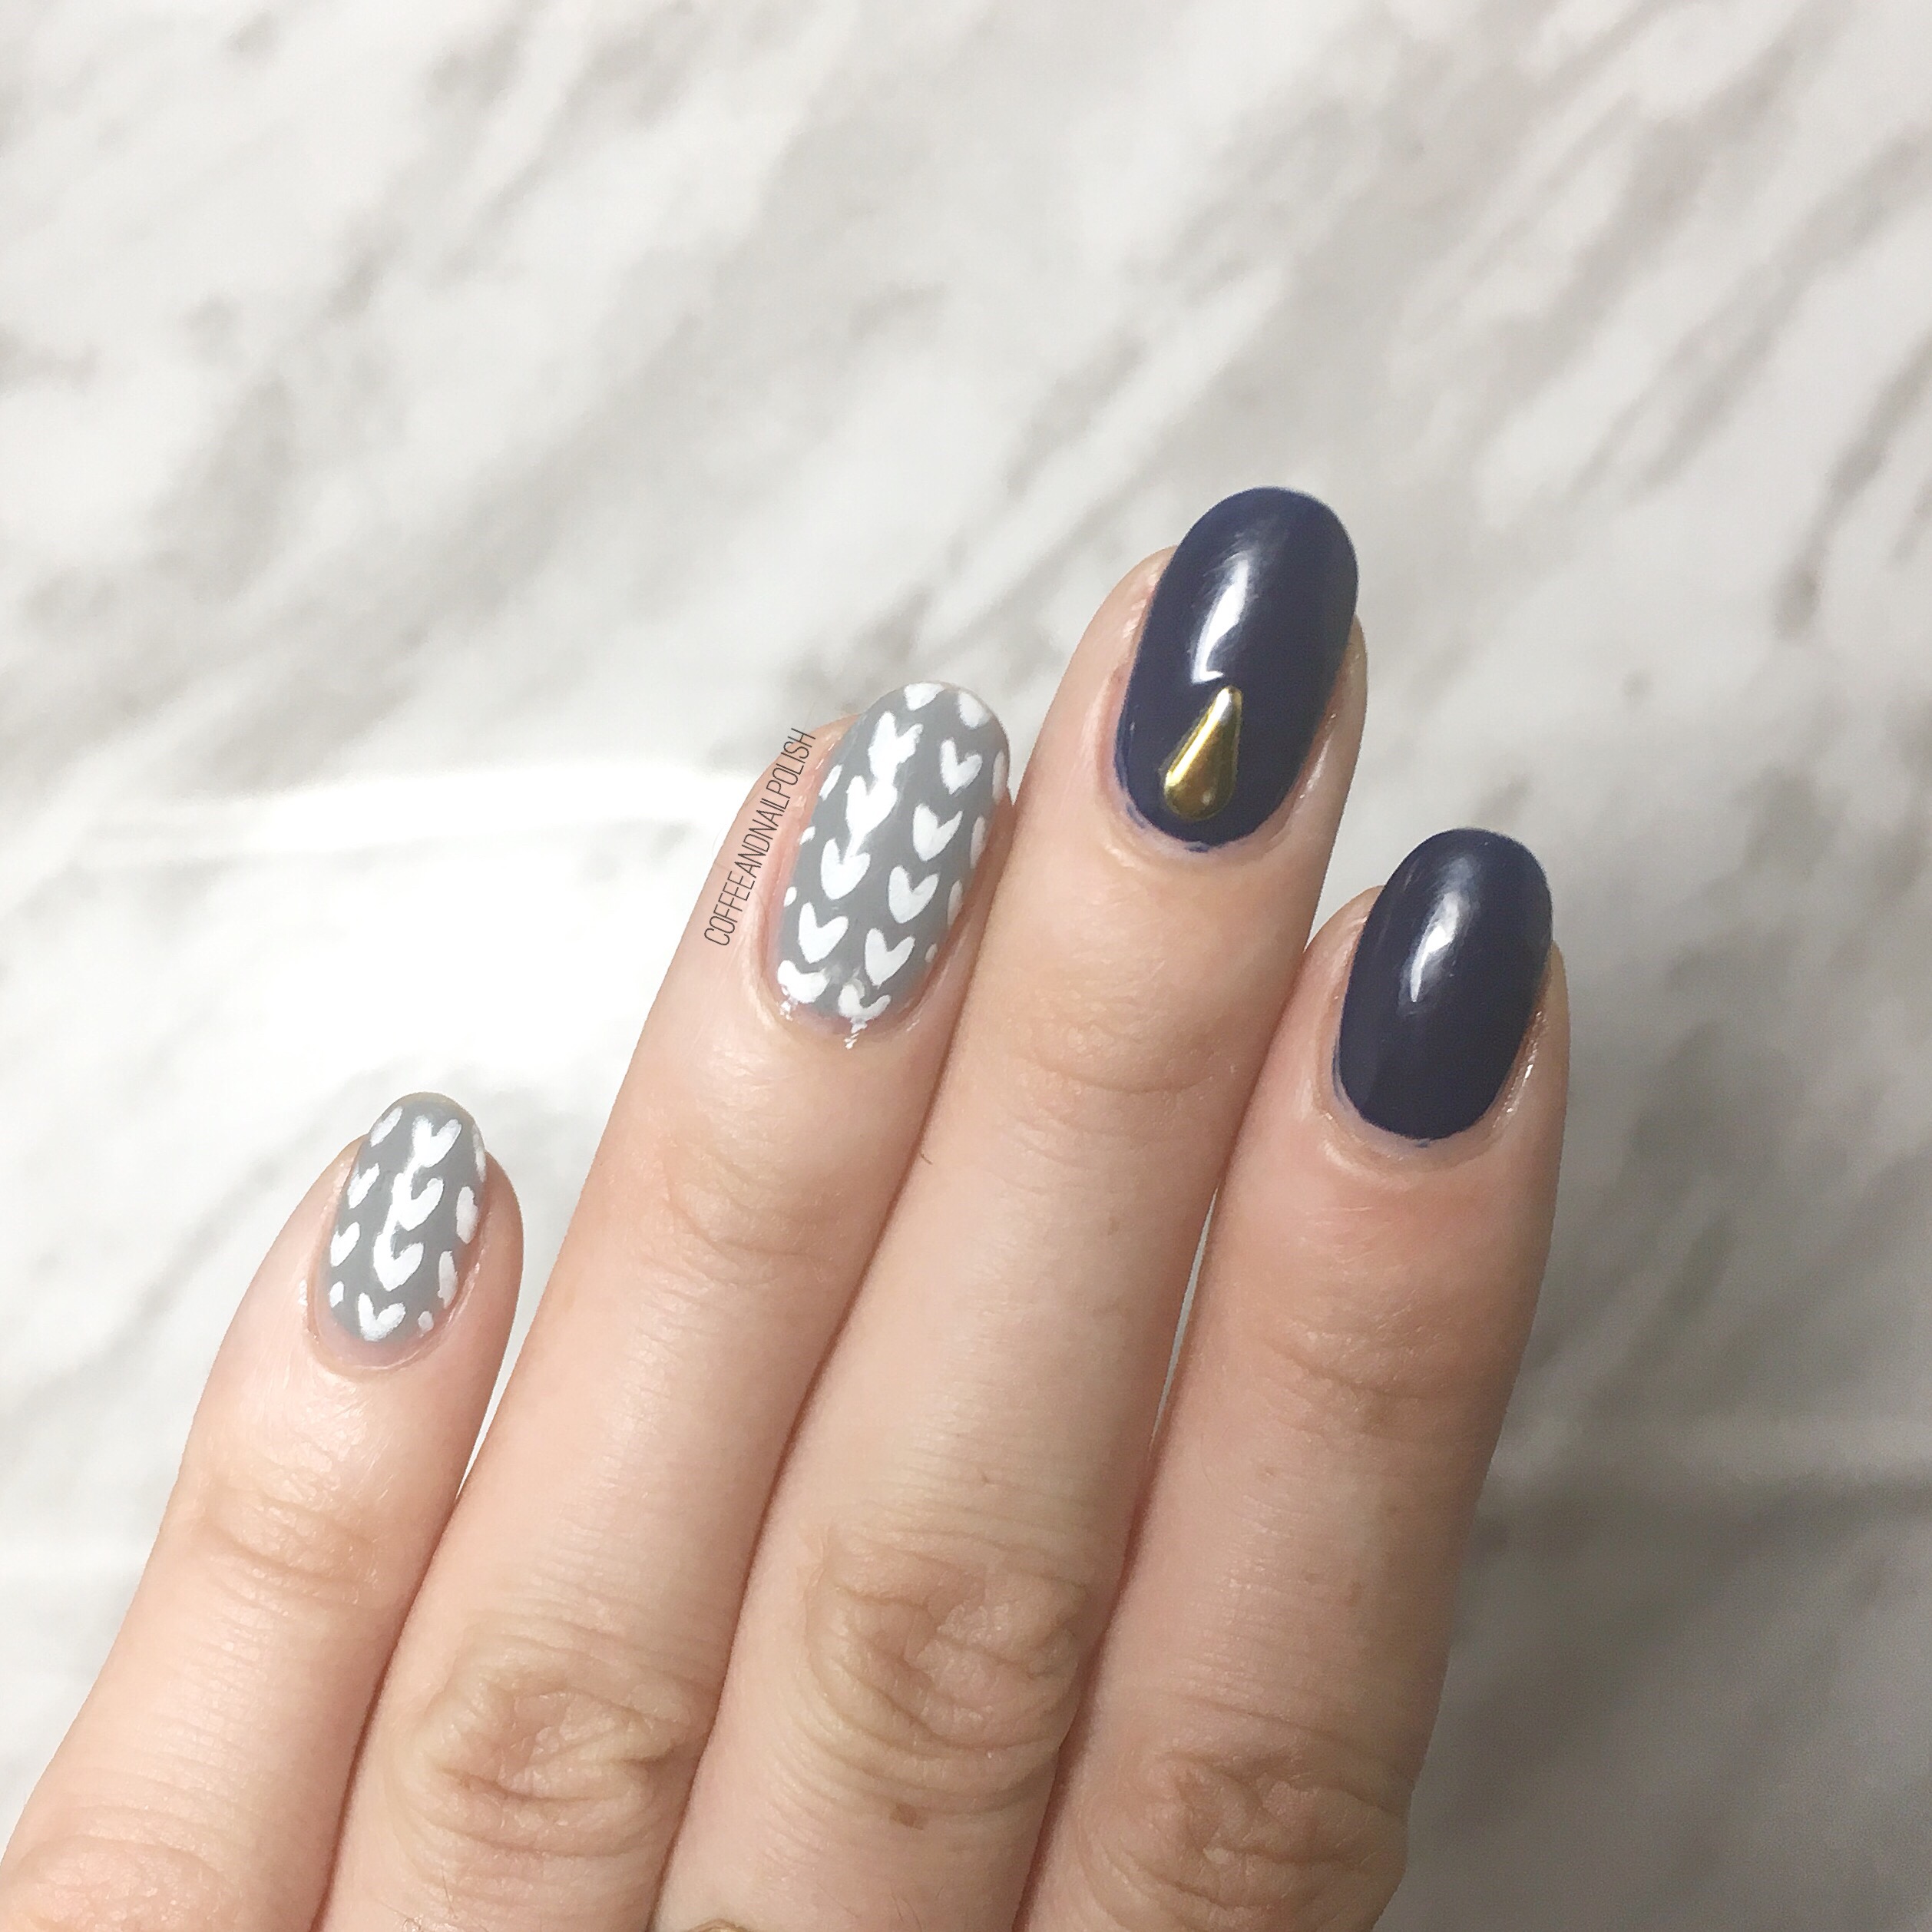
For this manicure, the polishes I used were: 

  • Base Coat: Essie Grow Stronger
  • Top Coat: Seche Vive
  • Essie Under the Twilight
  • Ardene Daydreamer
  • Sally Hansen Hard As Nails Hard To Get
  • URSugar Nail Vinyls item #AUB39877 — Click to buy
  • NailStuff.ca gold triangle studs — Gold Mixed Decoration Nail wheel 
  • Latex Free Make Up Sponge (for sponging over nail stencil) 
  • Edge Perfection Polish Barrier 

I’m really feeling this design using these heart/knit pattern vinyls from URSugar. They definitely remind me of a cosy sweater & just make me want to pull on my softest, most plush sweater & curl up on the couch with a peppermint mocha or gingerbread latte. This is my absolute favourite time of year & I just want to soak in every moment! Before we know it, snow will be falling & I’ll be complaining about being cold. 

What do you think of this design? Are you a fan of the sweater pattern nail? Share your thoughts with me down in the comments! 
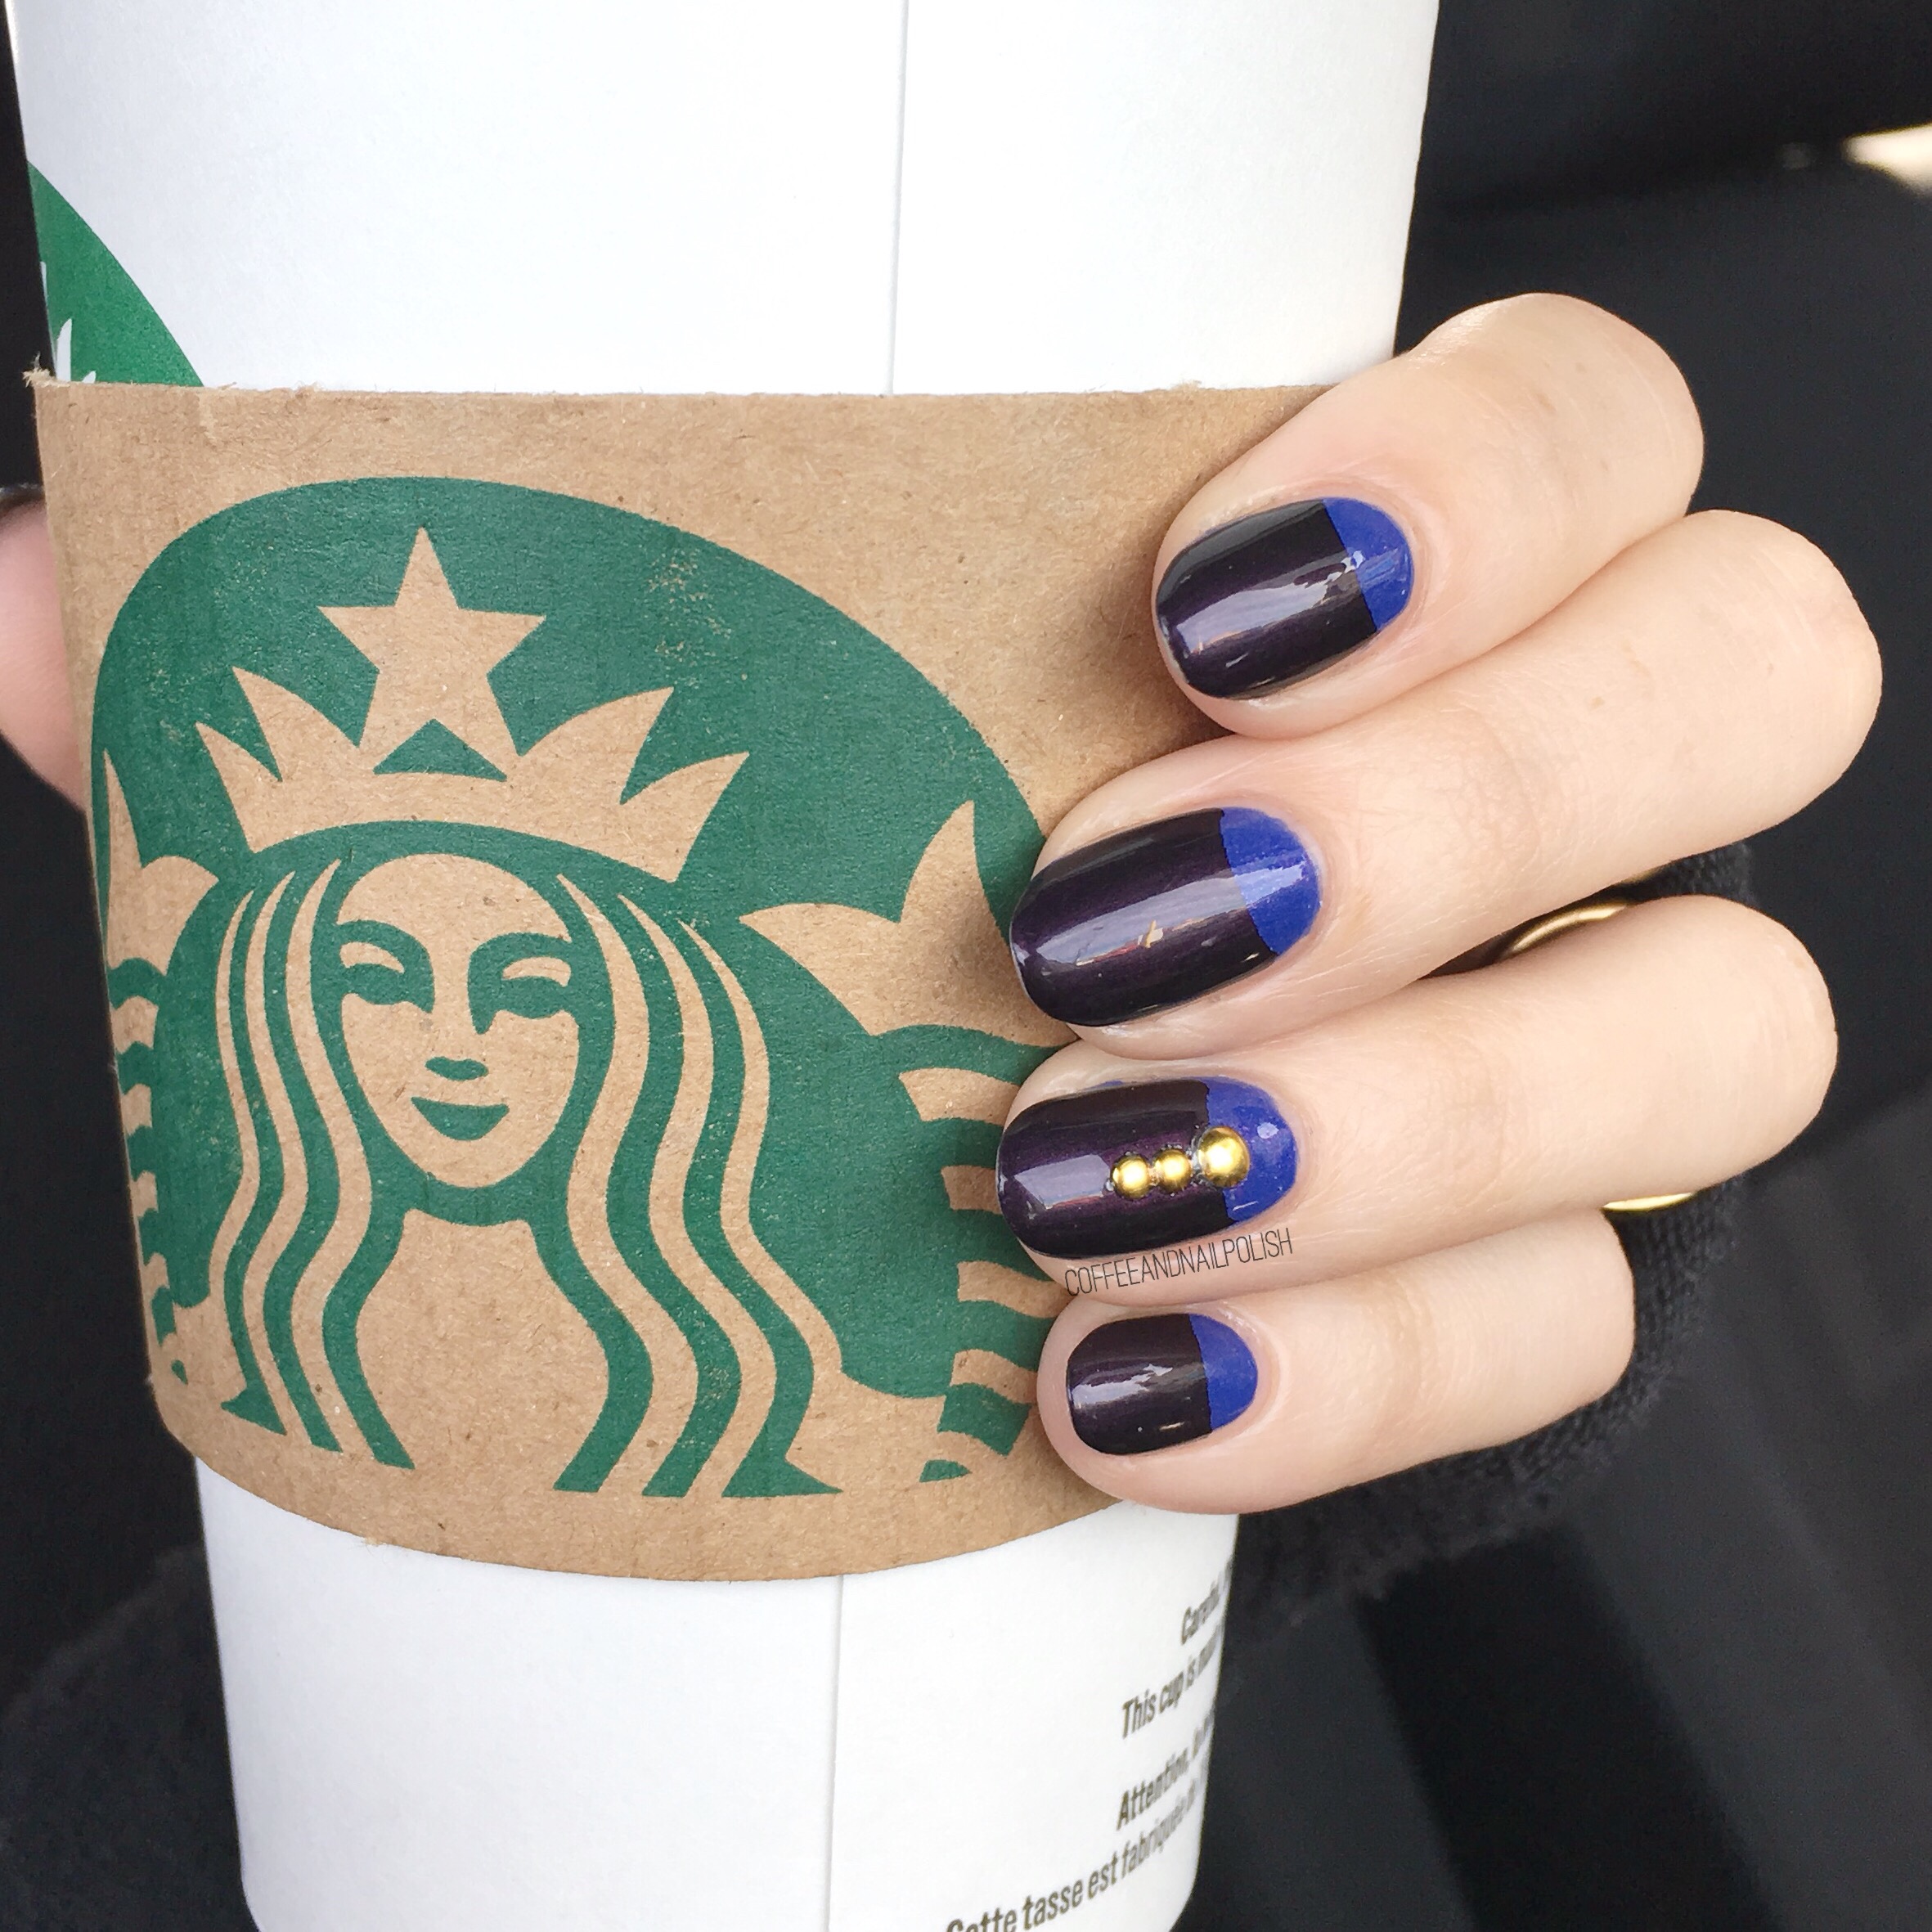
Half Moons & Gold Studs 

Happy Monday! How was everyone else’s weekend? We’ve been starting to pack for moving which is about as much fun as it sounds… I hate packing & I hate moving. (& I haven’t even starting thinking about moving my 1000+ nail polishes yet.) 

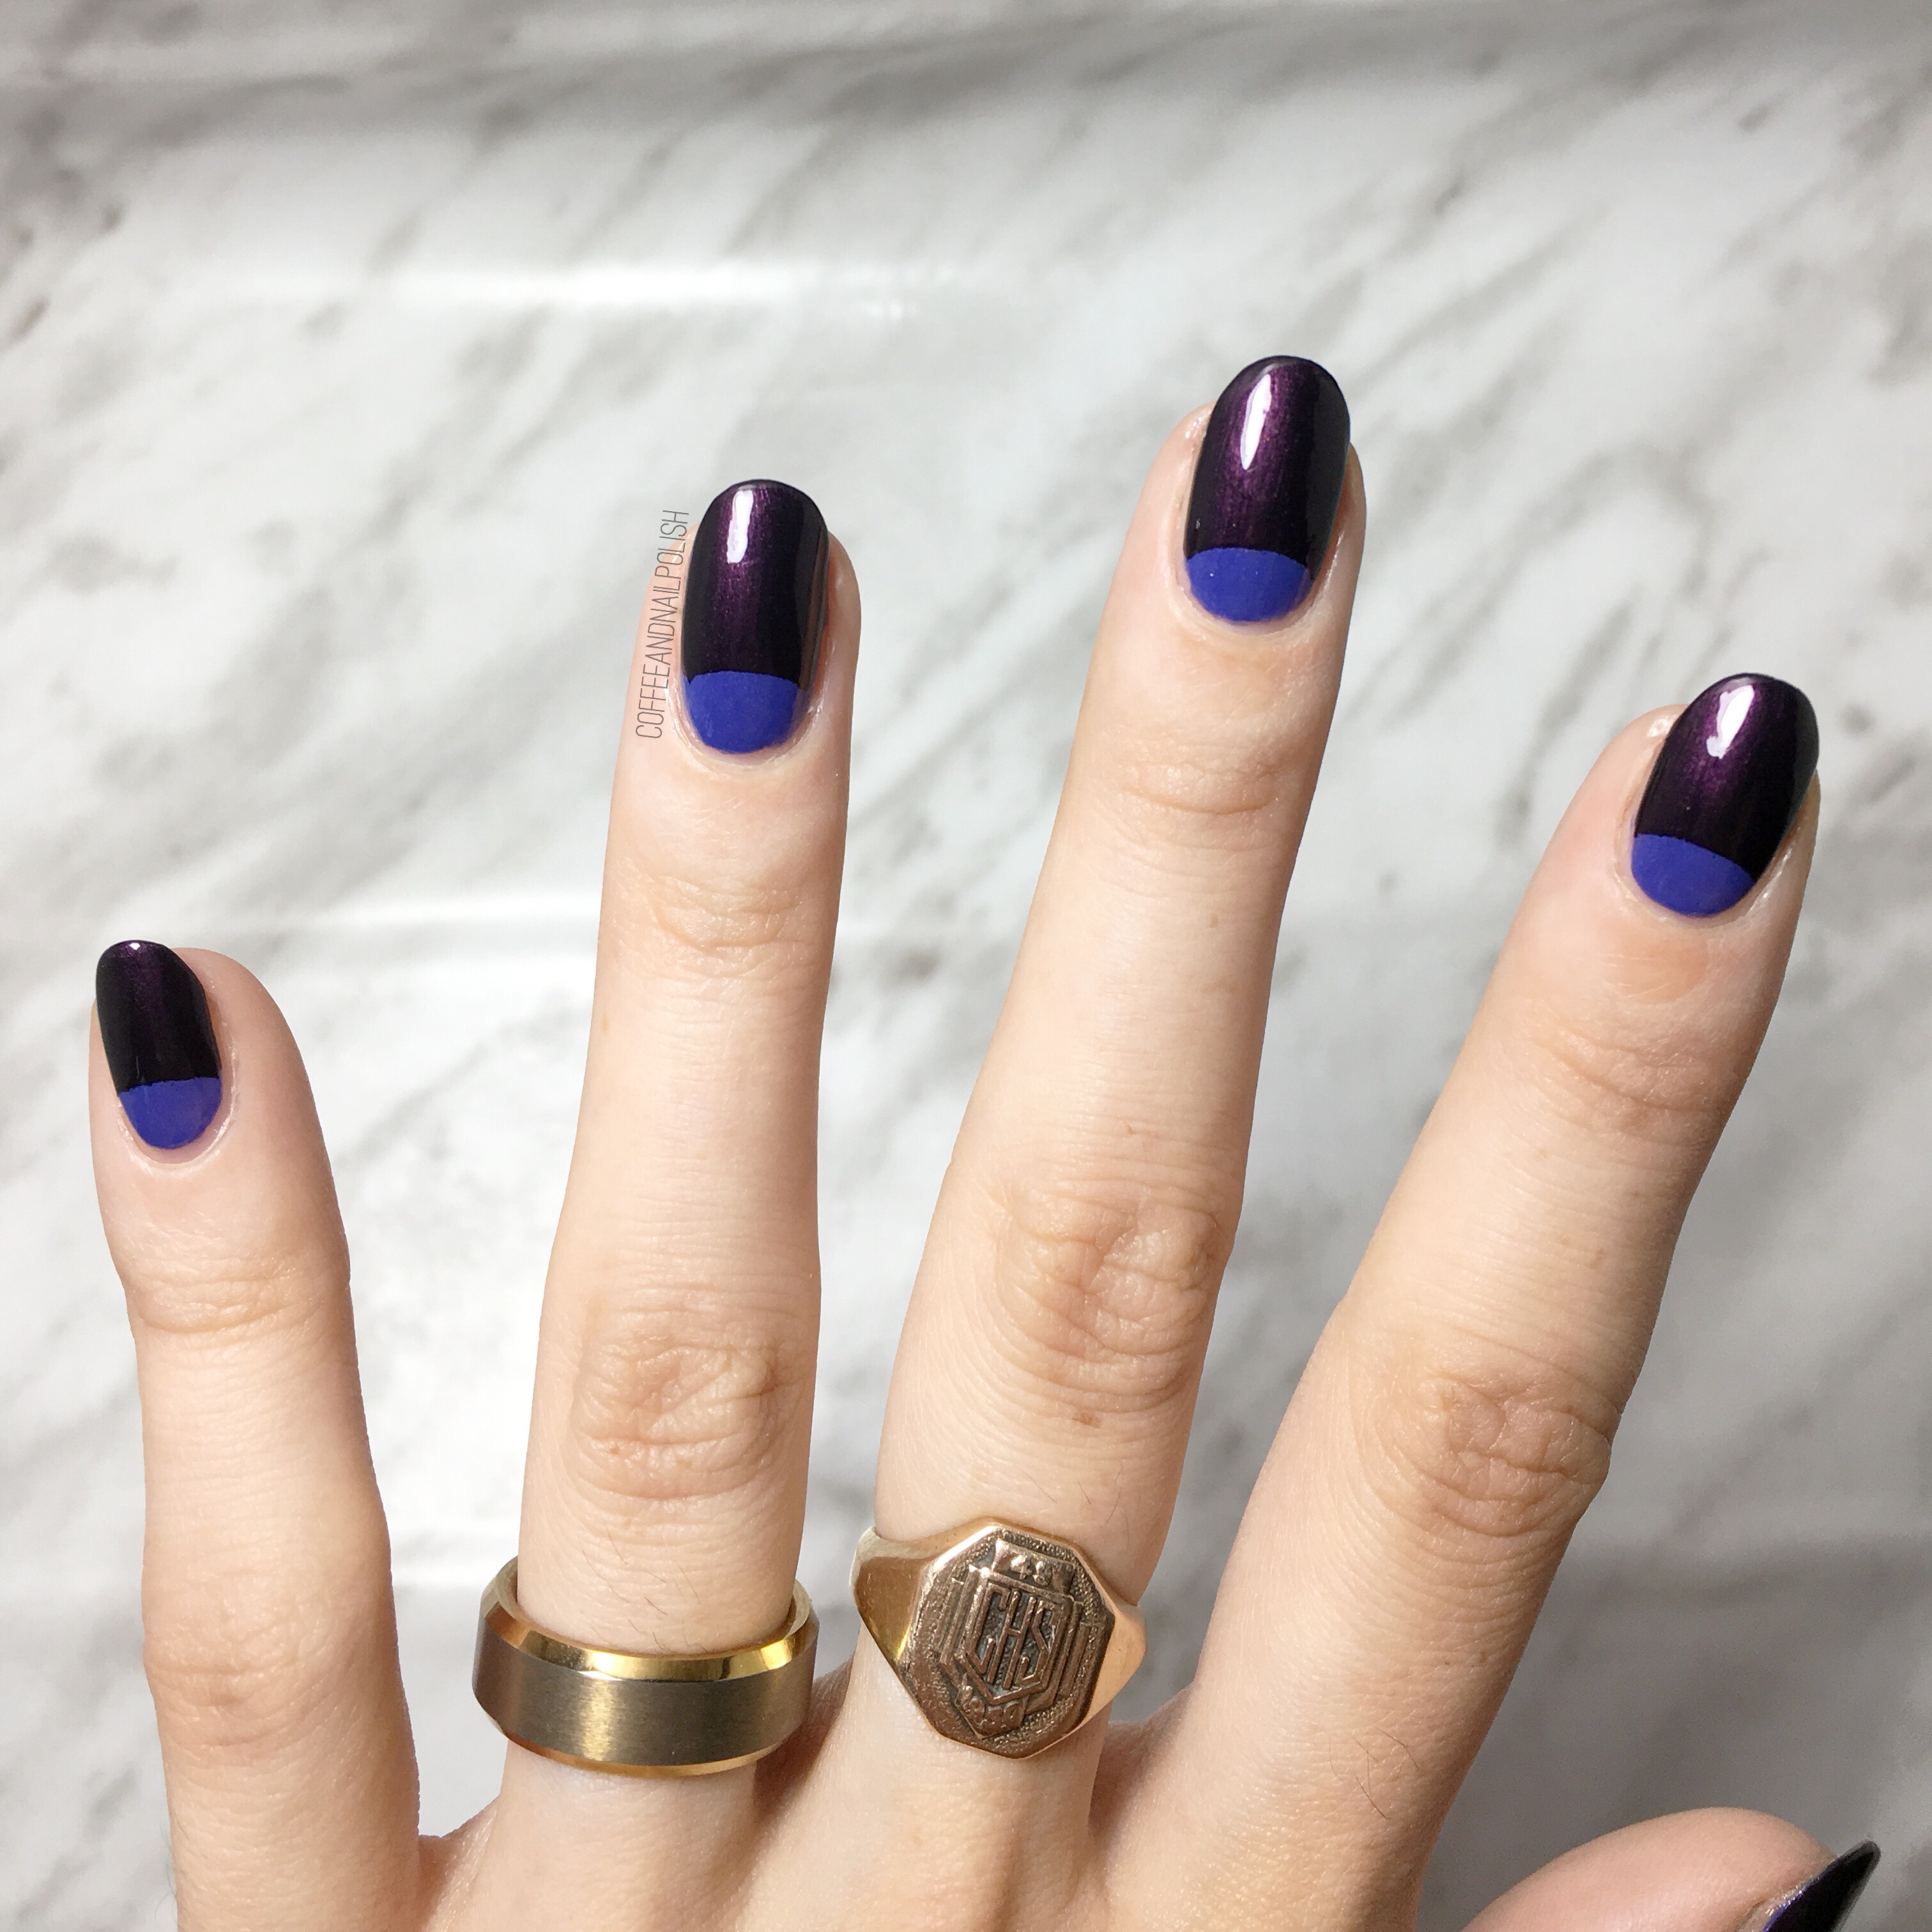
So what am I sharing to cheer myself up after a packing haze? One of my favourite go-to designs—the half moon. & thought I’d share a quick pictorial on how easy these actually are to create! & no special vinyls are needed!

The products used for this manicure were:

  • Base Coat: OPI Natural Nail Base Coat
  • Top Coat: Seche Vive
  • China Glaze Fancy Pants
  • China Glaze Glamcore
  • NailStuff.ca gold Mixed Decoration Nail Wheel

Paint your base colour & apply quick dry top coat. Let dry completely, roughly about 20 minutes depending on the top coat you use. 

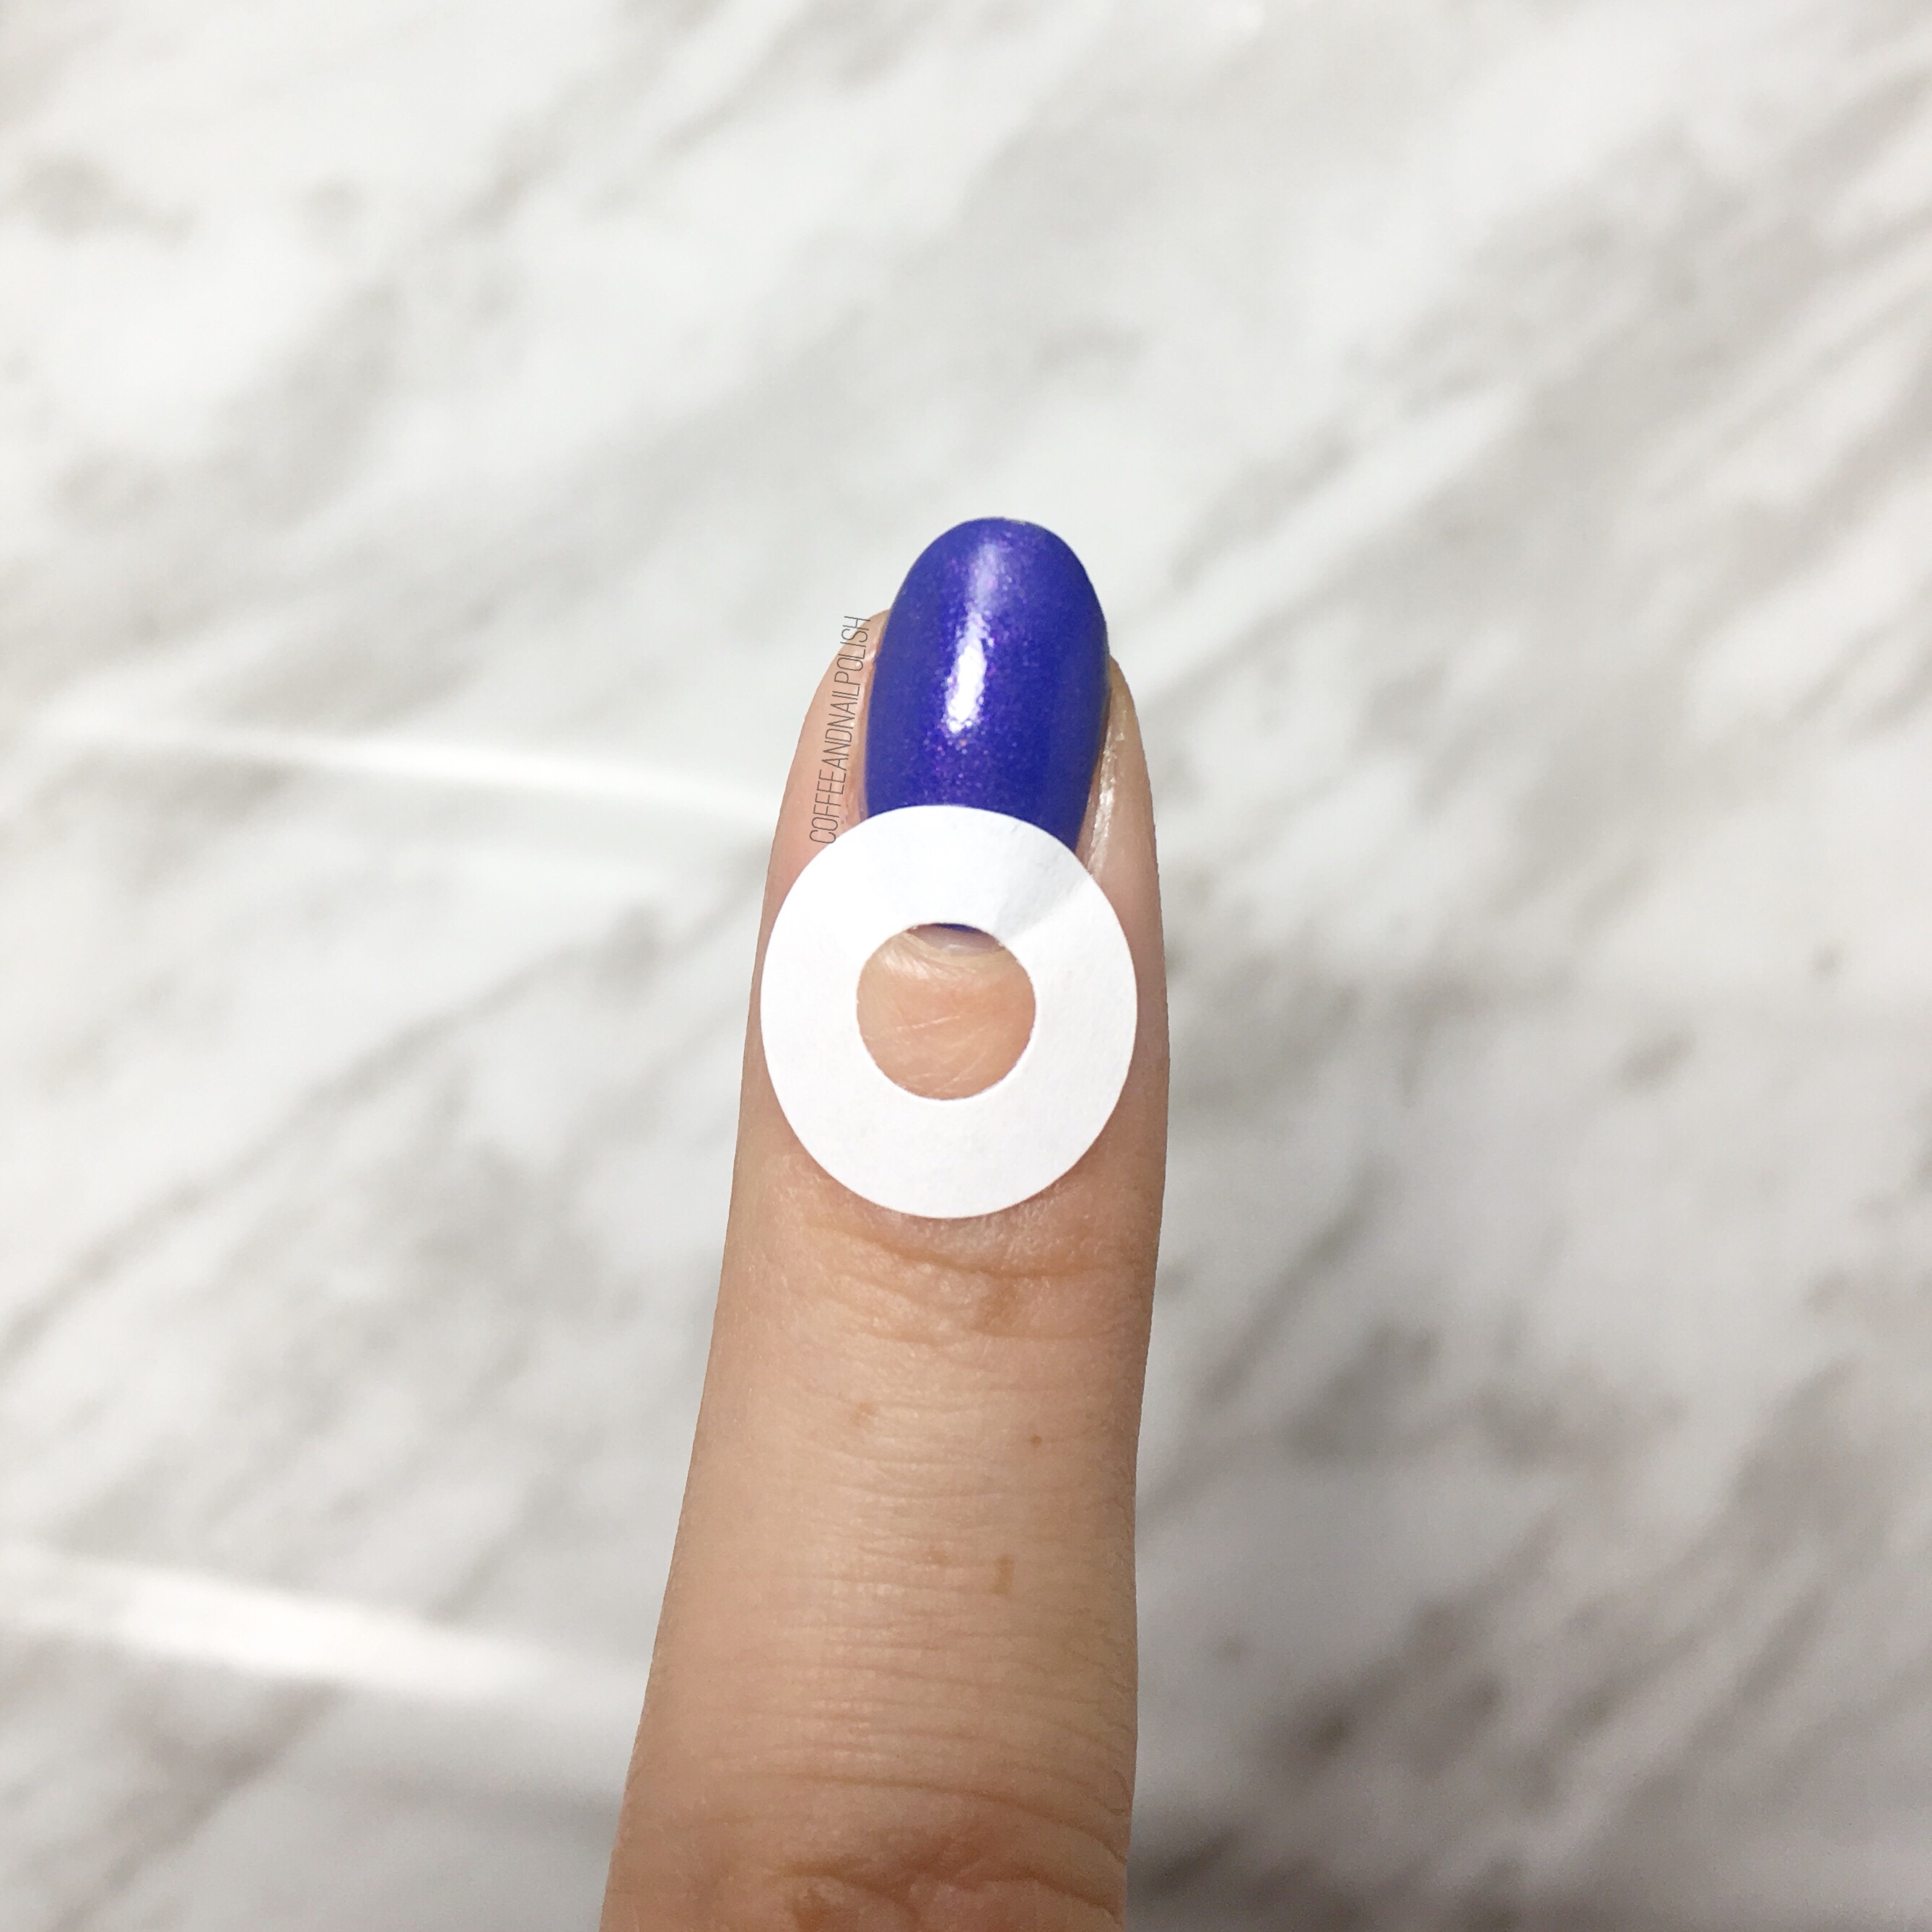
Once your nails are completely dry, pull out your pack of paper hole reinforcements & apply at the base of your nail. Make sure to press down at each end. 

Repeat on all 5 nails. I always do one hand at a time. 

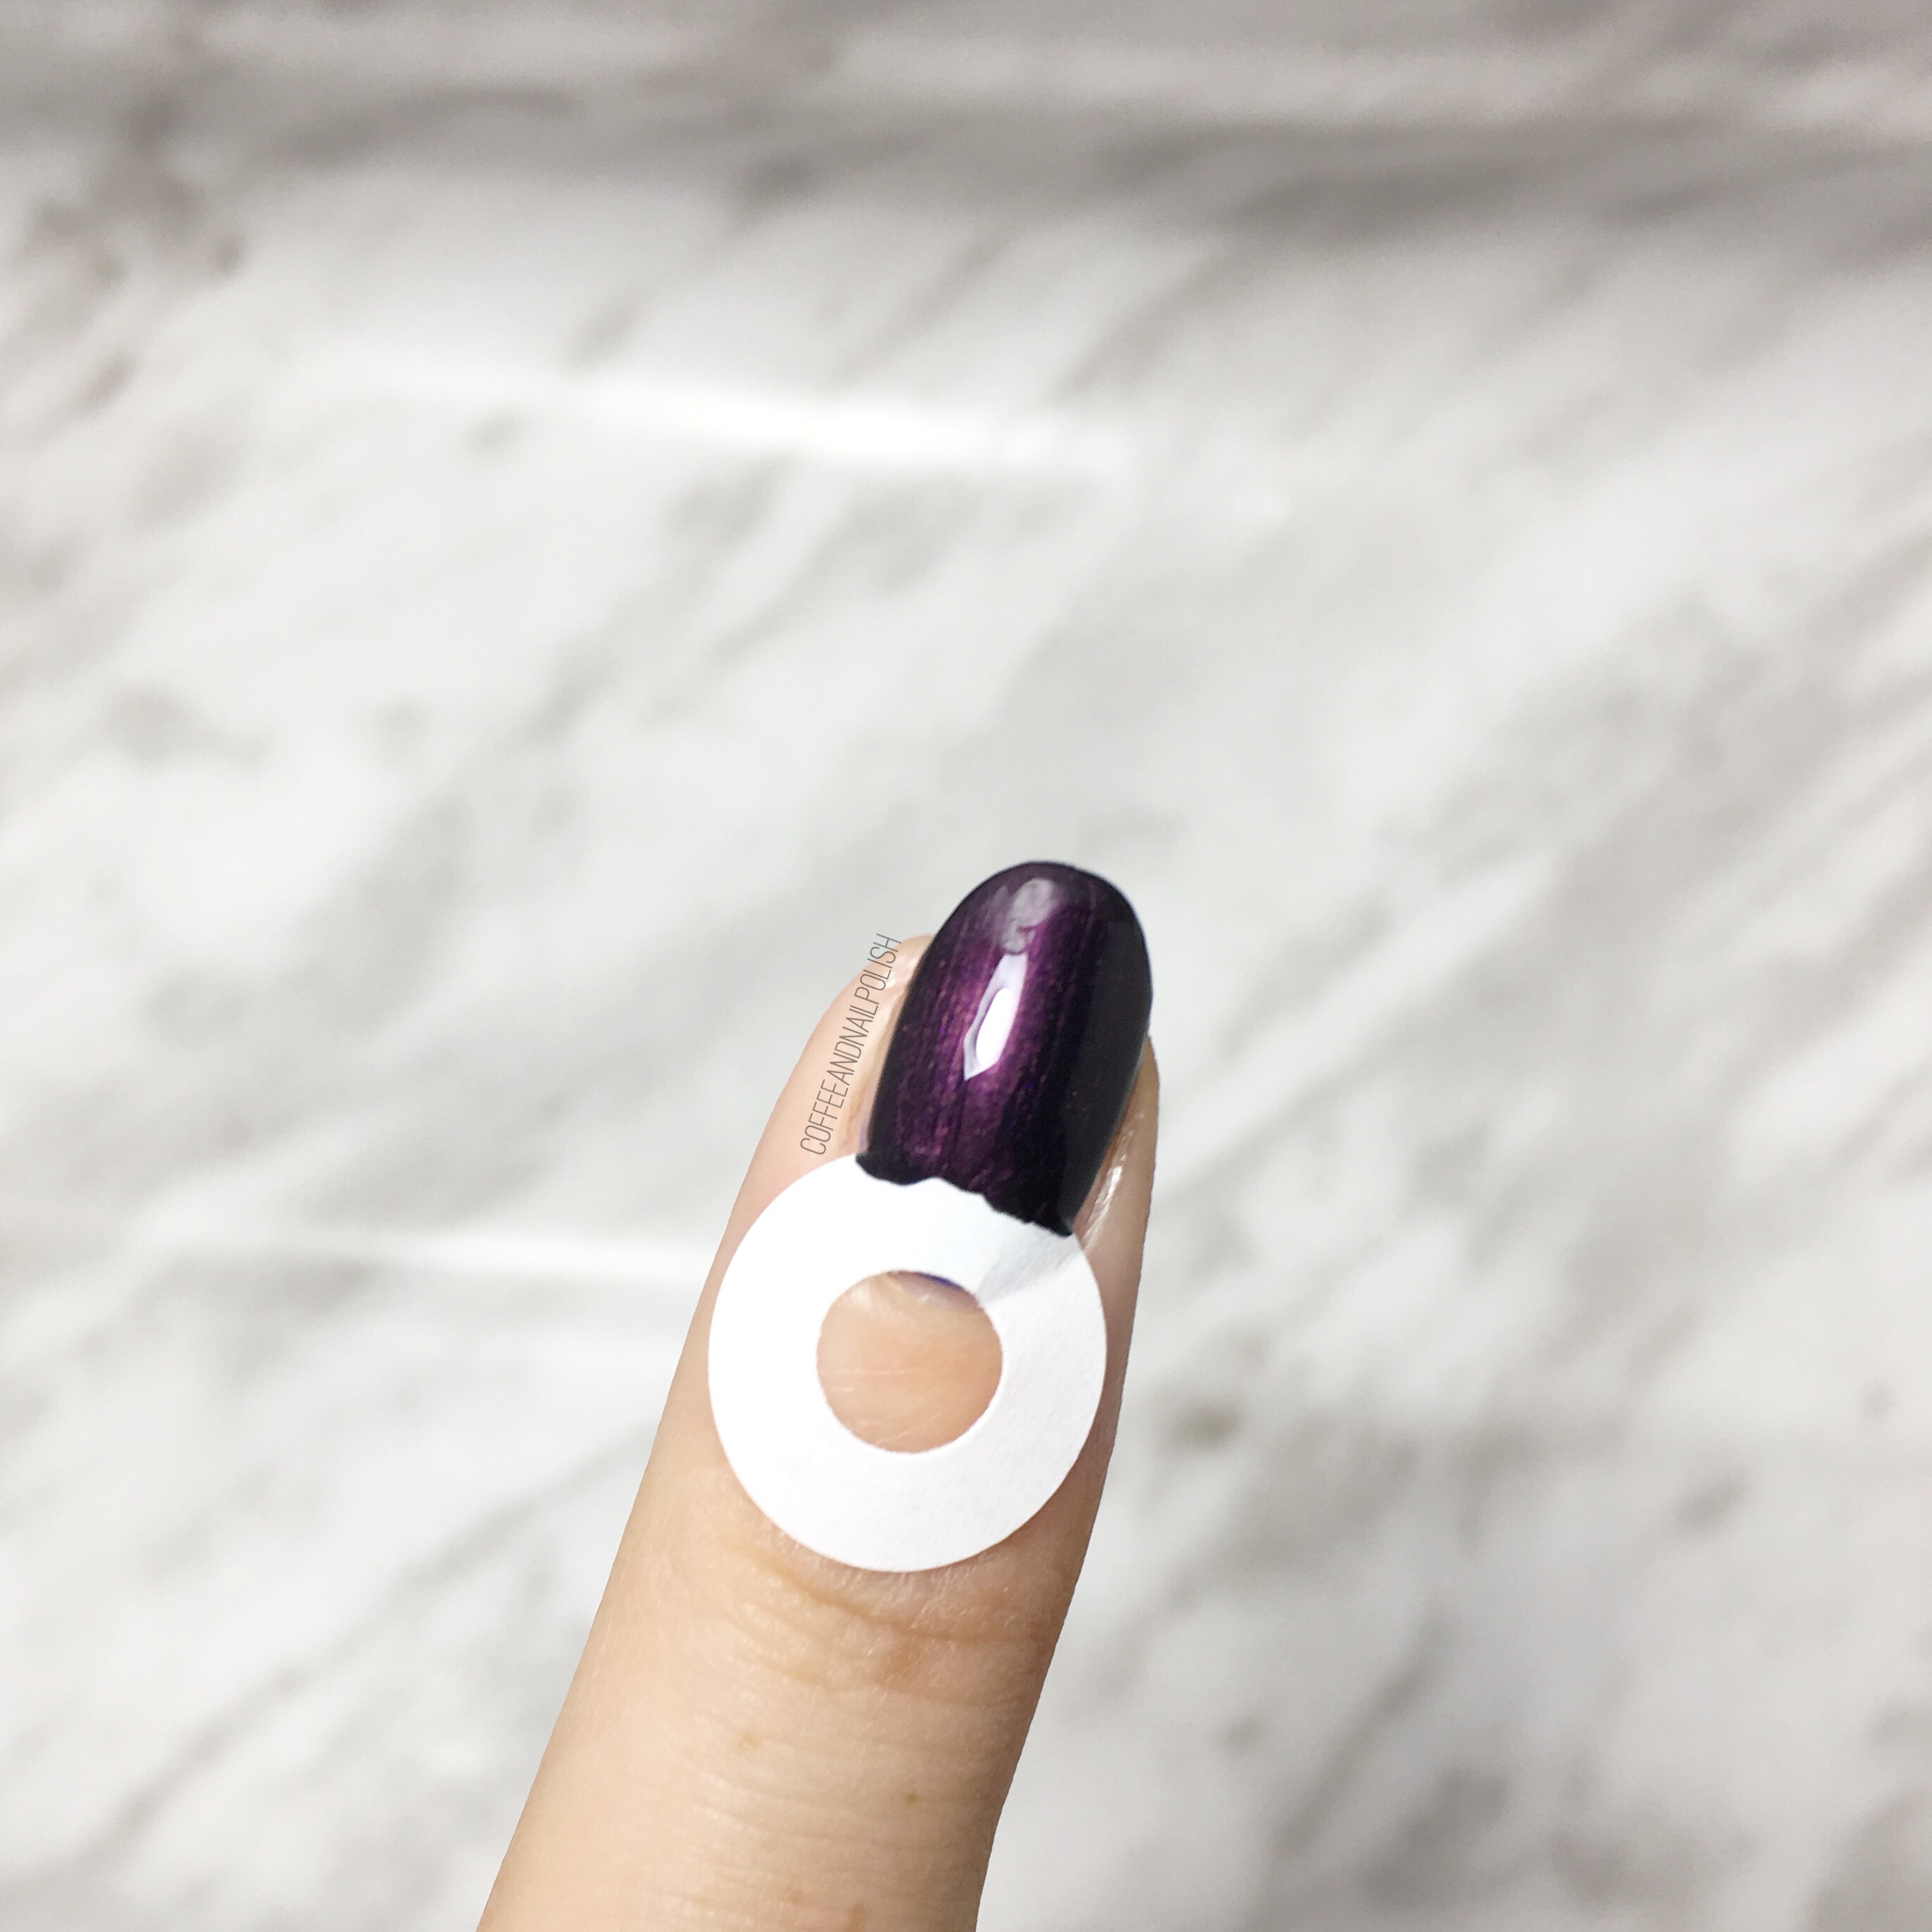
Press down each side of hole reinforcement (to make sure polish won’t bleed under) & then quickly paint second colour over top. A one coat polish works best, but she make sure base colour is covered. 

Immediately remove your reinforcement. 

Repeat steps on all fingers & then seal in design with top coat. Bam! Almost instant half moons (with a few steps in between). I loved the blue with purple but I wanted to add a little more of a snazzy finish to my nails. I’ve been obsessing about this wheel of nail studs lately adding it to a lot of my manicures lately so I figured it would be the perfect addition to this design. 

For my accent nail, I applied some blobs of coat, then picked up my studs with a wet nail art brush & arranged them. I always make sure to pull my studs out of the wheel ahead of applying them, as it takes less time trying to find them. Also, sometimes you will have to dab on more clear polish/top coat to make sure the studs stick. Also I always seal my studs in with top coat so no edges catch & get pulled off. 

What do you think of this half moon? How do you create your half moon designs? Let me know in the comments below! 🌙

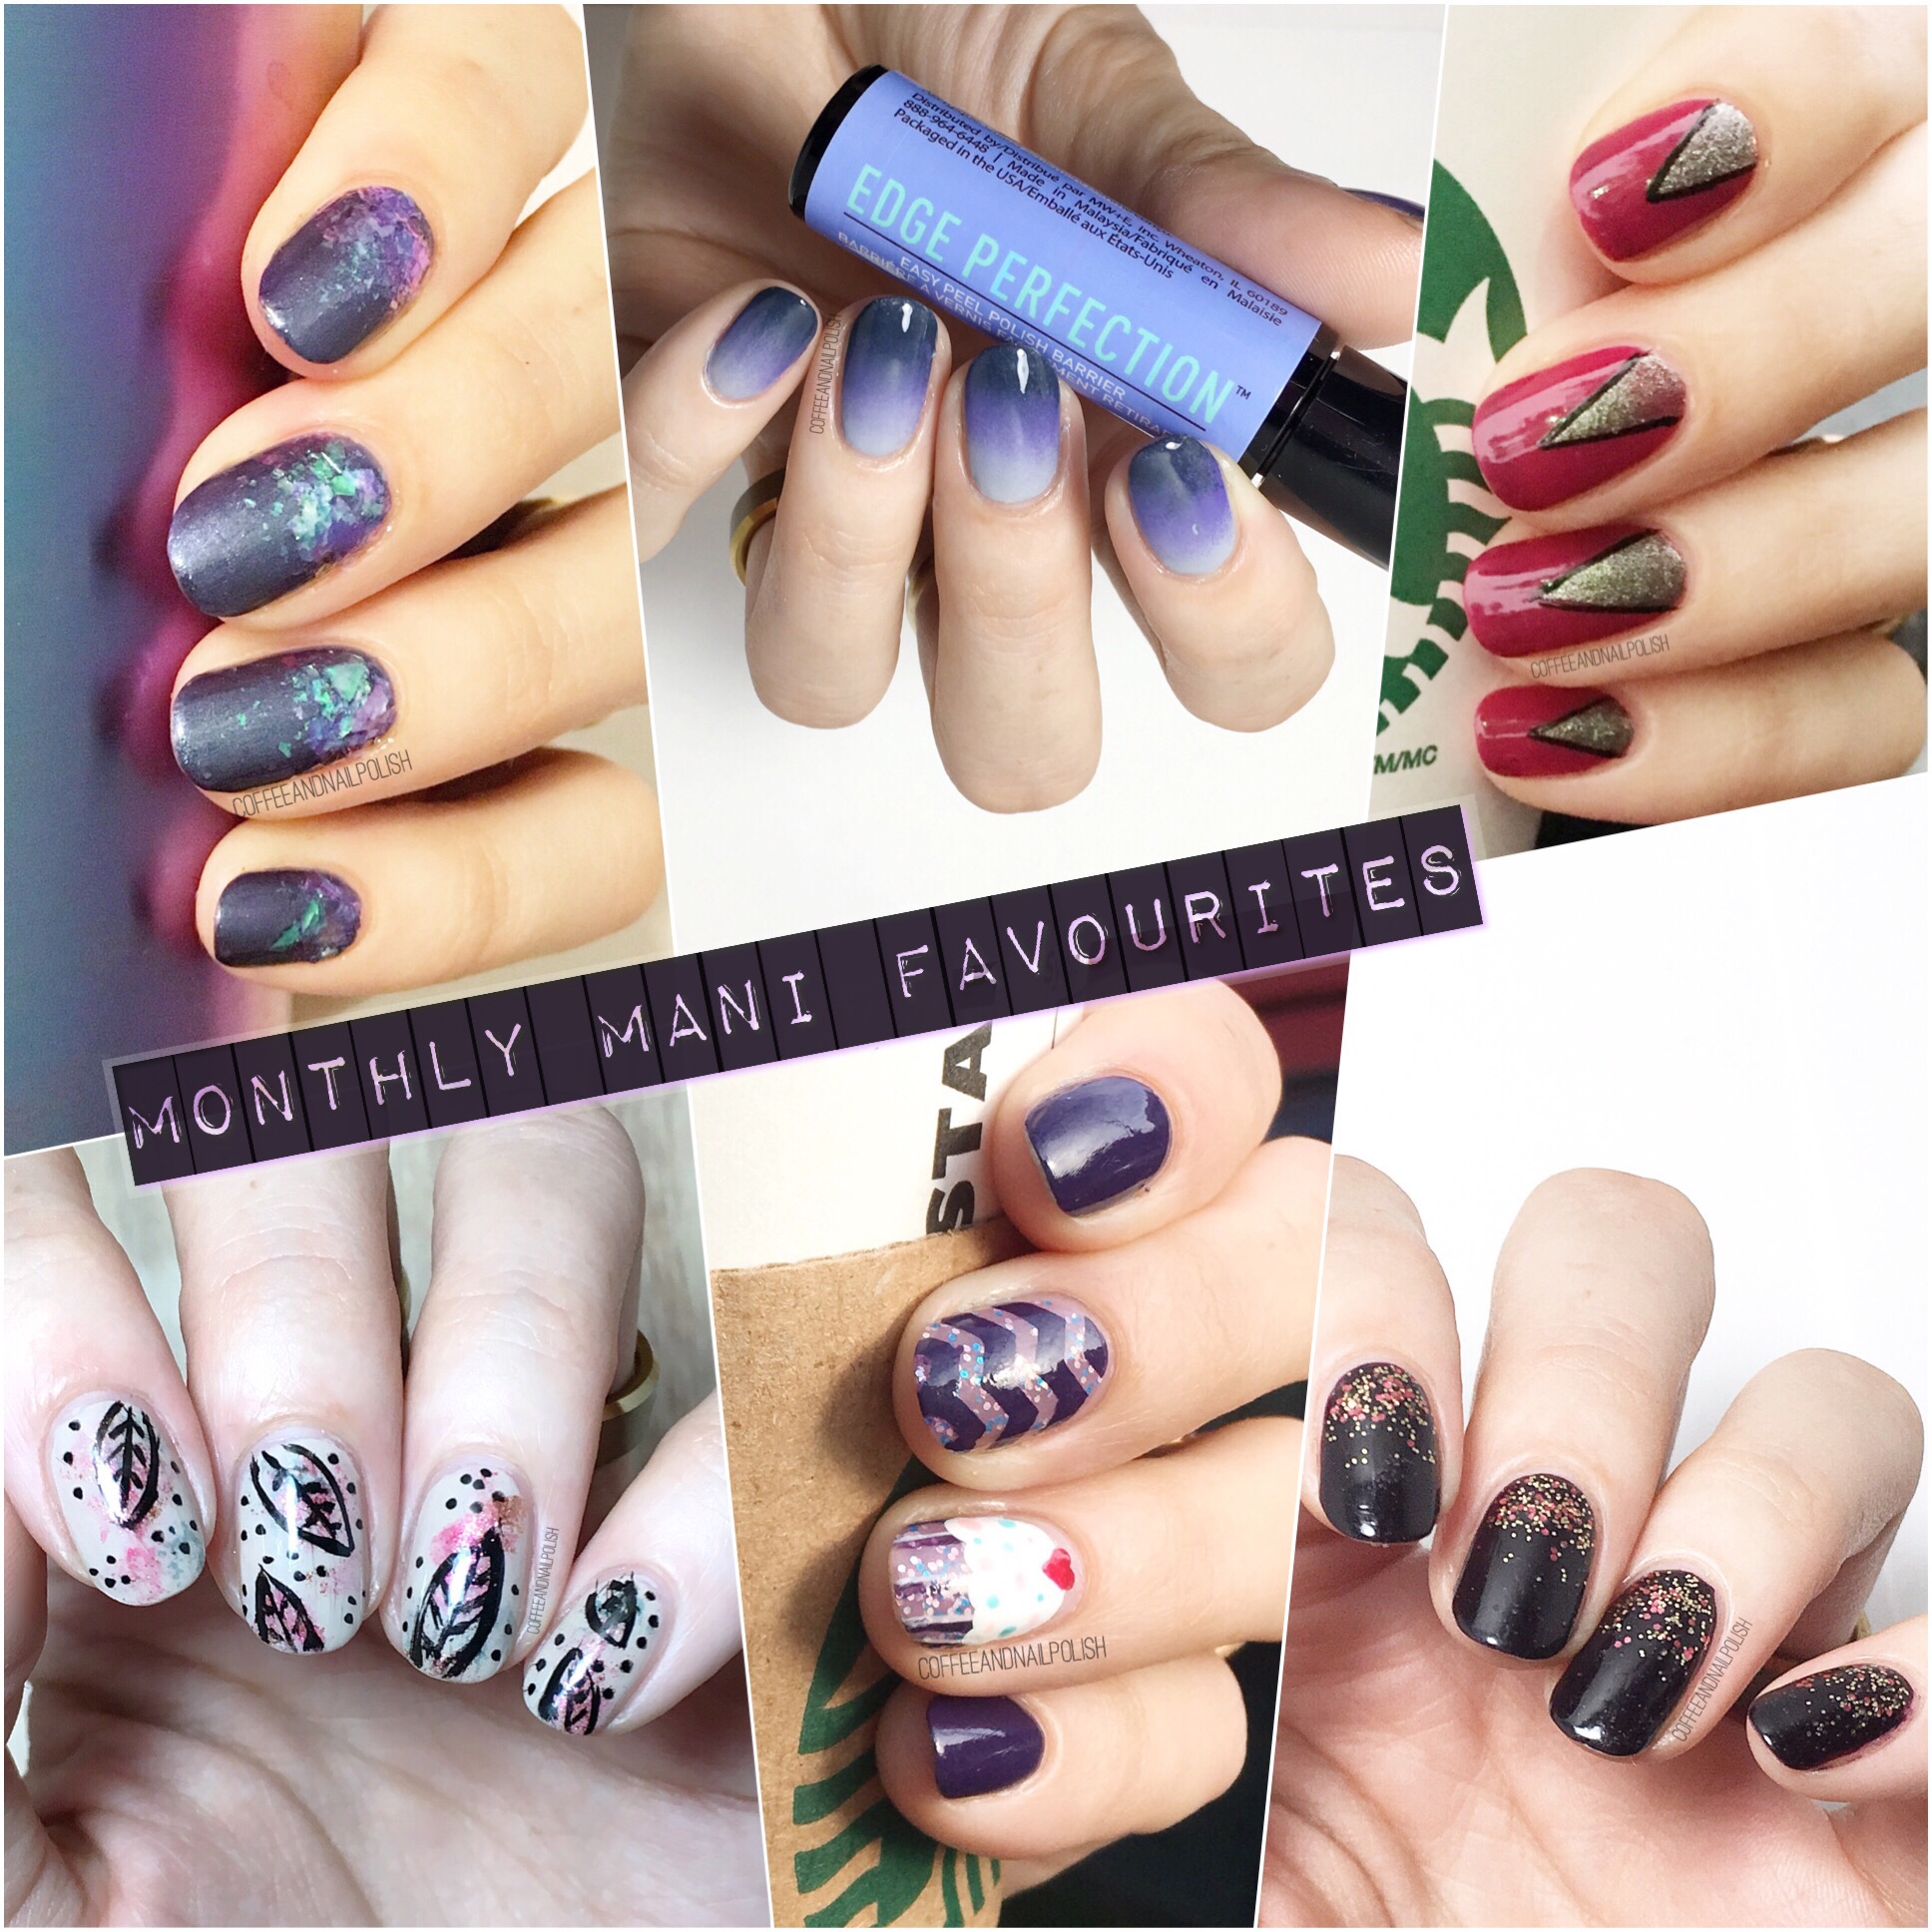
October Monthly Mani Favourites 💅🏻


Can you believe that October is over? I feel like I just blinked, & suddenly it was over! Now comes November & the beginning hints of the Christmas season. But before we start thinking ahead… let’s look back on my favourite manicures from the last month! 

Did you favourite make the cut? What designs  are you looking forward to seeing in November? Let me know in the comments below! 

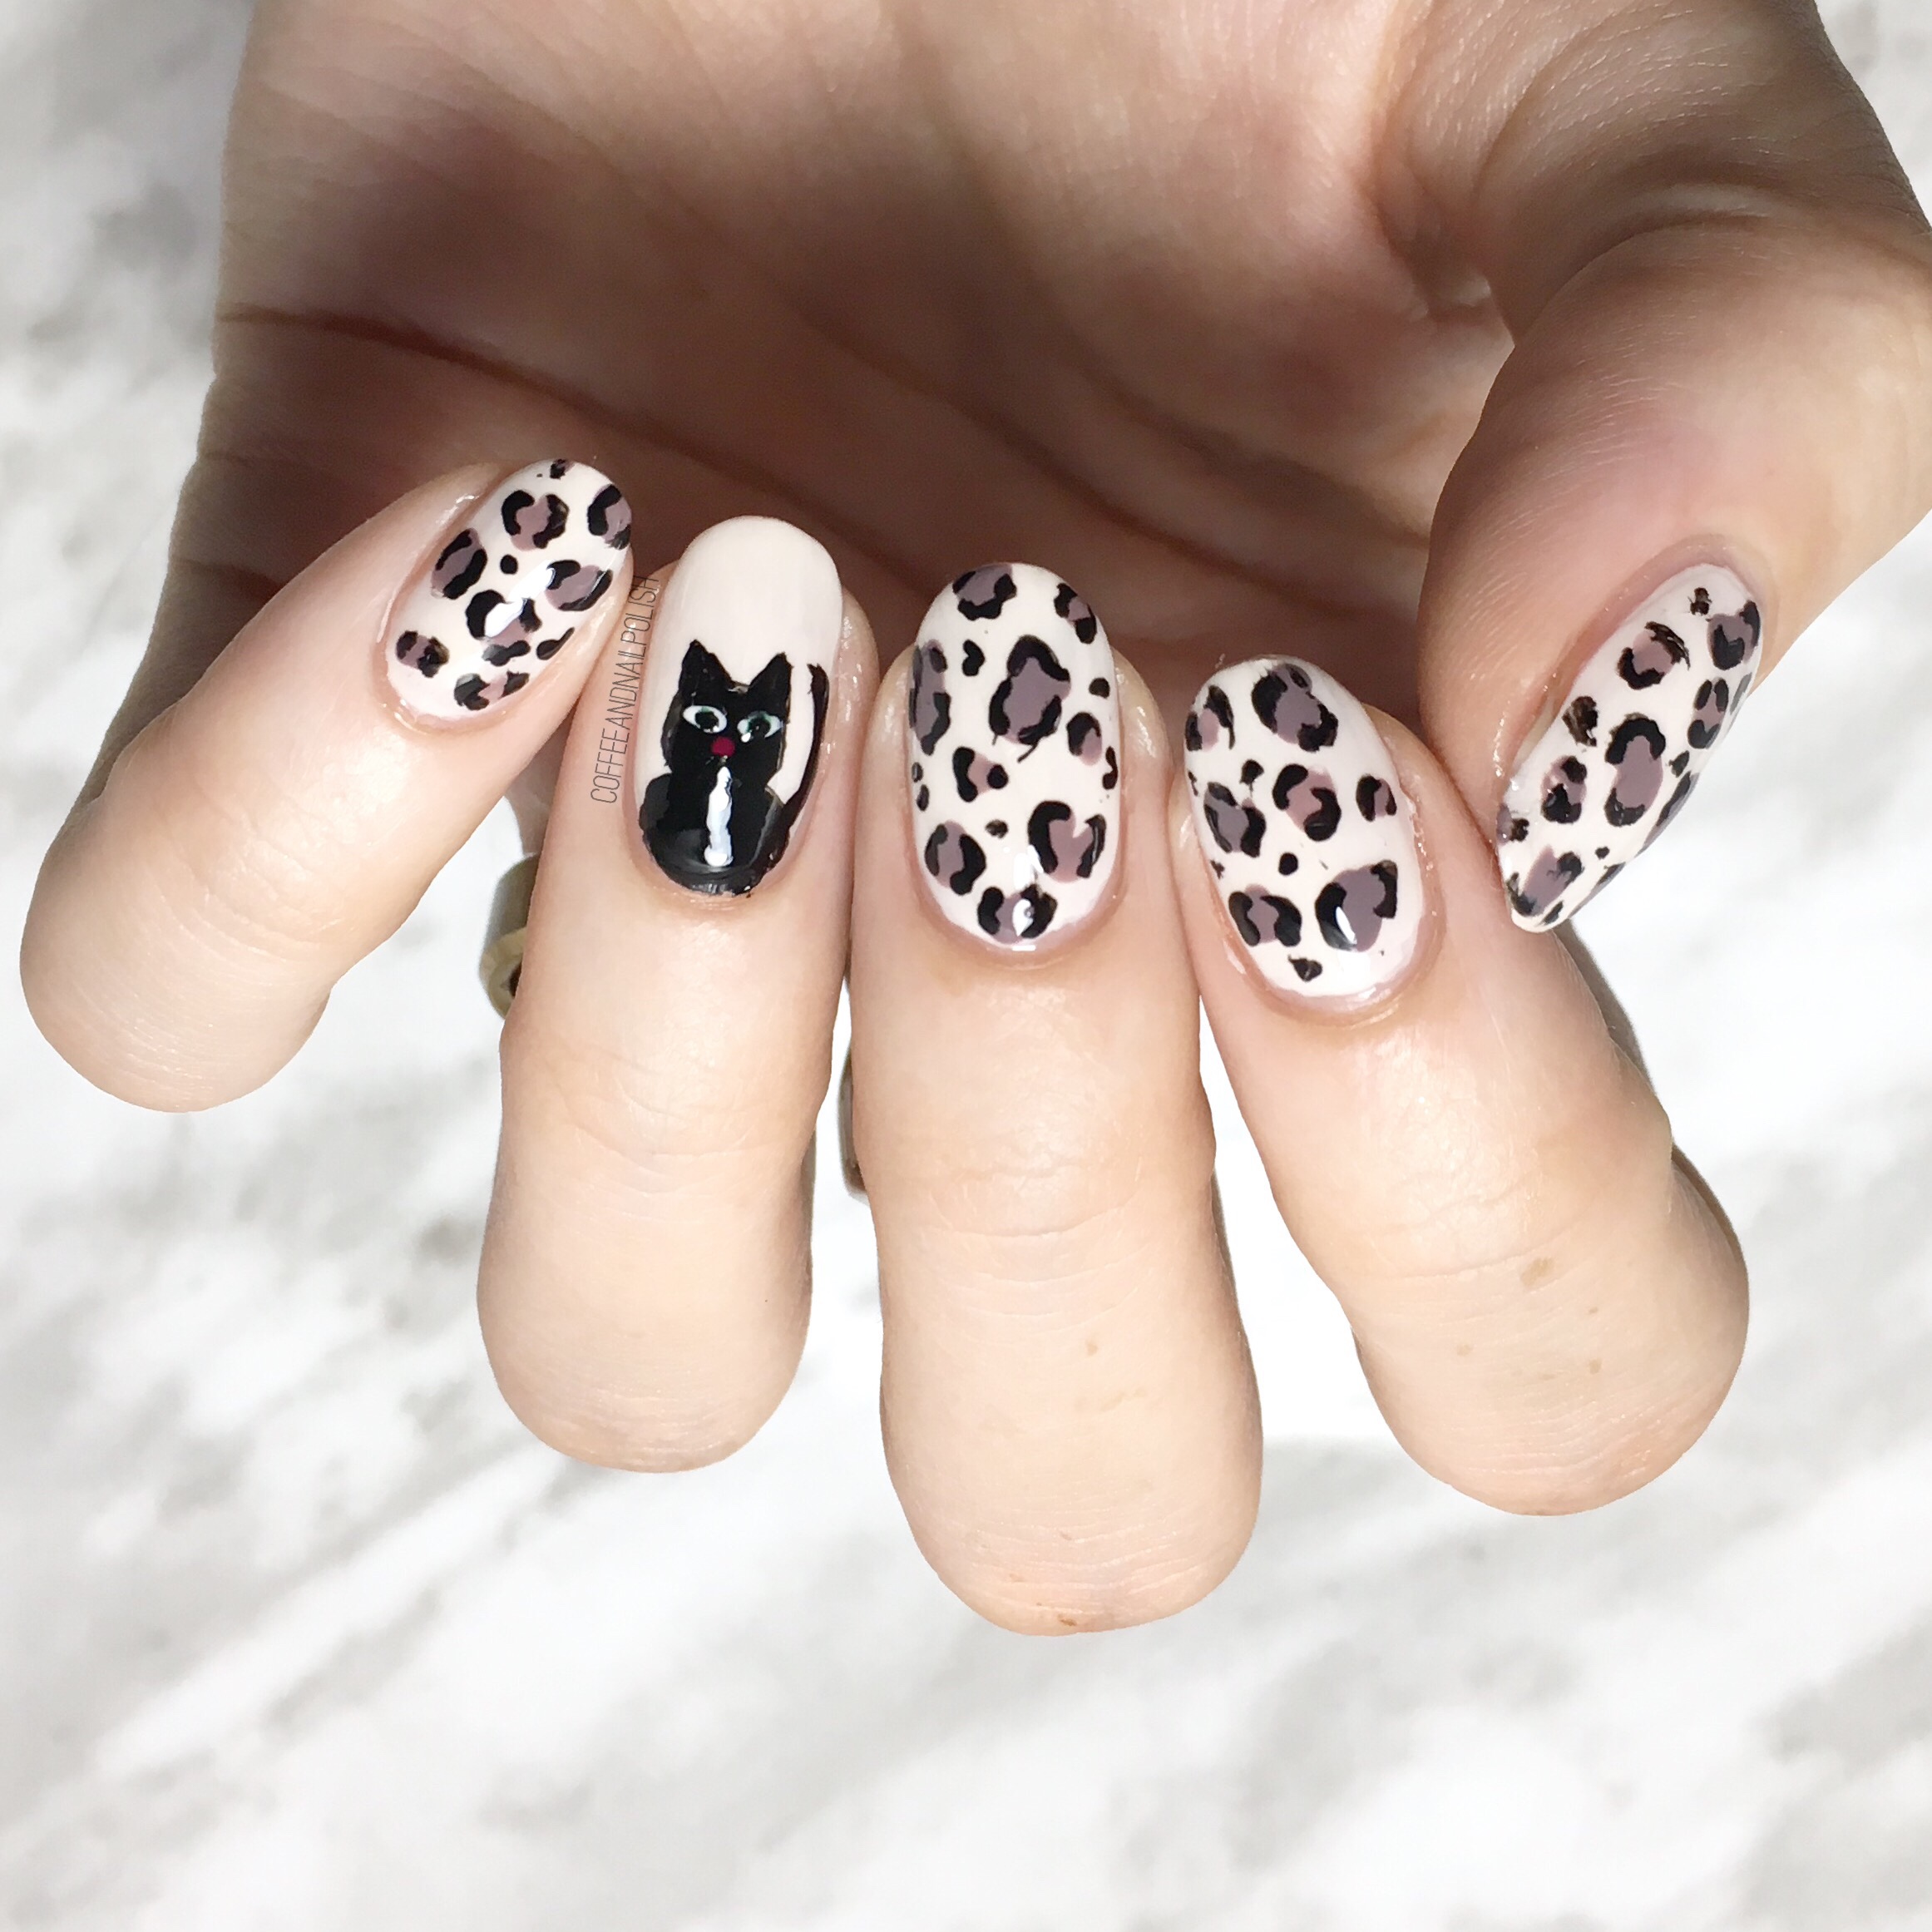
Kitty Cat Nails 🖤

Happy Halloween Eve everybody! 🎃

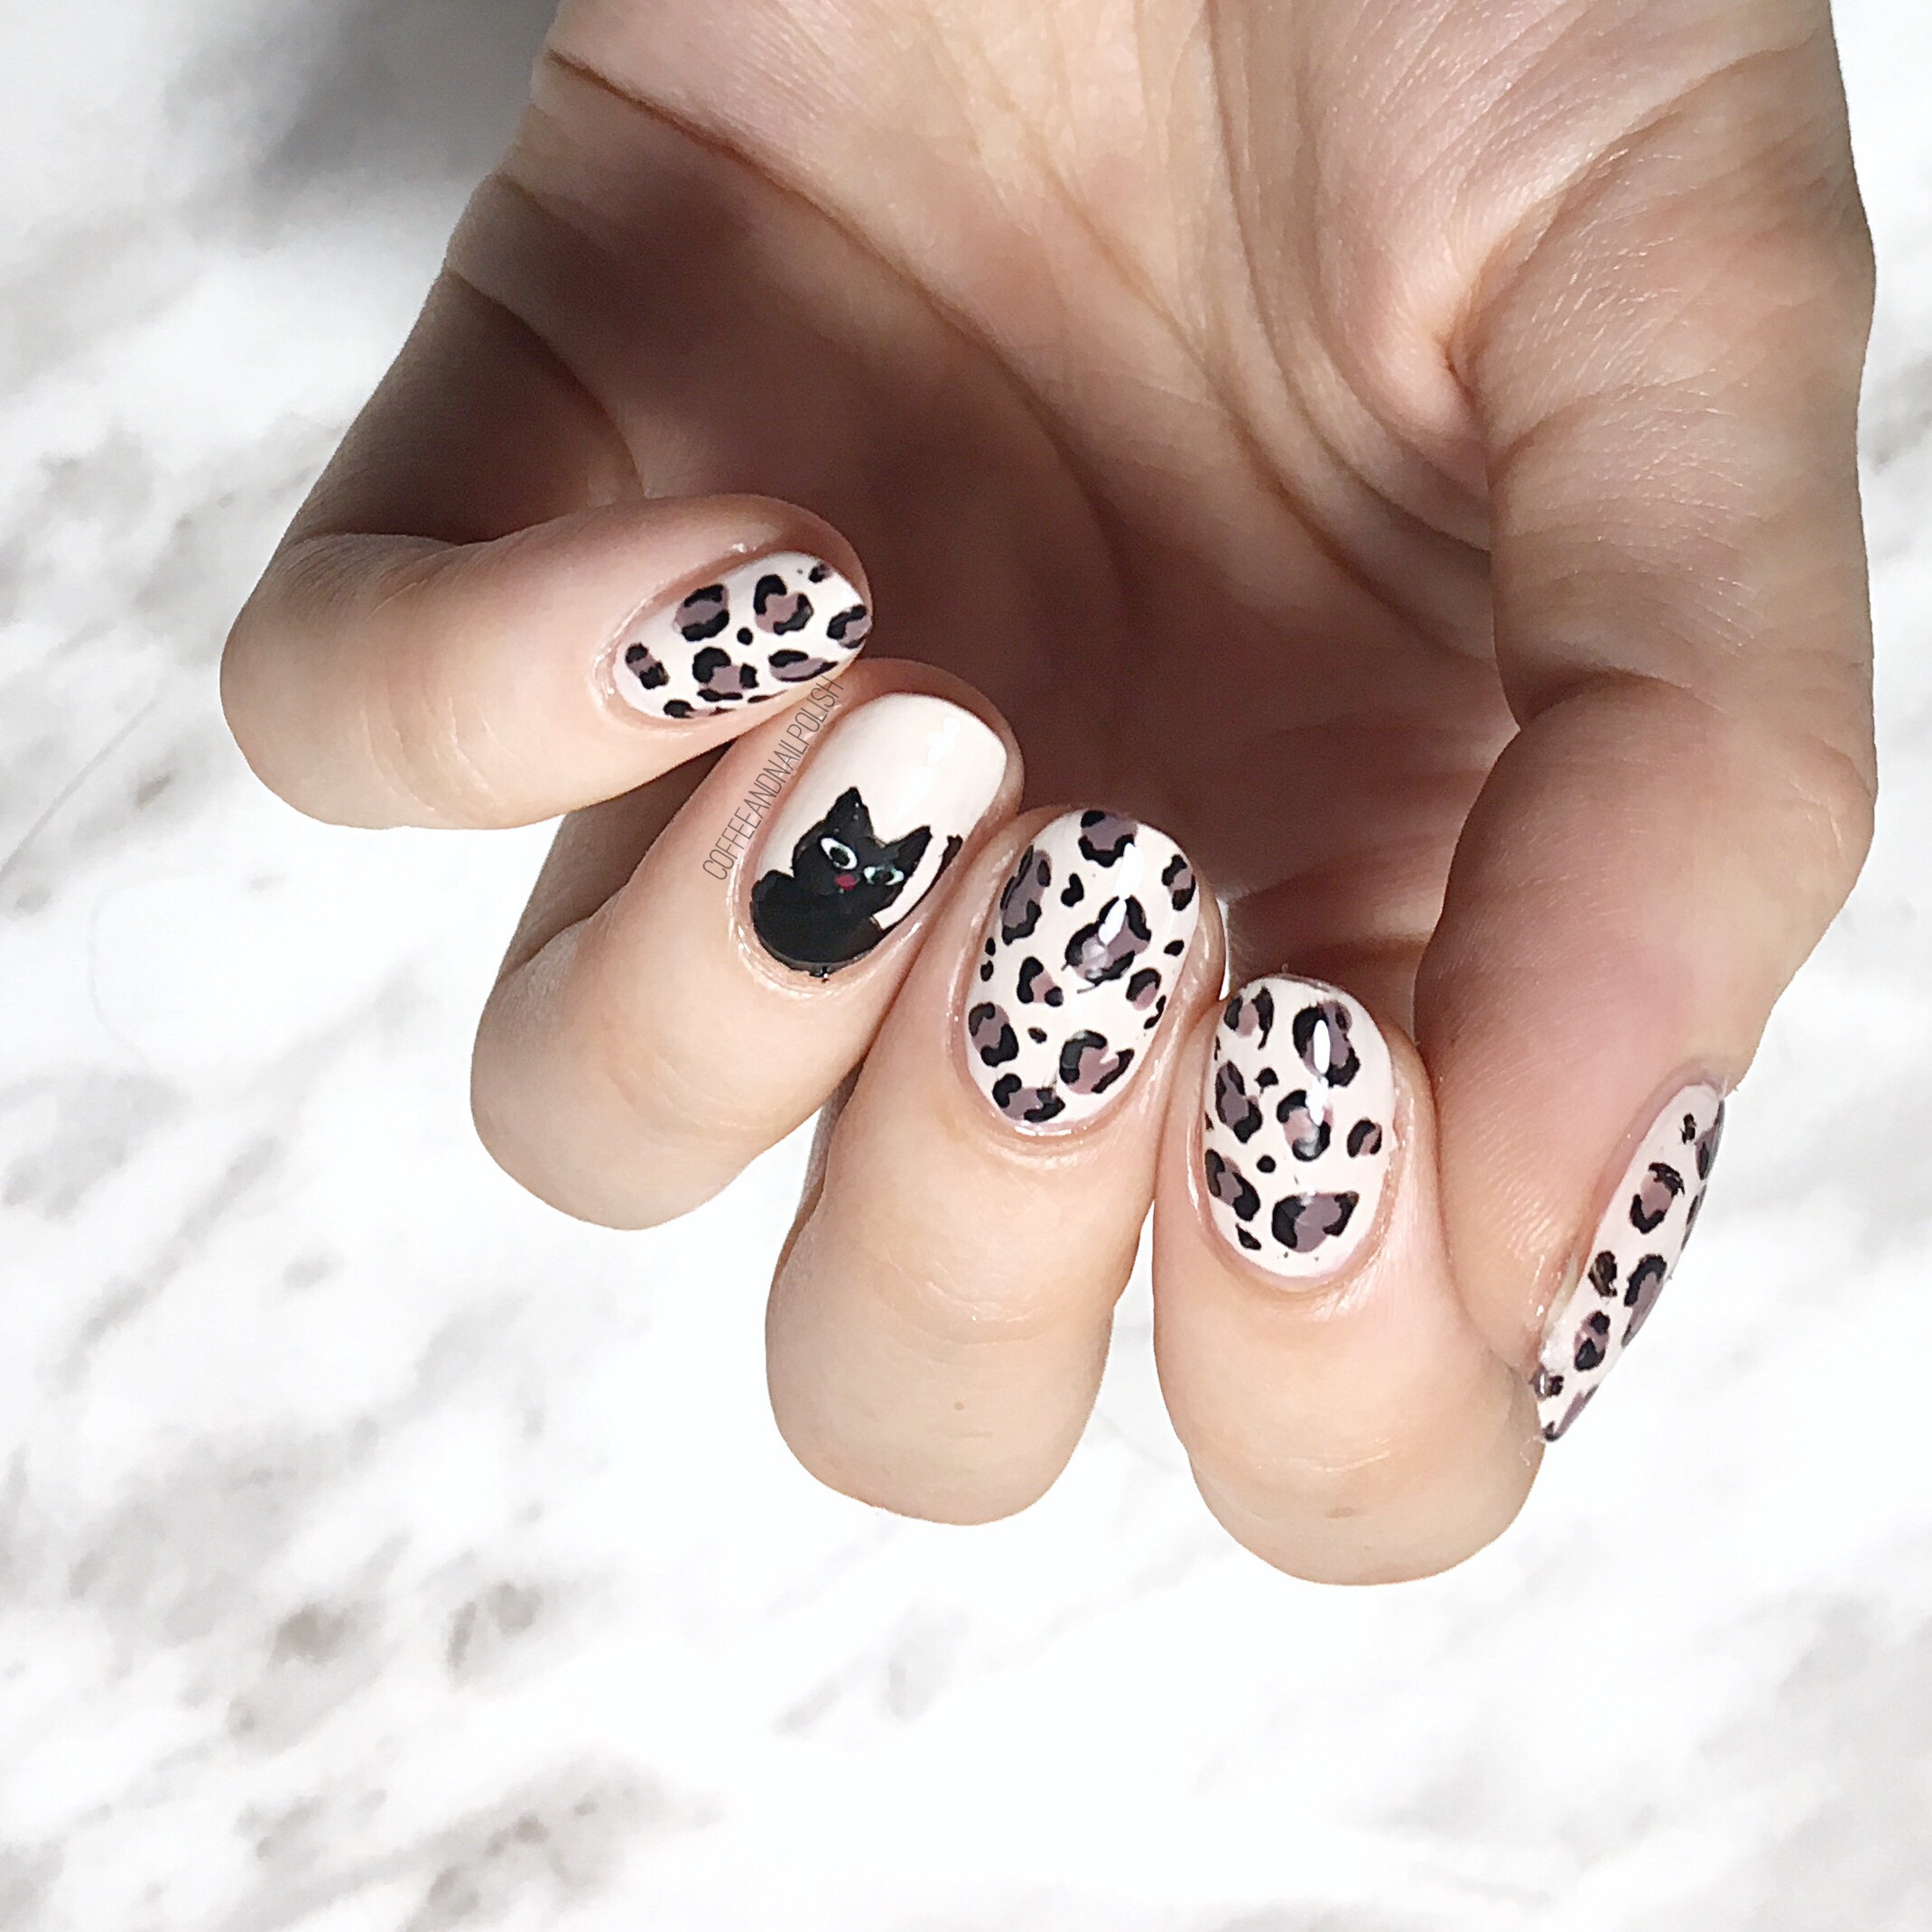
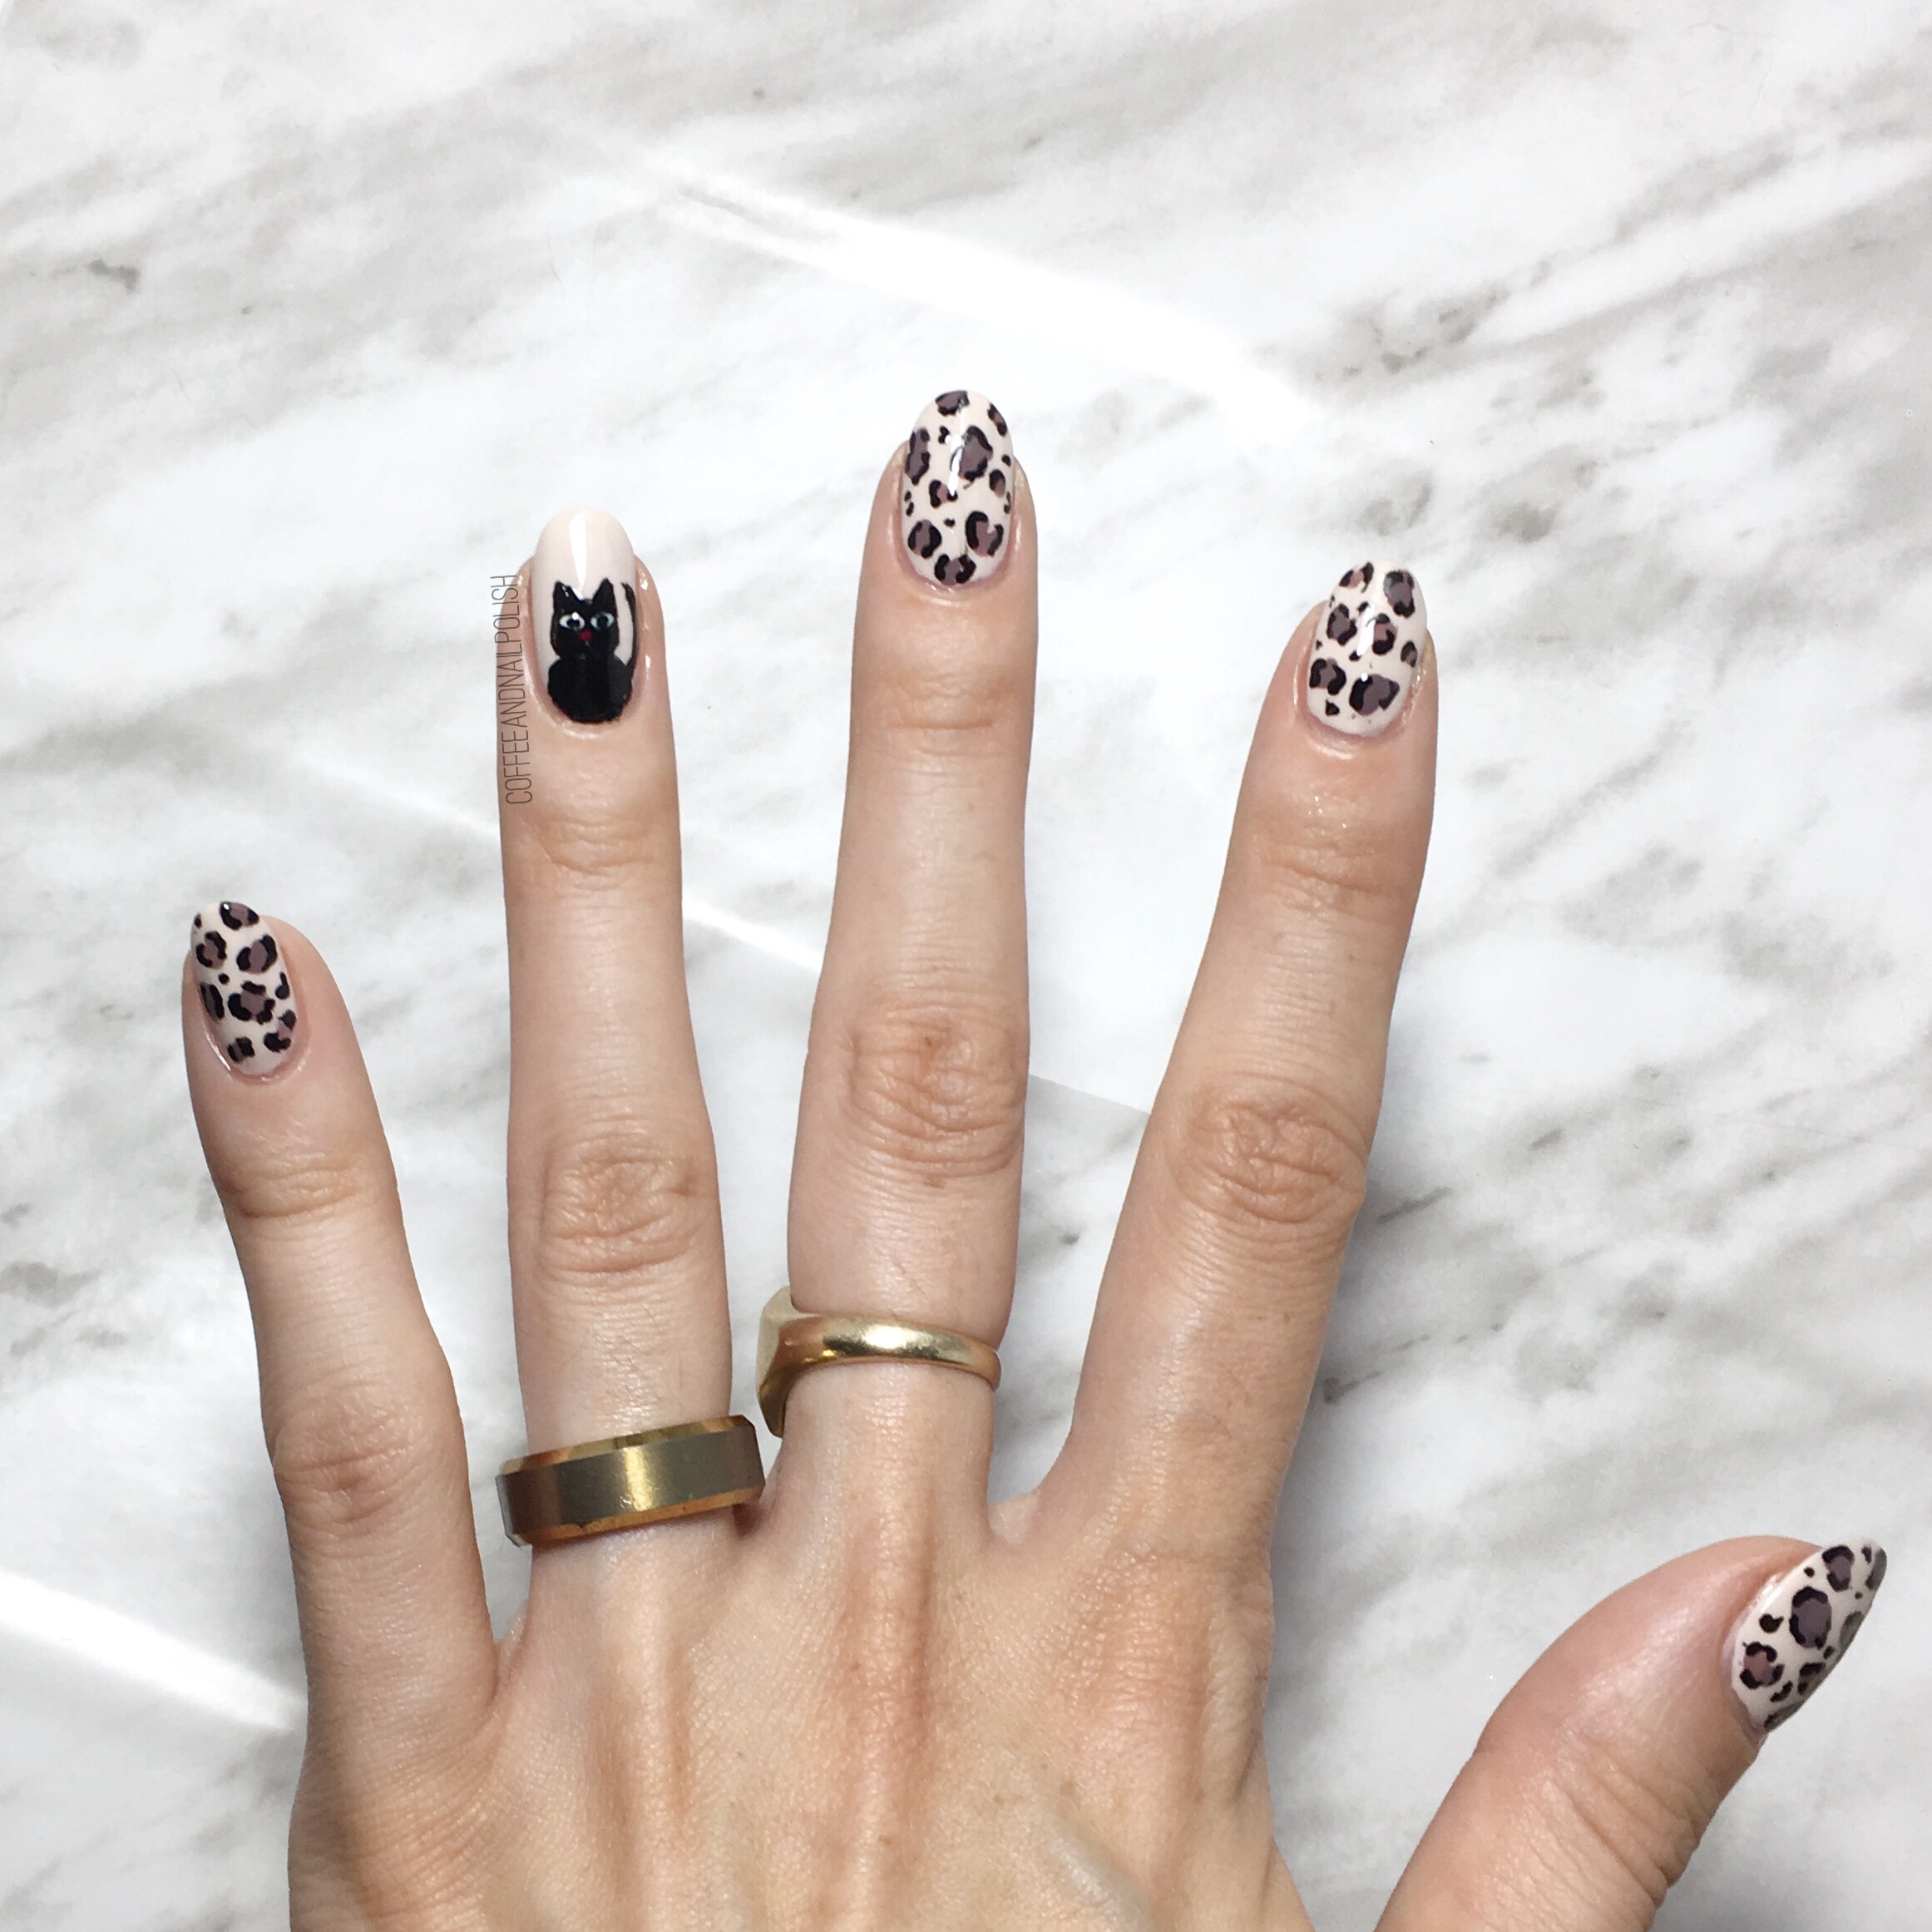
So confession time: I’m the queen of the last minute Halloween costume. Seriously I was the girl always looking for something to wear the day before Halloween (or worse, the day of Halloween). This year I’ve got our Halloween all ready, but if it wasn’t already prepared, then I would probably go with last minute Halloween costume go to: a kitty 🐱. & if I were going as a kitty for Halloween, these would be the perfect nails to go along with that costume!

Polishes used for this design:

  • Base Coat: OPI Natural Nail Base Coat
  • Top Coat: Seche Vive
  • Essie Wrap Me Up
  • Essie Merino Cool
  • Sally Hansen Hard As Nails Black Heart
  • Sally Hansen I ♥️ Nail Art Pen in Red
  • Small detail brush & dotting tool from Bundle Monster

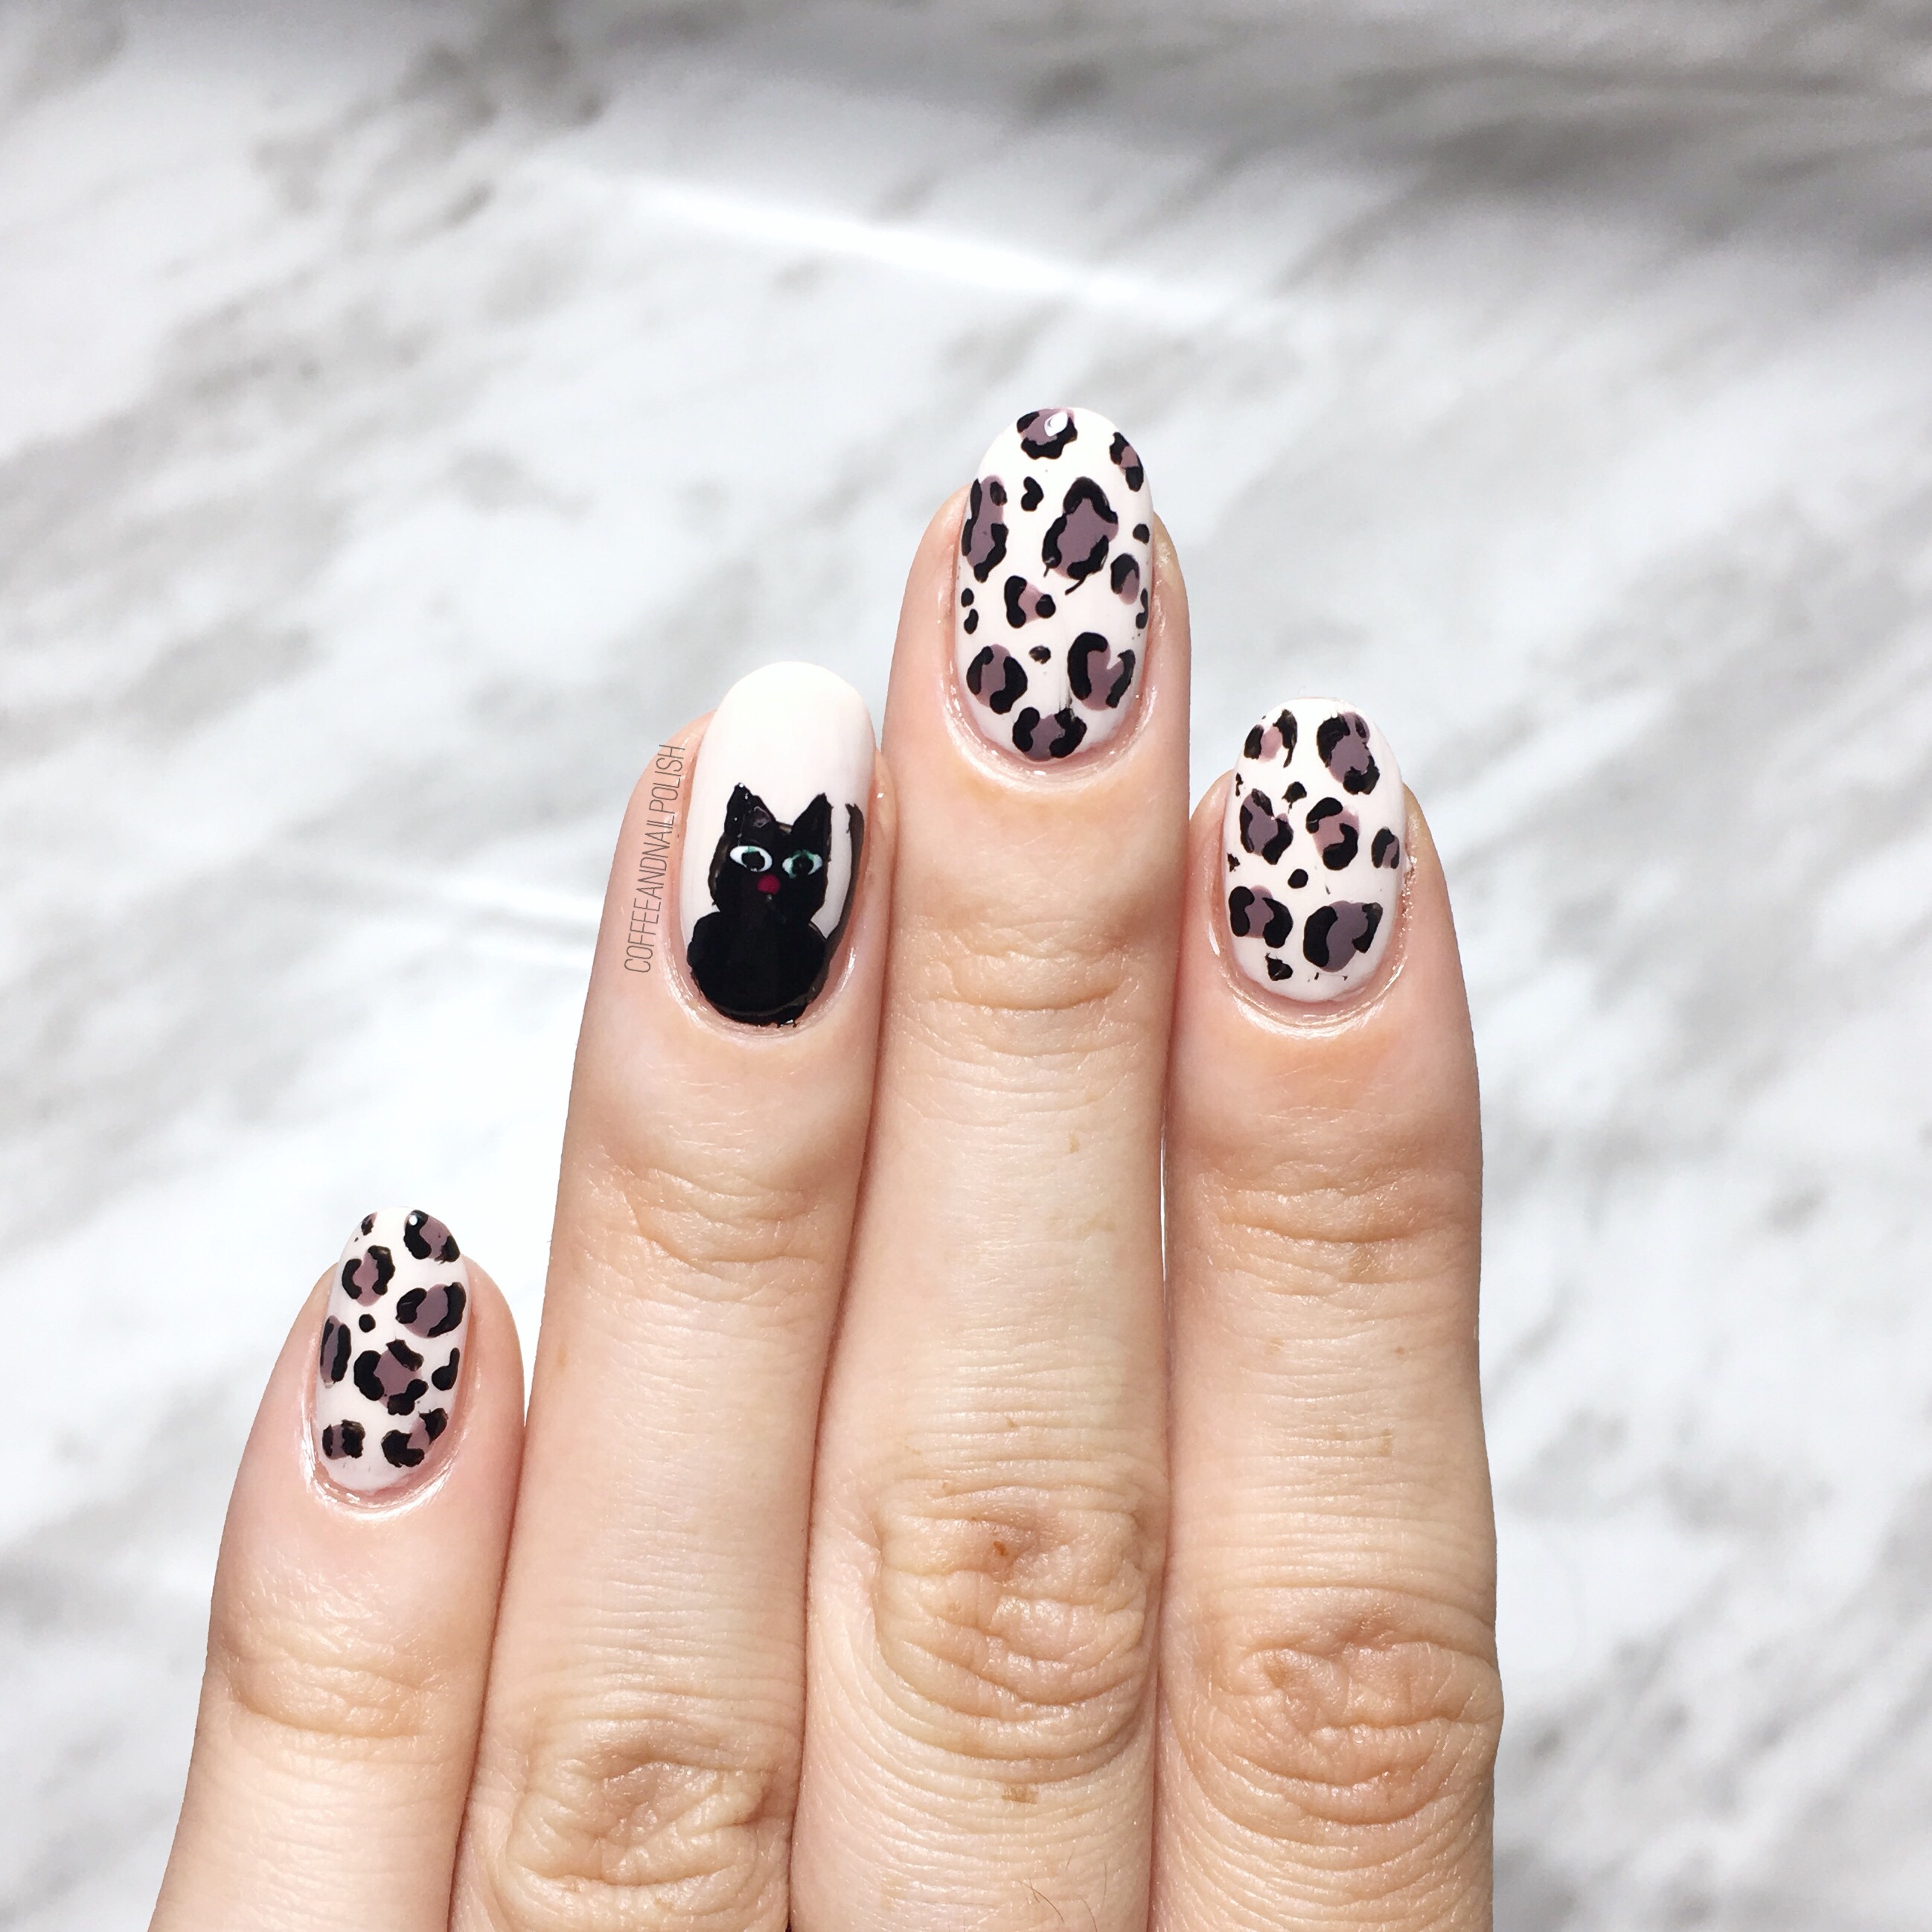
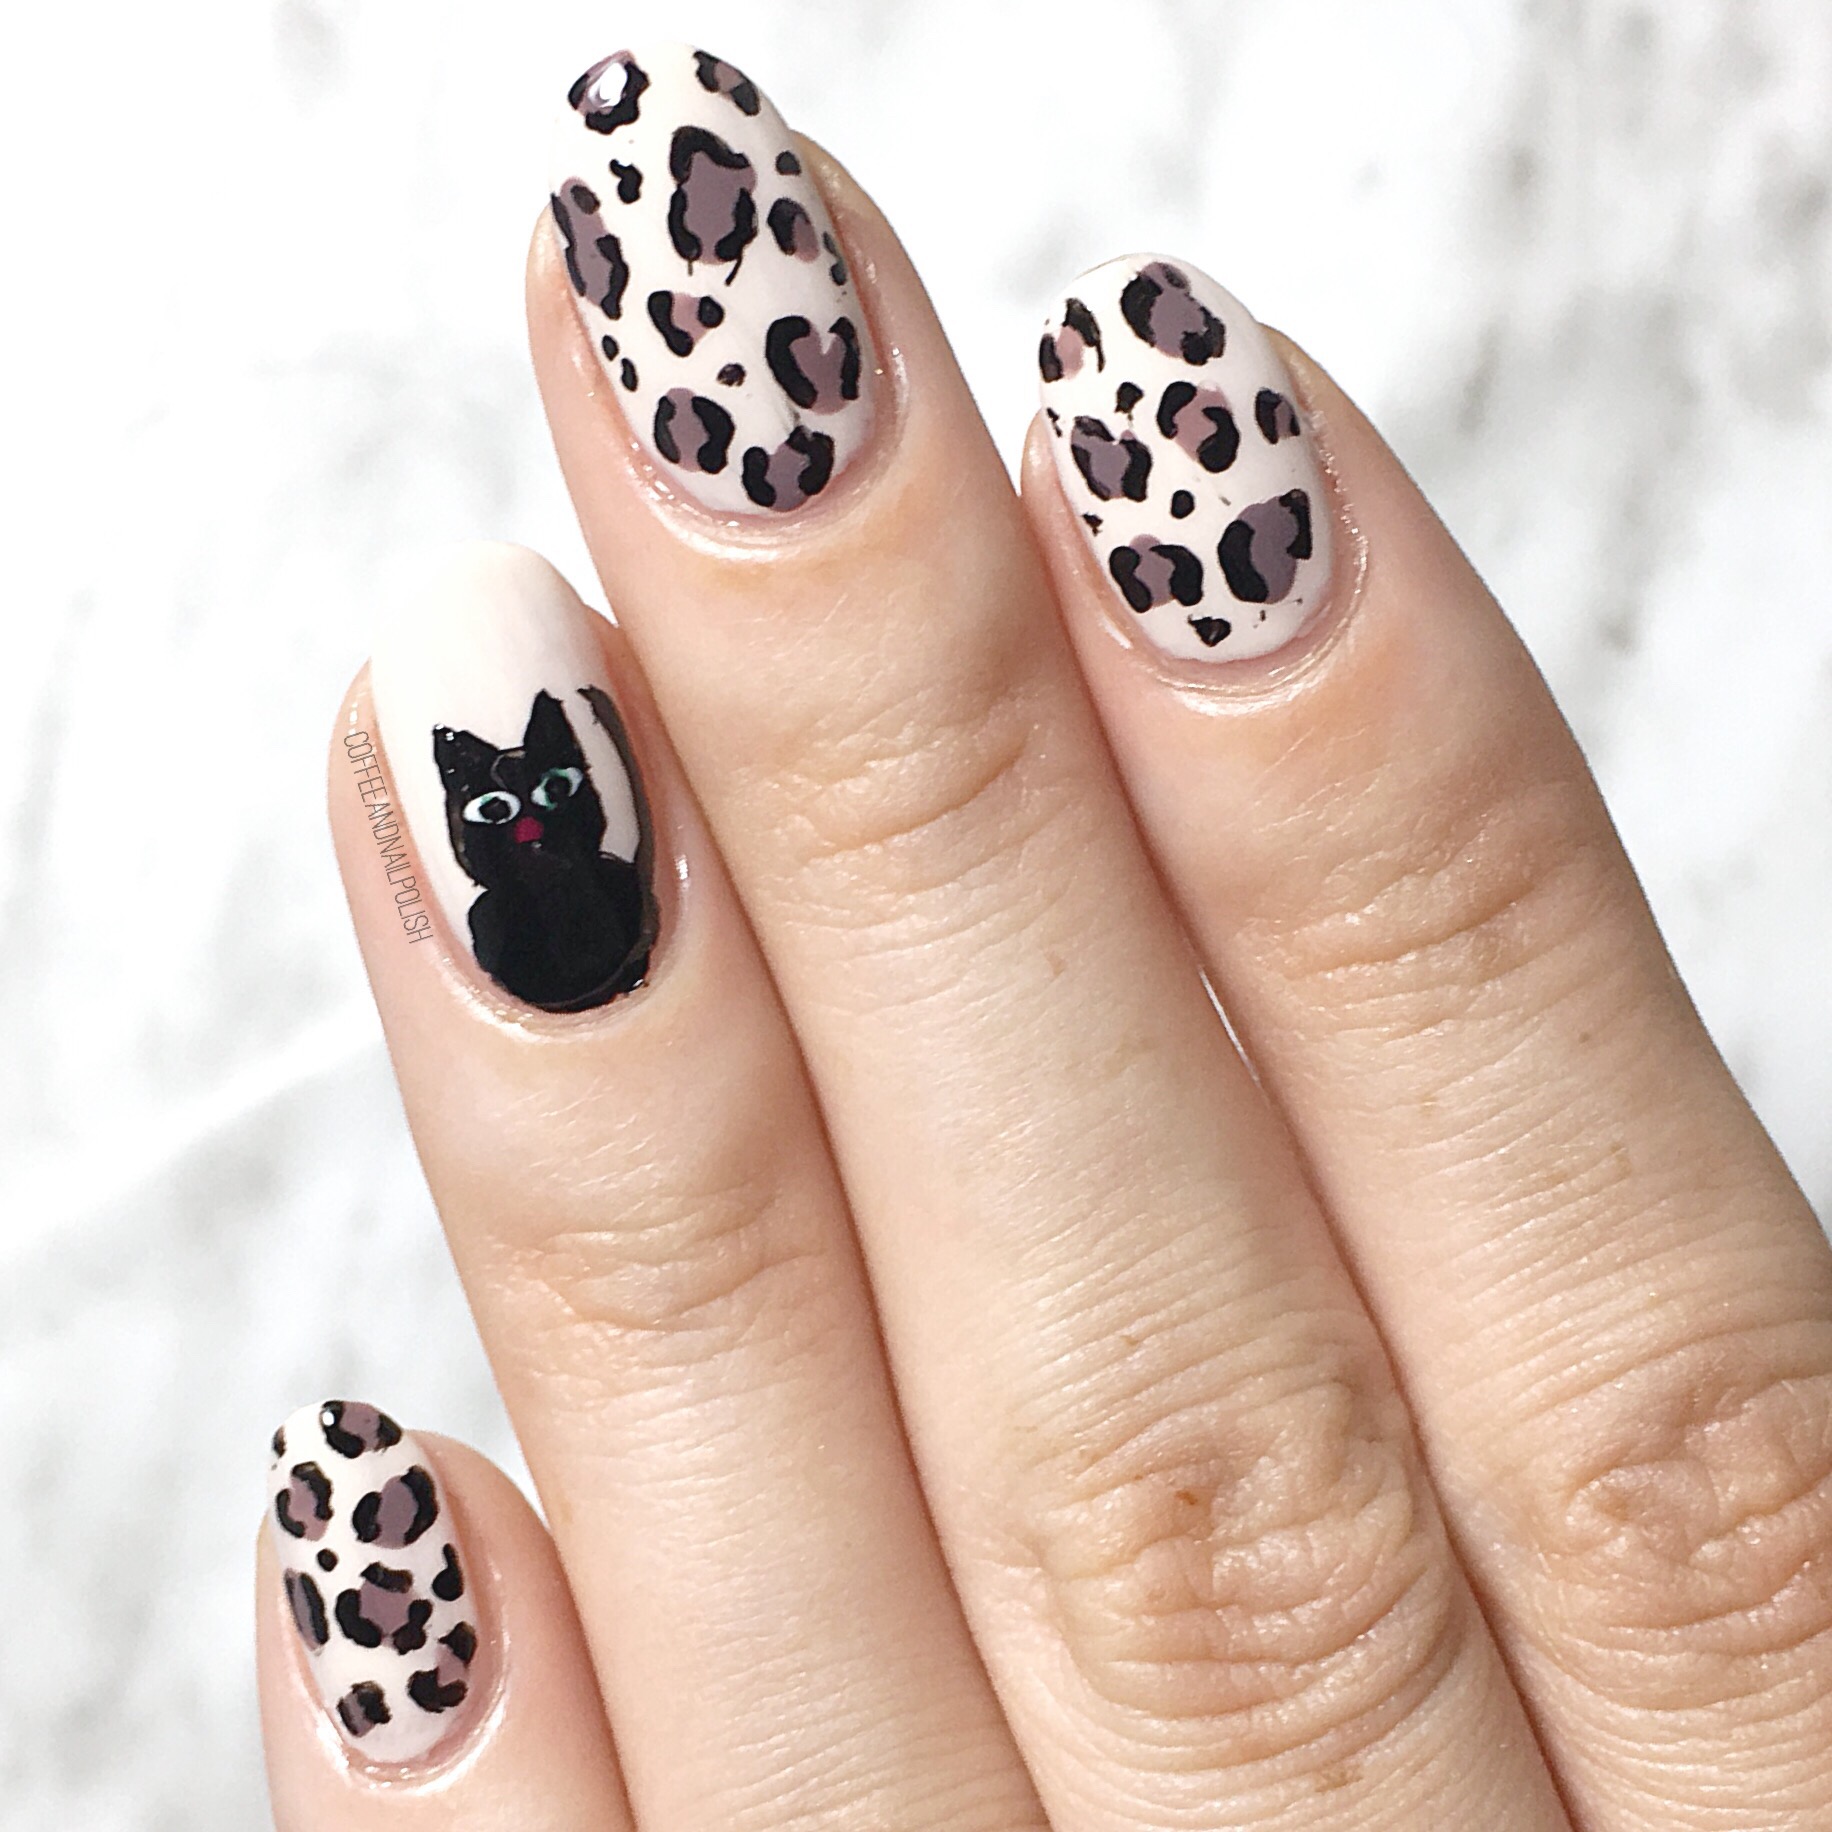
These nails were surprisingly easy to achieve. The leopard print is just blobs of colour outlines with black using your small detail brush. The cat is a bit harder to do, but not by too much—just takes a little bit patience to get it done. & if you feel like you can’t freehand a kitty, you can just as easy wear leopard print on all your fingers instead or use a sticker or decal. 

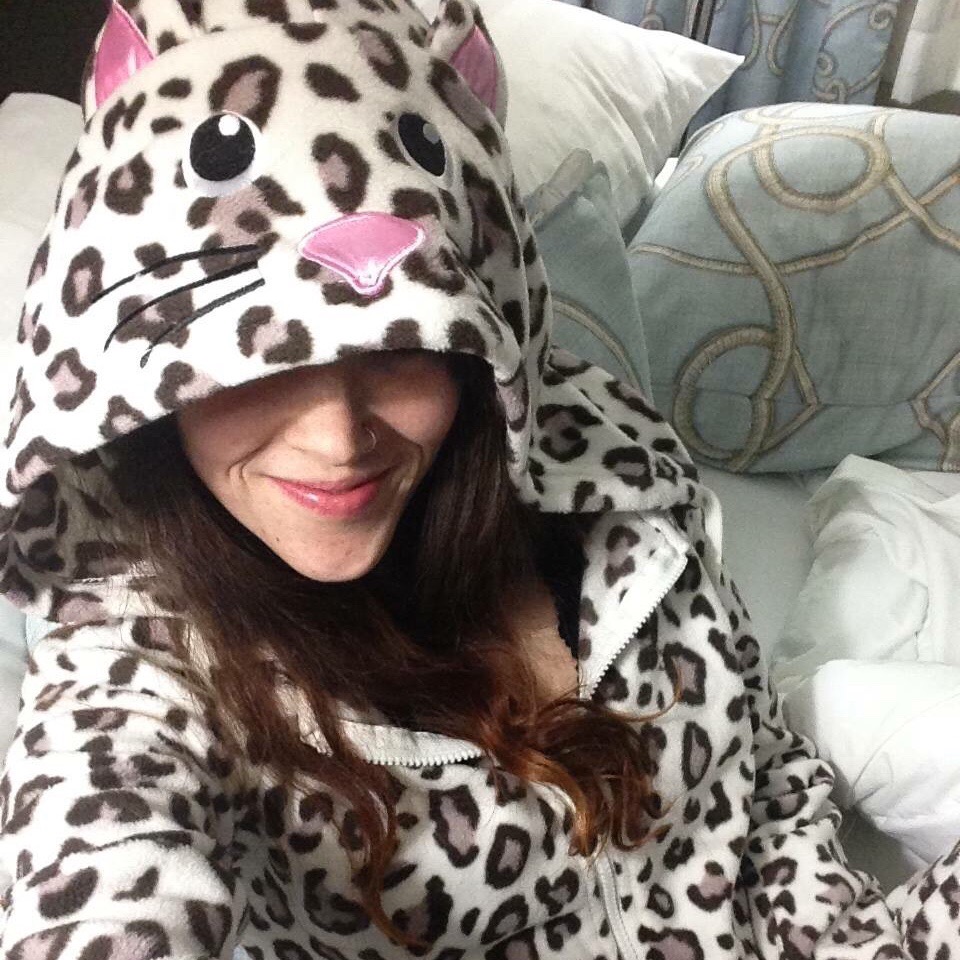
Yep, that’s a onesie & what inspired my colour choices for this leopard print. Who else has totally worn a onesie for a Halloween costume? I mean, they’re pretty perfect for Trick or Treating! Keep you warm & then you immediately can hop into bed (with a chocolate bar or two or fifteen!)

What is your favourite Halloween snack? I’m totally a gummy candy girl. The hubs & I are taking the little guy trick or treating a few places & we already have the candy situation figured out… he gets any chocolate as I’m lactose intolerant, I get the gummy candies & we’ll split the chips. & the little guy… well he gets to be adorable in his baby flash costume. 

♥️

Vacation Nails! 

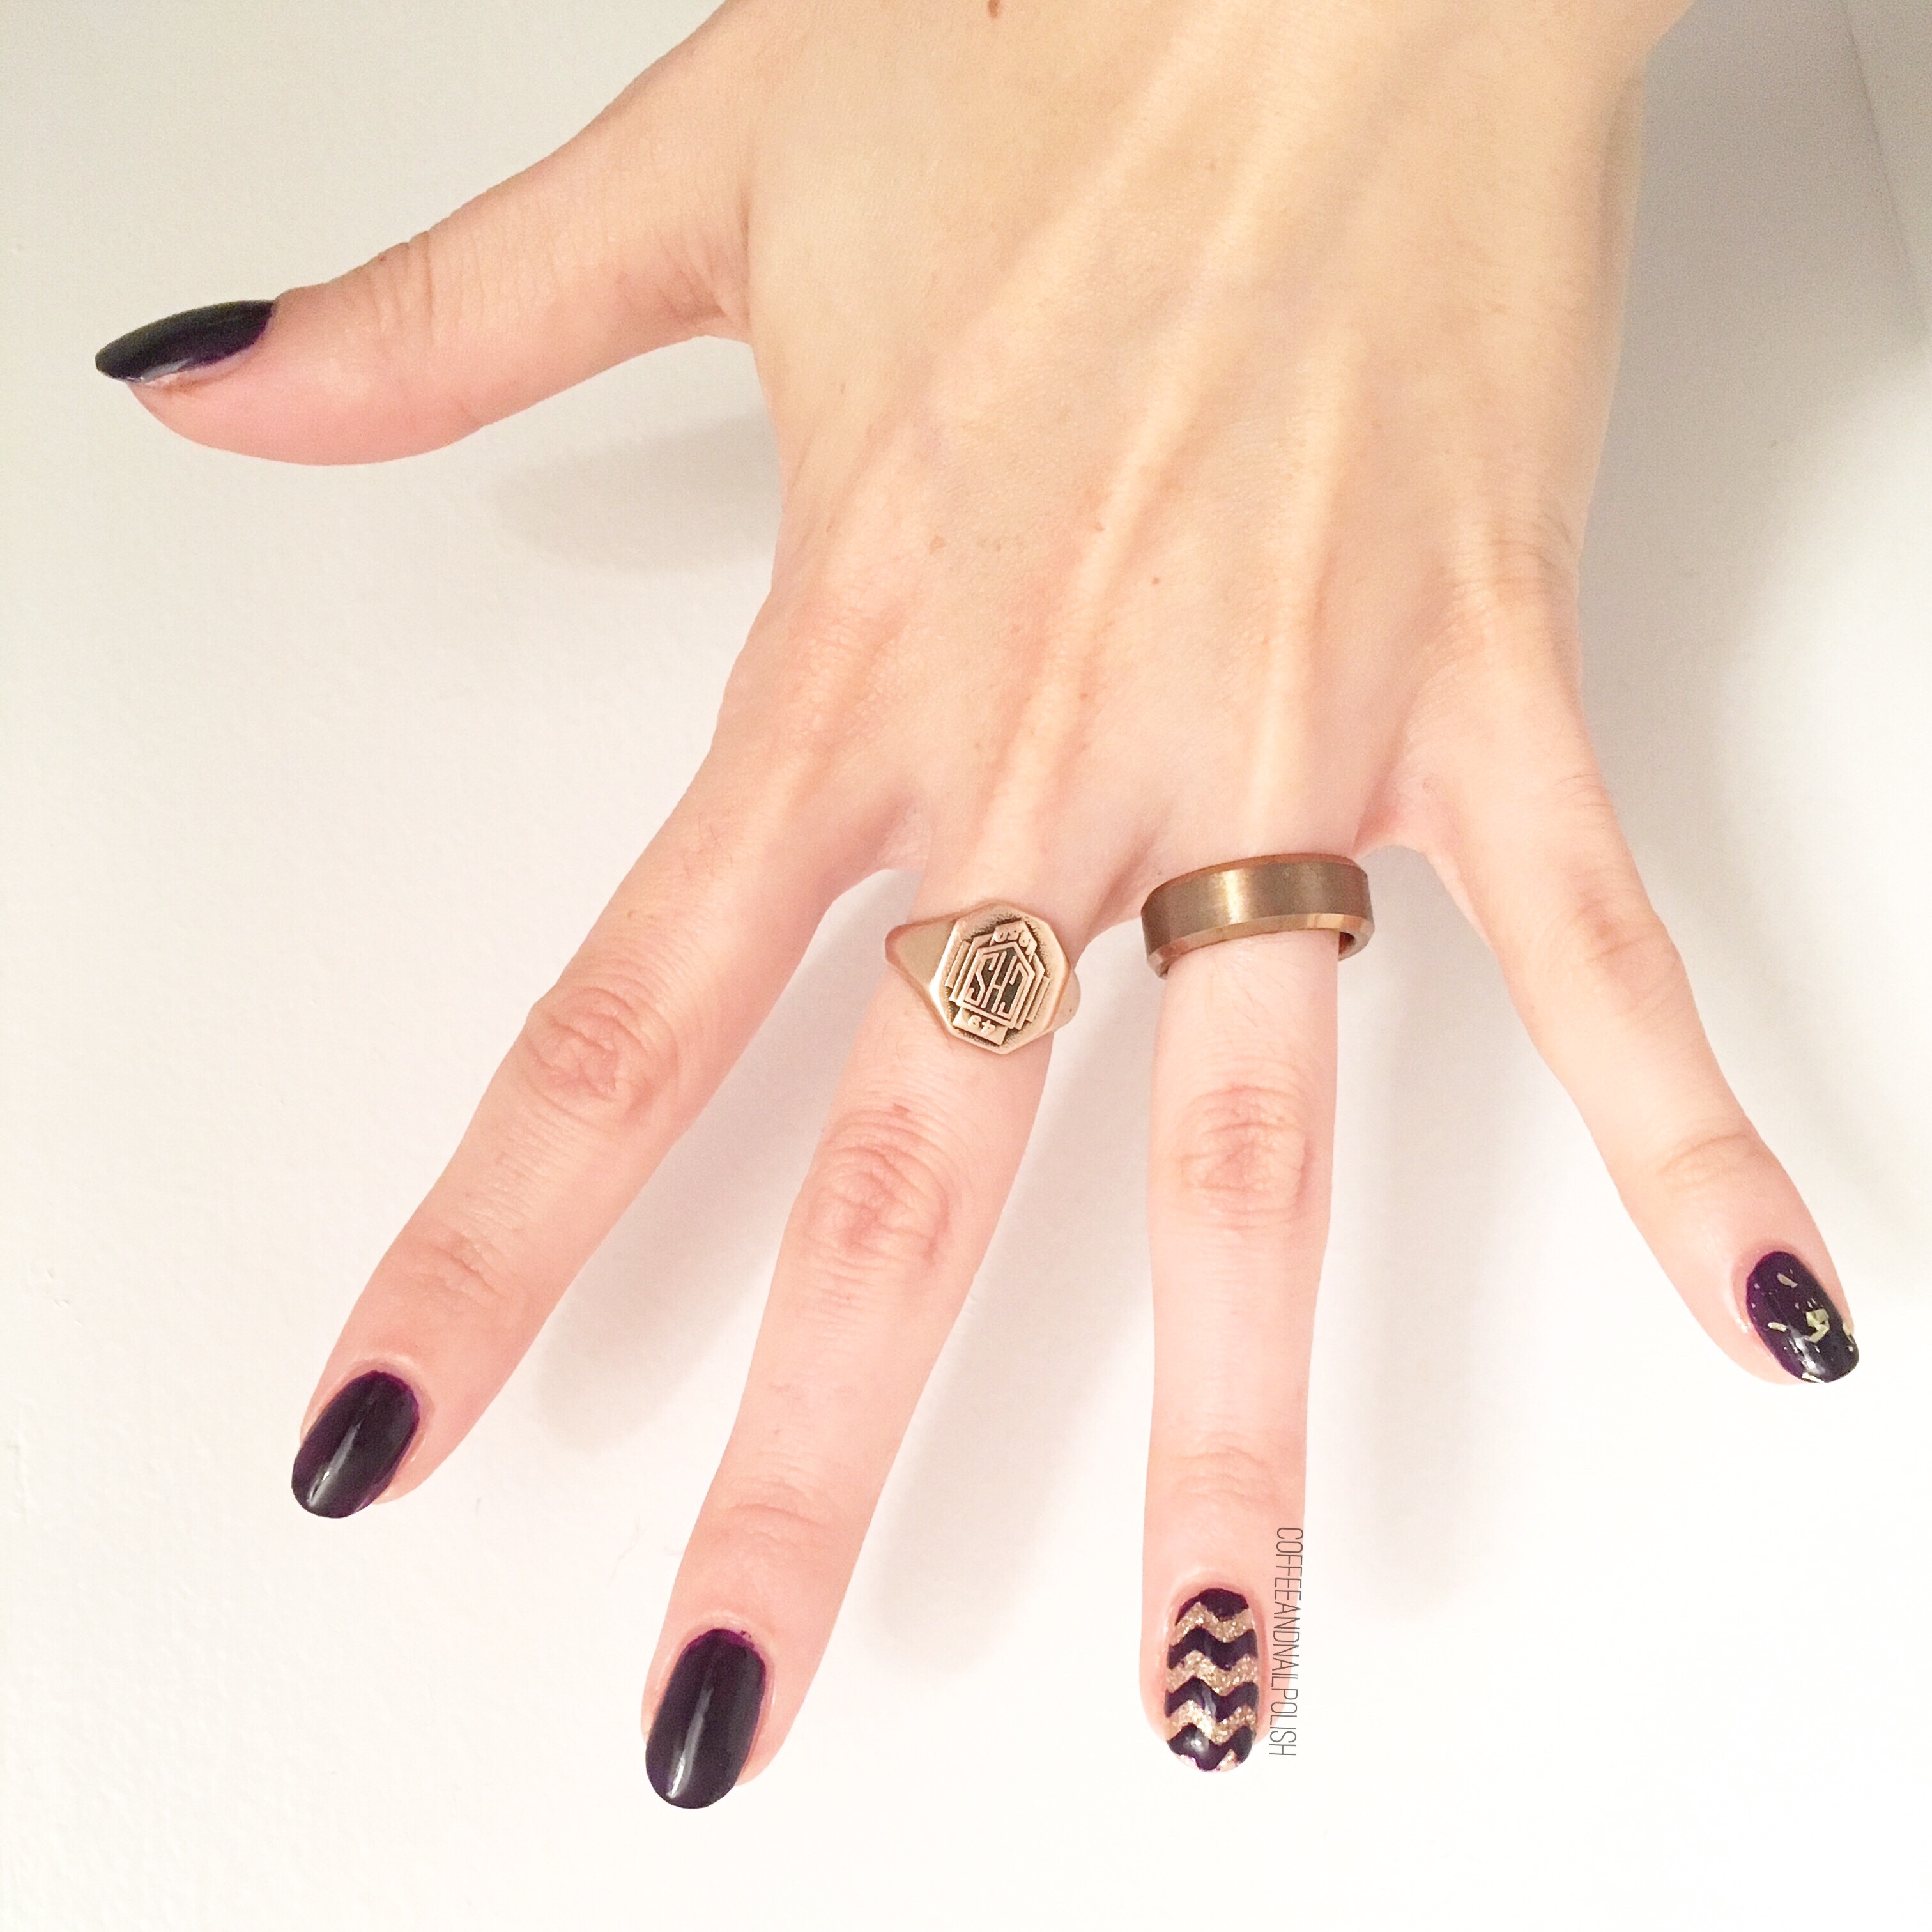
This week, I took a mini vacation with our Lil Bubs to visit my parents up in Northern New Brunswick. Usually when I travel I tend to bring an assorted variety of nail goodies with me, because I know I will need to change up my manicure. However, because I know my Mum has quite the stash of polish on hand (she’s started painting sea glass jewellery peices with it—I’ll share a picture at the end!) I decided to leave my polishes behind for the opportunity to play around with the many shades she owns. 

For this manicure, the polishes I used were:

  • Base Coat: OPI Nail Envy
  • Top Coat: Seche Vive 
  • My Beauty Spot unnamed dark purple
  • L’Oréal Because I’m Worth It
  • L’Oréal The True Gold Transforming Top Coat
  • Essence Metal Glam Steel-ing the Scene 
  • Kiss Products zig zag Nail Vinyls 

These are definitely Fall nails. I’ve been really feeling gold & purple lately (especially together). I also totally forgot how good Steel-ing the Scene looks over dark colours (I also have a bottle in my stash at home.) This is a great combination which sadly I couldn’t capture as well as I would have liked thanks to some fairly dull bathroom lighting. Even still, I really dig how this mani turned out. At first I wasn’t quite sure but the more I stared at it, the more I like how everything came together. 

& just for fun, here is one of the beautiful pieces of sea glass my mum painted (using nail polish!) for the jewelry she’s been making. I have a couple pieces she’s made & they’re such pretty statement pieces. 


What do you think of this vacation design? Do you do your nails while on vacation or stick with what you leave with? What are your vacation nail essentials? Let me know in the comments below!