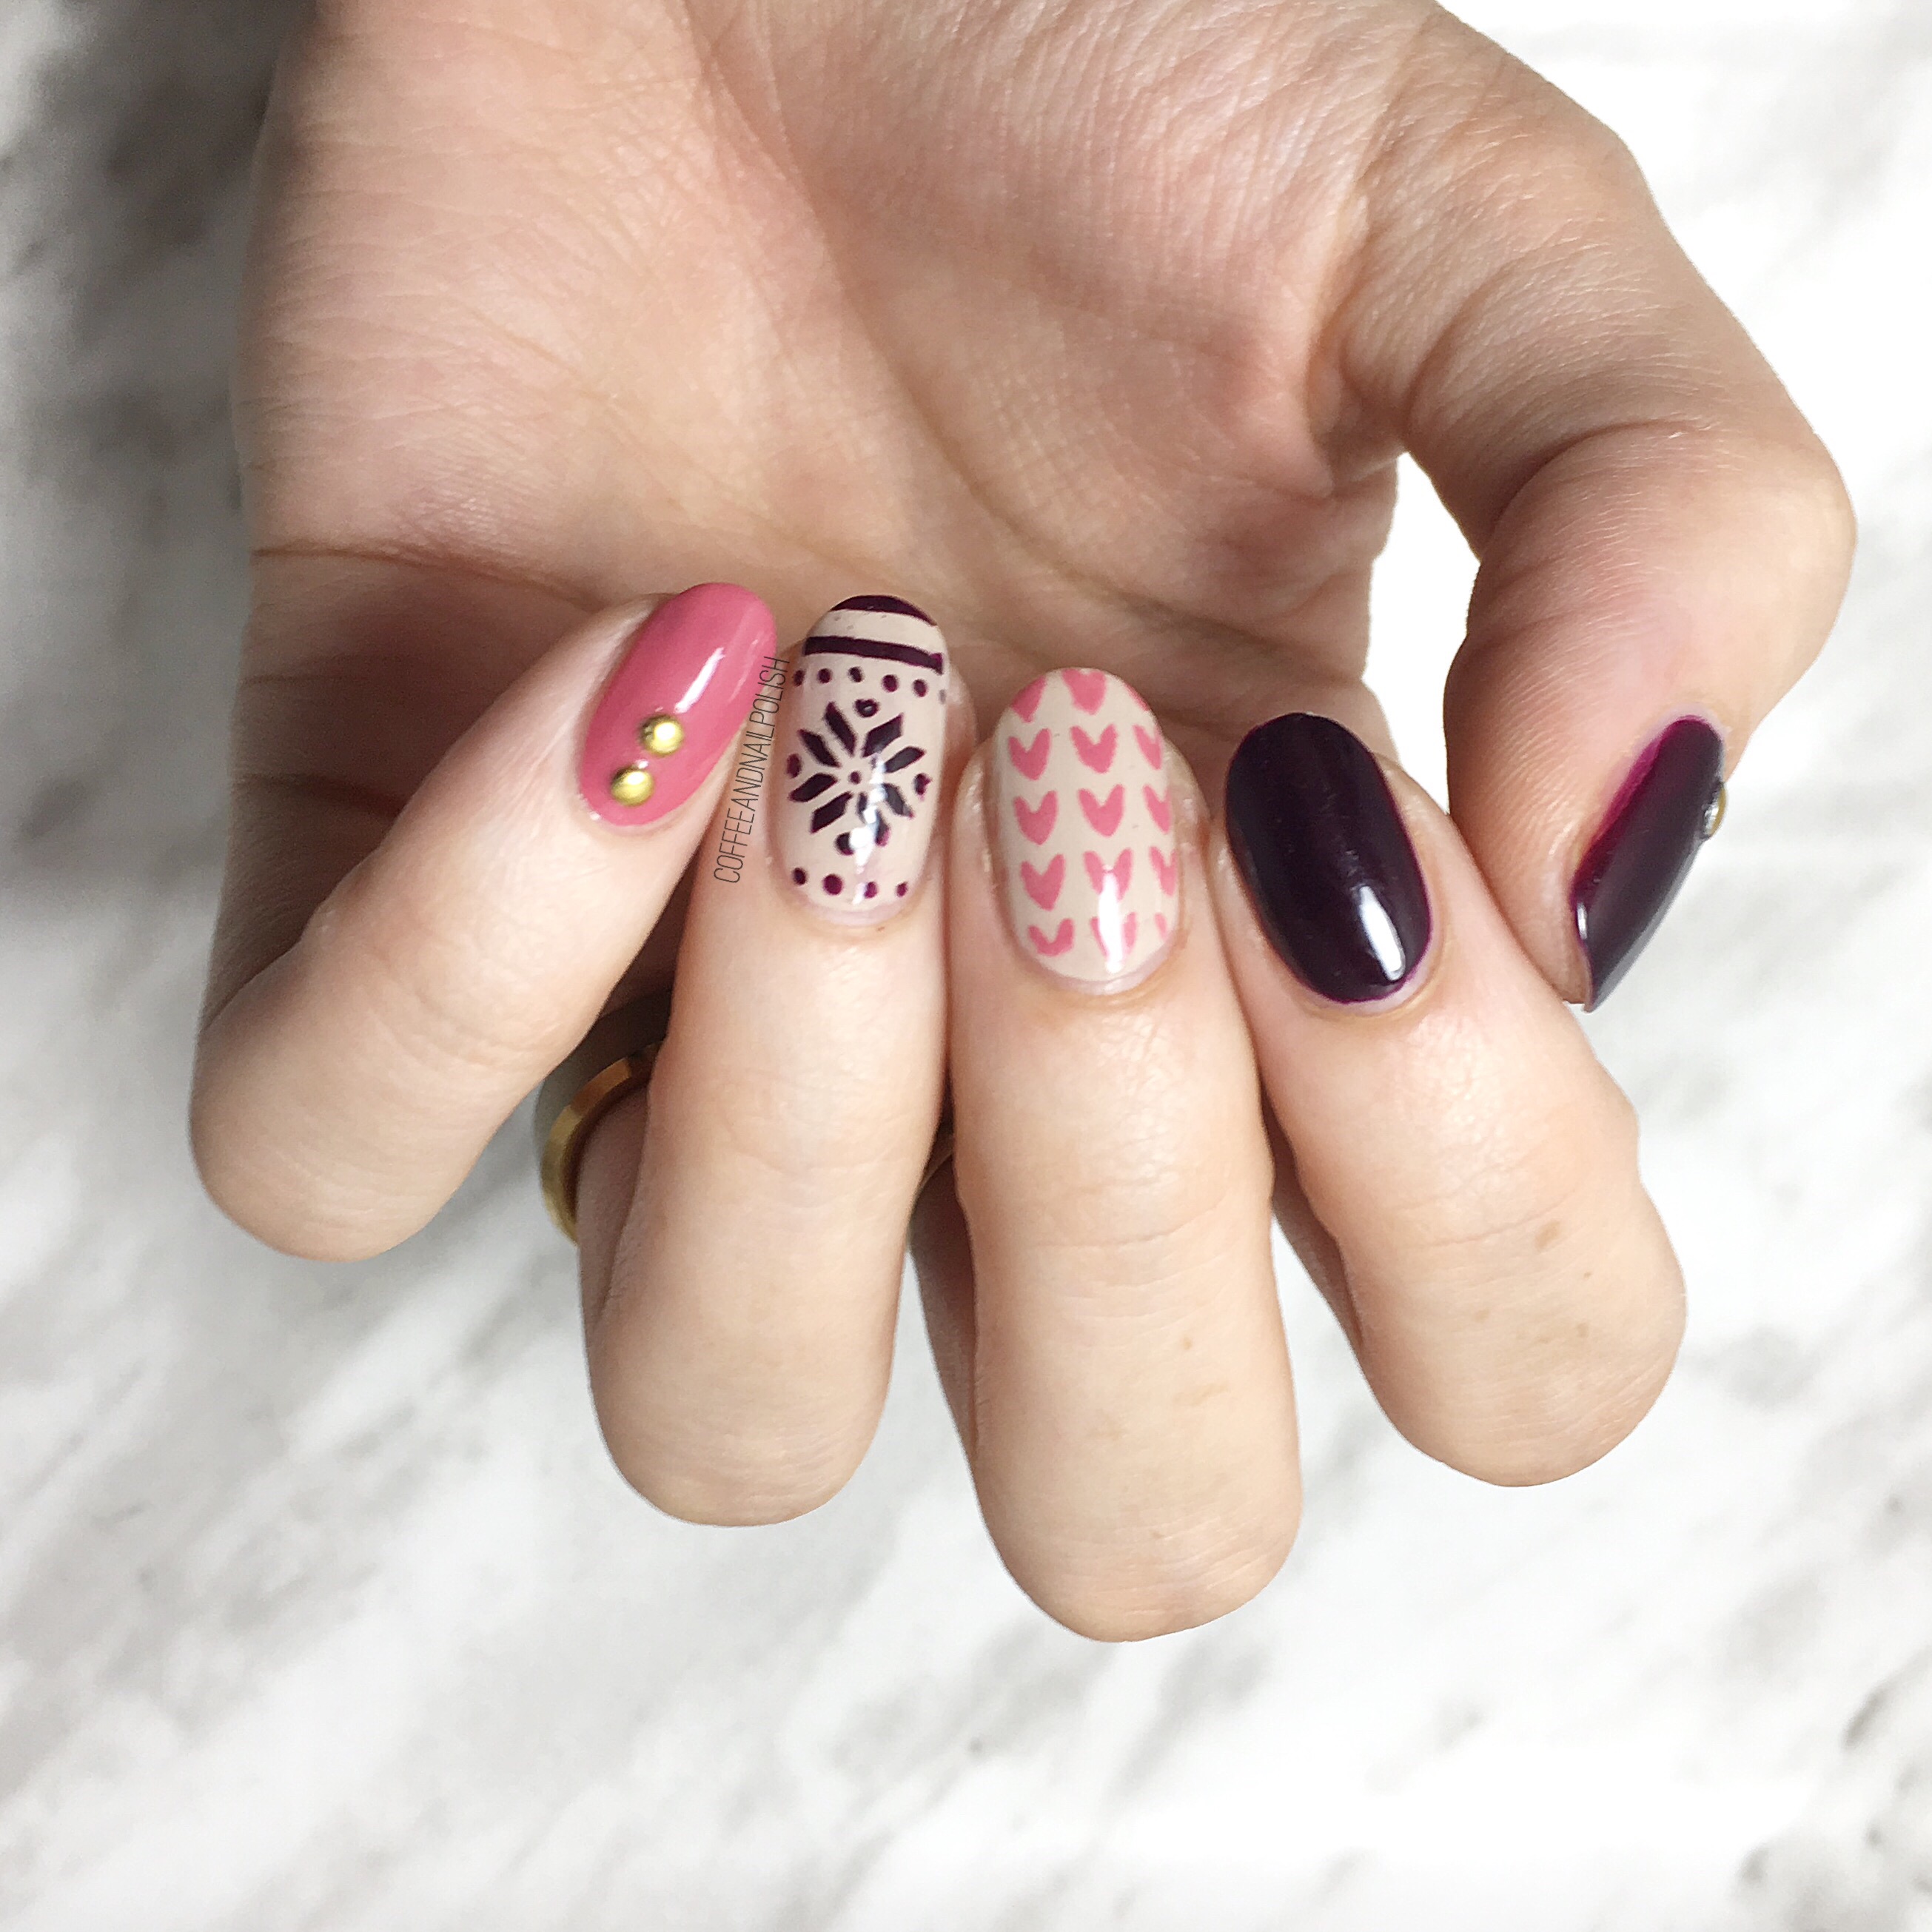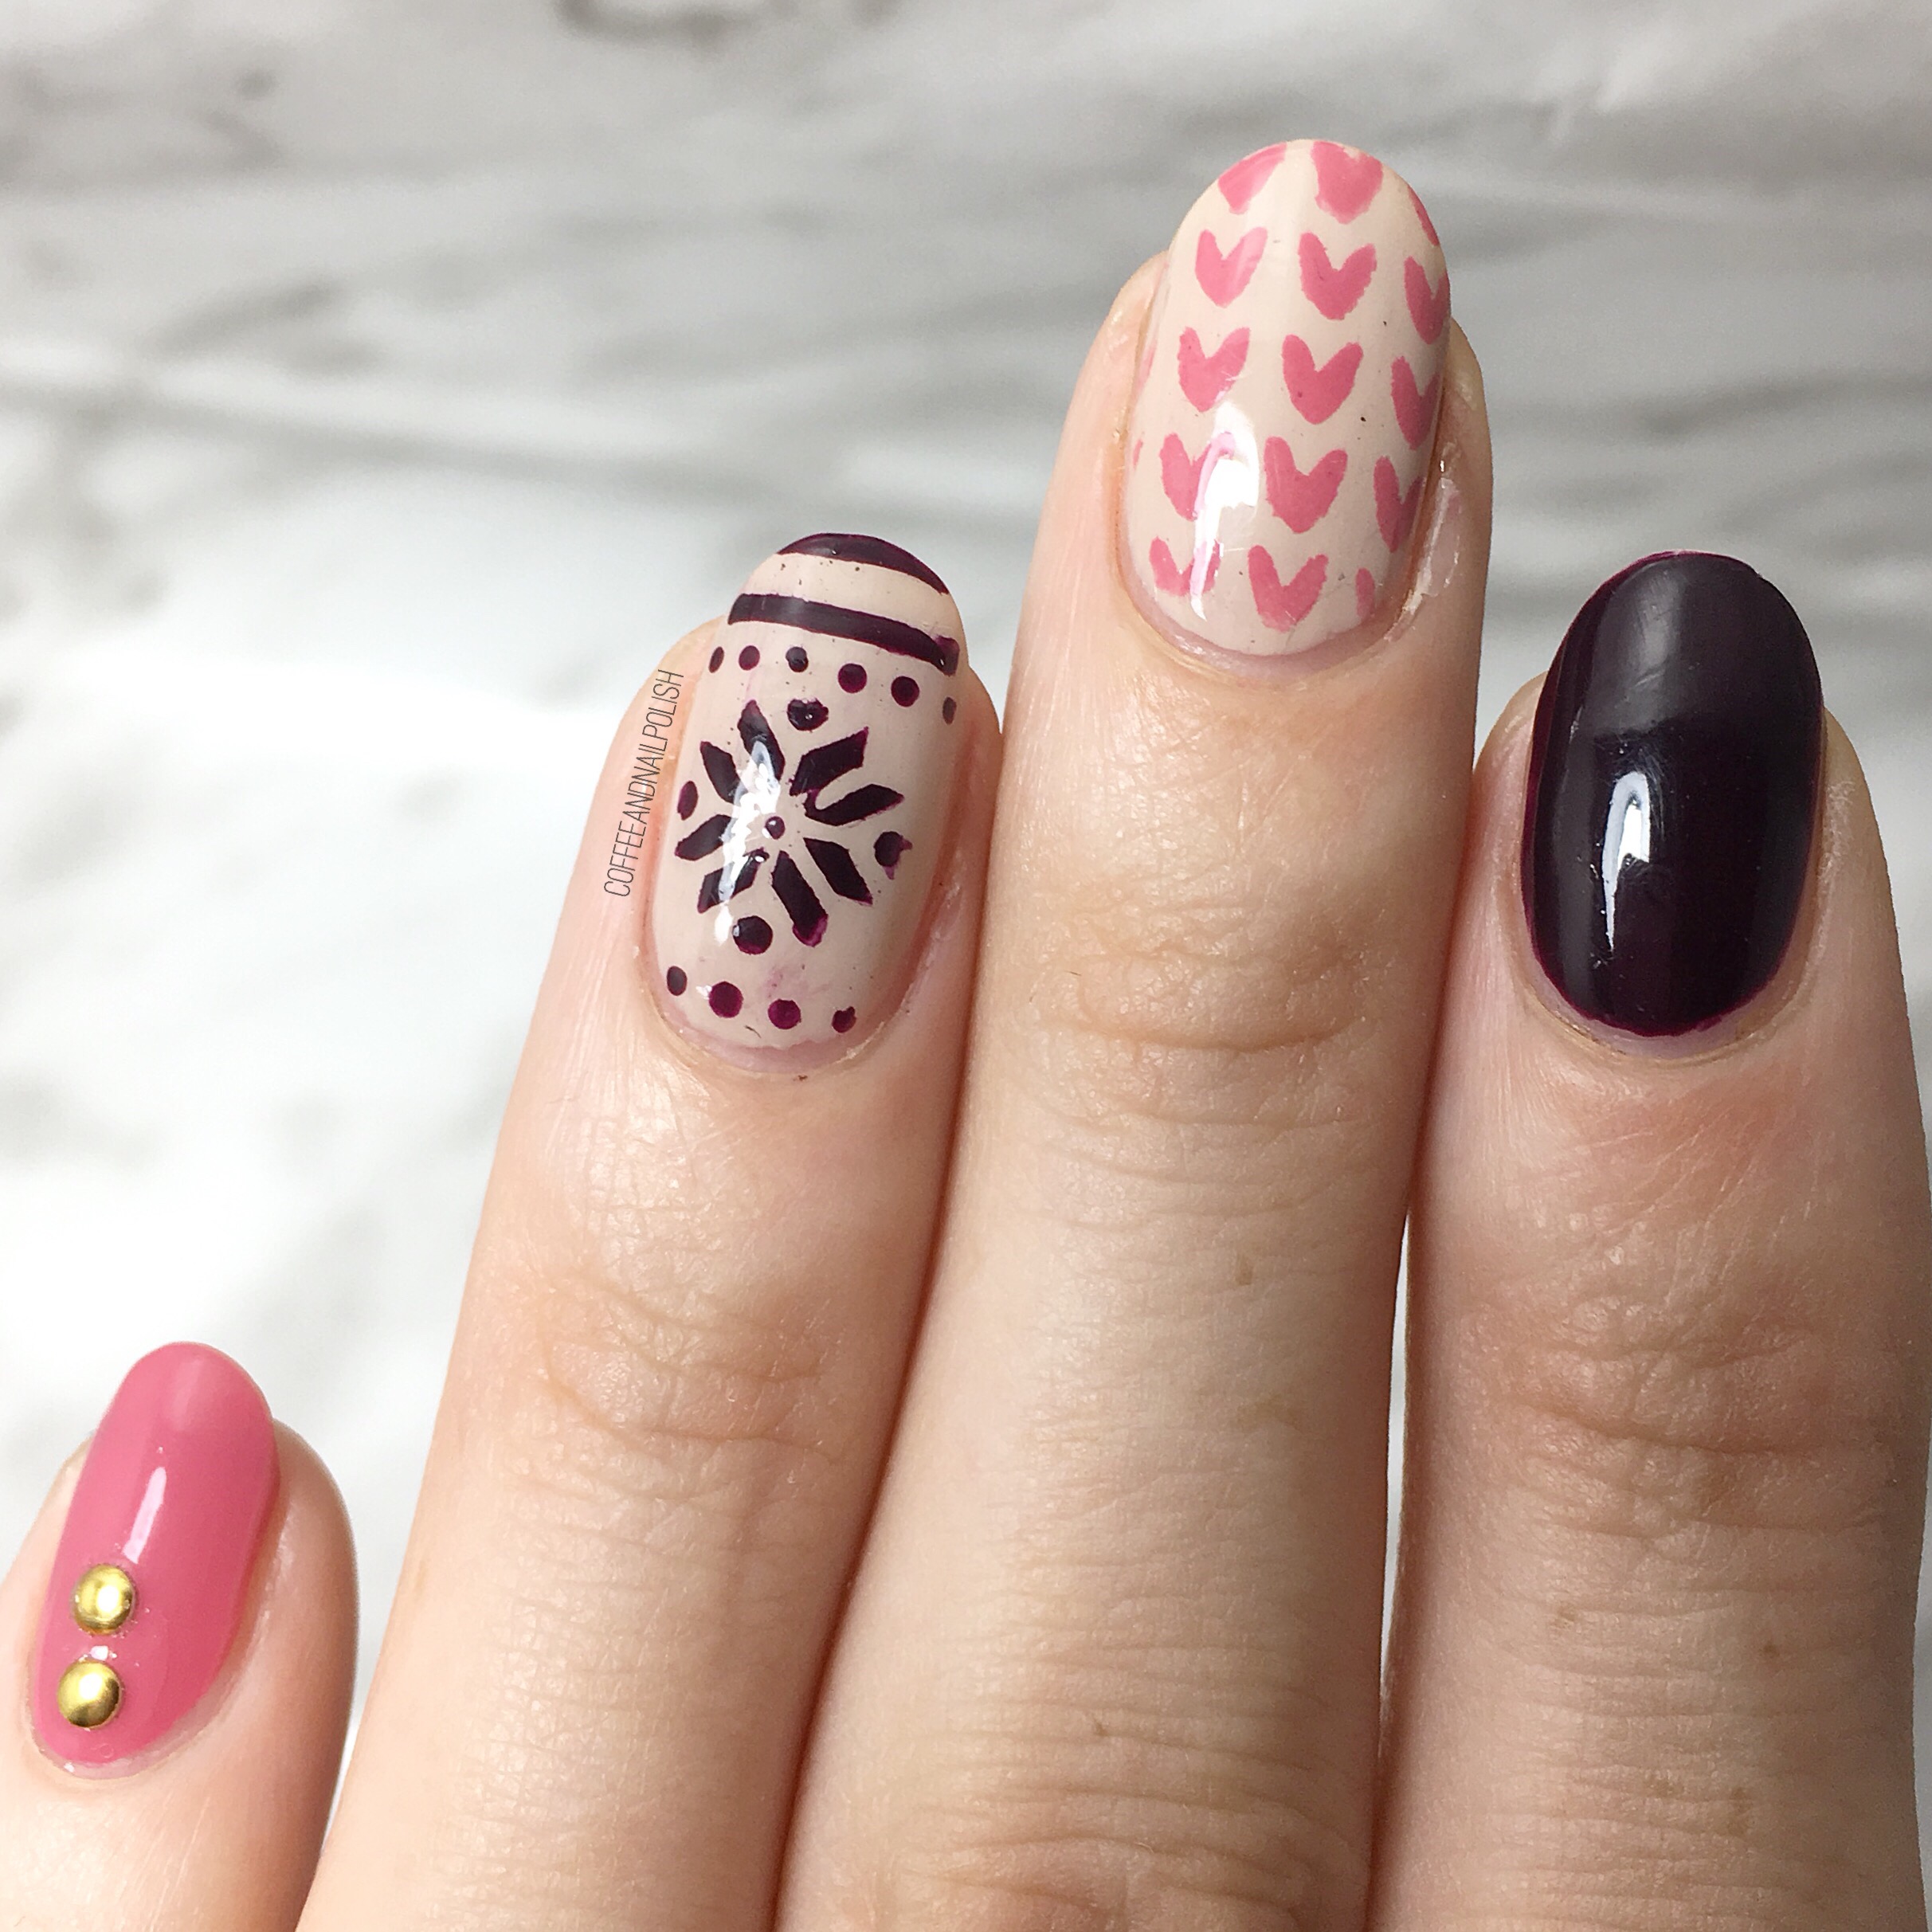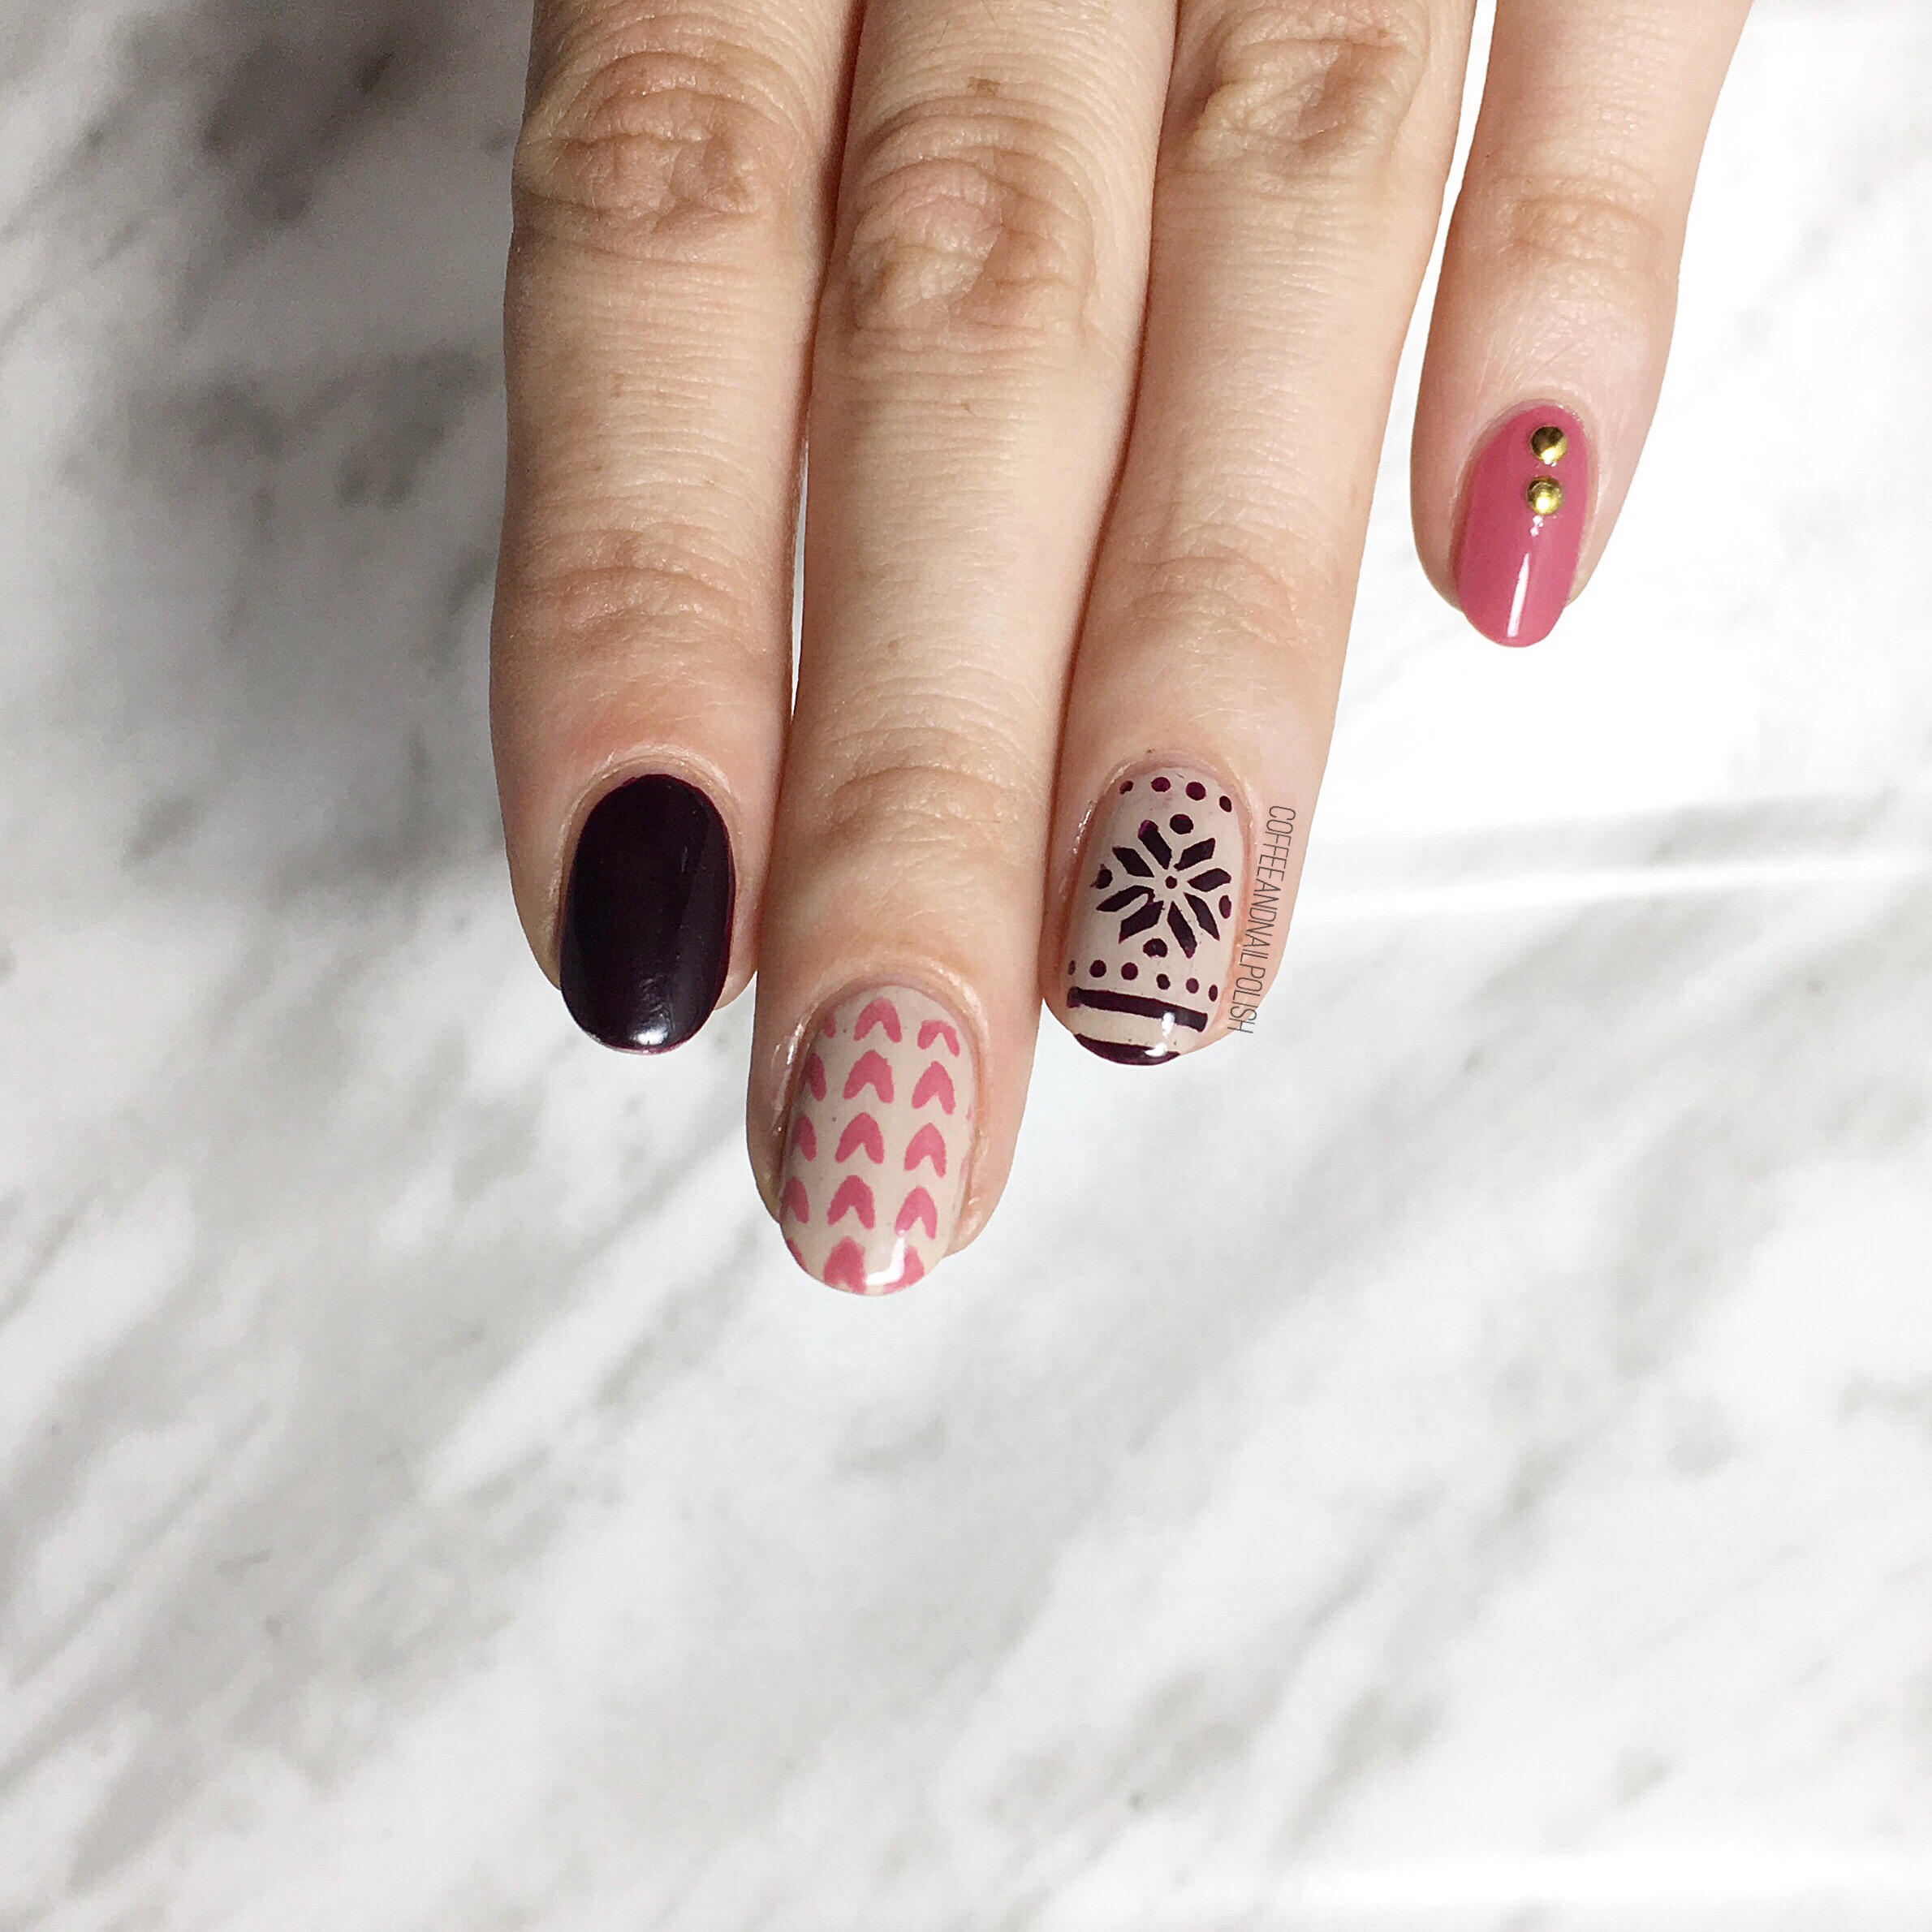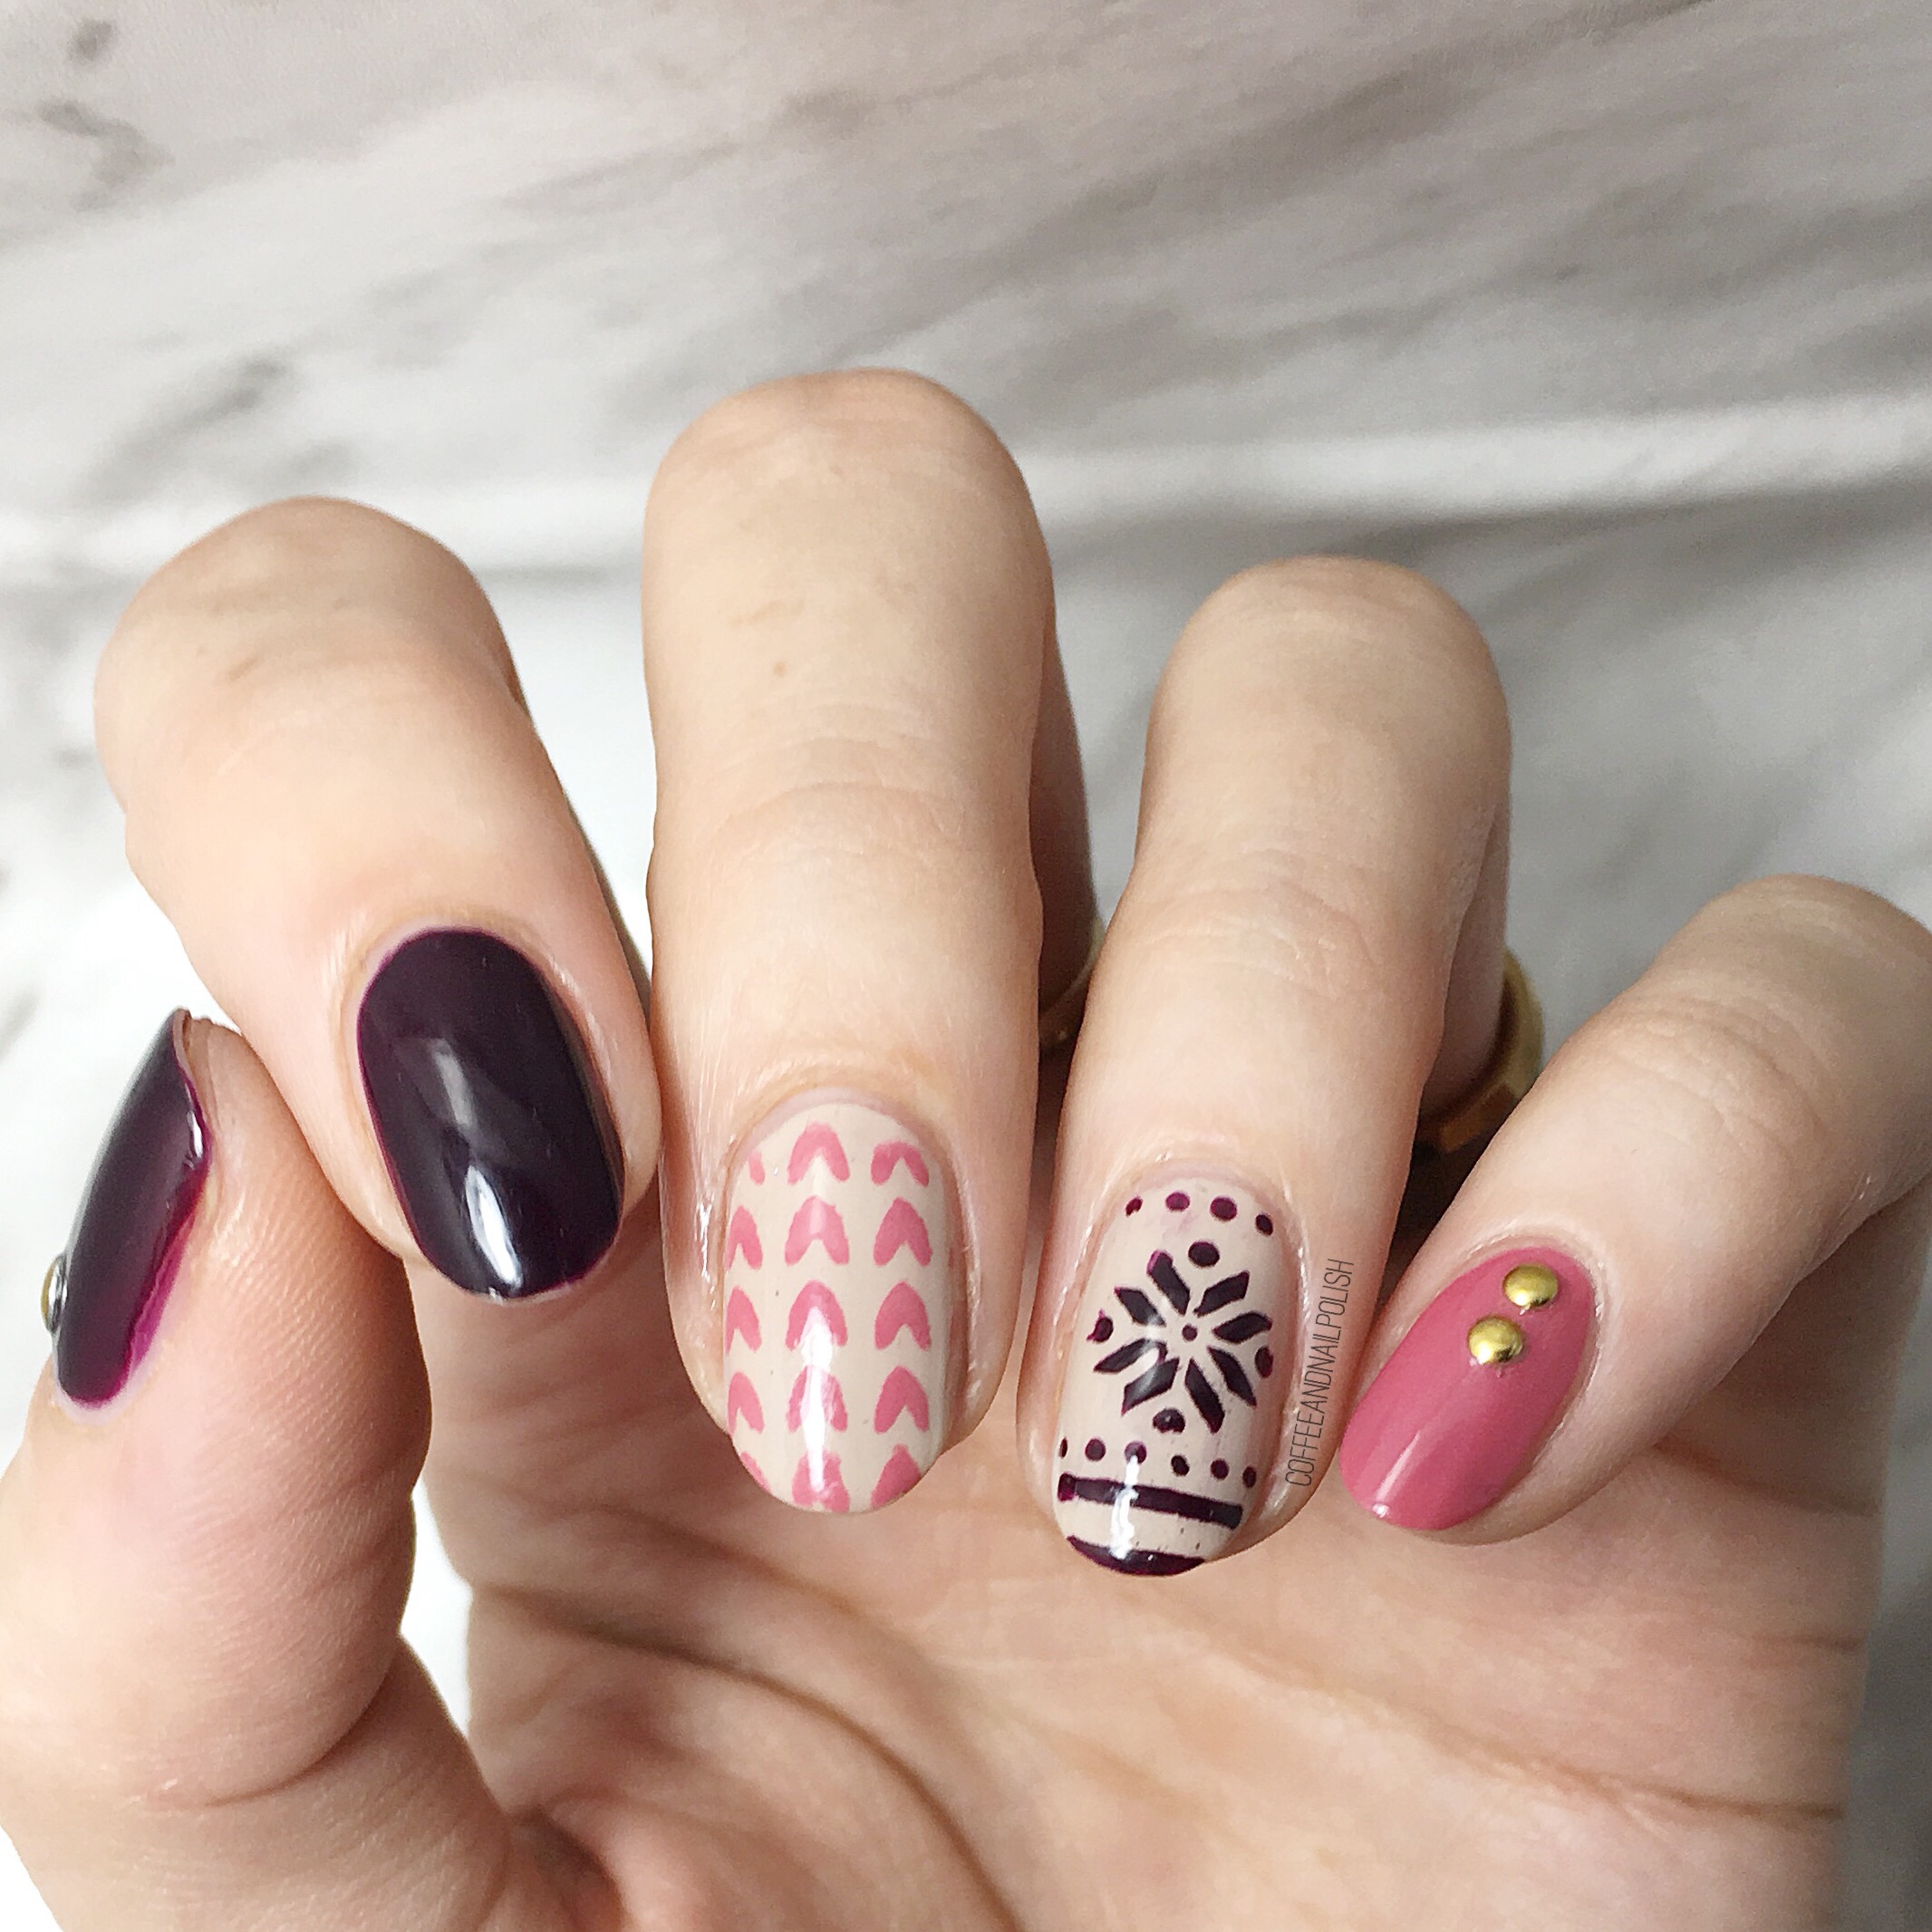
More Sweater Nails

If you follow me on Instagram, you might have watched my Instagram story & saw I broke my middle nail super short earlier this week. Like–beyond baby nails. But I do have some unposted manicures I was saving up for after we moved & I’m unpacking, so I’ll have a few long nails designs to share in the meantime.

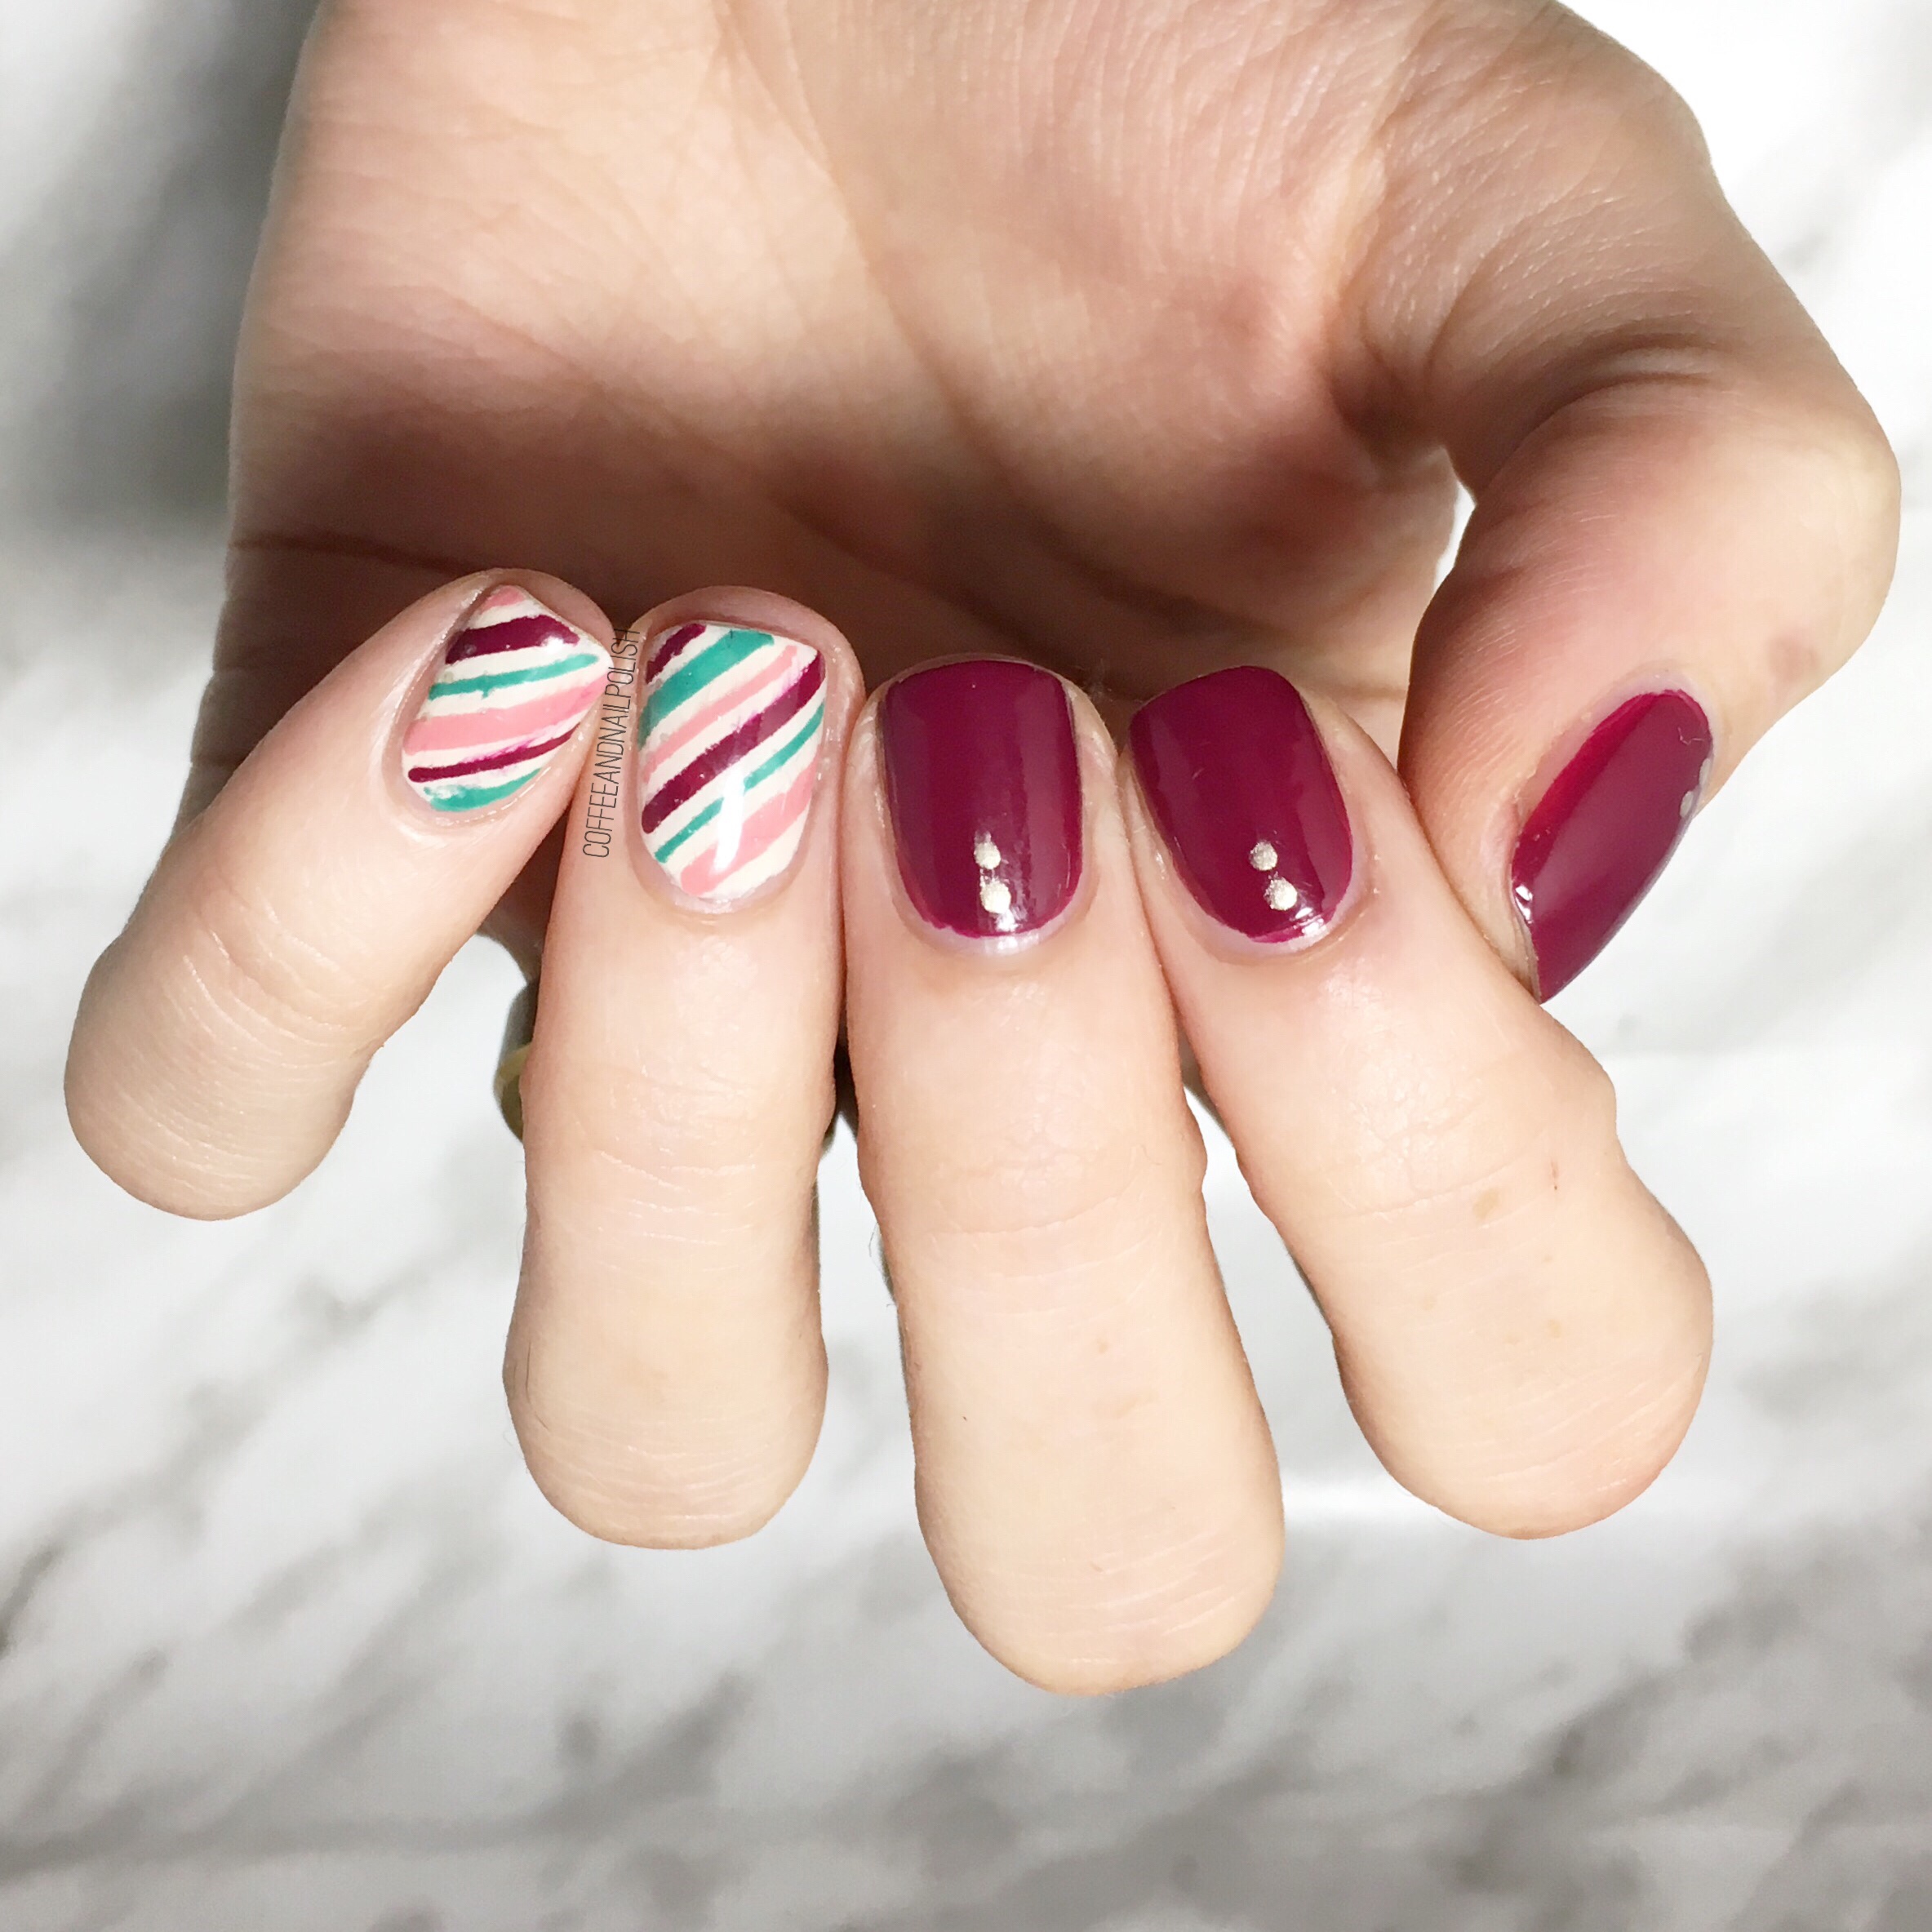
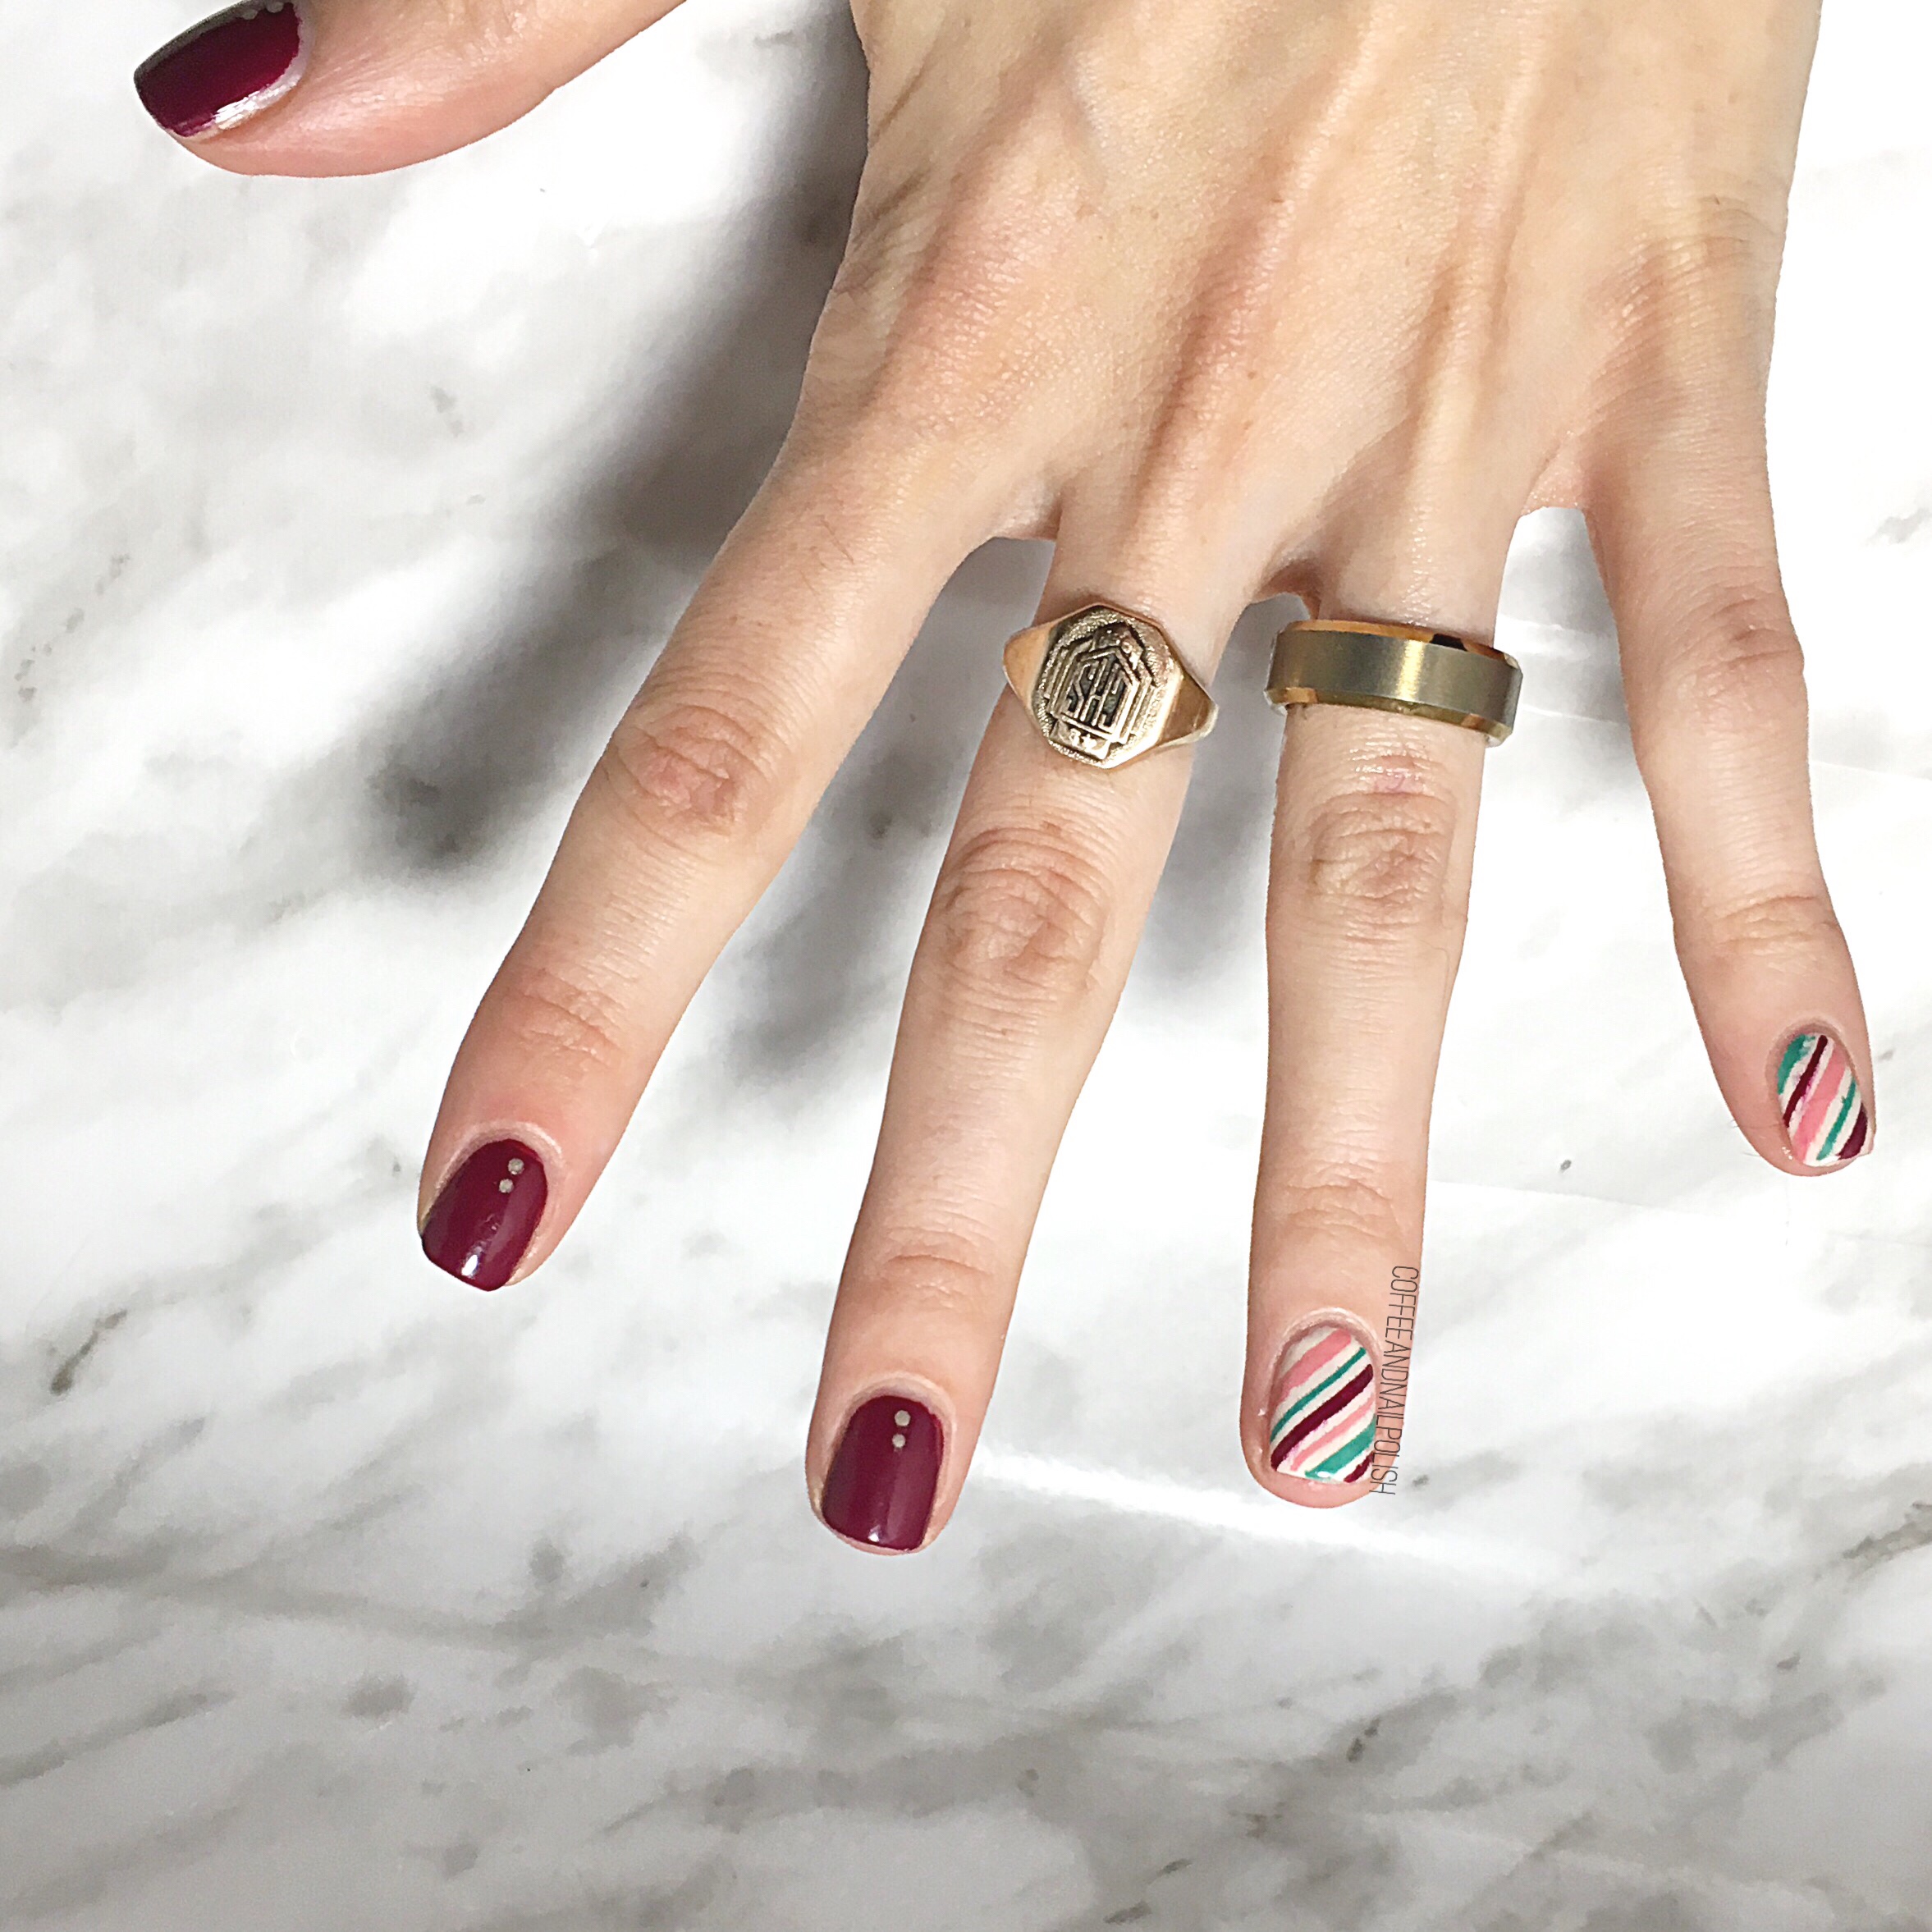
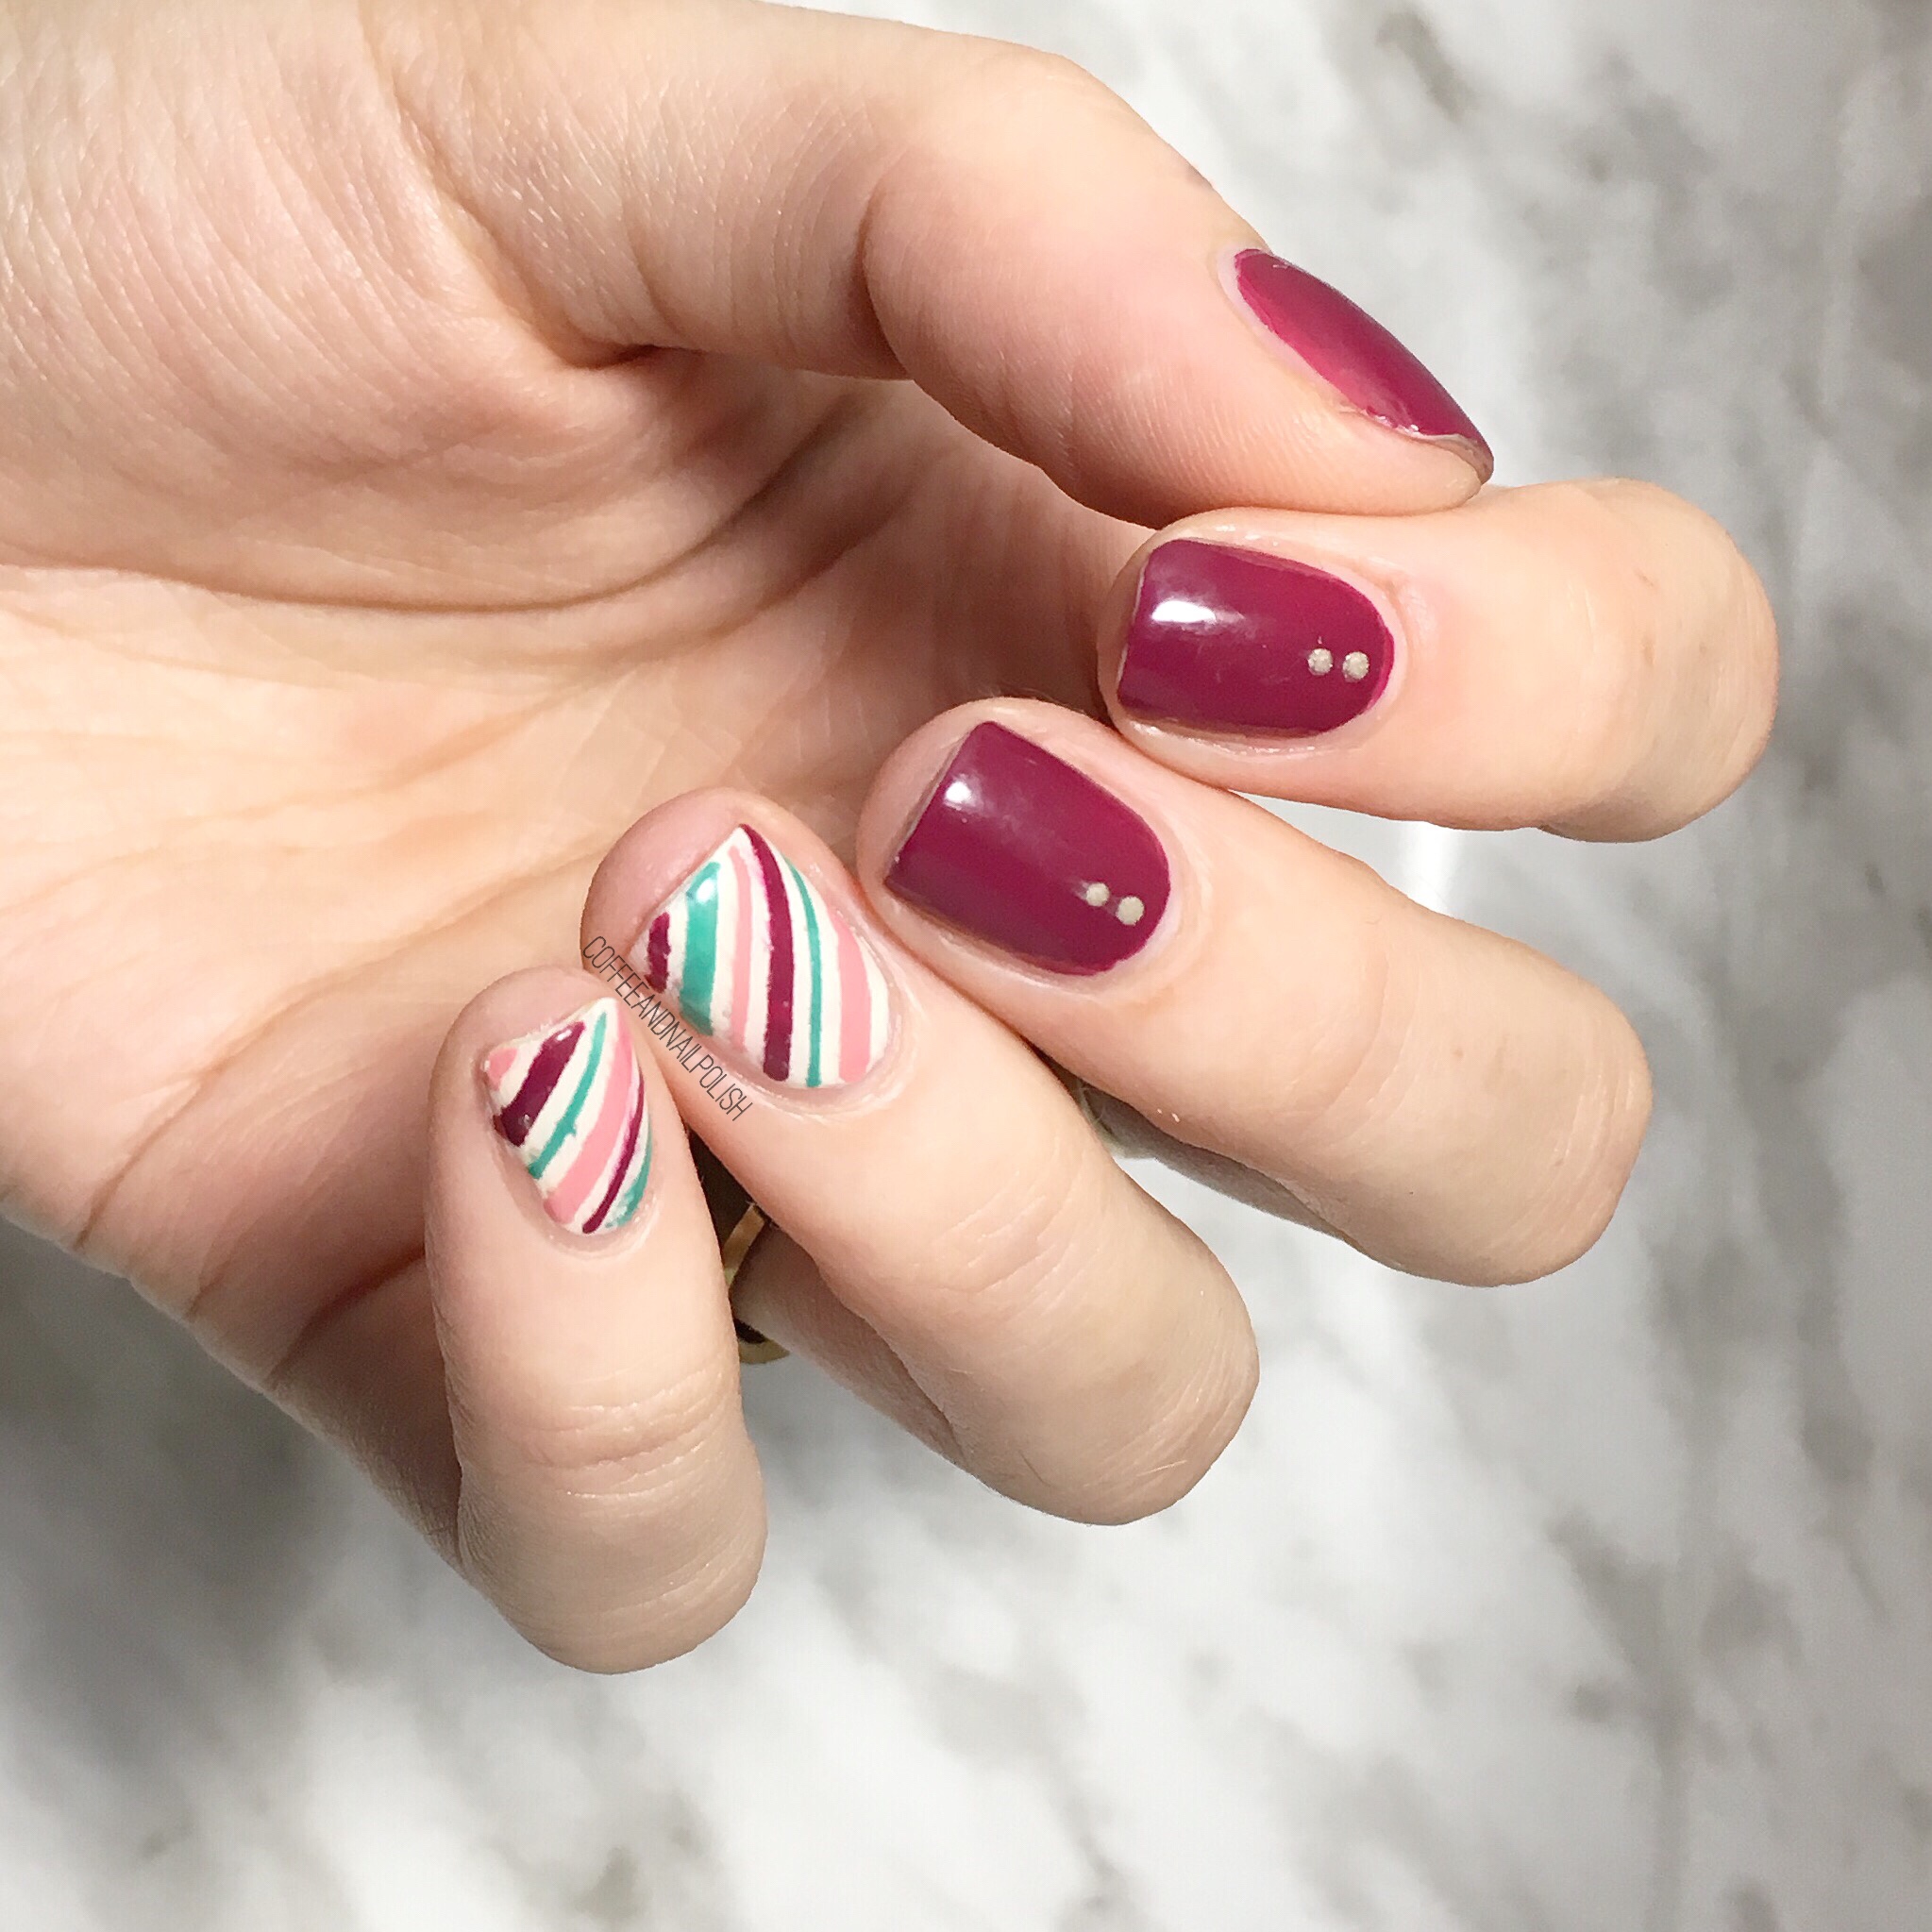
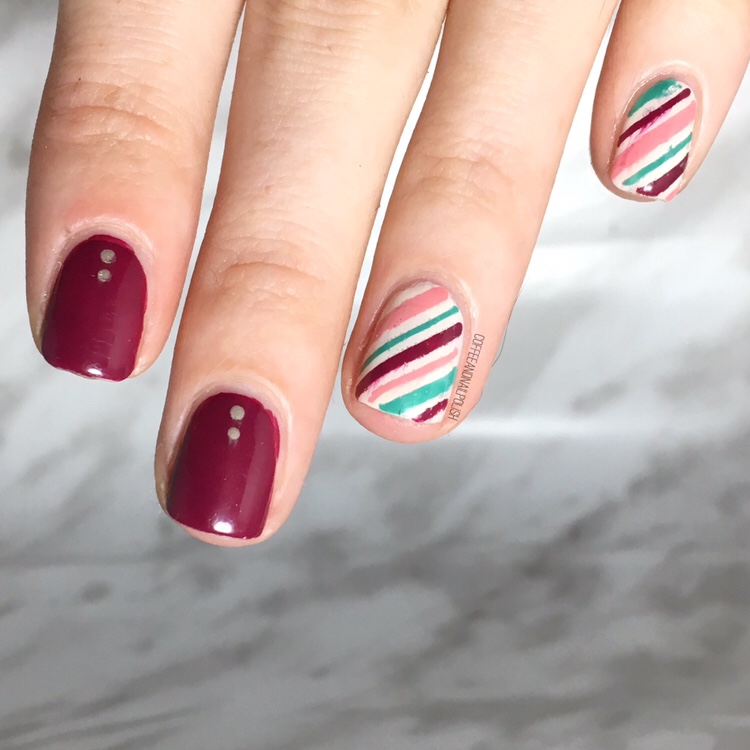
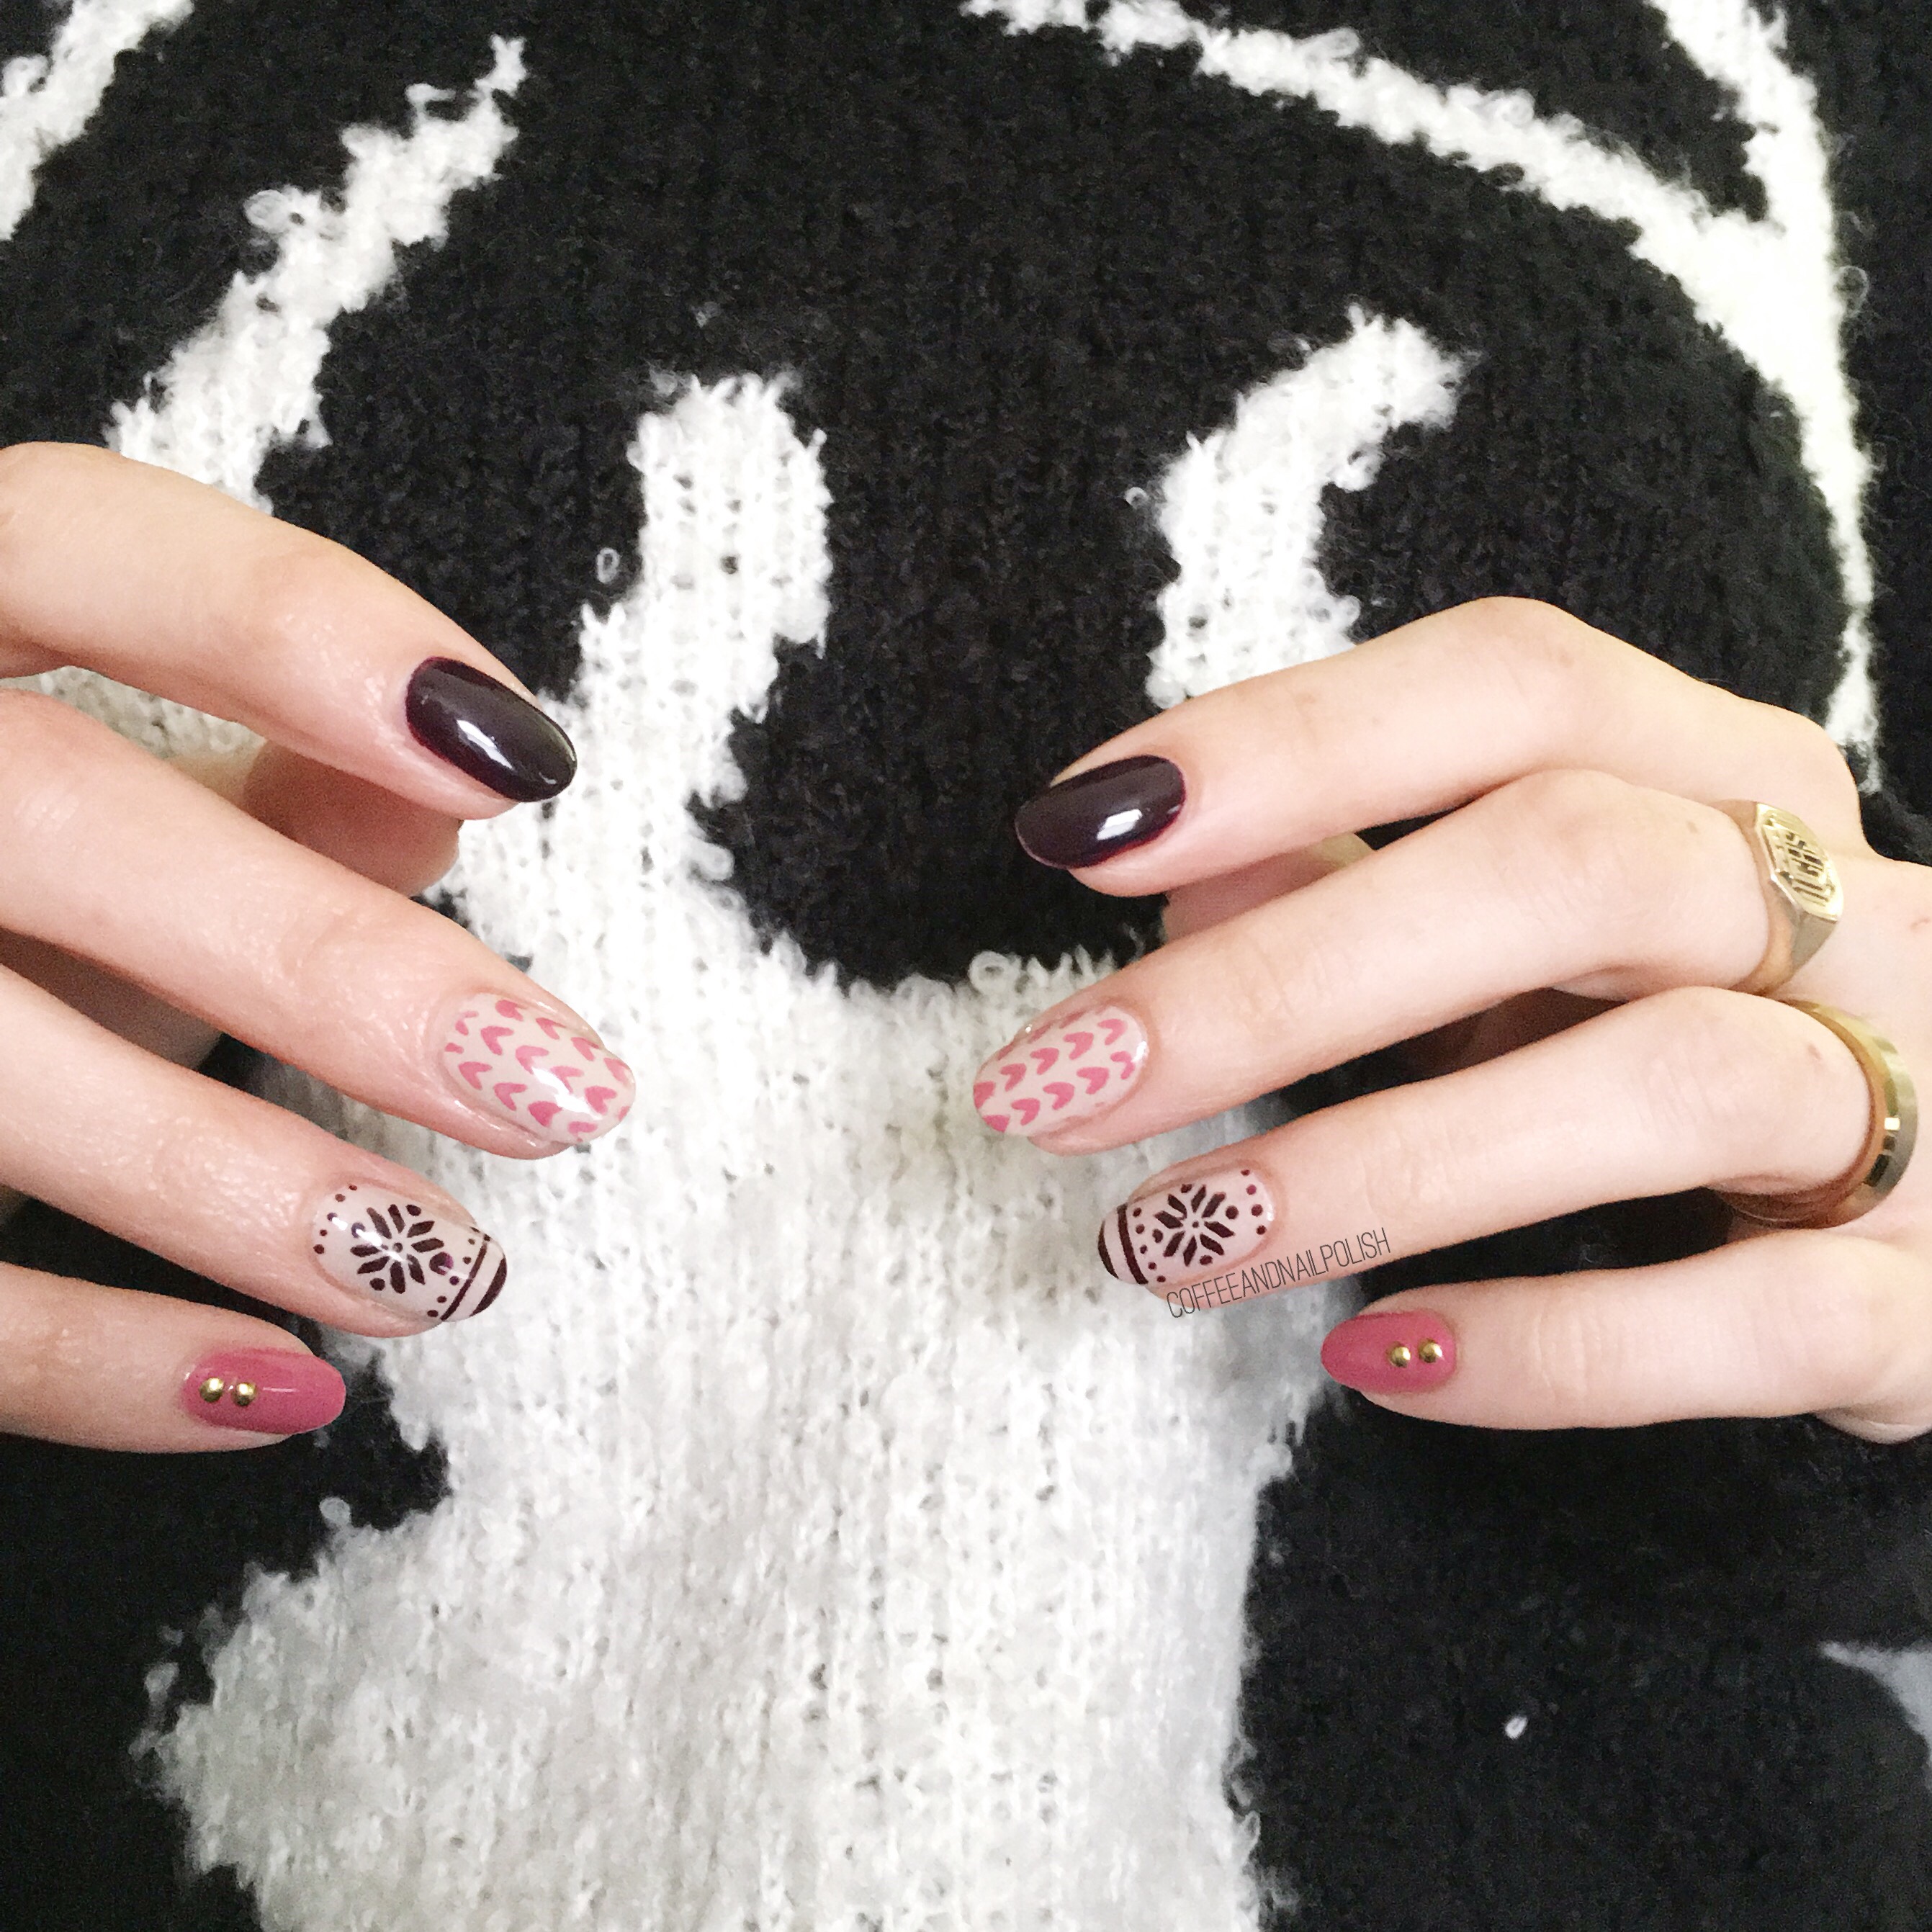
Like these sweater nails! Who doesn’t love rocking sweater nails? With the dropping temperatures outside, I know I’ve been wearing nothing but my thickest sweaters (I don’t do well with the cold). So why not paint my nails to match?

For this manicure, the polishes I used were:

  • Base Coat: Essie Grow Stronger
  • Top Coat: Seche Vive
  • Sally Hansen Complete Salon Manicure Pat On The Black
  • Essie Topless & Barefoot
  • China Glaze Life is Rosy
  • URSugar Nail Stencil item AUB39877 — click to buy
  • MyNailsDid Nail Vinyl sweater pattern vinyl (they’re back up on her site!) & straight nail vinyls
  • NailStuff.ca small circle studs–Gold Mixed Decoration Nail wheel 
  • Small dotting tool

I just love how these turned out. I feel like the differing colours & patterns just bring the whole look together. I could honestly probably do this manicure in every colour combination possible, & never get tired of it! A little green & red & bam! You have perfect ugly Christmas sweater nails for your holiday party. (& now I must remember that because that is so happening now!)

Just looking at this design is making me really miss my long nails already. 😢 But rocking baby nubs just gives me the opportunity to come up with awesome & Pretty nail art for short nails. I’ve already got a few manicures I’m working on, so you’ll have to stay tuned! & if you have any requests, let me know.

<<<<<
o you think of these sweater nails? Would you match your nails to your favourite sweater? Let me know in the comments below!

Movember Moustache Nails

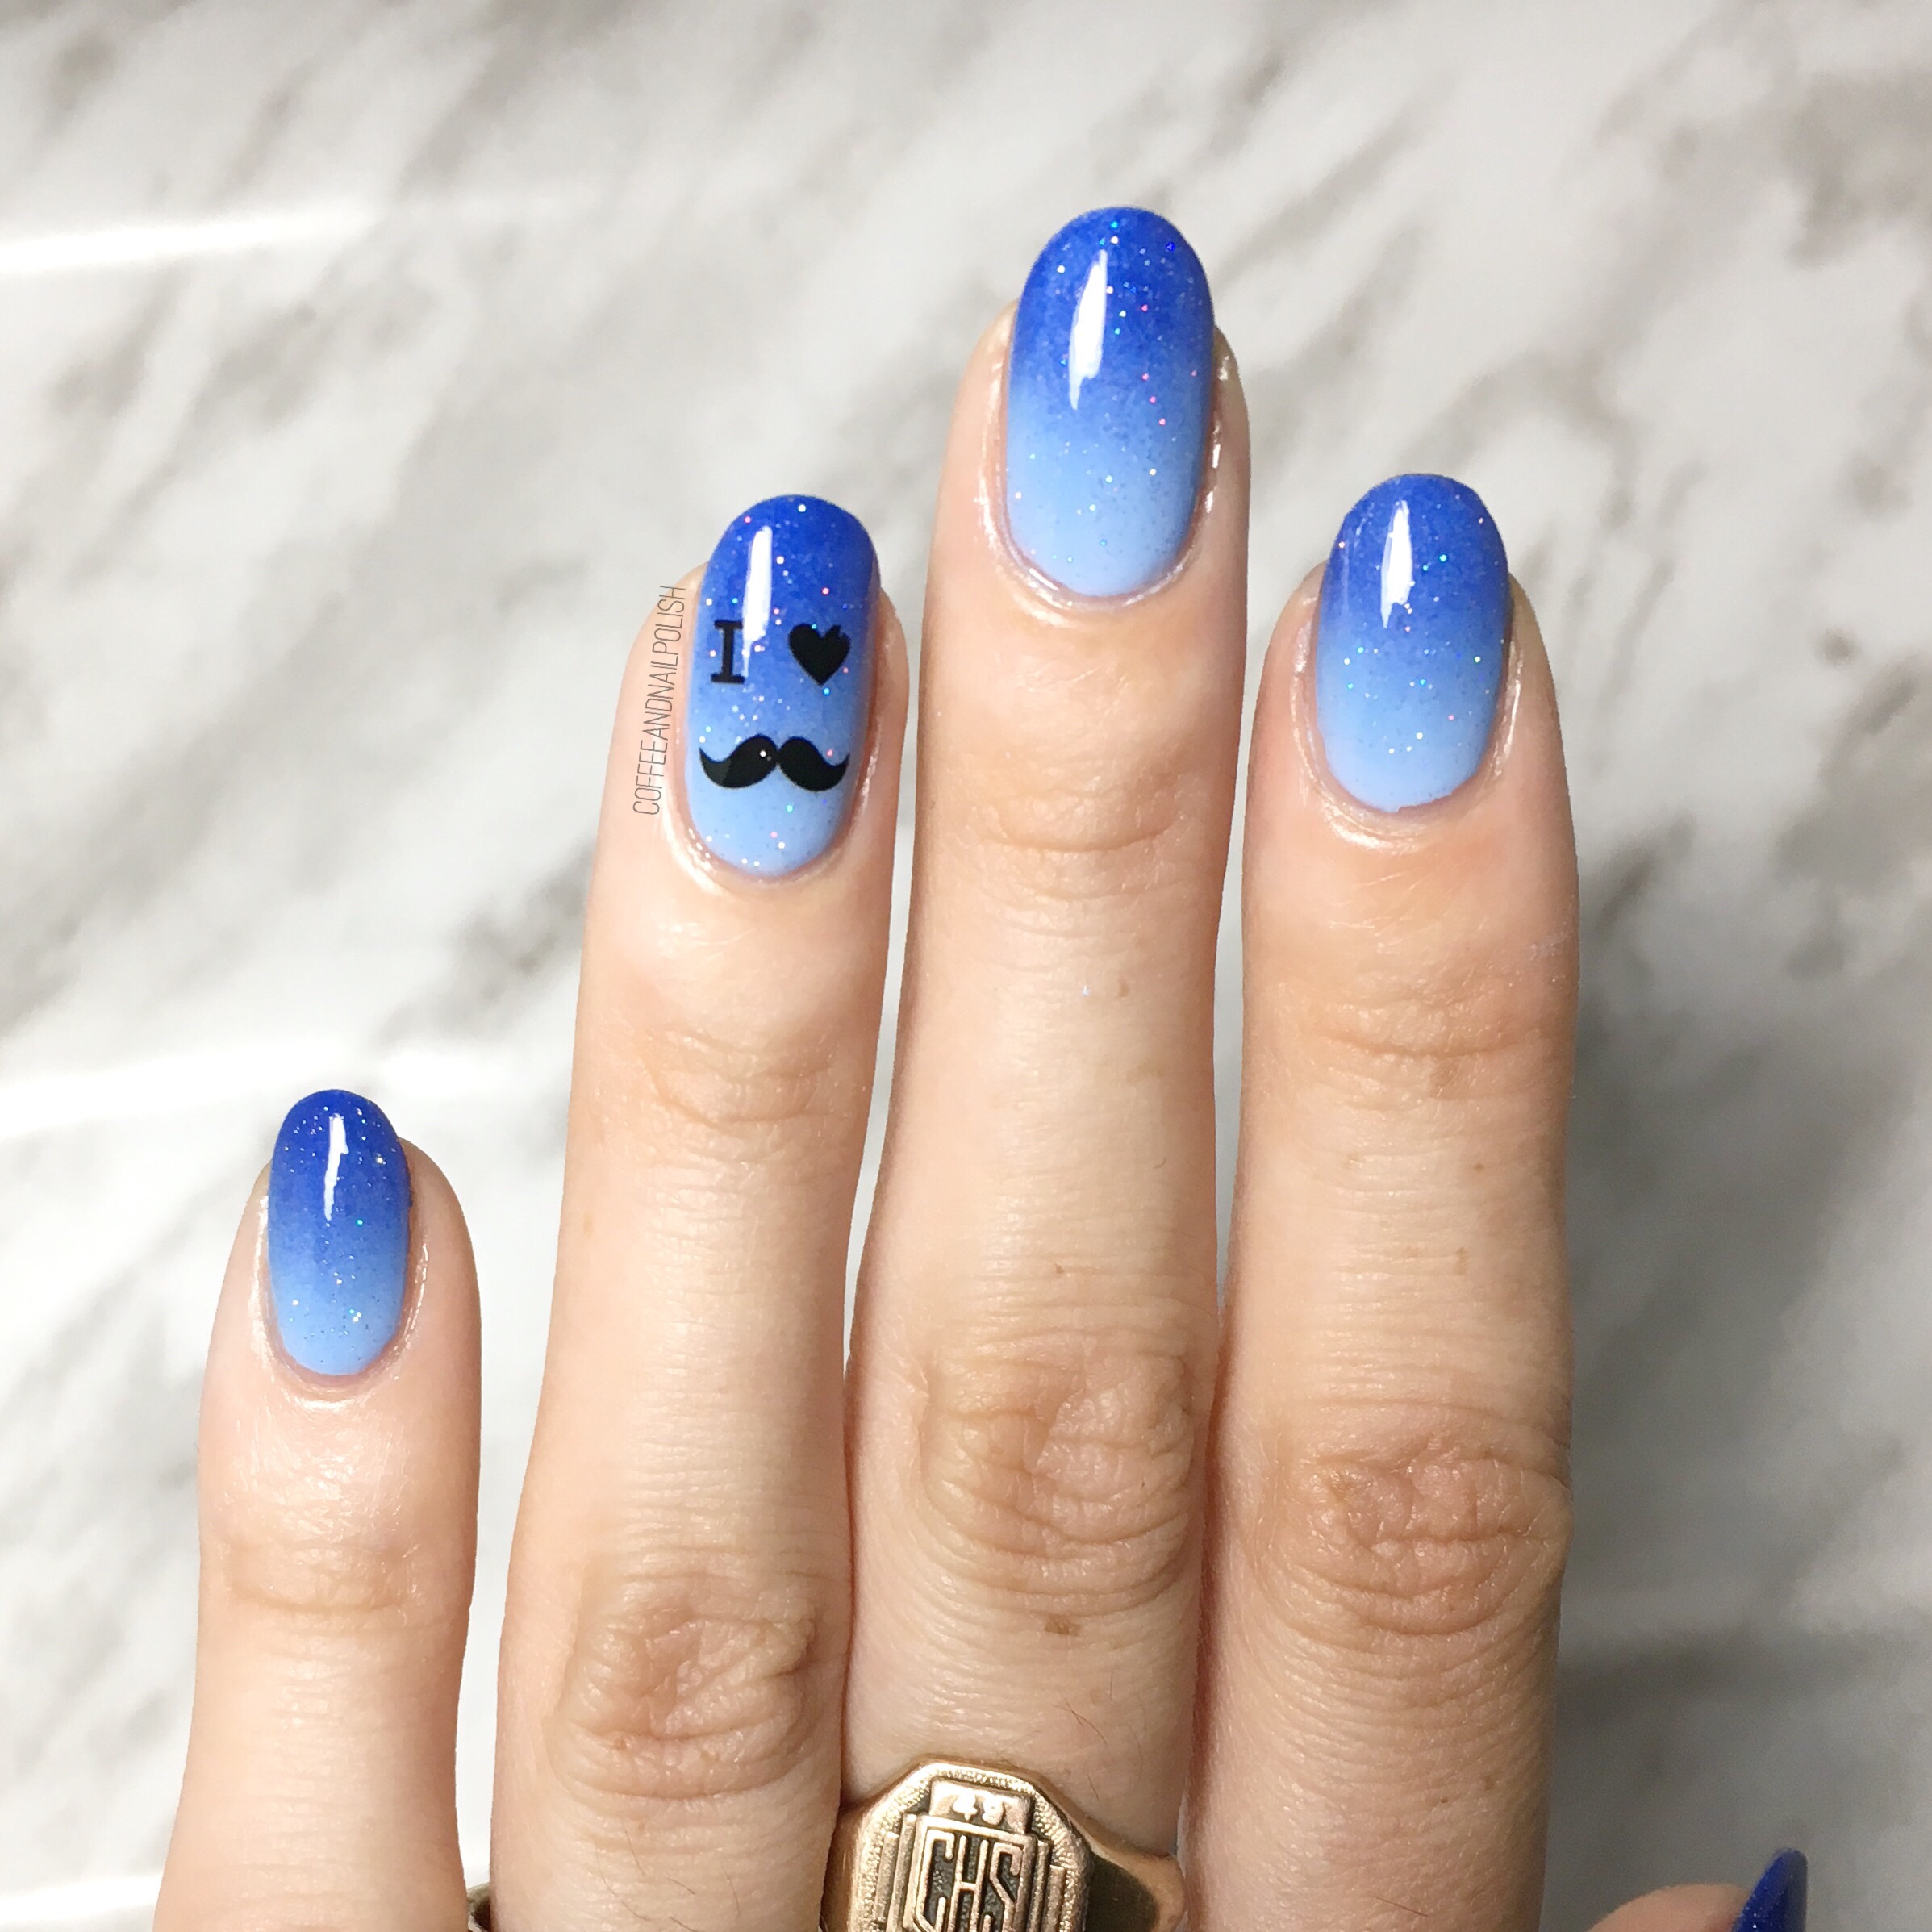
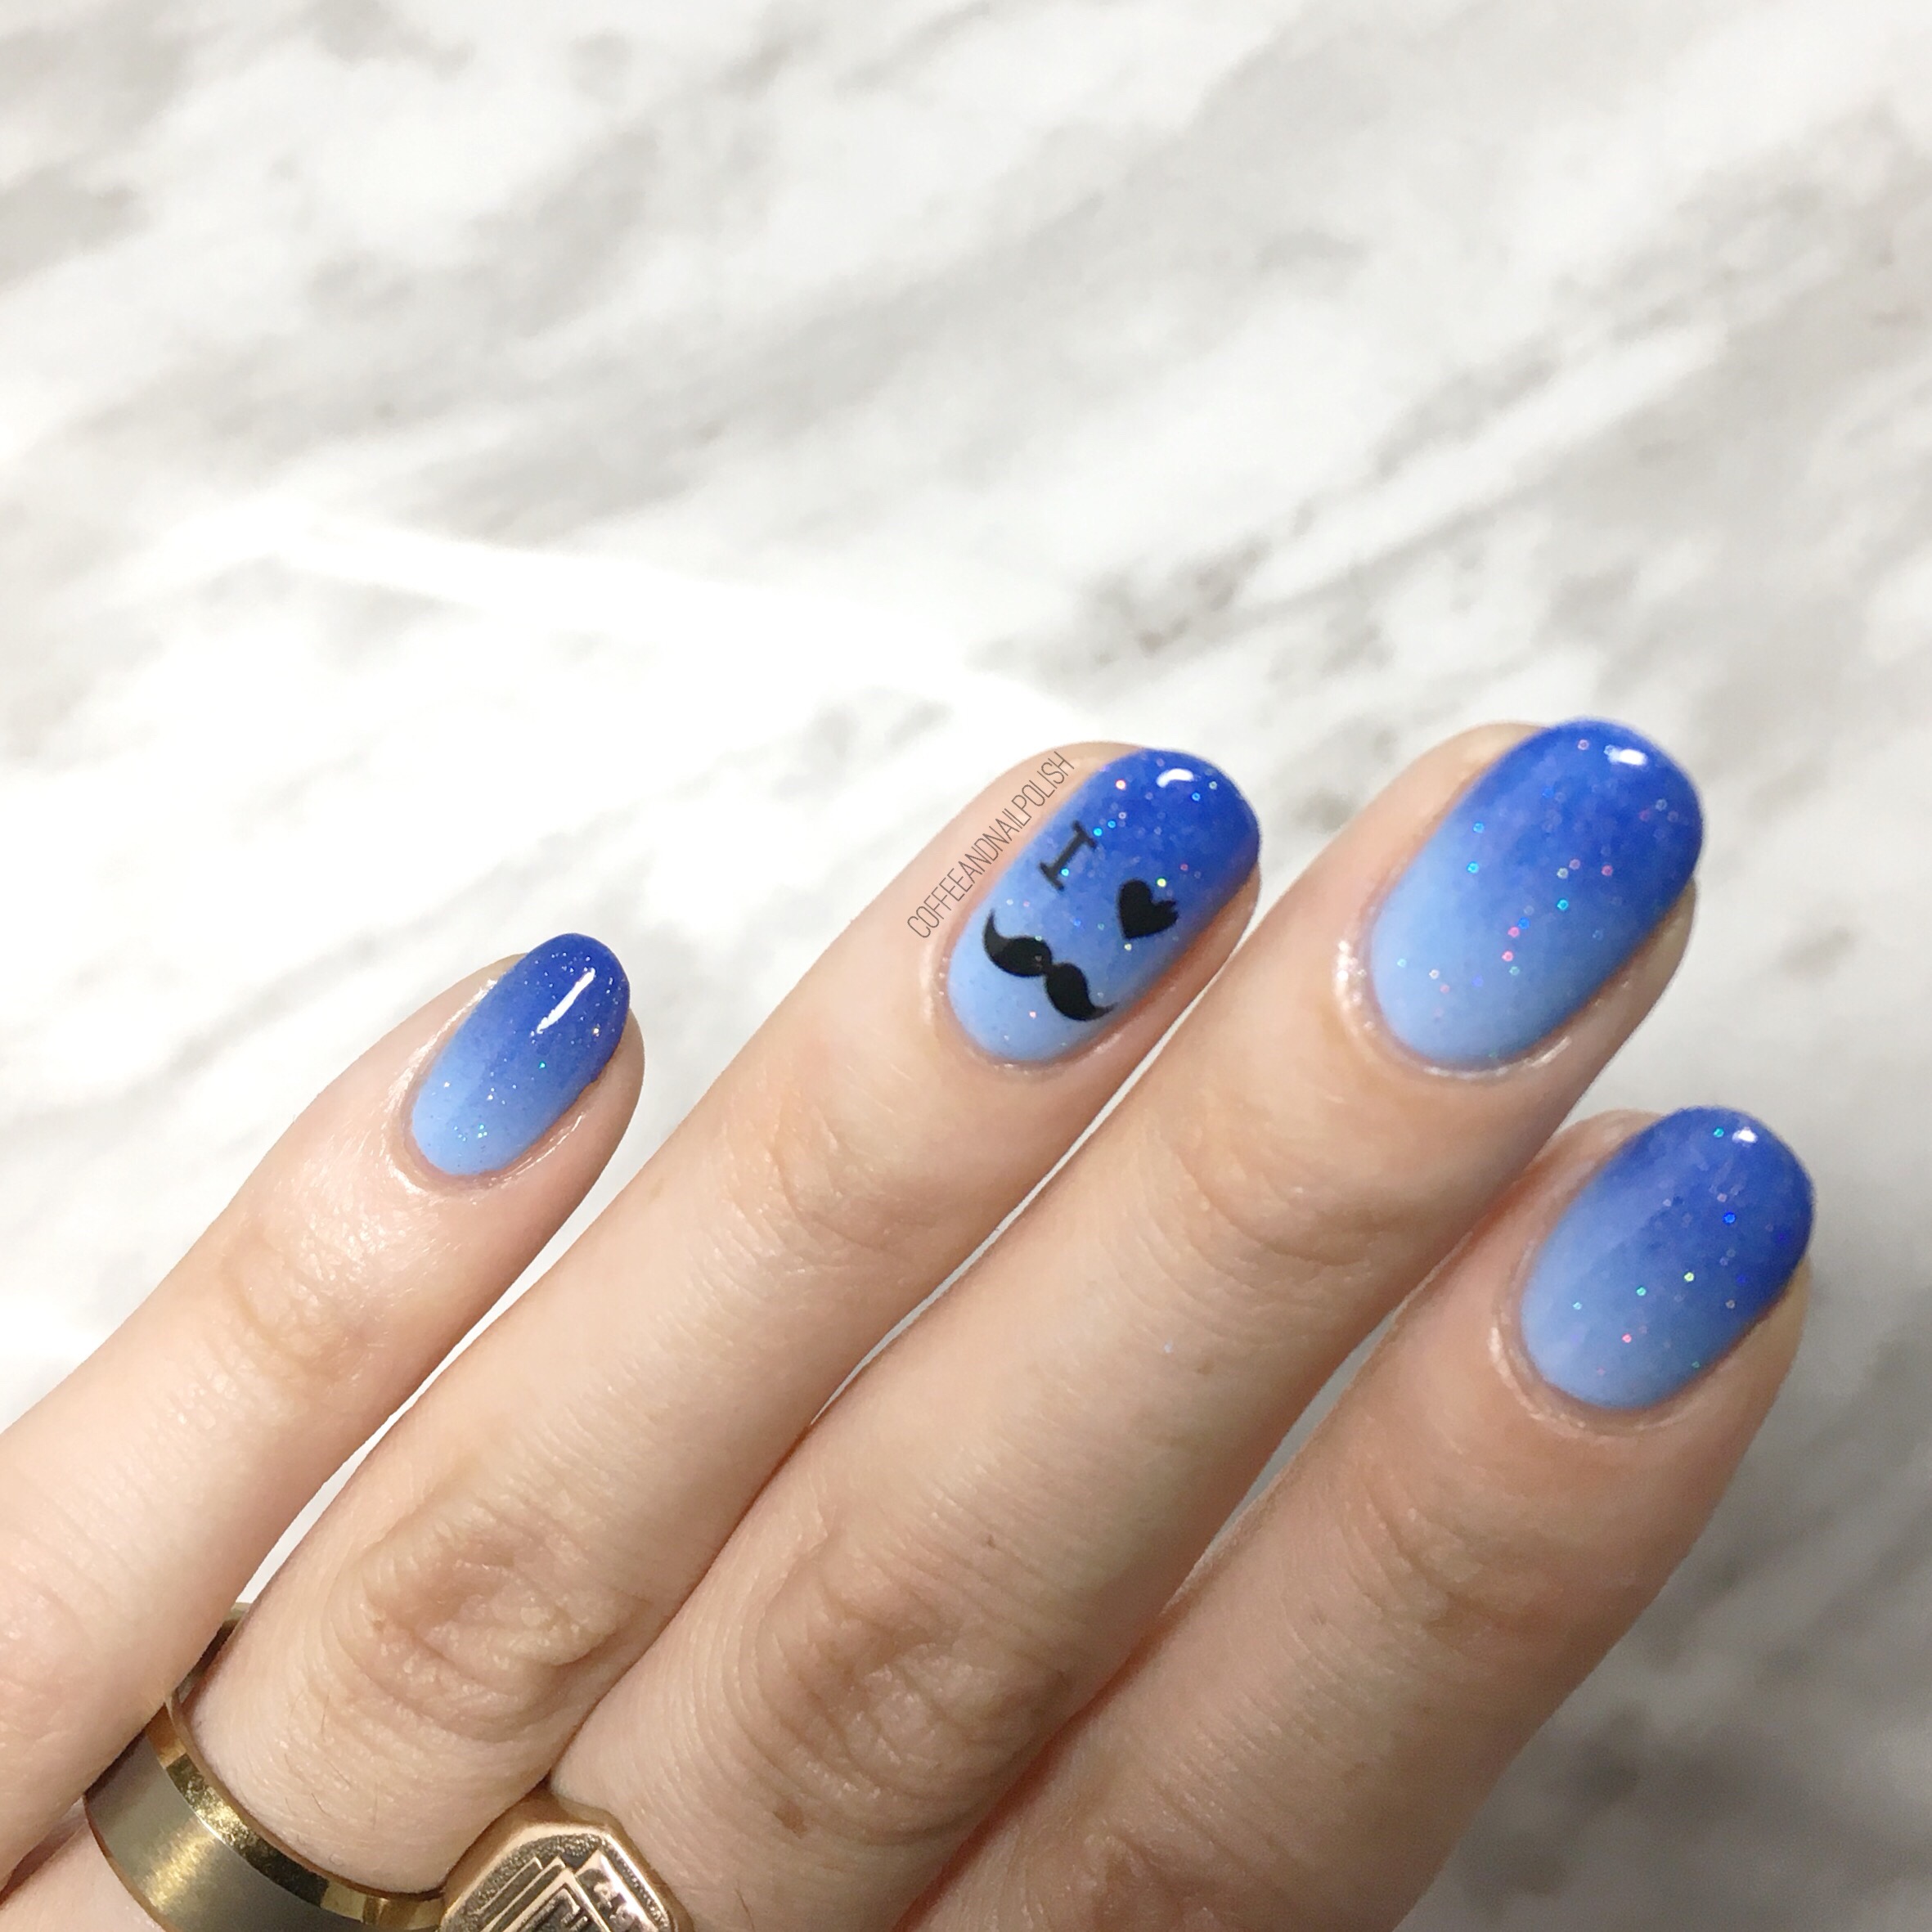
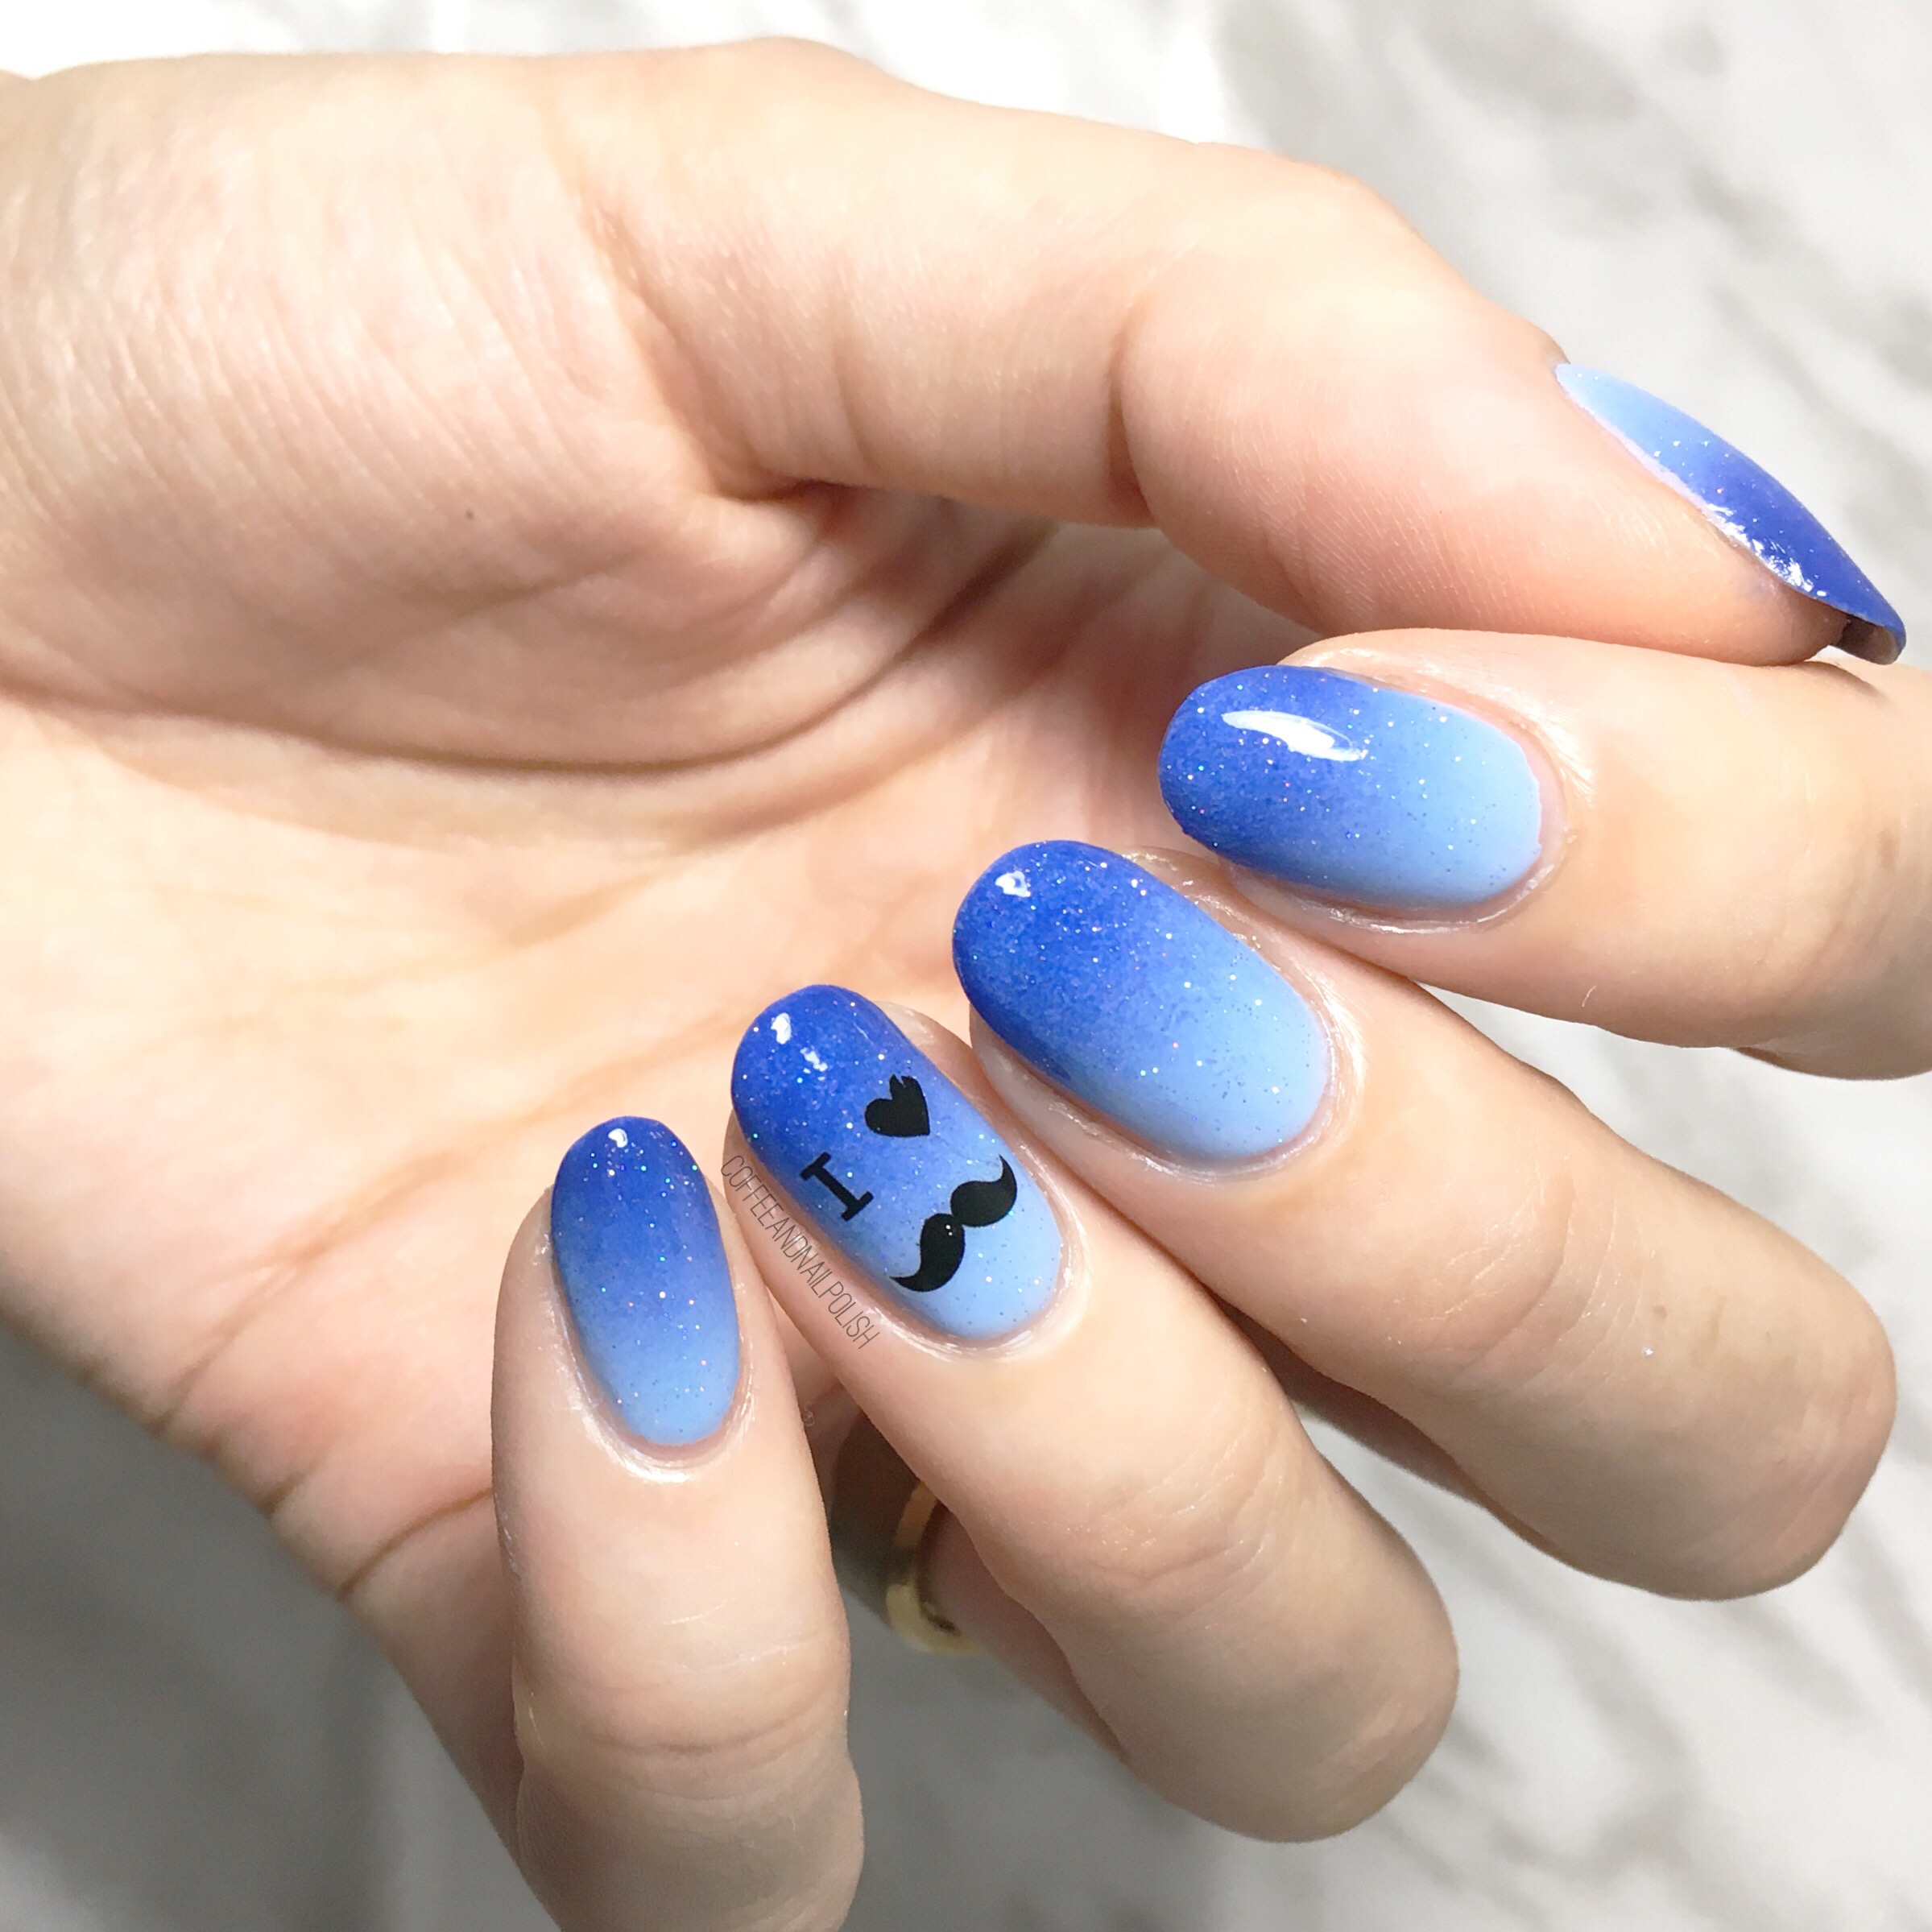
It’s Movember & I’ve had these Born Pretty water decals sitting in my nail art supplies for absolute ages. Like… 3 years. So after my successful first time experience with the water decals from NailStuff.ca, I decided it was finally time to give these babies a try, just in time to celebrate Movember! 

Sadly I searched Born Pretty to see if they still had these in stock & couldn’t find them or anything similar. But if you wanted to recreate this design, you could use this stamping plate as it has the same design on it. 

For this manicure, the polishes used were:

  • Base Coat: Essie Grow Stronger 
  • Top Coat: Seche Vive
  • Essie Bikini So Teeny
  • China Glaze Secret Peri-wink-le
  • Sally Hansen Miracle Gel Beatnik
  • China Glaze Fairy Dust
  • Edge Perfection 
  • Born Pretty Store water decals
  • Latex Free Make Up Sponge

Thankfully I did these nails last week because while packing this weekend I accidentally packed up all my make up sponges, so I guess no gradients until we’re all moved into our new house!

I’m loving this design because it was surprisingly easy (thank you Edge Perfection! 🙏🏻 ) These water decals (as old as they are) were super easy to apply to finish off the look, & I had no issues with them. I always love when I discover all these new nail art items I’ve never tried before—I mean, usually I’m like 10 years behind everyone else, but they always rock my world & give me something new & fun to do on my nails! 

What do you think of my Movember nails? Comment your thoughts below! 💙

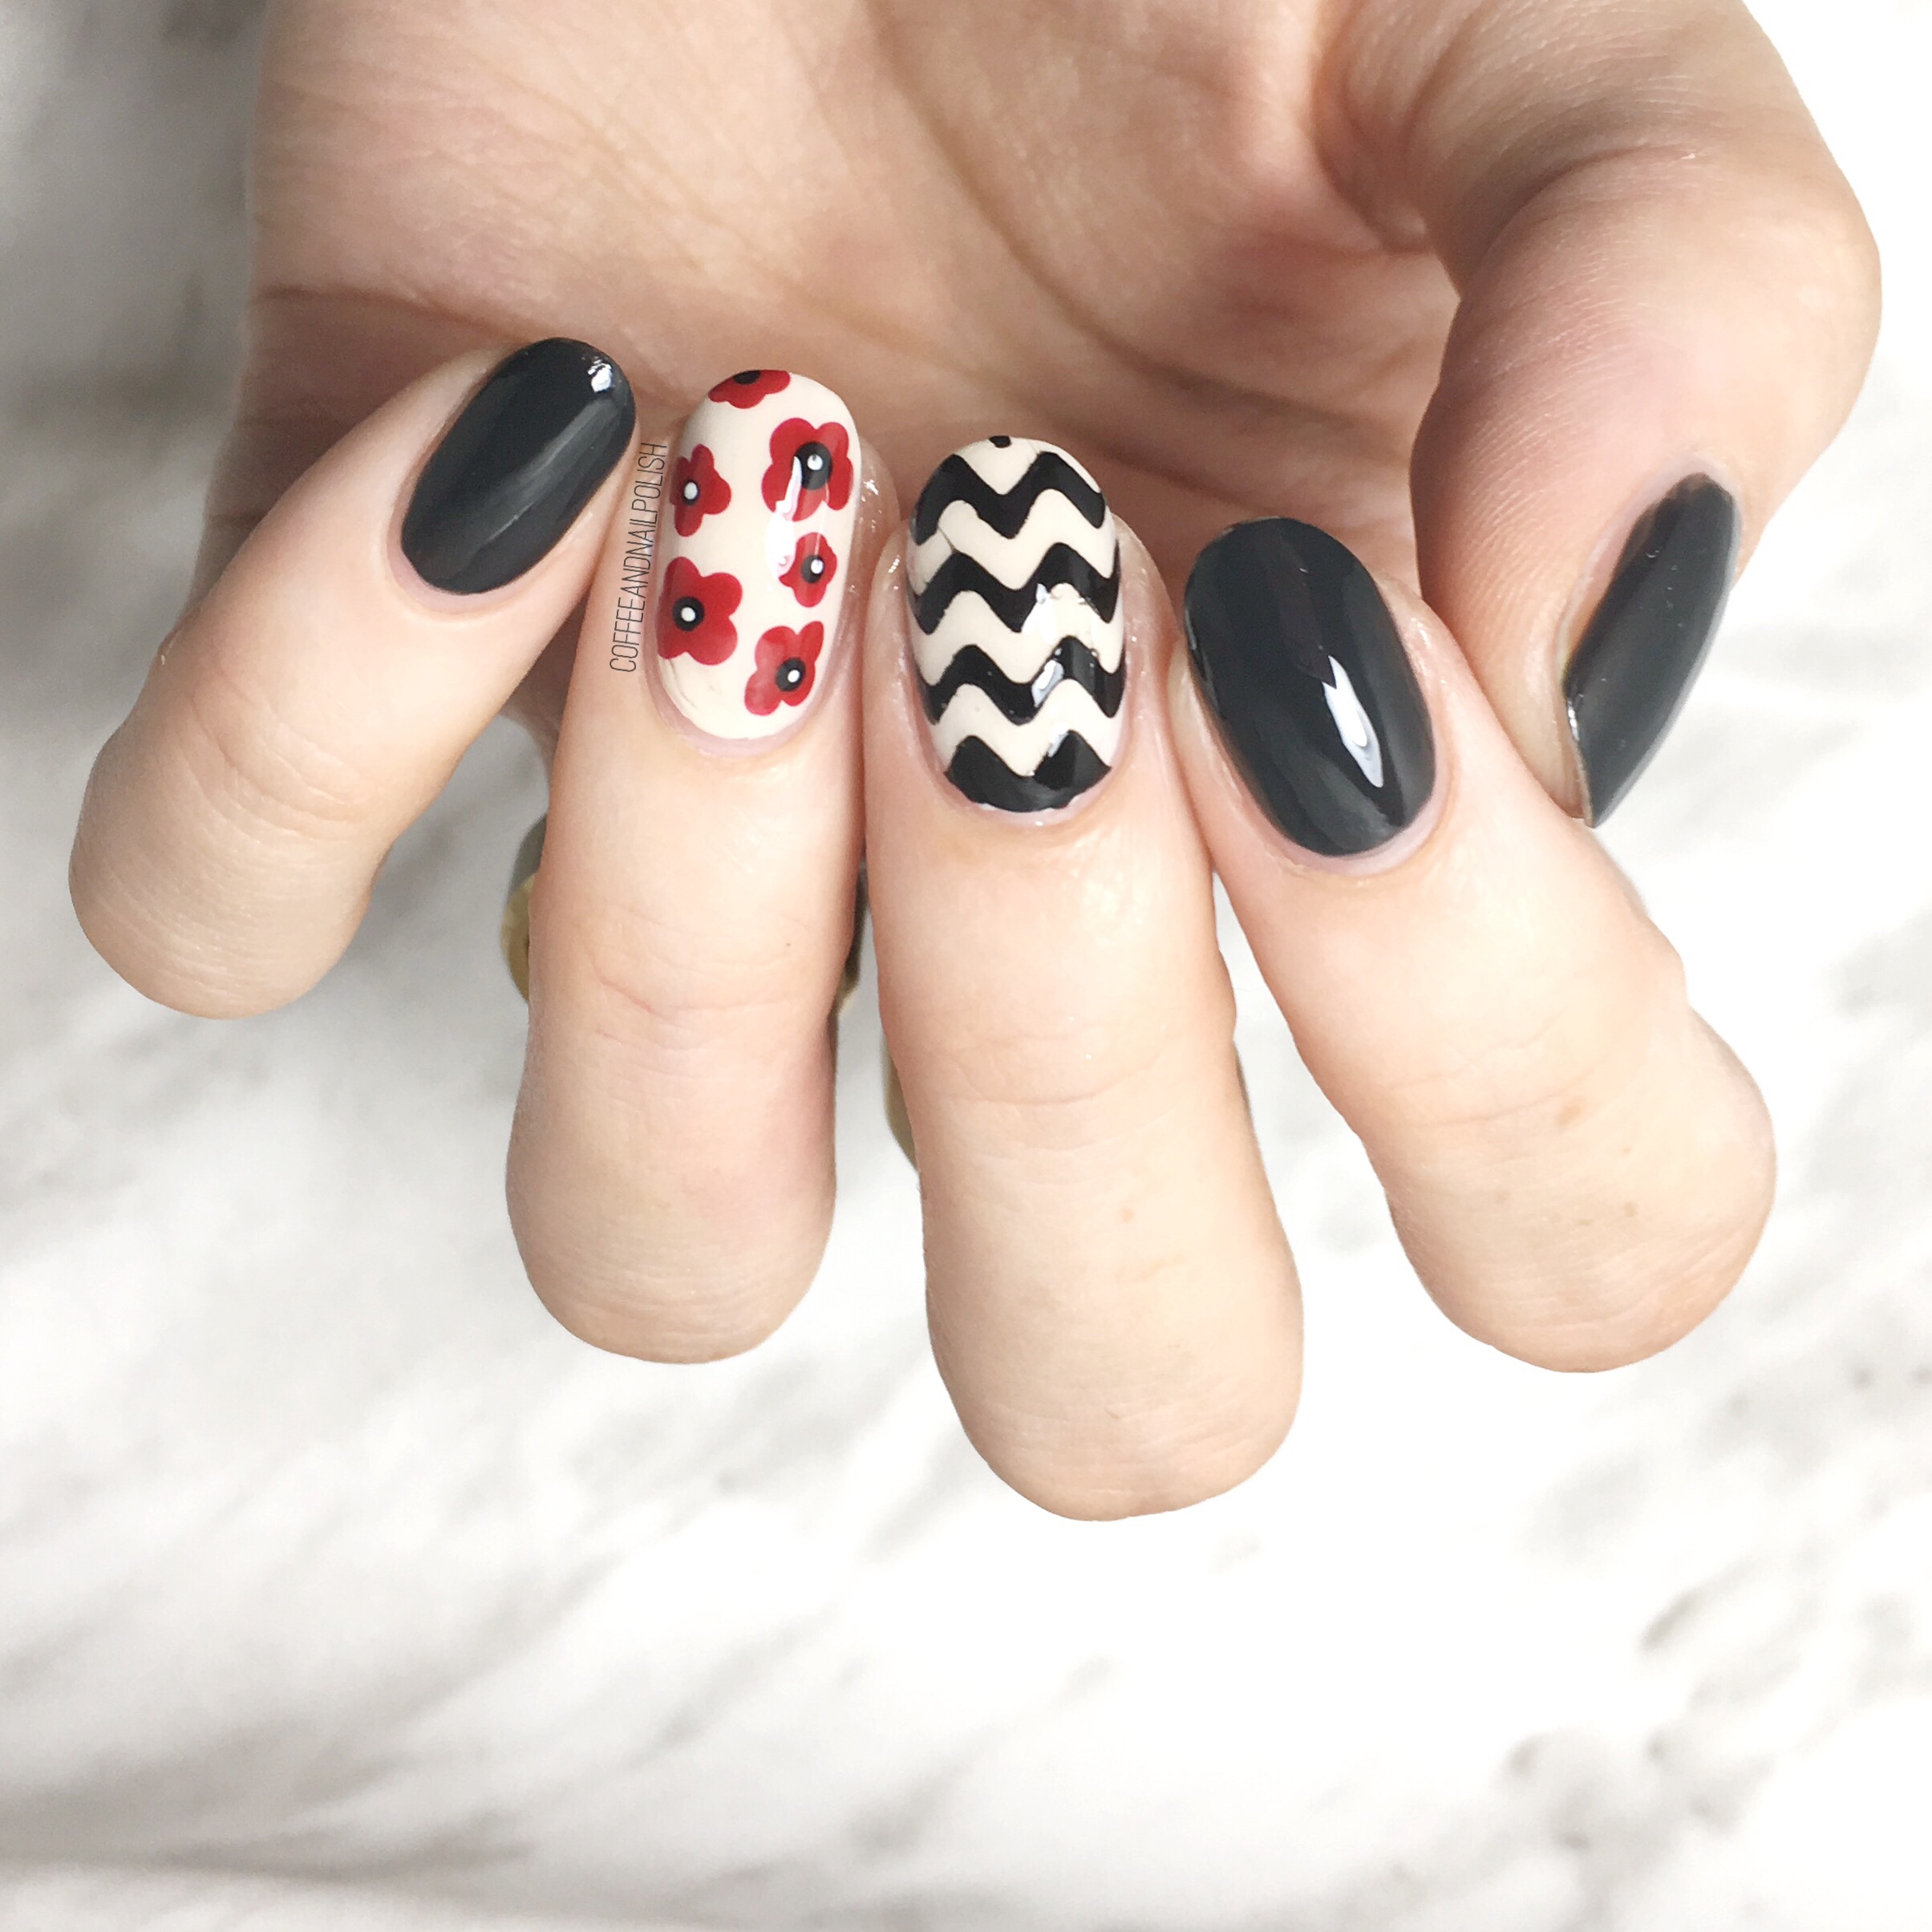
Remembrance Day Poppy Nails

It’s November 11th & here in Canada that is Remembrance Day. 

For those who might not know, Remembrance Day represents a day to reflect on all those who have fault & served in the military. At 11am, of the 11th day, of the 11th month we pause to remember. Growing up & coming from a military heavy family, this day has always held extra meaning to me—from a great grandfather who served as a sniper in the First World War, to cousins & family friends who served in Afghanistan, I always make sure no matter what I am doing to stop & take those moments to pause. 

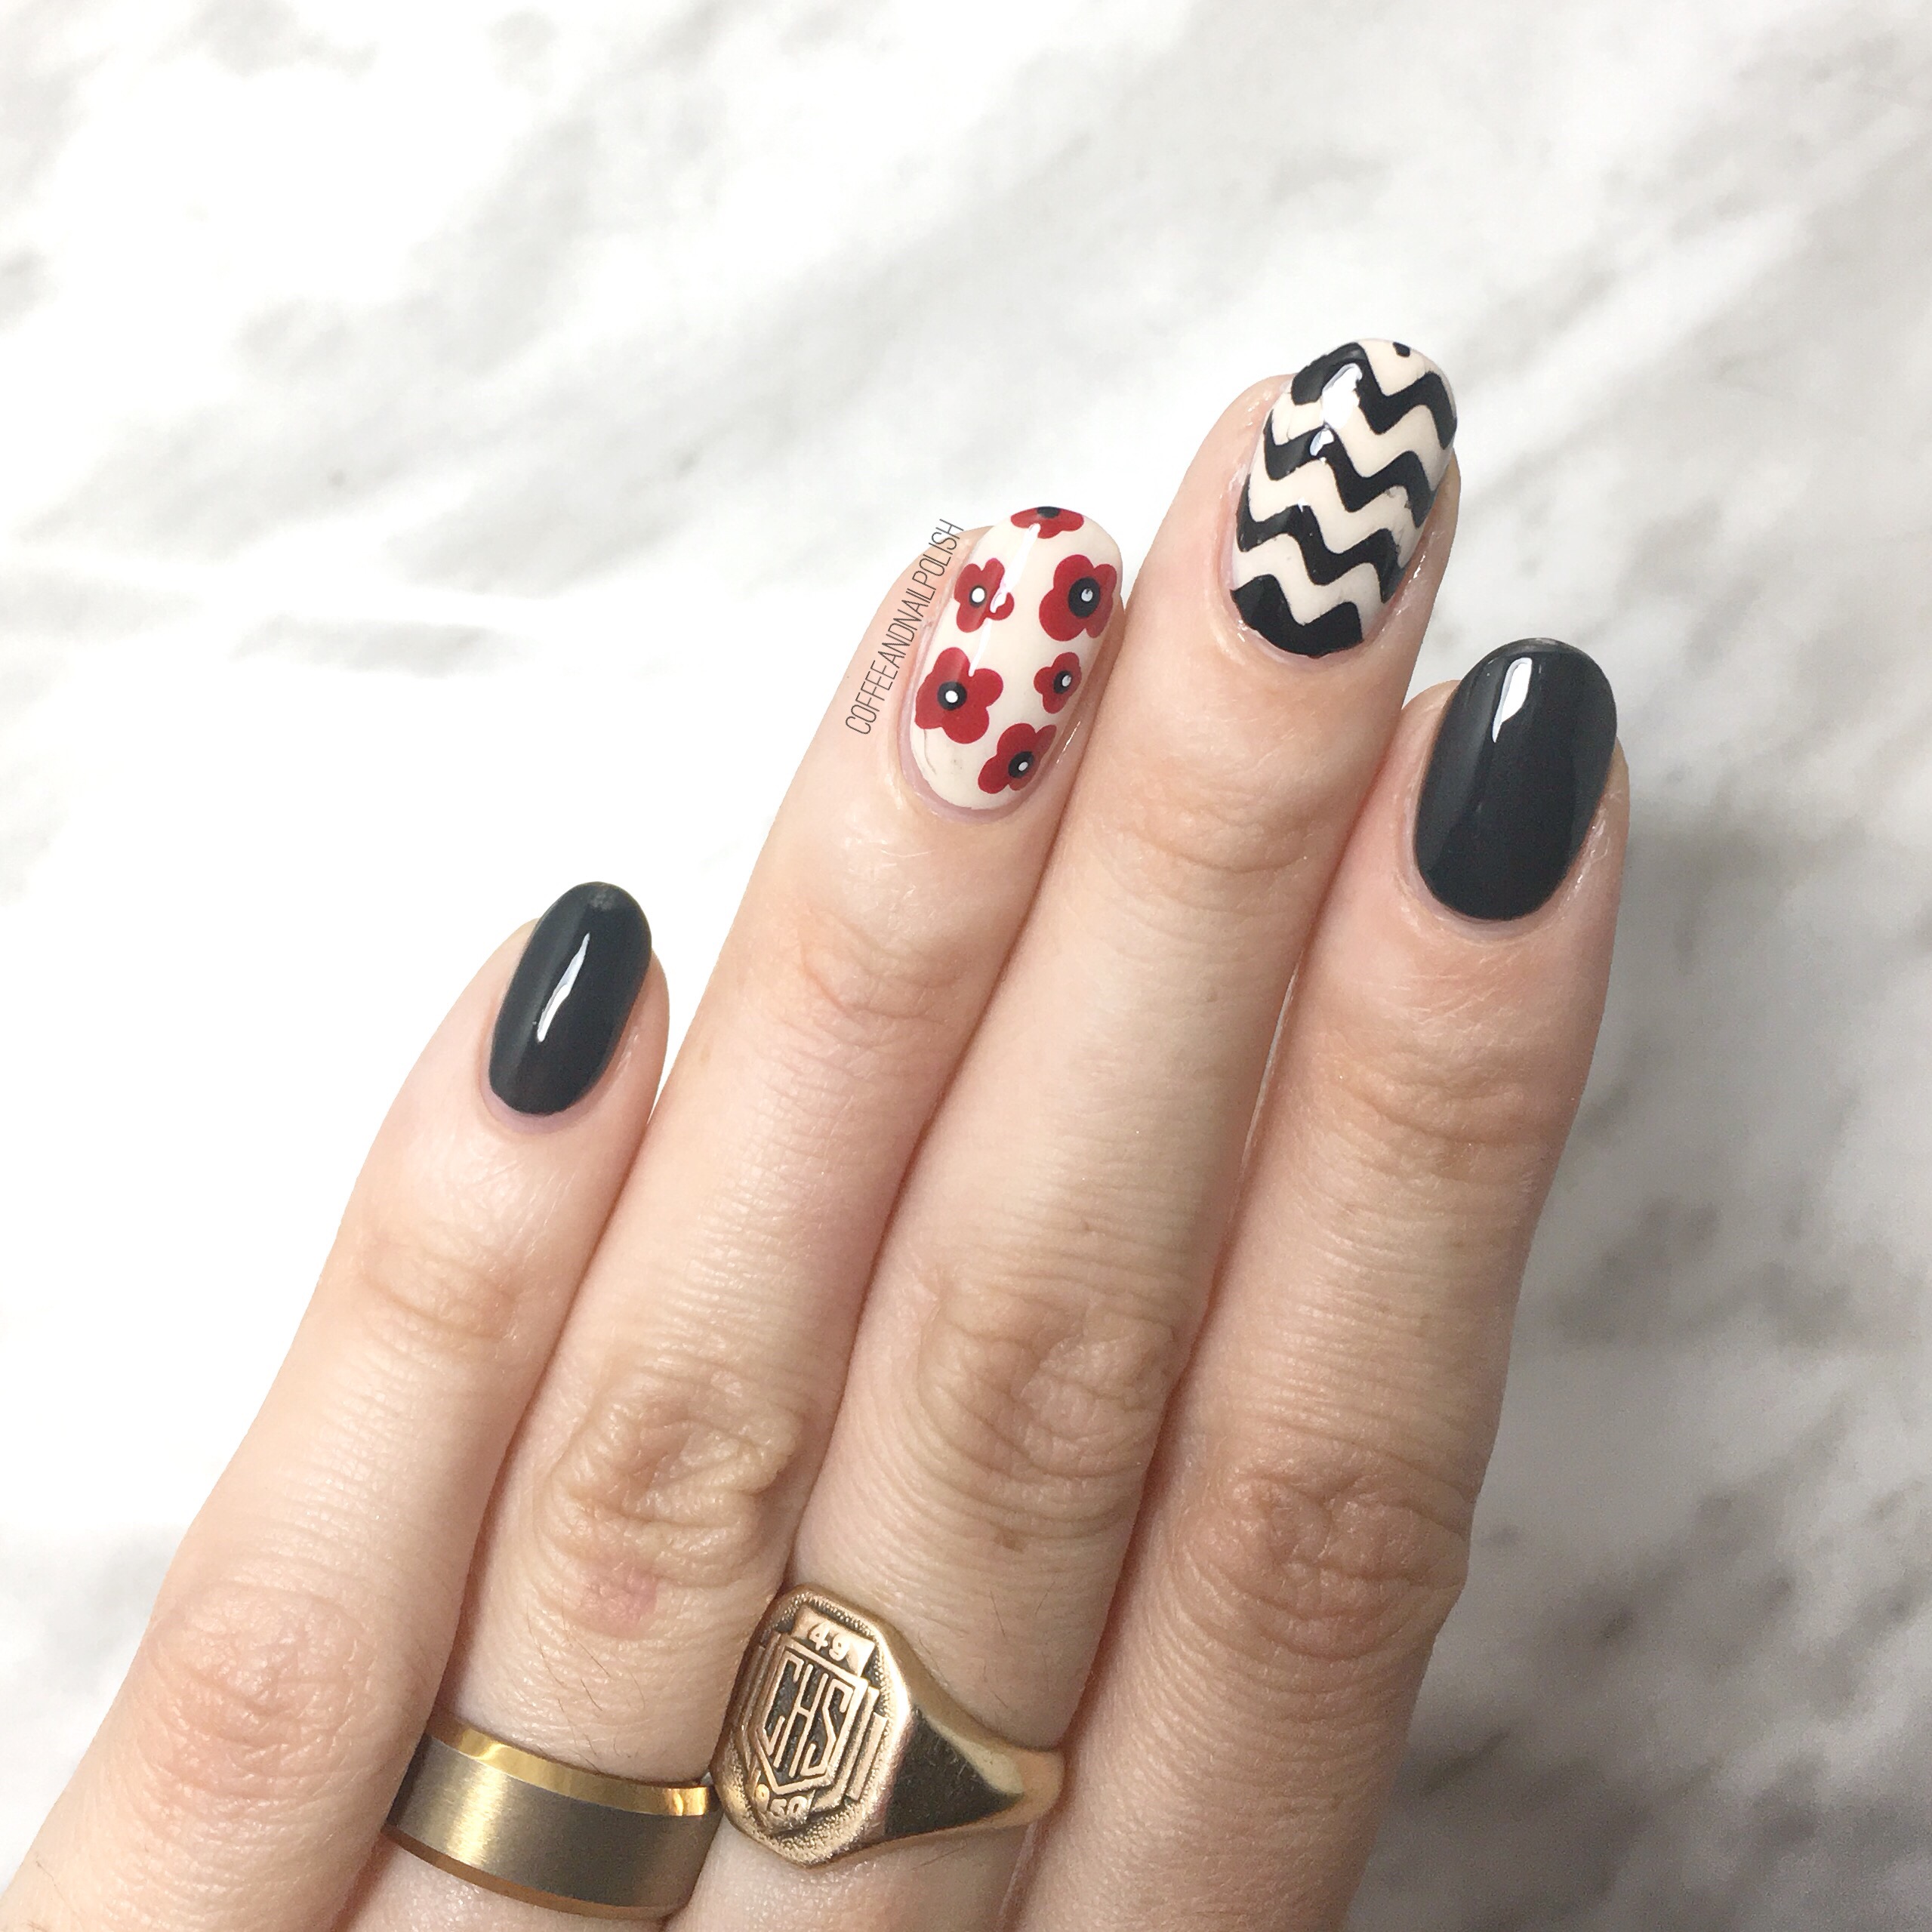
In honour of today, & the poppy, I created a special design. 

For this manicure, the polishes I used were:

  • Base Coat: Essie Grow Stronger
  • Top Coat: Seche Vive
  • Icing Steel My Heart
  • ORLY Decades of Dysfunction 
  • Sally Hansen Hard As Nails Black Heart
  • L’Oréal Carmin Parisien
  • Xroma Polish & Vinyls Skinny Wave Vinyls
  • Small & large dotting tool 

I hope you too will also take a moment to Remember today.  ♥️

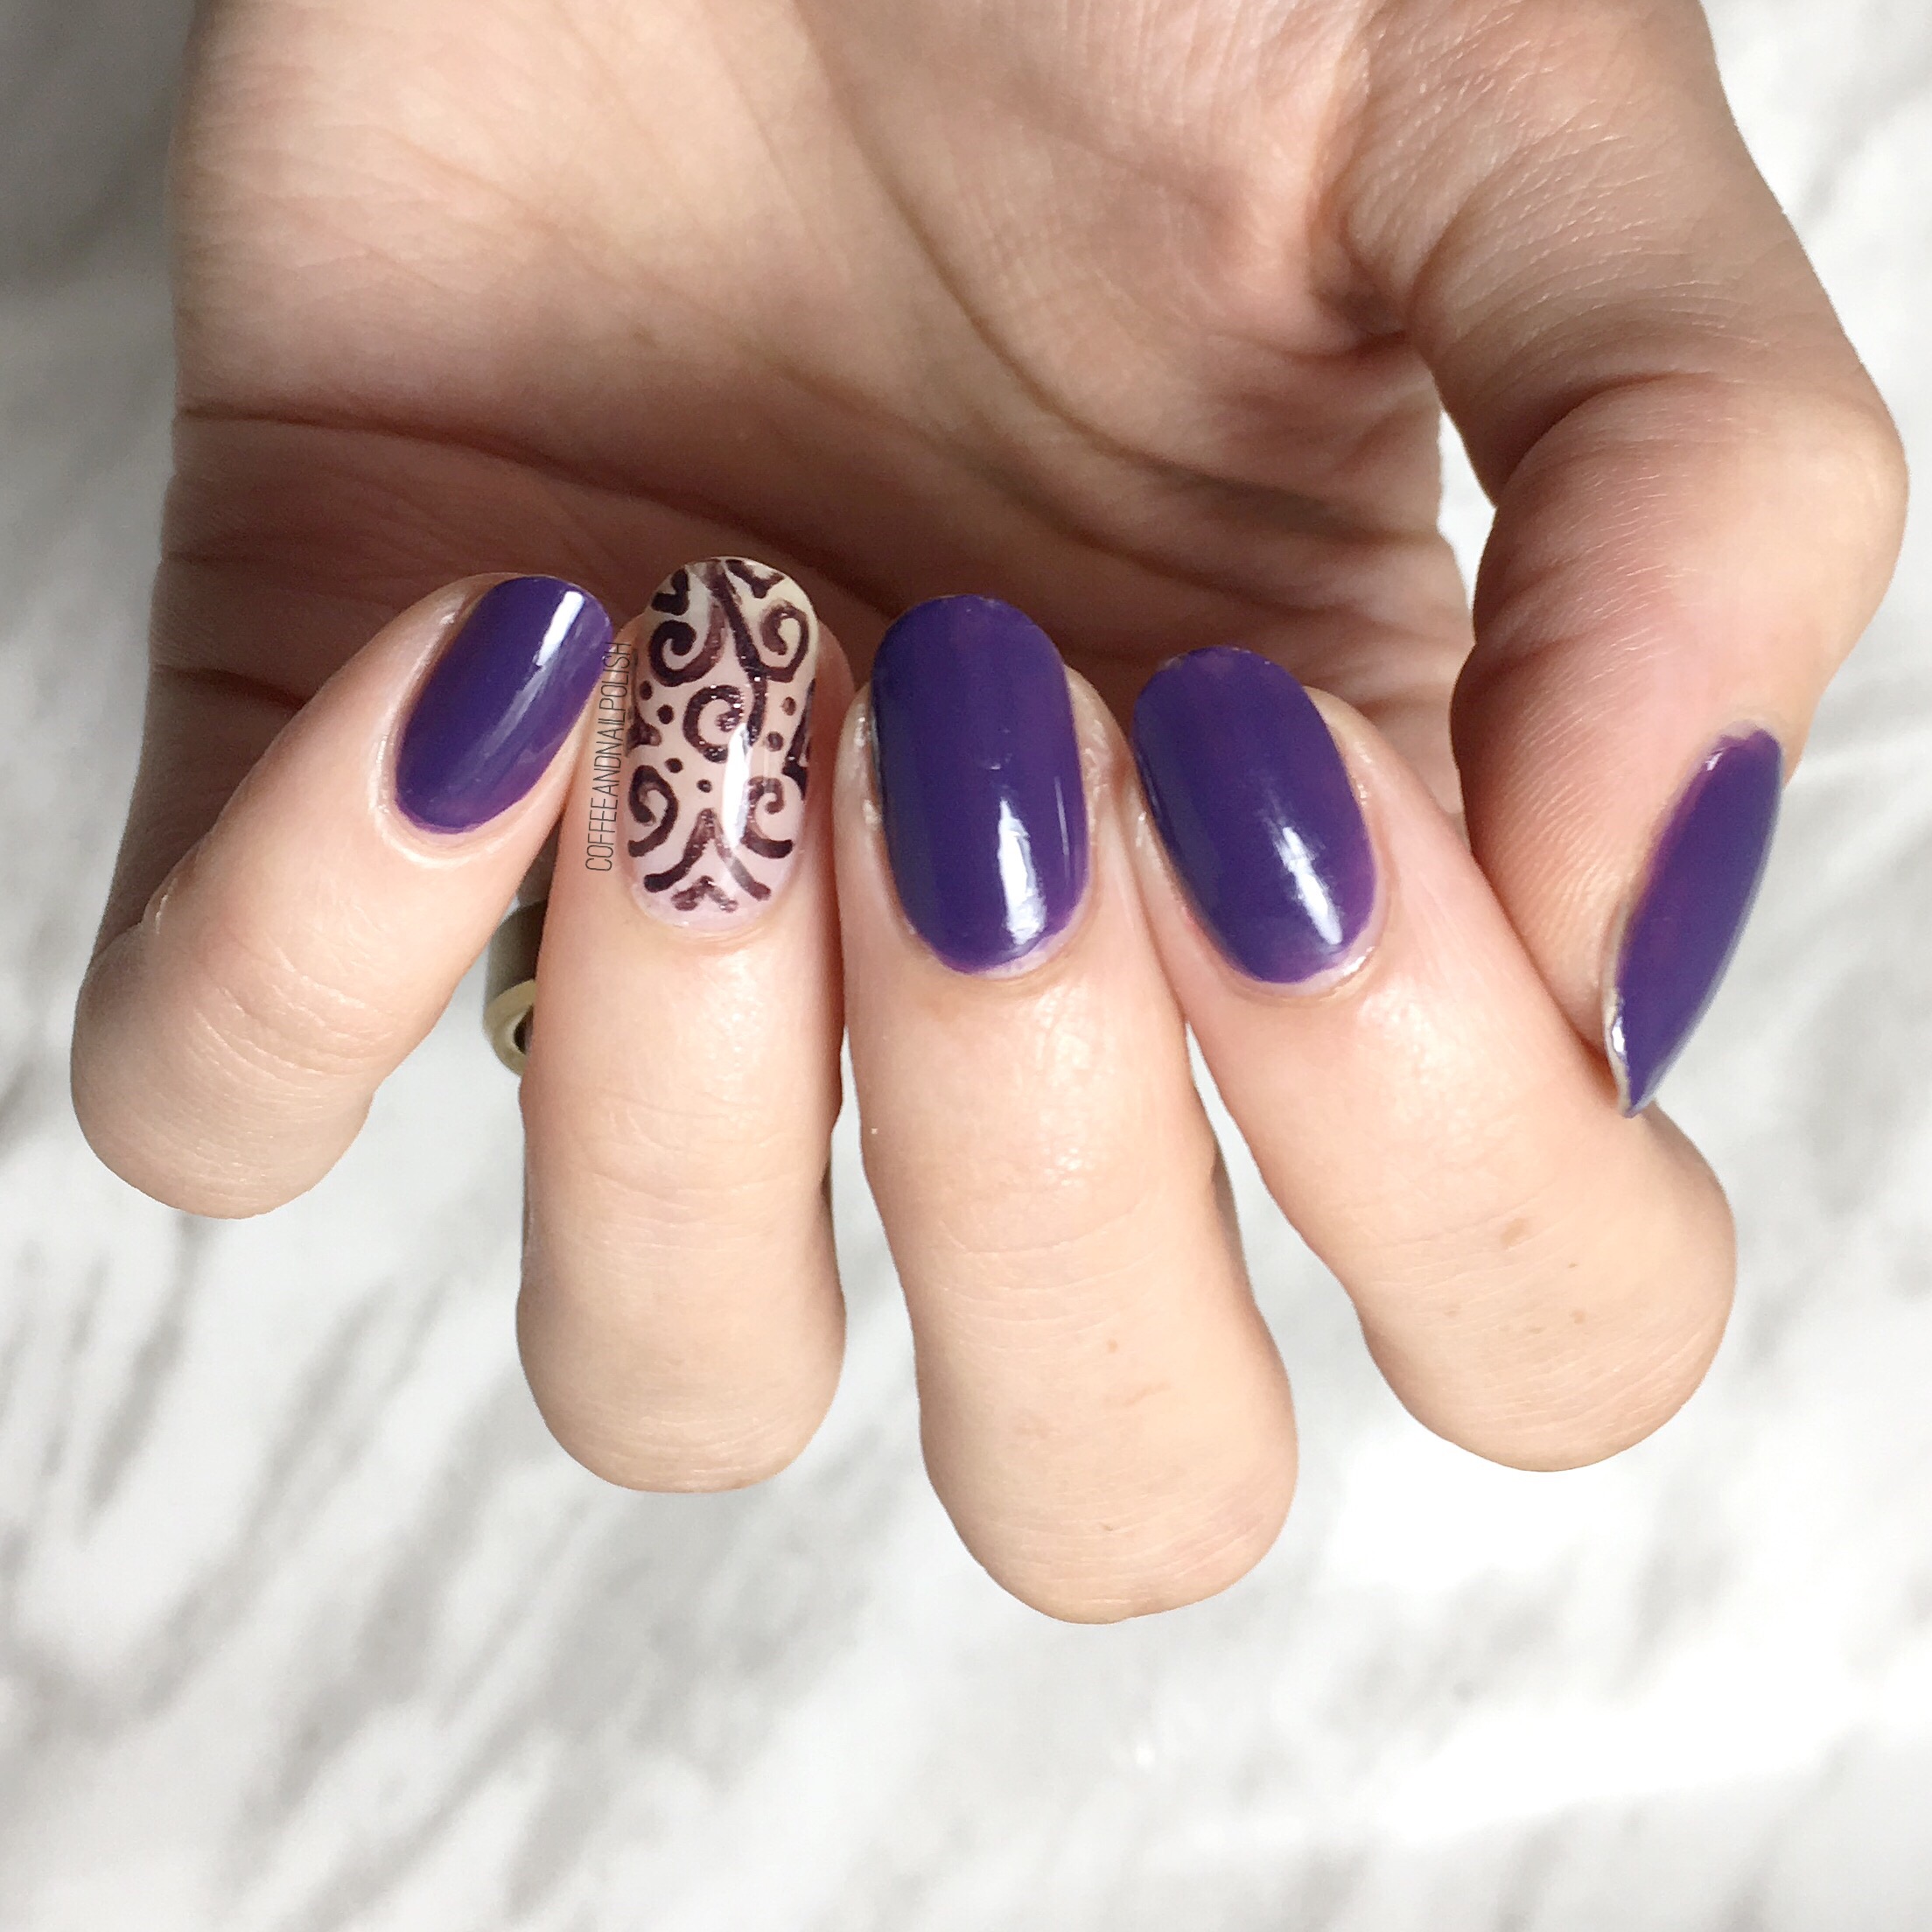
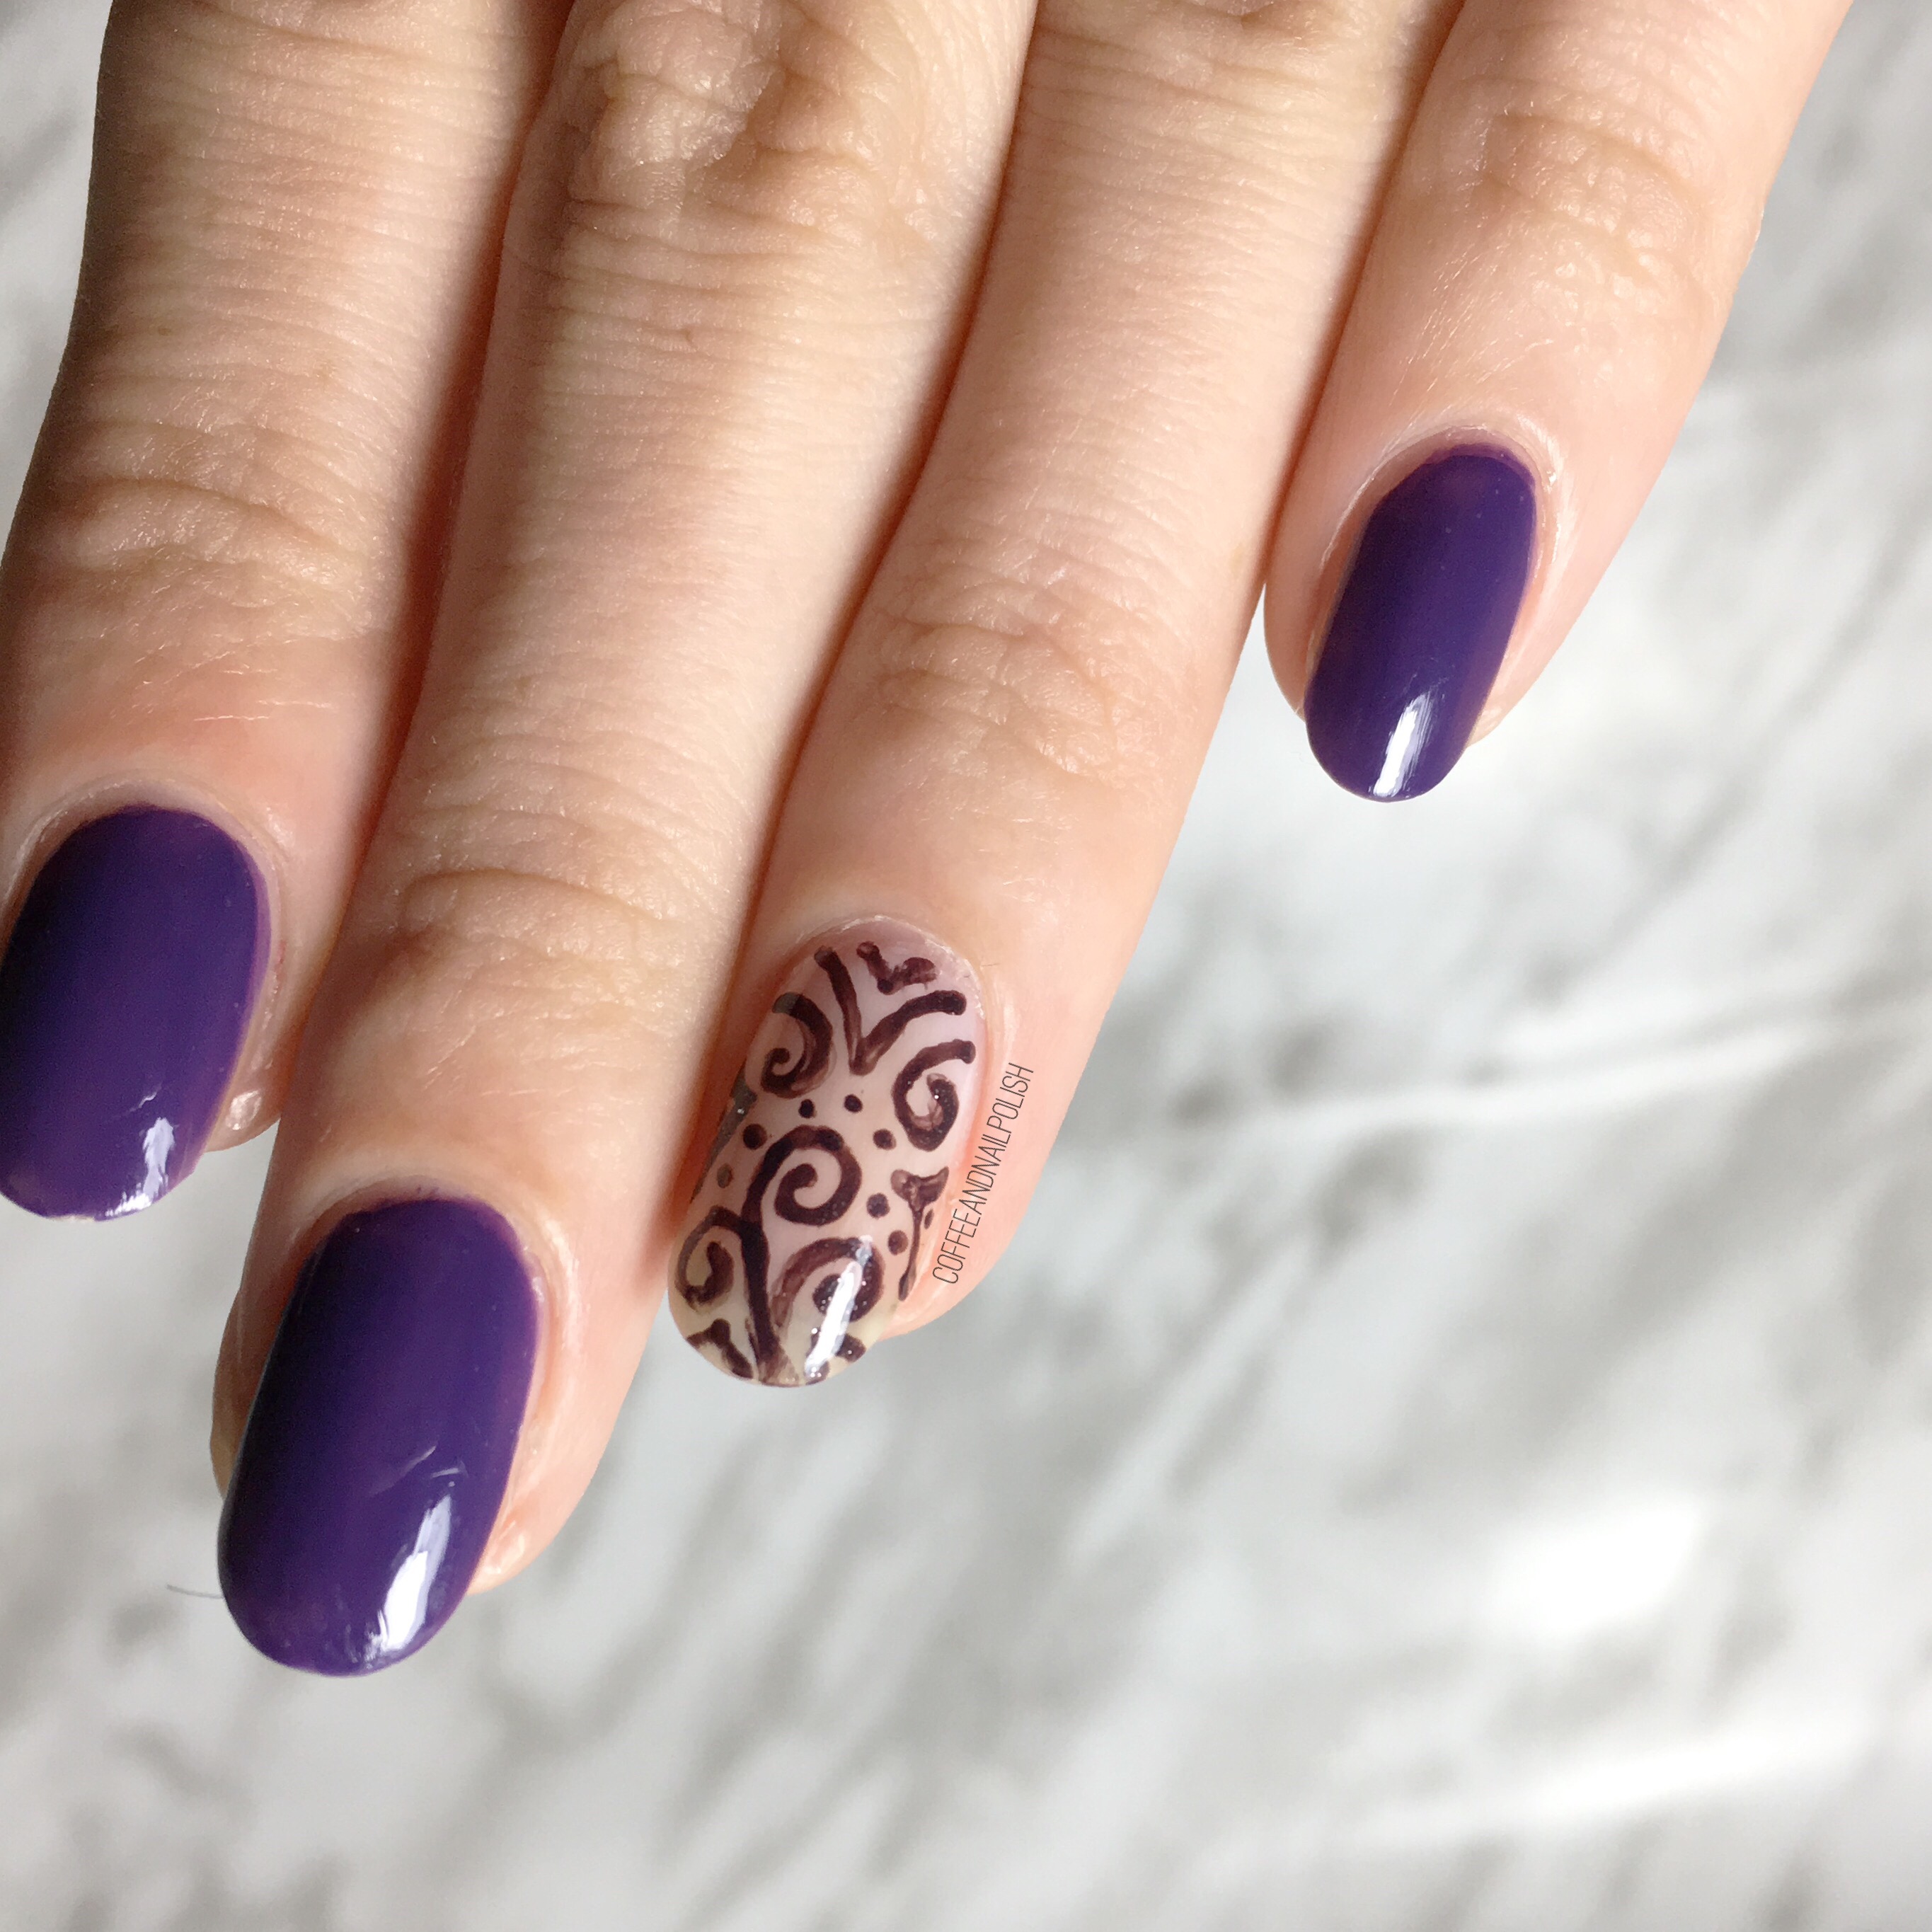
My New Favourite Purple & Swirly Accent Nails 

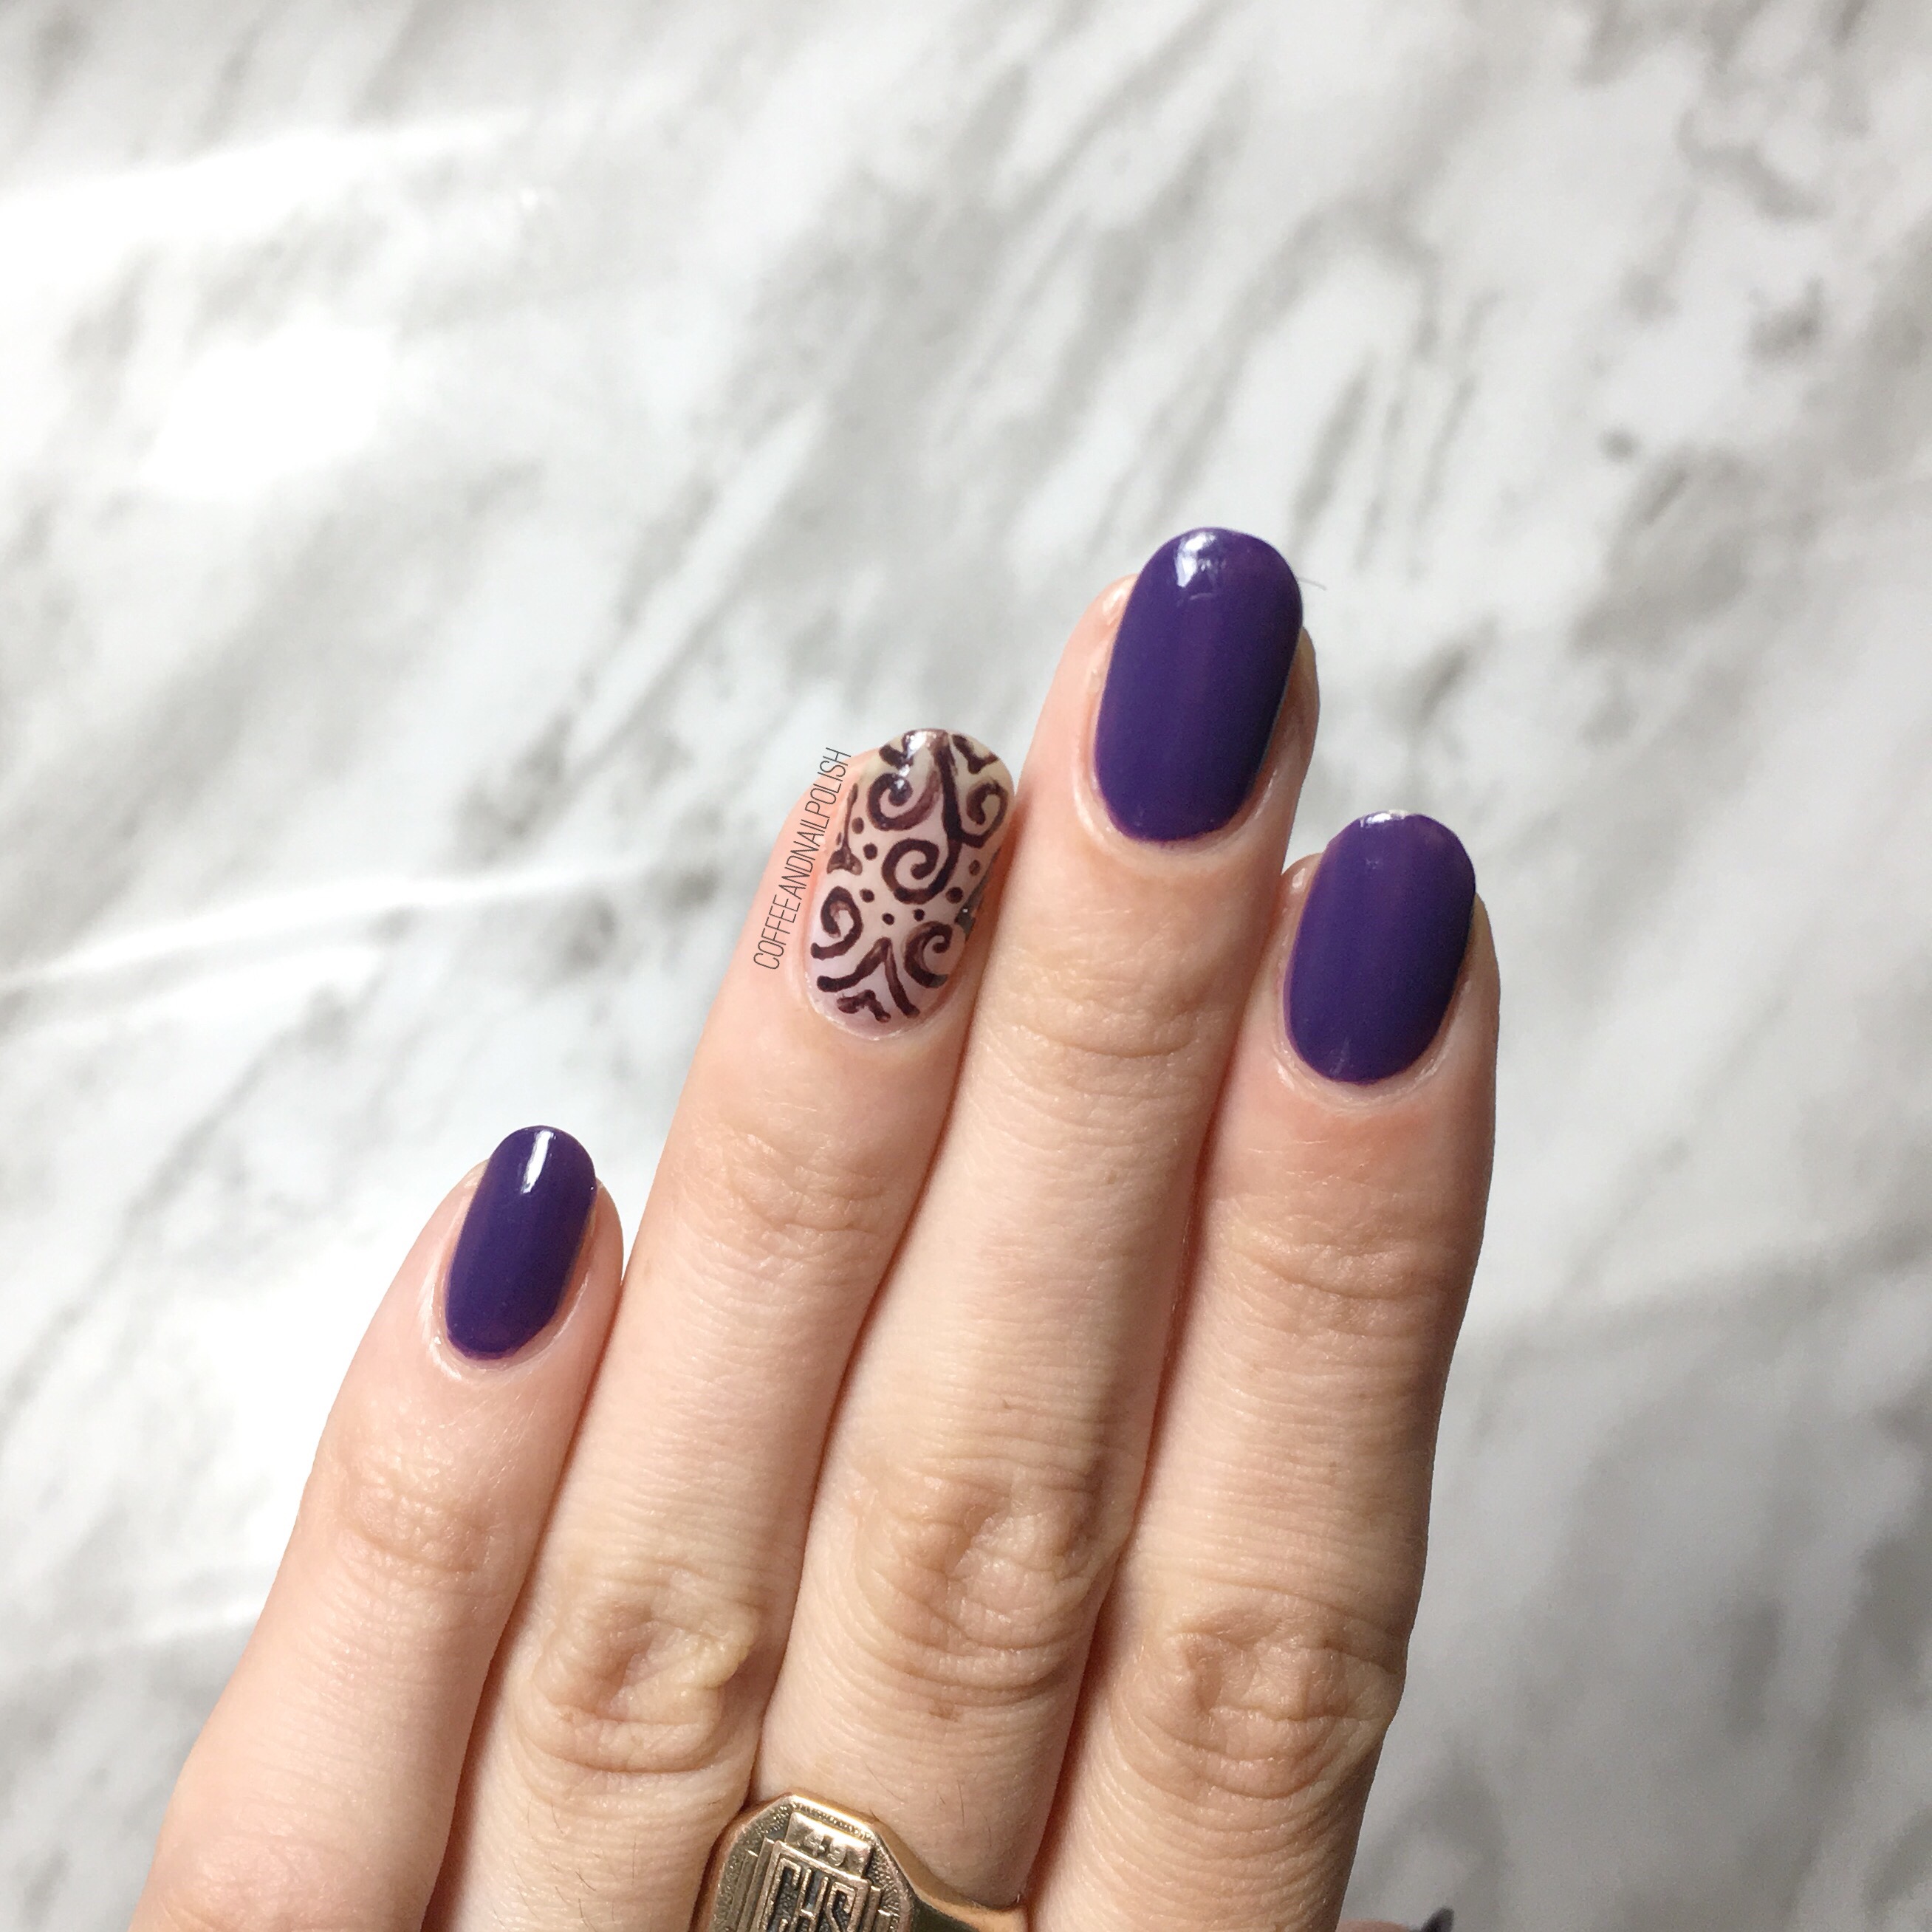
Happy Friday everyone! Today I’ve got a quick mani I did recently when I was feeling some nail art, but didn’t want to do anything too complicated. This mani was actually inspired by a design I did back in September 2016 as part of my failed attempt at the 31 Day Challenge. I loved the look of the design over a super sheer polish, so I decided that it would make for the perfect accent nail. 

For this manicure, the polishes I used were:

  • Base Coat: Essie Grow Stronger
  • Top Coat: Seche Vive
  • L’Oréal Elusive
  • Ardene Ice Mist
  • Essie Frock N’ Roll
  • Small detail brush from Bundle Monster 

Okay can we talk about L’Oréal Elusive for a second? I found this bottle at my local Lawtons in the clearance section (my favourite place for polish finds) & I had to buy it! It’s just such a good shade of purple, & I’ve been wearing it a lot lately. Also I totally apologize for the chipping at the tip of my nails—I took these shots after 2 full days of wear so they were looking tougher than they should. But this purple…. it’s just such a good purple! 💜 I don’t know if you’ve noticed, but I’ve been on a huge purple kick lately. 

What do you think of this accent nail? Let me know your thoughts in the comments below. & leave some suggestions for any nail art you’d love to see! 

Holo Accent Nails using NailStuff.ca Holo Pigment! 

Happy Wednesday everyone! The week is already speeding by, which is crazy—halfway to the weekend. To get us over this mid week slump, today I’ve got another item I was so kindly sent to try out by NailStuff.ca: holo pigment flakies. 

This is my first time ever using any kind of pigment for the nails (I know, I’m so behind on the times) so I was super excited to give it a whirl & also totally unsure of how to go about it. I know these pigments work really well over gel nails, but I change my nails too often for that so I decided to create these holo nails using just nail polish! So after watch a bunch of YouTube & Instagram videos, I felt pretty confident I could do this! 

For this manicure, the polishes I used were:

  • Base Coat: Essie Grow Stronger
  • Top Coat: Seche Vive
  • L’Oréal Pino Purple
  • NailStuff.ca Holo Pigment Flakies
  • Fingerpaints Peel Off Base Coat
  • Edge Perfection Cuticle Barrier  

To accomplish this look: 

  • I painted all my nails with L’Oréal Pino Purple (including my ring finger.) 
  • I applied top coat to all my fingers except my ring finger & on that nail I applied Fingerpaints Peel Off Base Coat. (I originally tried used just wet nail polish but found the flakies didn’t stick as well for me.)
  • Next I applied my Edge Perfection Cuticle Barrier around my ring finger & let it dry completely. 
  • I then took the small eyeshadow applicator that comes with the flakies, & patted them down onto the nail & tried to rub them in some. It took about 2 applications to completely cover my base. (You can see at the edge of my nails where I missed a few spots.)
  • Seal in flakies with top coat (I used Seche Vive for that shine.) 

Super simple & only slightly messy. I did end up getting holo flakies in my bed (where I do my nails pretty much always) which in turn ended up sticking to my son for a couple of days but nothing wrong with a little holo glitter! 

I will say, my second attempt using a sticky base coat over my polish worked much better (as opposed to using just my base of polish). The first time I tried half the flakies came off with my top coat, but it could be my polish had dried too much for the flakies to really stick. 

Have you used holo flakies before? Any tips  for application that you’ve discovered? Leave all your thoughts below! 

*PR SAMPLE* Some of these items were sent to me for review. However, all opinions are my own.