Maniswap with @nailmedaily


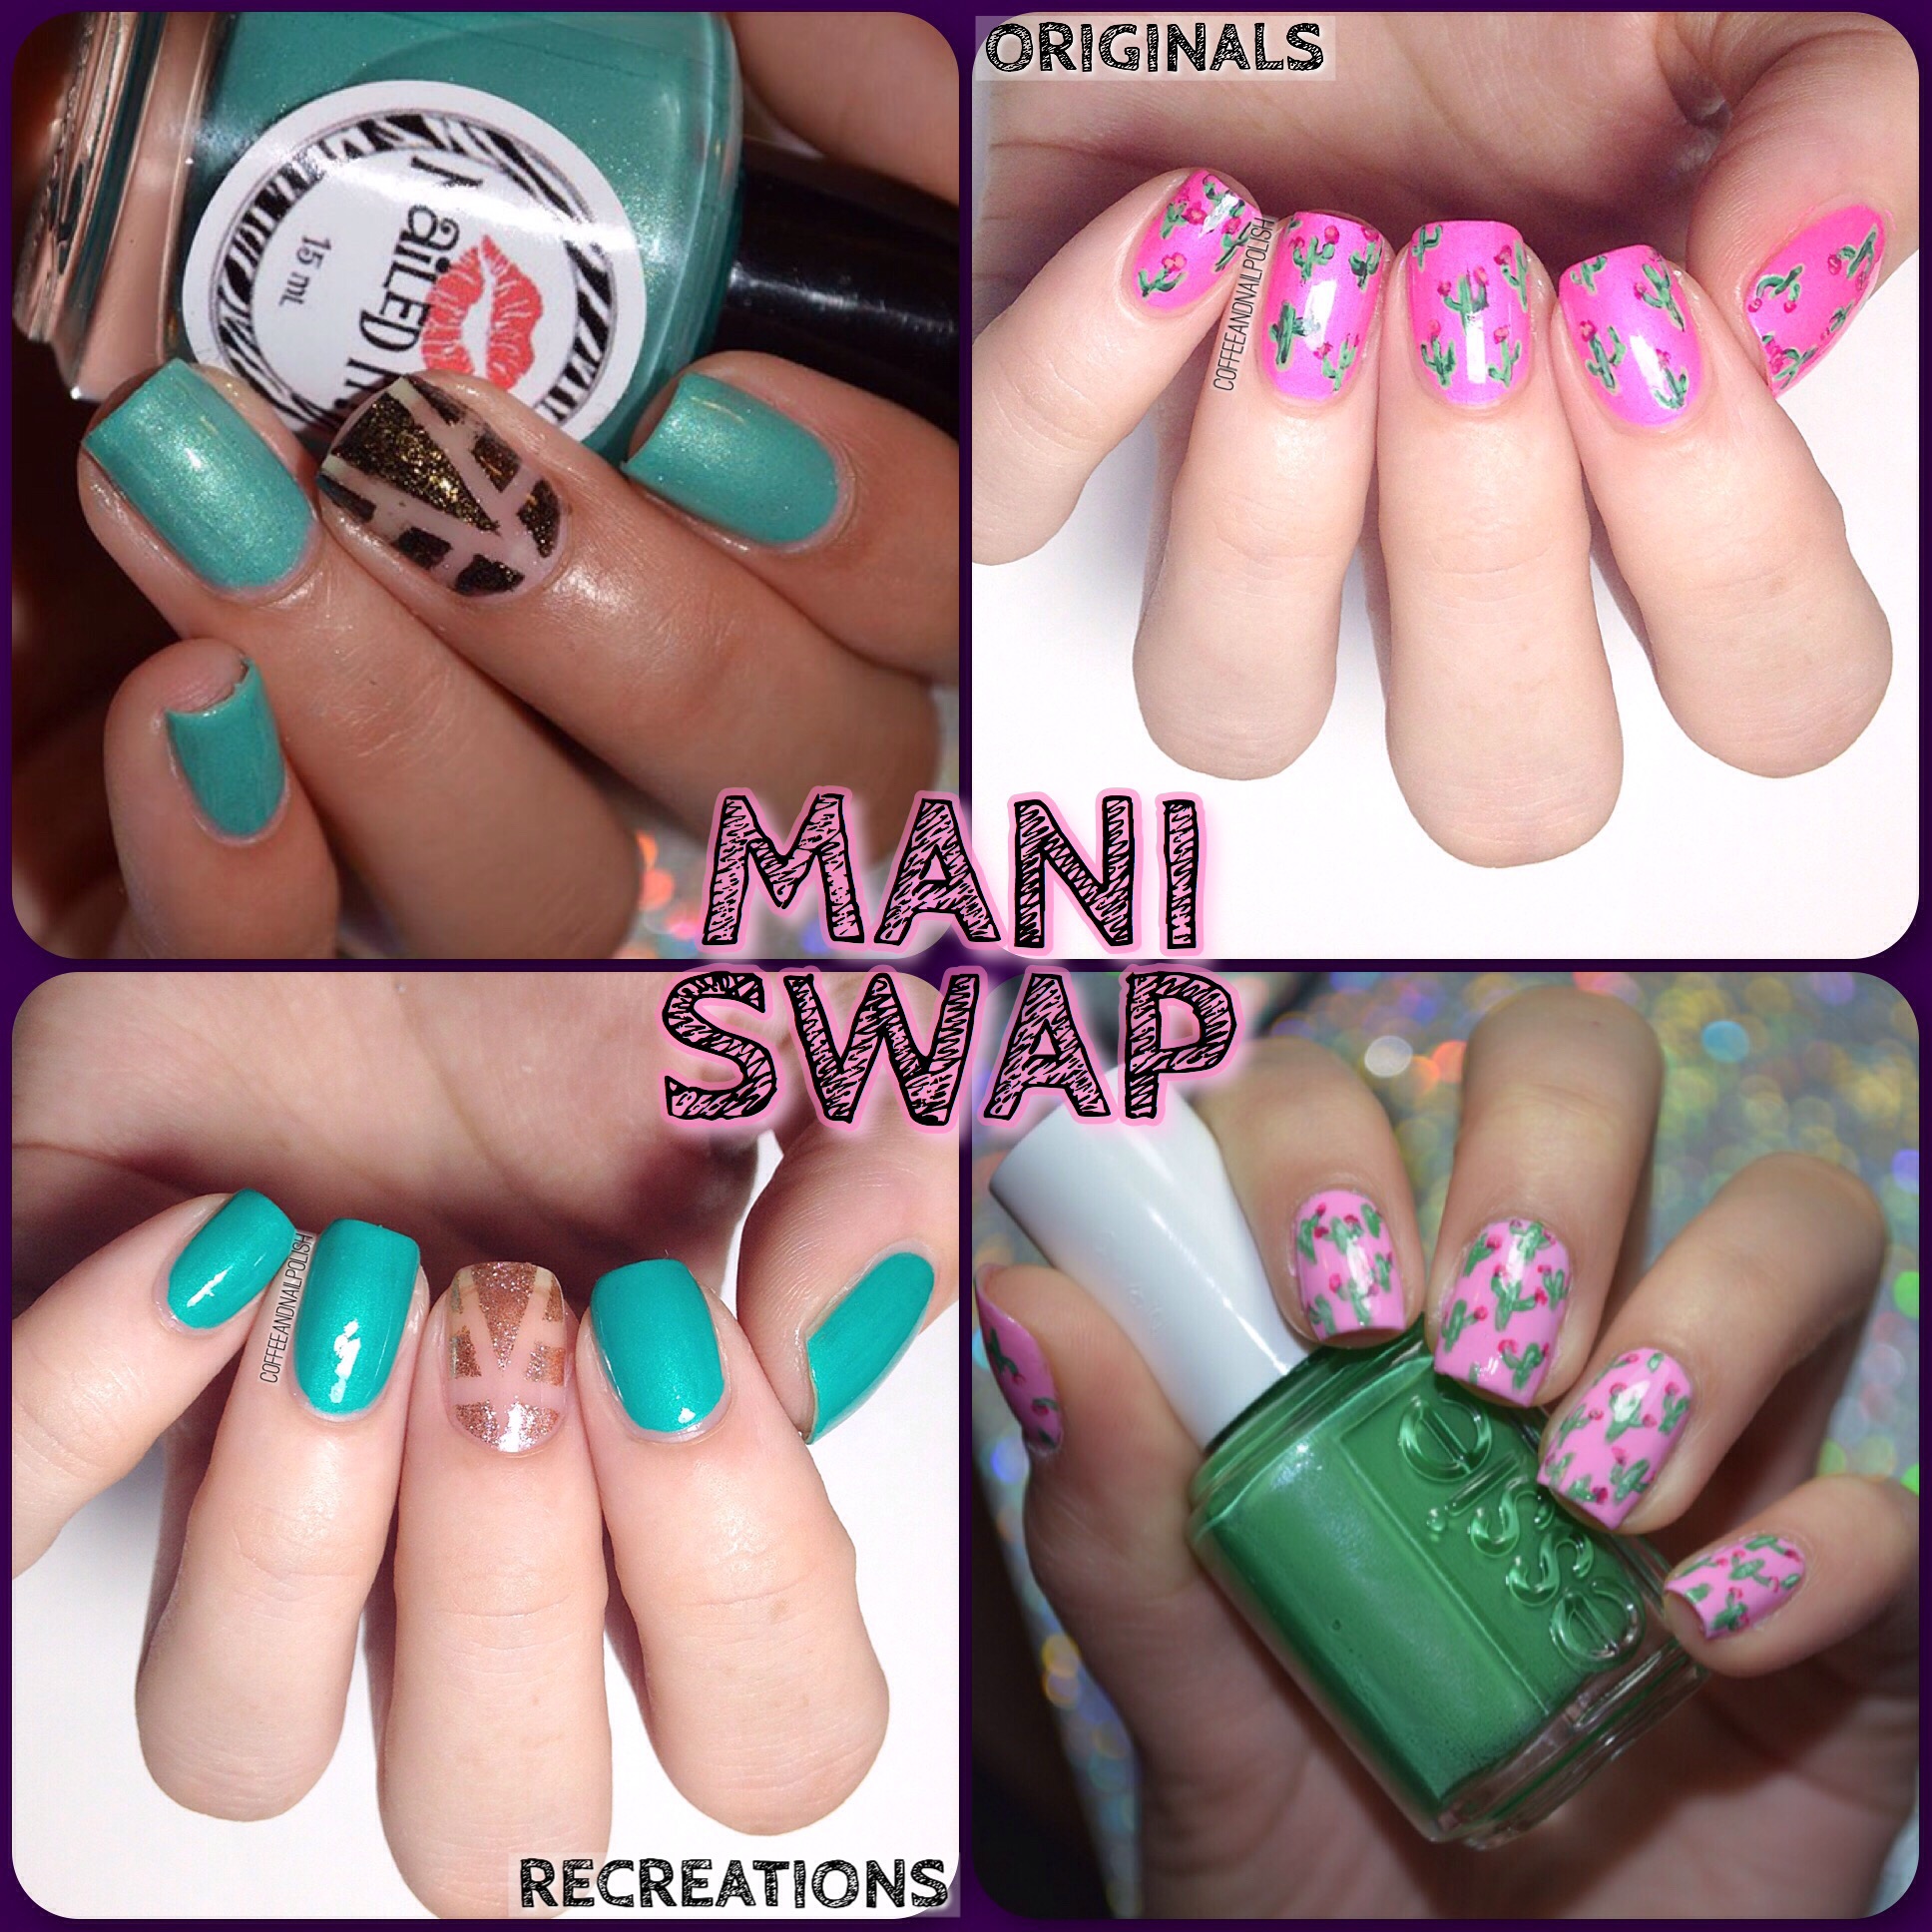
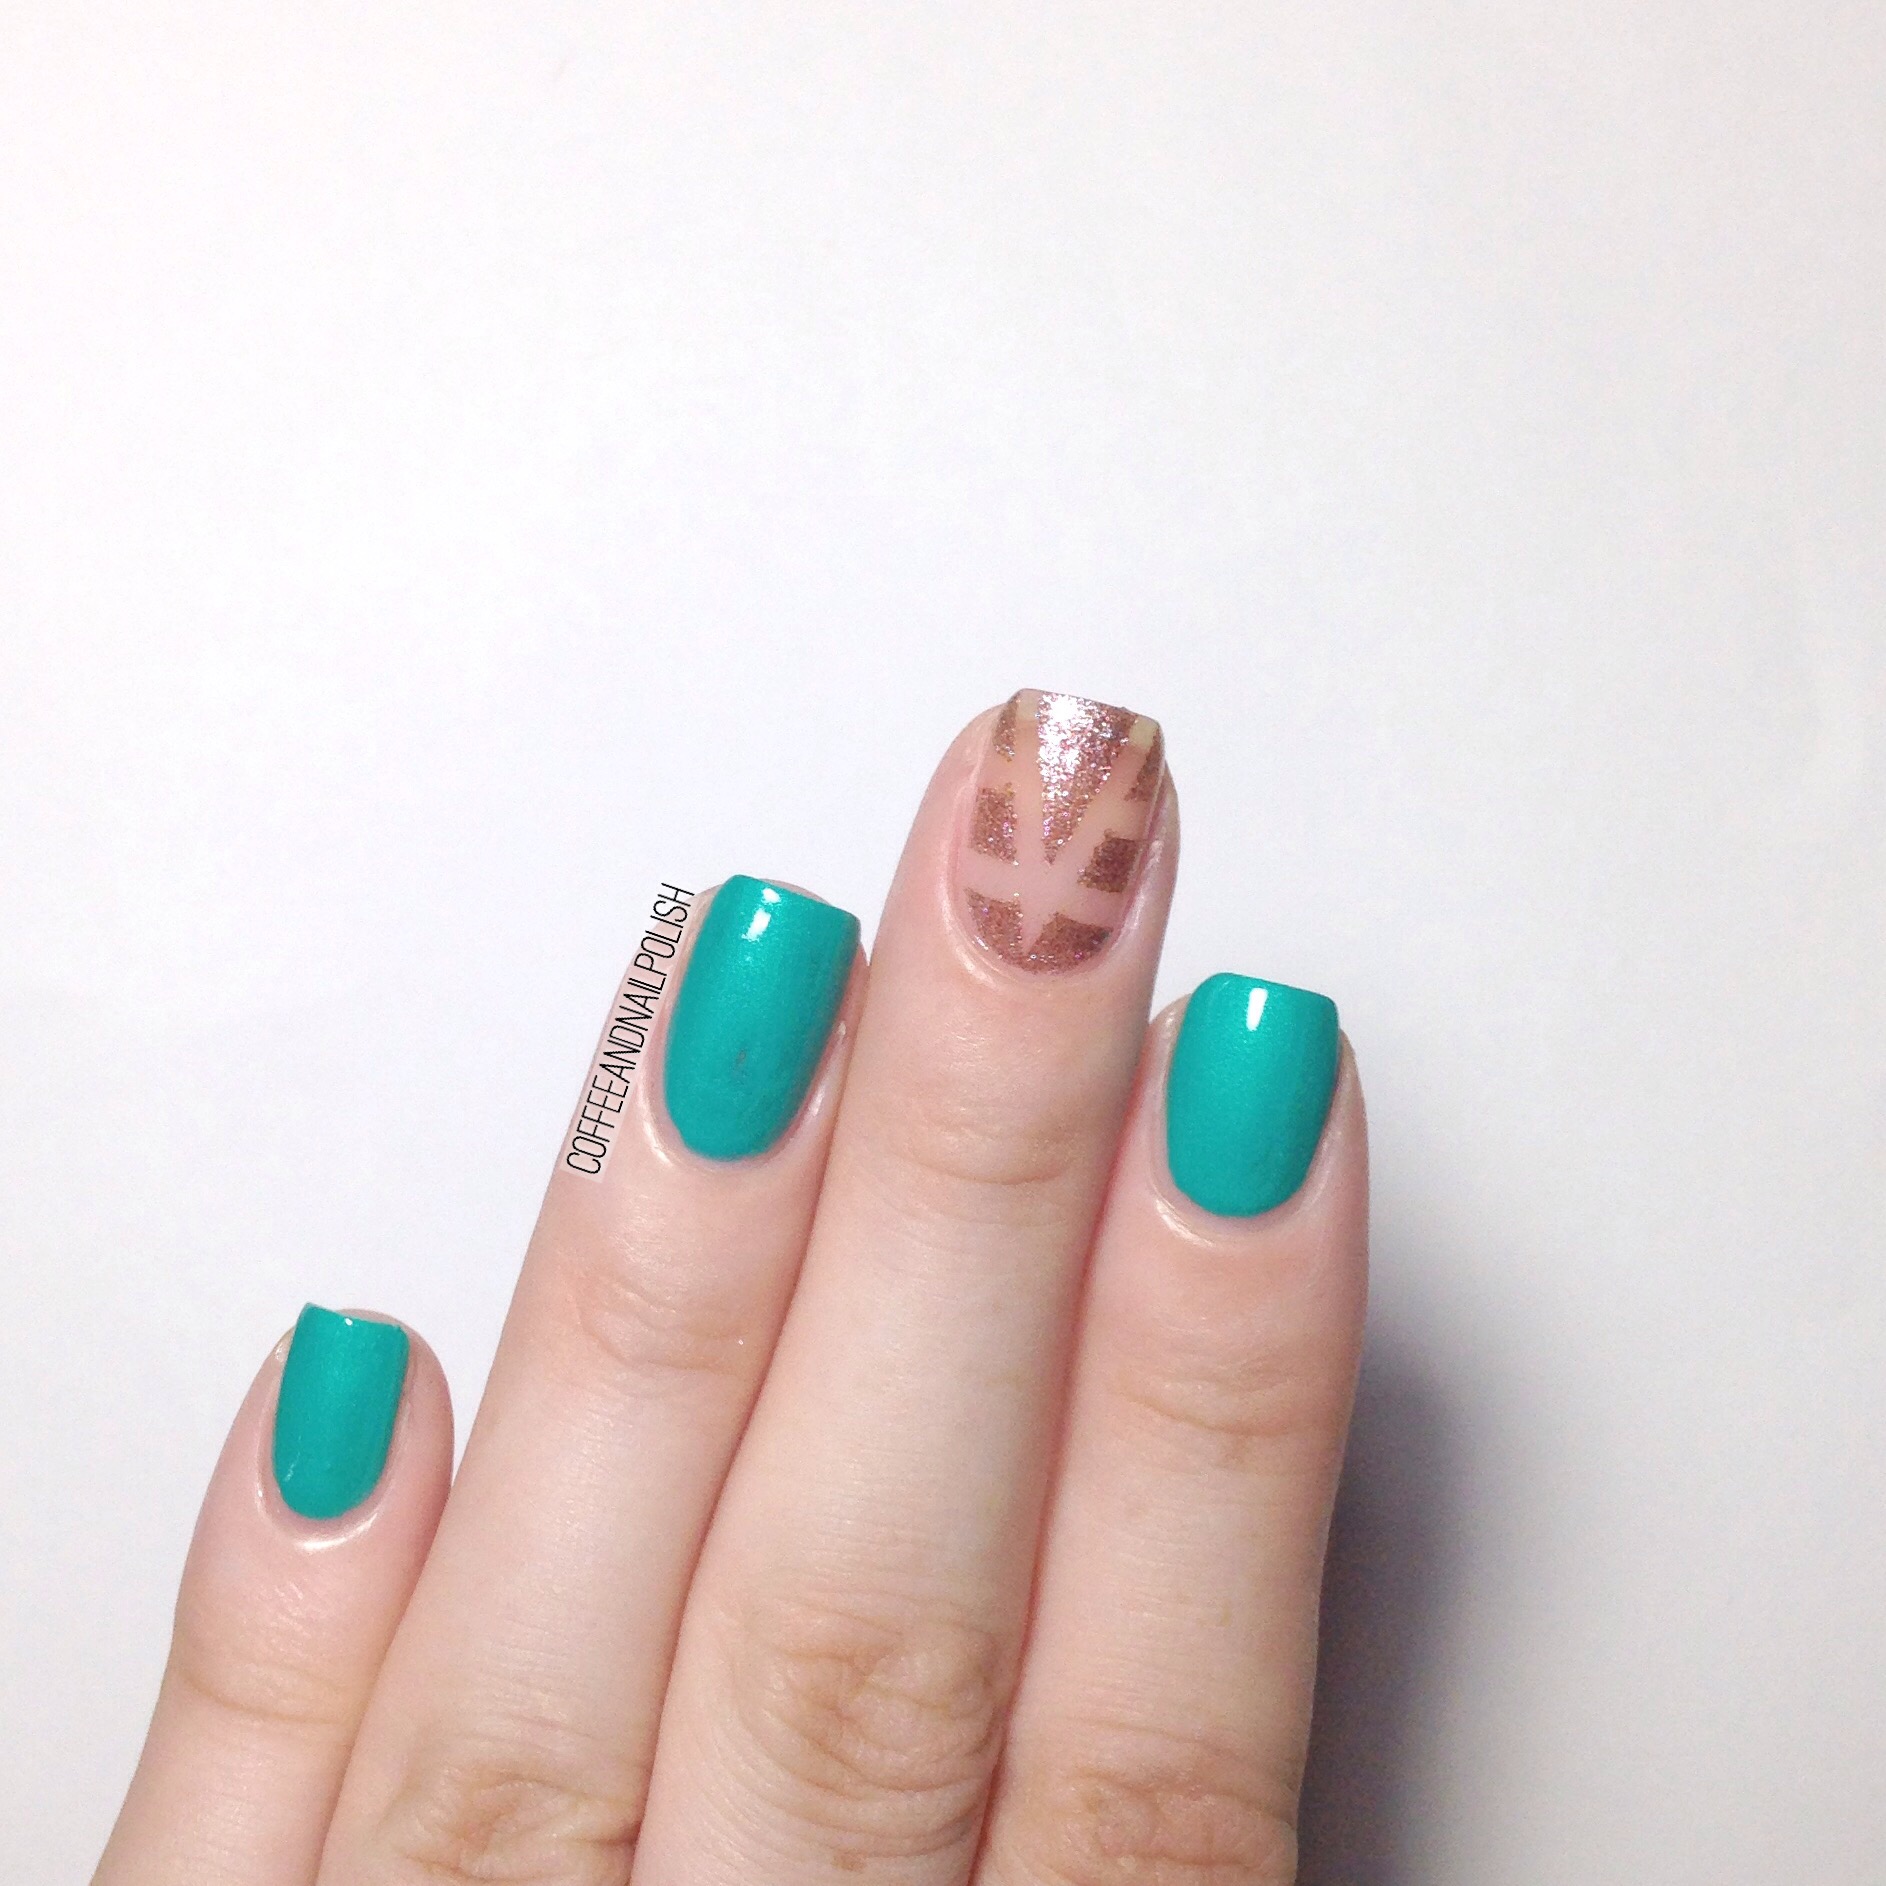
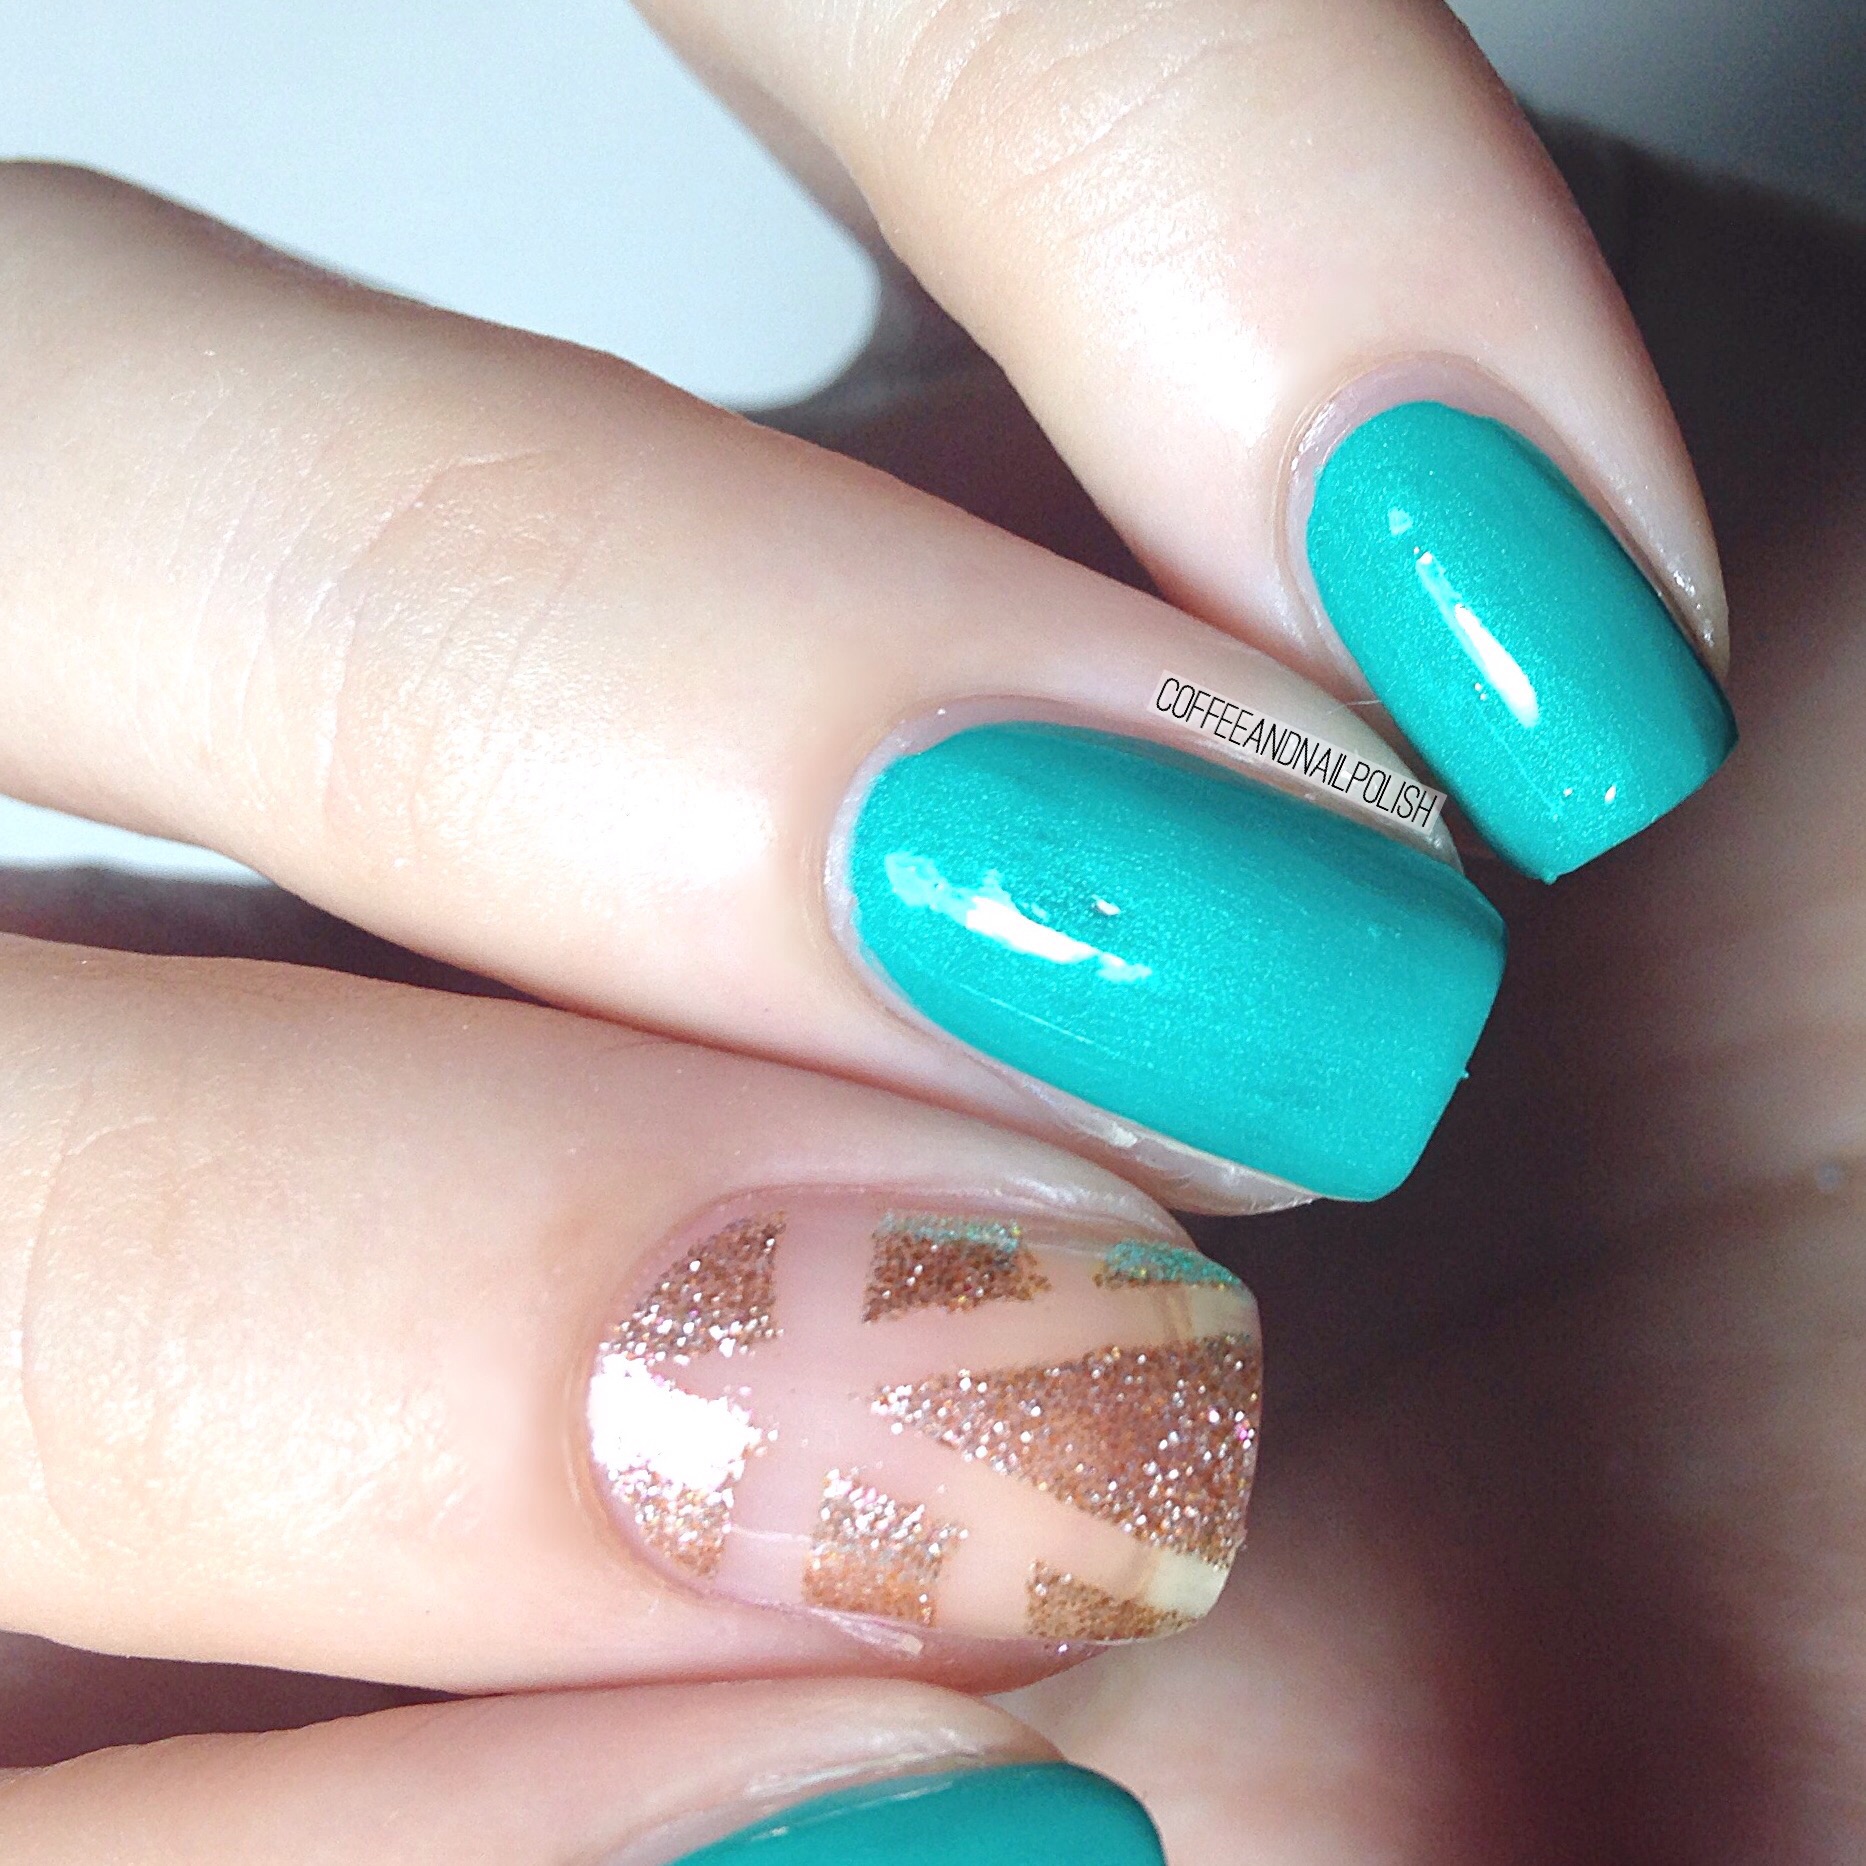
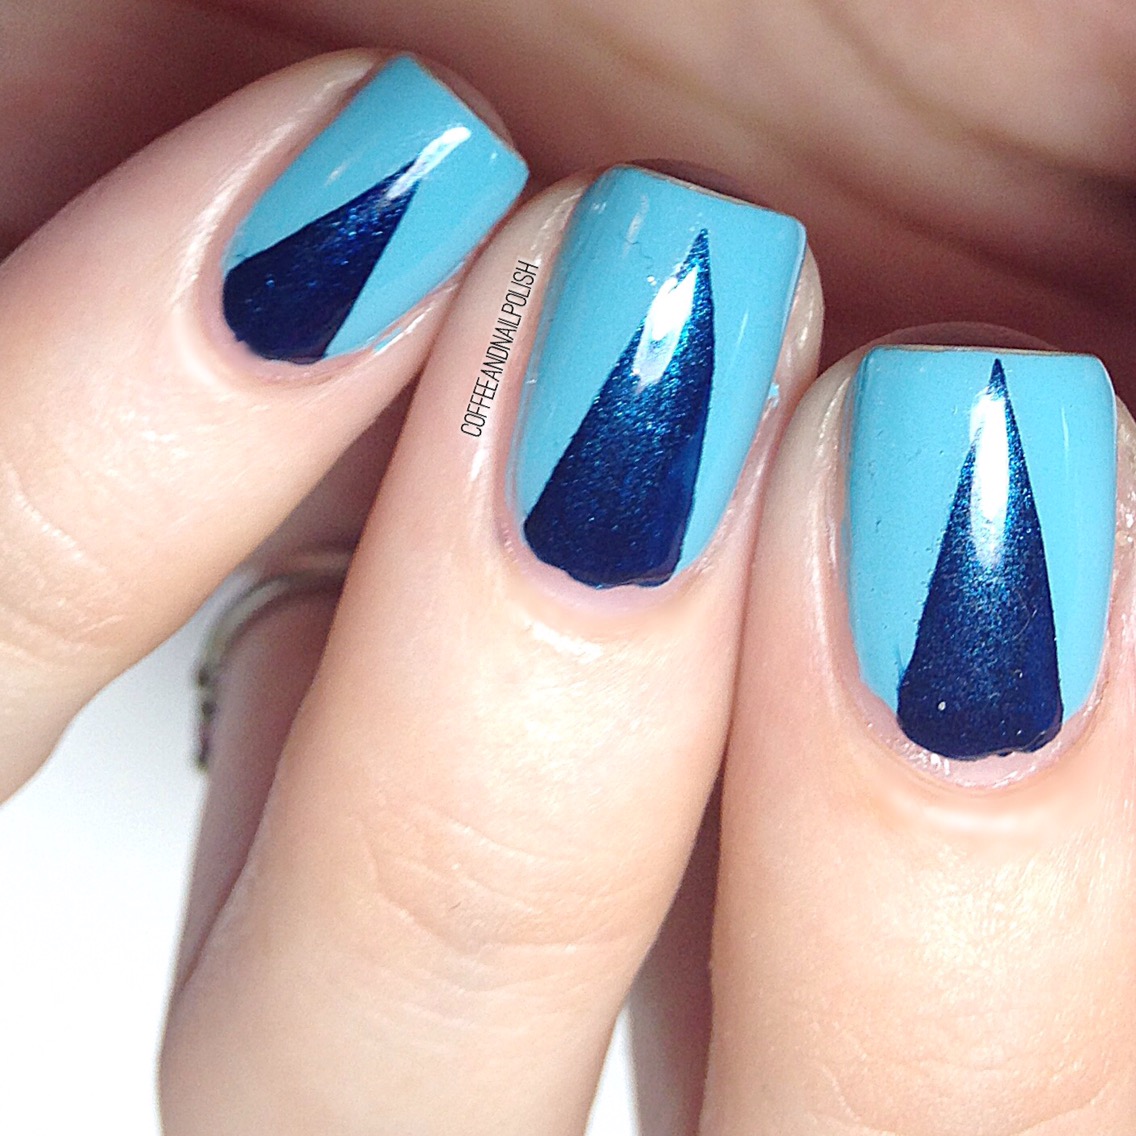
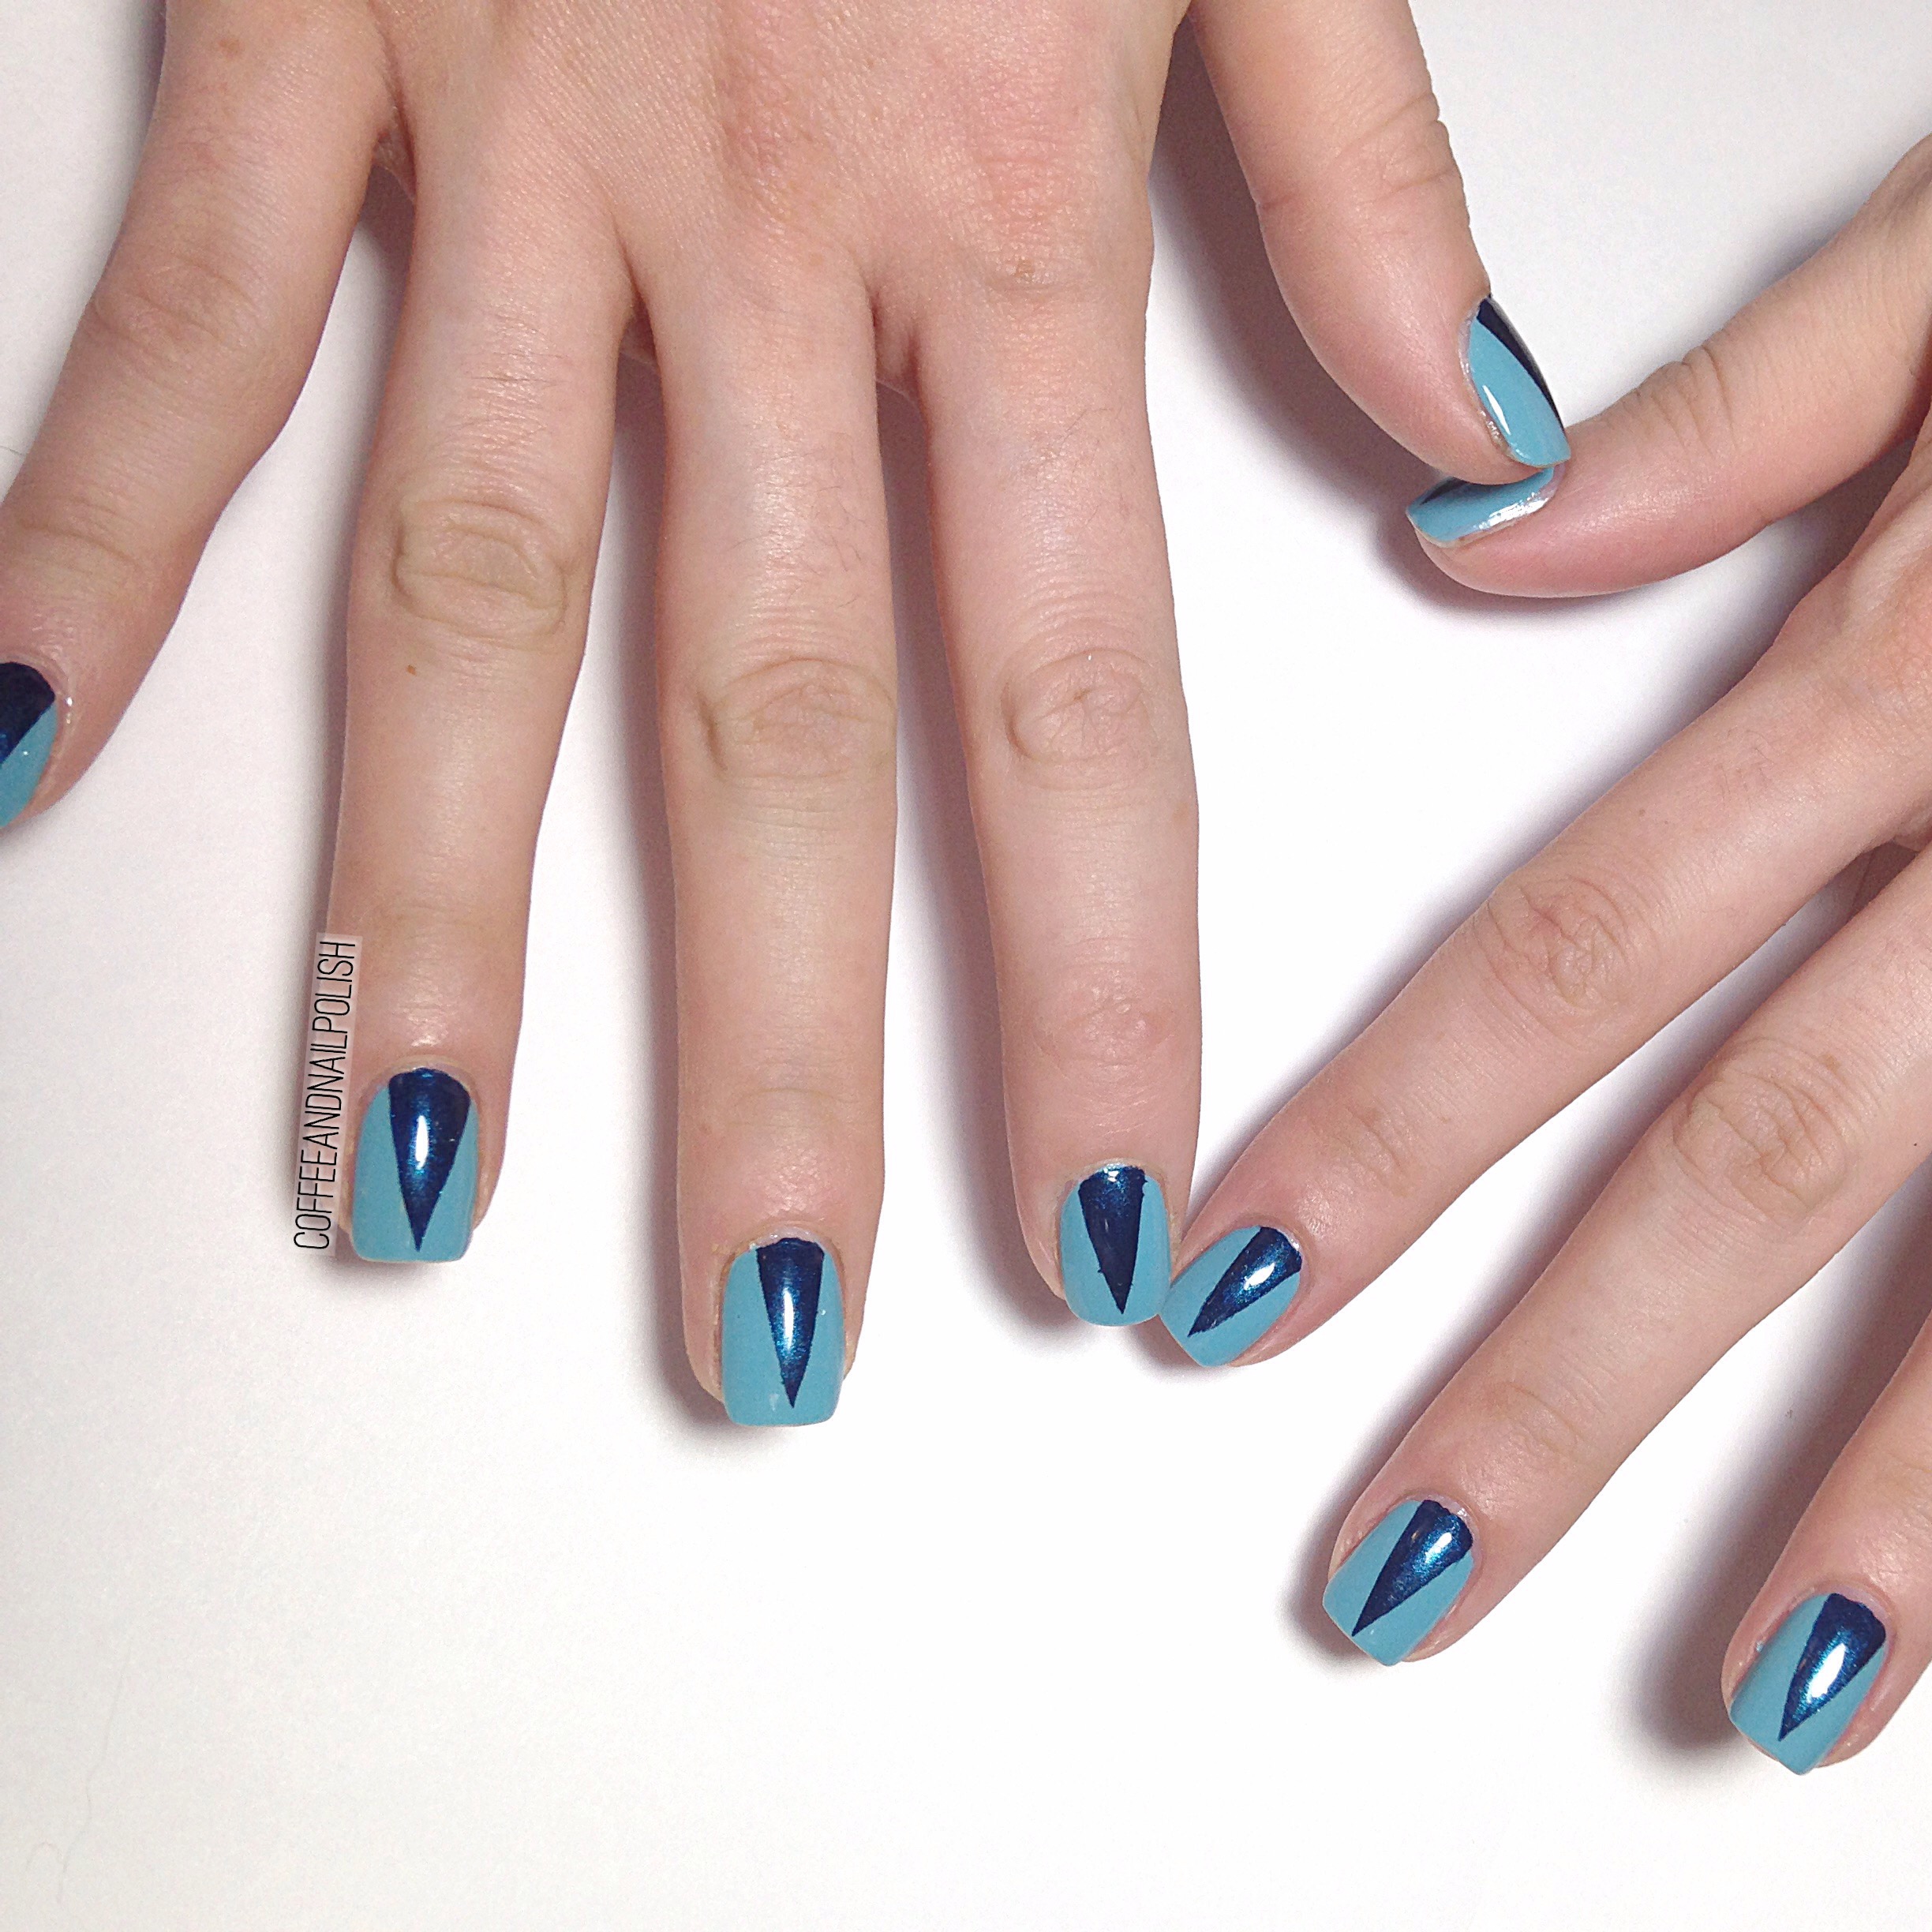
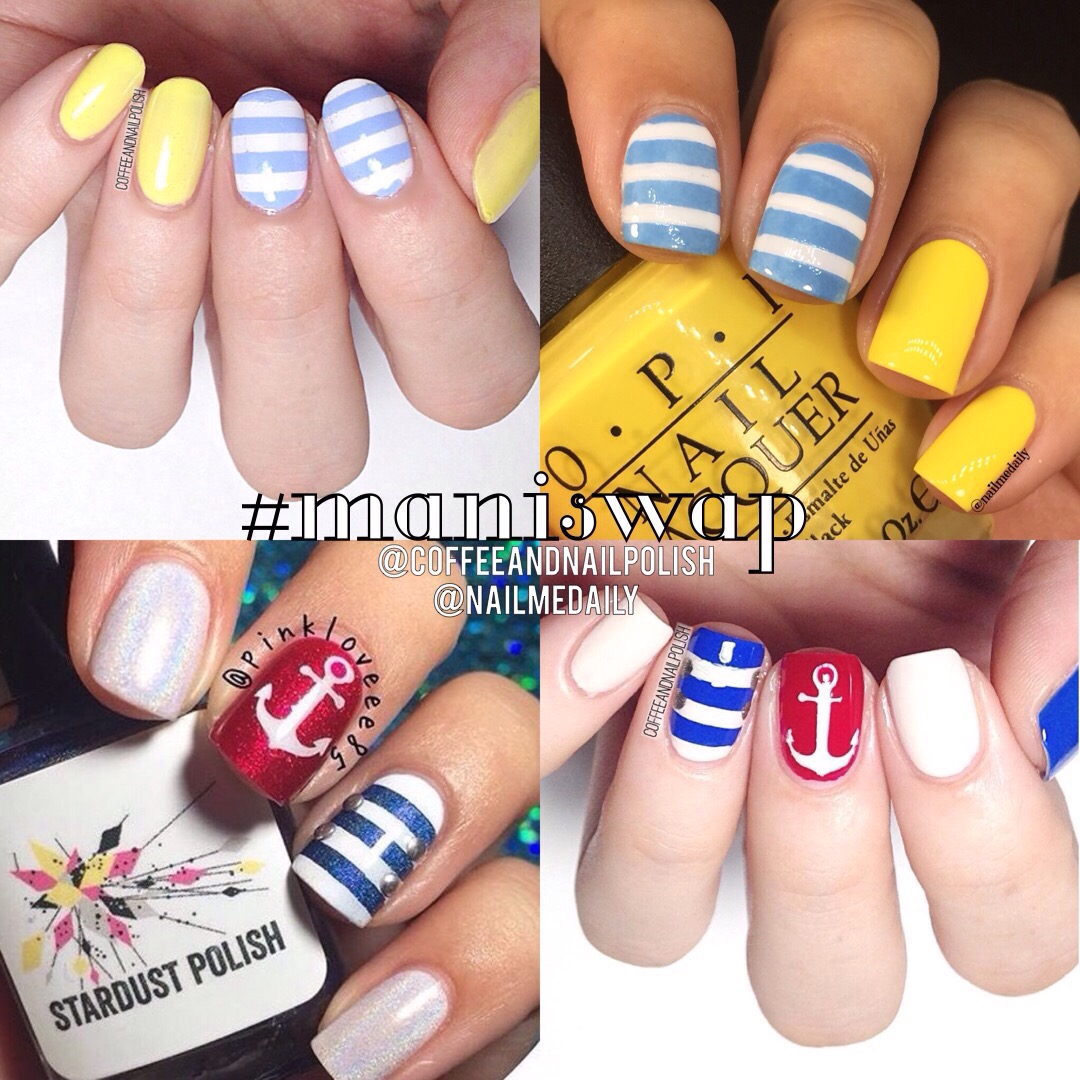
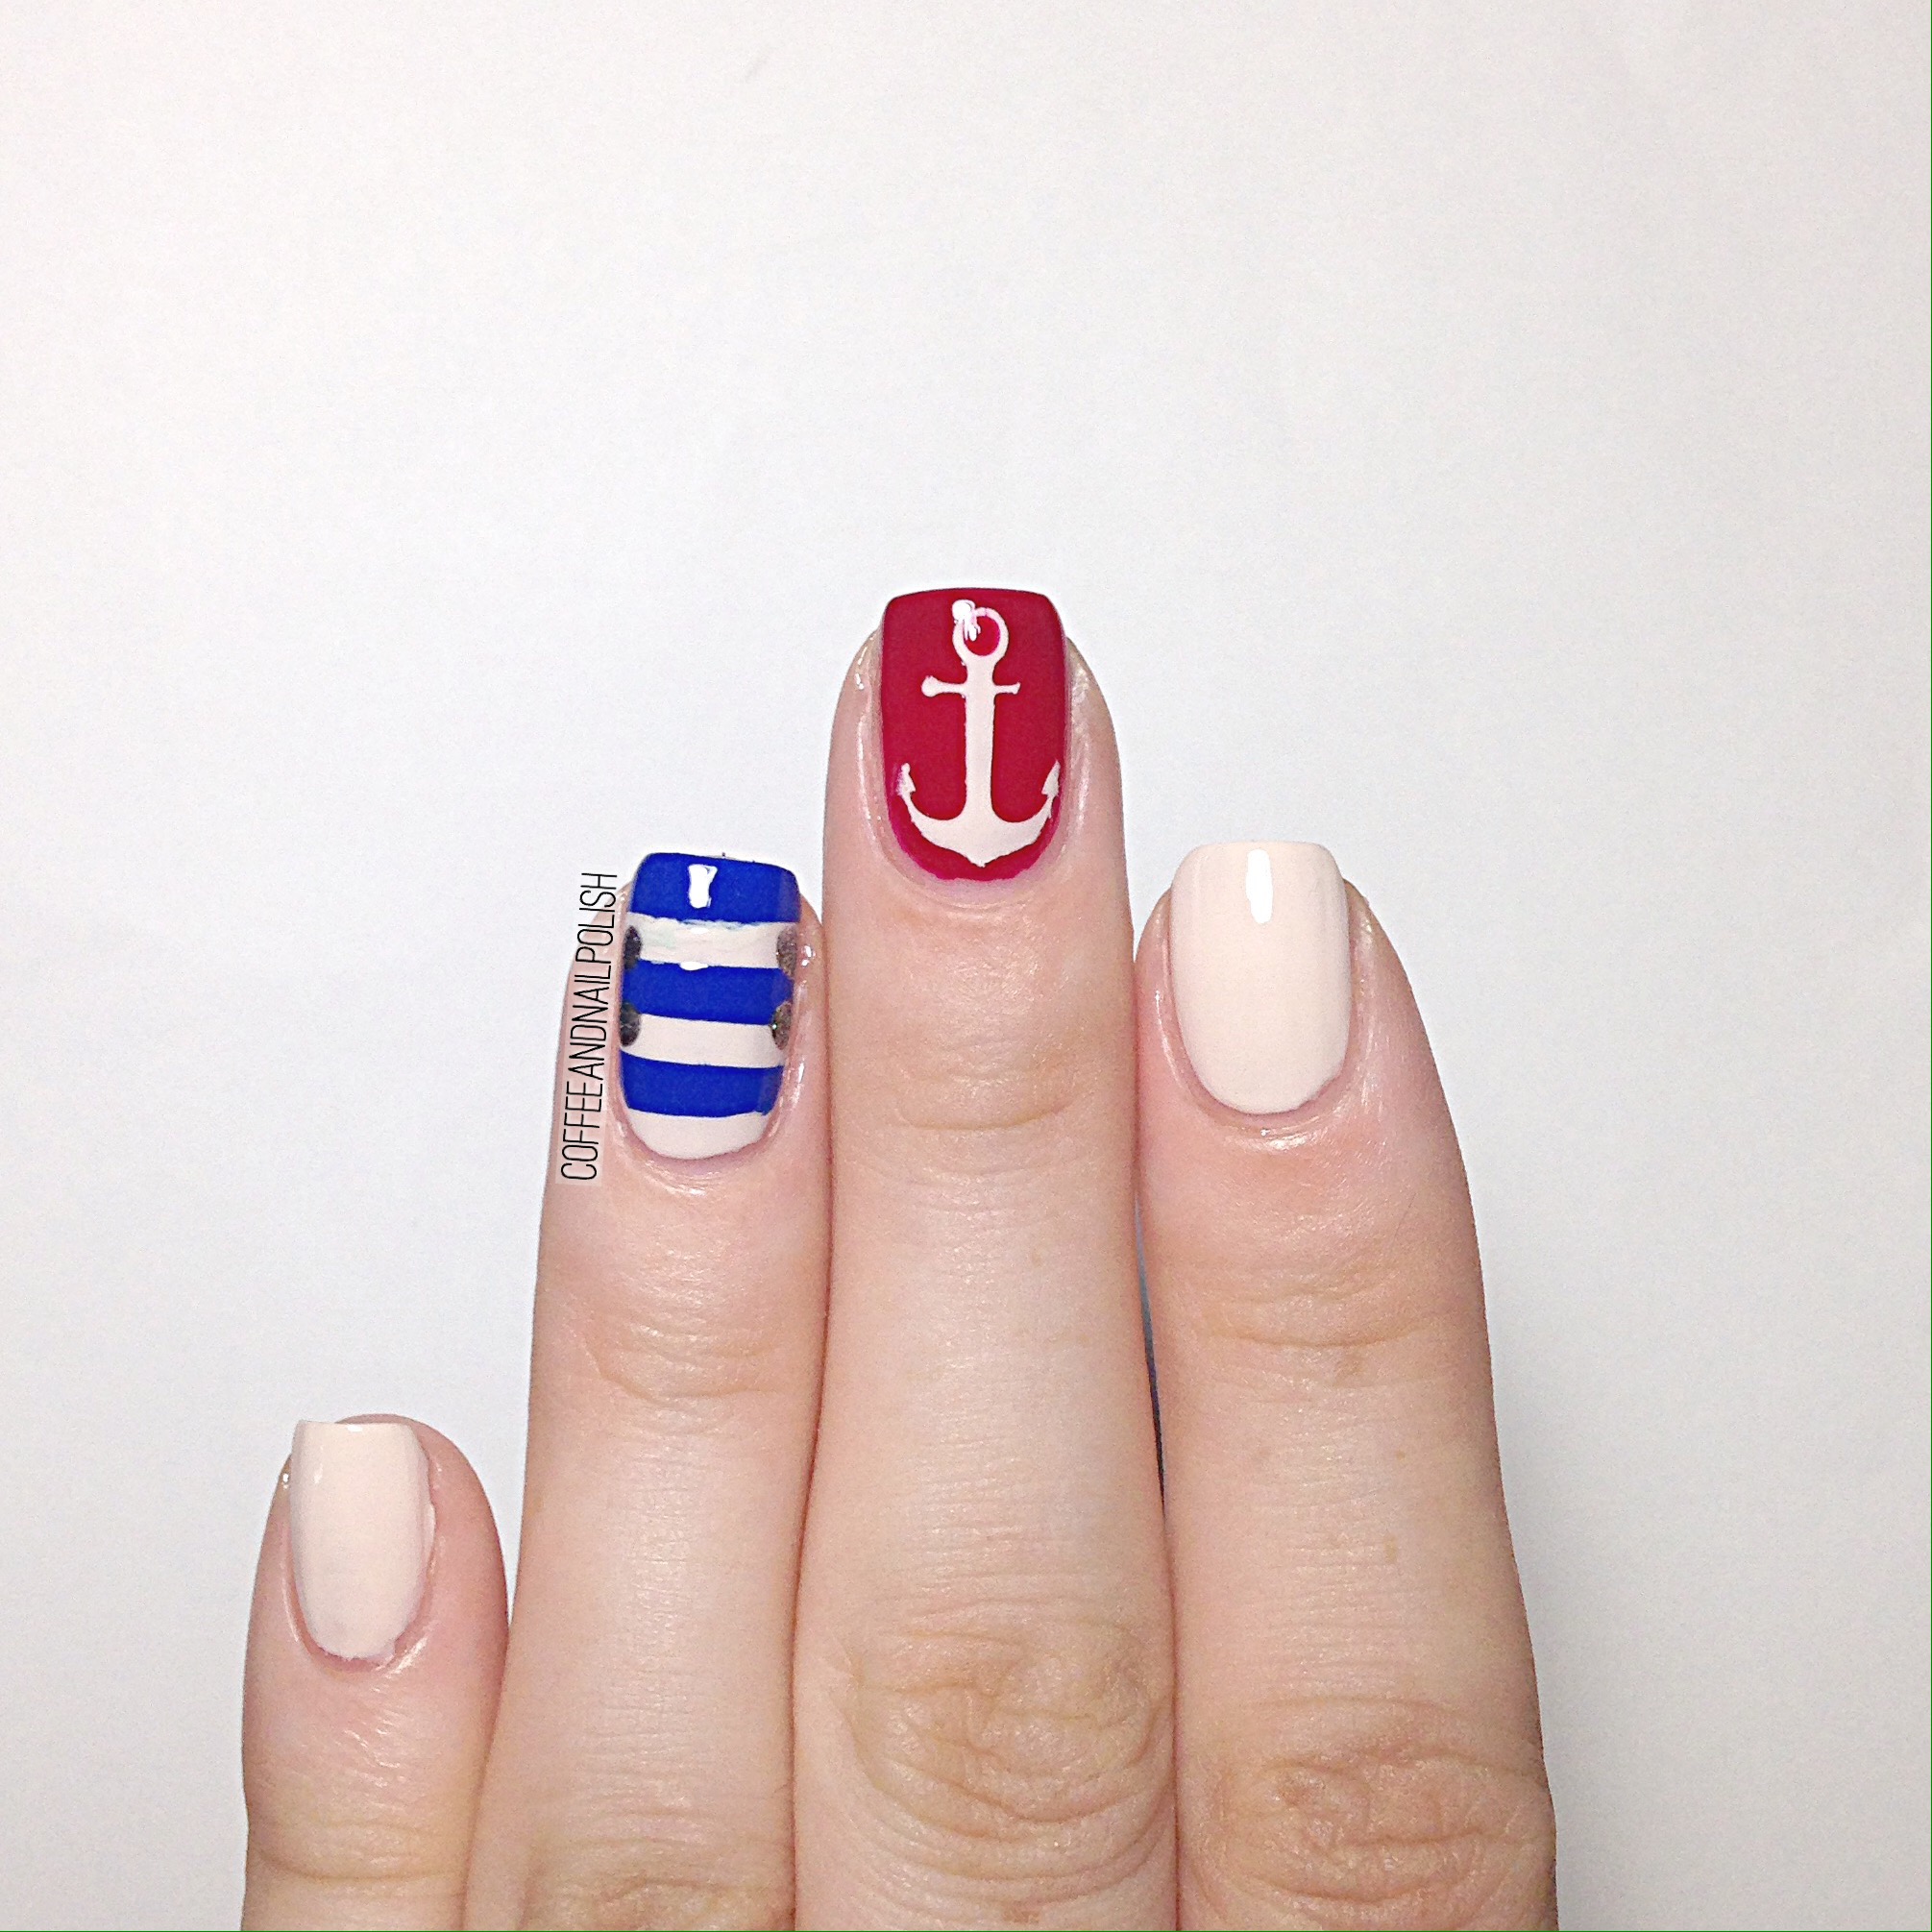
The mani swaps just keep coming! Today I’m sharing the swap I did with my fellow Instagram Nail rockstar, Jessica aka @nailmedaily. She did a gorgeous job recreating my blue & yellow Spring stripes mani, & I went nautical recreating her design!


The polishes I used for my swap were:

  • Base Coat: Perfect Formula Pink Gel Coat
  • Top Coat: Cutex Quick Dry Top Coat 
  • Essie Wrap Me Up
  • Essie A-List
  • Boho Greem Make Up Pacific Ocean
  • Nicole by OPI A Phil’s Paradise
  • Born Pretty Store thick striping tape. 
  • What’s Up Nails anchor stencil. 

I’m in love with how these turned out! I received these anchor stencils from What’s Up Nails in my order, & had been itching to use them. When I saw Jessica’s gorgeous nautical mani, I knew it was the perfect opportunity. 

Jessica’s original mani was just so pretty, & the colours complimented each other so well, I had to recreate it. The fun part about mani swaps is the chance to recreate manis you love, or maybe you missed the first time. Definitely having a lot of fun surrounded by all this awesome inspiration. 

What do you think of our recreations? Let me know in the comments below, & don’t forget to check out @nailmedaily on Instagram! 

Mani Swap with @LoveforNails01


Today Im excited to share another mani swap with one of my fellow Instagram nail art girlies. This time I teamed up with Hannah (@lovefornails01)! For this swap, she recreated my recent cactus design, & I recreated her Negative Space deep V tape mani.

For this mani, I used:

  • Base coat: Perfect Formula Pink Gel Coat
  • Top Coat: Cutex Quick Dry Top Coat
  • China Glaze Turned Up Turquoise
  • Sally Hansen Terra Coppa
  • Snail Vinyls Single Deep Chevron nail vinyls
  • Born Pretty Store thick striping tape.

As soon as I saw this design, I knew I had to try & recreate it. I love the combination of the turquoise with the bronze-y colour. I’m a huge fan of Art Deco Tape manis, but I’m been nervous to try them on my own. I was really excited to team up with Hannah so I could give her version a try!

Hope you love this swap as much as I do! I have a few more swaps coming up which I’m really excited for, as well as some Easter designs. 🐥🐰🥕  So stay tuned!

Mani Swap with @teenynails

It’s been a long while since I teamed up for any Mani swaps, so I have a few swap collabs coming up with some of my favourite girls on Instagram.

Up first, I have a swap with the very talented @teenynails. For this Swap she recreated my leopard patterned half moons & I had to recreate her beautiful purple vintage floral!

The polishes I used for my recreation were:

  • Essie Play Date
  • CND Crimison Sparkle
  • Kiss Nail Art Striper in Black
  • Kiss Nail Art Striper in White
  • Sally Hansen I ♥️ Nail Art pen in White 
  • Essie Brides No Grooms
  • My Beauty Spot unnamed pink
  • Essie Off Tropic 
  • Essie First Timer 
  • Cutex Quick Dry Top Coat
  • Small Nail Art brush from Bundle Monster

You know how I feel about floral, & I thought these were so perfect for the Spring-y weather we’ve been having. Plus it gave me an excuse to pull out Essie Play Date again. & these are definitely some of the best roses I’ve done in a while. I just can’t stop staring at them.

What do you think of our recreations? Let me know in the comments below!

And shout out the the lovely @teenynails for joining me in this swap. 💜 Don’t forget to check out her account on Instagram & check out all her amazing nail art!

Blue Chevron Claws


I received my Snail Vinyls nail vinyls order the other day, & immediately needed to break them out for some nail art. As part of my order, I ordered their Single Chevron Variety Pack because my selection of chevrons was sadly dwindling. & the ones I was most excited for from the collection? The Deep Single Chevron nail vinyls!

I’ve done Chevron claws a few times using straight vinyls or striping tape, but it’s not the easiest. I’m loving these vinyls because it takes the hard part out of it–all you need to do is line them up on the nail straight! Sure that took me a few tries to make sure they were straight, but the end result looks really awesome. Chevron claws are like the cool big sister to chevron moons, so obviously I love them! I’m really excited it will be so easy for me to do them now. 
For this mani, I used:

What do you think of these chevron claws? This was my first time using Snail Nail Vinyls, but they were easy to use, & produced nice clean lines (as you can see!) When it comes to a designs like this, clean & crisp lines are very important!

Also I really like the darkness of Bell Bottom Blues over In The Cab-ana. The shimmer of Bell Bottom Blues is just so pretty, especially when it catches the light. It just pairs with the light creamy  blue of In The Cab-ana so well. And they still have that Summer-y vibe, even with the darker blue sparkle.

Now that I have my lighting situation figured out, I’ve been working on taking different shots for the blog to show off my manis. Obviously I’ll never tire of my coffee shots, but I want to show off different angles of my designs so you get the whole look (including the occasional shot of my Cinderella hand!) I want to give my blog as much character as possible, so it’s as enjoyable to read as it is for me to write!


What do you think of these chevron claws? As always, let me know what you think in the comments below and stay tuned for more chevron nails featuring these awesome vinyls from Snail Vinyls!

Drip Marble decals inspired by @SimplyNailogical 


I’ve tried water marbling, & it was… not my thing. I’ve tried drag marbling, & it’s usually hit or miss. But I really love marbled nails, so naturally when I picked up a silicone craft mat I knew I needed to try drip marbling recently done by @simplynailogical.


For this mani I used:

  • ORLY Decades of Dysfunction 
  • Sally Hansen Pretty Piggy
  • Nicole by OPI We Got Beiber Fever
  • Finger Paints Wanna Gogh Dance?
  • ACO by Ardene Base Coat
  • Cutex Quick Dry Top Coat

To create my decals, I started off by dropping my polished of choice onto the mat, starting with my lightest colour (ORLY Decades of Dysfunction) as my base, then continued with my darker colours, & finished with my metallic shade (Finger Paints Wanna Gogh Dance?). Once all my colours were down, I moved my mat around to create my marbled effect. Once I was happy with one decal, I’d let it sit & dry for a few minutes before starting on the next one. When I was happy with the amount of decals I’d made, I left them to Dry for a few hours (around 2 hours).

I’m not going to lie, trying to apply these wasn’t the easiest. I started off by painting my accent nails with a base colour (again I used ORLY Decades of Dysfunction) and let dry. I then peeled off my decal & figured out which part I wanted on my nail, trimming it down to a more manageable size. When I was ready, I applied a coat of my ACO by Ardene base coat & immediately stuck my decal onto the nail. Using a brush dipped in acetone, I cleaned up around the cuticle. This was probably the least fun part–I wish I had better nail art scissors to trim off the access instead! When the decal was fully cleaned up & my cuticles were clean I sealed everything in with top coat to finish. I also surrounded my cuticles in oil to help after all that remover. No one likes wrecked cuticles.

And how does the final result look?

Continue reading “Drip Marble decals inspired by @SimplyNailogical “