Hello lovelies & happy Friday! I hope you’re having a beautiful week so far. My August allergies have hit & hit hard so I’m sneezing my way through the days — hence why I missed posting on Wednesday. I was in an allergy induced haze.
Today I decided to go for a super Summery design, especially since I feel like I’m shifting into Autumn vibes hard.

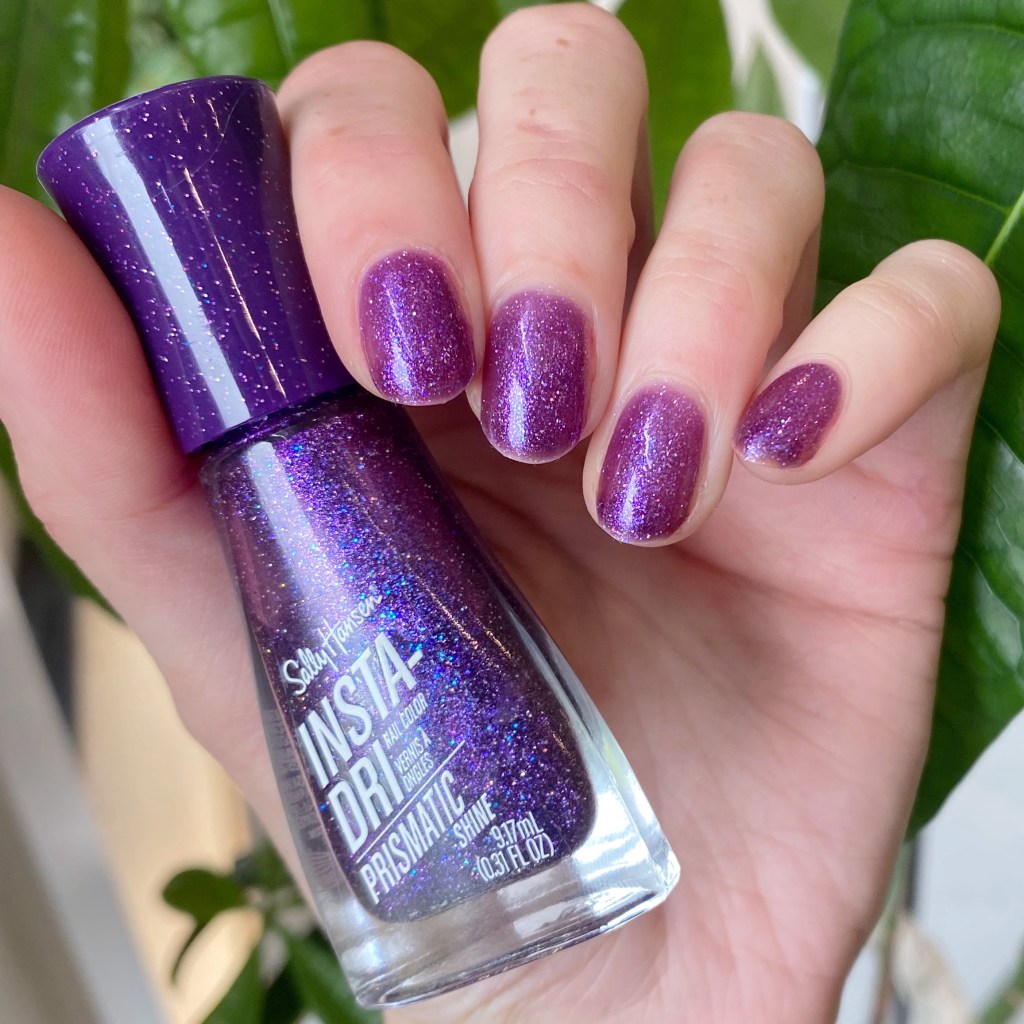
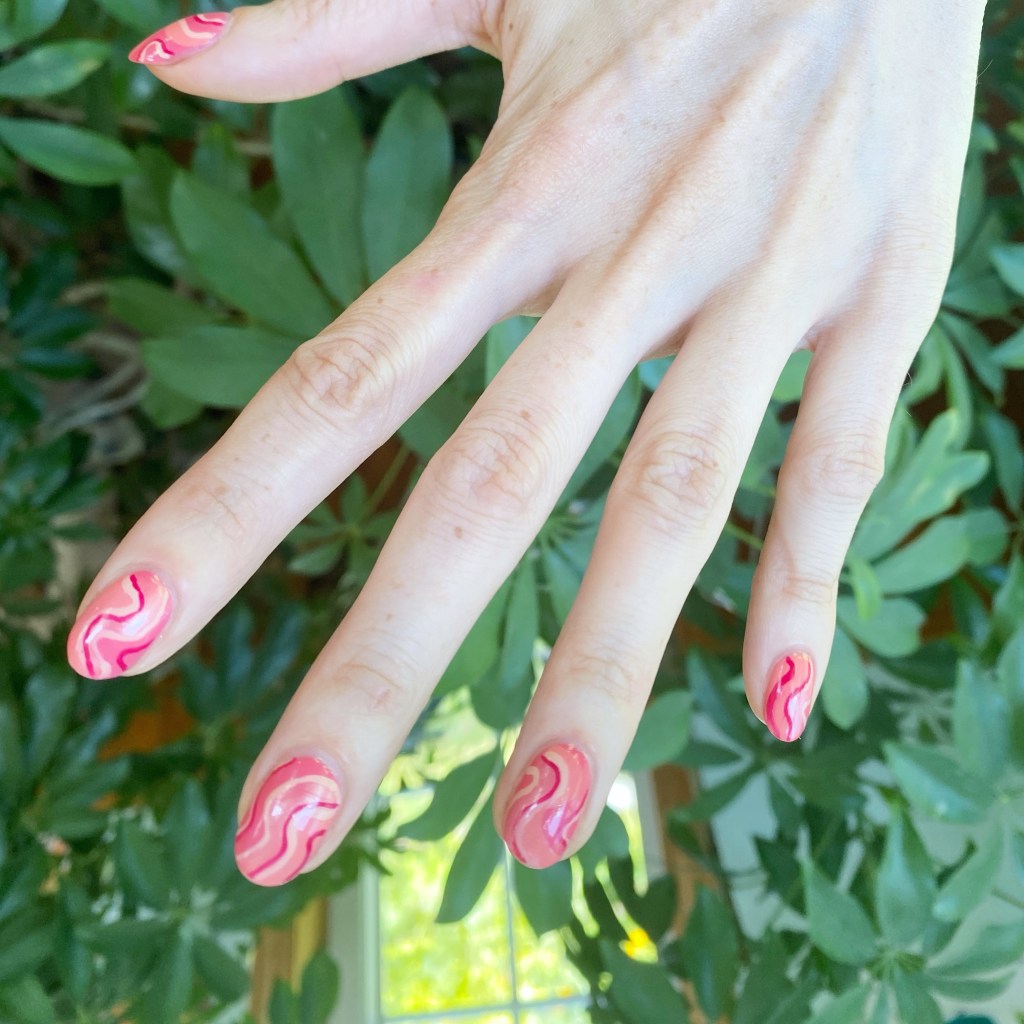
The polishes I used for this manicure are:
- Top Coat: Essie Good To Go Top Coat
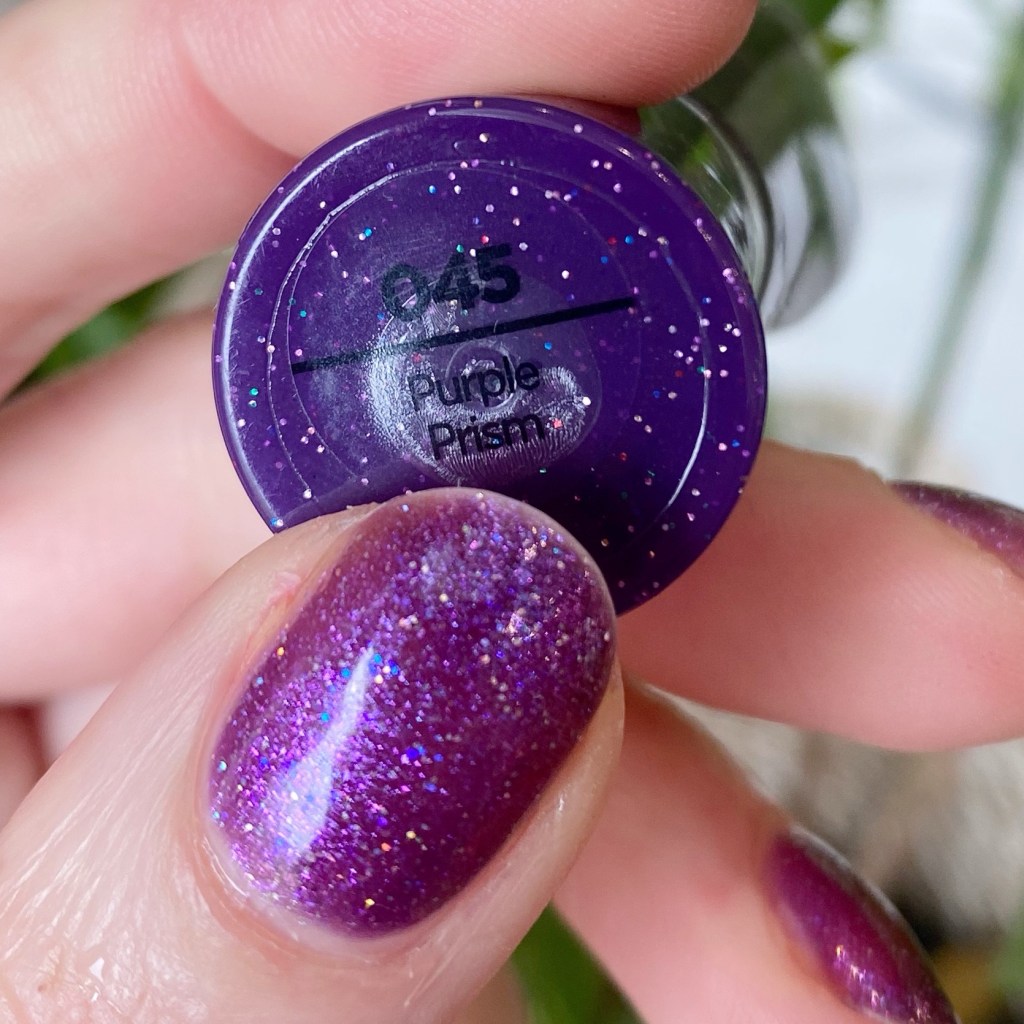
- Base Coat: Essie Hard to Resist (purple)
- Essie Throw In The Towel
- Essie Watermelon
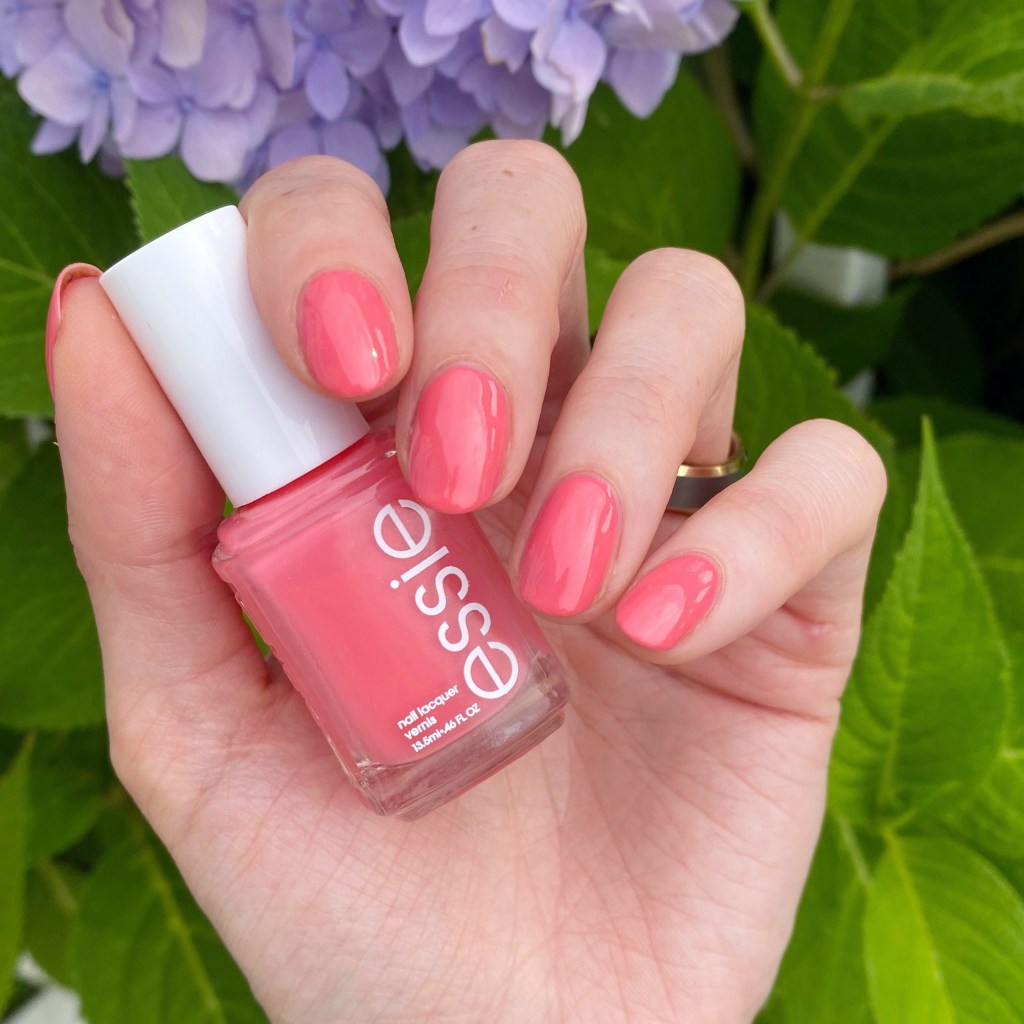
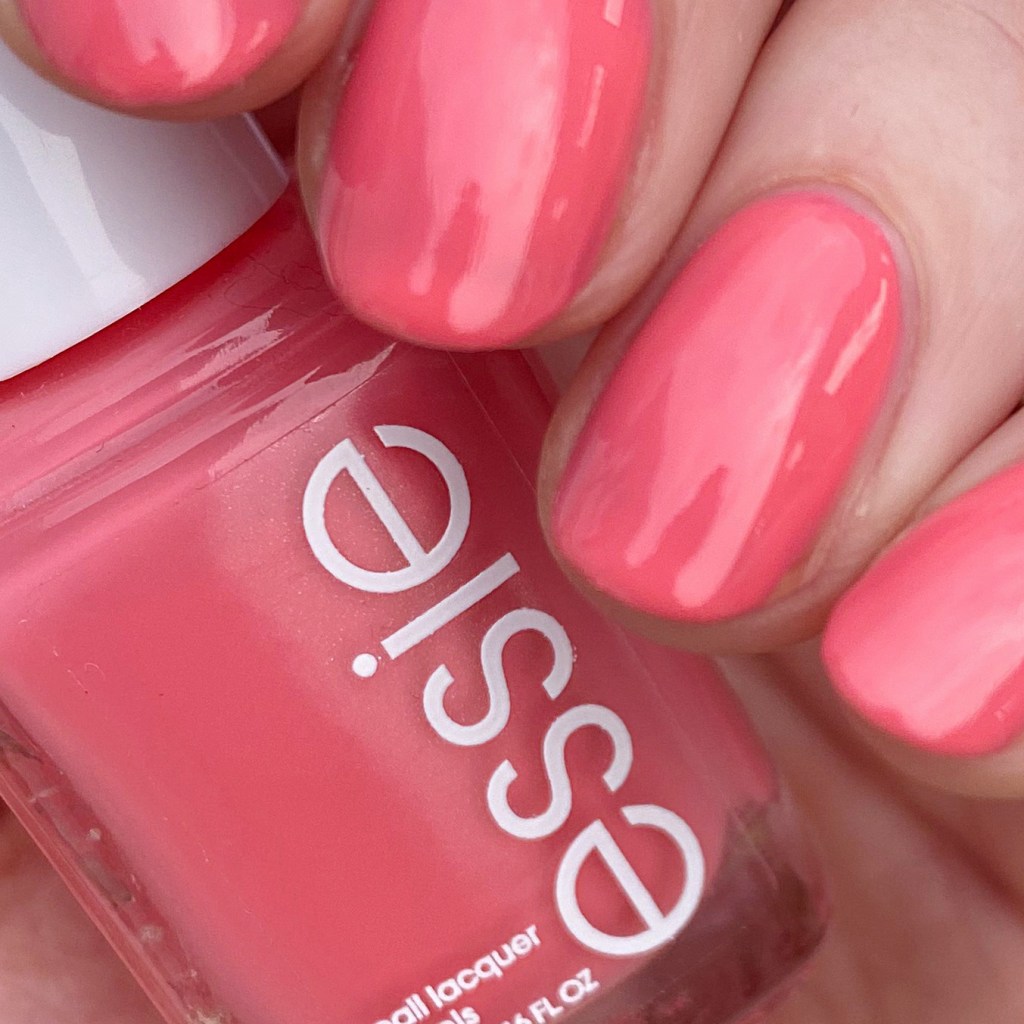
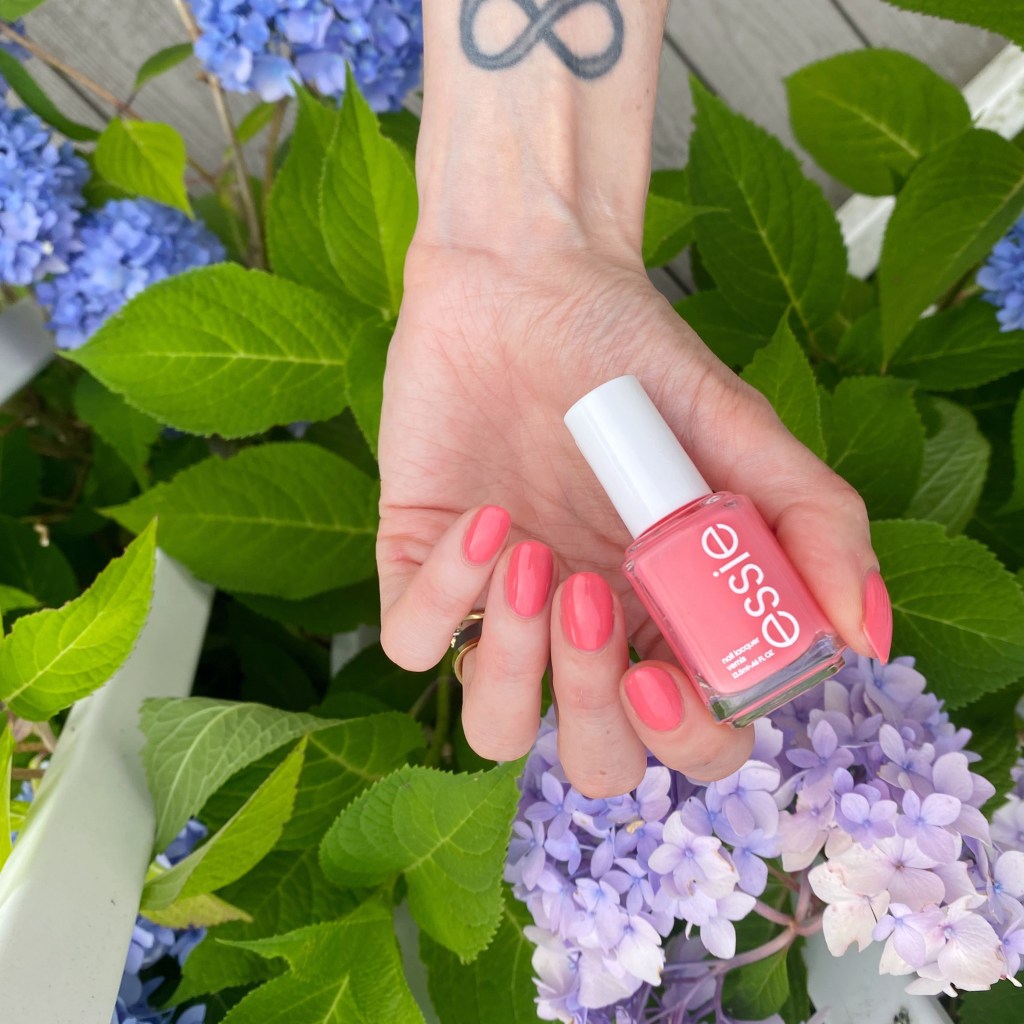
- Essie Peach Side Babe
- Essie Spring Fling
- Essie High Class Affair
- Nailstuff.ca Mermaid Tail 7mm liner brush

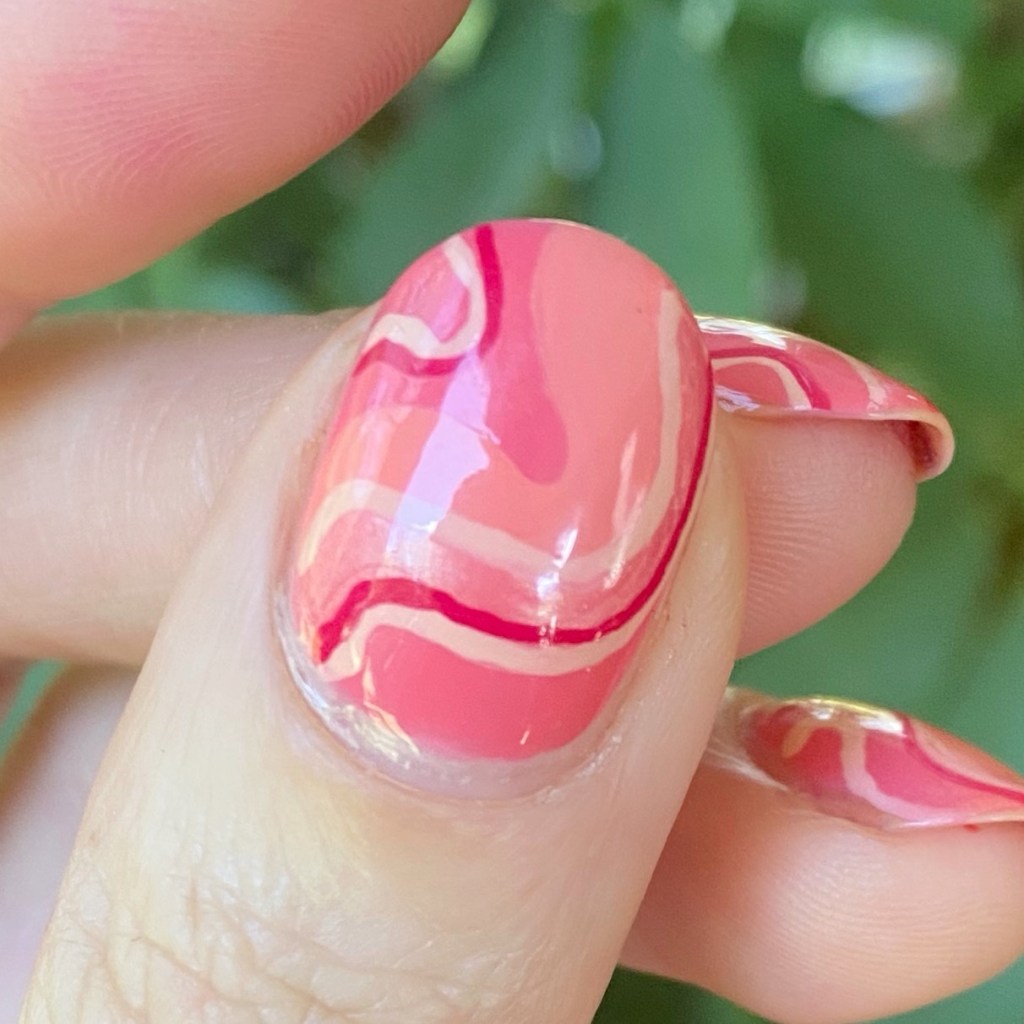
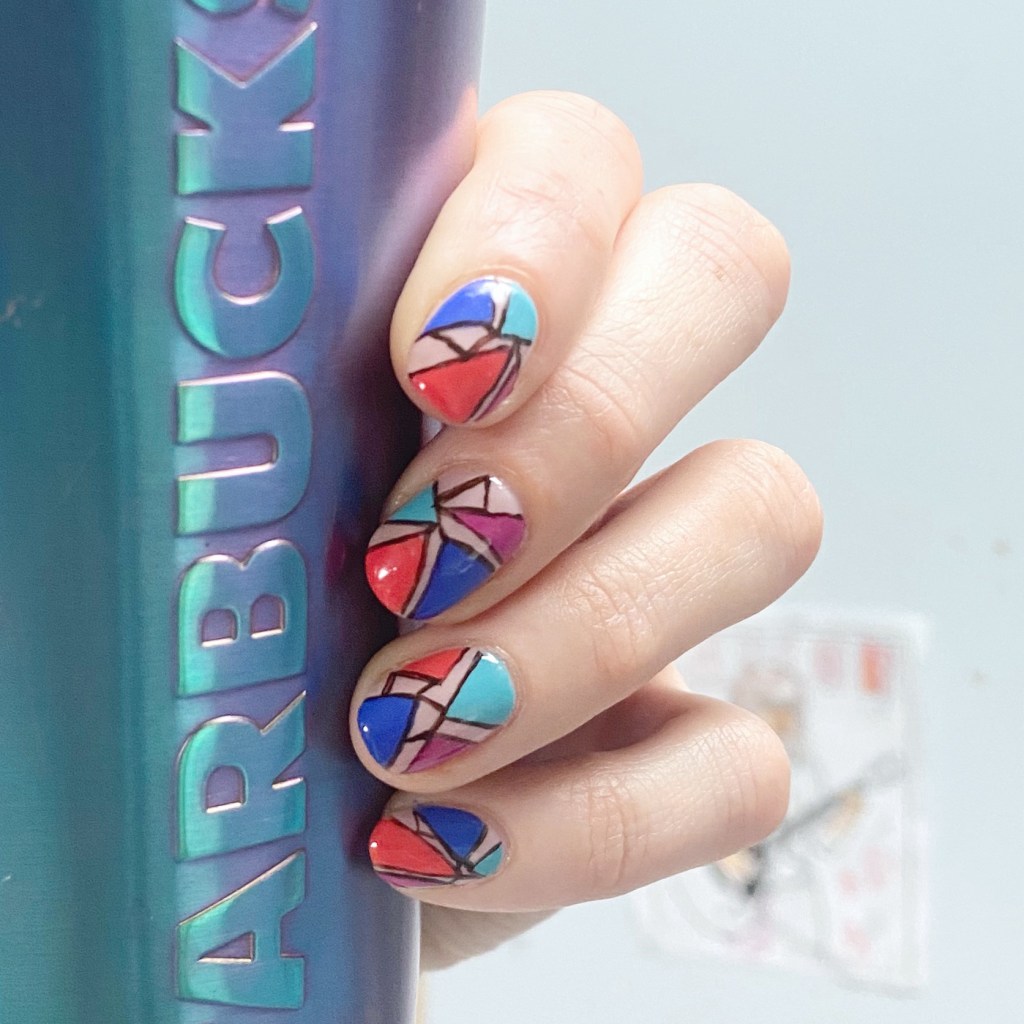
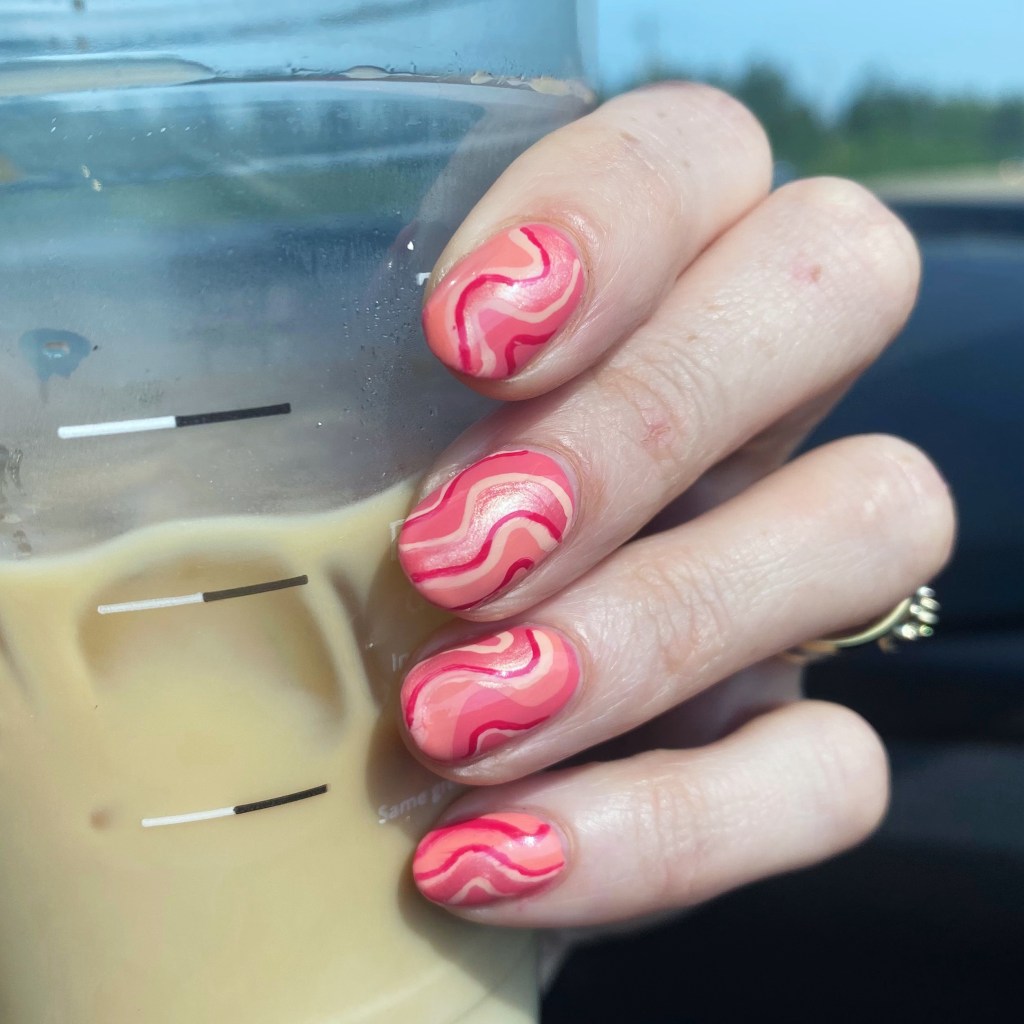
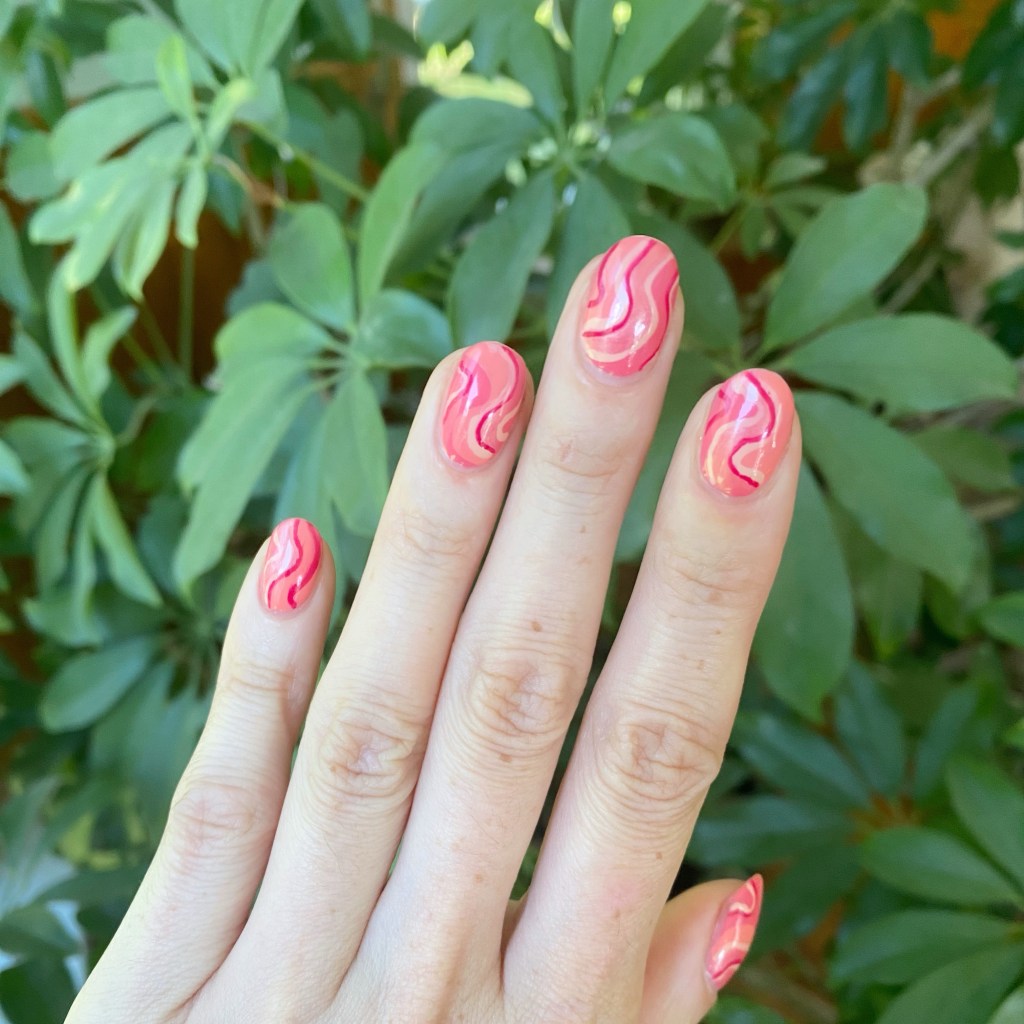
How pretty did these abstract stripes turn out? I just love the combination of pinky corals. Very bright, very Summery. This is the perfect nail polish send off before I really transition into the Autumn vibes & all things pumpkin spice (already drinking it in my coffee!)
What do you think about these Summery abstract stripes? Are you looking forward to Fall as much as I am? Let me know all your thoughts down in the comments below!
Happy Friday!
🖤