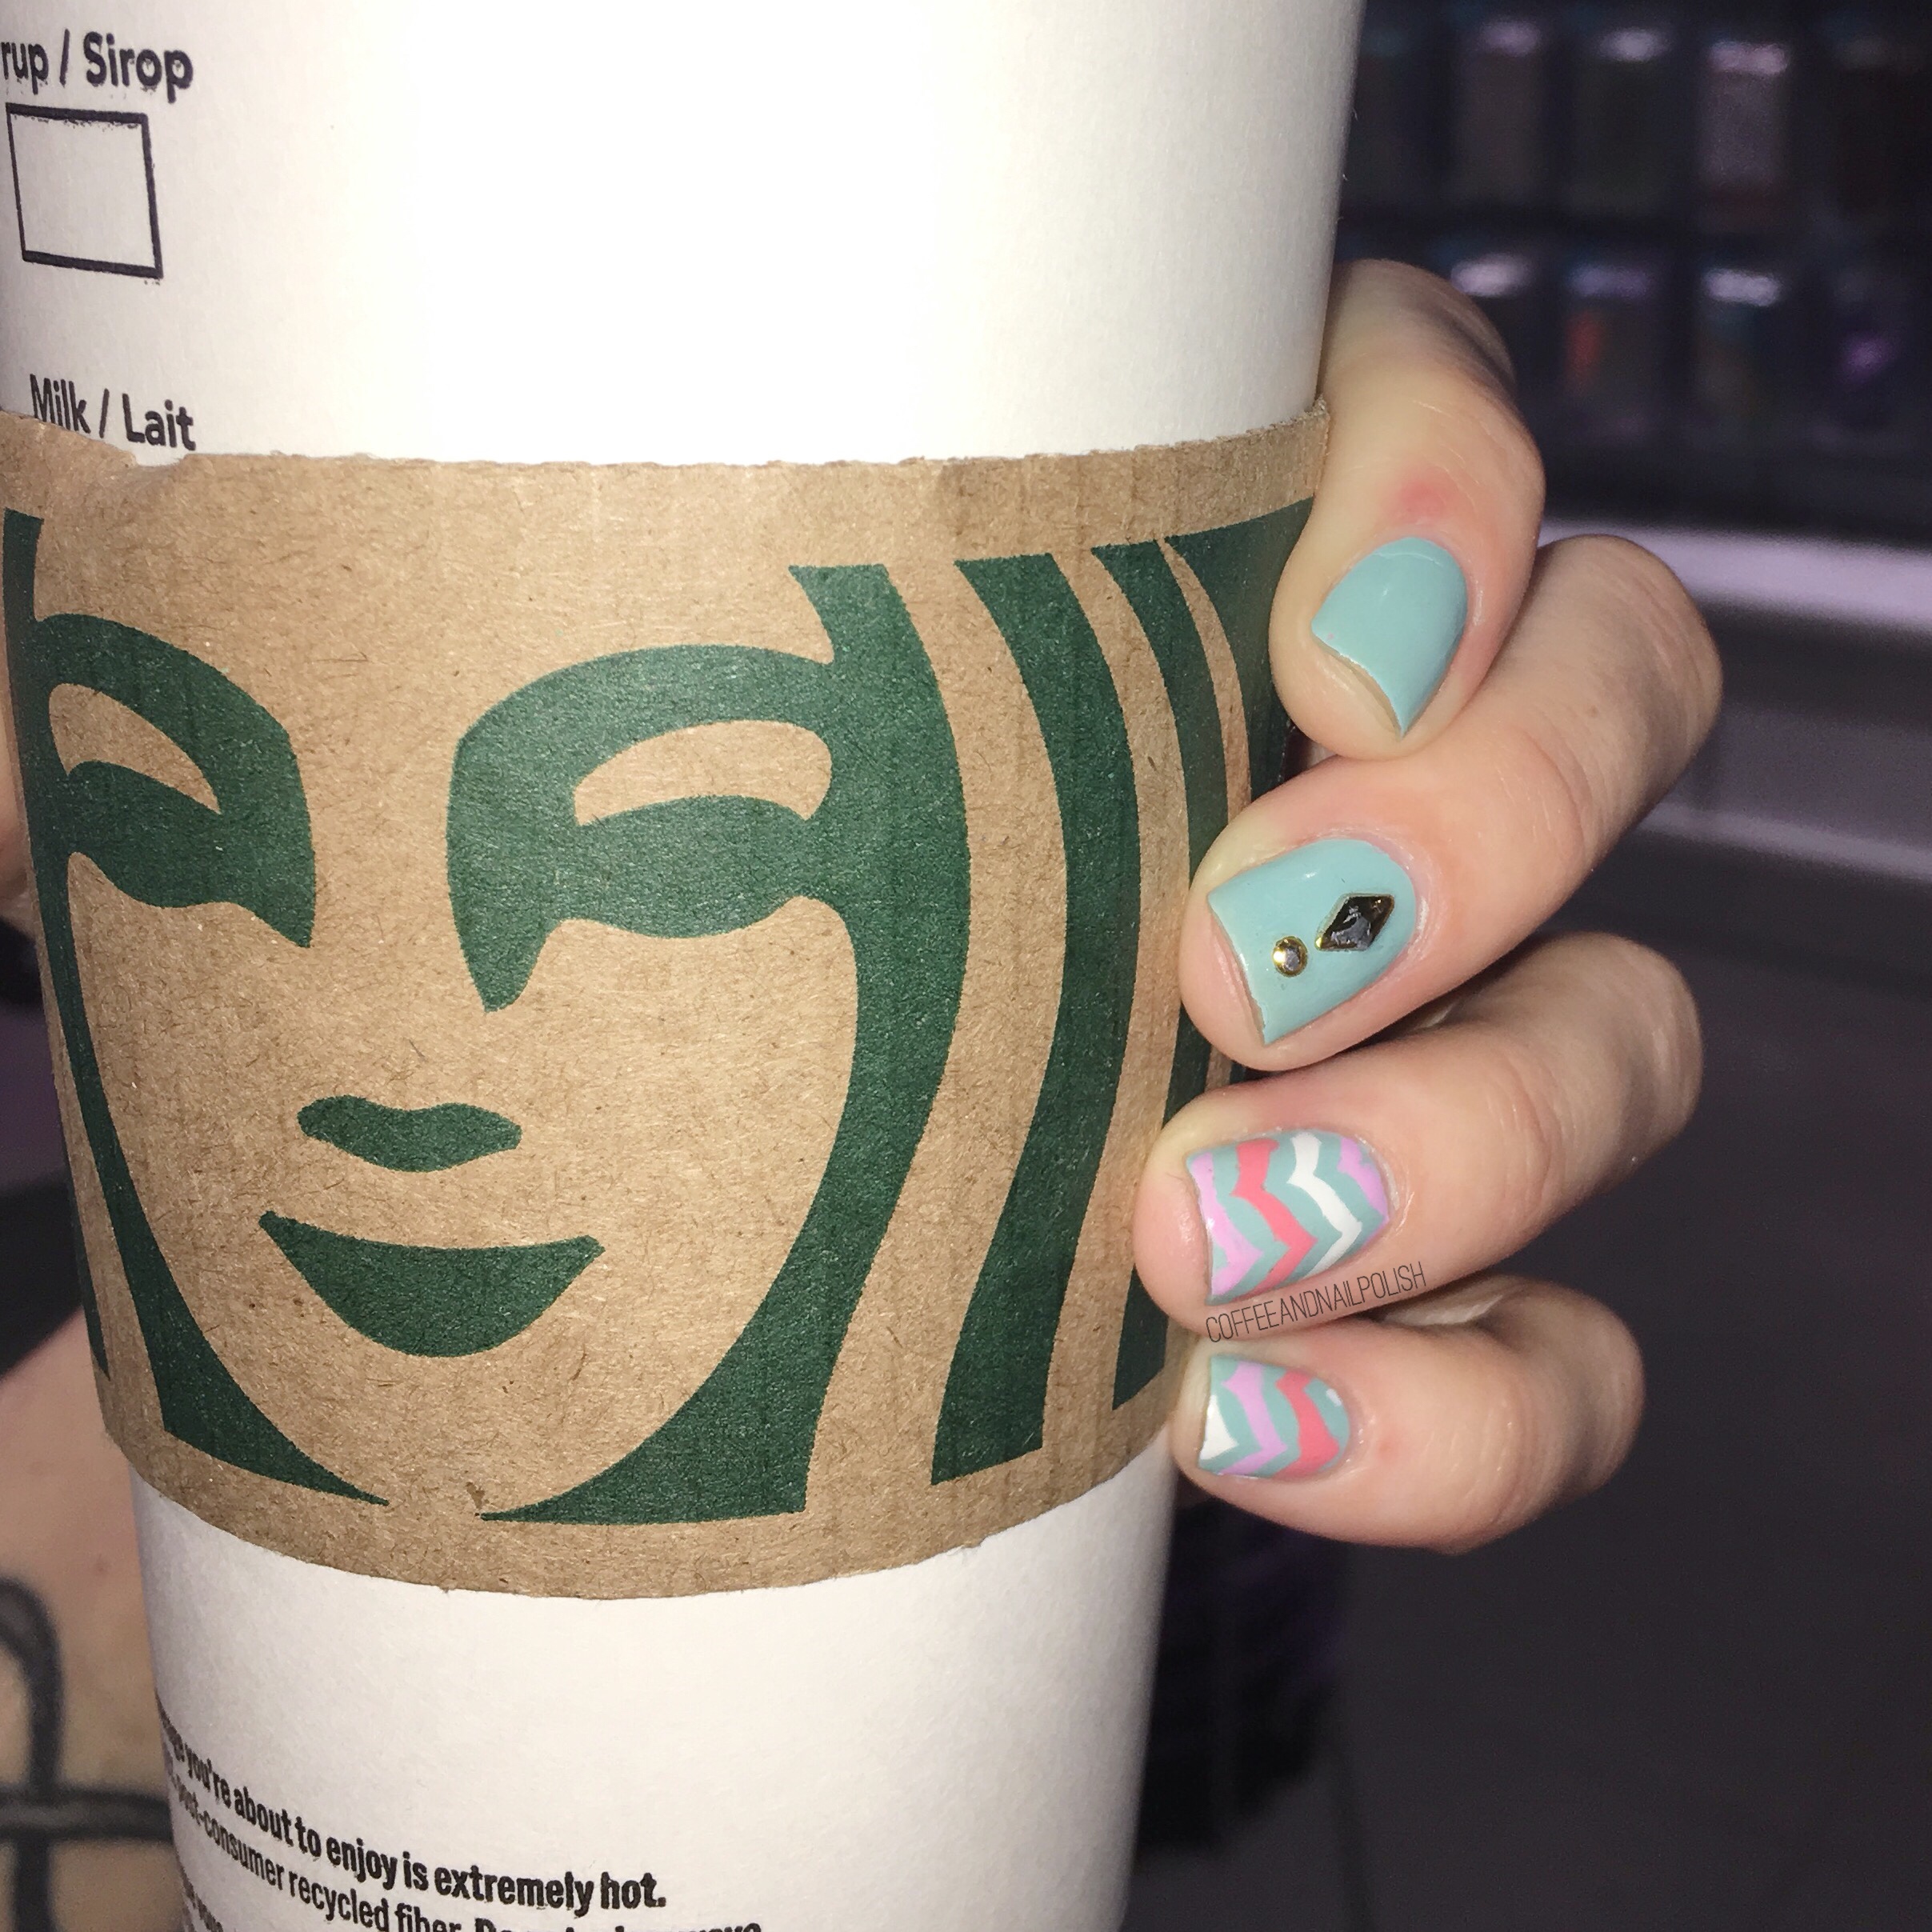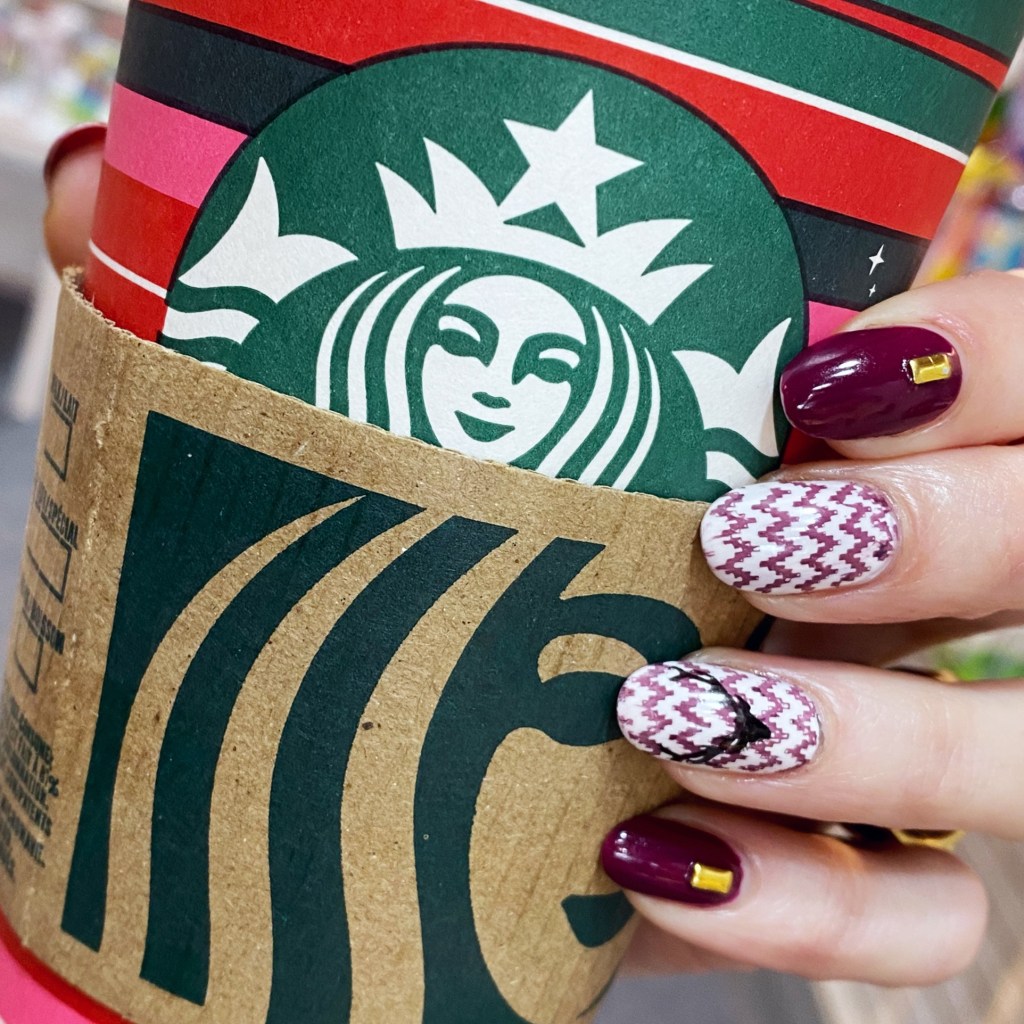
Hello lovelies & happy Monday! I hope everyone had a stellar weekend — the first weekend of November. I know mine was definitely a busy one at work. You can feel the holiday spirit already seeping into the air. Also, Starbucks Holiday cups are back — as is the gingerbread latte! — so that really makes you realize how quickly the end of 2023 is approaching.
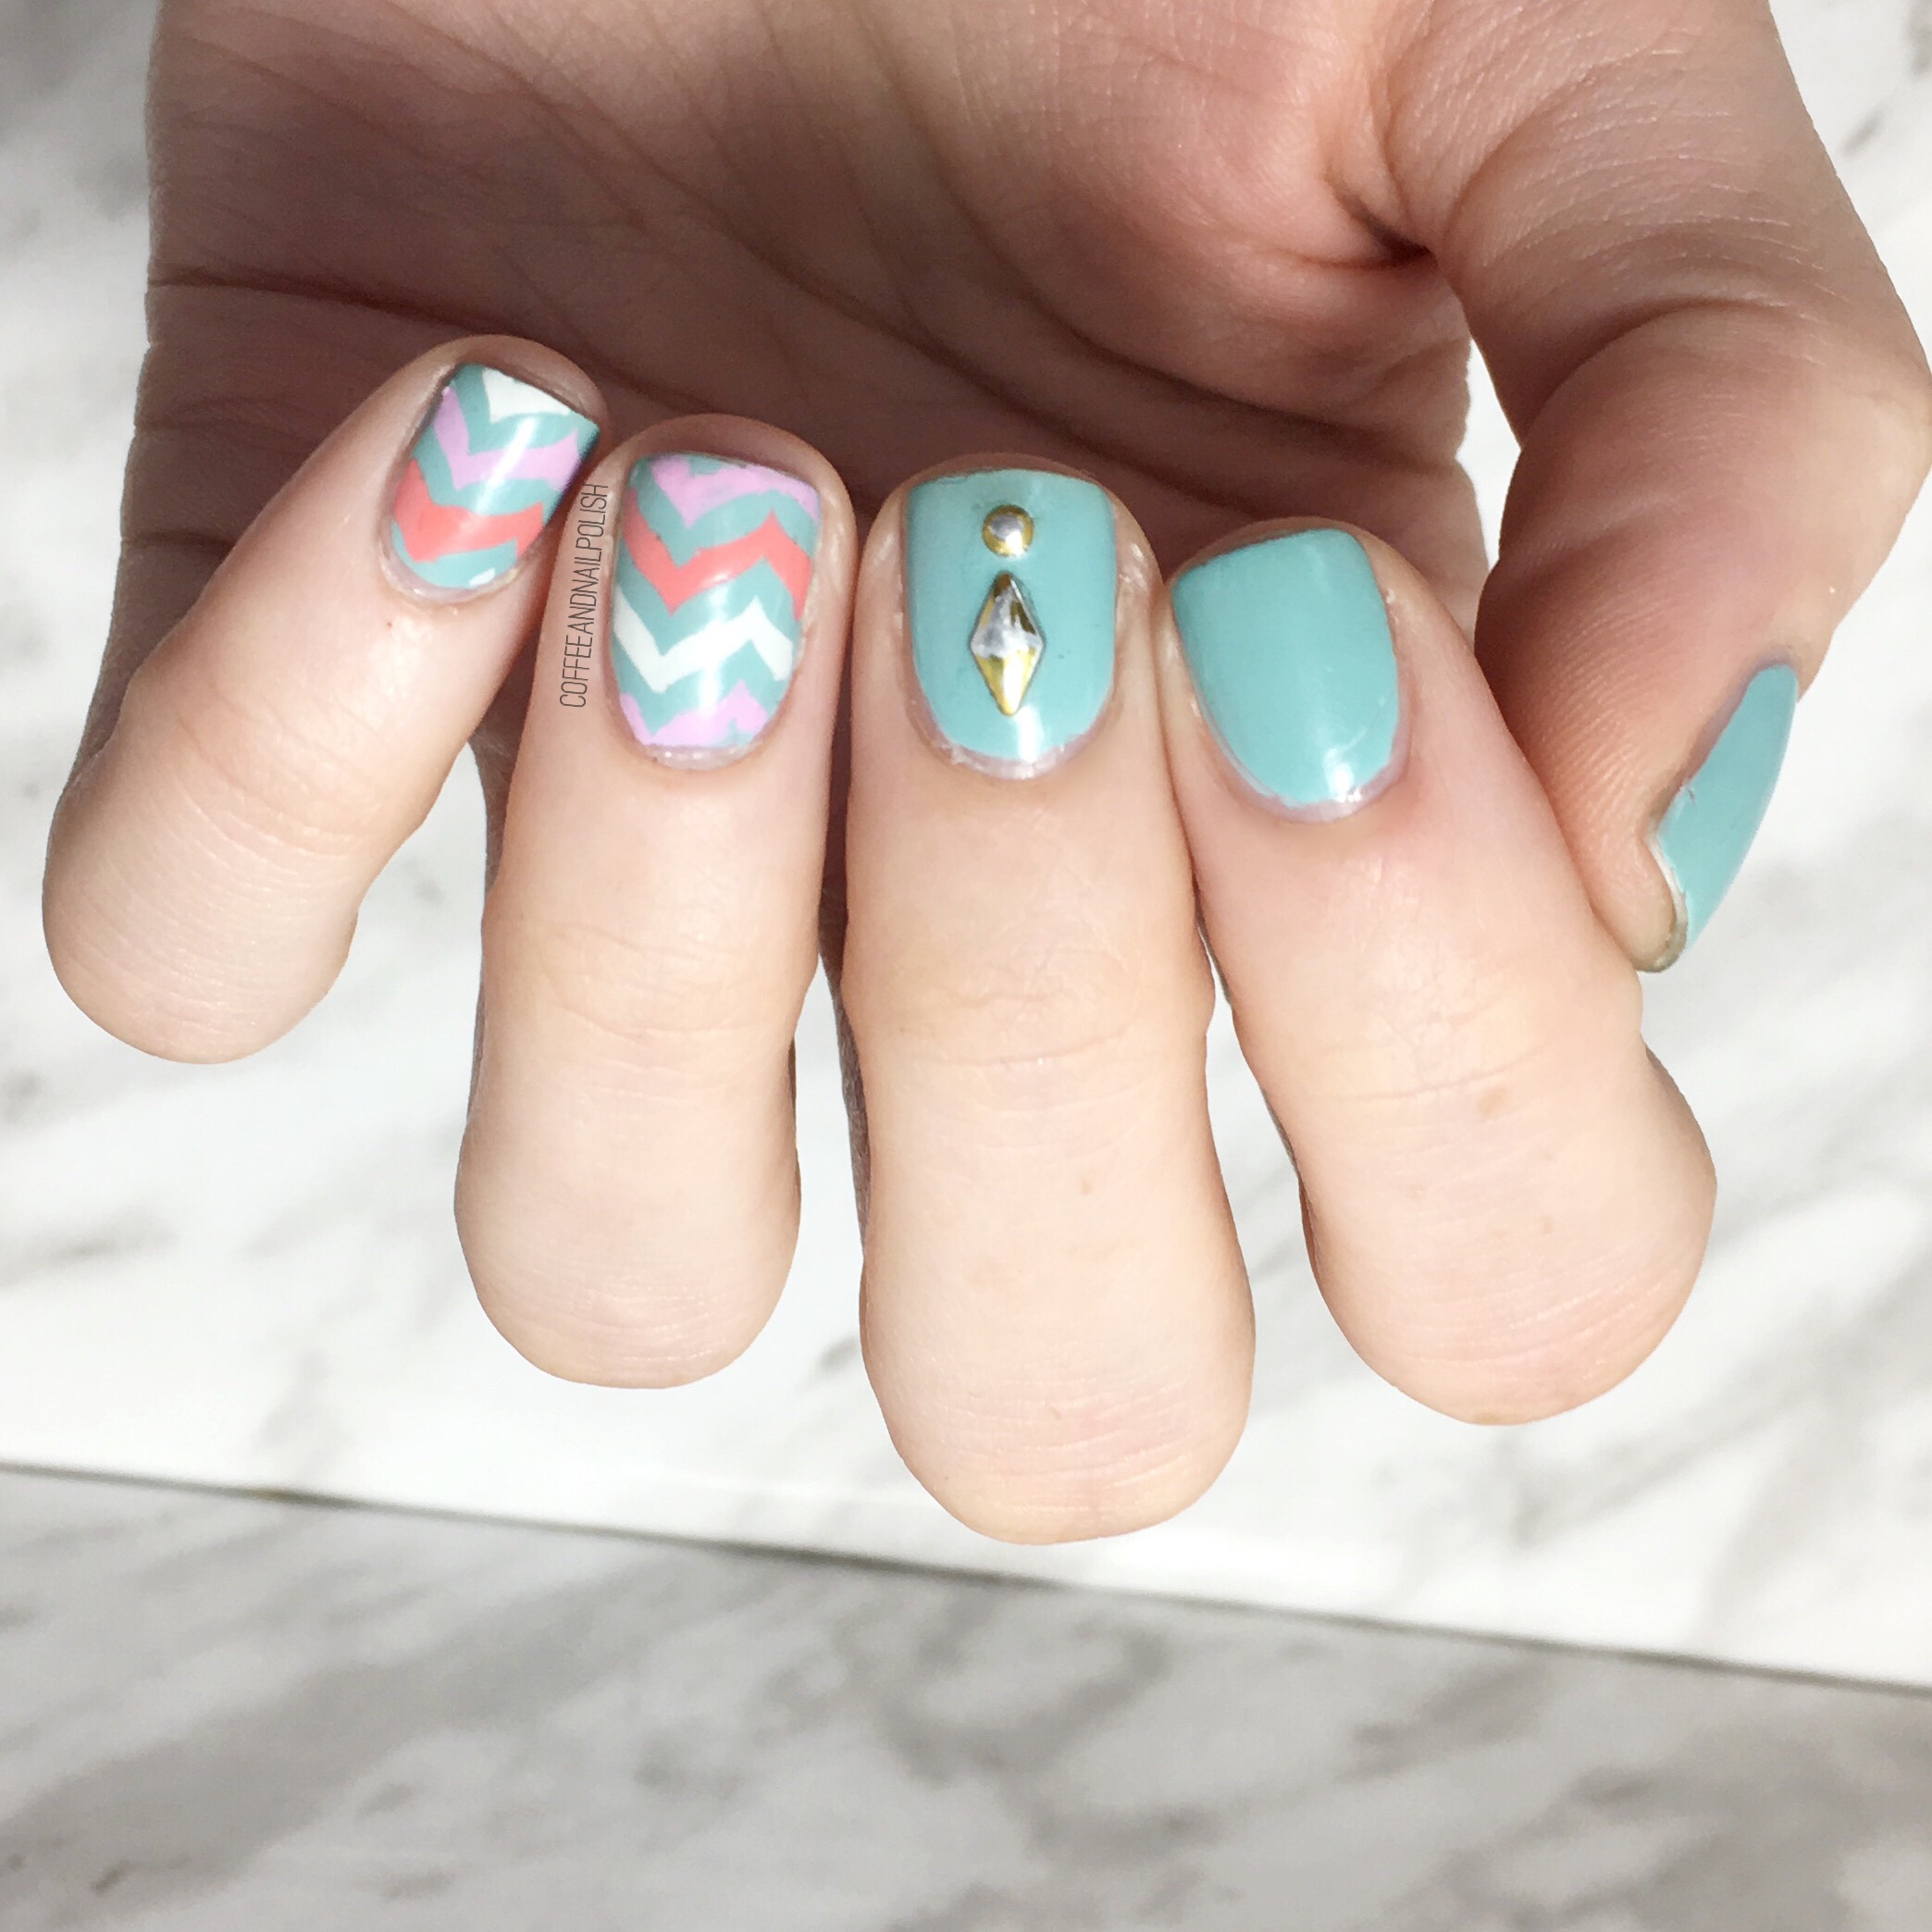
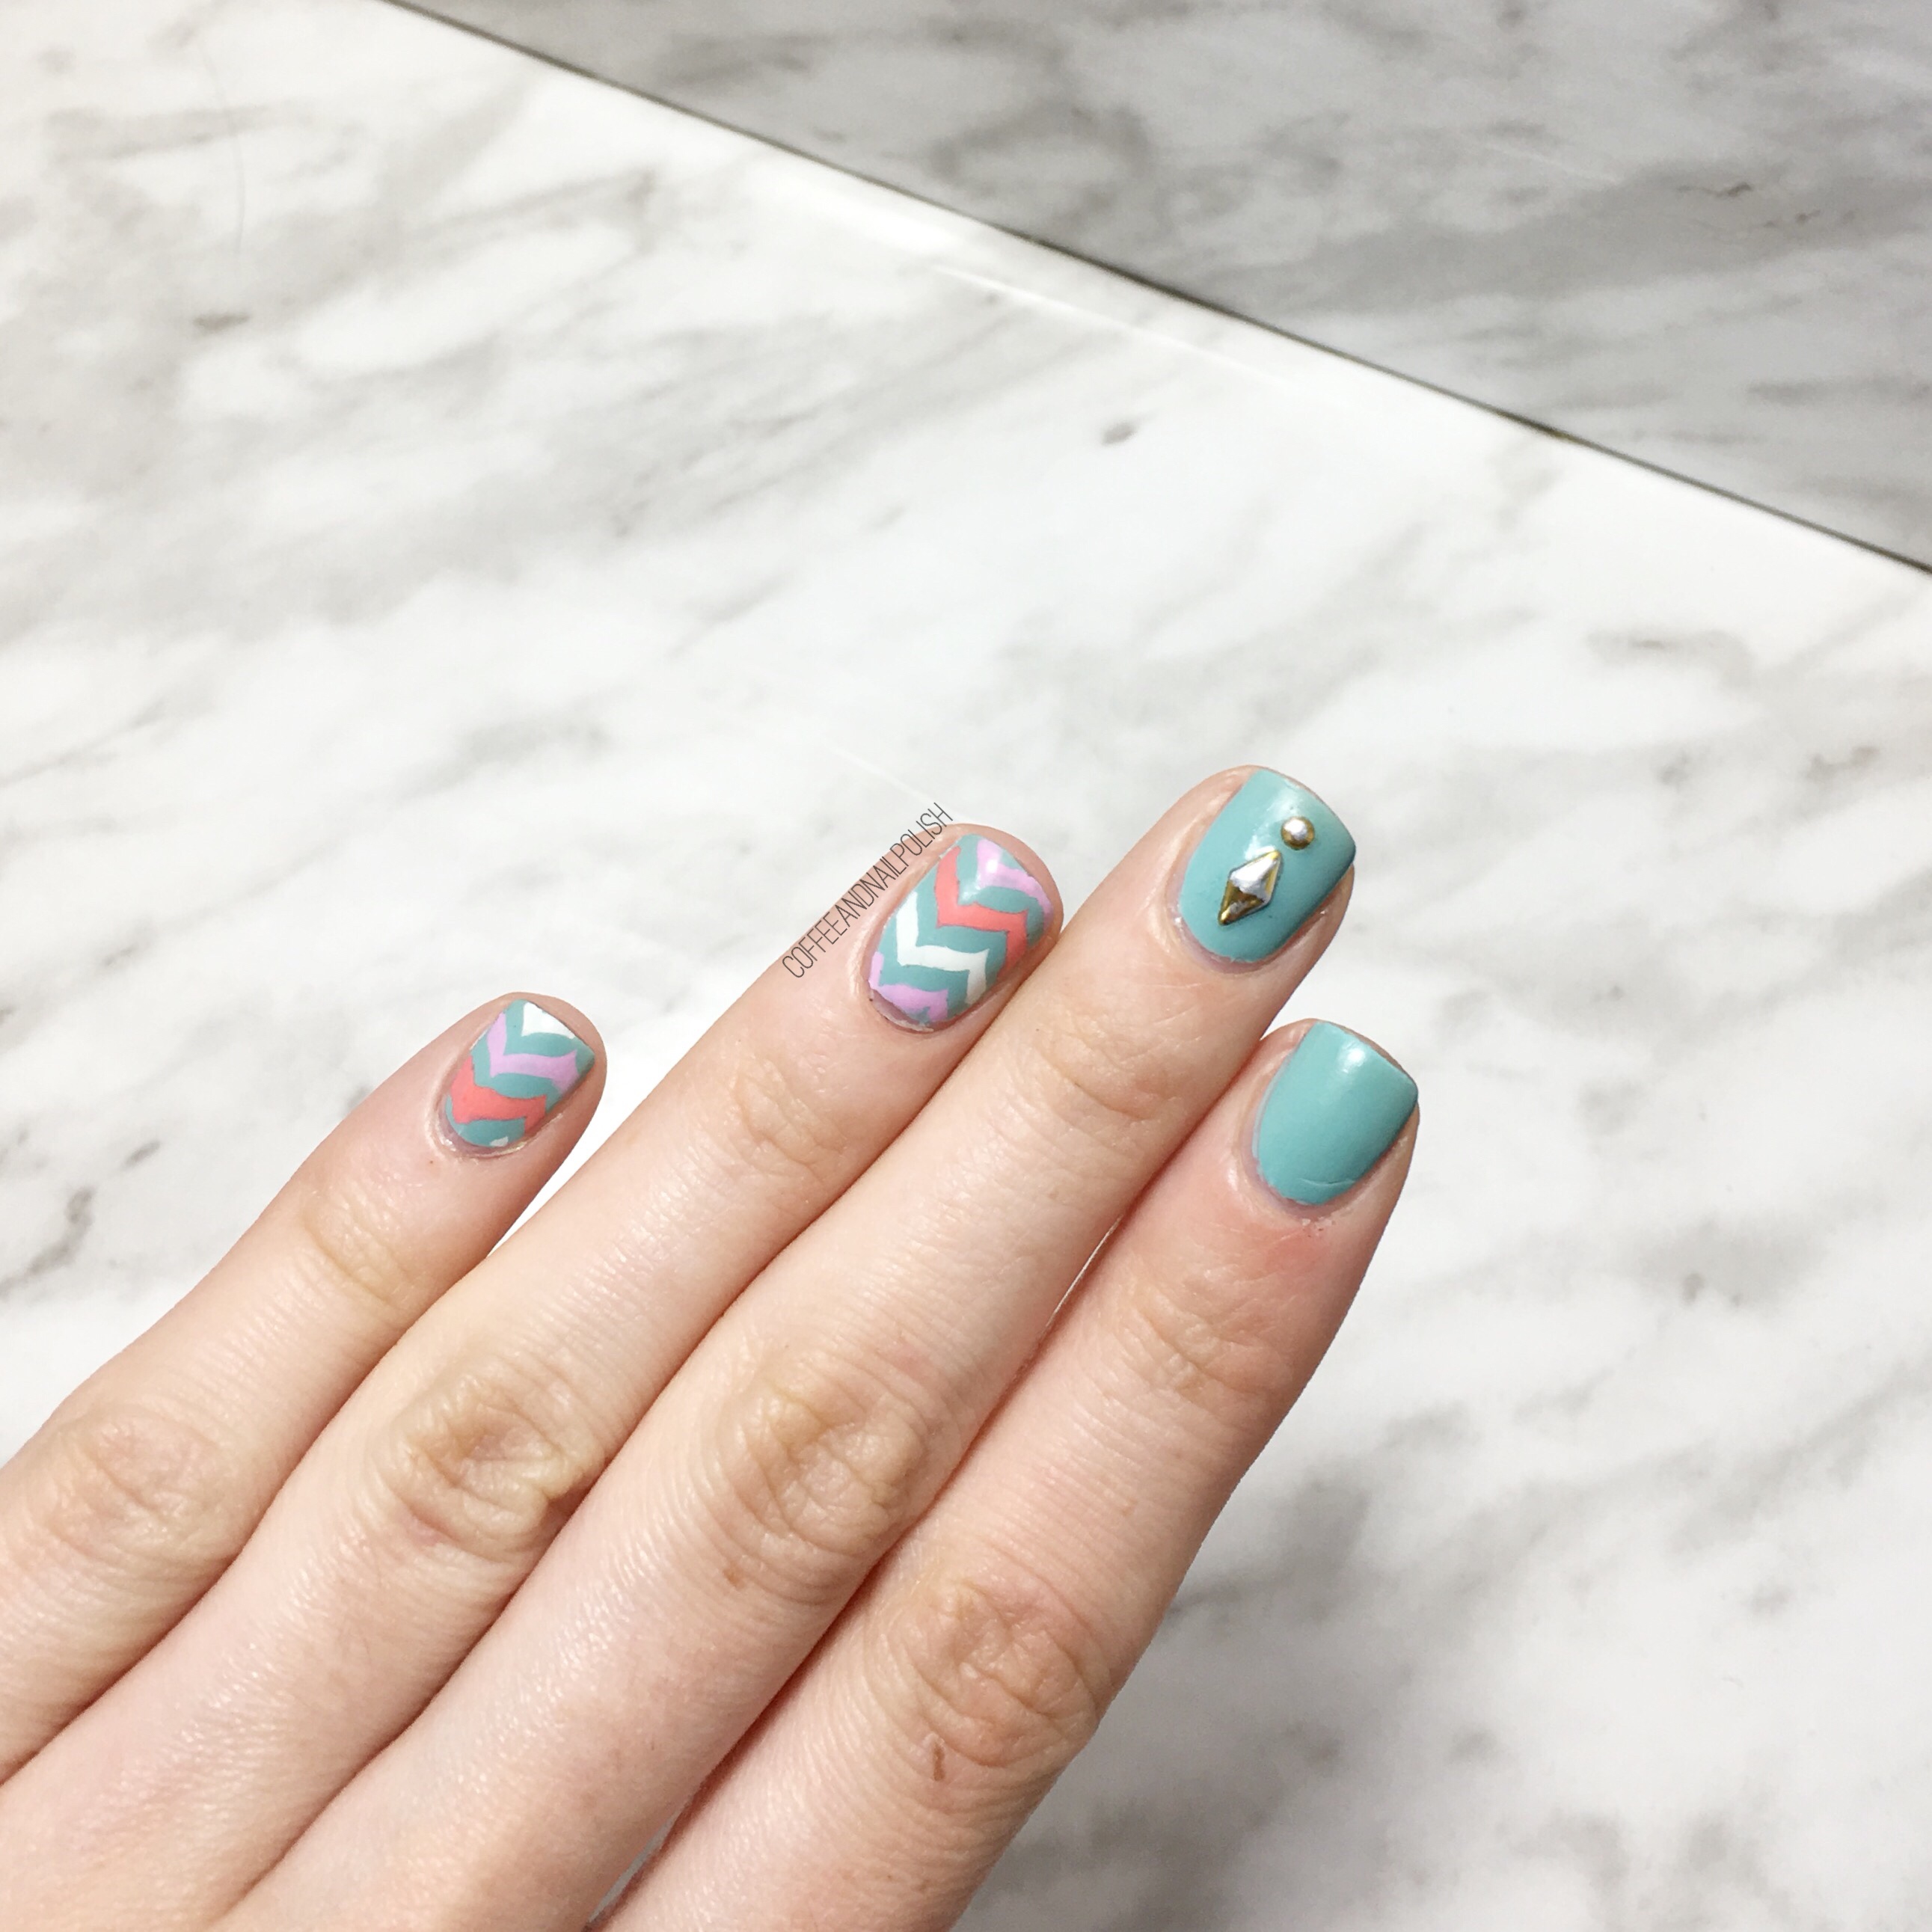
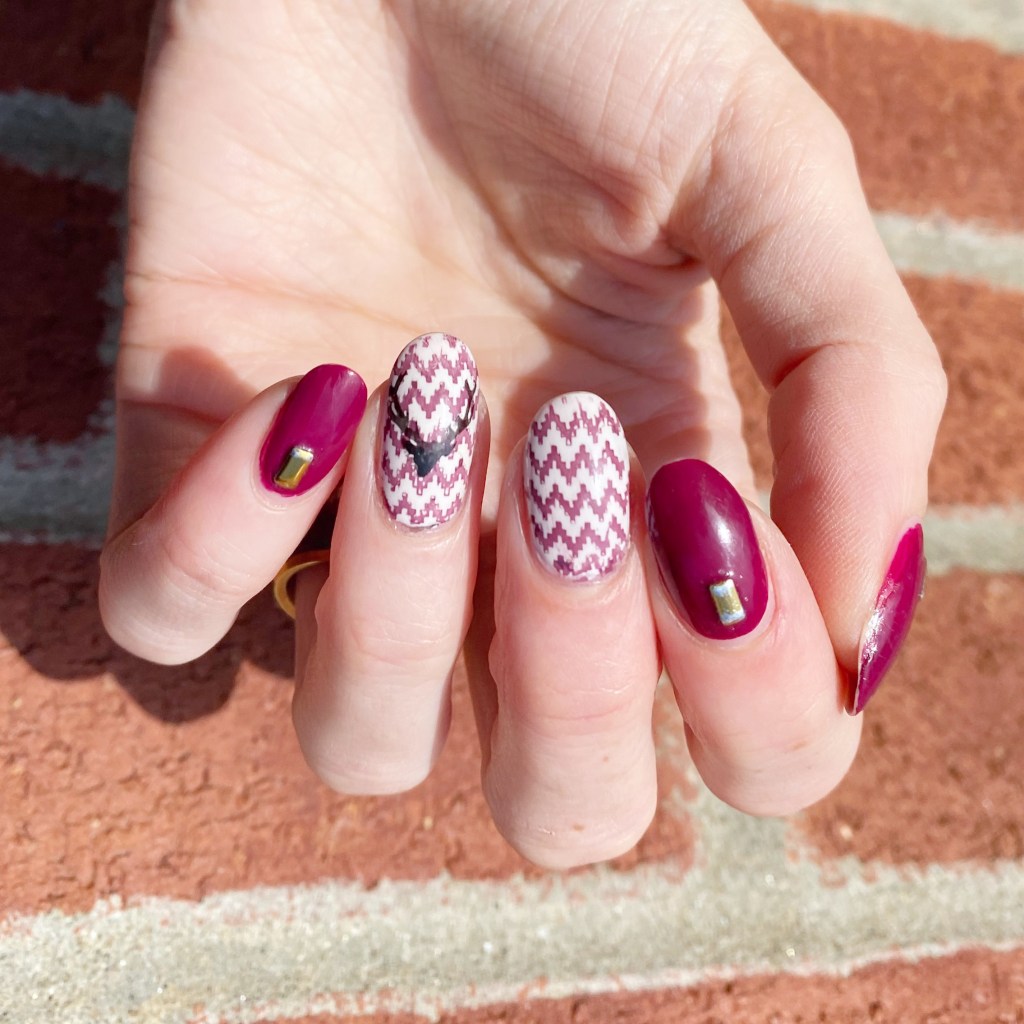
But I’m staring off this week with some sweater nails, done prior to my big nail break on Friday. You know me — I love a good sweater inspired manicure. As soon as the weather gets that extra bit of chill, I’m all about the sweater nails.
The polishes I used for this manicure are:
- Base Coat: Essence Colour Grip Base Coat
- Top Coat: Seche Vive
- Sally Hansen Complete Salon Manicure Ruby Do
- Sally Hansen Miracle Gel Ski Bunny
- Sally Hansen CSM Pat On the Black
- Sally Hansen InstaDri Ghouls Night Out
- Discontinued Born Pretty Store stamping plate
- Nailstuff.ca clear stamper & scraper set
- Nailstuff.ca metallic studs (no longer available)

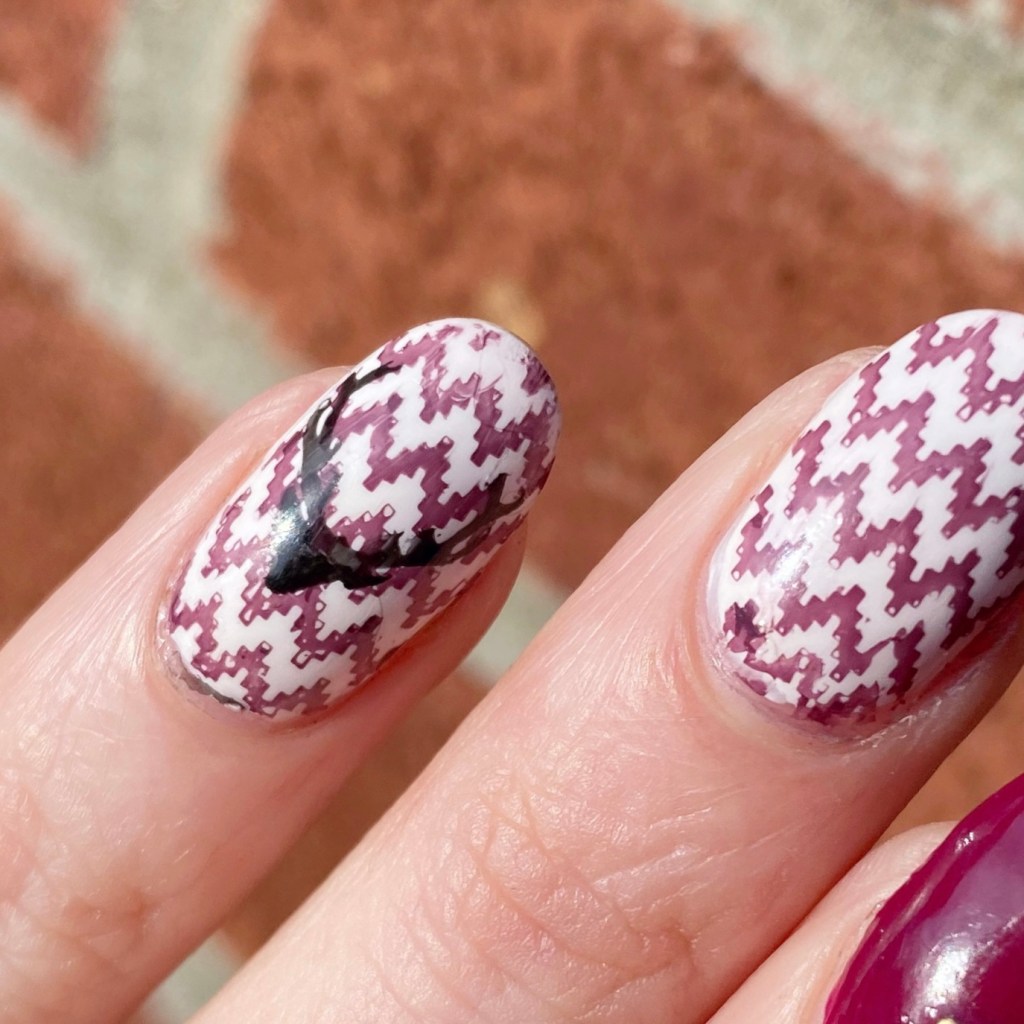
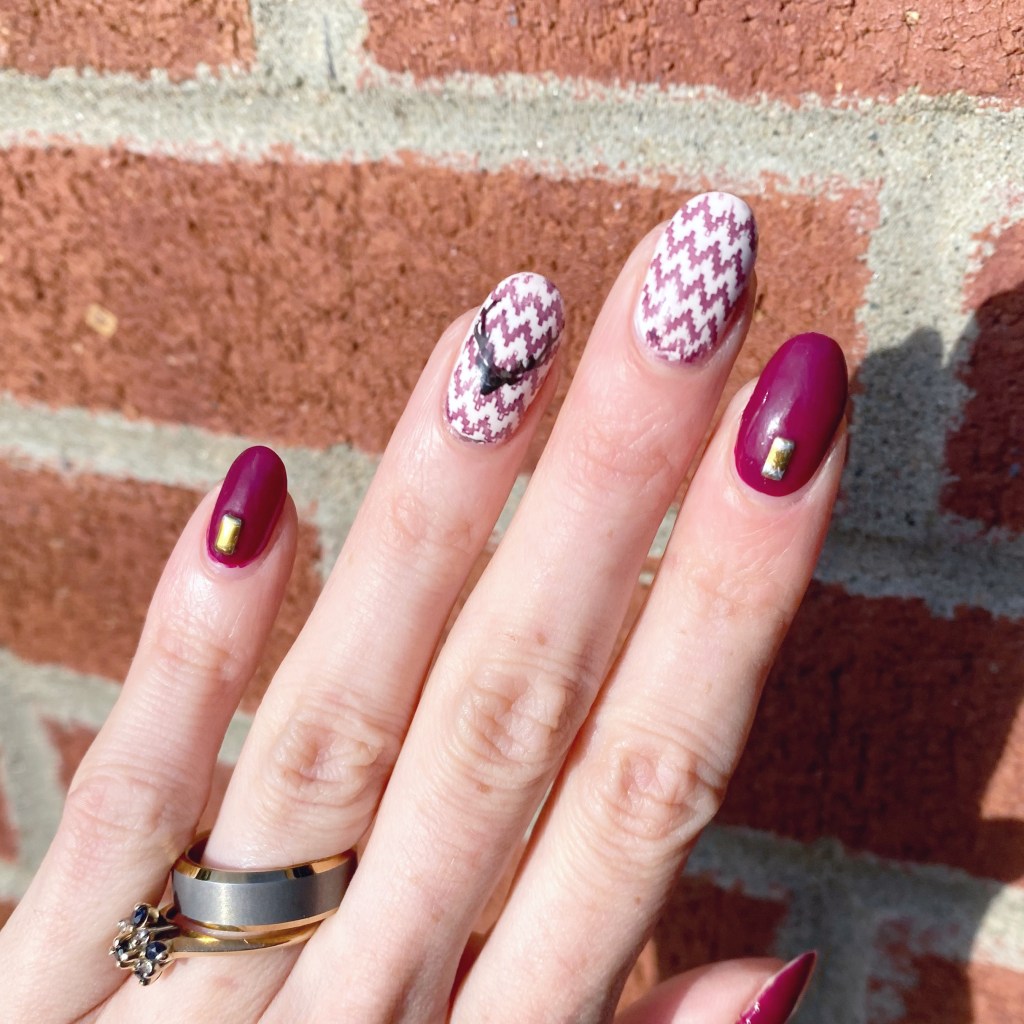
It’s been a while since I pulled out any of my studs, & I kind of missed how they complete a look! Of course, I wore in retail so I banged mine up really quickly, but you can’t even notice from far away.
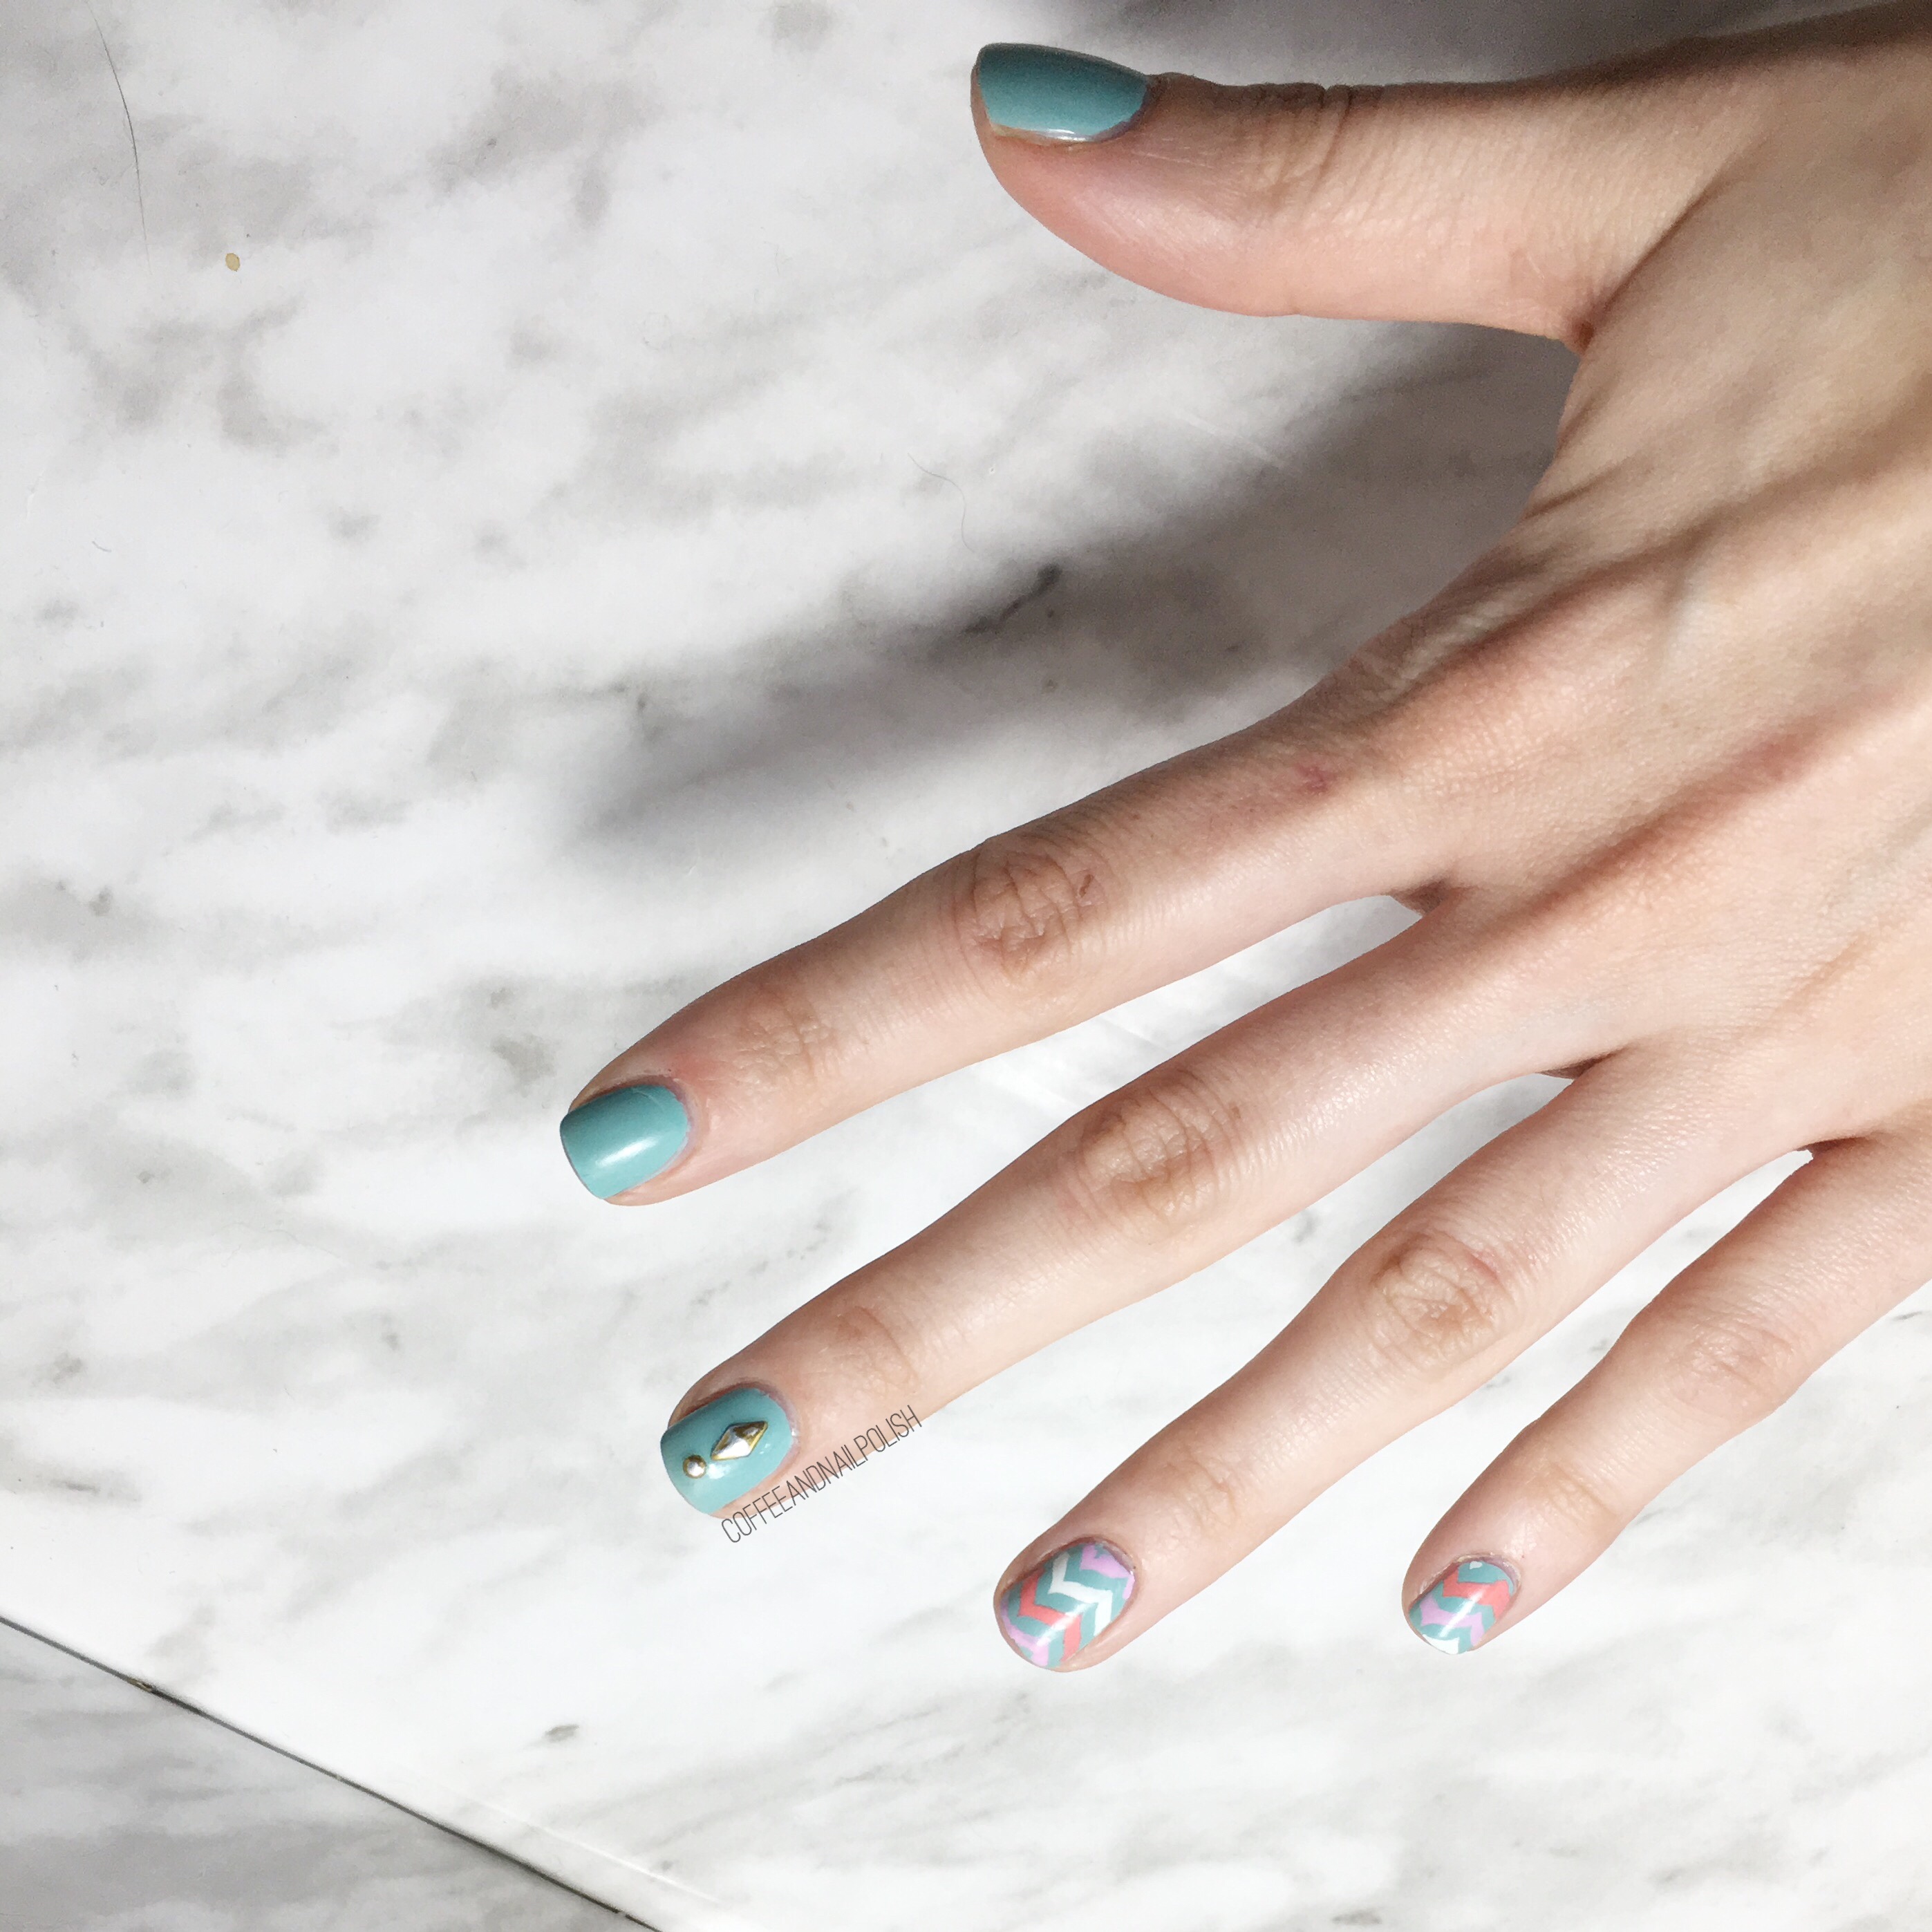
I also feel like this design is a good in-between look before we start getting into our more Christmas-y designs. I would be prepared for a whole lot of Sweater nails this month! I always find November my hardest month for nail art inspiration, because it’s half way between Fall & Winter, I don’t want to do Christmas too soon, & I’m never quite sure what I want to wear on my nails.

What do you think about my sweater nails? Do you think these are a fun November look? What kind of nail art do you gravitate towards in November? Let me know all your thoughts down in the comments below & let me know what kind of nail art you would like to see!
Have a fantastic Monday ♥︎