Hello lovelies & happy Monday! I hope everyone had a lovely weekend. After struggling through a sinus infection last week, & feeling pretty run down—I’m finally feeling more or less back to myself. & I’m so excited to share the next prompt for Glam Nails Challenge October because I’m so proud of my design!
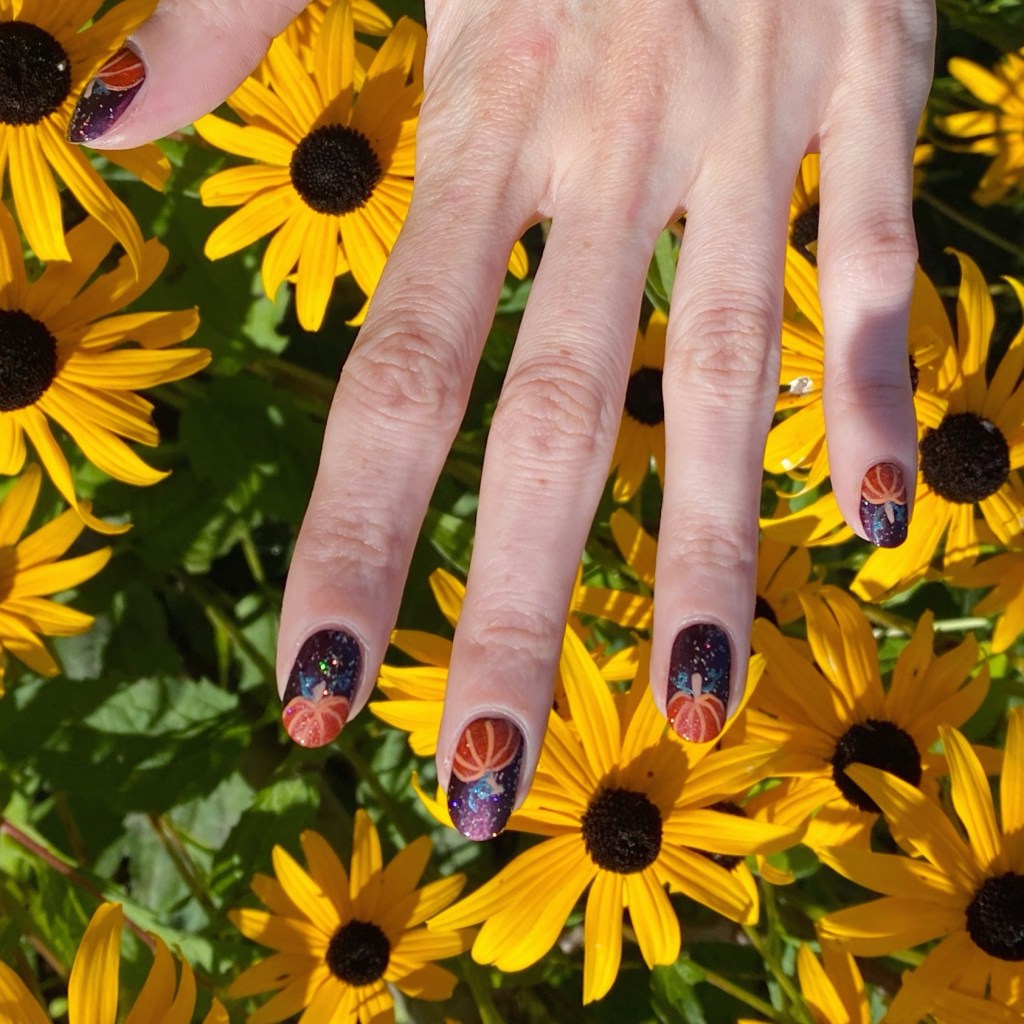
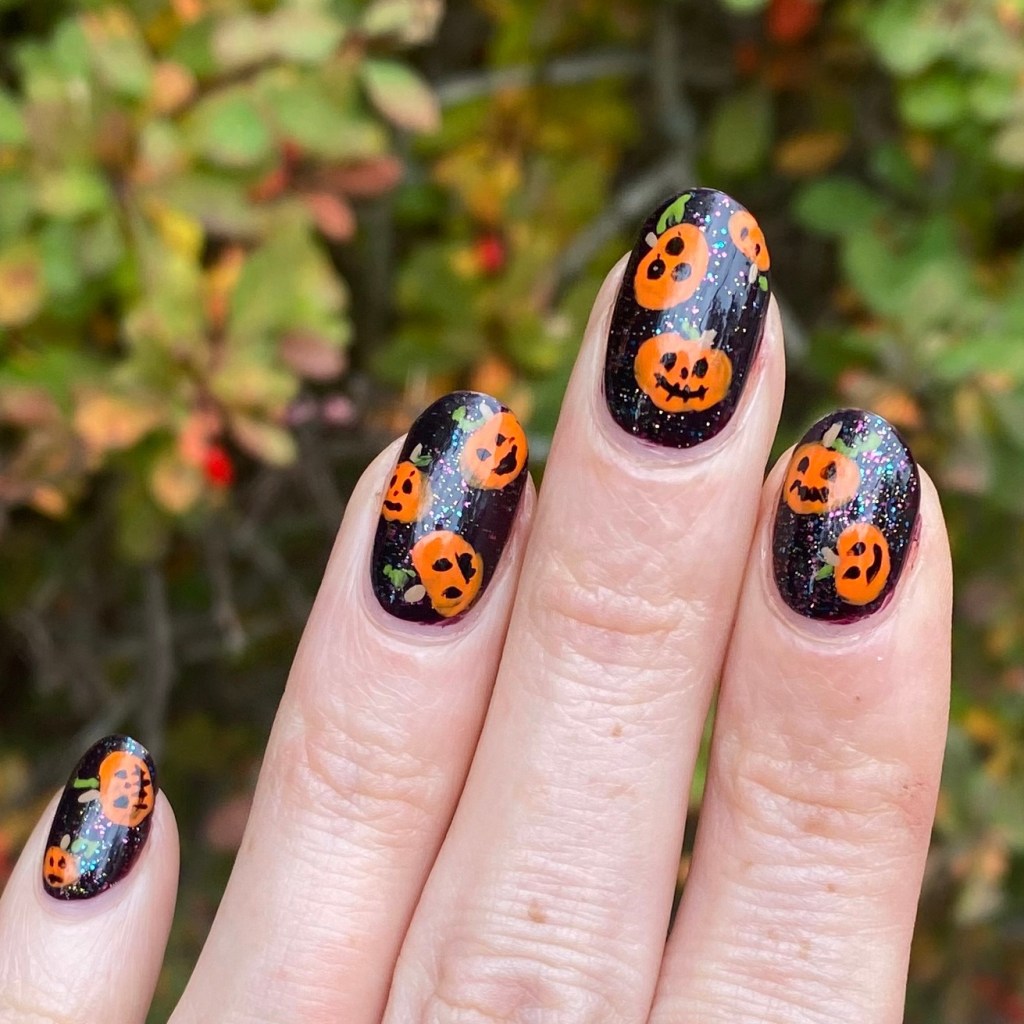
So check out my Jack-o-lantern nails, prompt #6 of Glam Nails Challenge October.

The polishes I used for this manicure are:
- Top Coat: Sally Hansen InstaDri Top Coat (red bottle)
- Base Coat: Essie Hard to Resist (purple)
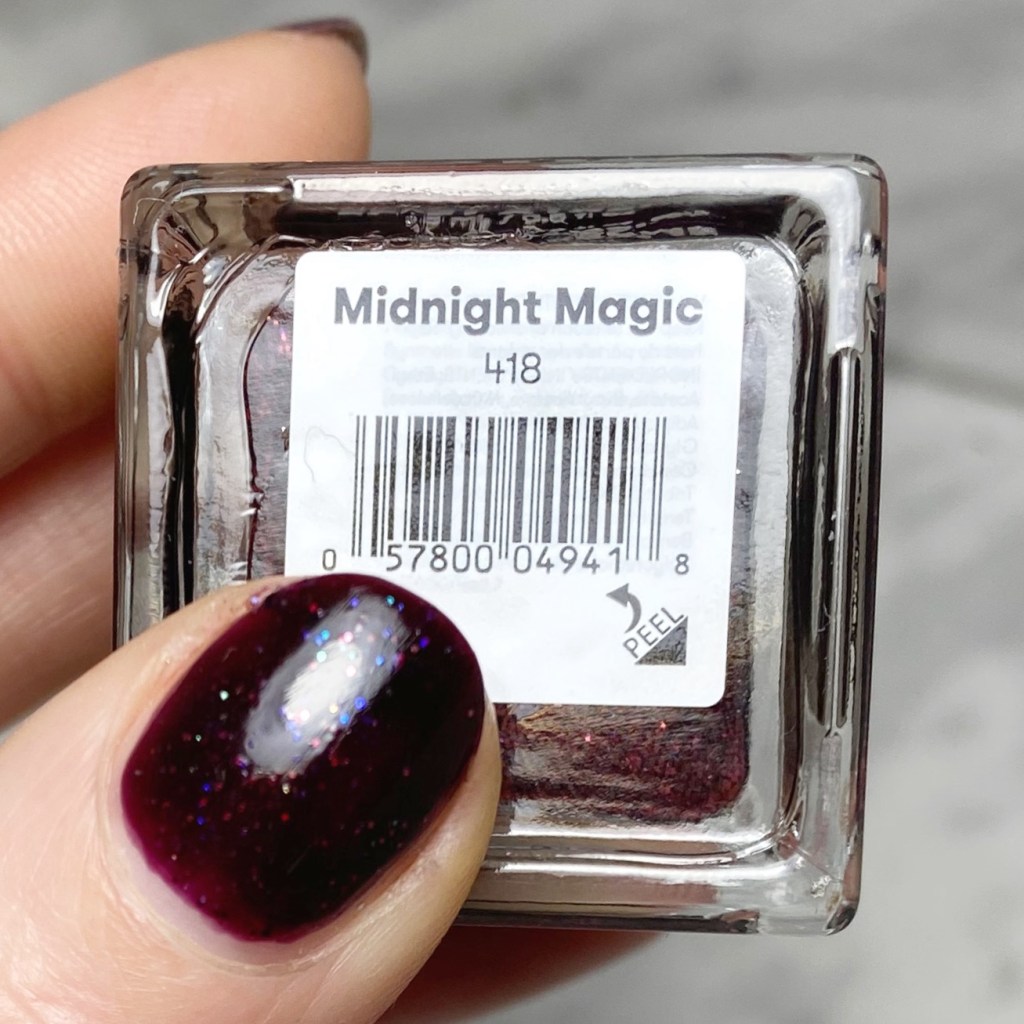
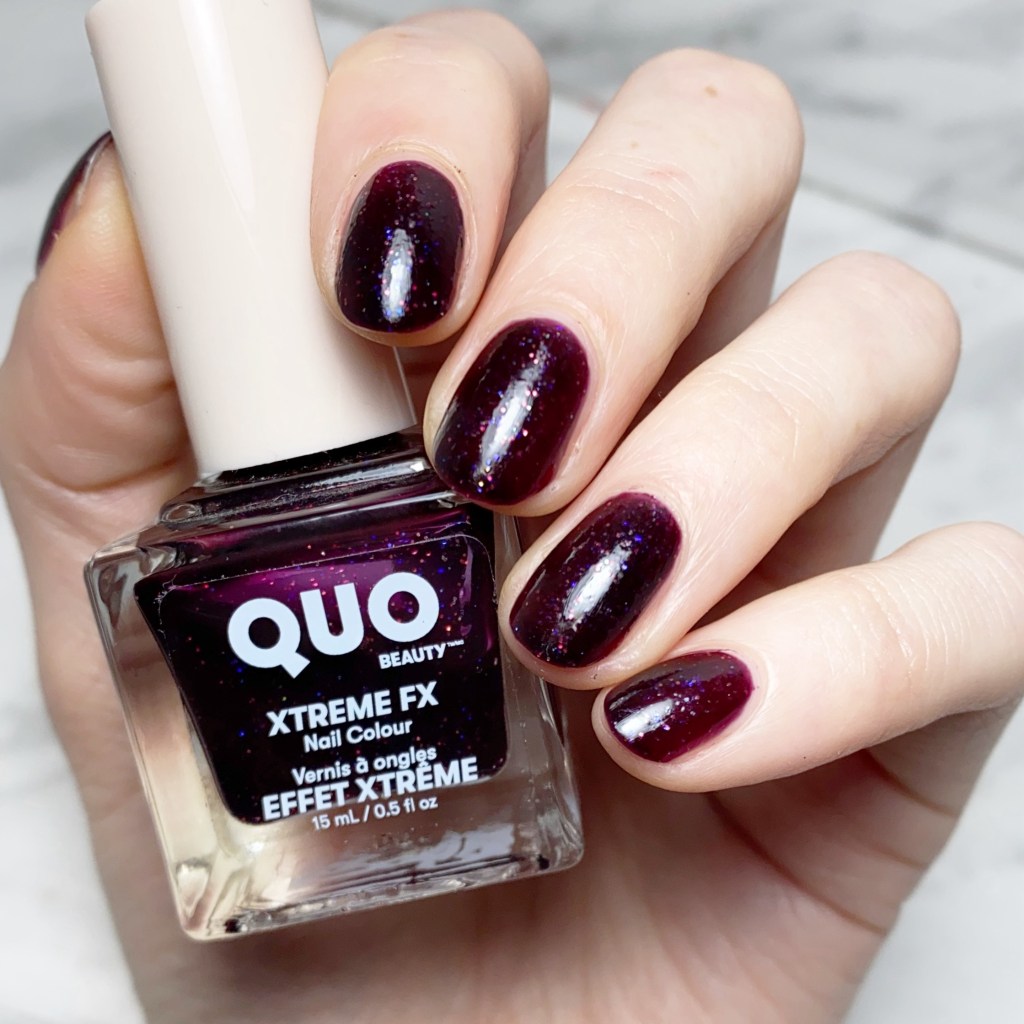
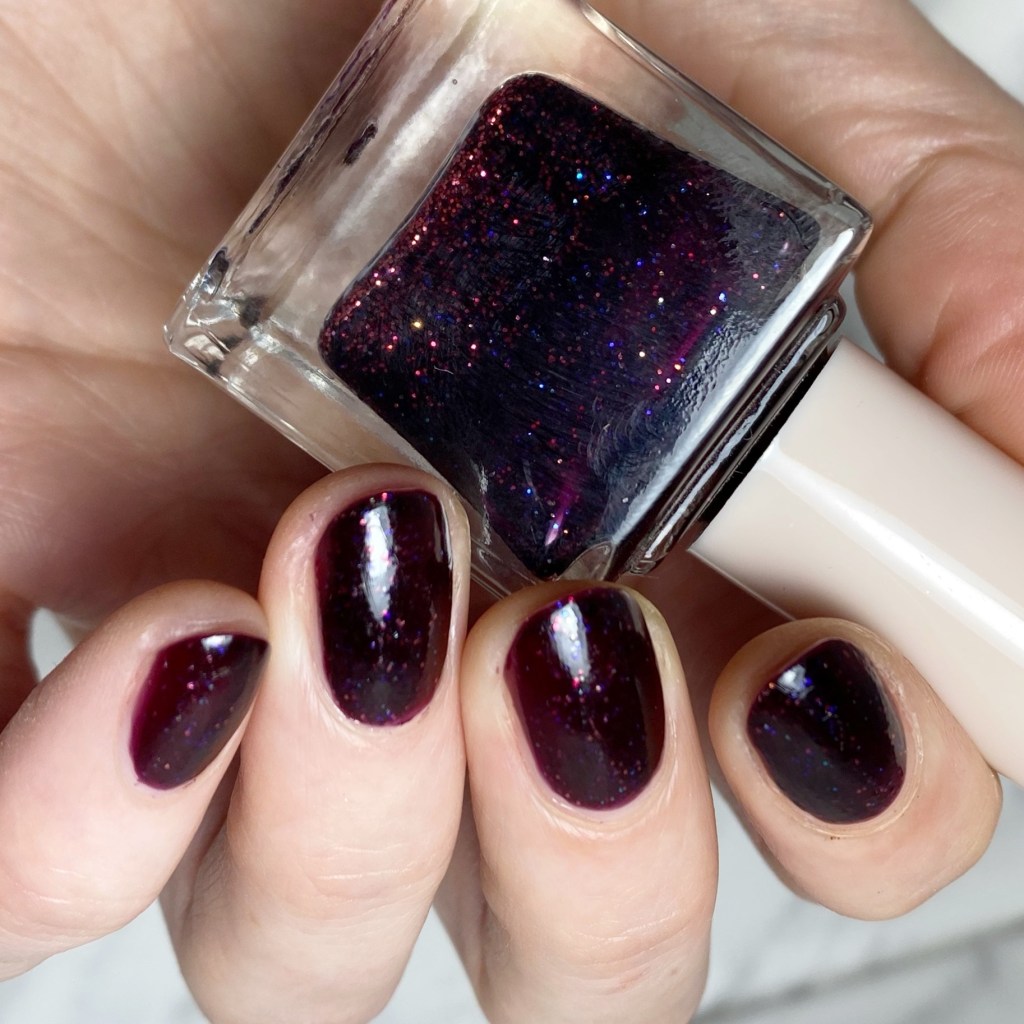
- Ardene Once Upon A Time layered over Revlon Black Cherry
- Sally Hansen InstaDri Pump-kid
- Essie To DIY For
- Essie Never Skip A Beat
- Essie Willow in the Wind
- NailStuff Essentials Originals Raven
- NailStuff 4mm Micro Detail Brush
- Pencil Eraser (to create my pumpkins)

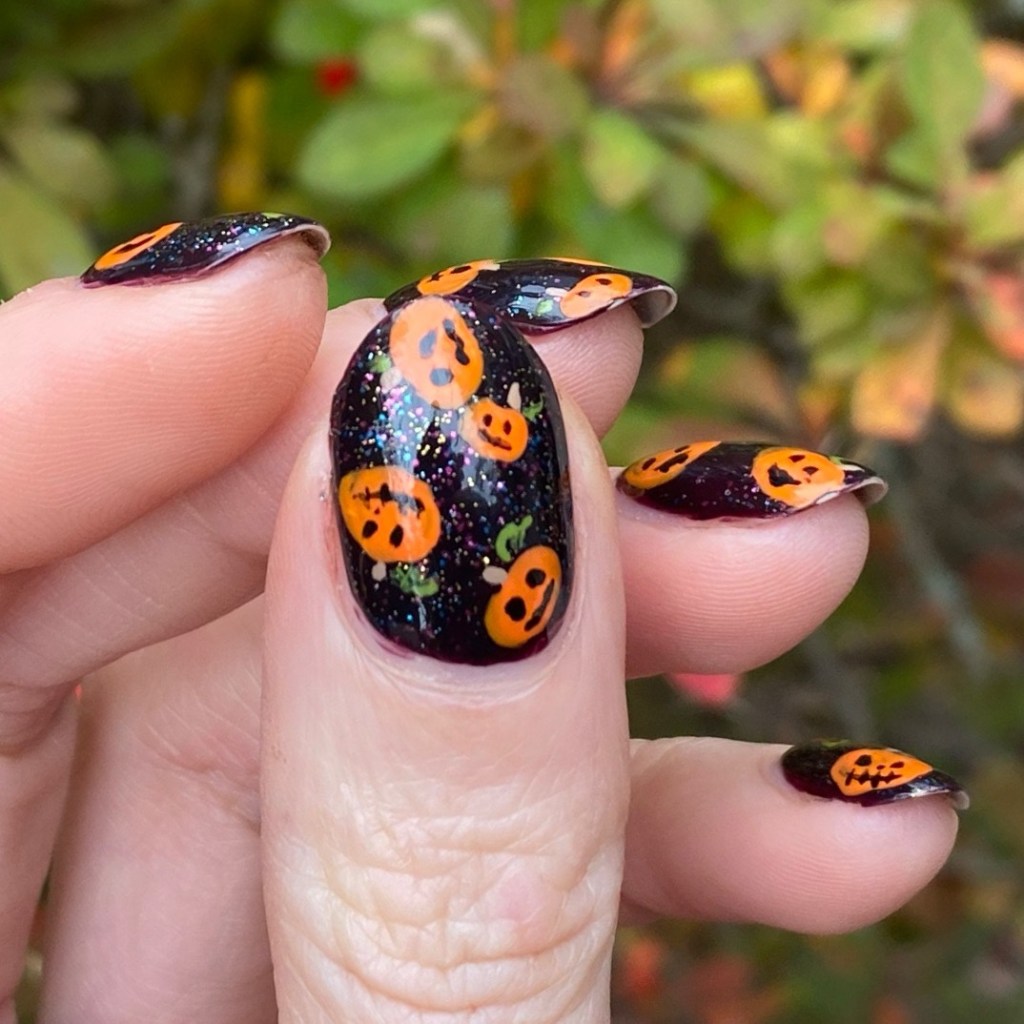
So my original plan was to do a tiny Jack-o-lantern dotticure but I couldn’t find my largest size dotting tool, so I got crafty & used the eraser of a pencil to make the base for my pumpkins. Then I went in & made them more wide so they looked more like pumpkins using 2 orange nail polishes. I created the faces very carefully using my Micro detail brush to draw on their expressions, & they turned out so beyond perfect.
Seriously — I’m obsessed with everything about them. One of my favourite Halloween designs done so far this month! Seriously, I want to wear these forever… or atleast until it’s time for the next prompt.

What do you think of my design for this prompt? Do you love my little Jack-o-lanterns as much as I do? Let me know what you think, & if you love them too!
& a reminder: all designs can be found on Instagram under the prompt #glamnailschallengeoct25. So many beautiful designs shared by very talented nail artists.
Happy Monday!
🖤