Recreating my Wedding Nails (on my shorties) 11 years later! ✨👰🏻‍♀️💅💍

Hello lovelies & Happy Saturday! I know I don’t often post on Saturday, but today was a special exception with a special nail design!

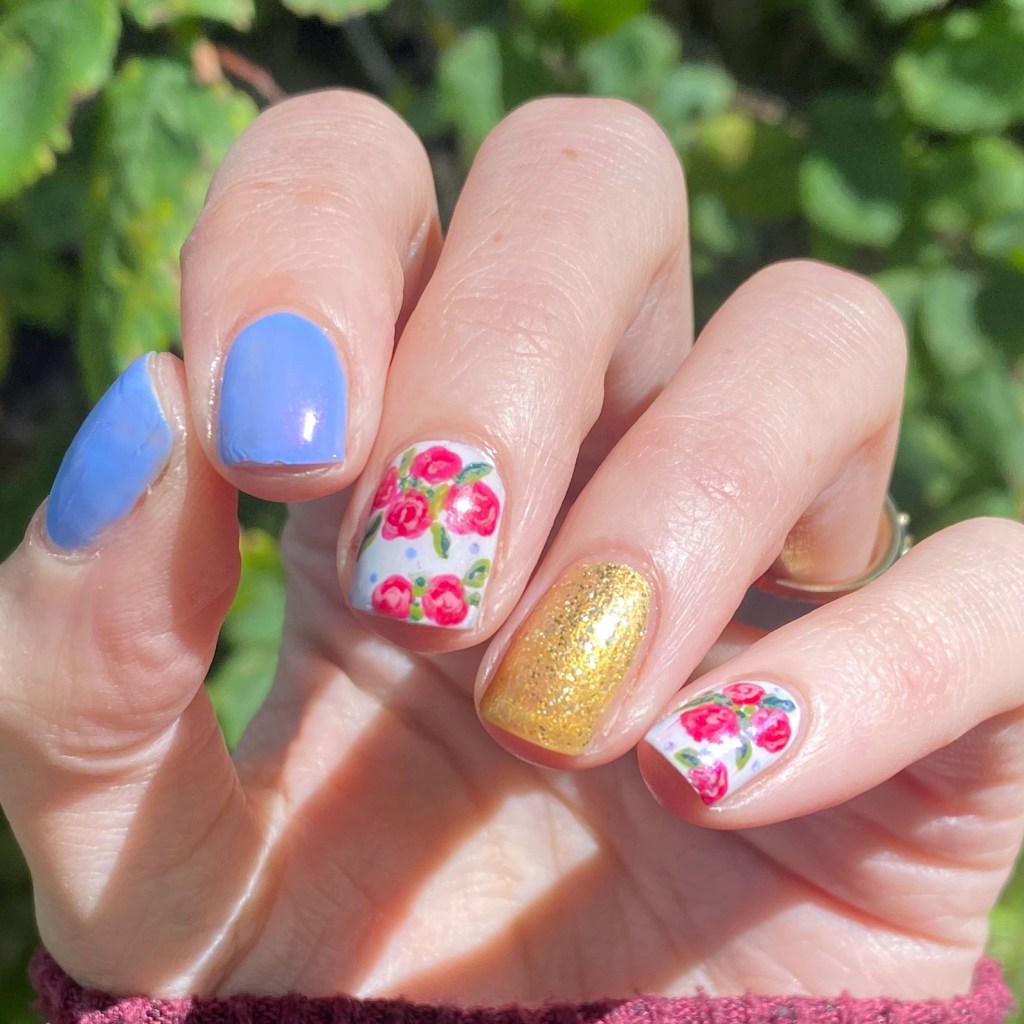
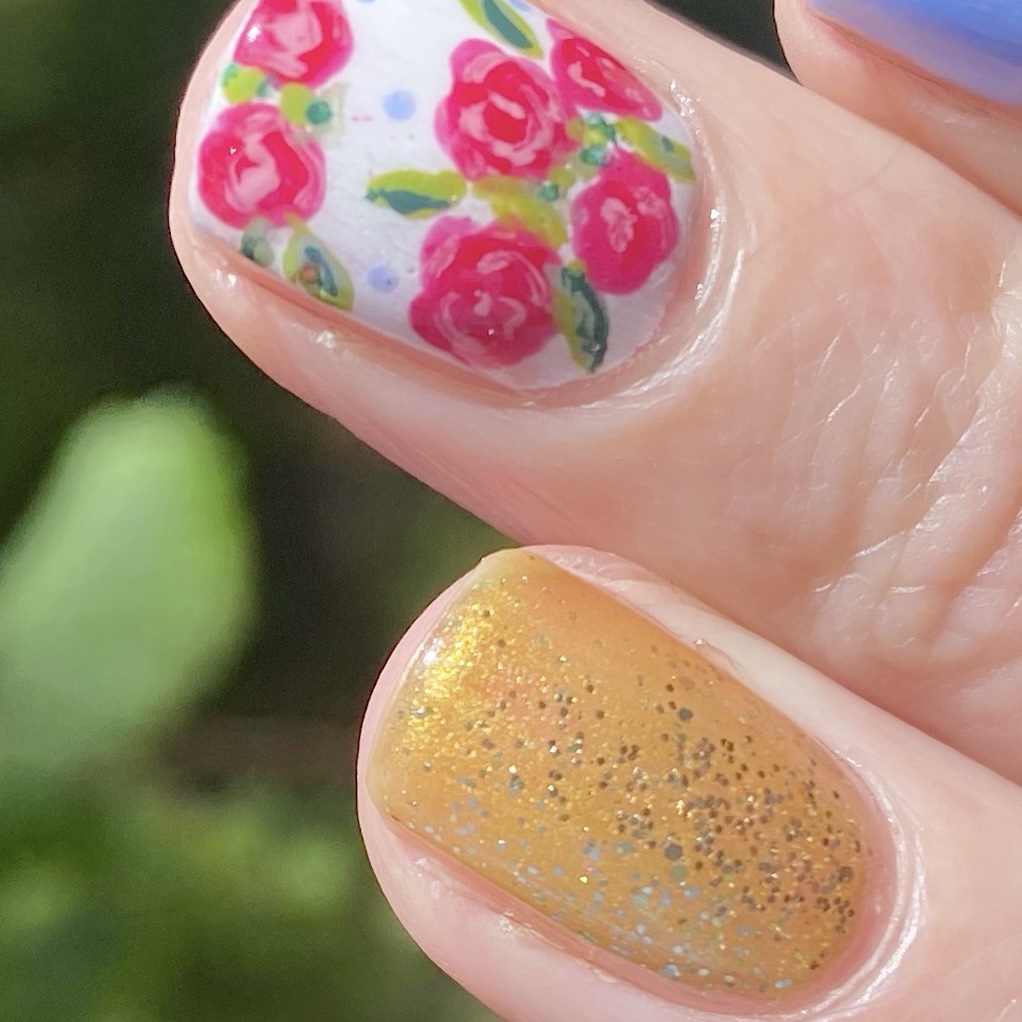
I really wanted to recreate my wedding nails in honour of my wedding anniversary, especially as I’m rocking some serious shorties right now. So in honour of the occasion, here’s a brand new version of a very special design.
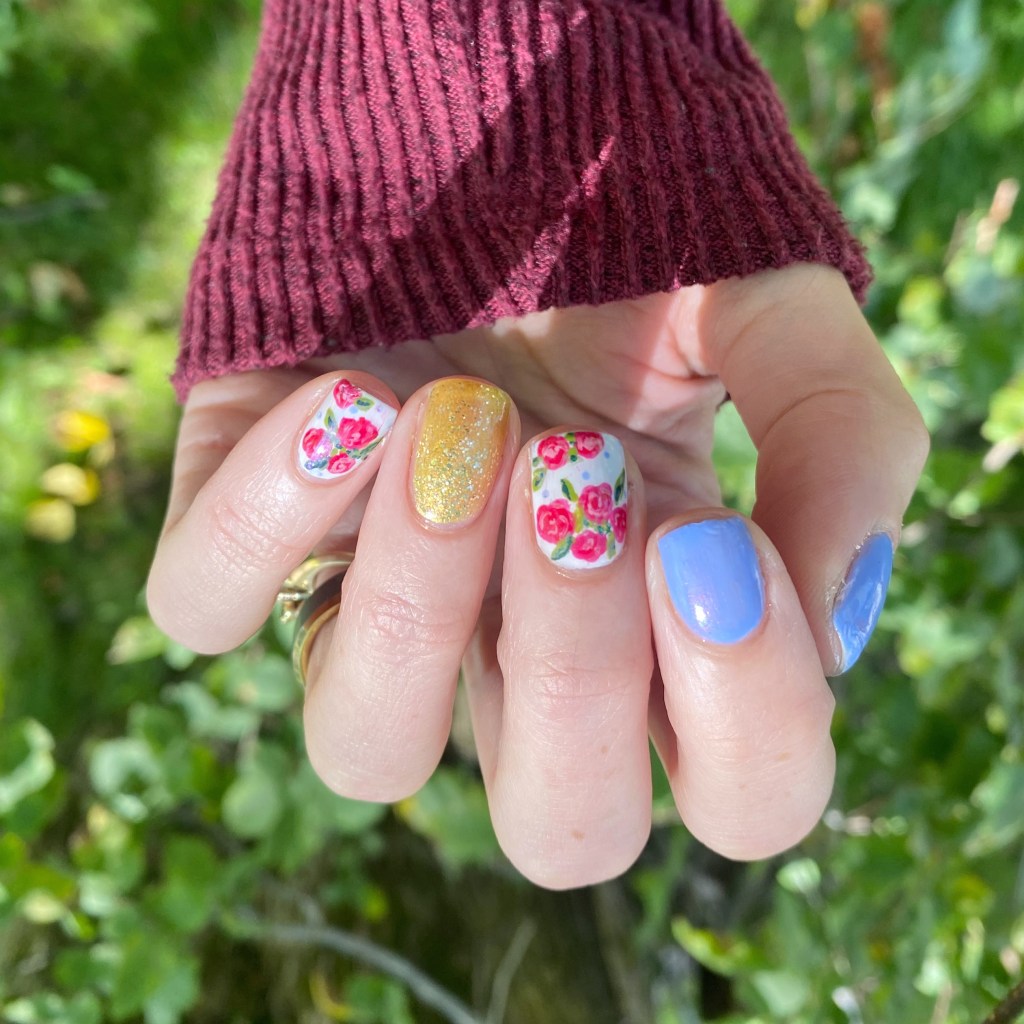
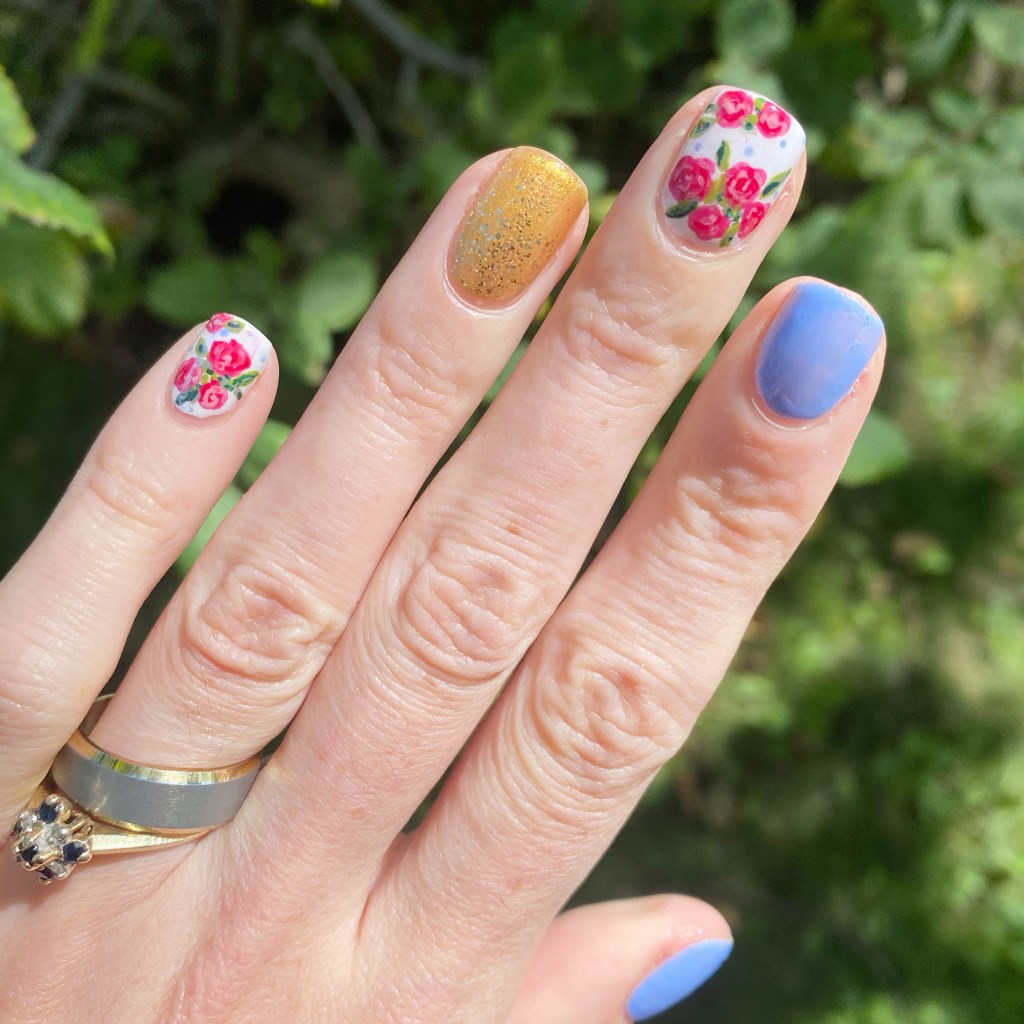
The polishes I used for this manicure are: 

  • Base Coat: Essie Hard To Resist Strengthner
  • Top Coat: Sinful Colors Power Paint Top Coat + Essie Speed Setter
  • Essie You Do Blue!
  • OPI I Cannoli Wear OPI
  • China Glaze Champagne Bubbles
  • Sally Hansen Miracle Gel Good As Gold
  • Essie Brides No Grooms
  • Essie She’s Pampered
  • Essie Into the A-Bliss
  • Essie Willow in the Wind
  • Essie Sew Psyched
  • Essie Off Tropic
  • NailStuff dotting tool
  • NailStuff 7mm Liner Brush

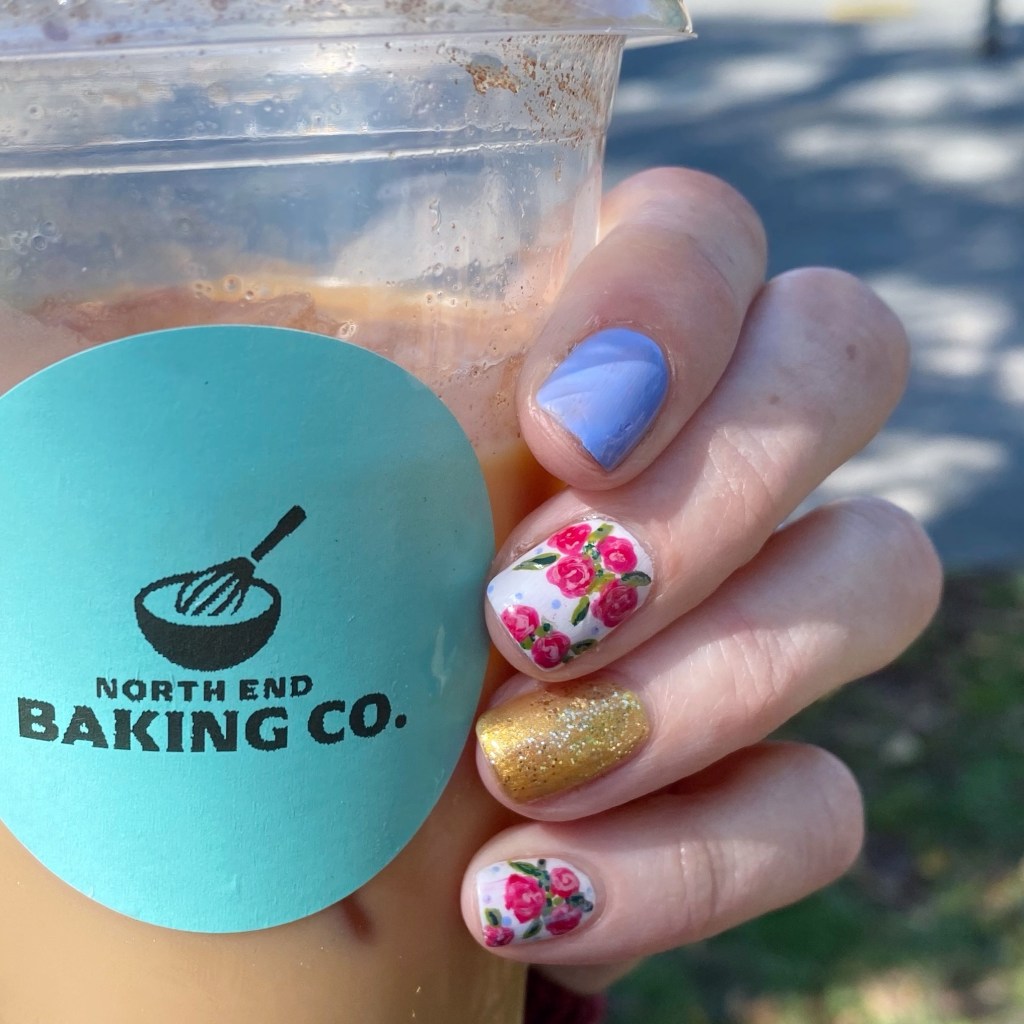
For those curious, here are my original nails I painted for my wedding day, & my recreation I did in 2018.

I was absolutely obsessed with my original nails that I painted back in 2015 for my wedding day — it was really important to me to create a beautiful design I would love for years, & years to come. & again, when I recreated them I equally loved the design!

But you know what? I think I love them the most on short nails! Long nails look beautiful no matter what, but trying to recreate the exact same look on nails 1/2 the size really makes them pop! The only thing from my recreation I’m not 100% sold on is the much more yellow gold, but it definitely gives it a more colourful vibe. (& the right amount of sparkle! ✨)
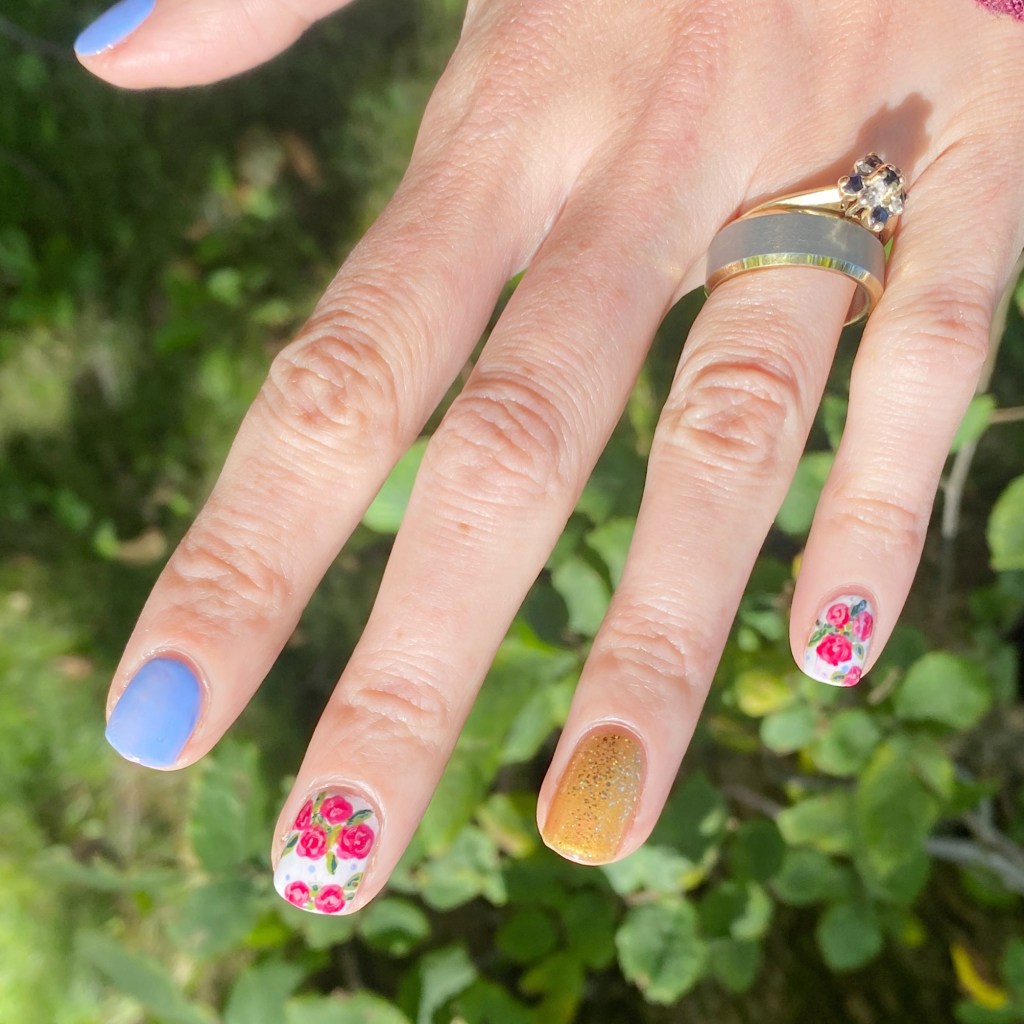
What do you think about this anniversary look? Do you love a floral look as much as I do? I’d love to know if this design holds up all these years later. I certainly adore them as much as I did all those years ago & wouldn’t change a thing about the nails I had on my wedding day.

Let me know all your thoughts down in the comments below!

🖤
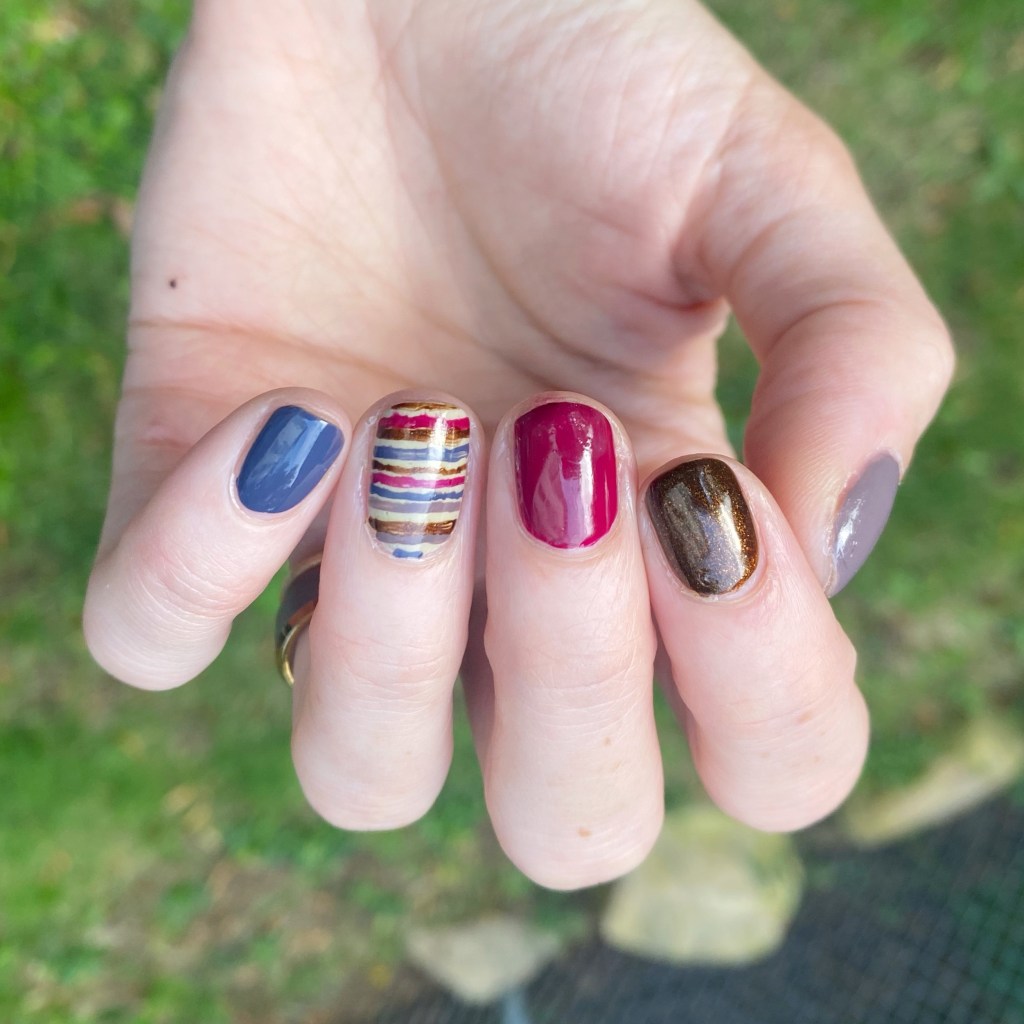
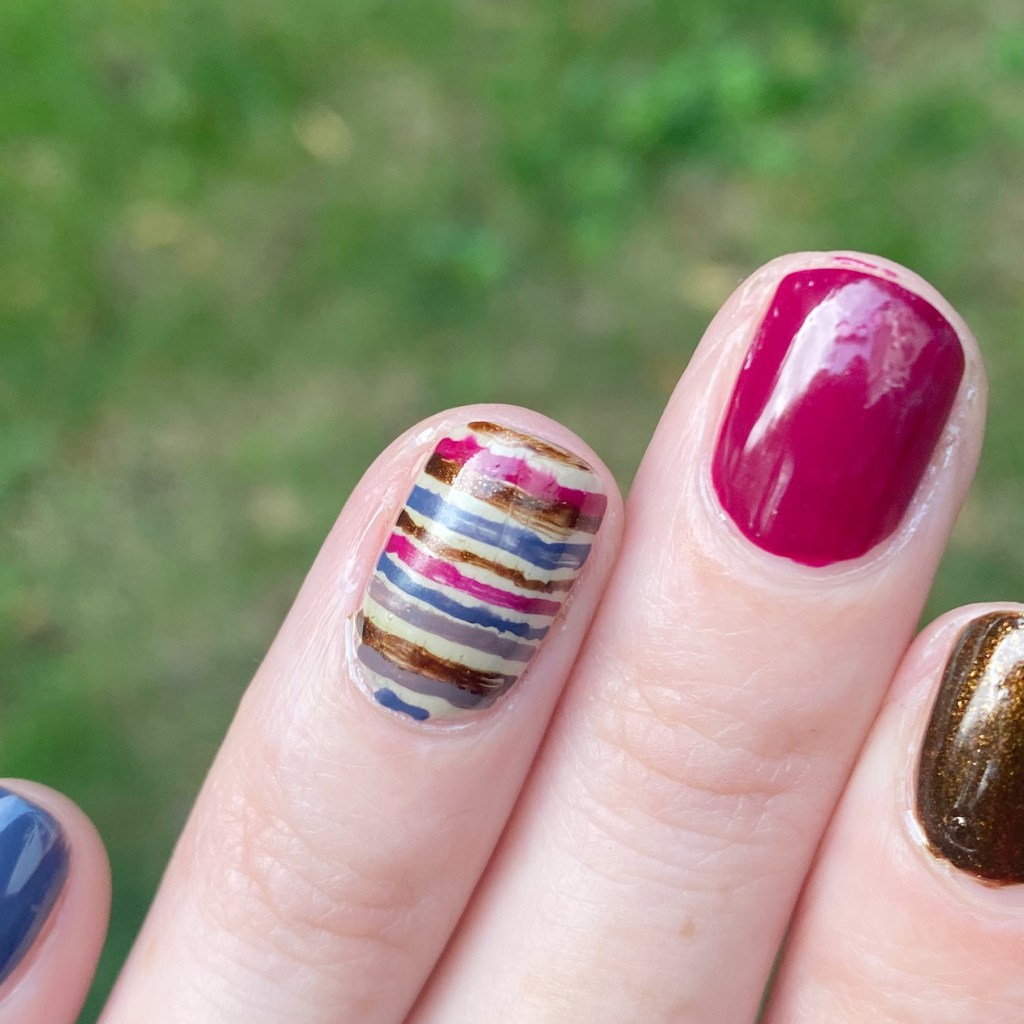
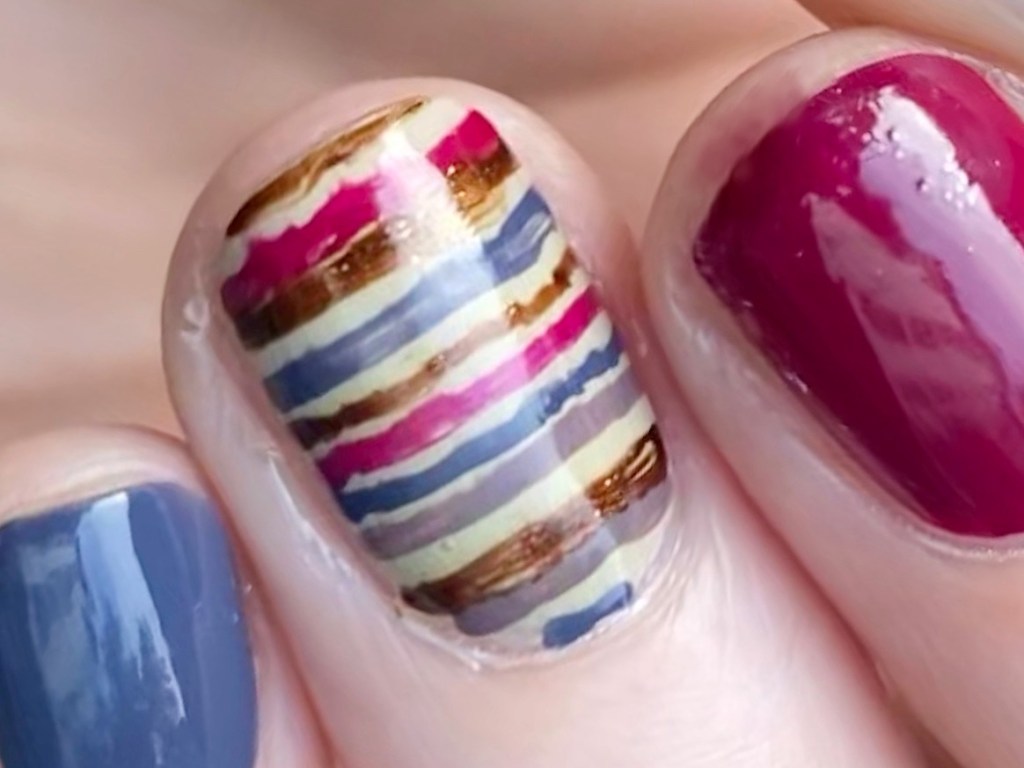
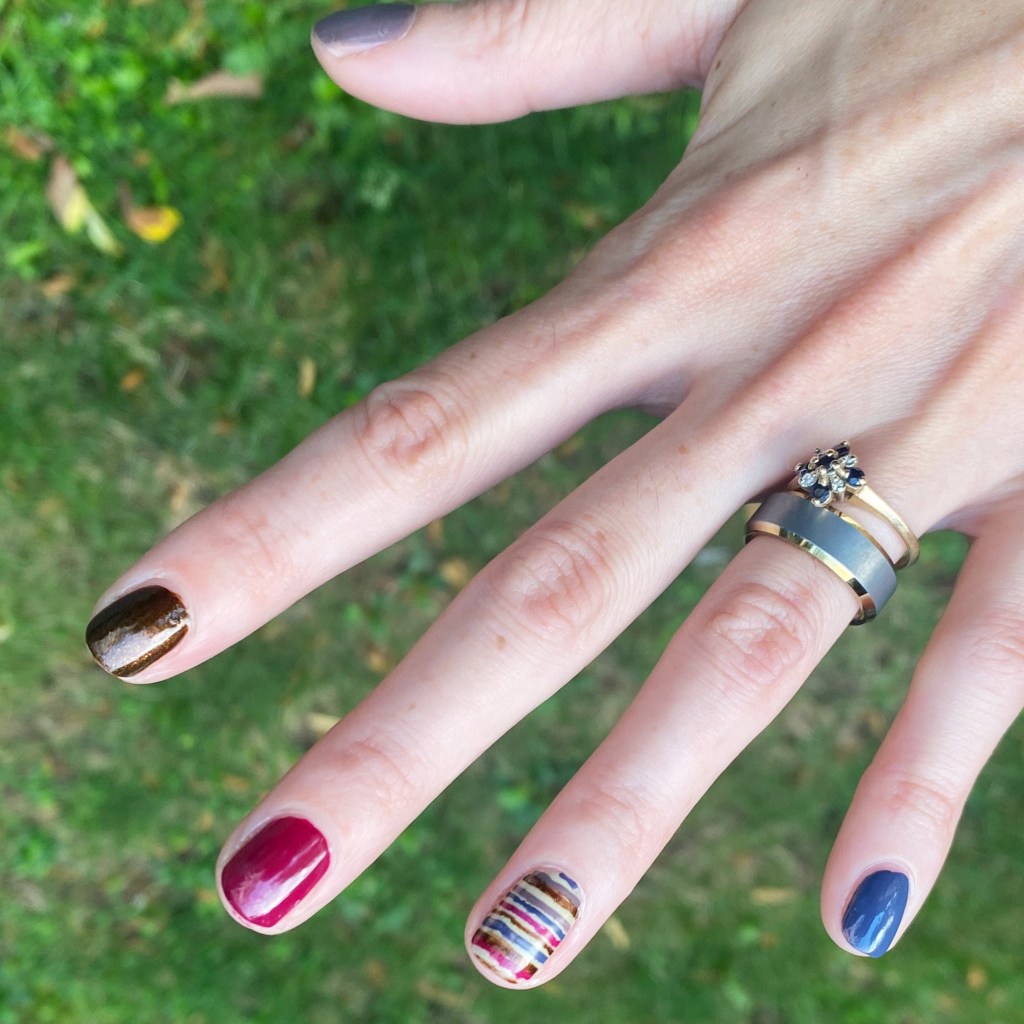
Messy Skittle Stripe Accent Nail

Hey beauties & happy Friday! It’s crazy, & rainy, & a lot right now. But Autumn is in the air, the kids are back to school, all the coffee shops are releasing their Autumn menu — we’re featuring a spicy iced chai latte right now with pumpkin cold foam at my cafe — & I’m about ready to break out my faux Doc Martens & over the knee socks.

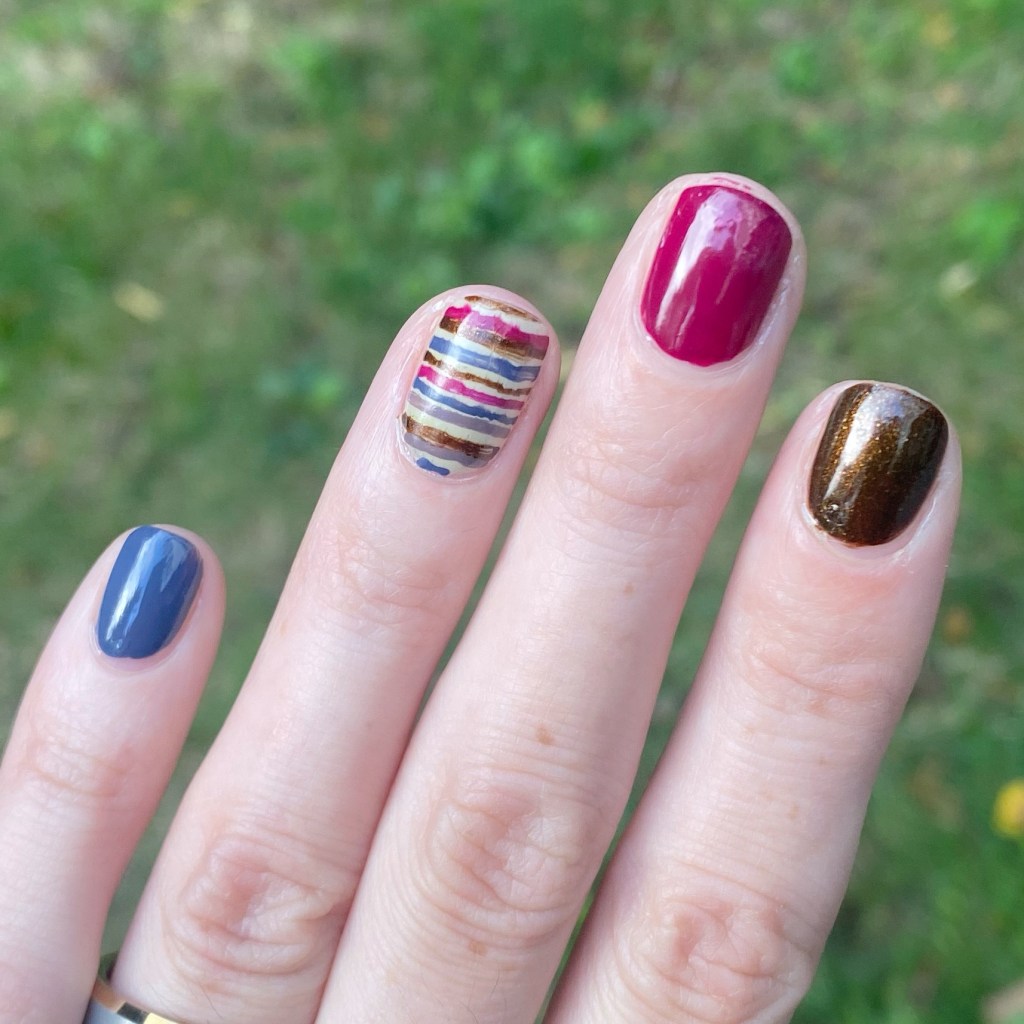
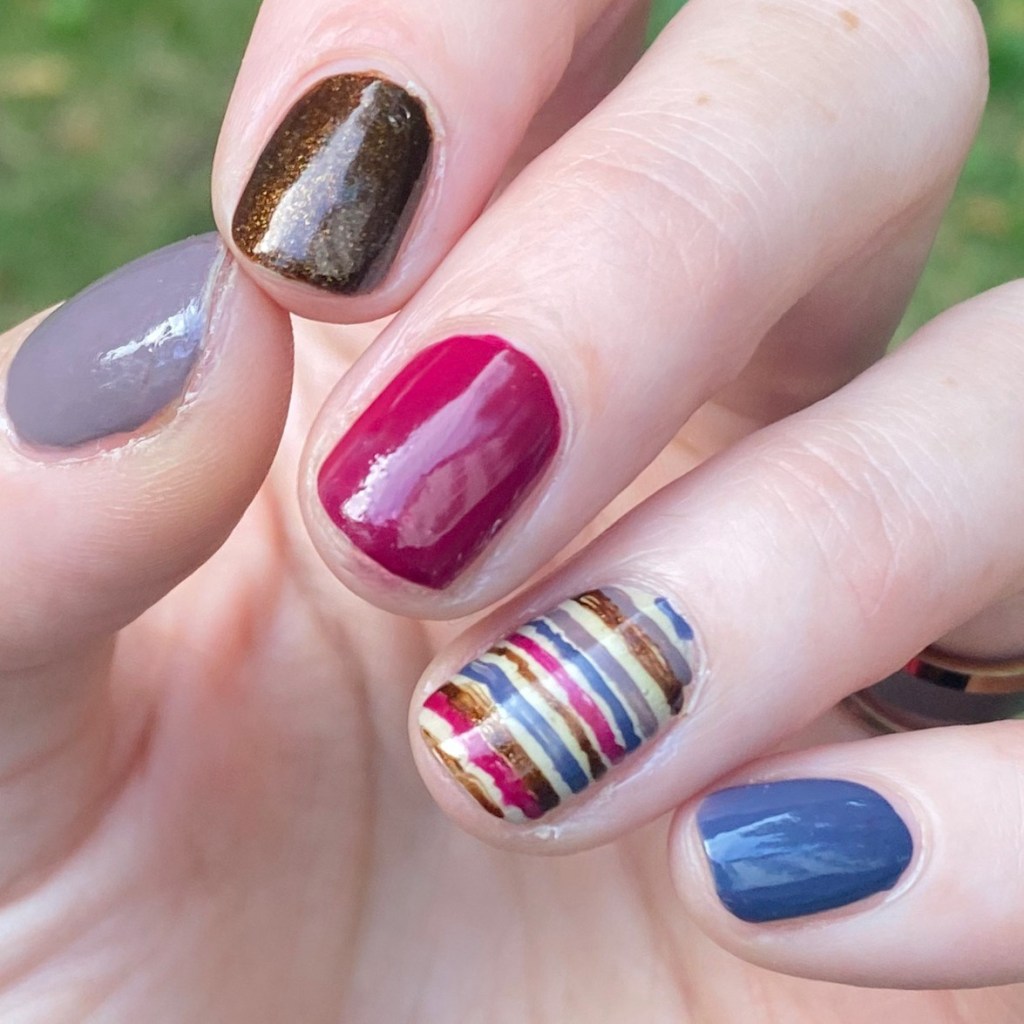
I’m also just loving Autumn shades on my nails. I decided I really wanted to do a skittle design, but with a little twist. & I love this combination of colours! I feel like it turned out really, really fun… even with some seriously rustic stripes.

The polishes I used for this manicure are: 

  • Base Coat: Essie Hard To Resist Strengthner
  • Top Coat: Sinful Colors Power Paint Top Coat + Essie Speed Setter
  • Essie Expressie Feel The Hype
  • Essie Cacti On The Prize
  • Morgan Taylor Looking For A Wing Man
  • ORLY Buried Alive
  • Color Club Grey (No Name)
  • NailStuff 7mm Mermaid Tail Liner Brush

So when I did these nails at first, I was a bit uncertain about how they looked. But that happens sometimes, & I’m definitely in love with how they look now. & I think all the different colours look beautiful & complimentary.

What do you think about this messy strip look? It’s definitely a little rustic, but like I said… I ended up really liking the whole look.

I’d love to know what you think about this design. Let me know all your thoughts down in the comments below!

Happy Friday ♥︎

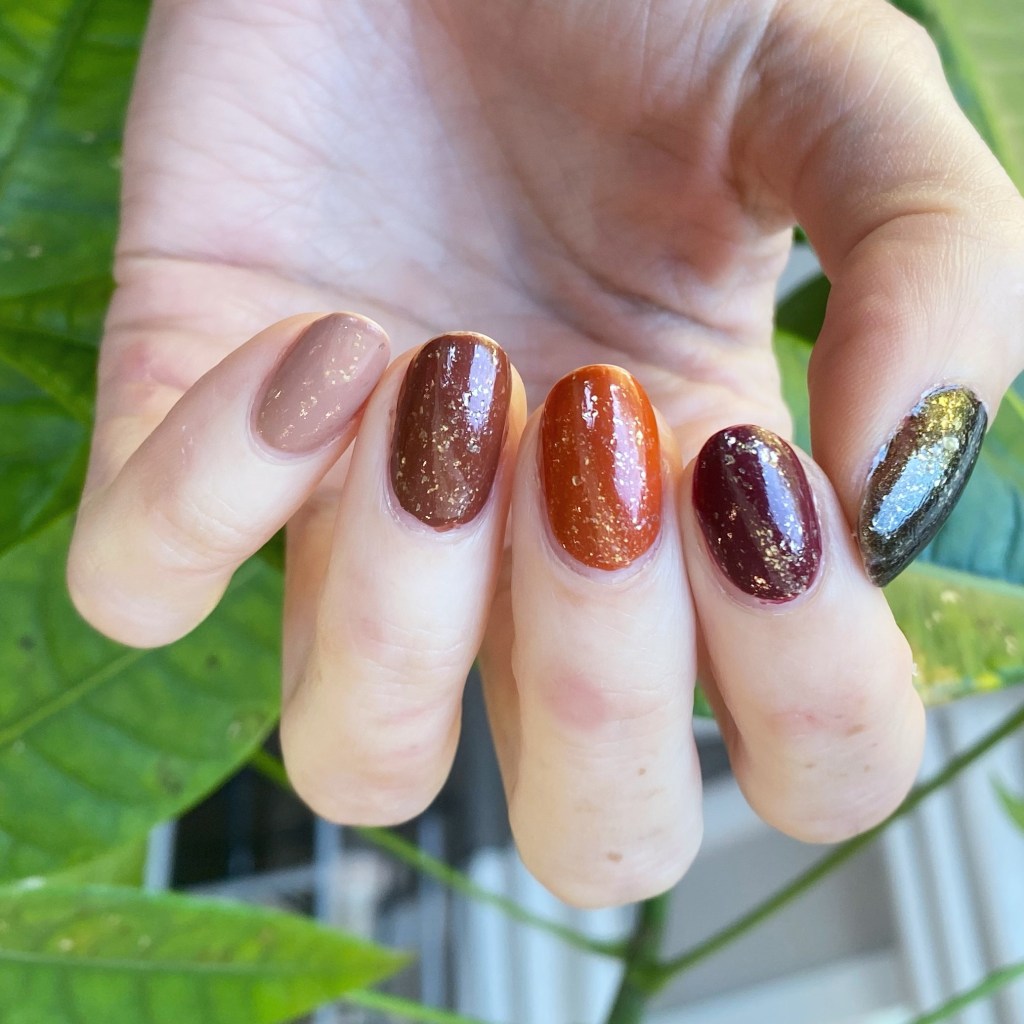
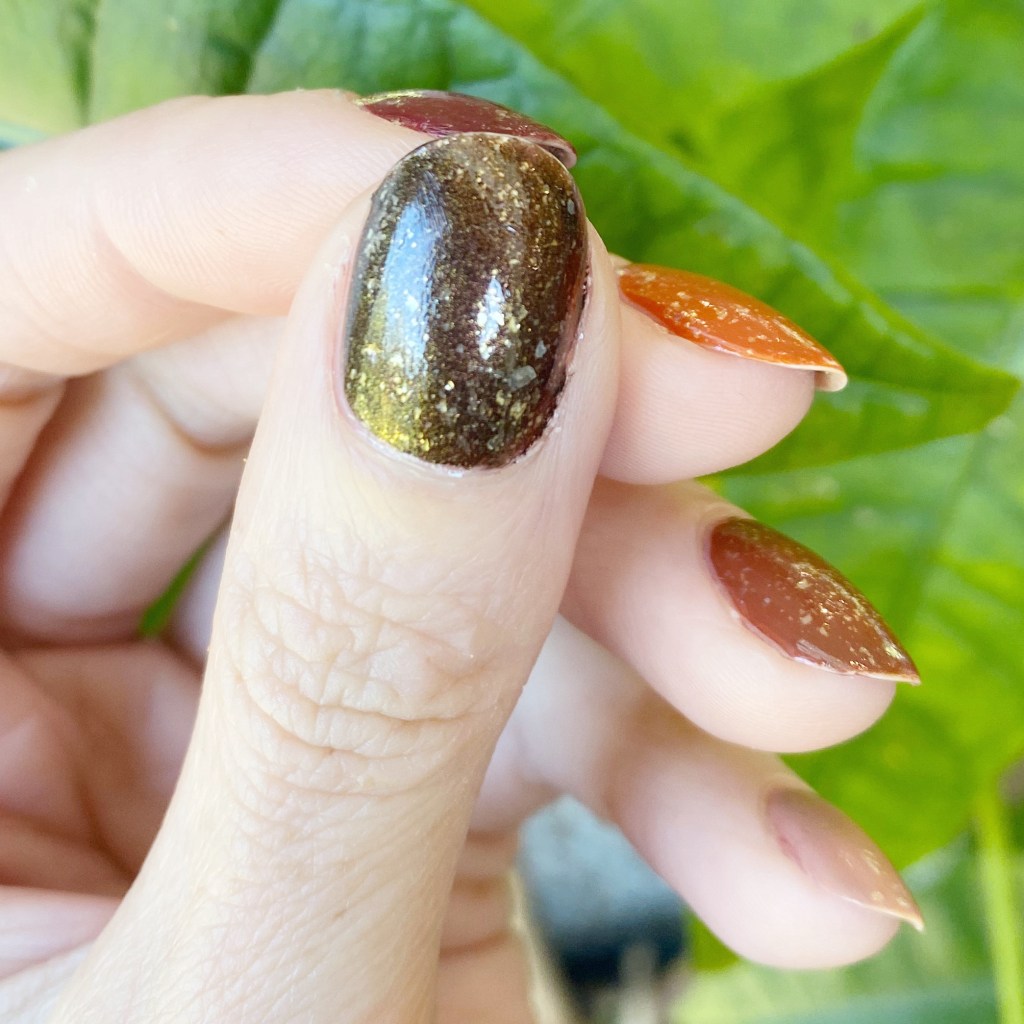
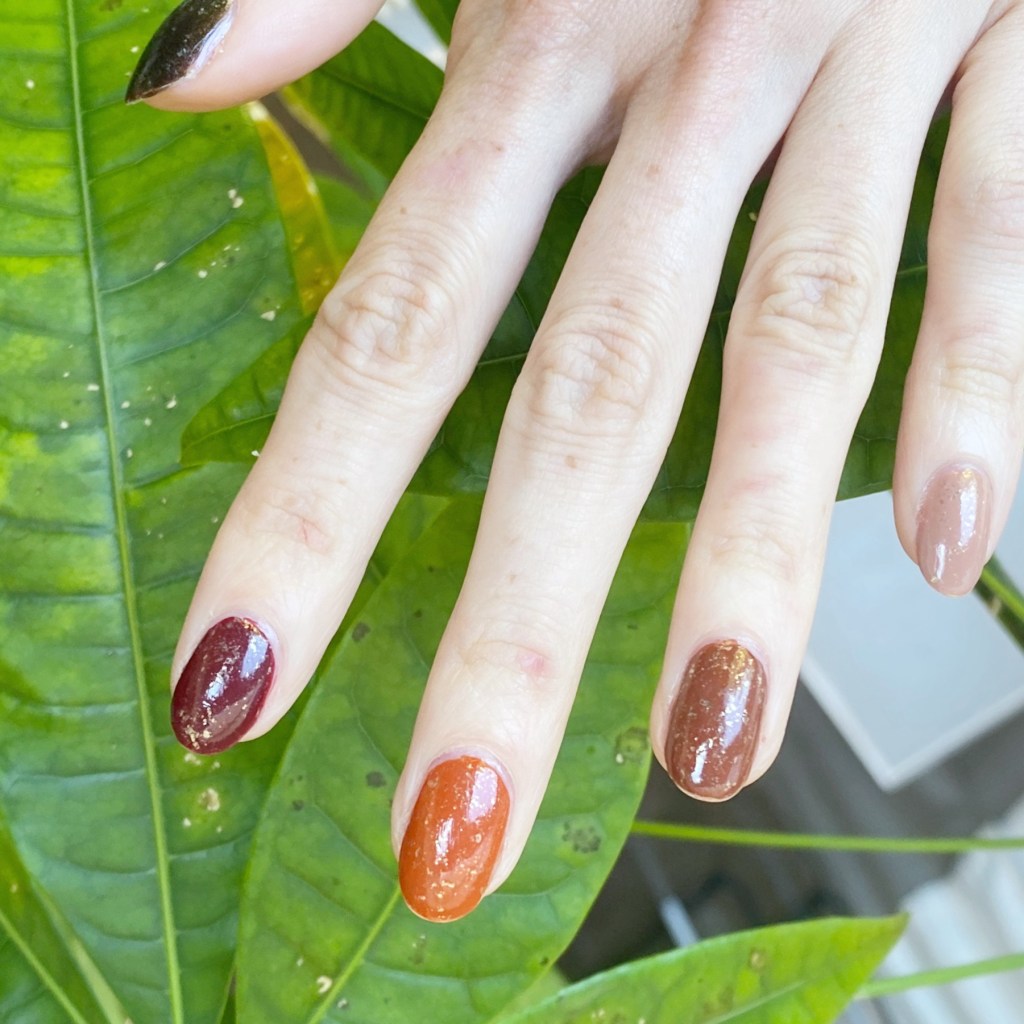
Autumn Tonal Skittle 🍁🍂🌻

Good morning loves & happy Wednesday. We’re mid-week through the first week of September! & tomorrow marks the first day of school around here. So it’s a very exciting week all around!

It’s also feeling very Autumn-y, so I’m excited to share some skittle nails which match the mood. (& would be perfect to wear while sipping some apple cider or a pumpkin spice latte!) 🍁🍂

The polishes I used for this manicure are: 

  • Top Coat: Essie Good To Go Top Coat
  • Base Coat: Essie Hard to Resist (purple)
  • China Glaze Buffalo Bills Bills Bills (thumb)
  • China Glaze Modern Auburn (index)
  • China Glaze Spice to Meet You (middle)
  • China Glaze Loves You A Latte (ring)
  • China Glaze The Snuggle is Real (pinky)
  • Essie Separated Starlight *pr

I think China Glaze is one of my favourite brands for Autumn nail polish releases. The colours, the formulas — just perfection.

I love a good Fall tonal skittle. It’s so much fun combining some of my favourite Autumn shades for a quick & easy look — & the use of the glitter brings everything together even more!

What do you think about this Fall skittle look? Do you love this combination of colours as much as I do? Let me know all your thoughts down in the comments below.

🖤

Teal Ombré Nails

Hello lovelies & happy Wednesday. I hope everyone is having a beautiful Summer day on this last week of July. Truly crazy how quickly this Summer is slipping by, but I’m trying my best to enjoy it. However — only 27 days until Starbucks releases their PSL, which we all know is the official start of Autumn haha.

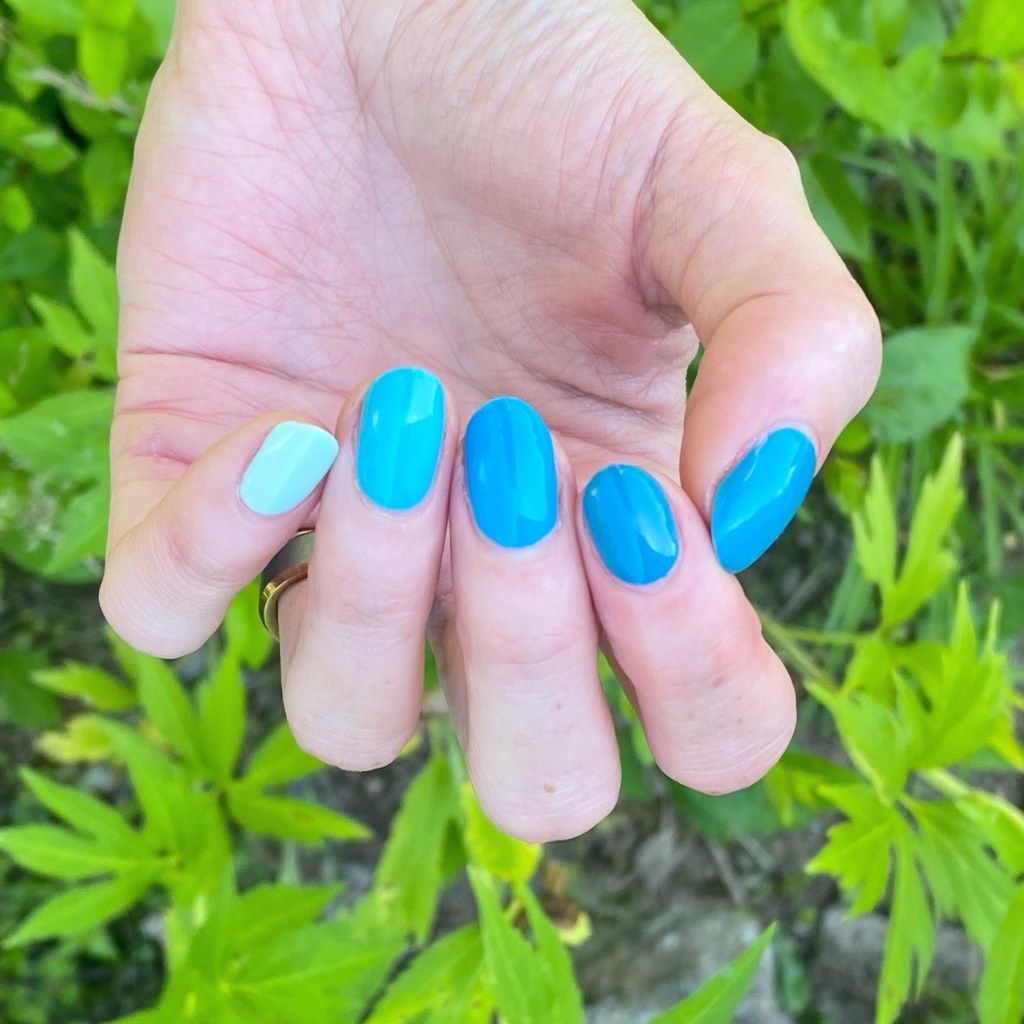
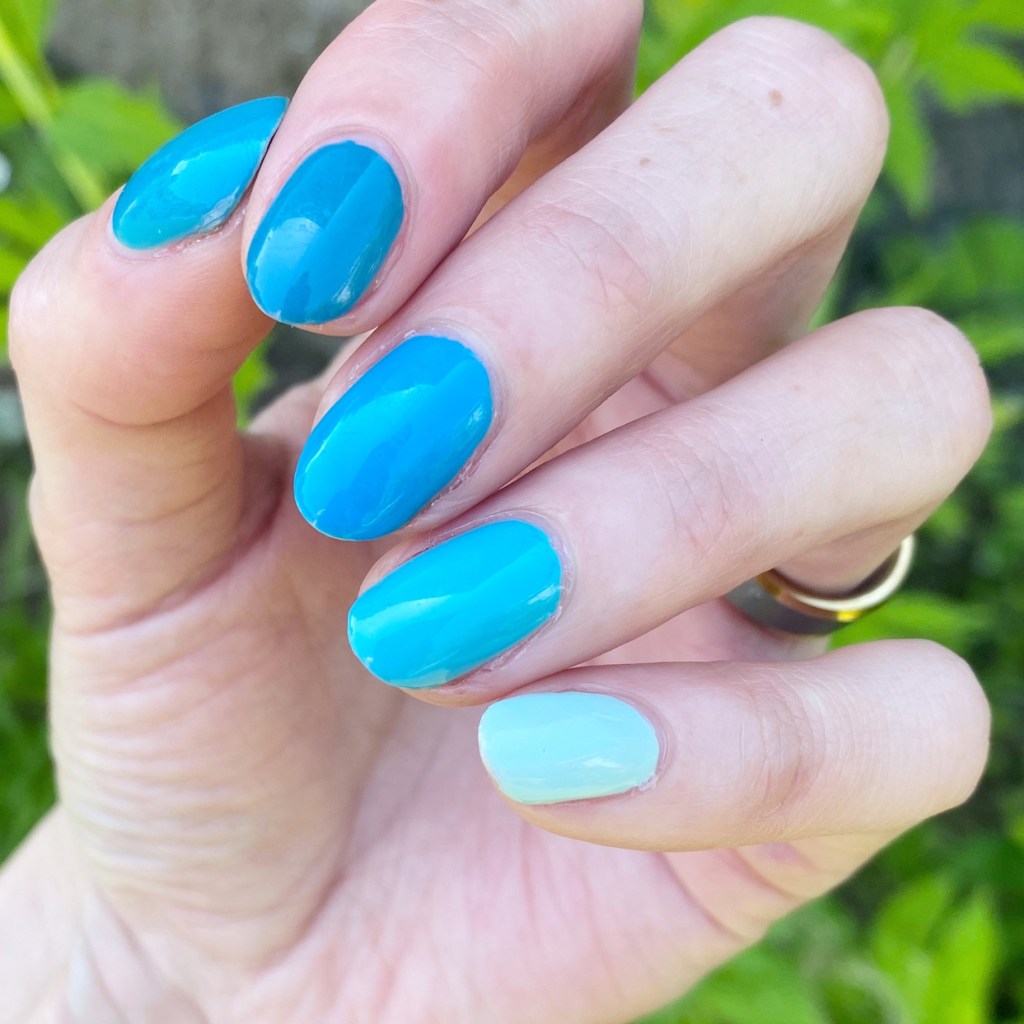
Today though I have a cute simple nail art look to share. It’s been absolute ages since I last shared an ombre skittle look. so I thought it was time to pull it out again. The colour scheme was inspired by my 8 year old who told me I should wear teal nails. What do you think — did I nail it?

The polishes I used for this manicure are: 

  • Top Coat: Essie Gel Setter Top Coat 
  • Base Coat: China Glaze Calcium Gel Fortifier
  • Essie Mint Candy Apple (pinky)
  • Essie In The Cab-Ana
  • Essie Off Beat Chic *pr
  • Essie Revenge’s A Beach
  • Essie Garden Variety

I’ve always loved these ombre tone skittles because they’re just to easy. The hardest part is just pairing the colours together, & making sure you have that light to dark effect on your nails. Surprisingly — okay, maybe not so surprising — I had enough Essie’s to easy accomplish this look.

What do you think of this simple teal ombre skittle look? Are you a fan of these Muti shade designs? Let me know all your thoughts in the comments below, & which colour you would rock an ombre look like this using!

Happy Wednesday.

♥︎

Springy Floral Skittle (using new Madam Glam polishes🌸)

*contains PR/Gifted Product

Hello lovelies, & happy Friday!

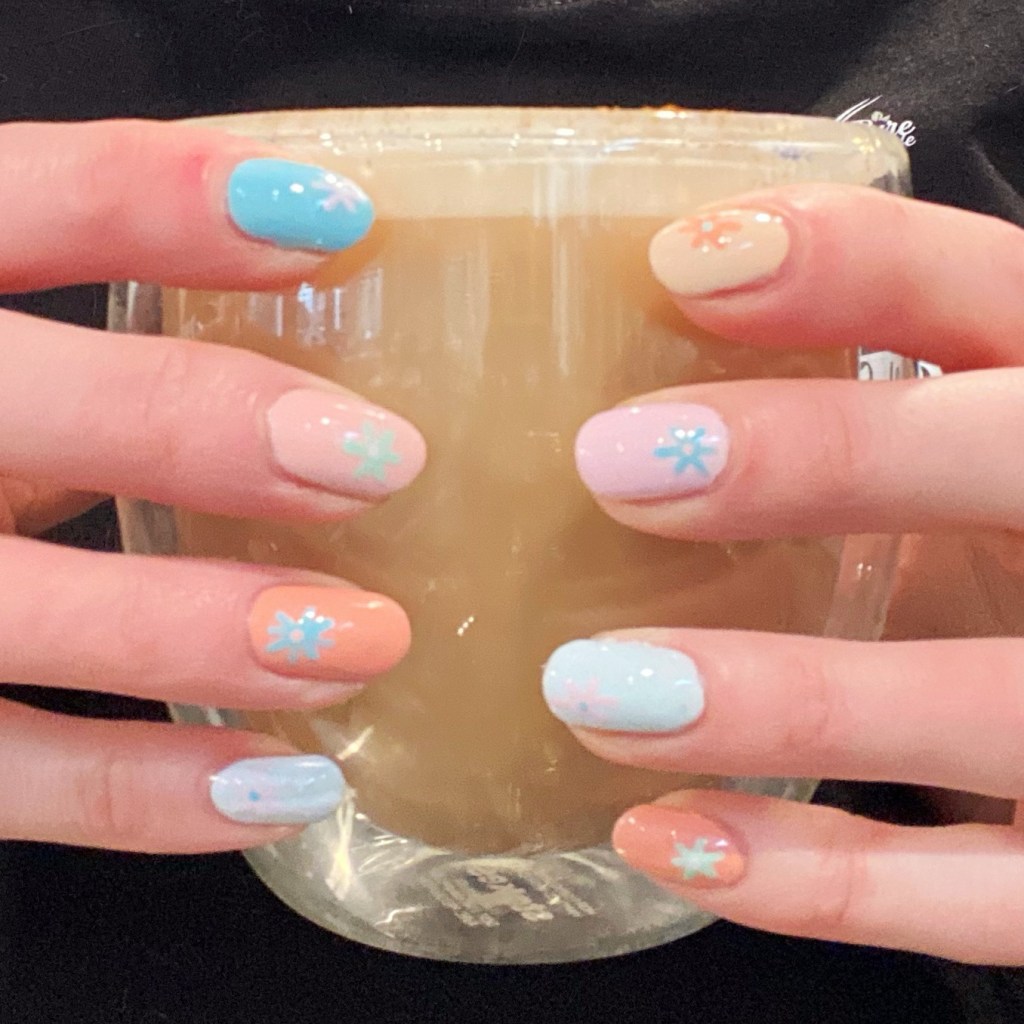
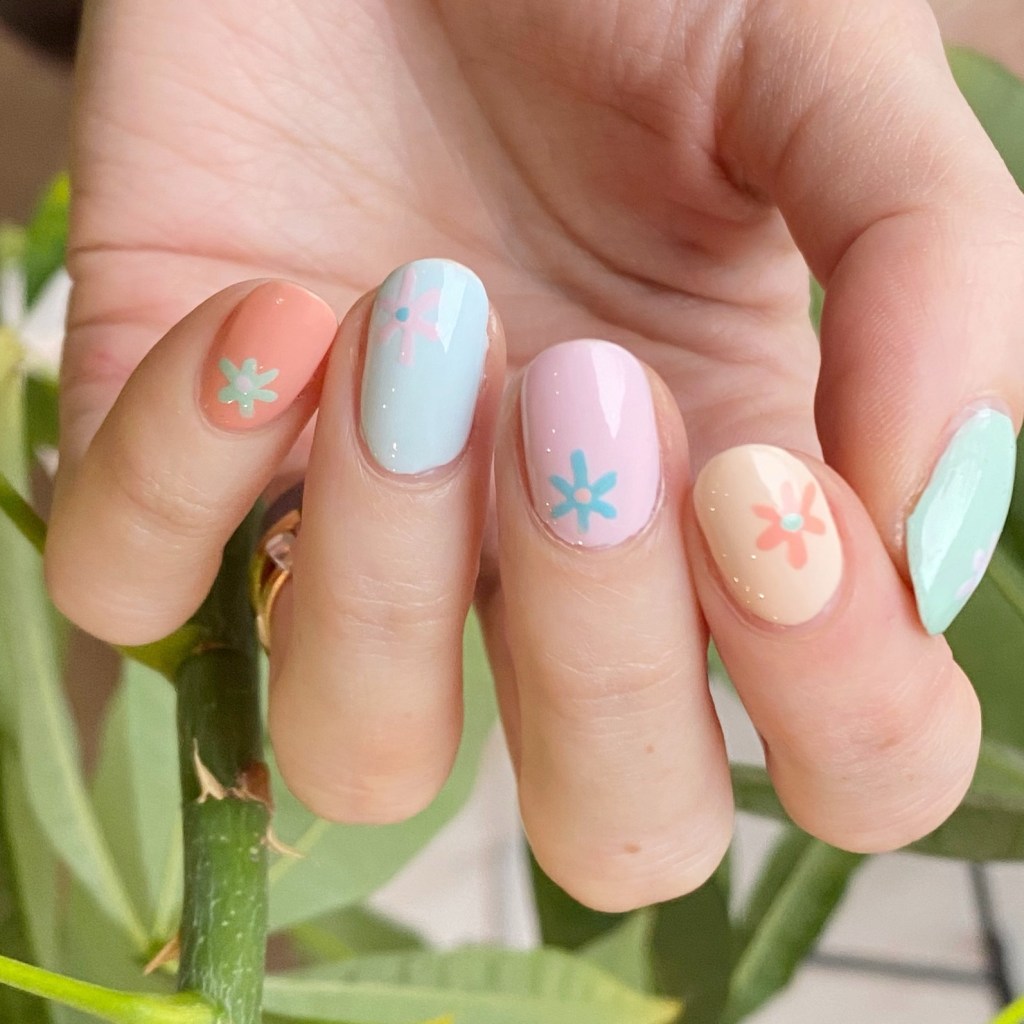
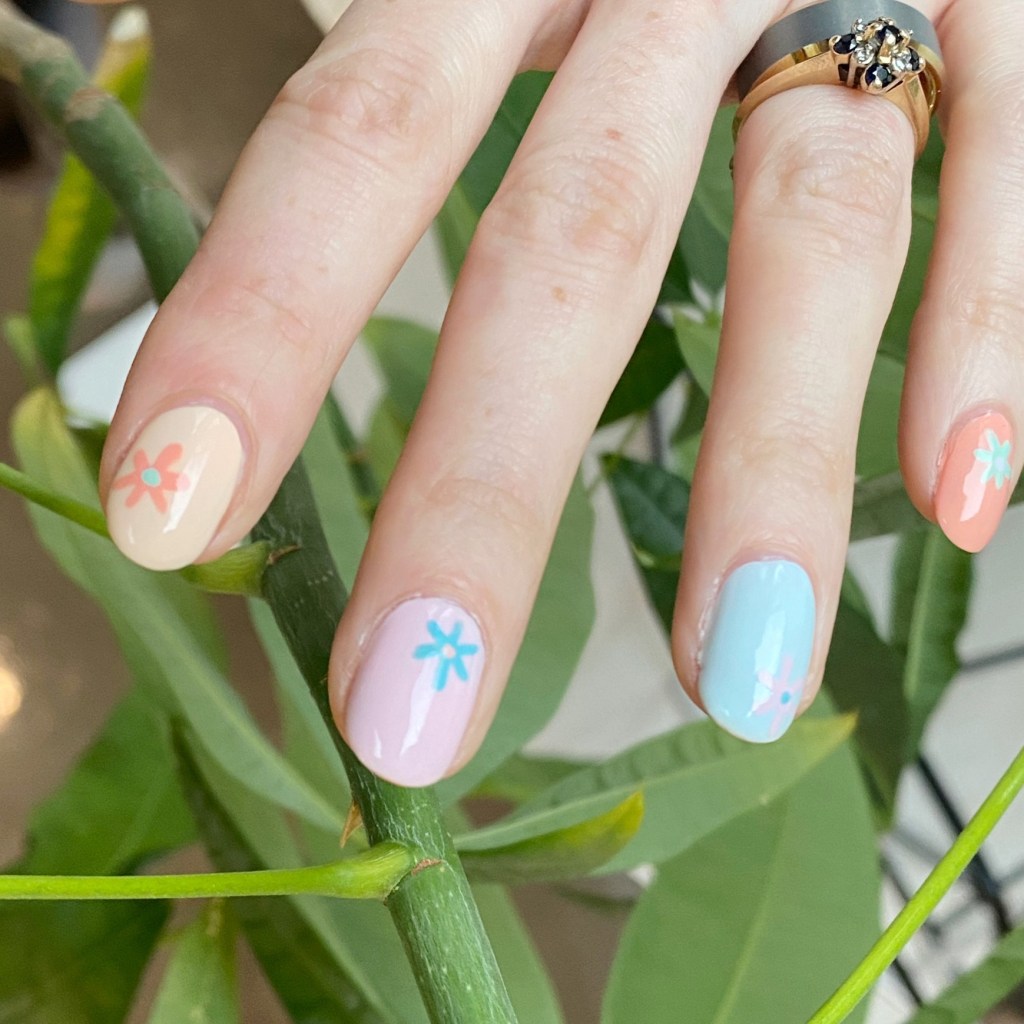
I swear that this isn’t just a floral blog now, but I’ll be honest — I’m really loving doing all sorts of floral designs right now. So it’s what I have to share with you! I did these nails a few weeks ago, before I had another nail break, & I think they turned out so pretty.

I used all of the beautiful Madam Glam nail polishes I was gifted as they are all stunning Spring shades.

The polishes I used for this manicure are: 

  • Base Coat: Madam Glam Base Coat *
  • Top Coat: Madam Glam Top Coat *
  • Madam Glam Purple Rain *
  • Madam Glam Pastel Love *
  • Madam Glam Spring Breeze *
  • Madam Glam Minty Green *
  • Madam Glam Warm Up *
  • Madam Glam Mimi Pink *
  • Madam Glam Birds Fairy *
  • Madam Glam Sweet Sunshine *
  • Nailstuff.ca Mermaid Tail 7mm liner brush

*gifted/PR

I’m obsessed with how beautiful these Spring-y shades are. Madam Glam also has the whole collection as a bundle available on their website! I’ve been really impressed with the formula on these nail polishes — so smooth, which you really want when applying pastels.

Also these little accent flowers make me so happy.

What do you think about my pastel floral skittle? Do you love these shades for Spring? Let me know all your thoughts down in the comments below!

🌸