Hello lovelies & happy Thursday!
I hope everyone is having a lovely week so far. With the day off for Remembrance Day on Tuesday, I feel like my whole week is so askew! But I am trying to keep on my painting & posting schedule as best as possible, so here we go!
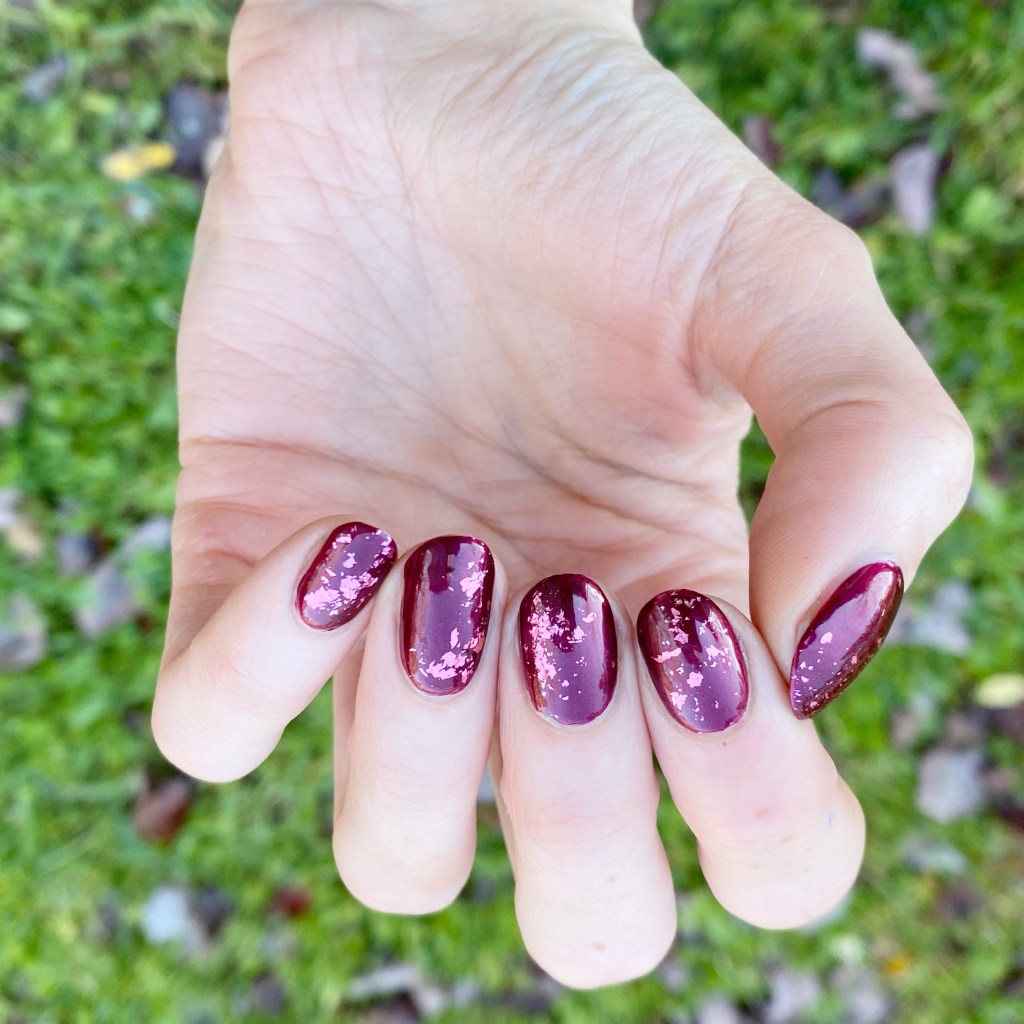
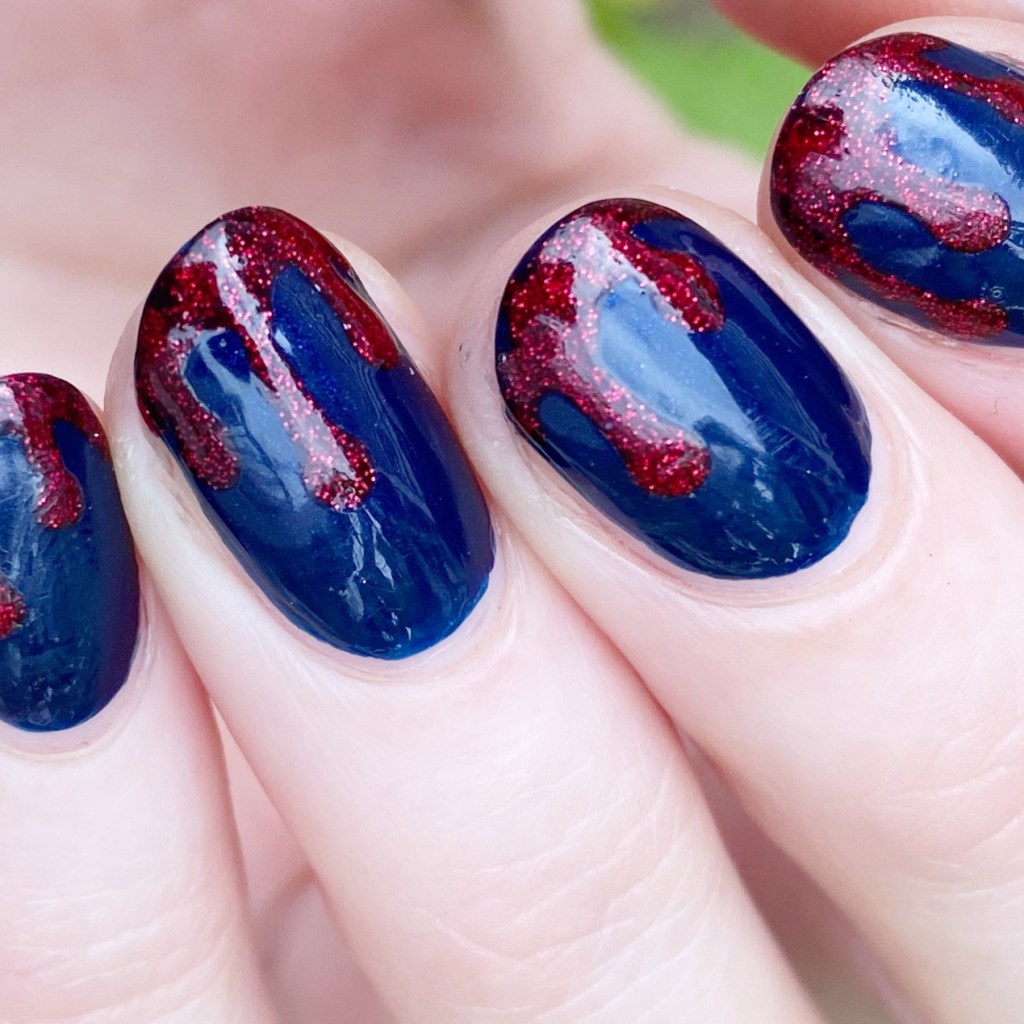
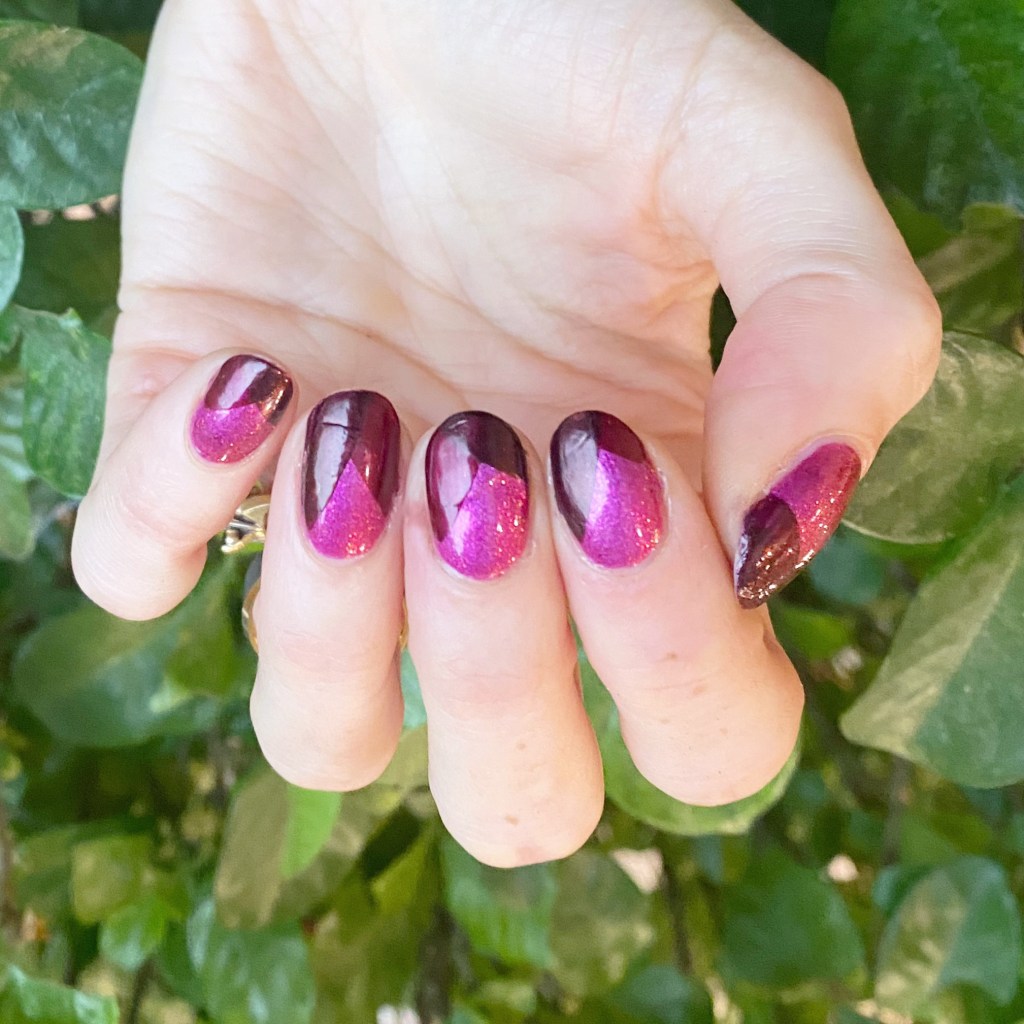
Today’s look is a simple one, but perfect for this time of year. The holiday vibes are really hitting hard now, so why not have nails to match! & I much prefer a pink Christmas vibe, myself.
The polishes I used for this manicure are:
- Top Coat: Sally Hansen InstaDri Top Coat (red bottle)
- Base Coat: Sally Hansen Miracle Cure
- Sally Hansen InstaDri The Queens Velvet
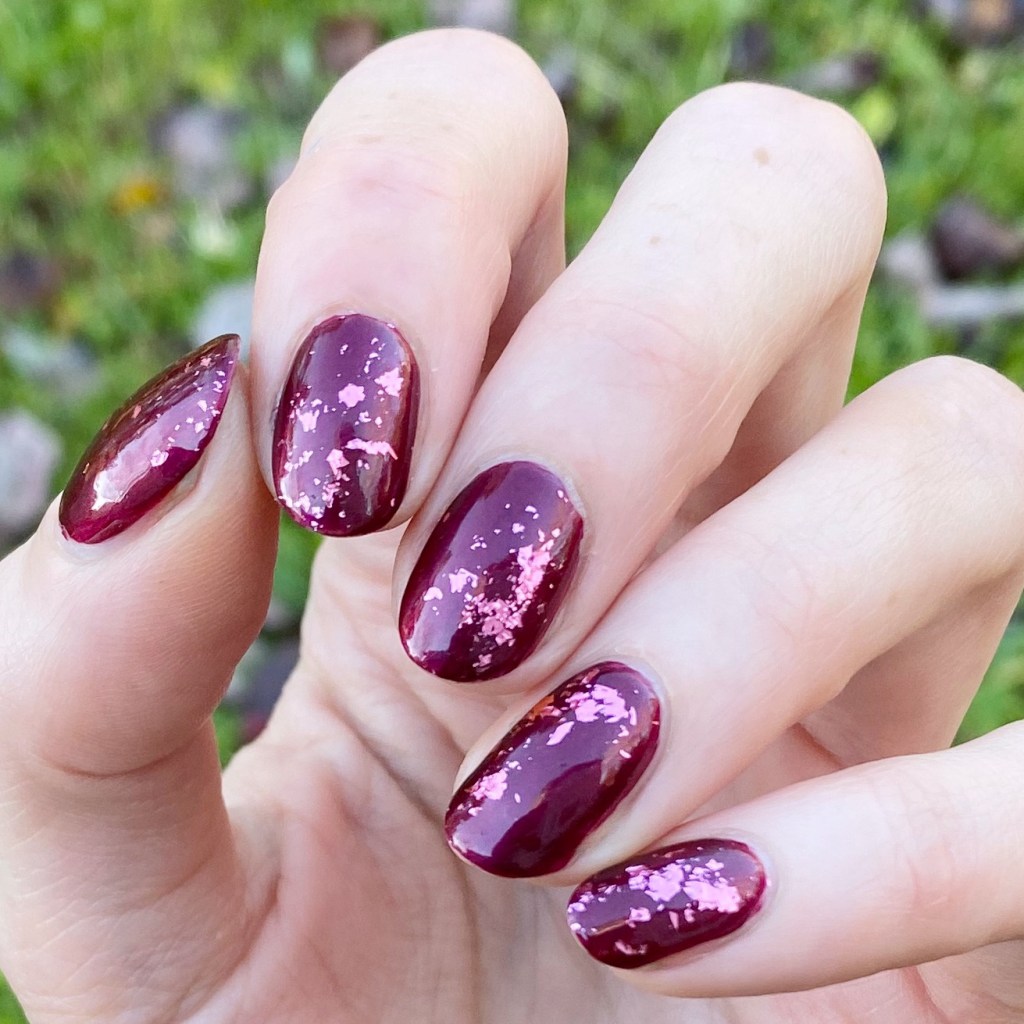
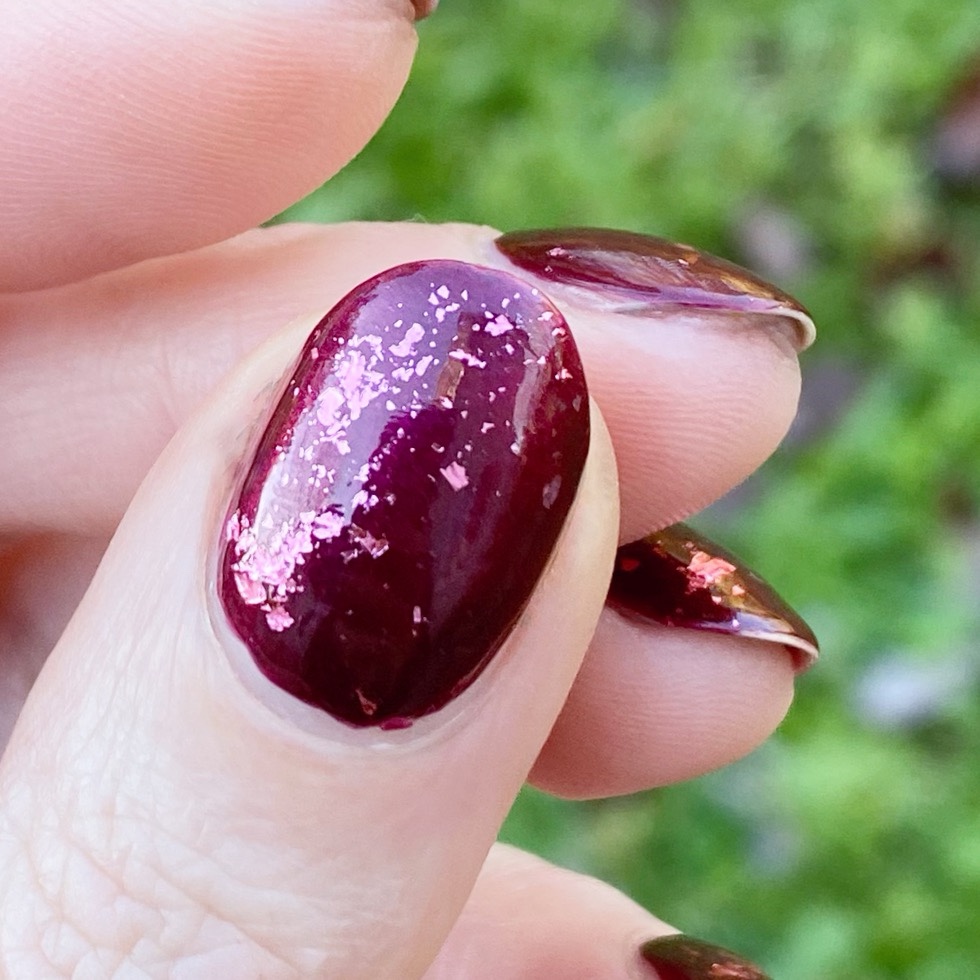
- Sally Hansen Miracle Gel Frosted Berries
- OPI Infinite Shine Bring Out The Big Gems

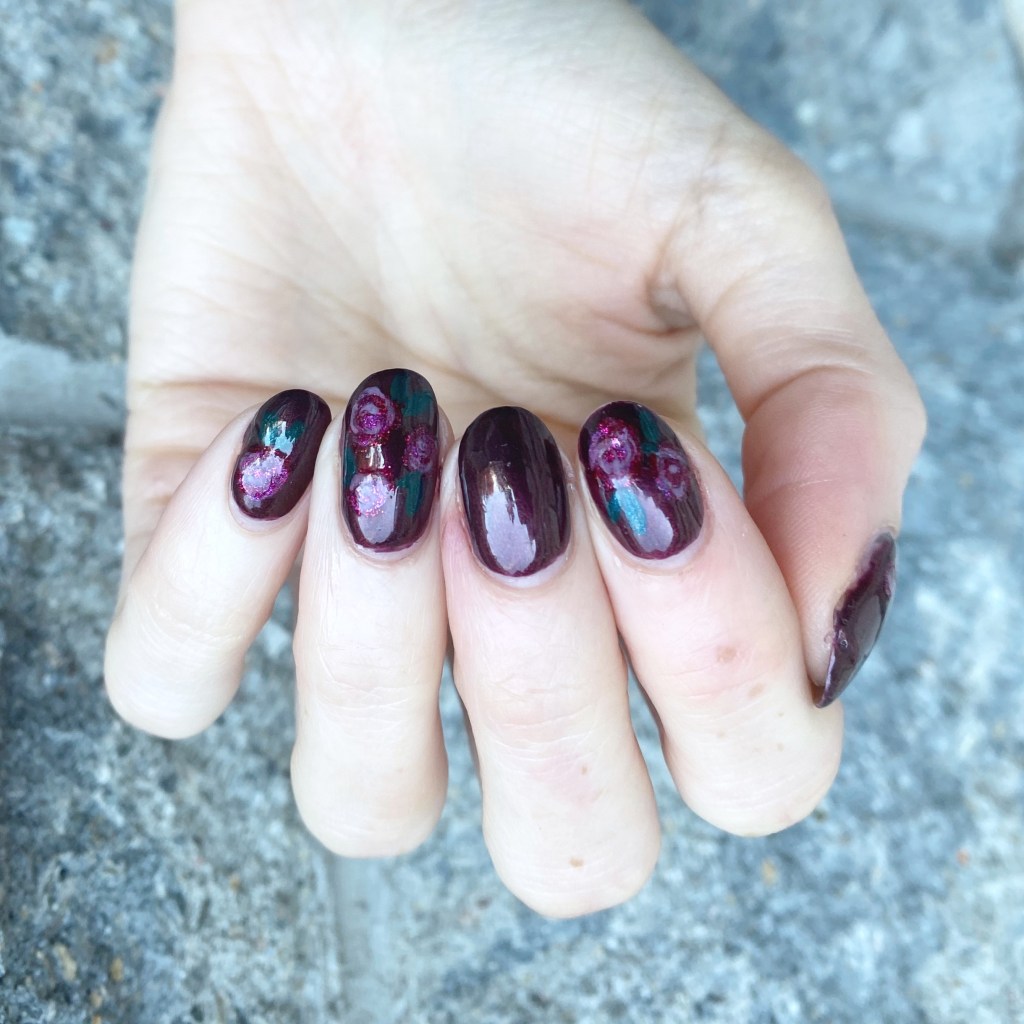
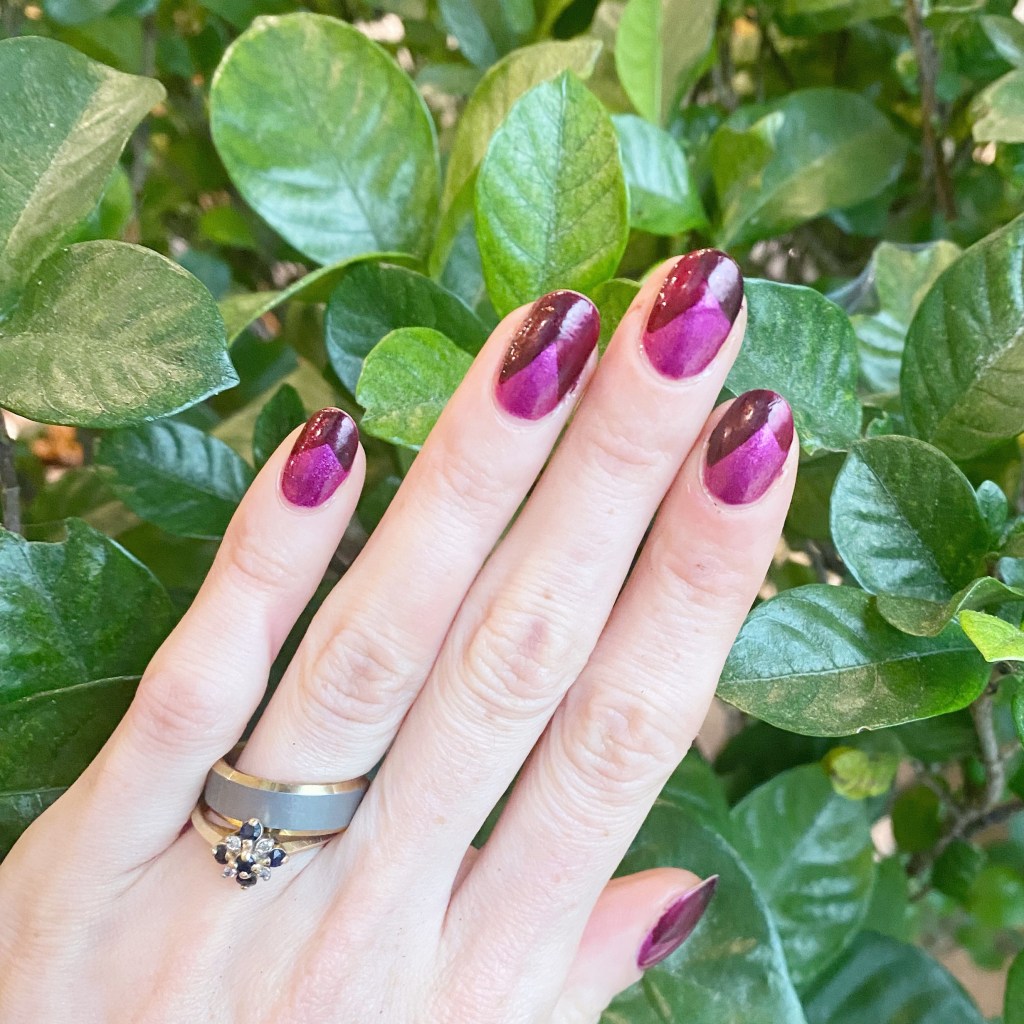
I’m a huge fan of designs like this which feature similar tones all paired together. It looks so beautiful. & I’m very into this pinky red colour scheme right now! As a lady truly dedicated to a crimson nail polish, it’s a nice change from my usual go to shades.
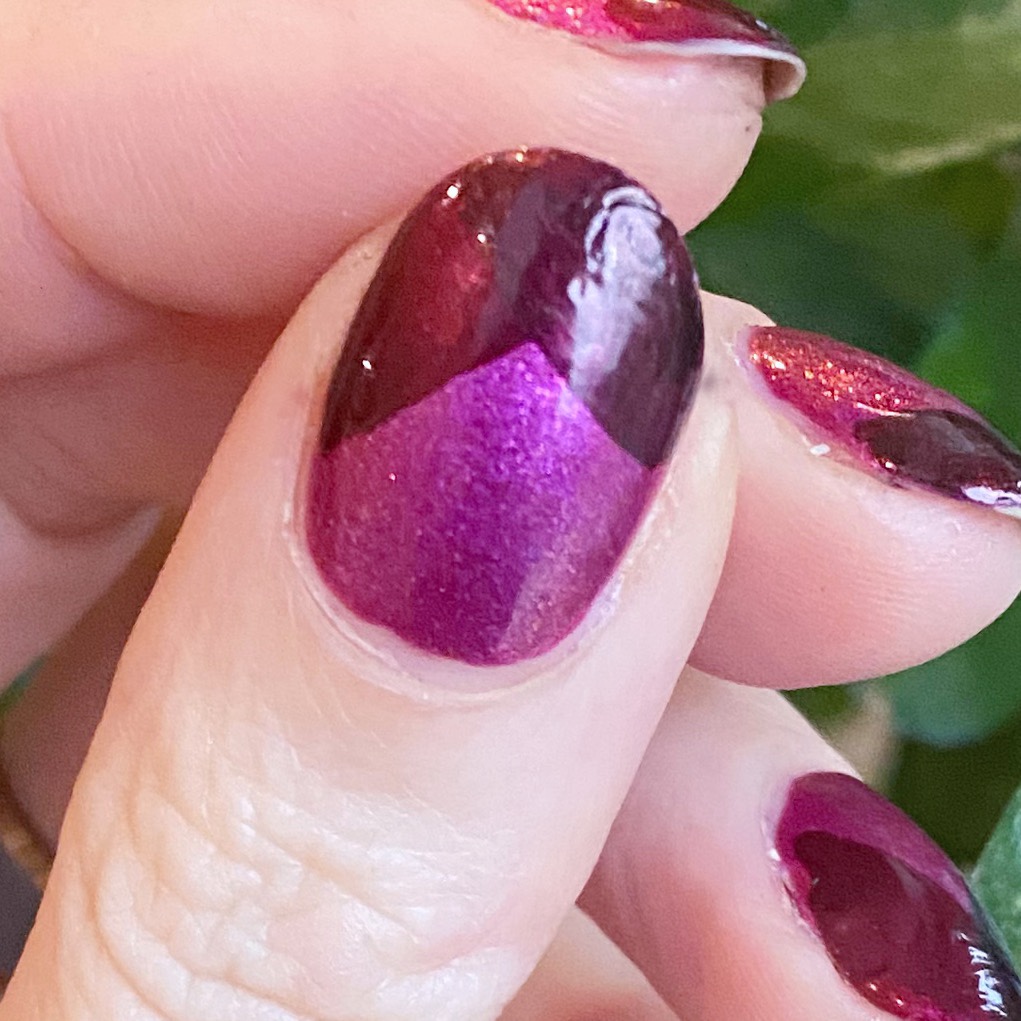
& colour blocking like this is so easy to do! Obviously if you don’t feel comfortable free-handing, you can use nail tape/vinyls — but honestly, once you practice doing it without, you realize how quick & easy it is!

What do you think about my berry toned colour blocking? Do you like this combination of colours? Let me know all your thoughts in the comment below, & if you would wear this design!
Enjoy your Thursday!
🖤