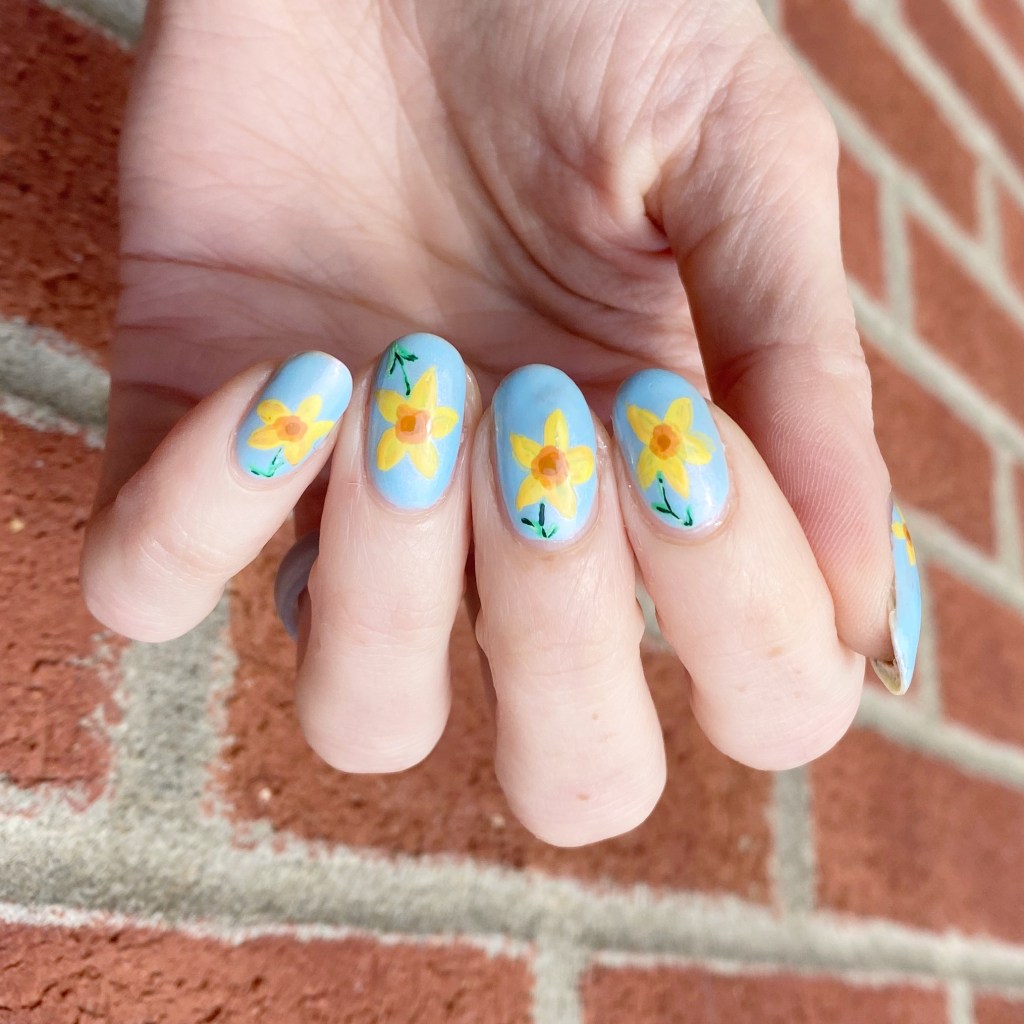
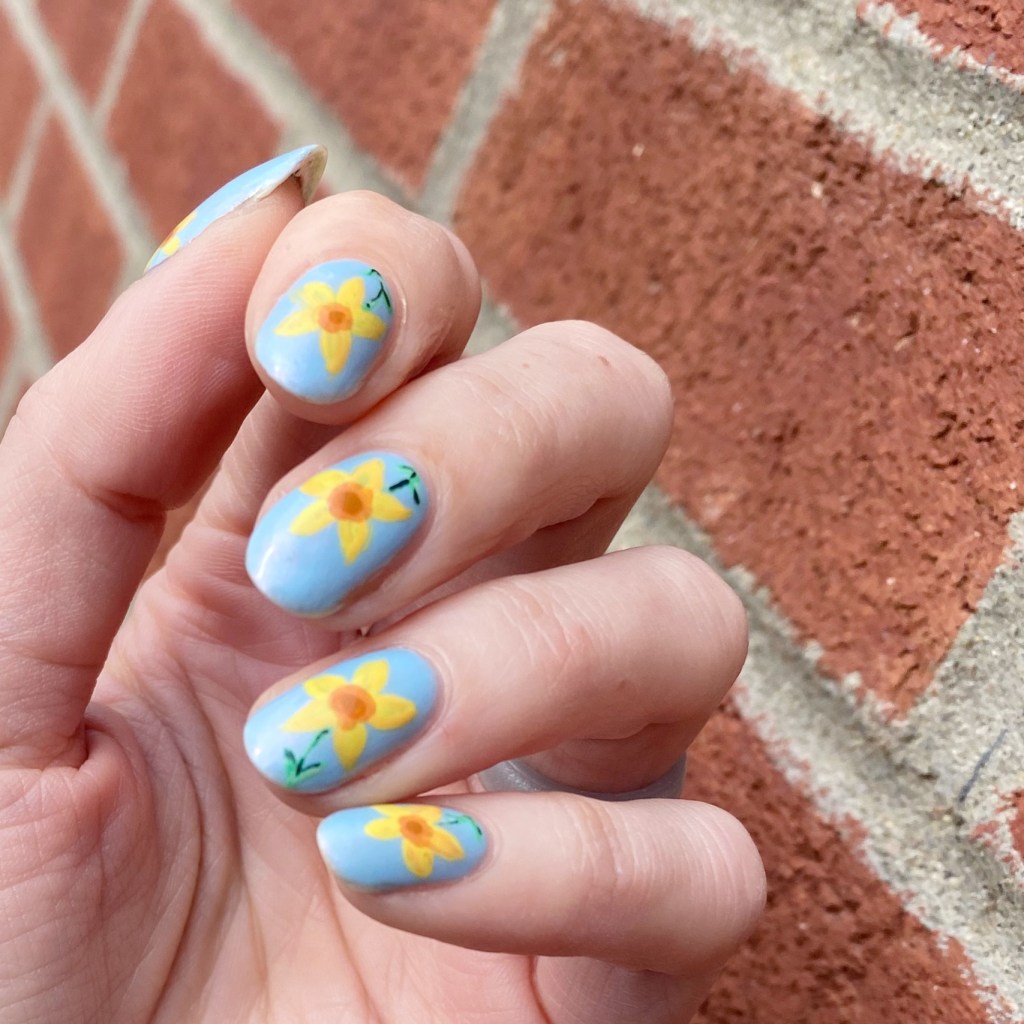
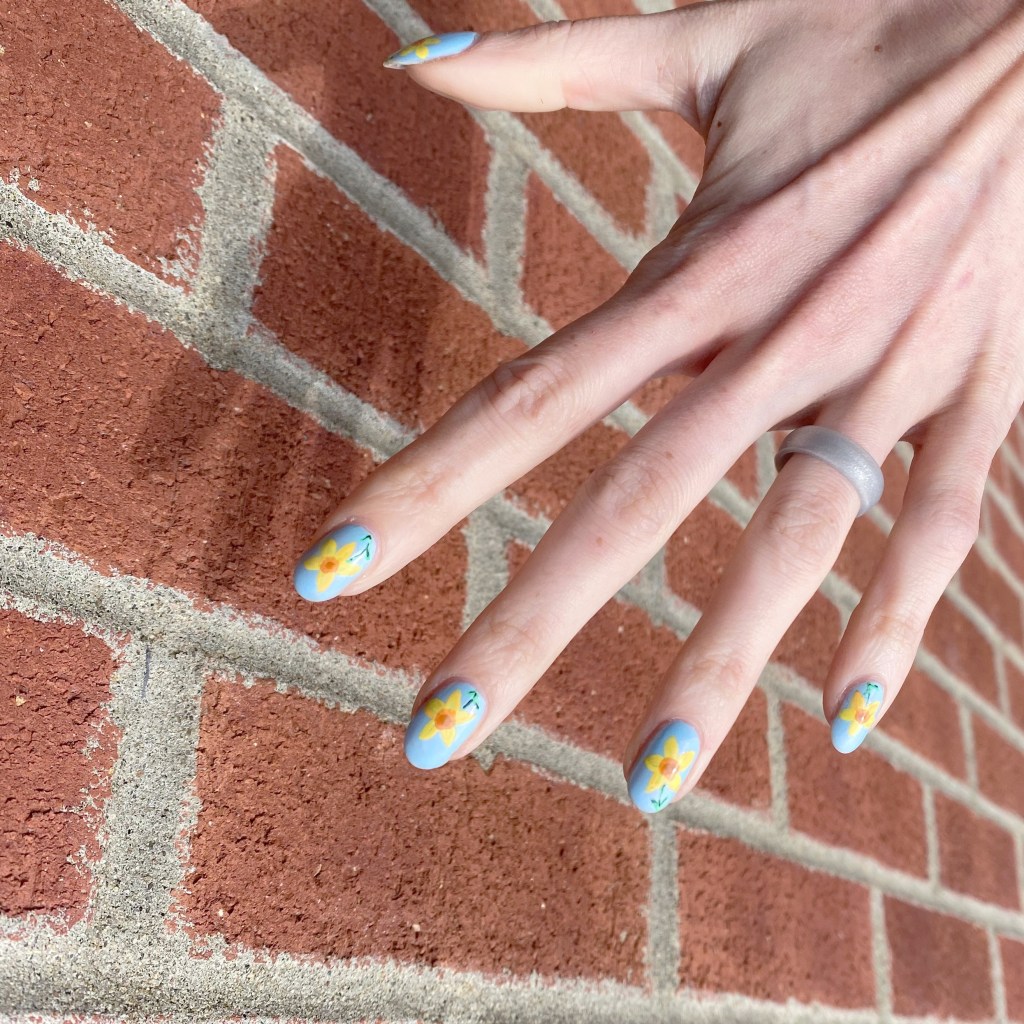
Hello lovelies & happy Monday! I hope your day is starting off beautifully. Today I’m in a great mood because I’m sharing another beautiful manicure for Glam Nails Challenge April.
& what is the next prompt? Rainbow 🌈


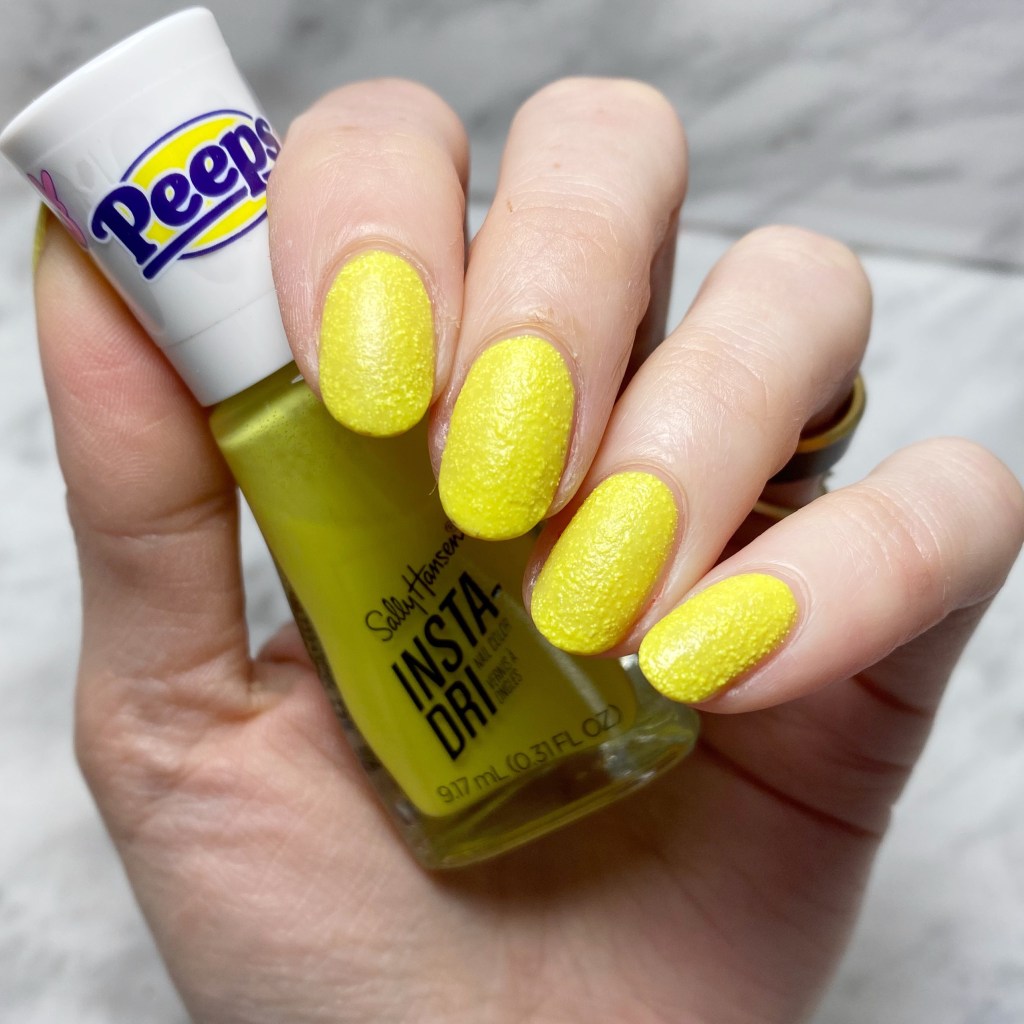
The polishes I used for this manicure are:
- Base Coat: Essie Hard To Resist Glow & Shine
- Top Coat: Seche Vive Fast Dry Top
- Holographic Top Coat: Starrily Eclipse
- Sally Hansen InstaDri Cerulean (pinky)
- Sinful Colours Fitspo
- OPI Nature Strong Make my Daisy (middle)
- Sally Hansen Complete Salon Manicure Fiery Island (pointer)
- Essie Too Too Hot (thumb)

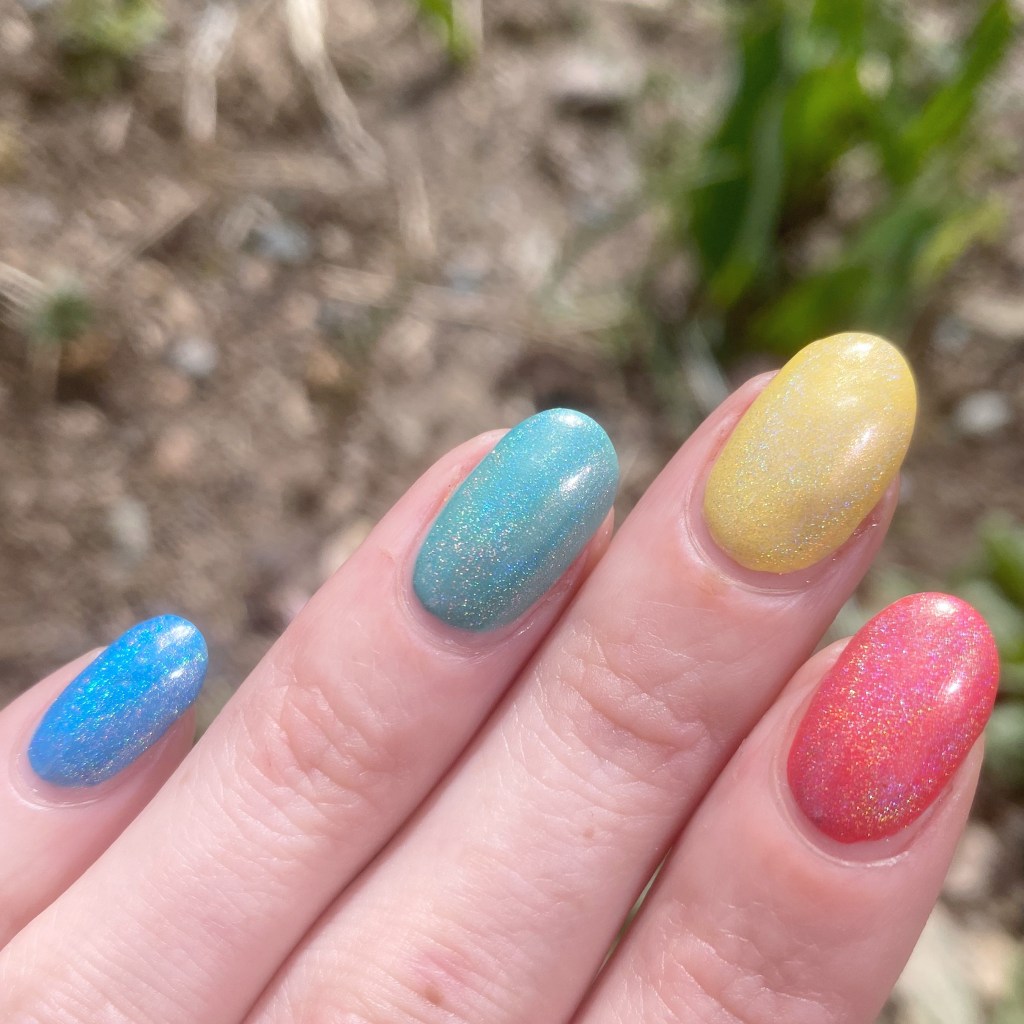
How pretty is this rainbow? I thought about hand painting a rainbow, but there is just something about a skittle design. I totally could have freehanded little white ‘s’ in the middle of each nails, & they would have been legit skittles! Simple, but effective.
Also the kiddos loved the look so much, they asked me to give them both rainbow nails! So here is a bonus shot of their fun rainbow nails. Even though I sometimes get a little on edge painting their nails — mostly because they hate sitting still — I do adore anytime they ask for me to paint their nails!

What do you think of these rainbow nails? Are you a fan of a rainbow skittle look? Let me know down in the comments below!
& just for fun: what is your favourite skittle flavour. I’m controversial because I will die on the hill that the green apple skittle was the best, especially in sour, but I know not everyone shares that opinion.
Have a lovely Monday!