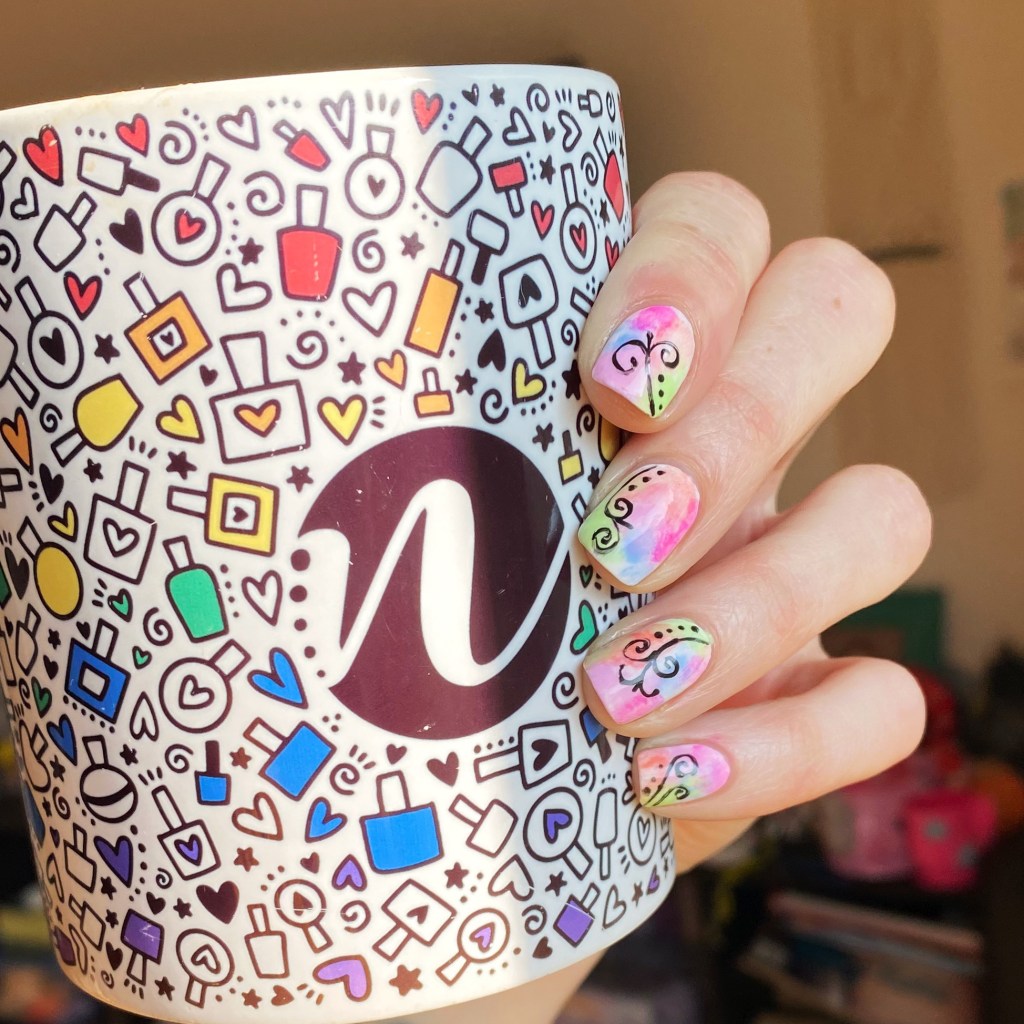
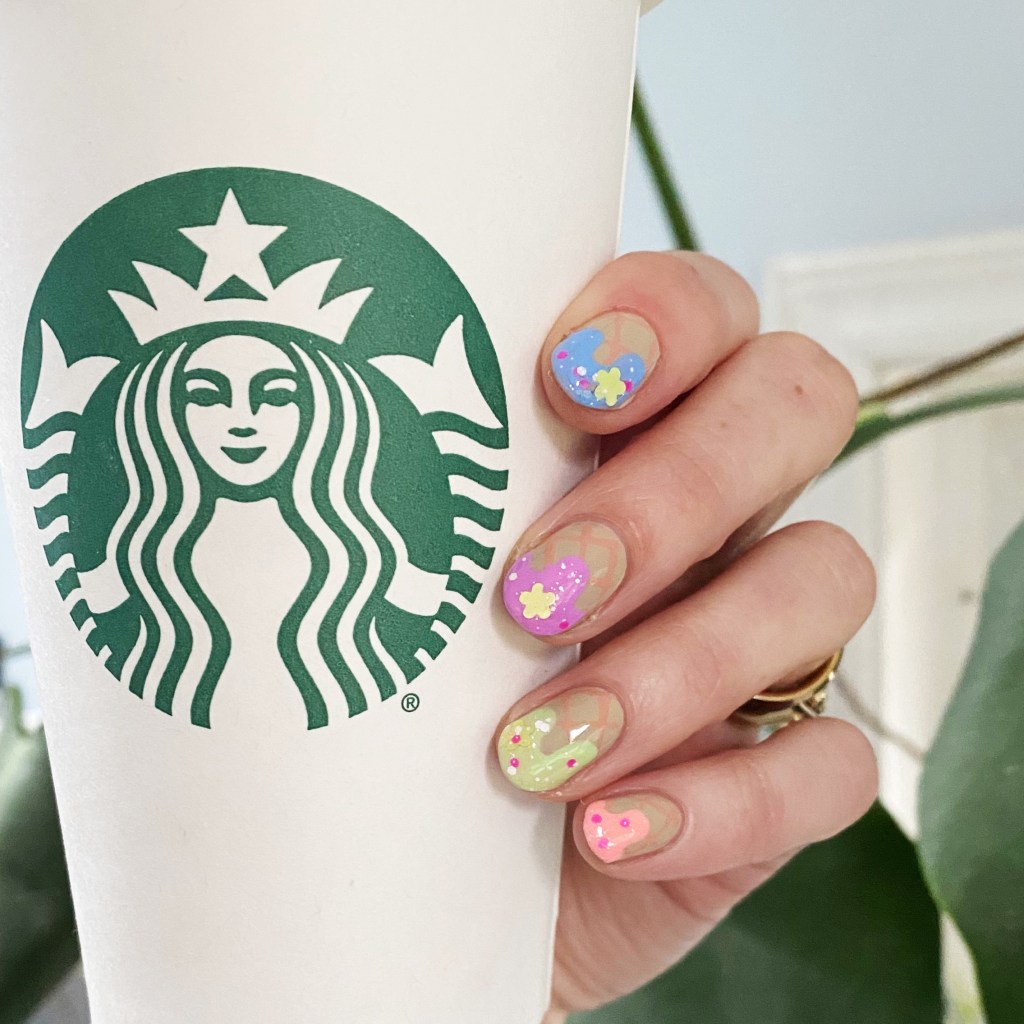
Good morning lovelies & happy Friday!
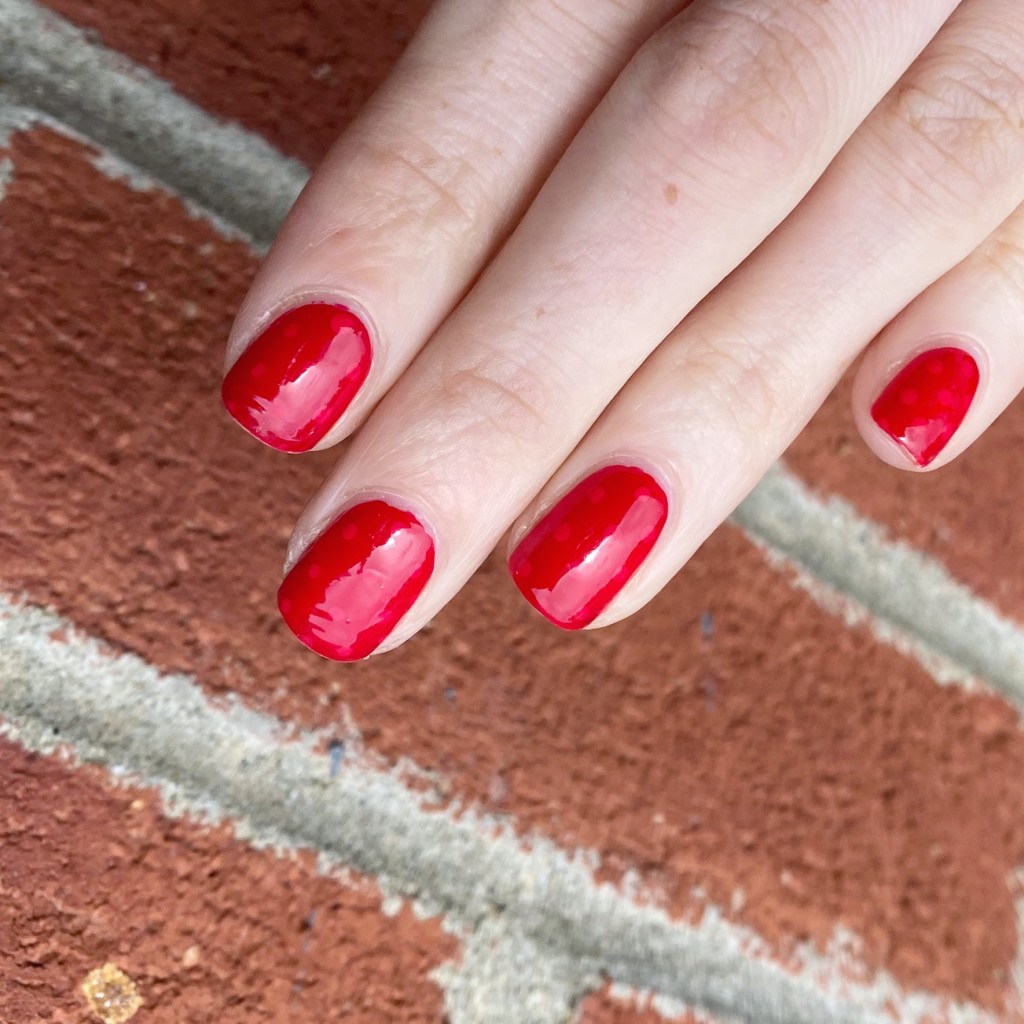
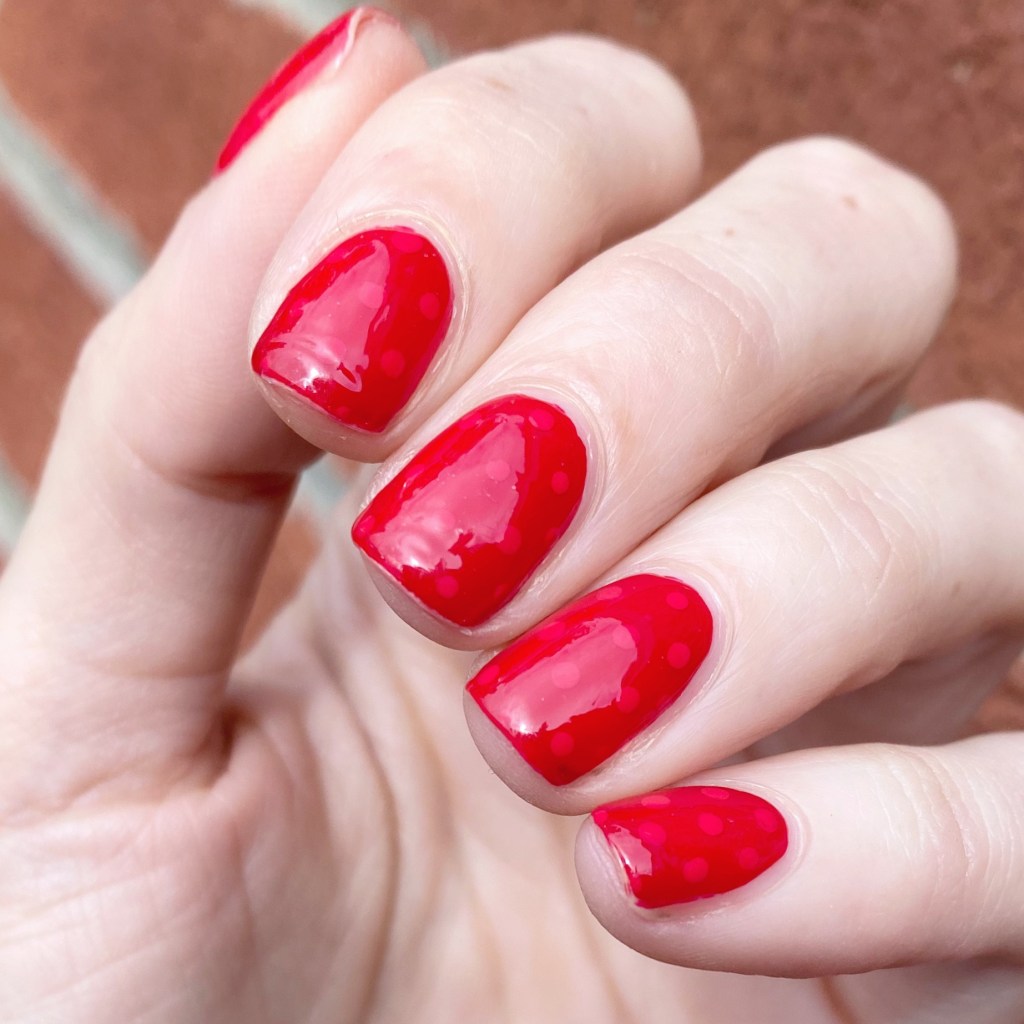
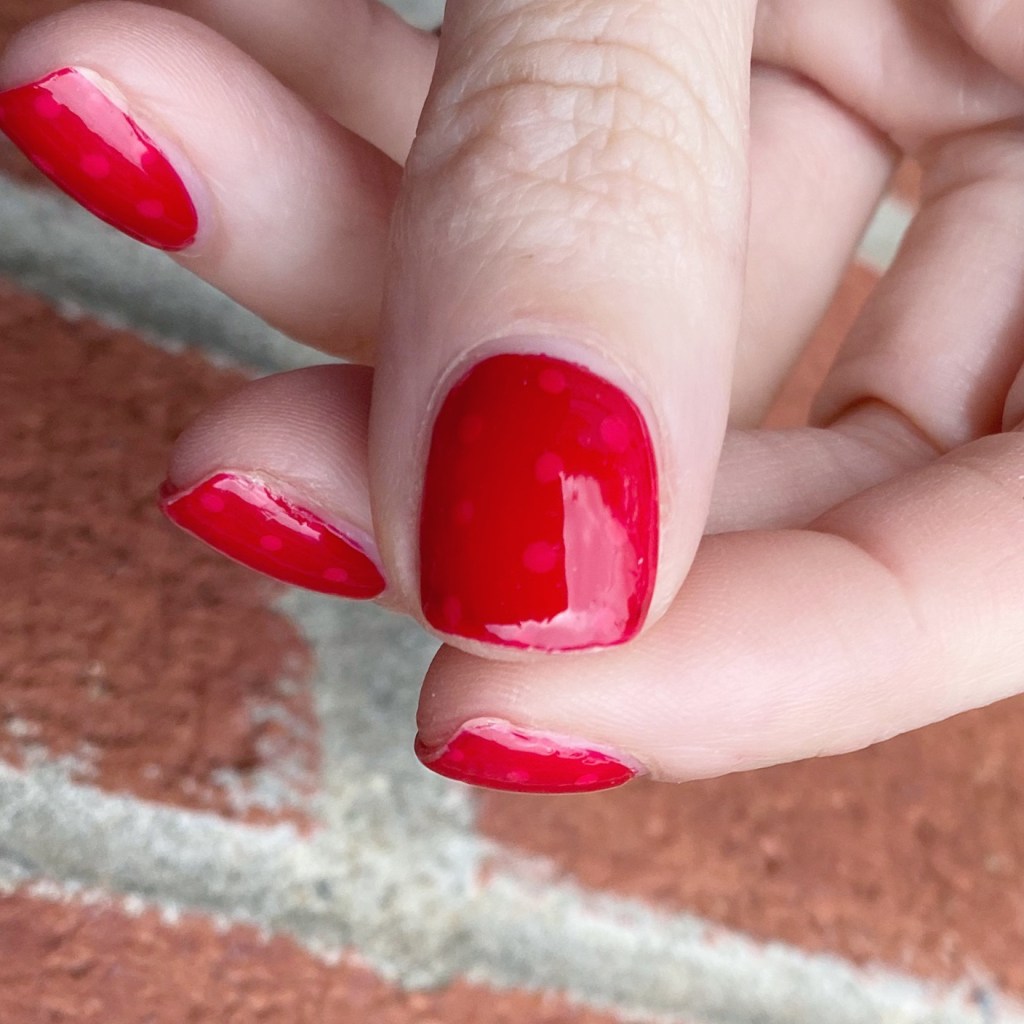
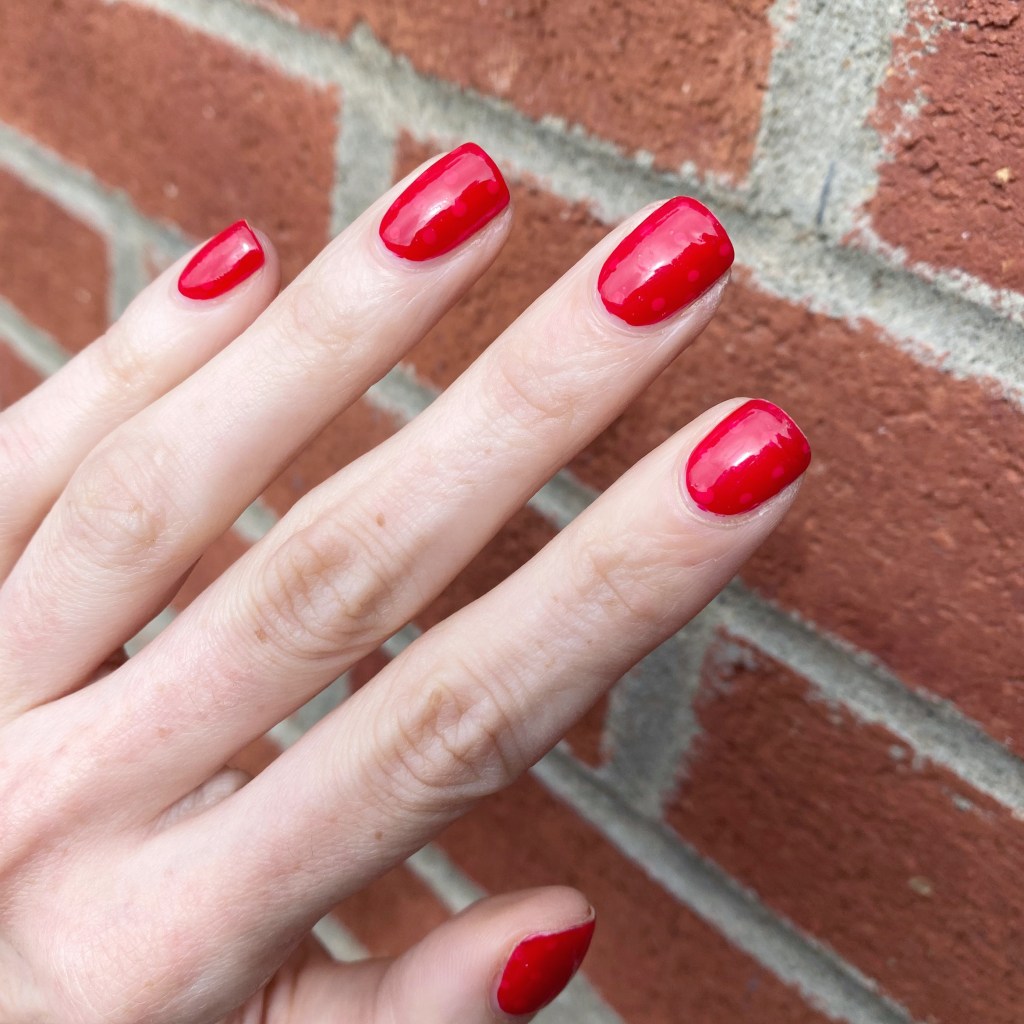
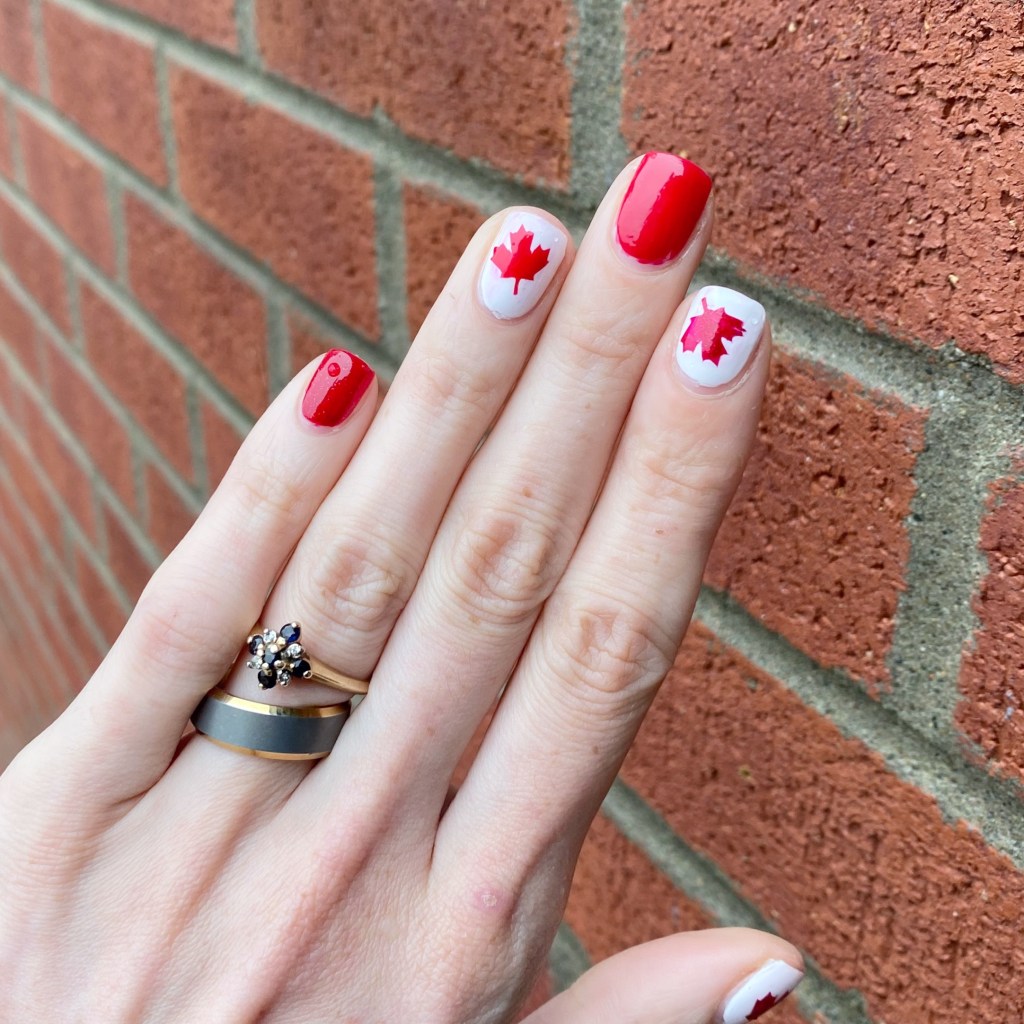
It’s almost the weekend. & here in Canada, it’s almost our nation’s birthday. So obviously, I needed some cute Canada Day nails to celebrate the occasion (& the day off work!) I still have a good haul of my Canada Day vinyl stencils from a few years ago, so I decided I should put them to good use.

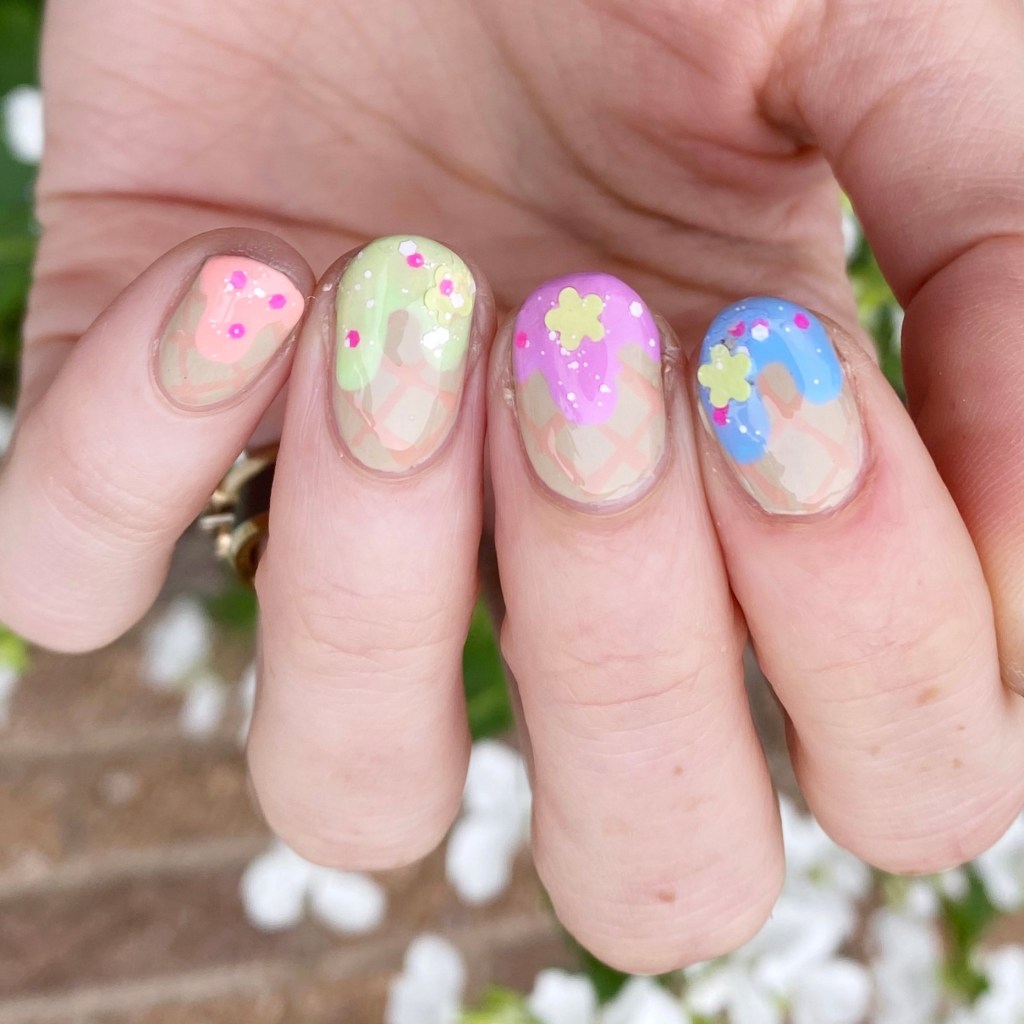
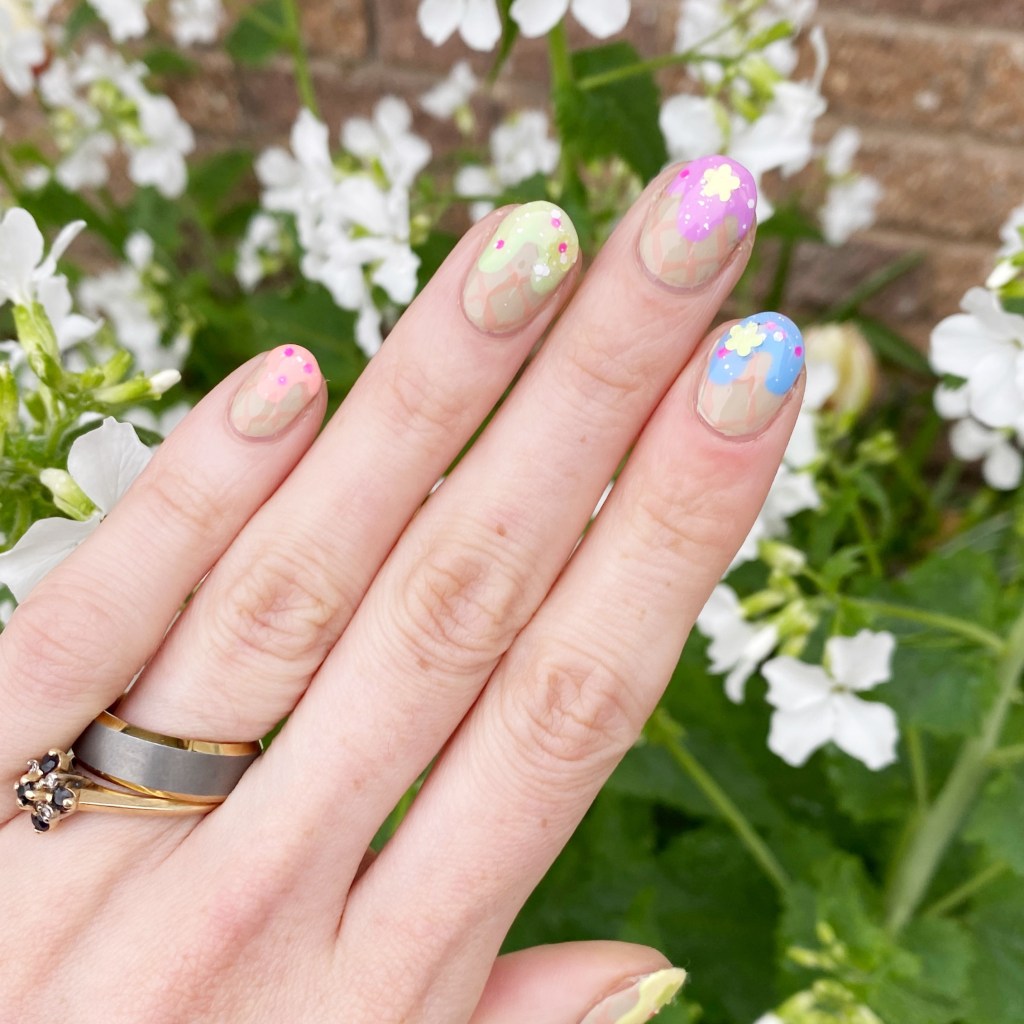
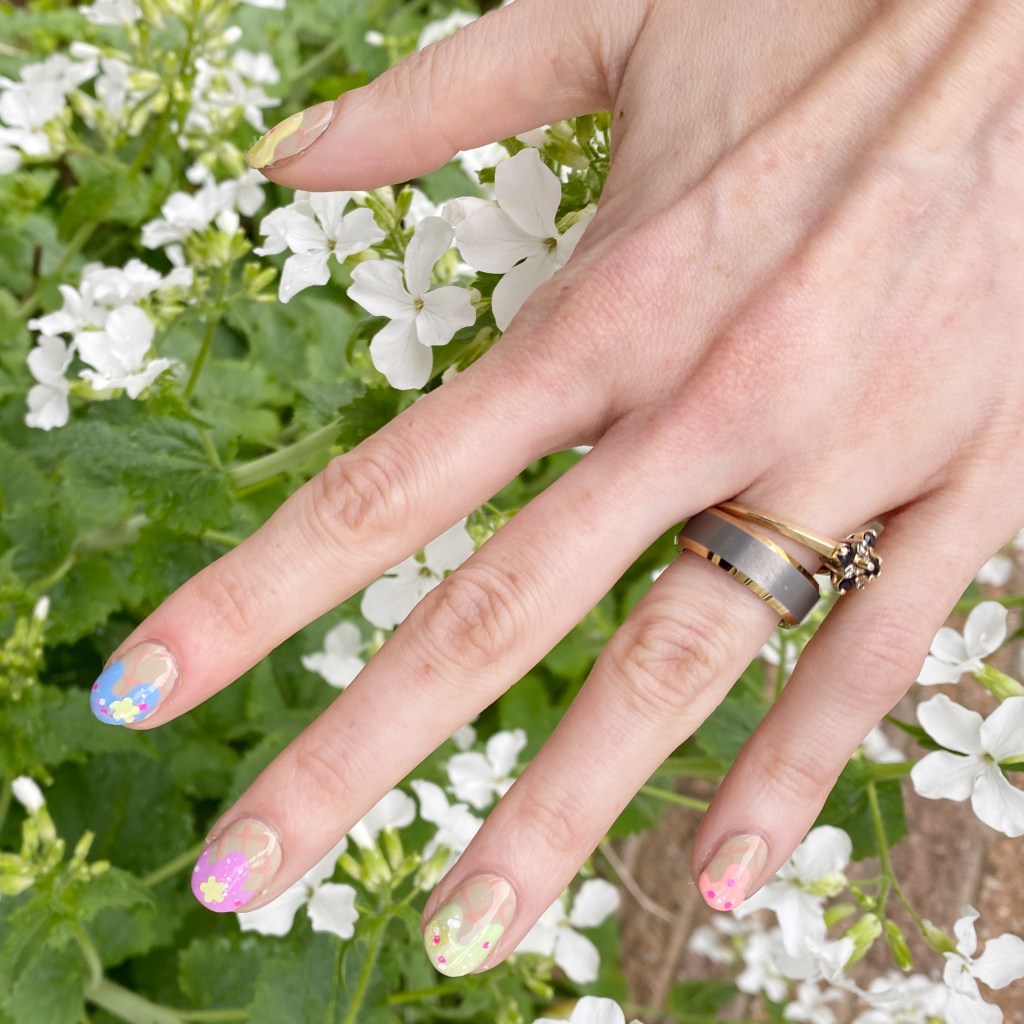
The polishes I used for this manicure are:
- Base Coat: Londontown KUR Nail Hardener & Base Coat
- Top Coat: Seche Vive Fast Dry
- Sally Hansen Miracle Gel x Friends He’s Her Lobster
- Sally Hansen MG x Friends A Moo Point
- Sally Hansen MG Red It Twice
- What’s Up Beauty Canada Flag Stencils (c/o: NailPolishCanada circa 2018)
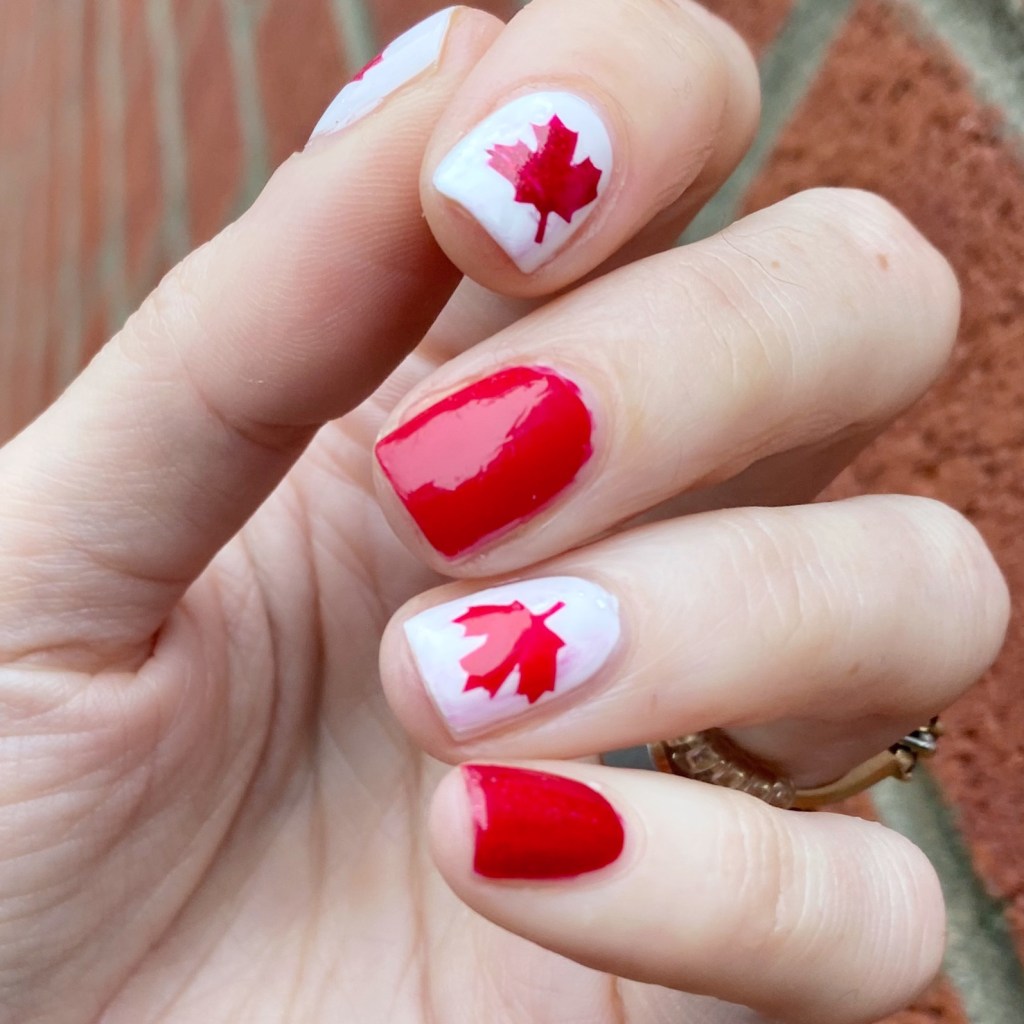
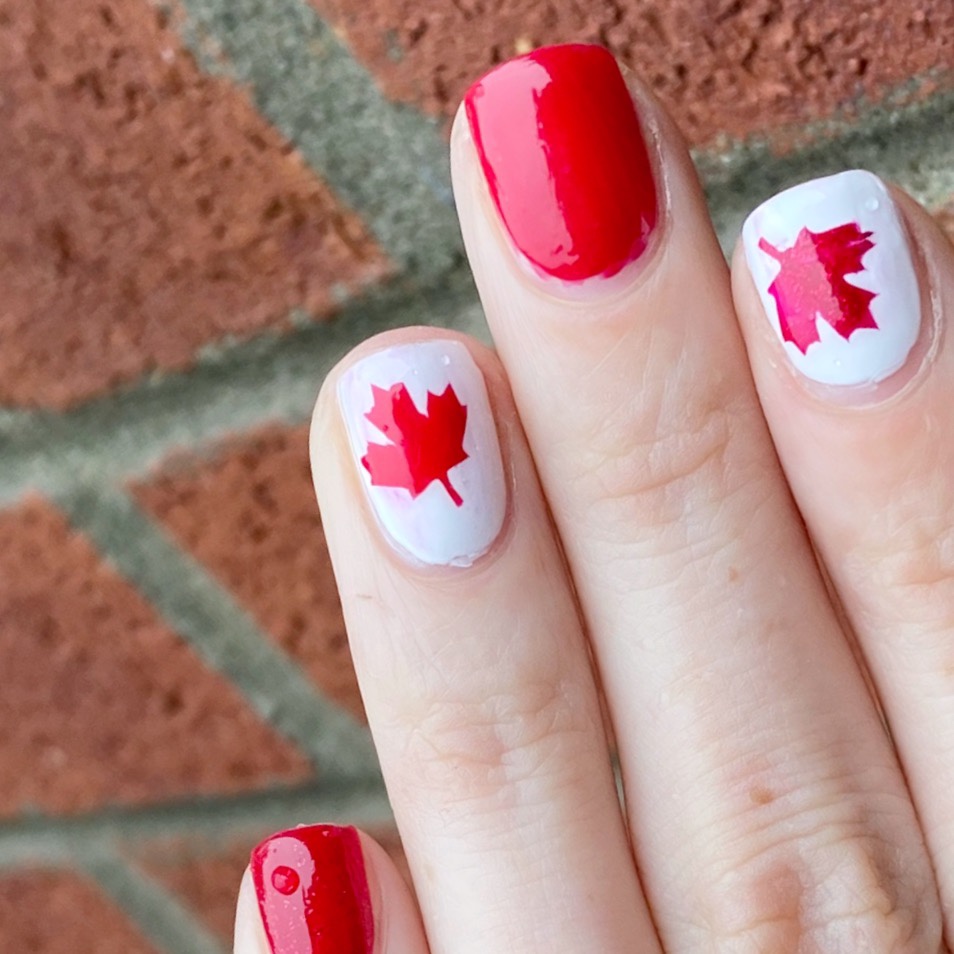
Please excuse the raindrops on my nails — I took these between bouts of torrential rain. But even the damp conditions couldn’t take away from how cute these turned out! & they were so easy to do with my nail stencils! I definitely couldn’t think about freehanding these maple leaves.
& I got so many compliments when I wore them to work! Which always makes me feel good.

What do you think of my cute Canada Day nails? Let me know in the comments below. & to my fellow Canadians — enjoy your holiday tomorrow!