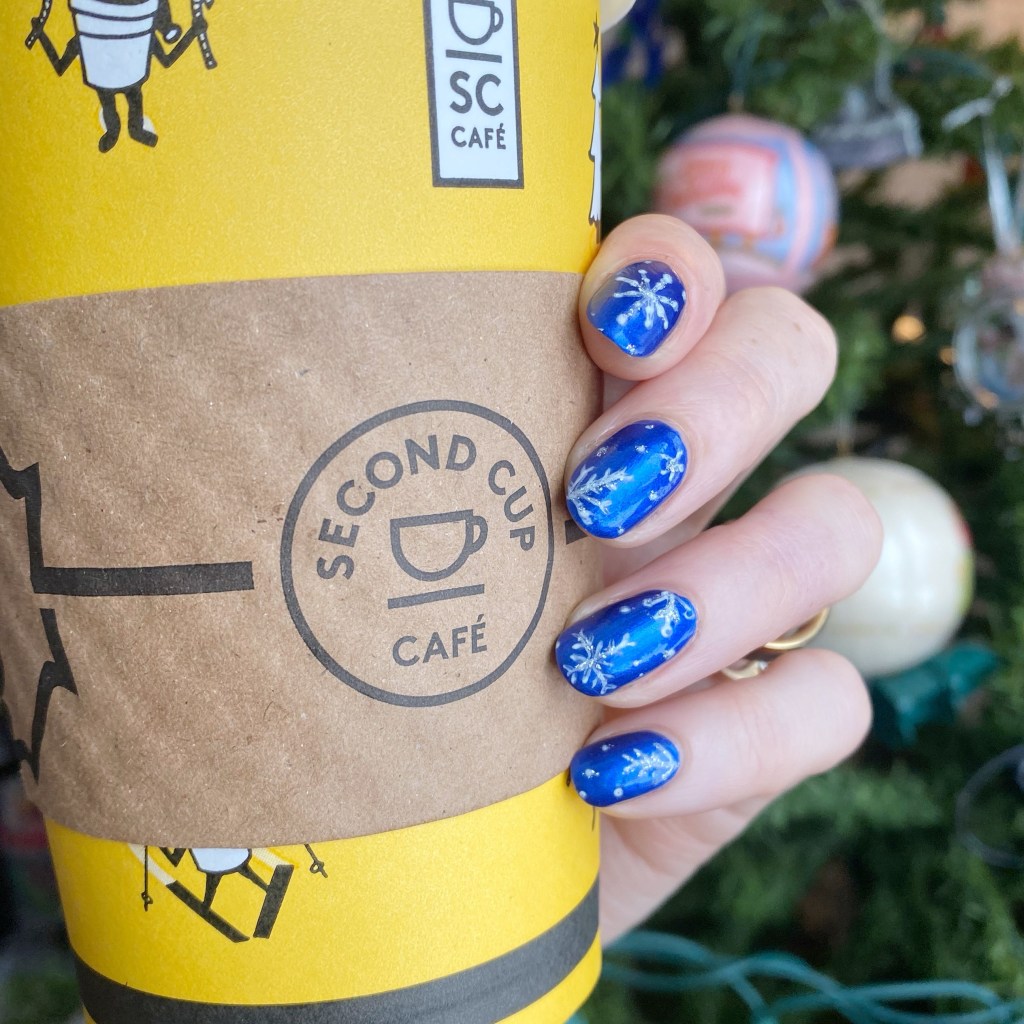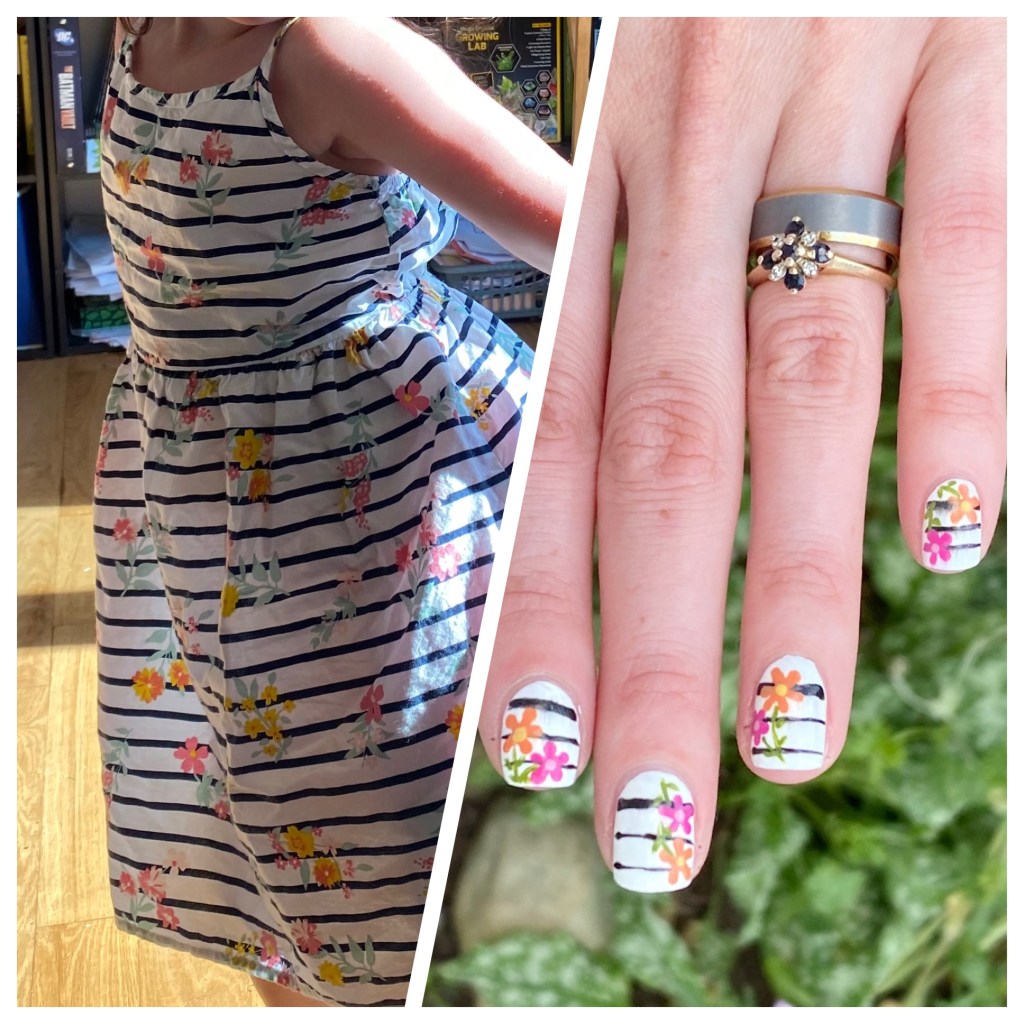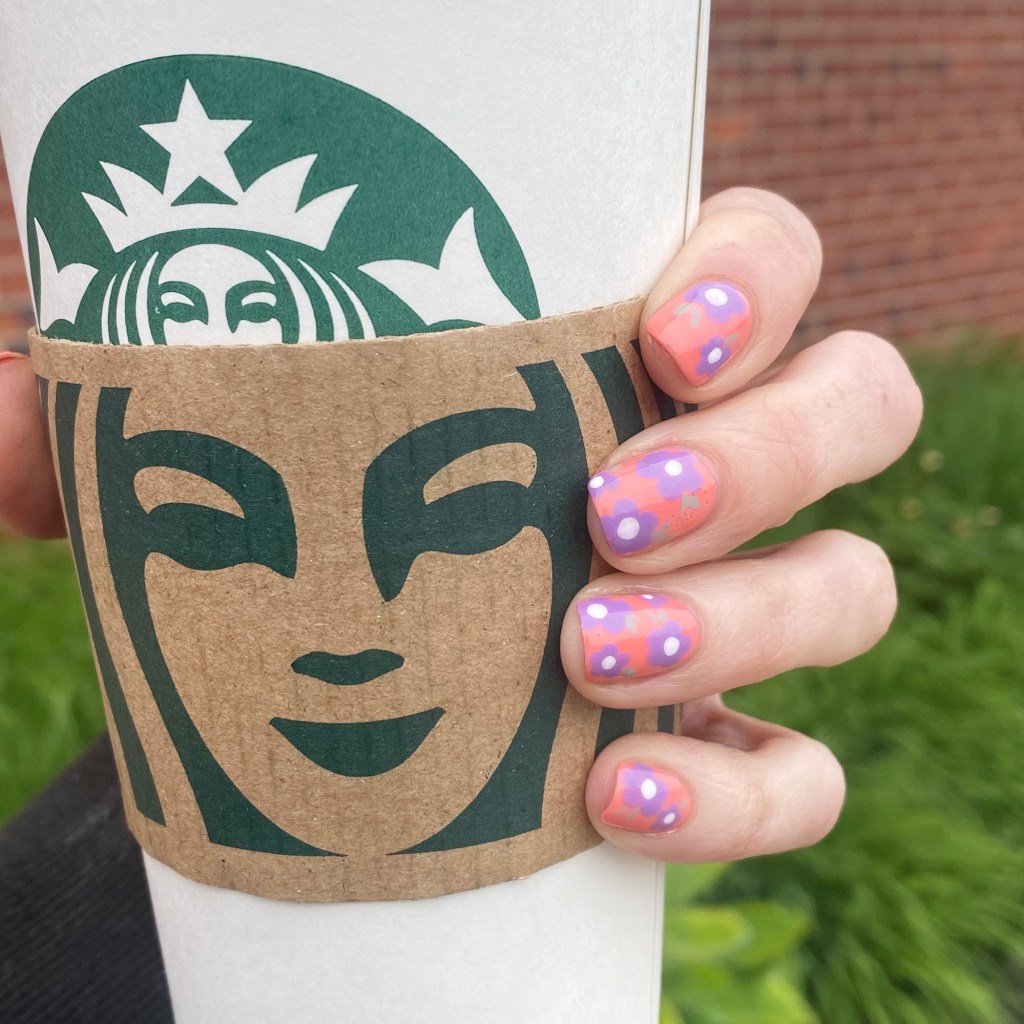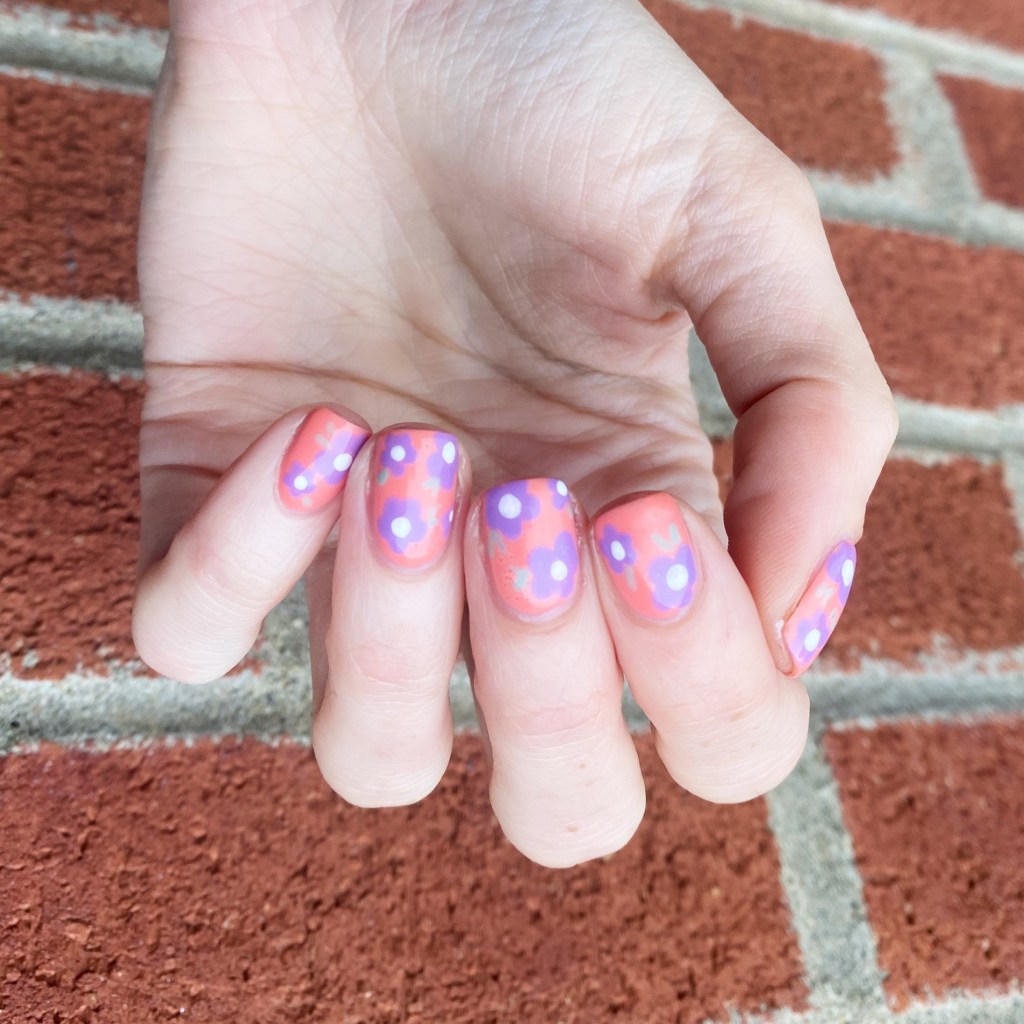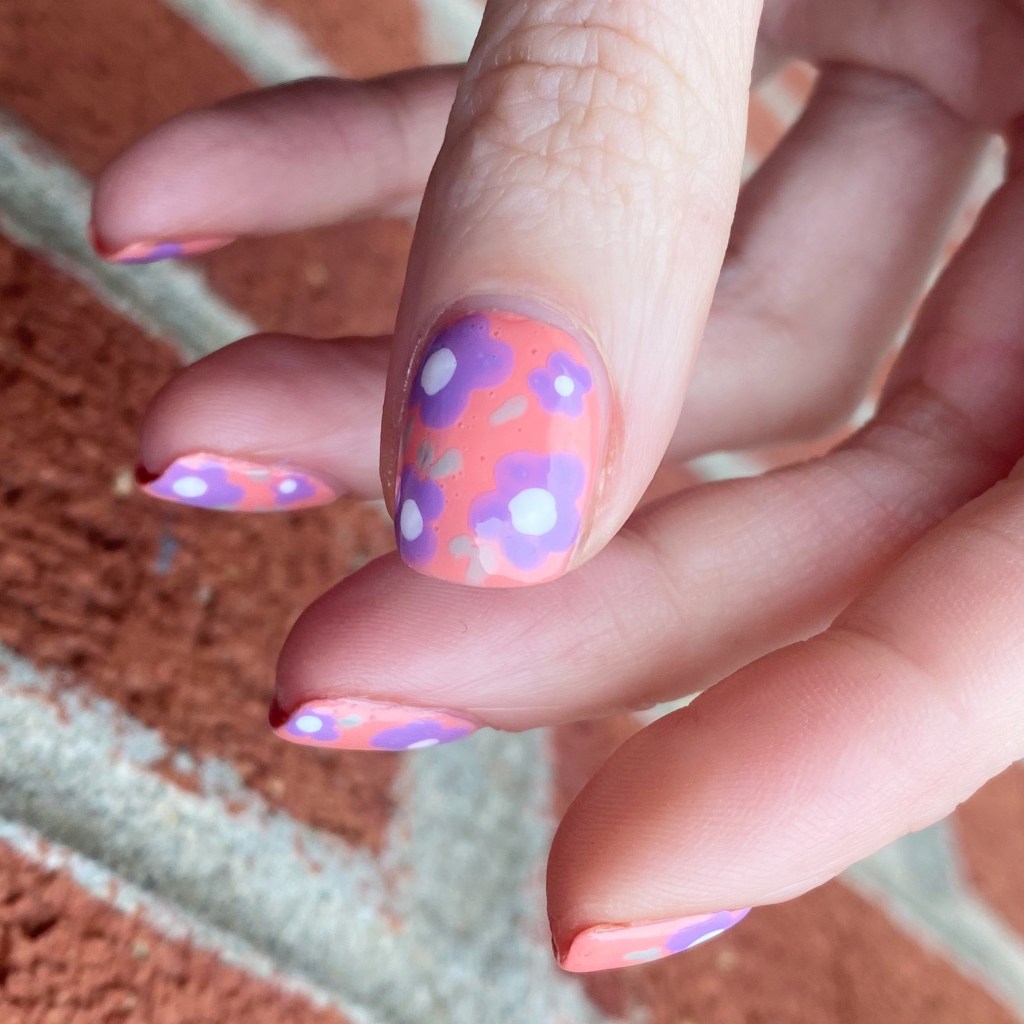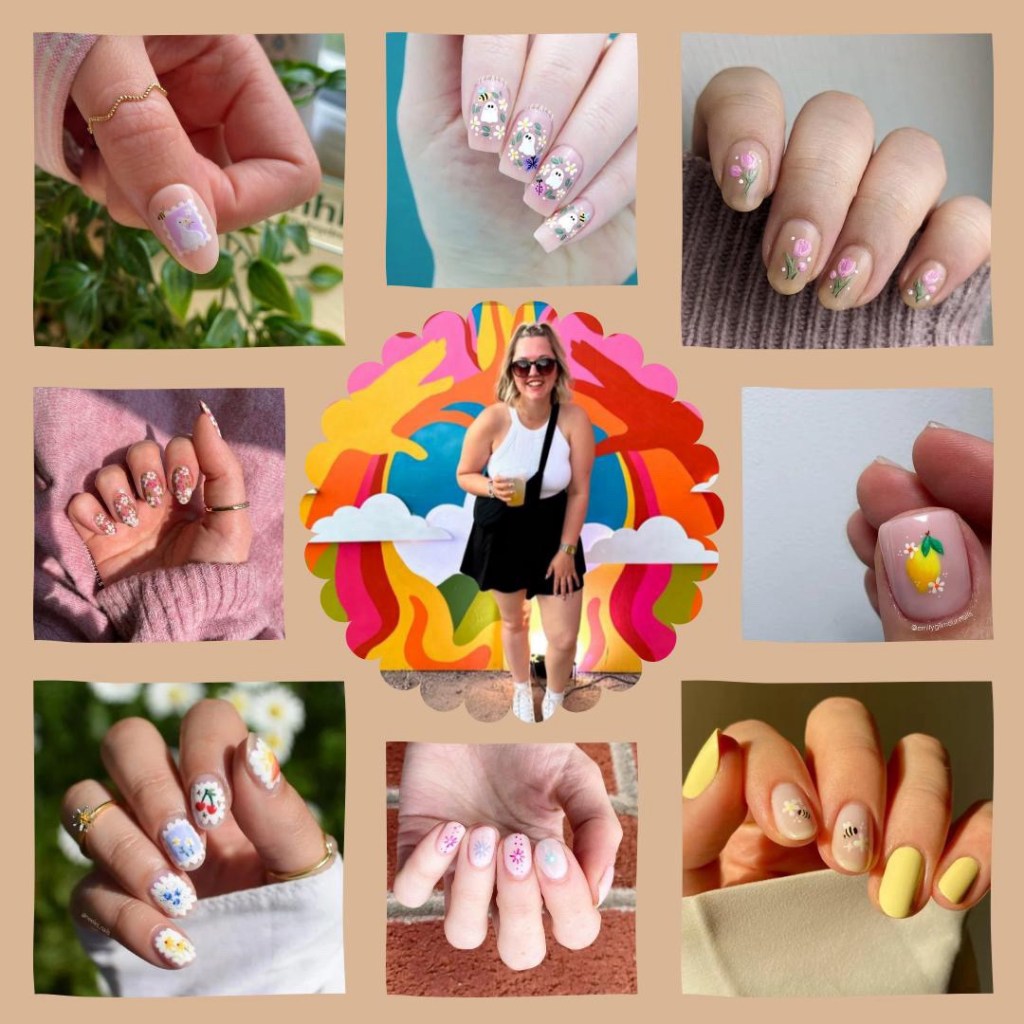
Good afternoon lovelies & happy Friday! Today I’m super excited because I joined in on a collaboration to celebrate one of my favourite Instagram nail gurus: @byrdieldoesnails. In honour of her birthday, a group of us joined together to recreate our favourite @byrdiedoesnails manicures!
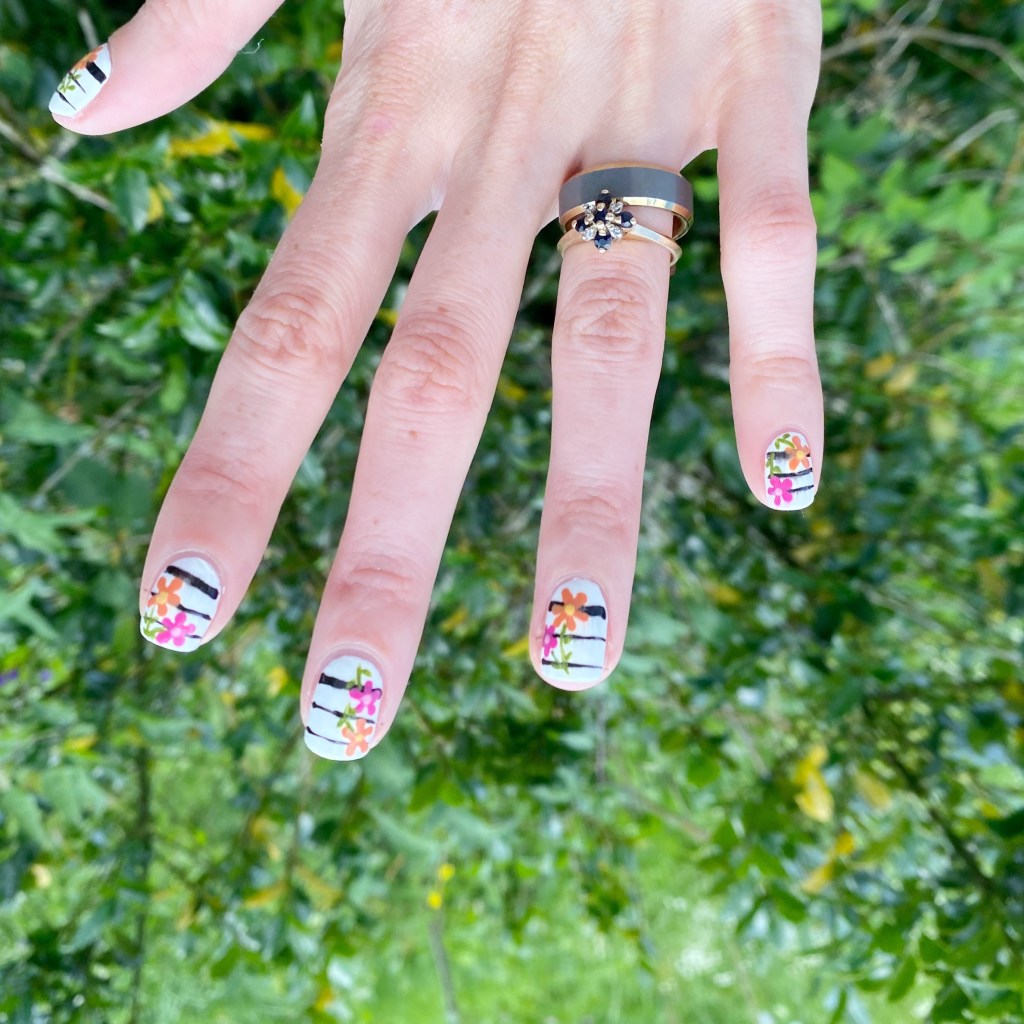
While she has a ton of incredible designs that I would love to recreate, I saw this one & decided that I had to recreate it immediately.


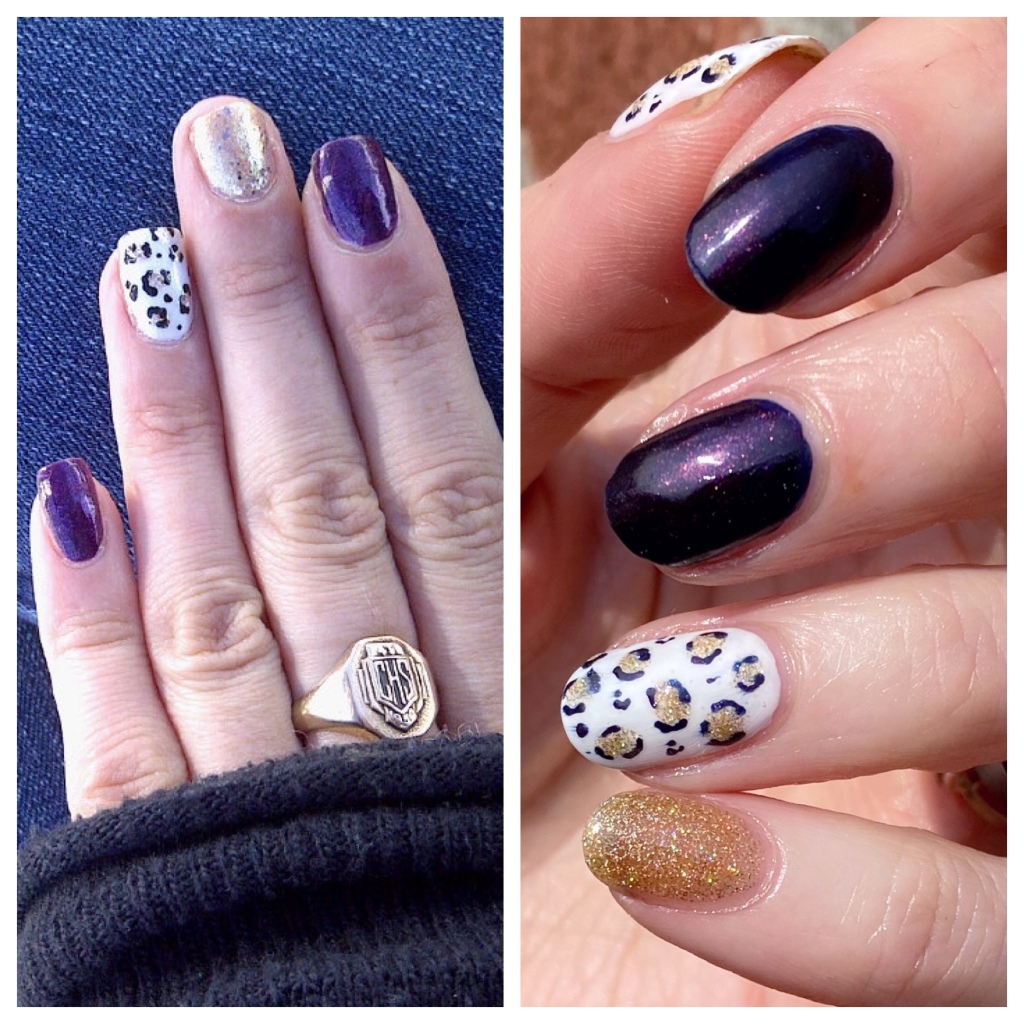
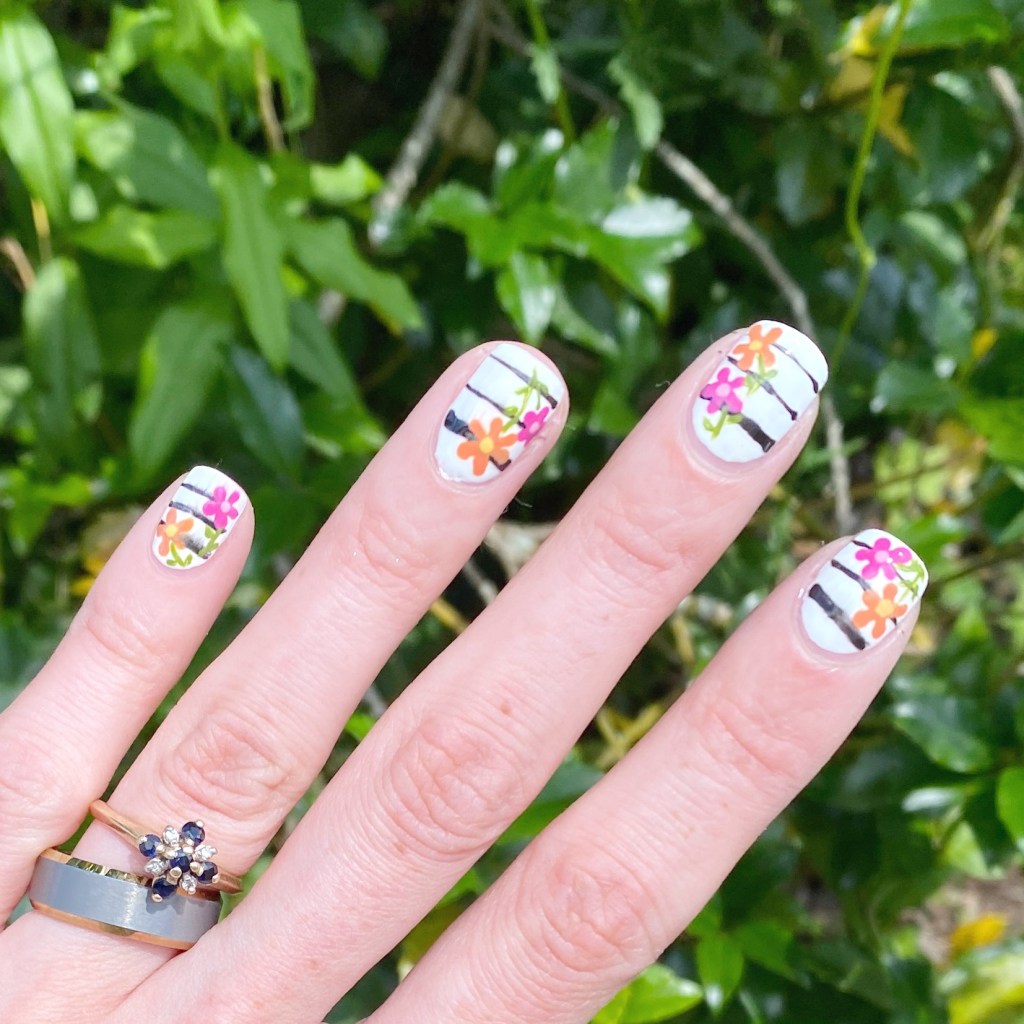
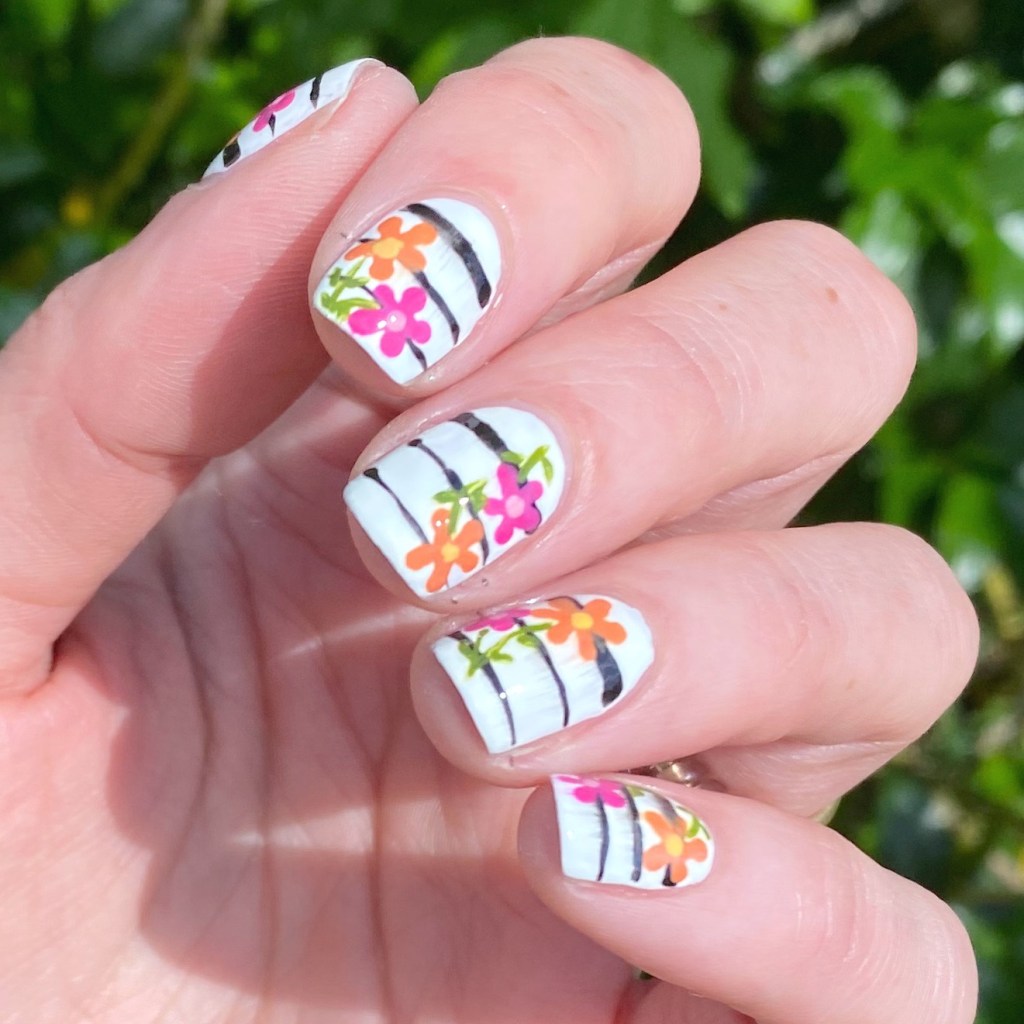
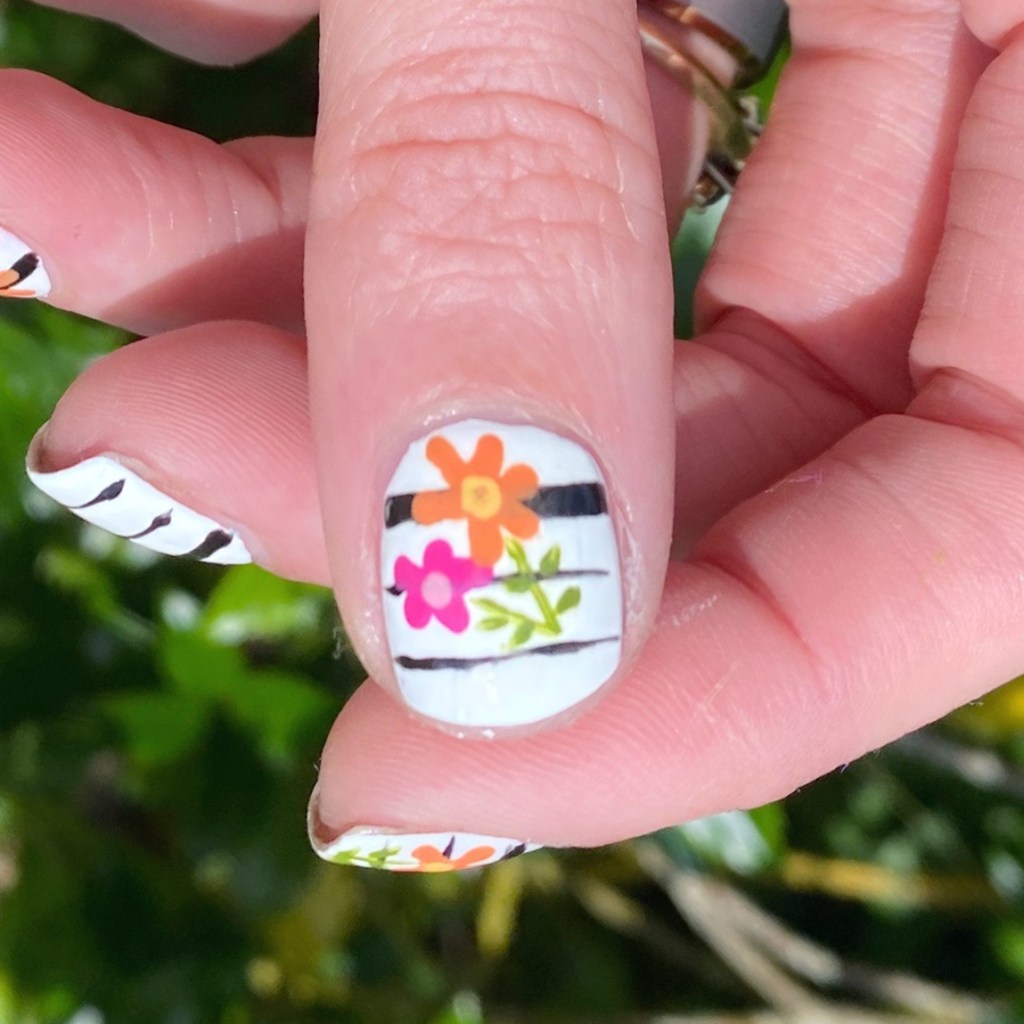
he polishes I used for this manicure are:
- Base Coat: China Glaze Calcium Gel Fortifer
- Top Coat: Seche Vive
- Sally Hansen Miracle Gel Tutu the Ballet
- OPI Nature Strong Cactus What You Preach
- Essie Swoon in the Lagoon
- Quo Beauty Bluebell
- Sally Hansen MG Get Mod
- Nailstuff.ca Mermaid Tail 7mm liner brush
- NailStuff.ca Dotting Tool Trio


These definitely seem simple, but I think that’s what I like them so much. I like the creamy semi-sheer base with the cute little freehand flowers. I wish I could have achieved Byrdie’s beautiful tiny flowers, but I think I did a good job recreating her original design! & I how she likes it as much as she does.

If you have a second, hop on over to Instagram & shoot @byrdiedoesnails a happy birthday. & you can check out the rest of the beautiful designs by checking out the hashtag #BrydiesBrithdayCollab.
Have a beautiful Friday lovelies! ♥︎