SWATCH SUNDAY — Sally Hansen Miracle Gel Pastel Punk Collection! 💀💅🏻

Good morning lovelies! & happy Mother’s Day to all my fellow Moms out there. I hope everyone is having a fantastic start to their Sunday! I was up early enjoying so cold brew & finishing up today’s very special blog post featuring swatches of the brand new Sally Hansen Canada Pastel Punk Collection! This is a Canada Exclusive collection so apologies in advance to my international & American friends.

I received this 6 polishes collection from Sally Hansen themselves & the packaging was awesome. Not only were my polishes & Miracle Gel Top Coat wrapped up in the funky fanny pack you see above, but they included the cassette tape you see above… which is actually a USB! One of the cutest PR packages I’ve ever gotten in the mail!

Also that fanny pack is all kinds of nail art inspo!

PR SAMPLE

Continue reading “SWATCH SUNDAY — Sally Hansen Miracle Gel Pastel Punk Collection! 💀💅🏻”

SWATCH SUNDAY — Sally Hansen Miracle Gel Travel in Colour collection.

PR Sample — sent to me free for testing & review.

Happy Sunday lovelies! I know this week has been pretty quiet from me (60 hour work weeks will do that to a girl) but I have some beautiful & fun swatches to share with you today! Sally Hansen has recently come up with a new Miracle Gel Spring collection called Travel in Colour, “inspired by the vibrancy of California & the liveliness of Summer music festivals”. I thought with Coachella starting this weekend it was the perfect time to share these beautiful shades! Especially as I’m sitting in below freezing temperatures with two sweaters on, wishing I was wearing flower crowns & maxi dresses.

I’m all about the Spring vibes right now & anything to get me out of that post-Winter-but-it’s-not-quite-Spring-yet state of mind. I’ve been obsessively using this collection since I received it & it’s hands down my favourite Spring collection I’ve seen so far. There is a shade from every Spring moment you might have.

Continue reading “SWATCH SUNDAY — Sally Hansen Miracle Gel Travel in Colour collection.”

Freehand Ikat Chevrons (Happy Birthday Coffee & Nail Polish! 🎈🎉)

Happy Thursday! & happy 4th birthday to this little nail blog of mine! It’s so crazy to me that I’ve been posting here for 4 years already. From the early days when I hadn’t yet discovered cuticle oil (& majority of my nail polish came from the clearance bins) to now it’s been quite an exciting journey. I thought I’d mark the special occasion with one of my favourite styles & some beautiful nail polishes I was recently gifted from Sally Hansen Canada!

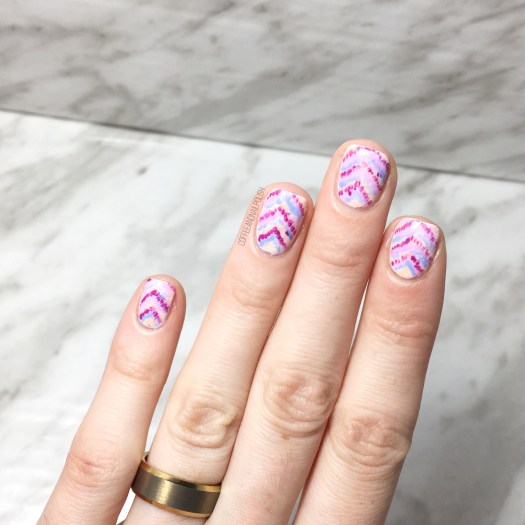
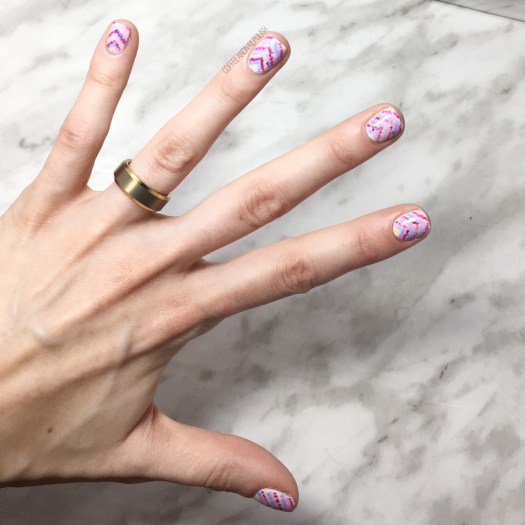
Music Festival season is just beginning (Coachella starts next weekend) & this nail design would fit right in… you know, if I wasn’t in chilly Nova Scotia currently dreaming of sunny days & summer dresses!

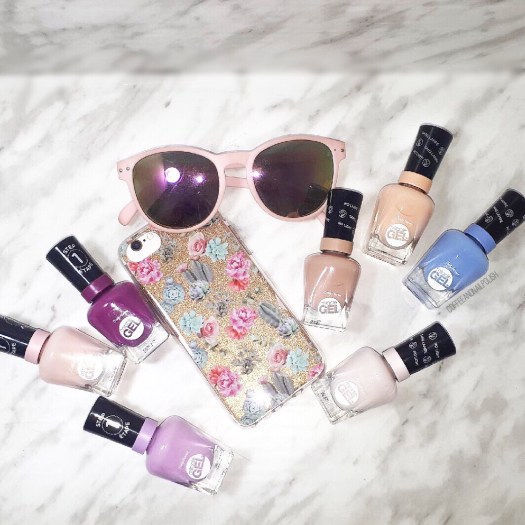
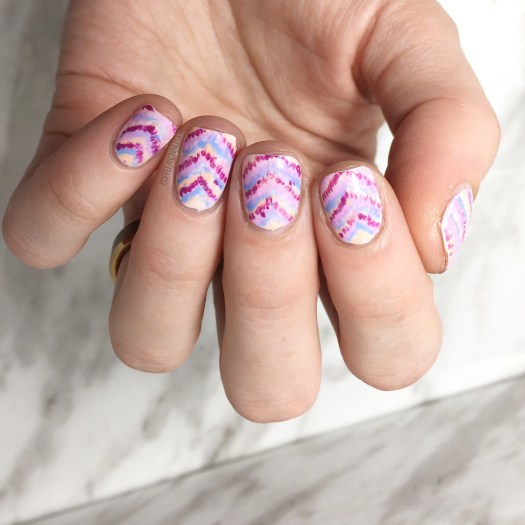
For the design, the polishes I used were:

  • Base Coat: Nailtek 2
  • Top Coat: Sally Hansen Miracle Gel Top Coat
  • Sally Hansen Miracle Gel Little Peony
  • Sally Hansen Miracle Gel Lilac Insomniac
  • Sally Hansen Miracle Gel Orchid-ing Around
  • Sally Hansen Miracle Gel Sweet Tea
  • Sally Hansen Miracle Gel Sugar Fix
  • Bundle Monster detail brush.

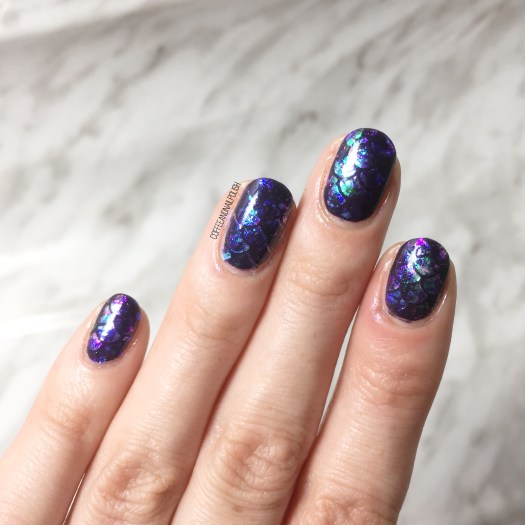
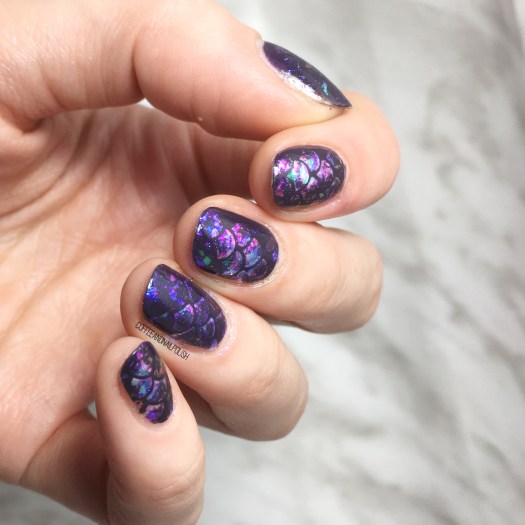
I just love how these turned out. I also love that even though I freehanded my chevrons, they actually look fairly even! I guess practice really does make perfect. 💗 also I’m completely in love with these new Sally Hansen Miracle Gel shades from the Travel in Colour collection. I’ve been playing around with them since I received them late last week & they are just so perfect for Spring. Makes me wish I had somewhere fancy to wear them rather than just while I’m putting out stock at work. Definitely one of my favourite Spring 2018 collections I’ve seen this season so far. & don’t worry I’ll have swatches of the whole collection up on the blog soon!

I just want to take a minute to stop & just say THANK YOU to everyone who reads this blog, who leaves comments & likes my posts. When I started this blog years ago, I did it because I loved nail polish & I just wanted a place to be able to share my silly designs with other people. 4 years later, things have certainly changed & grown & improved, but when it comes down to it this blog is still here for the same reason: I love nail polish & I love connecting with others who love nail polish. & those people are the reasons why this place just feels like home for me.

So thanks for joining in on the fun & here’s to years & years more of this blog sharing the nail polish love.

💗💗💗

Review: Butter London Peel the Love PureCure Manicure System

Hello Lovelies! & Happy Saturday. Today I’m sharing a review of some exciting nail mail I recently received: Butter London’s new Peel the Love PureCure manicure system. This system is designed for be a gentler way to do Gel Nails: it applies & cures like gel, wears like gel, but is designed that when you’re ready to remove all you have to do is peel the manicure off!

Continue reading “Review: Butter London Peel the Love PureCure Manicure System”

Mermaid Nails using NailStuff.ca Aqua Collection Flakies

Happy Saturday! Today I’m sharing one of the prettiest designs I think I’ve ever done–a mermaid design using the Aqua Collection flakies from NailStuff.ca. It felt like ages since I created mermaid nails, & those flakies were just sitting there staring at me, waiting to be used. I couldn’t decide which colour to use so I decided why not use all three! & the end result is pretty much the prettiest nails I’ve ever worn!

For this manicure, the products I used were:

  • Base Coat: Nailtek 2
  • Top Coat: Seche Vive
  • Essie After School Boy Blazer
  • Fingerprints Peel Off Base Coat
  • Nailstuff.ca Aqua Collections flakies (Mermaid, Lagoon & Abyss)
  • What’s Up Nails Scale Vinyls
  • Edge Perfection Cuticle Barrier

These were surprisingly easy to do–I applied my base colour (Essie Under the Twilight) & my top coat & let it dry completely. When my base was completely dry, I applied my vinyls to each nail & then went over top with Fingerpaints Peel Off Base Coat. I’ve found that using it helps adhere the flakies best. Without waiting, I then dipped my sponge (that comes with the flakies) into each pot & rubbed the flakies over top in certain spots. I then repeated it again using the other two pots of flakies. When I felt like I had filled in the vinyls enough, I removed them immediately, & finished off the design with top coat.

Just look at that macro! It looks like jewels on the nail. I’m seriously in love. My only regret is that I didn’t think to top it with matte top coat before I removed them. Can you imagine how pretty they would have looked matte?

what do you think of this design? Do you see mermaid nails or dragon nails? Let me know your thoughts in the comments below!

*PR SAMPLE* Some of these items were sent to me for review. However, all opinions are my own.