Hello lovelies! Hope everyone is having an awesome week so far.
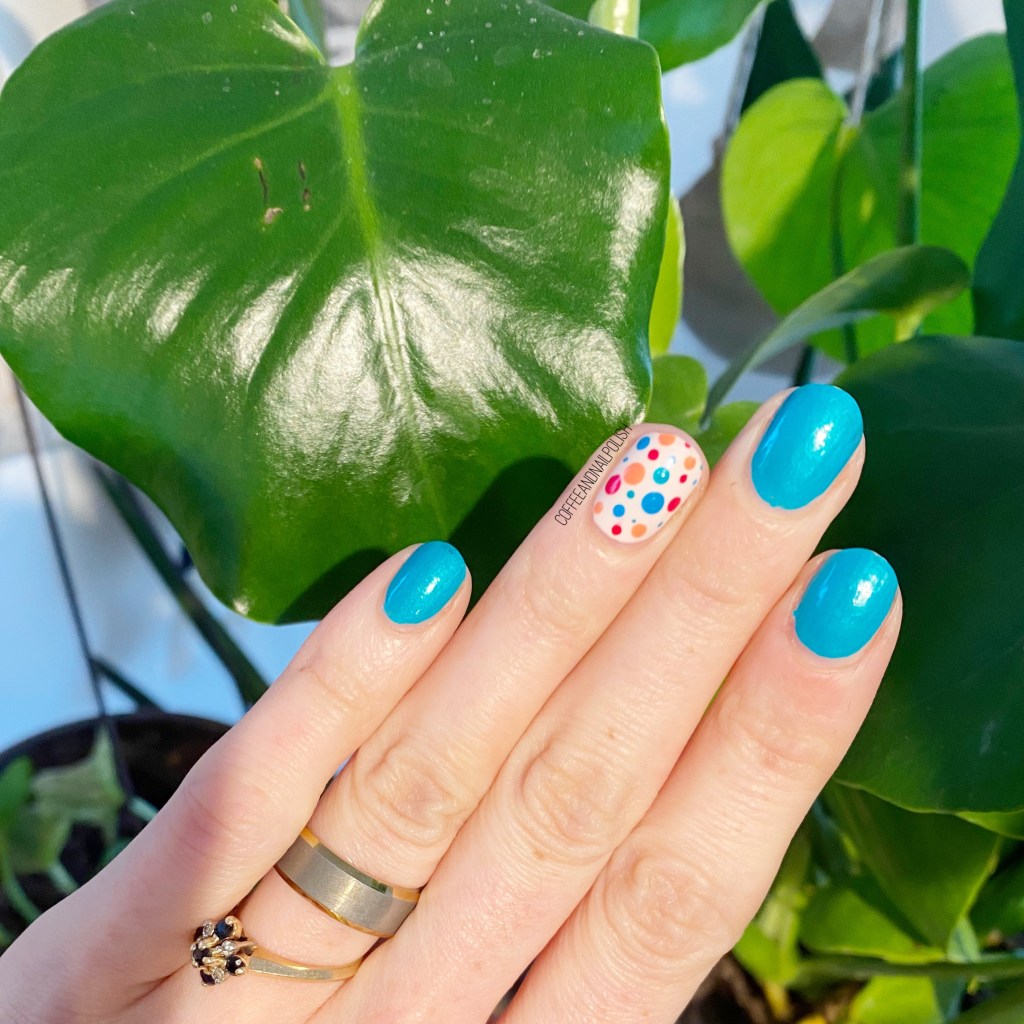
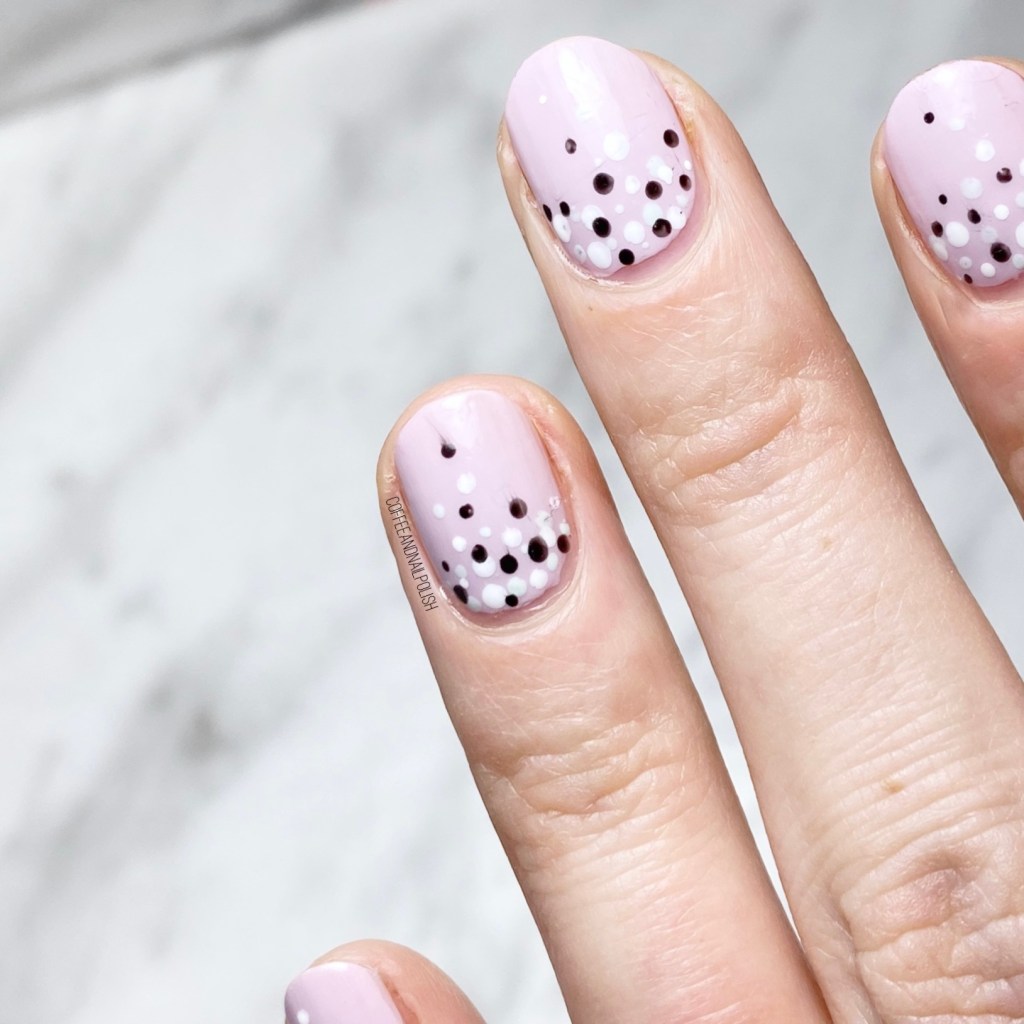
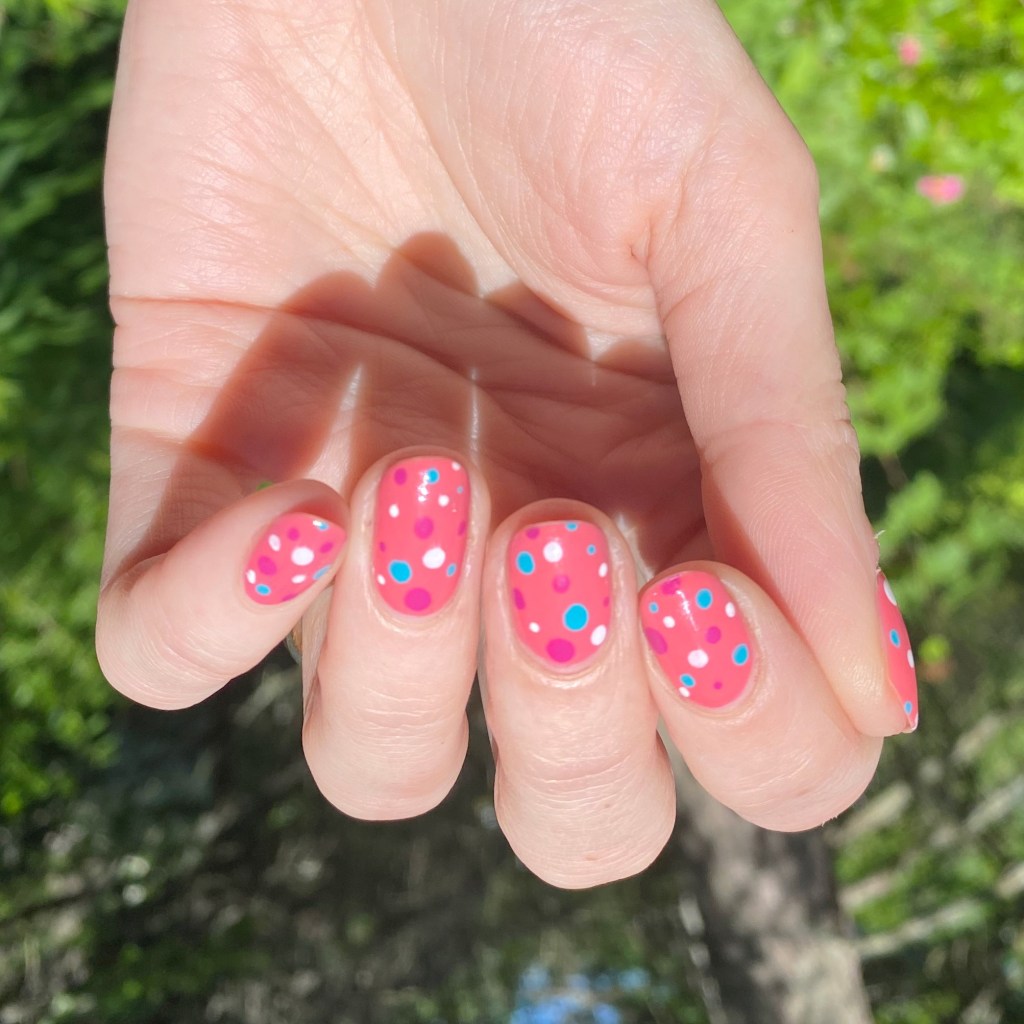
I’m excited because I have another fun (& easy) nail art look to share with you featuring some brand new (to me) shades I recently picked up. I worked like a mad woman over the Canada Day long weekend, so I decided to treat myself to a few new Summery nail polishes. & when I was looking at these brand new shades, I was like “hmmm, what can I do with these polishes?”
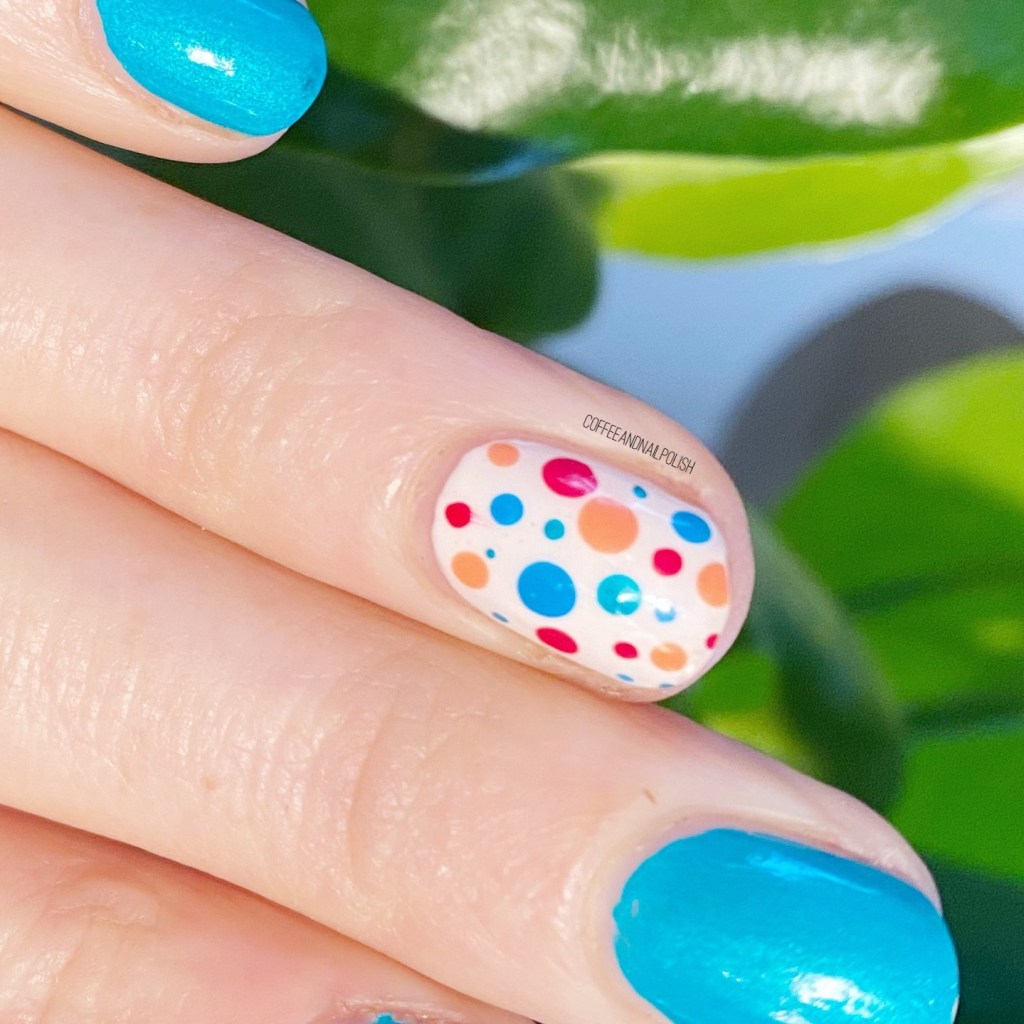
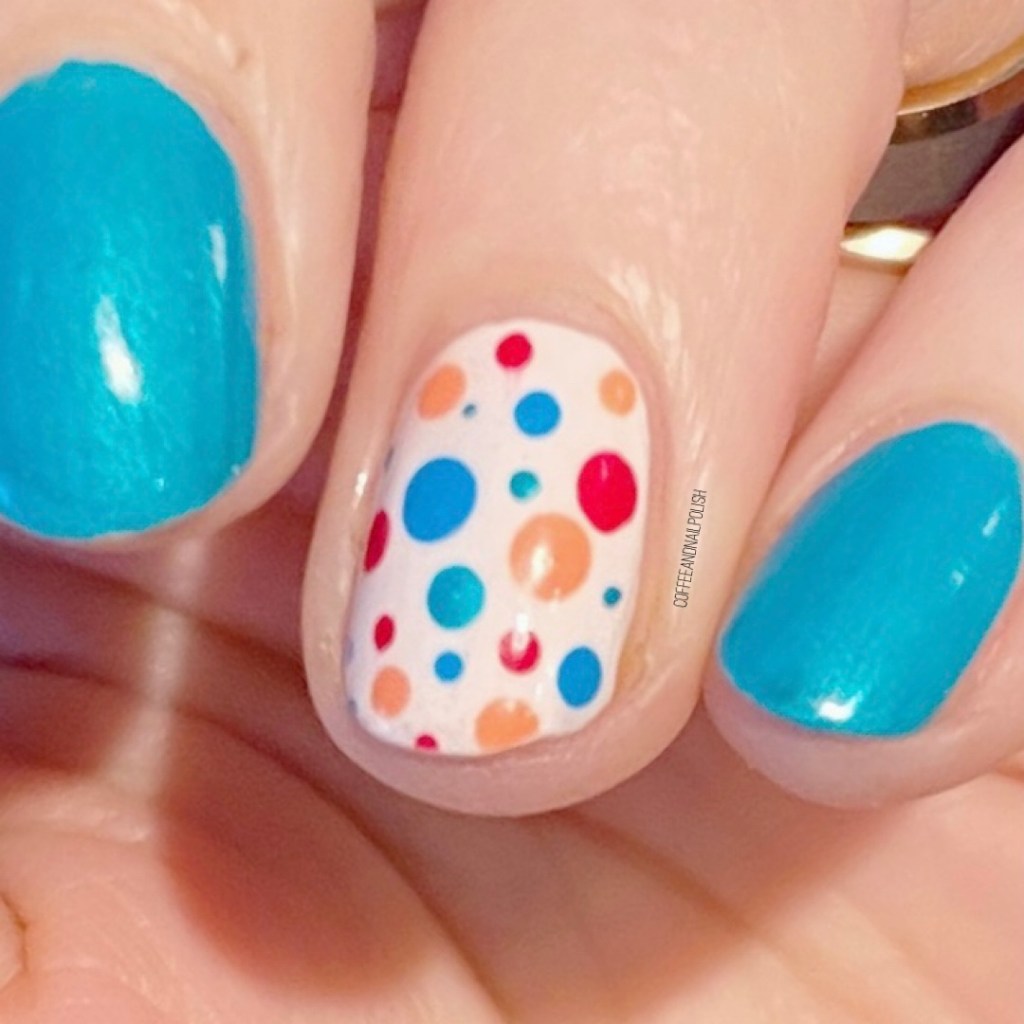
& the answer was obvious: dotticure!

The polishes I used for this manicure are:
- Base Coat: Essie Hard To Resist Glow & Shine
- Top Coat: Sally Hansen Miracle Gel Top Coat
- Essie Throw in the Towel
- Essie Swoon in the Lagoon
- Essie In the Cab-ana
- Essie Blanc
- NailStuff.ca Dotting Tool Trio
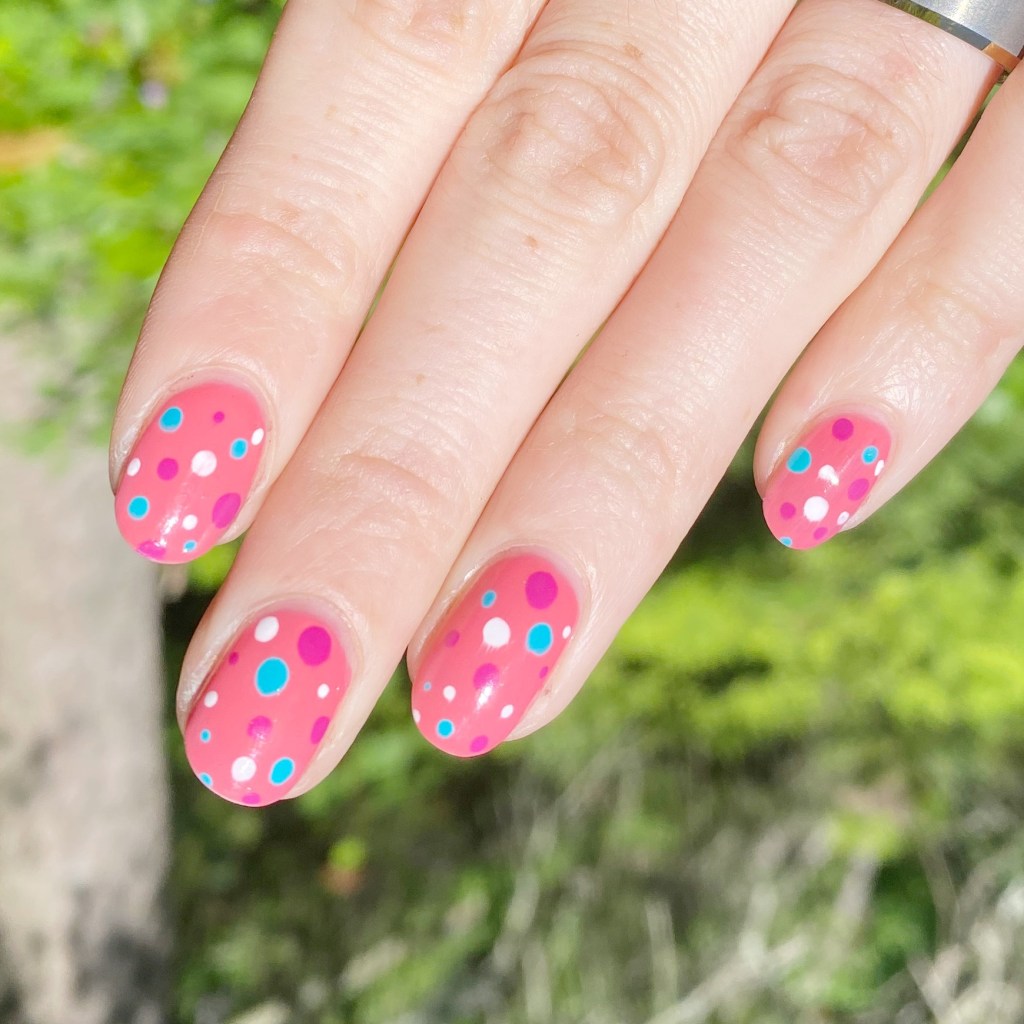
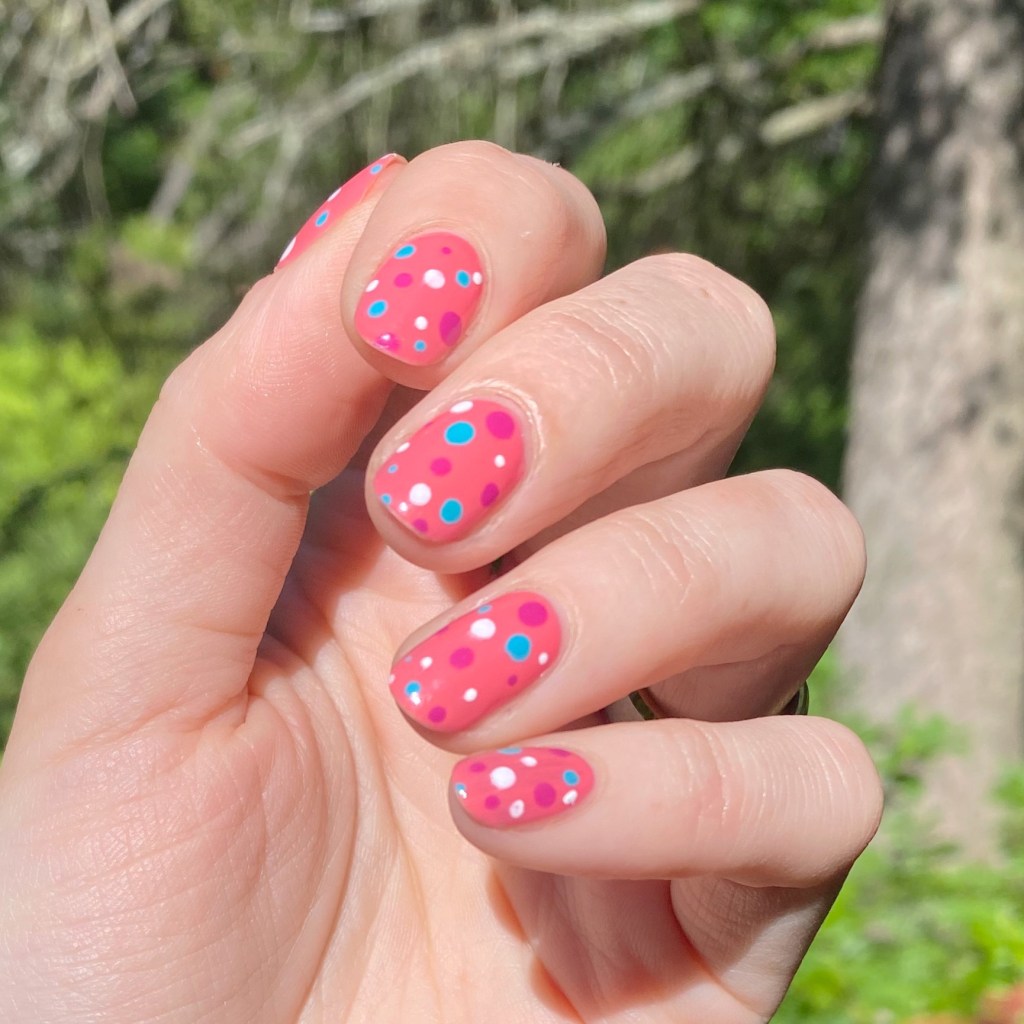
How gorgeous are these shades together? Originally I planned on buying Essie Bahama Mama but then when I was in the nail polish aisle I noticed Bahama Mama is very close to Sally Hansen InstaDri Zip Wine so I decided to hold off (for now), & go for some more vibrant Summery shades. Essie In the Cab-ana is an old favourite & my old bottle is running out, & the other two shades were fun, bright pinks, & I seem to be very drawn to pink nail polish lately.
I think I might do a polish haul instagram reel soon, since I have been really loving (& buying) pinks, so why not show them off.
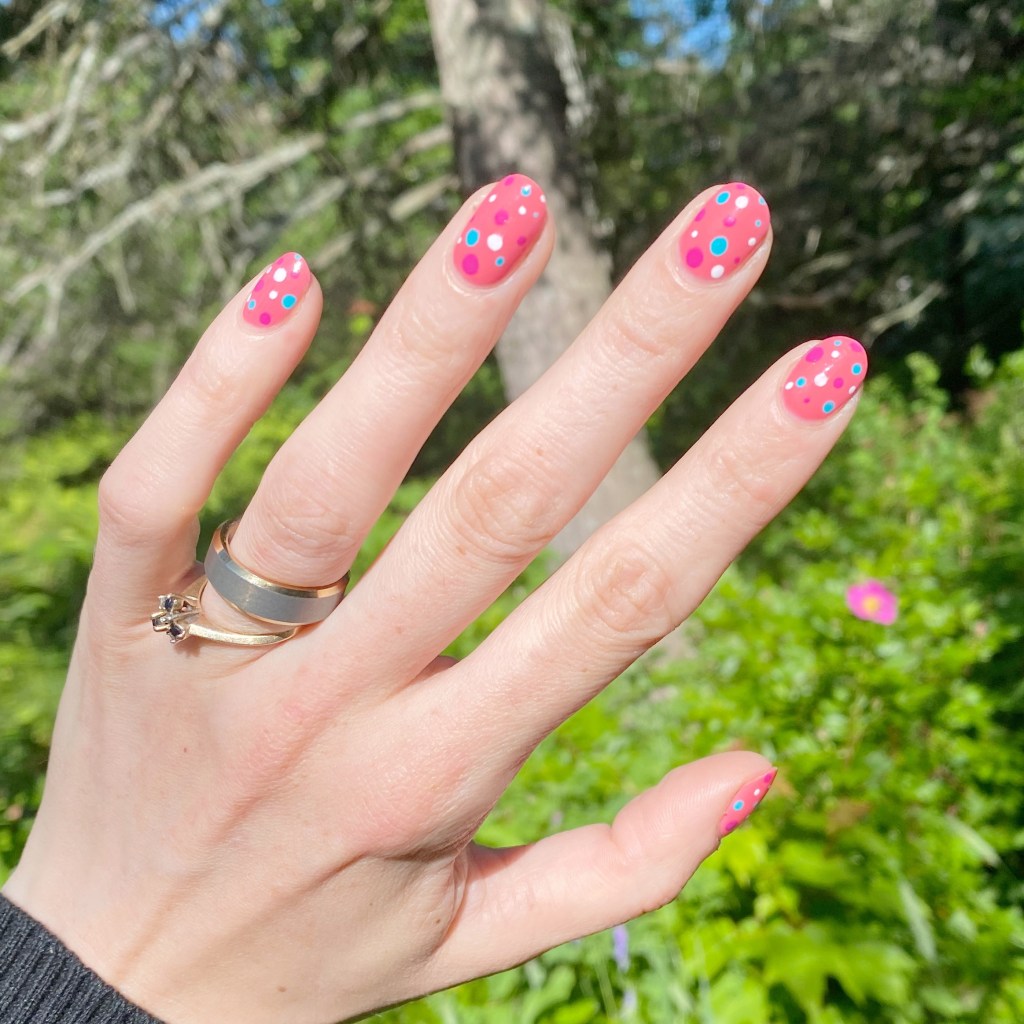
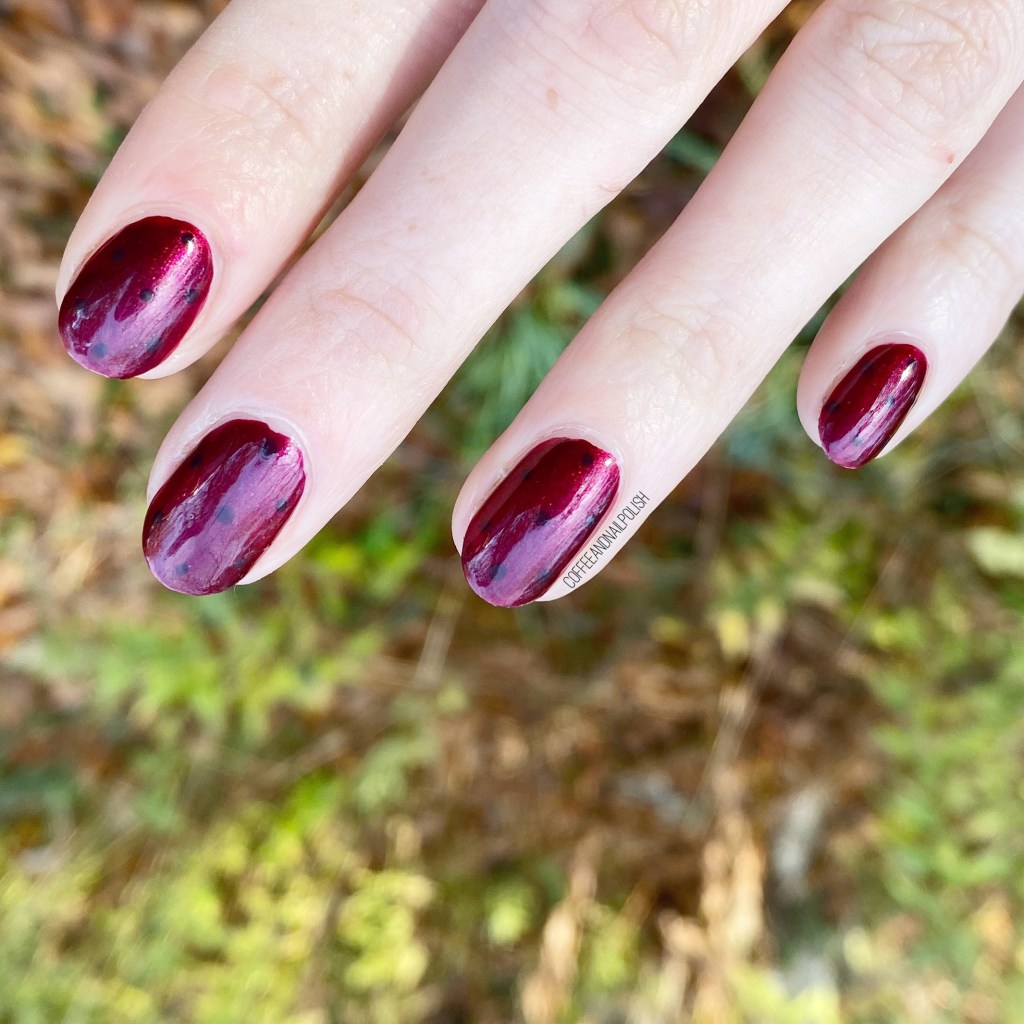
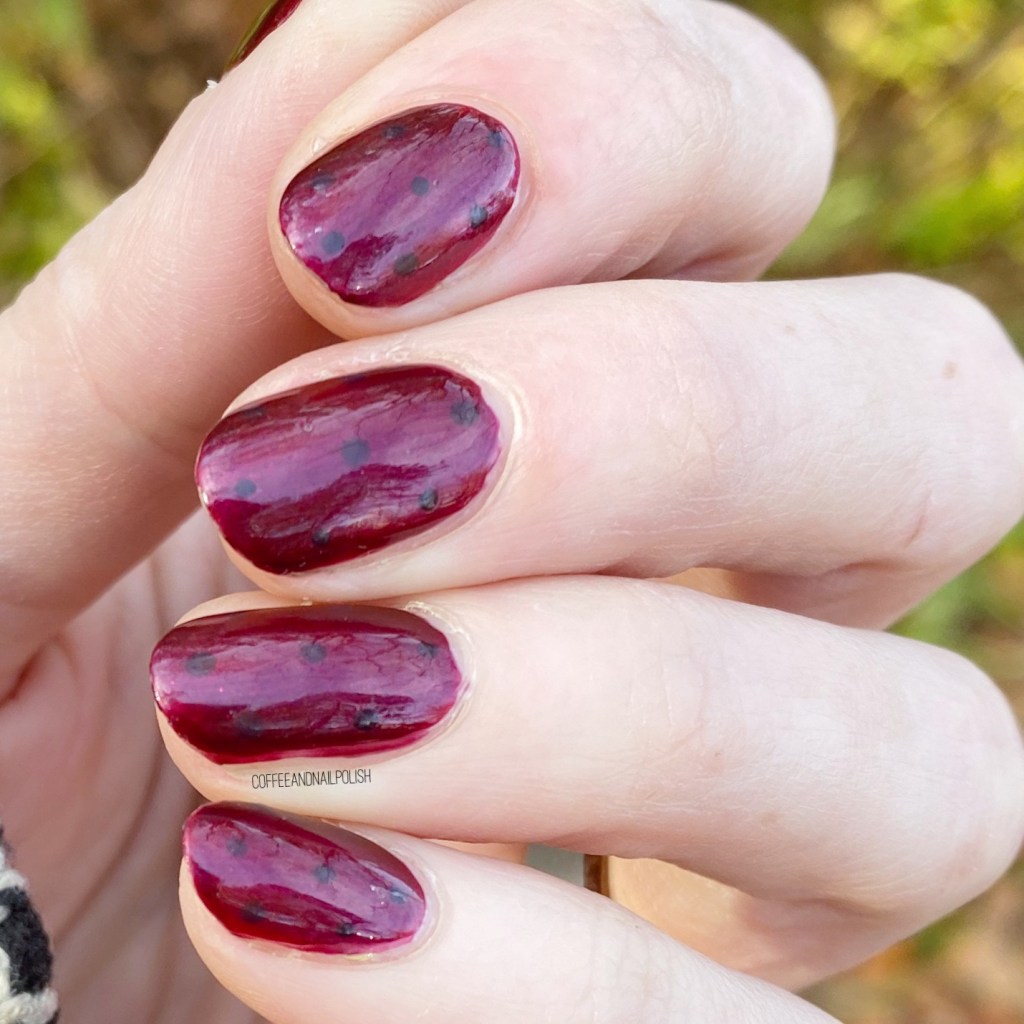
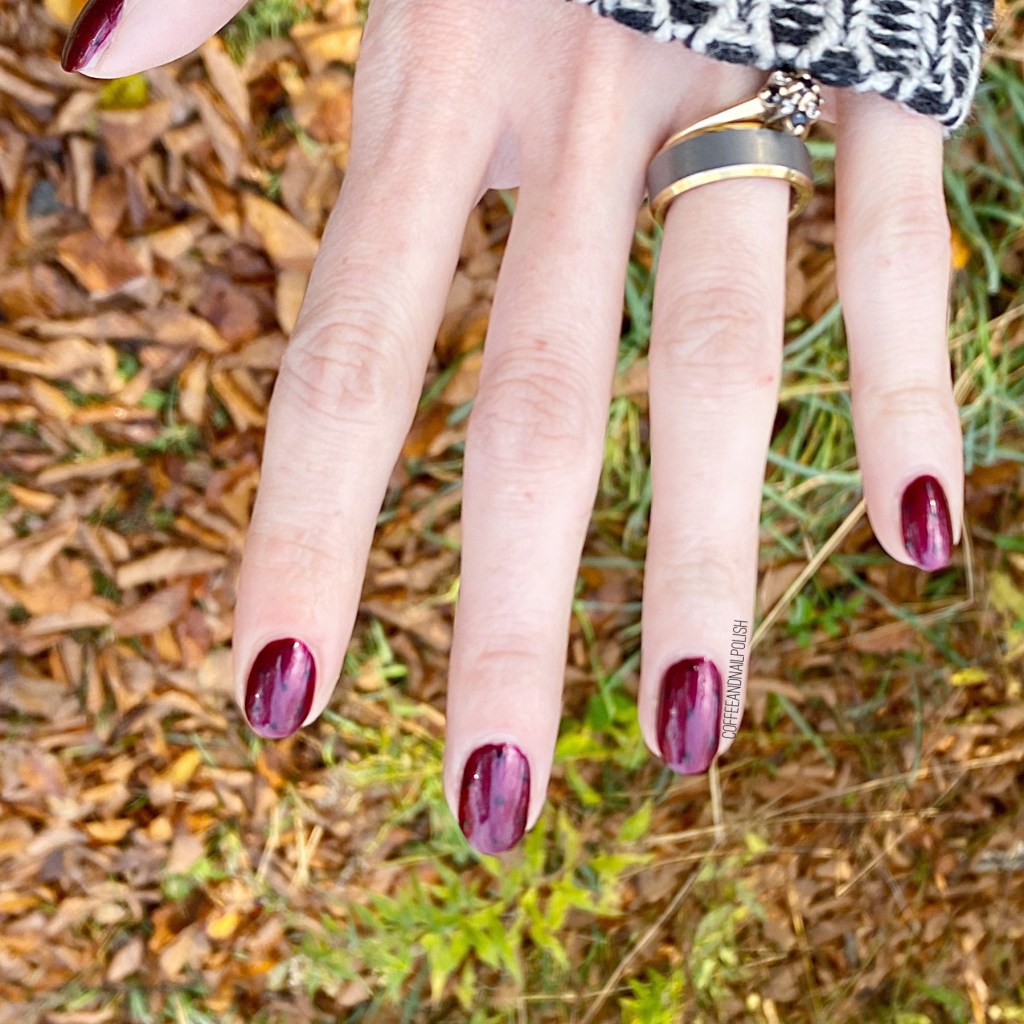
What do we think about this dotticure look? I feel like this is kind of reminiscent of my early dotticure days, where they were a bit more abstract. Let me know what you think down in the comments below, & what colours you would pick for a dotticure like this!