Happy Halloween with Wonder Woman Nails! 💫

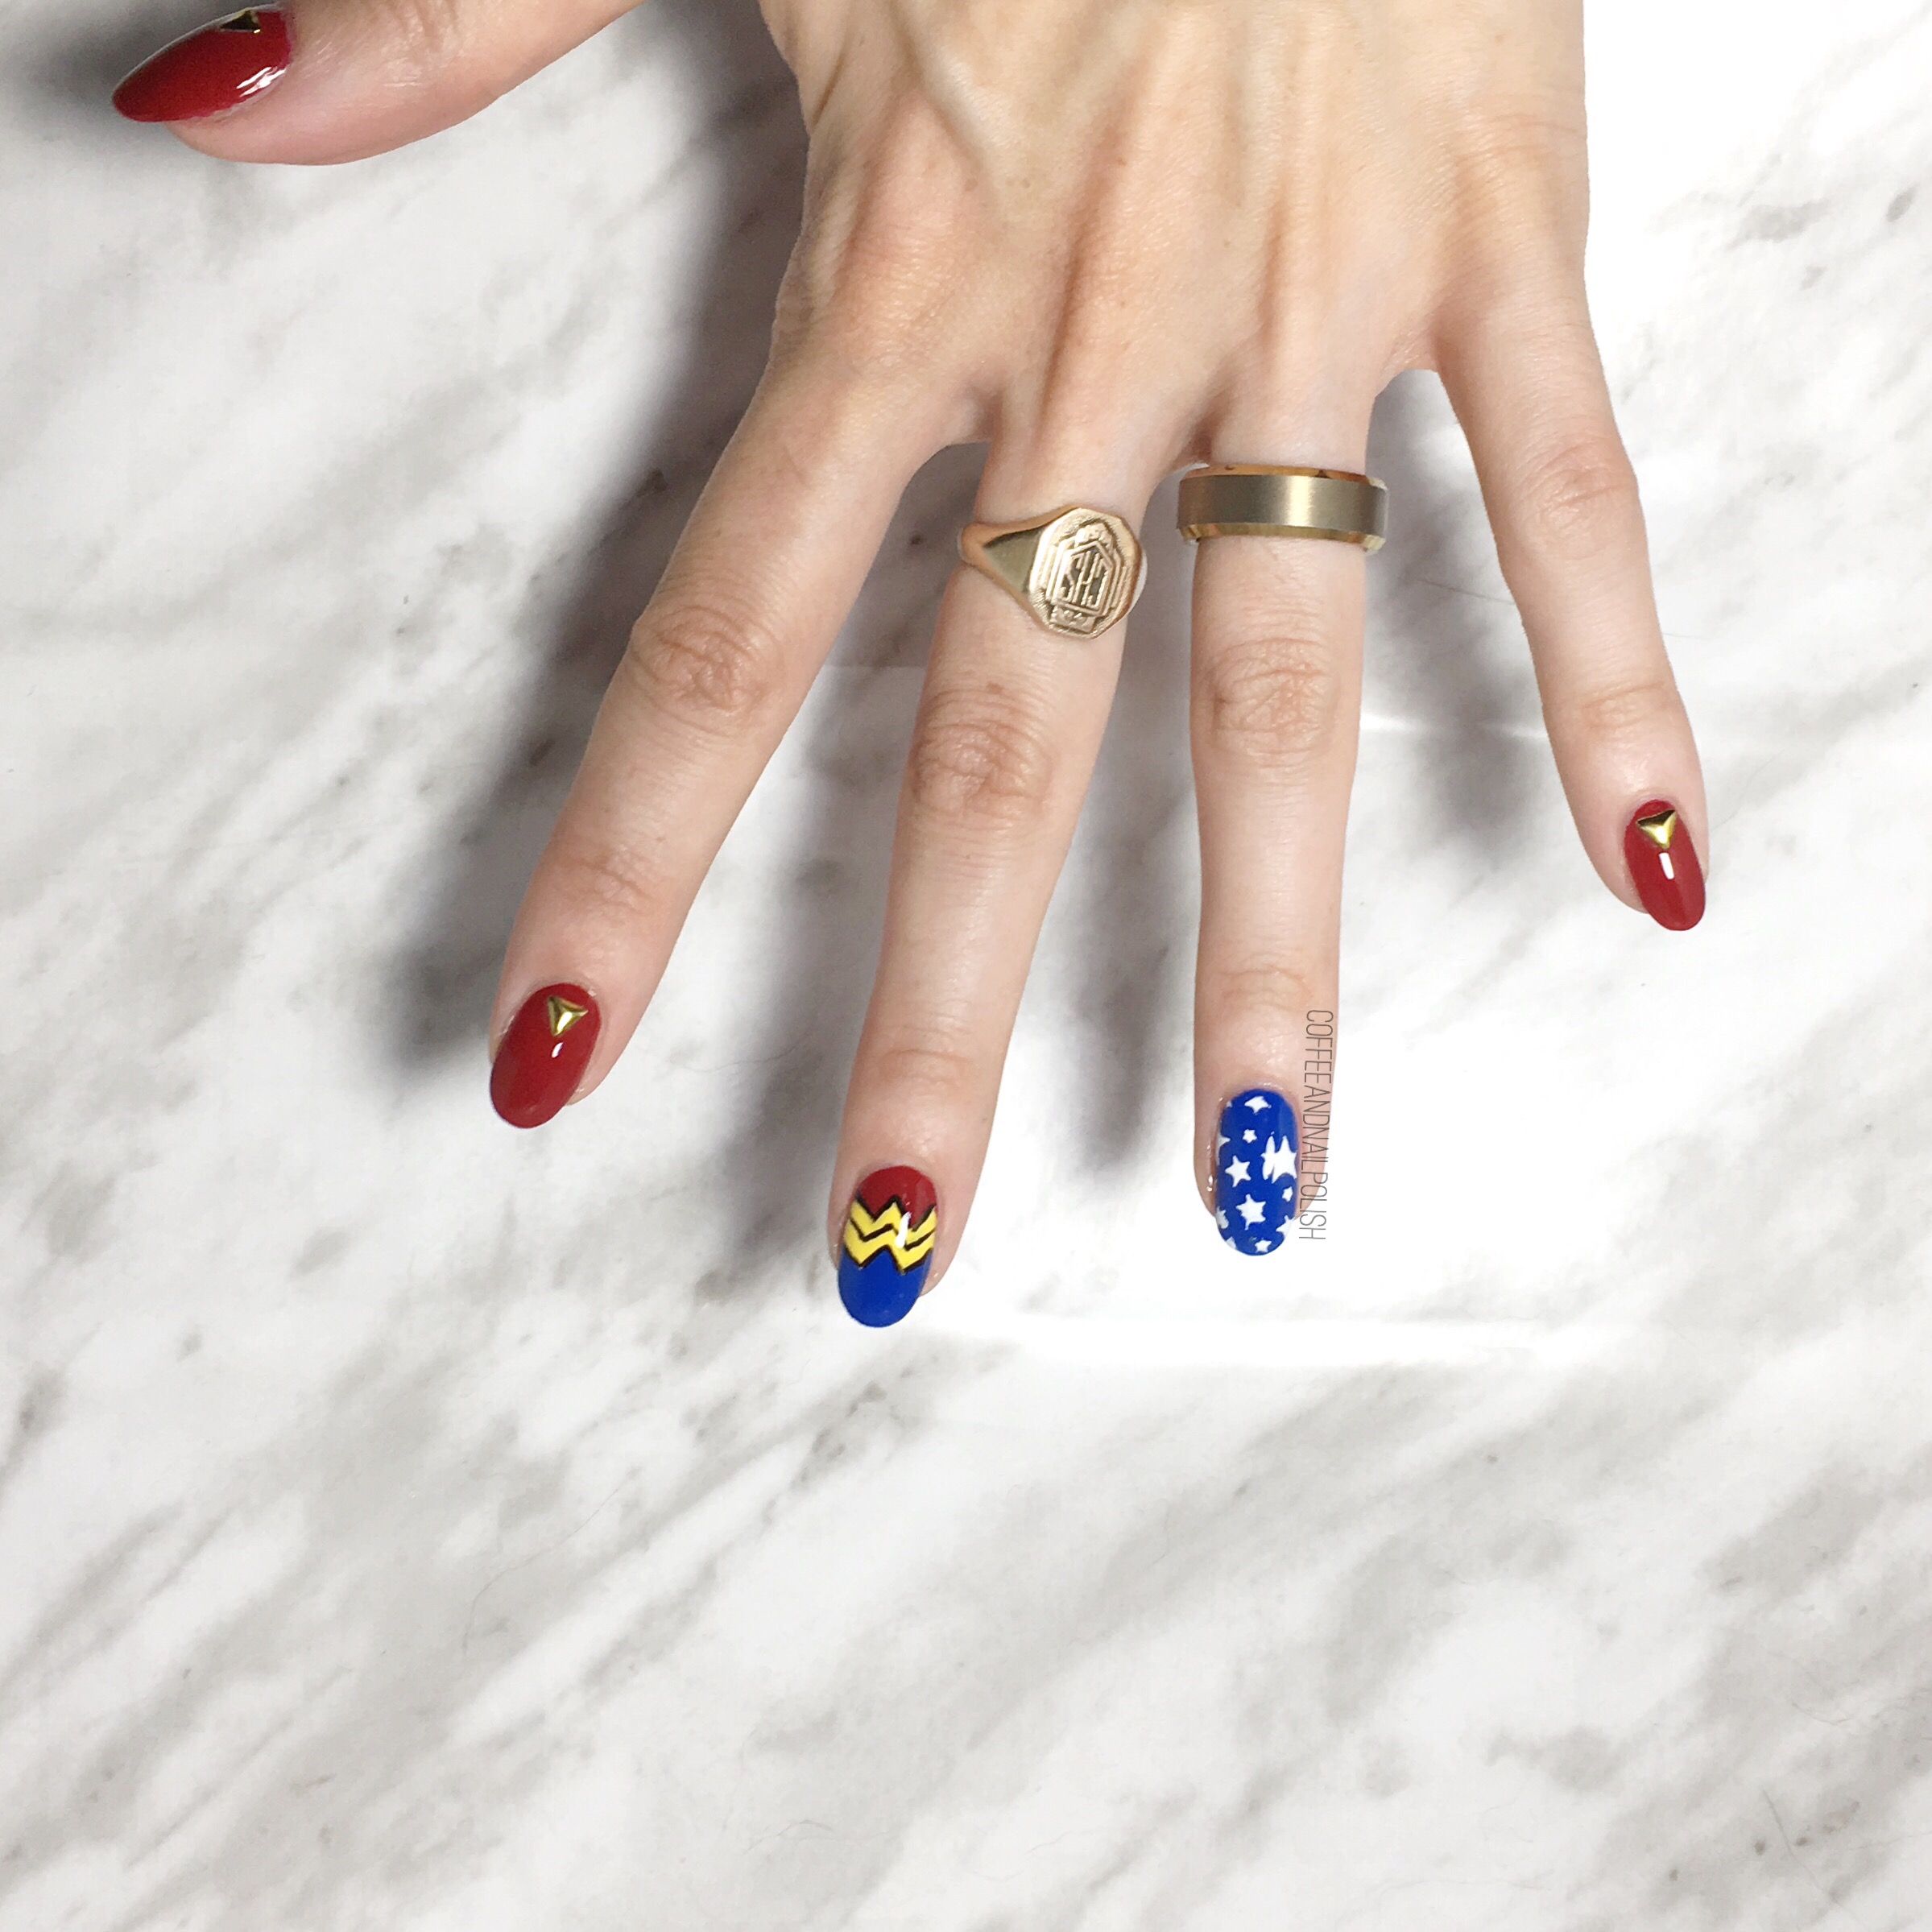
Happy Halloween everyone! I can’t believe it’s already Halloween 🎃 — how crazy is that? This year I was dedicated to doing a family Justice League costume with the hubs & our little Bubs so I could wear my Wonder Woman costume again! & obviously that means I needed to have nails that matched. 

Originally I was going to try for full on Justice League Nails with all the hero symbols but… my freehand skills are just not that good. I started & realized it would probably take me 14 hours & multiple attempts so I decided to go the easier route & just go Wonder Woman. 
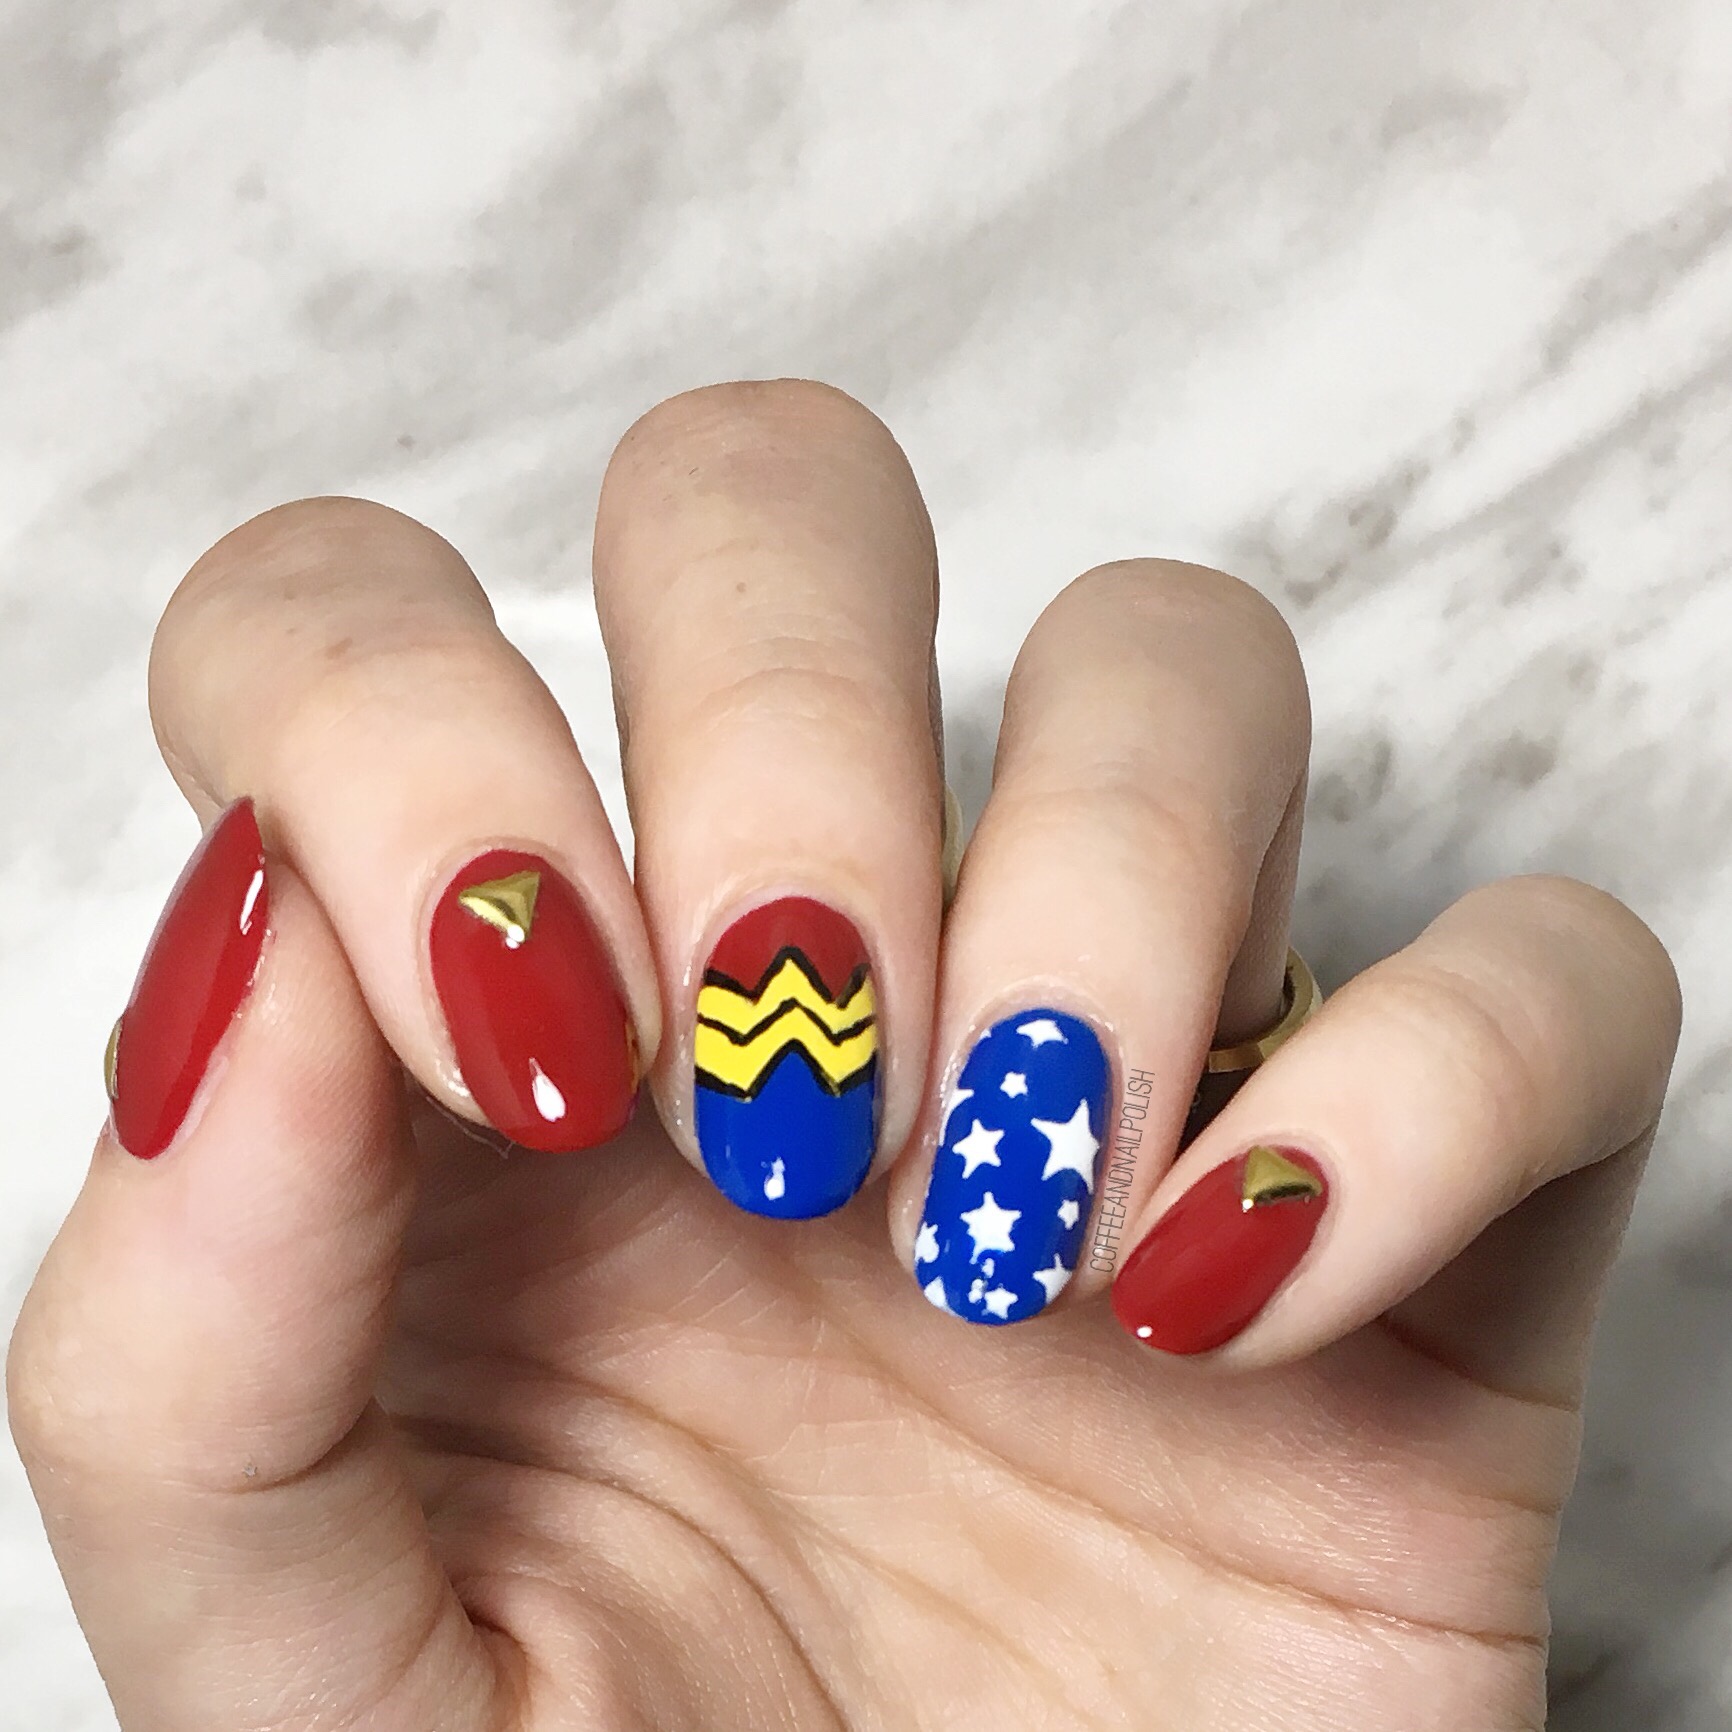
For this manicure, the polishes I used were:

  • Base Coat: OPI Natural Nail Base Coat
  • Top Coat: Seche Vive
  • Boho Green Make Up Pacific Ocean
  • L’Oréal Color Riche Carmin Parisien 
  • Color Club Almost Famous
  • Sally Hansen Hard As Nails Black Heart
  • Sally Hansen Hard As Nails Hard To Get
  • UR Sugar Star Nail Stencil item #AUB39877 — Click to buy
  • NailStuff.ca gold triangle studs — Gold Mixed Decoration Nail wheel 
  • Small detail brush from Bundle Monster 

I love, love, love how these turned out. I had a bit different idea going into this mani but even though these are different than who I originally planned, I think they turned out WAY better than what I was thinking I was going to do… & say Wonder Woman much more! I was super scared to attempt that W symbol, but I think it turned out great. & these are going to compliment my costume perfectly. 


 🎃 whether you plans involve trick or treating, handing out candy or just hiding inside with a box of mini candies (or anything else!) I hope you have the best Halloween ever. For those who follow me on Instagram I’ll make sure to post a picture of my nails & my costume together later on! 

🖤

Throwback Thursday Halloween Nails

October is quickly speeding by, so I need to amp up my Halloween designs! 🎃

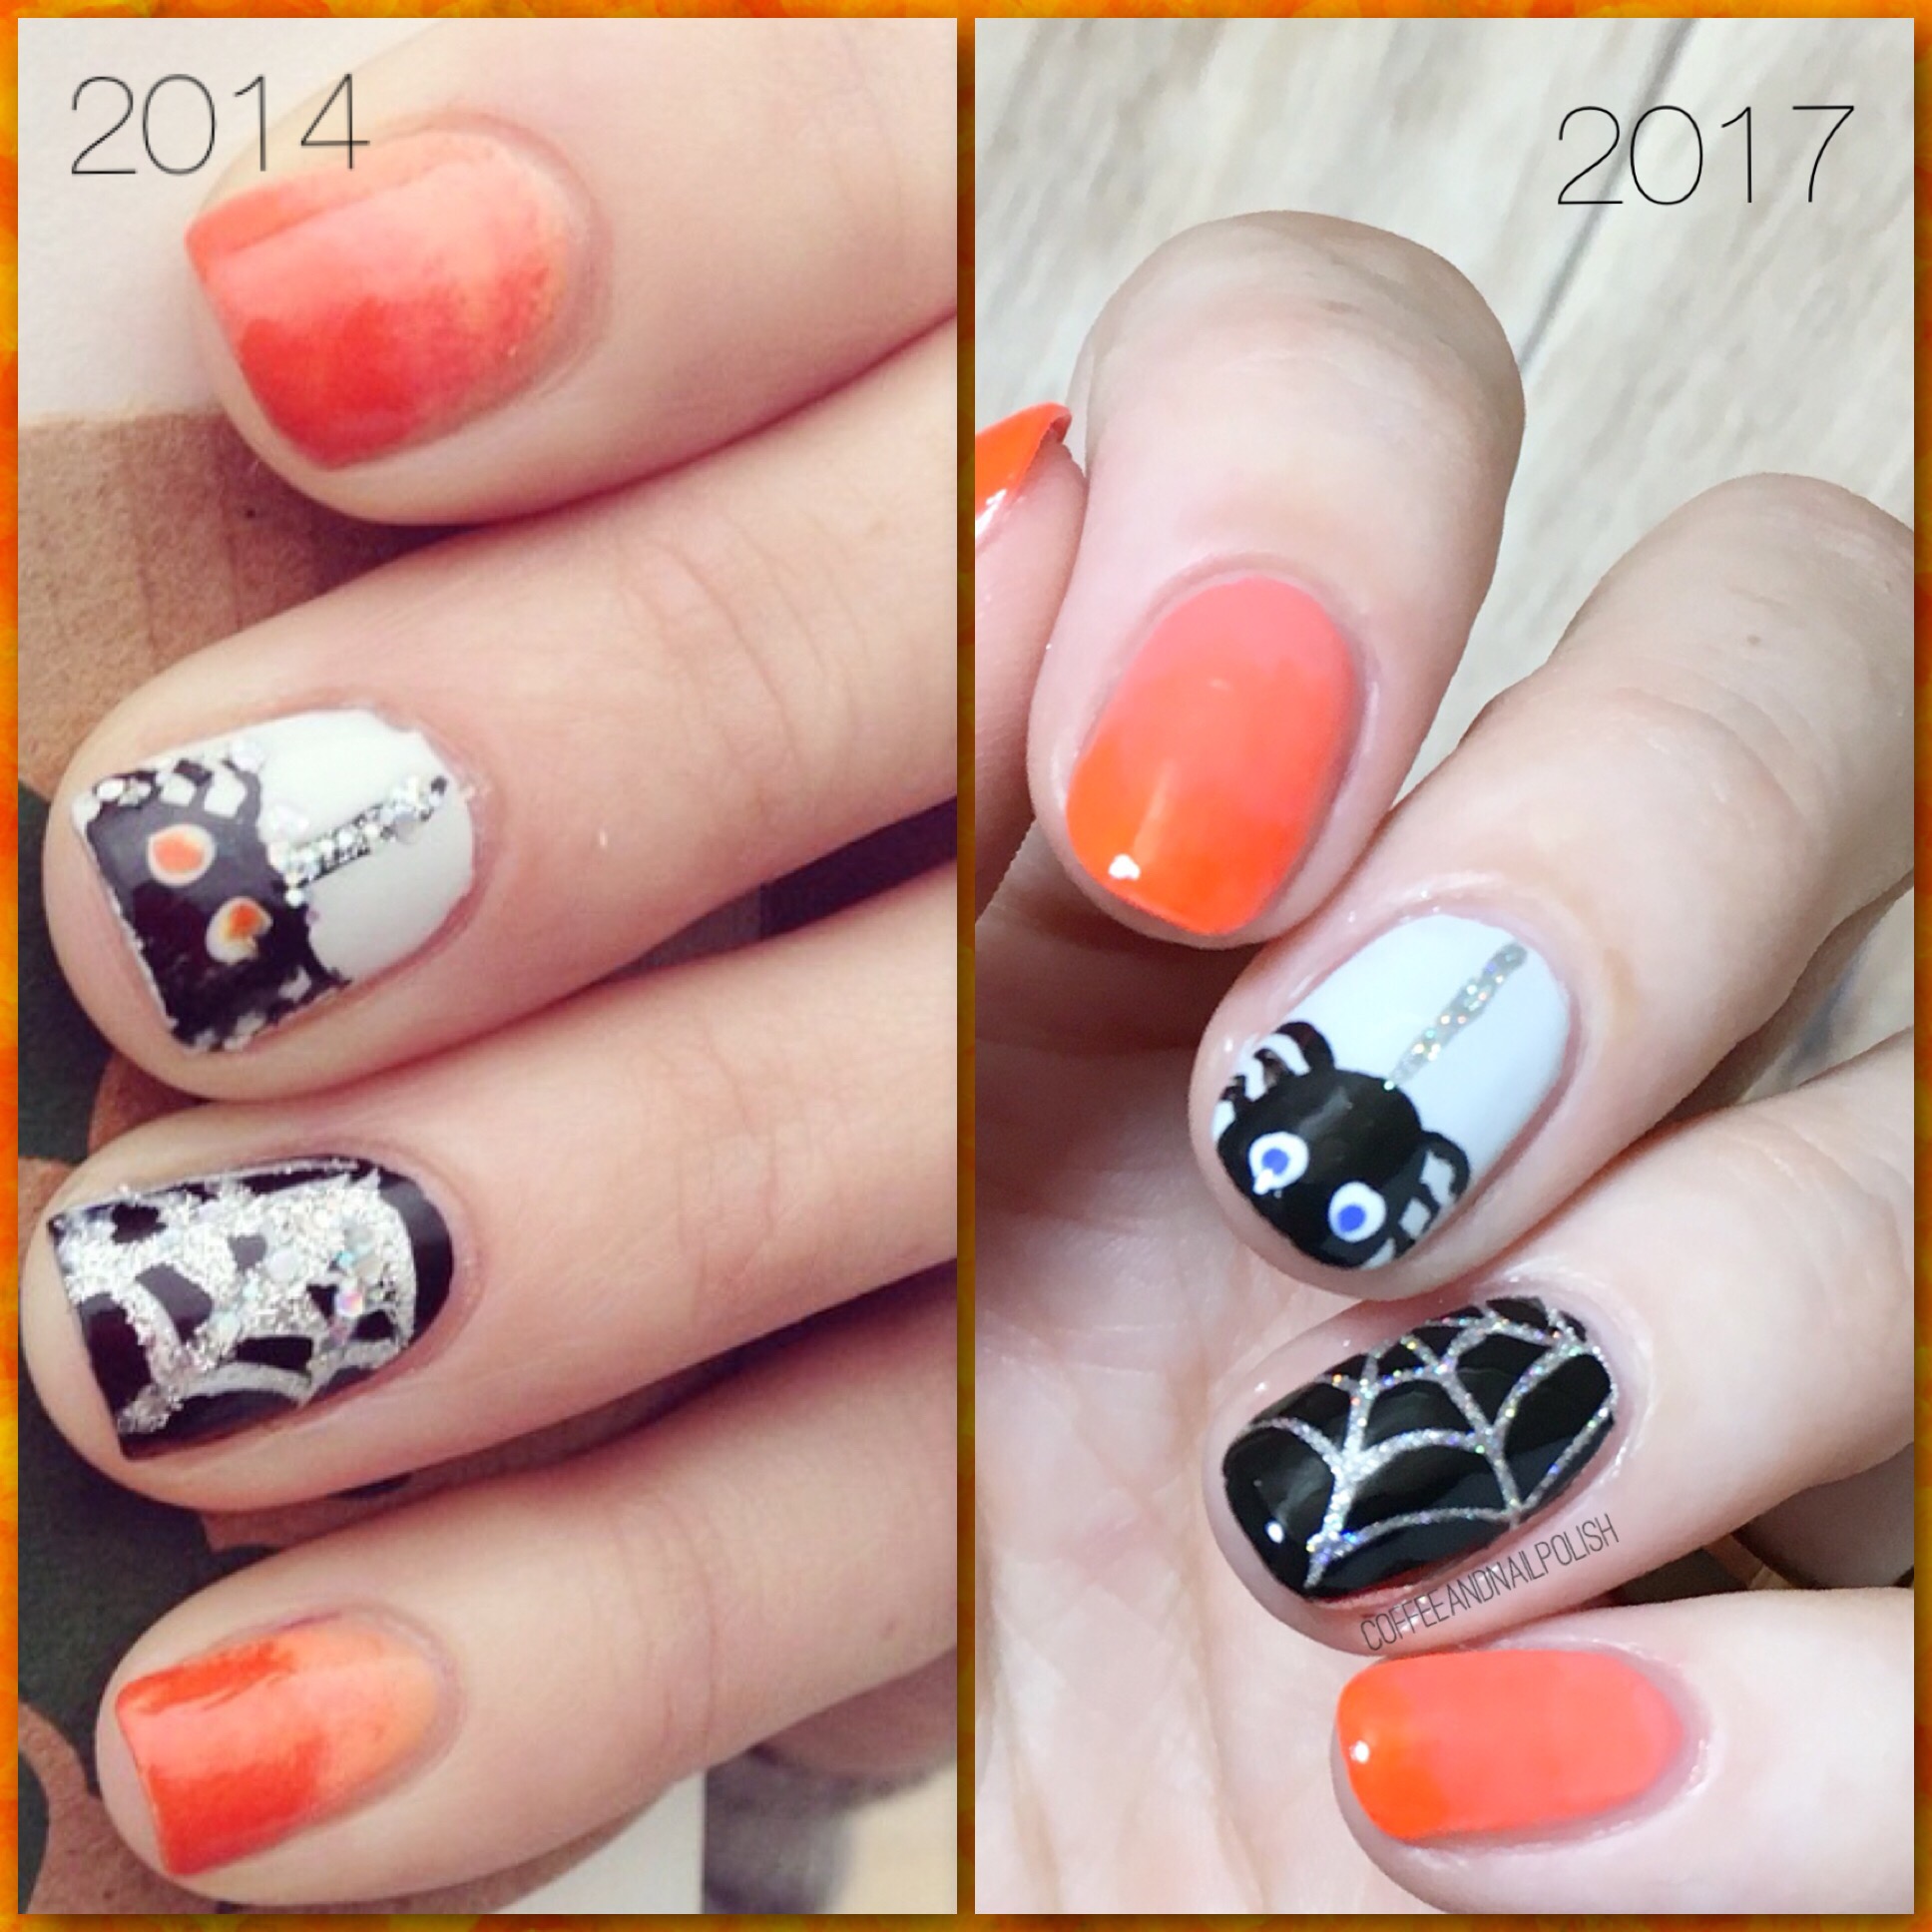
 This time I decided to recreate a design I did all the way back in 2014 (originally done with @mynailpolish_addiction as part of a bestie twin nail collab.) Even though I had spiders, I always thought this design was adorable so I wanted to recreate it. 

For this manicure, the polishes used were:

  • Base Coat: OPI Natural Nail Base Coat
  • Top Coat: Cutex Quick Dry Top Coat
  • L’Oréal Orange You Jealous?
  • Color Club Wham! Pow!
  • OPI I Cannoli Wear OPI 
  • Sally Hansen Hard To Get Black Heart
  • Essie No Place like Chrome
  • Revlon Holographic Pearls
  • Sally Hansen Xtreme Wear Pacific Blue
  • The Base Coat Spiderweb nail stencil 
  • Small detail brush from Bundle Monster
  • Latex Free Make Up Sponge 

I thought these nails were super cute when I did them originally, & I still think they’re super cute. & I definitely feel like they turned out a little less wonky this time around. Sometimes when I feel like my nails suck & I have no talent & I’m feeling especially hard on myself it’s nice to do these recreations to see how far I’ve come. I may not be the most insanely talented nail artist, but I’m hugely proud of how far I’ve come. 

What do you think of this Halloween design? Let me know your thoughts in the comments below! 

Happy Birthday Nails! 🎉🎈🎂 

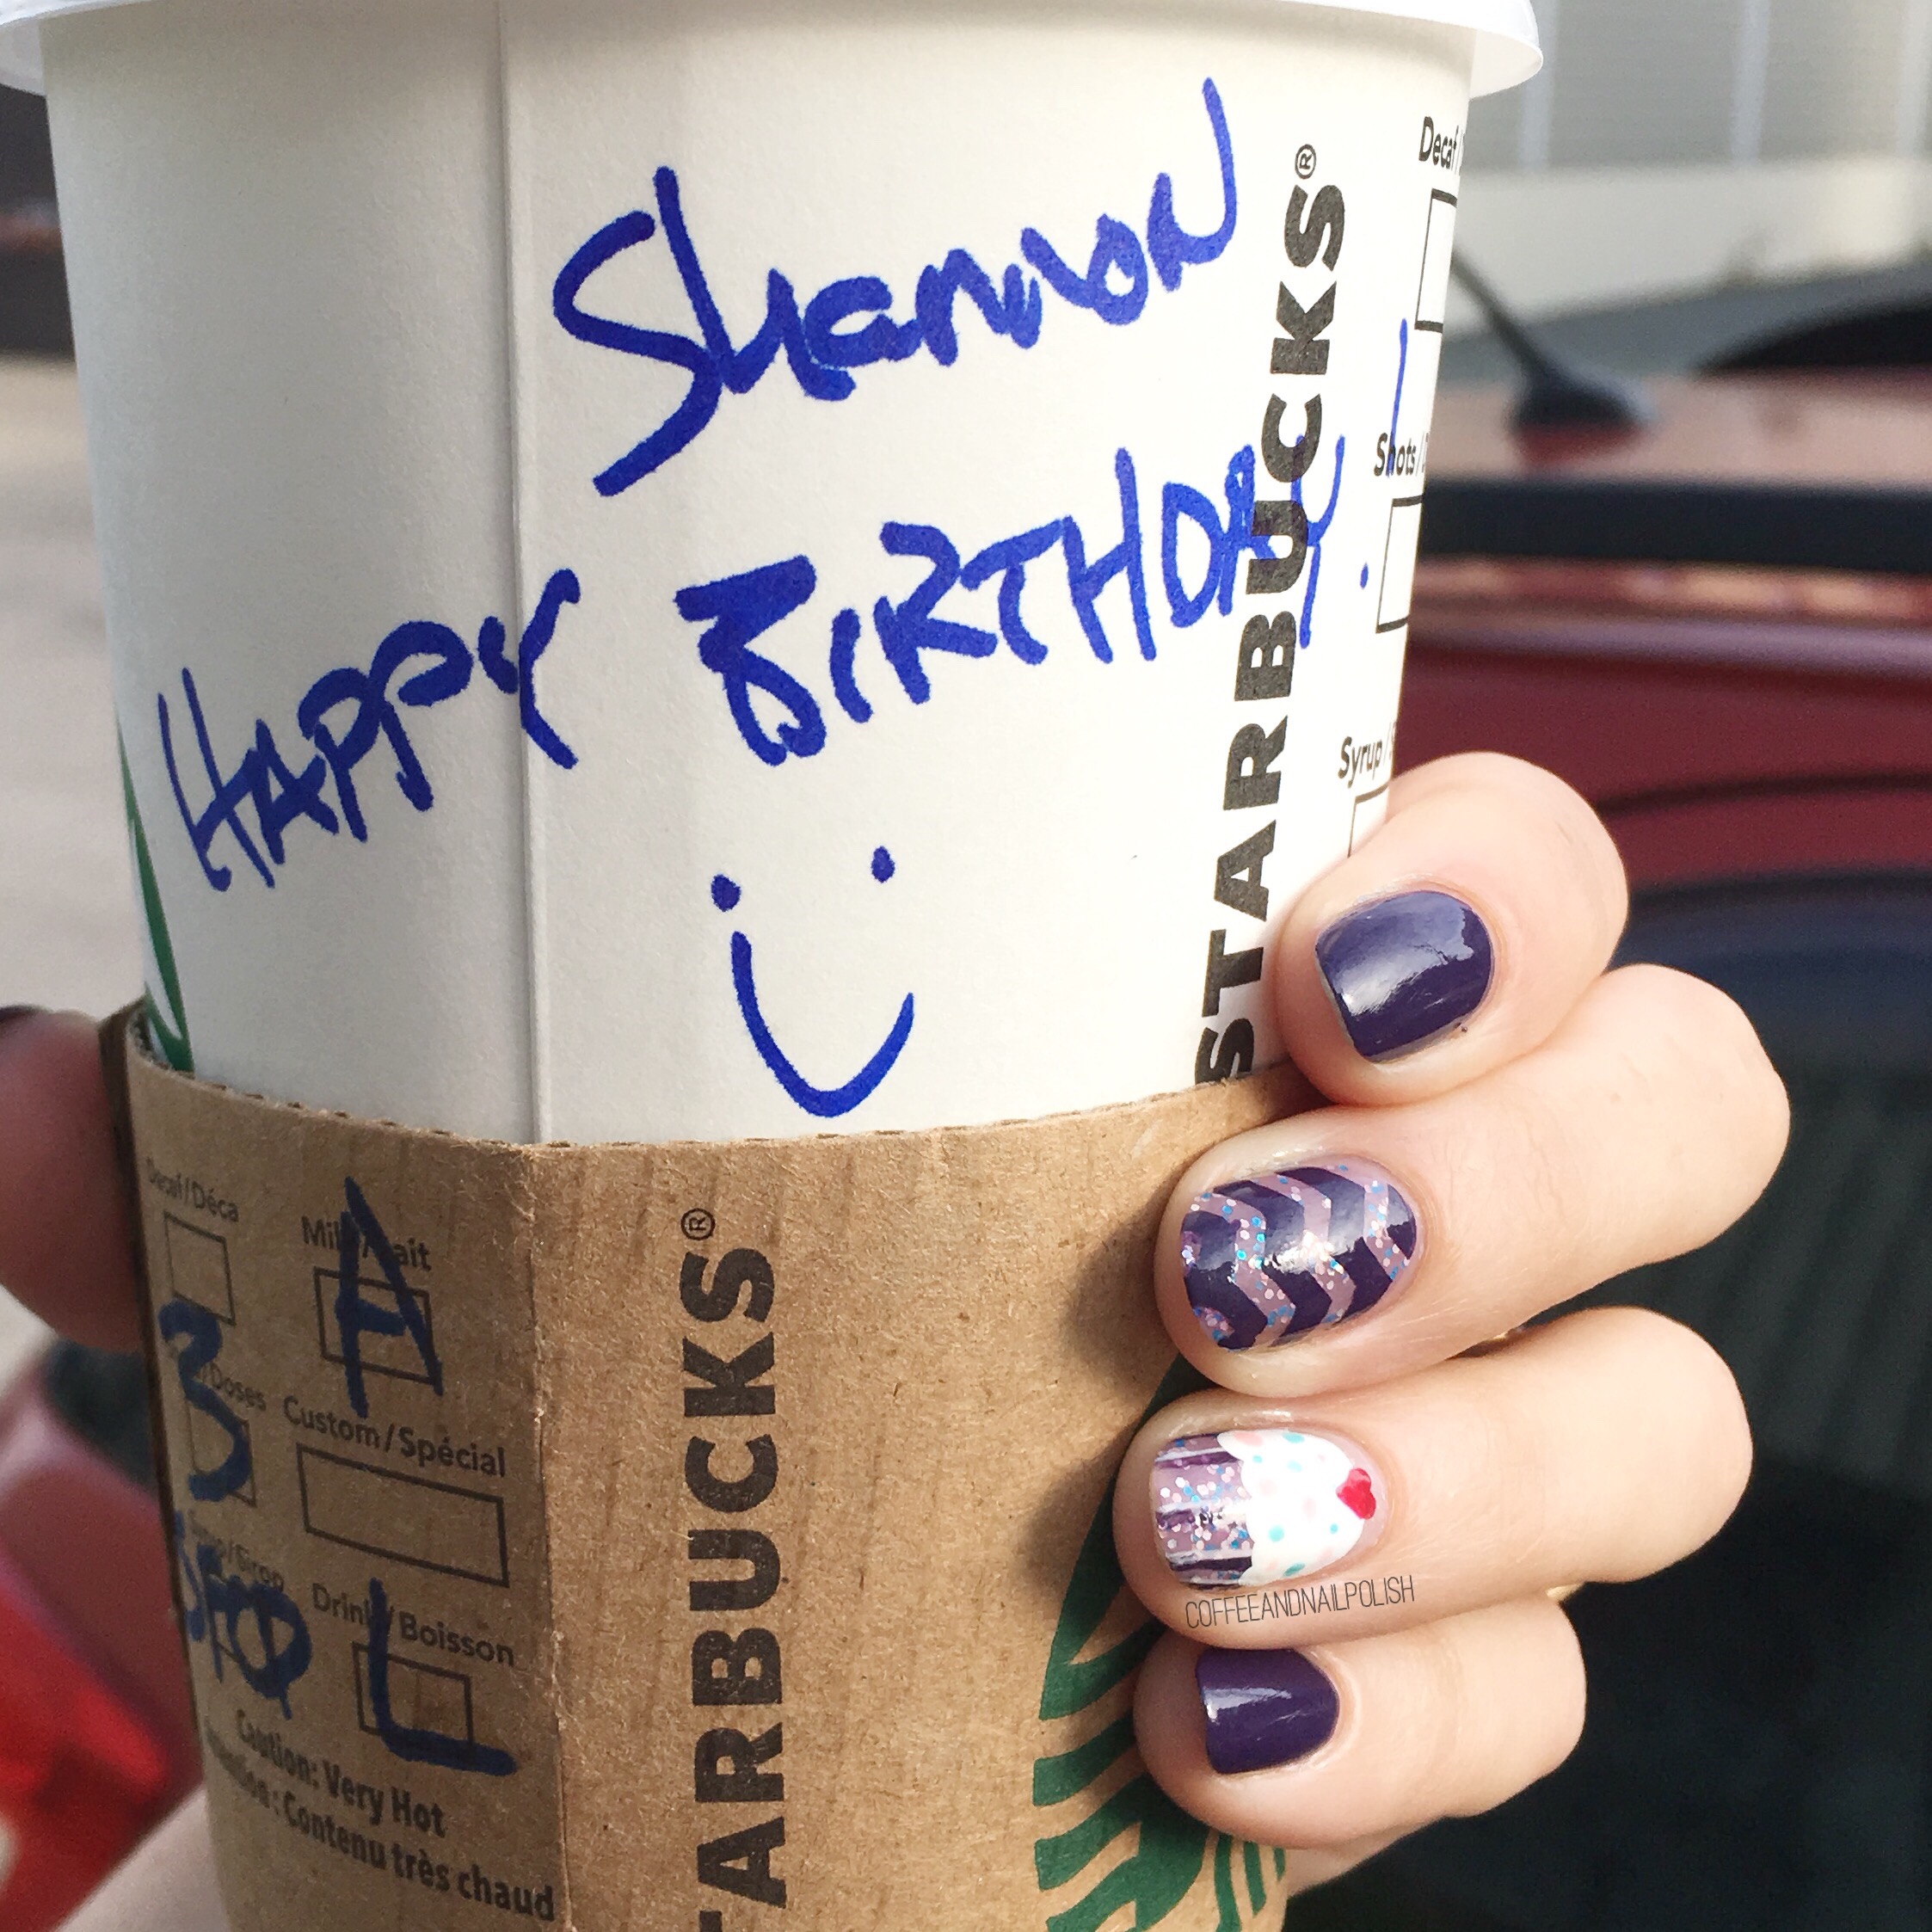
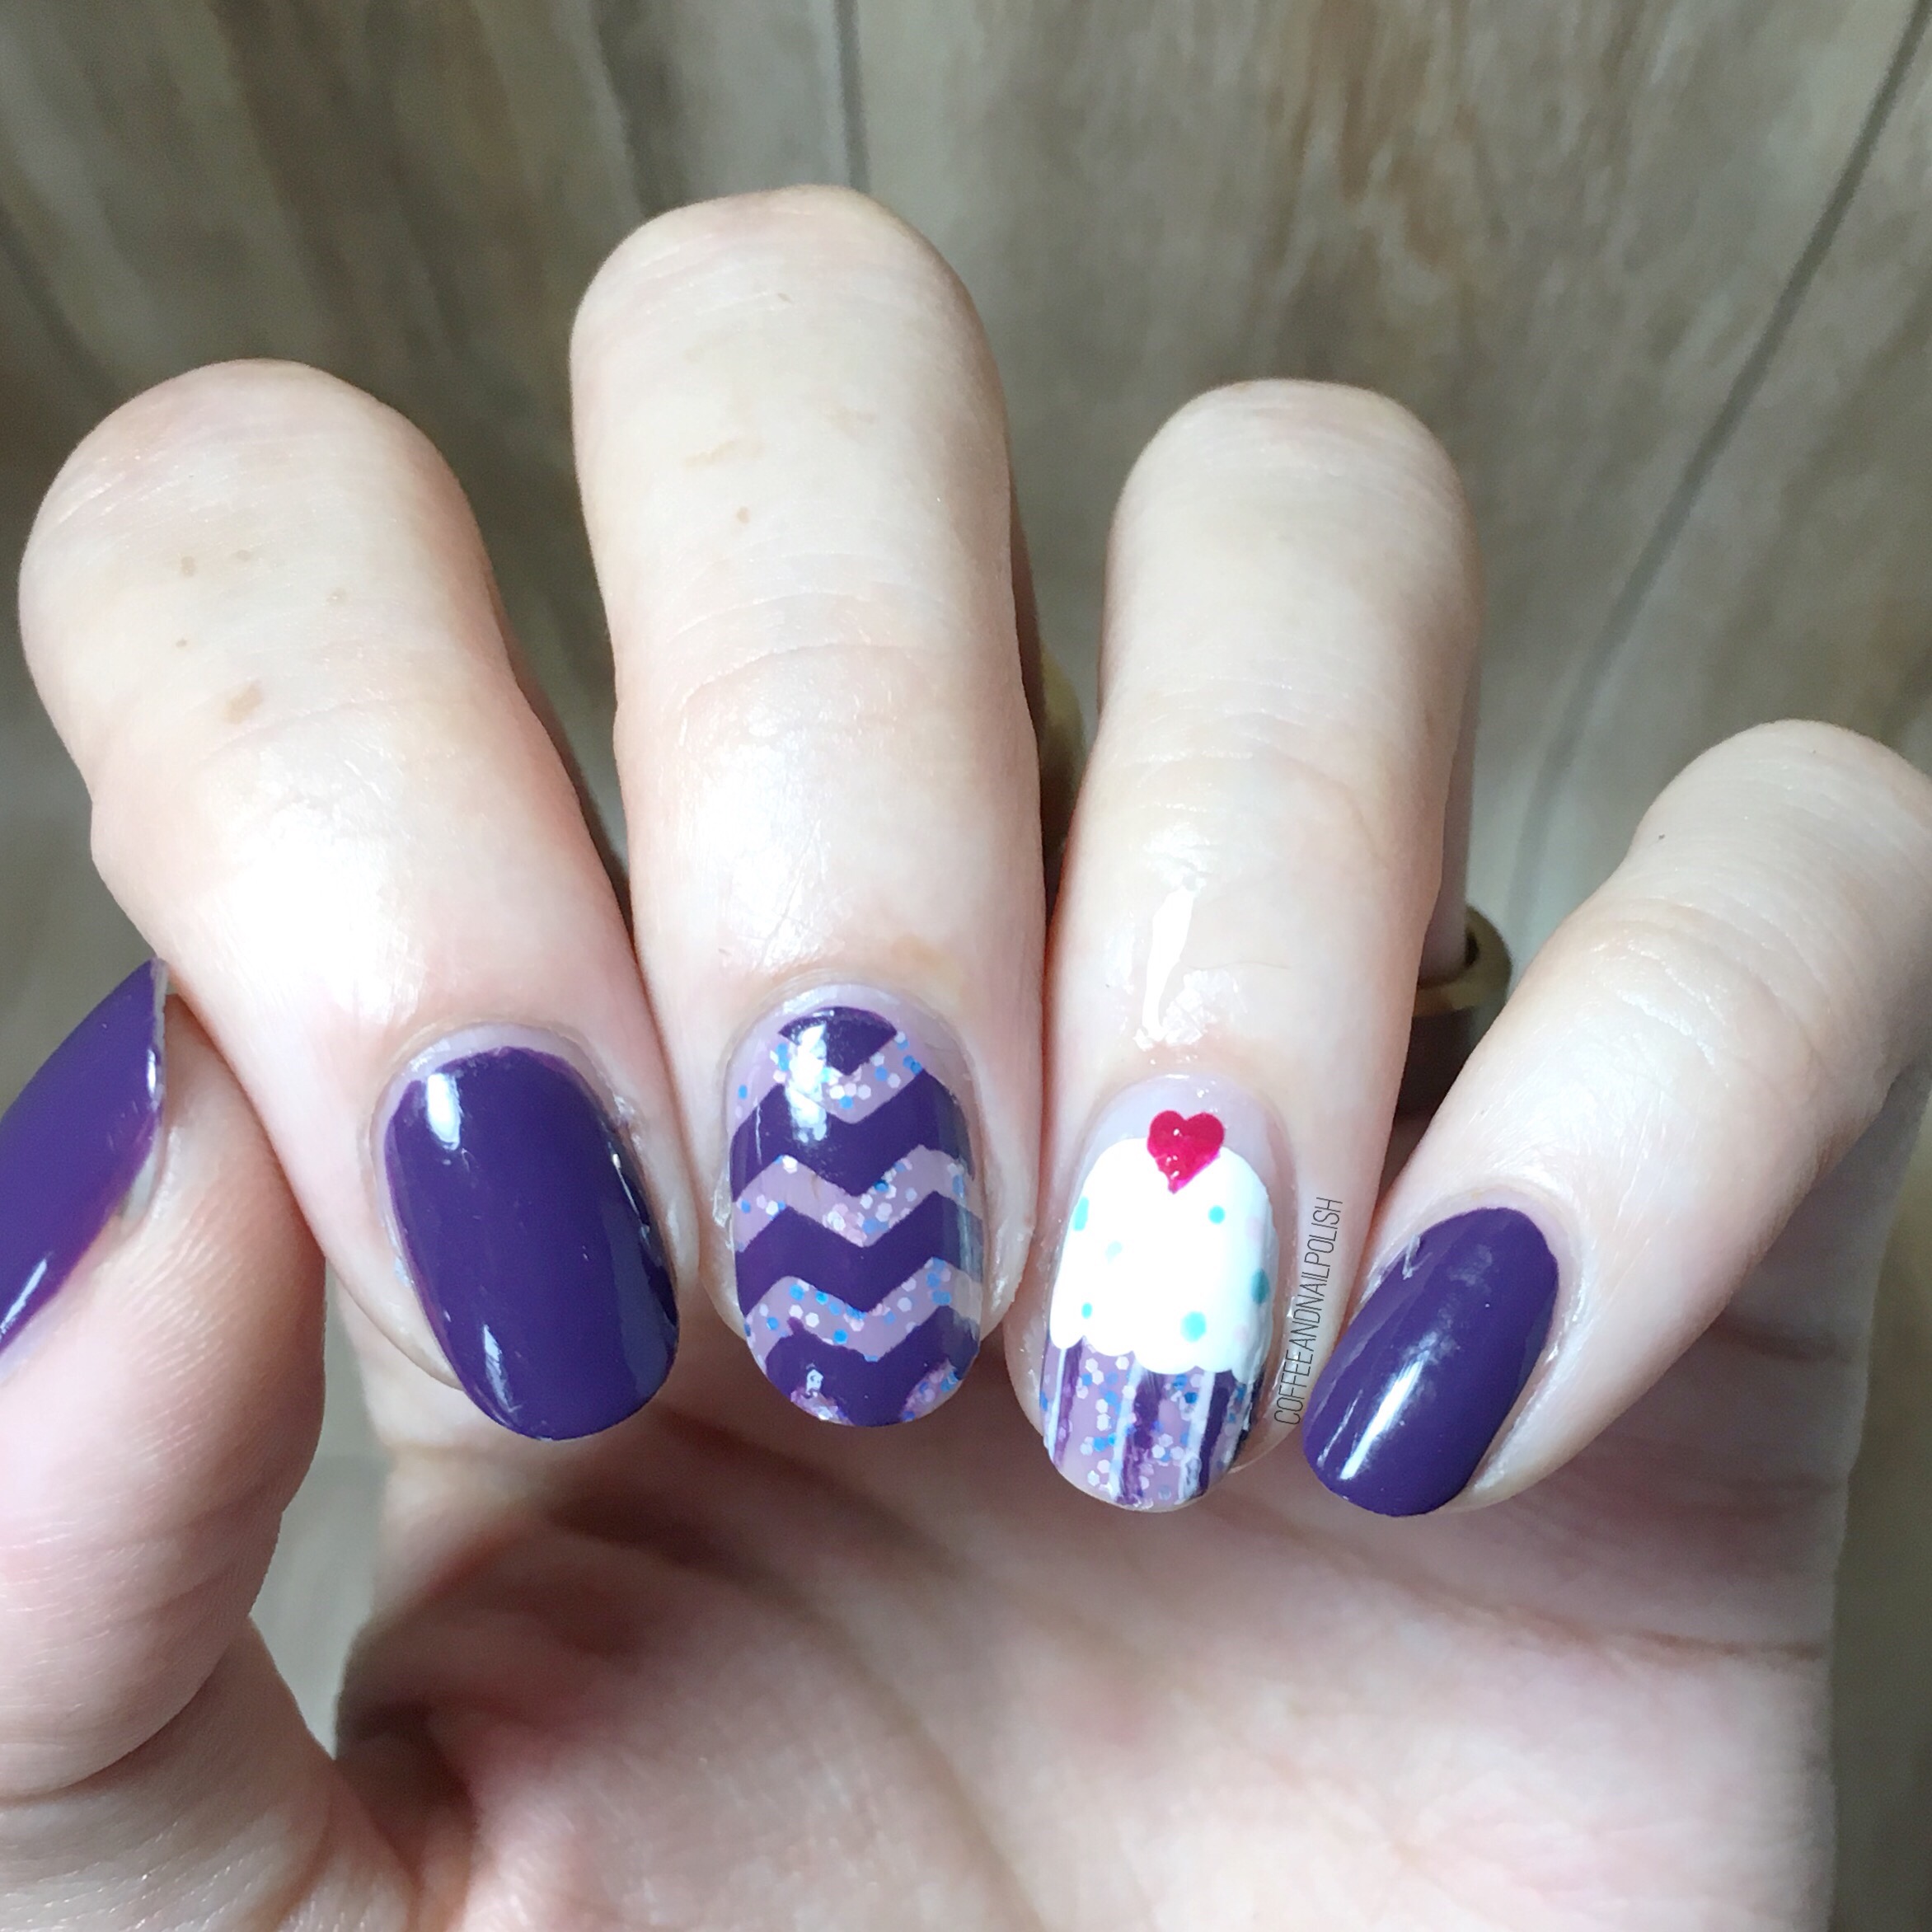
I know, it’s Sunday which means normally I would be sharing a swatch with you. But today is not just any Sunday… it’s my birthday! So obviously I had to do something fun on my nails in honour of the occasion & I couldn’t think of anything more fun to put on my nails than a glittery purple cupcake nail (which are a few of my favourite things.) After perusing Pinterest searching “cupcake nails” I had an idea of how I wanted my design to look, & I’m so happy that they turned out exactly how I imagined! 

For this manicure, the polishes I used were:

  • Base Coat: OPI Natural Nail Base Coat
  • Top Coat: Cutex Quick Dry Top Coat
  • ORLY Plum Sugar
  • Nails INC Cherry Road
  • Sally Hansen Hard As Nails Hard To Get
  • Color Club Evolution
  • Cosmetic Arts Unnamed Baby Pink
  • Color Club A Warm Place
  • URSugar Zig Zag Nail Vinyls item #AUB39877 
  • Dotting Tool
  • Small Detail Brush


I really really love my birthday cupcake nails. I feel like it’s been ages since I freehanded anything & I was a little nervous about my cupcake but it turned out so cute! These are going to be fun to wear for my birthday celebrations with my family later this afternoon. Last year I spent my birthday in a dark room with an eye infection, so I’m determined to make up for that this year! 

Have a great Sunday everyone! 💜

Saran Wrap Smoosh Nails

I don’t do a lot of Saran Wrap smoosh nails, mostly because I find them fairly messy (& I ran out of liquid latex & I’m being lazy in replacing it). But every time I see one pop up on my Instagram feed I tell myself I need this technique in my life again. They just always look so cool! I’ve been struggling with inspiration lately, so I decided to risk the messy clean up & do a smoosh. 

For this manicure, the polishes I used were:

  • Base Coat: OPI Natural Nail Base Coat
  • Top Coat: Cutex Quick Dry Top Coat 
  • Essie Cocktails & Coconuts
  • China Glaze VII
  • Quo by ORLY Fairy Godmother
  • Saran Wrap, or plastic bag of some sort. 

If you’ve never done a Saran Wrap smoosh, there are lots of tutorials on the internet (this one from @snowglobenails is great). From my expirence, I find sometimes they can take a few tries before you figure out what works for you, but for me less is more.  I prefer to use maximum 3 shades together, otherwise I find my nails can end up looking kind of swampy. & I also try not to push blend colours too much when pressing down on my plastic. 

What’s your thoughts on smooshy nails? Do you have a favourite colour combination? Let me know your thoughts in the comments below! 

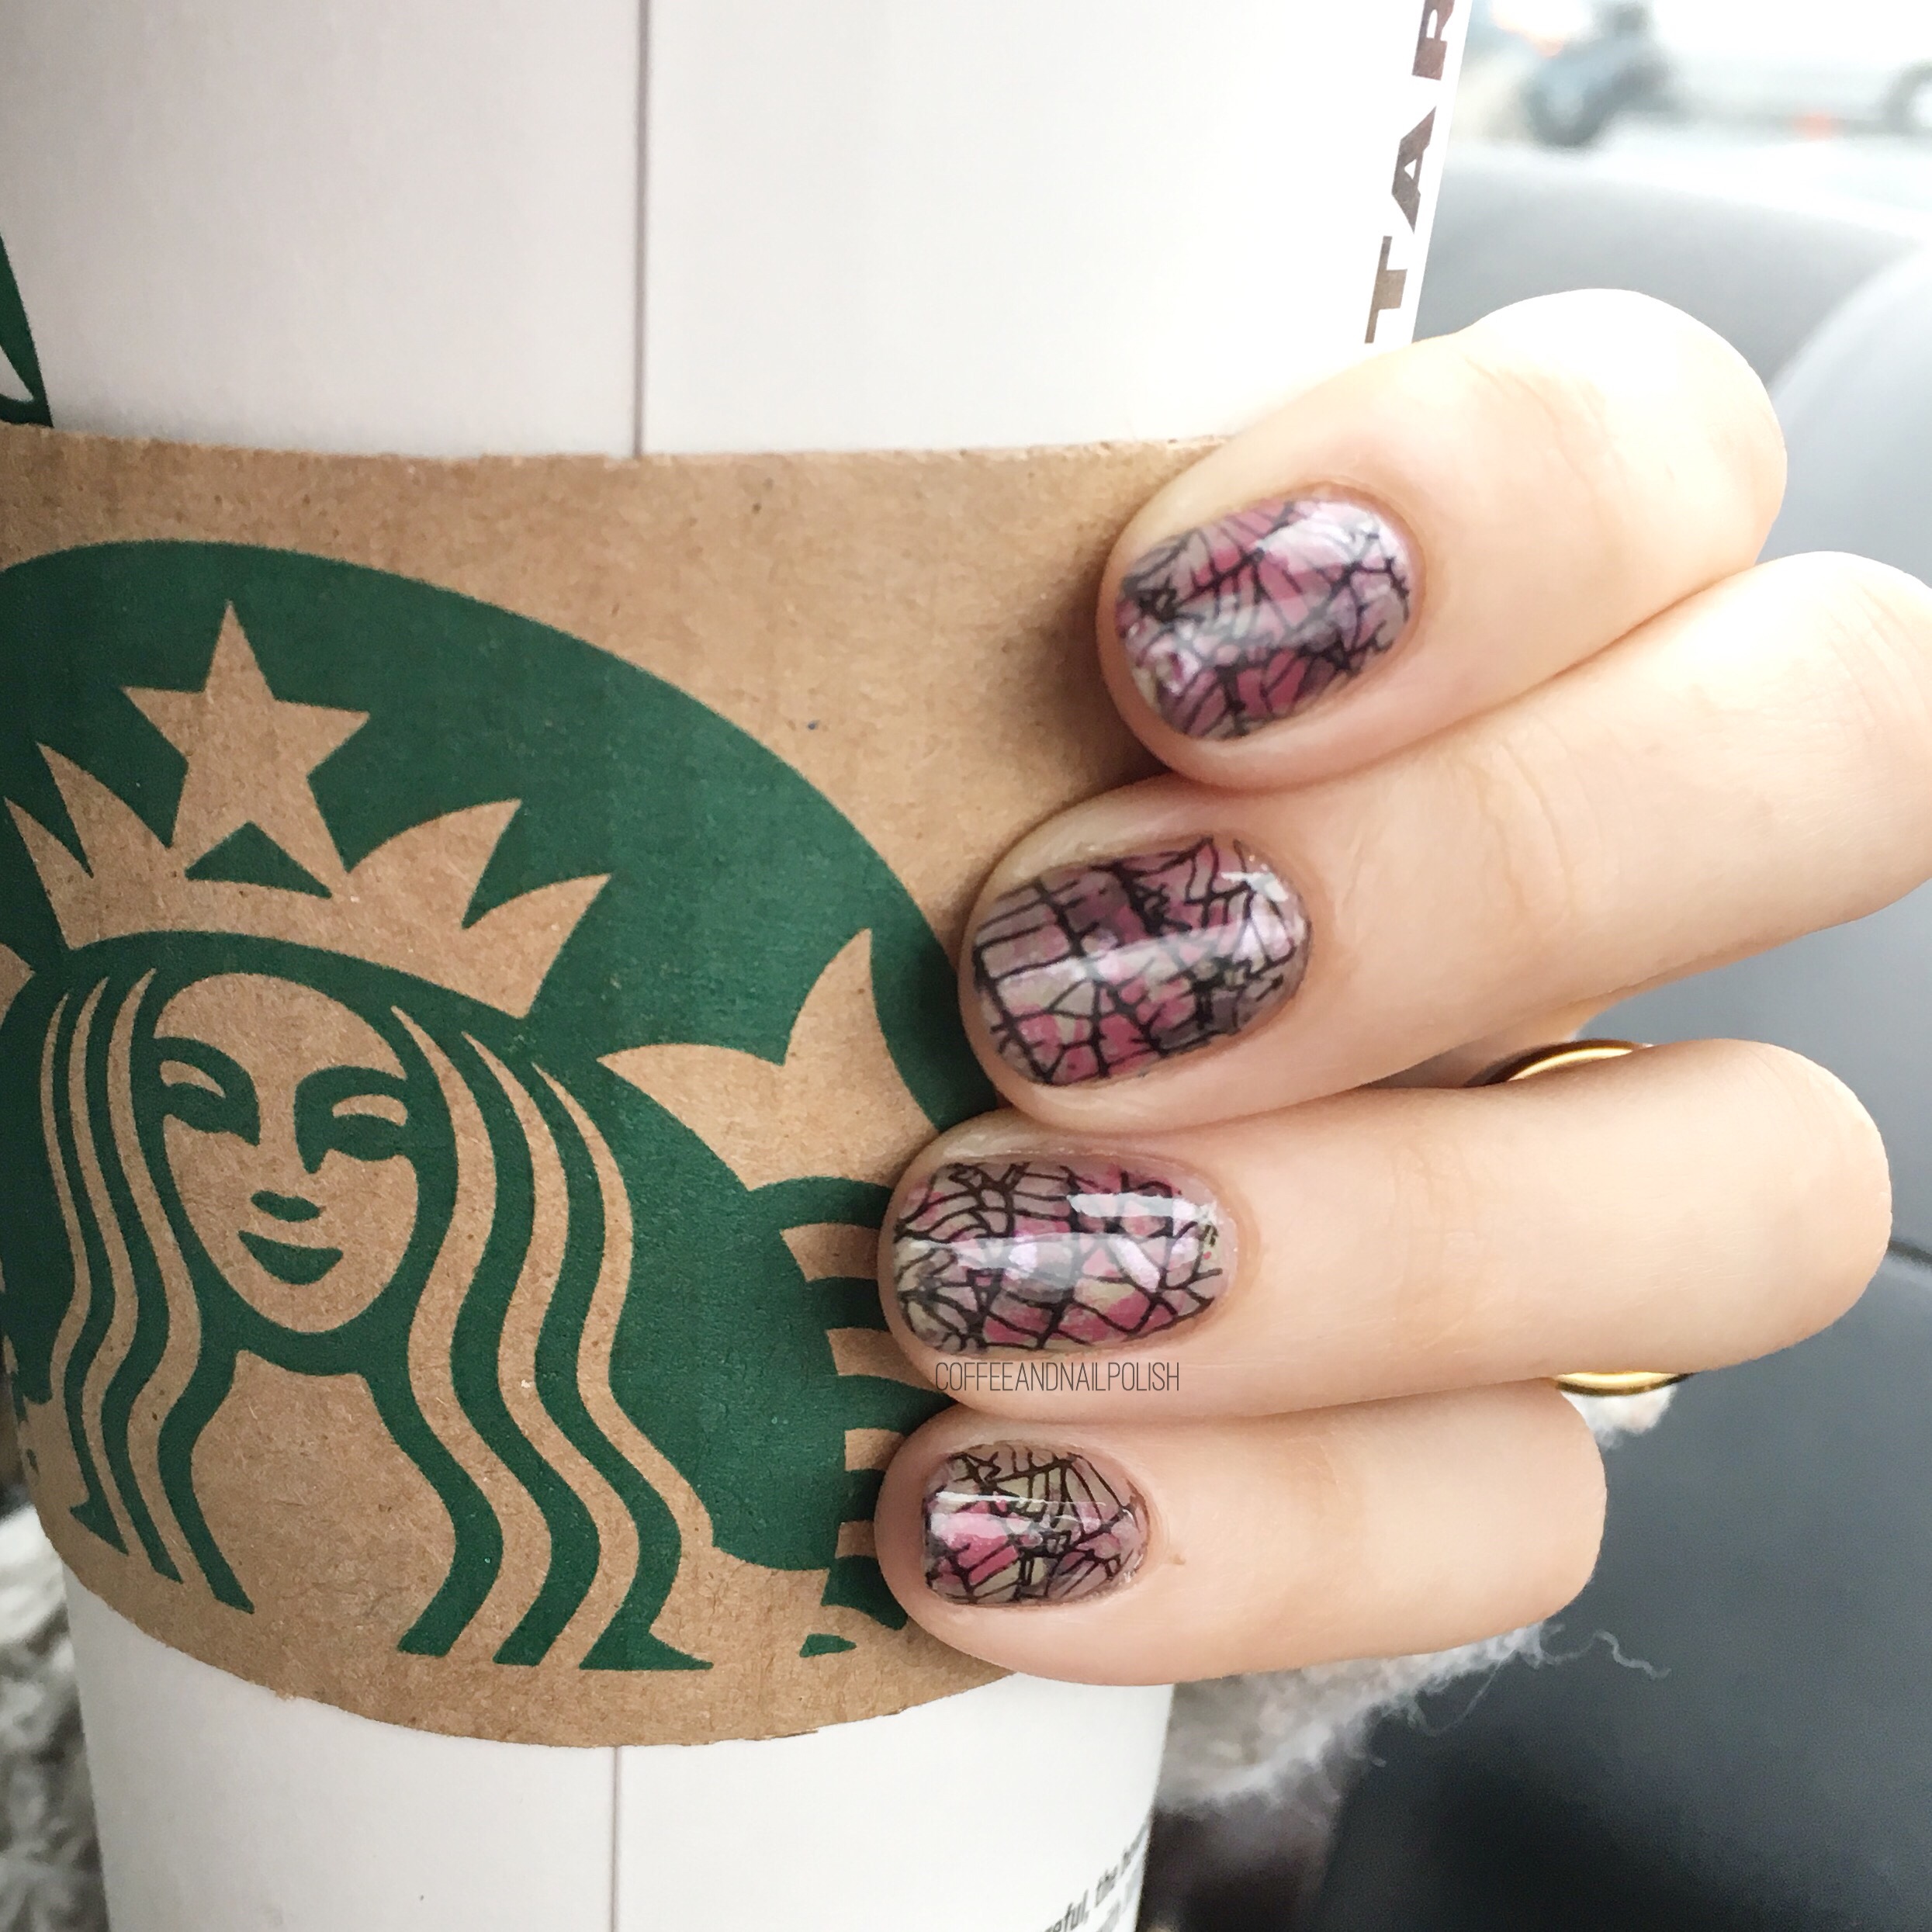
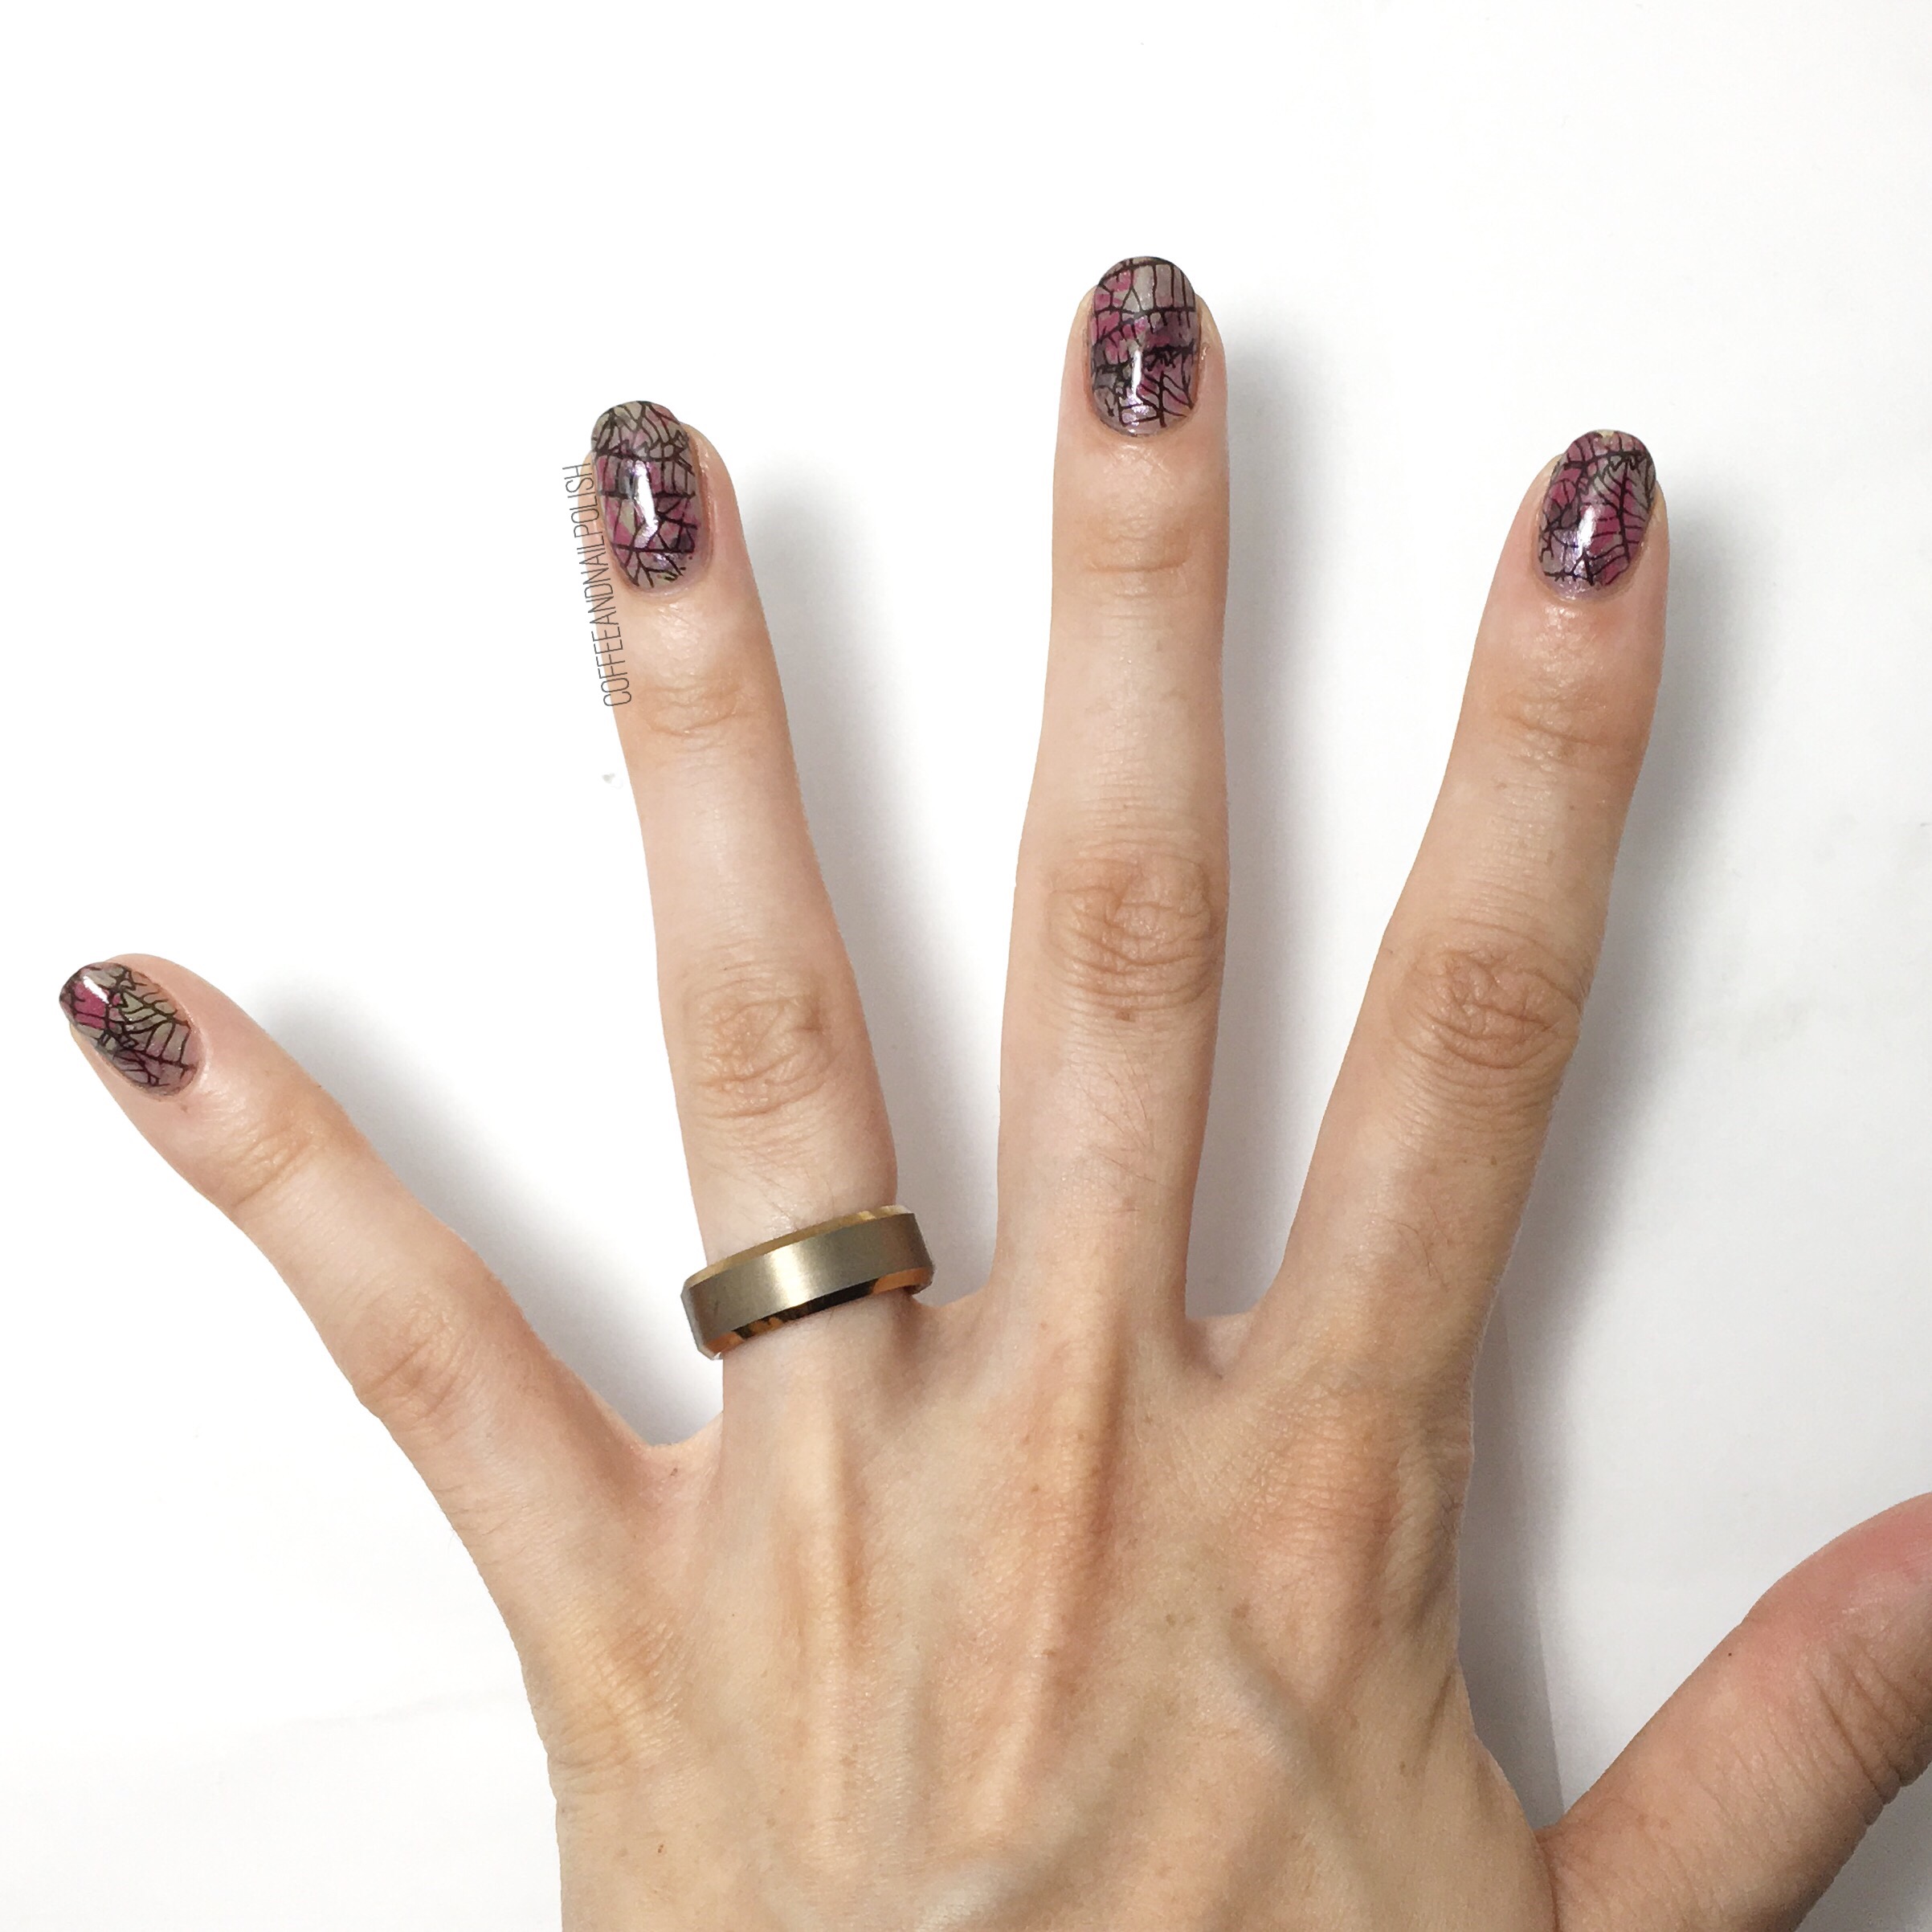
Fall Leaf Stamping 🍁

Sorry for my lack of posting this week. If you follow me on Instagram you would have saw that I was struck down by the gluten gods this past weekend & I’ve been recovering from a particularly bad attack the last couple days. I spent Monday & Tuesday in bed sleeping but I finally had a bit of a burst of energy, enough at least that I could post this mani. 

& can I just say I freaking love how this design turned out?! Okay so my husband may have said that he thought they looked like spiderwebs but he’s a boy & it doesn’t count. 😂 

For this manicure, the products I used were: 

I started off with a base shade of This Isn’t Iceland the used my other OPI shades to create a Saran Wrap splatter. I topped that with clear nail polish that I knew would smear the polishes so it blended them together better. Then I stamped the leaf print over top over the blend using Back to Black to finish the design. I topped everything with top coat to seal in the design, & used a brush dipped in acetone to clean up around the cuticles. I love using Back to Black for stamping because not only does it stamp well, it cleans up easily & doesn’t leave my cuticles stained black when using acetone. There is nothing worse! 

I’m digging this pattern. I wish I could have gotten a picture with an actual leaf but mine aren’t quite on fire yet. I’ll have to repeat this stamping again when the leaves are in full colour change, just for the chance to take a picture! That, or I’ll recreate one of my all time favourite Fall designs. 

What do you think of these Fall leaf nails? Do you see leaves or spider webs? Let me know what you think in the comments below! 

Some of these lovely polishes were all gifted to me by OPI as part of the #PreenMeVIP program.