Hello lovelies & happy Monday! Today I’m sharing another design for #glamnailschallengeaug!
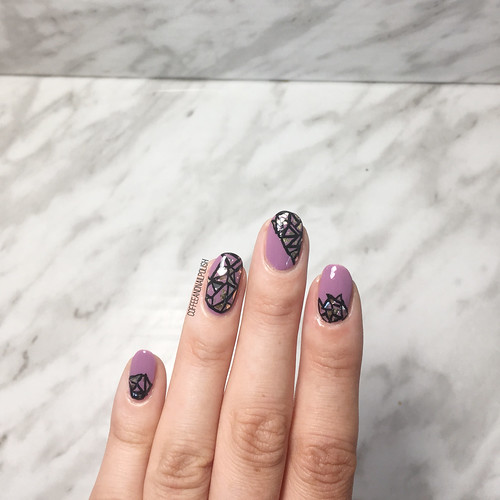
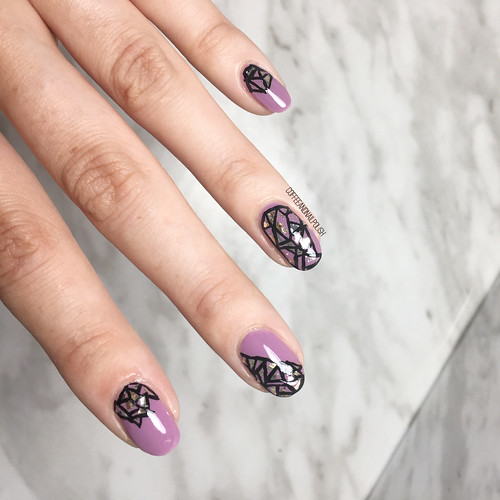
Today’s prompt is Constellations. 🌌 I did galaxy nails just a few weeks ago, so I wanted to do something different enough from that design & try my best to recreate the prompt on my nails. Usually I am such a perfectionist it can cause me to get frustrated when things aren’t “perfect”. This whole prompt has been about painting my nails, stepping out of my comfort zone, & creating nails that are “perfect enough”.


For this manicure, the polishes I used were:
- Base Coat: Sally Hansen Complete Salon Manicure Strengthening Base Coat
- Base Coat: Quo by ORLY Bonder
- Top Coat: Essie Gel Couture
- OPI Miss Piggy’s Big Number
- OPI Ink
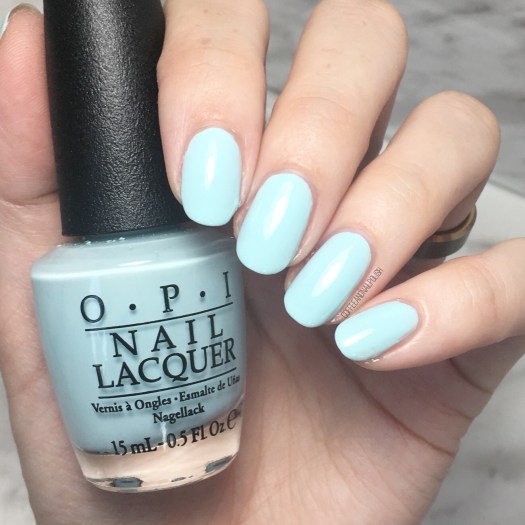
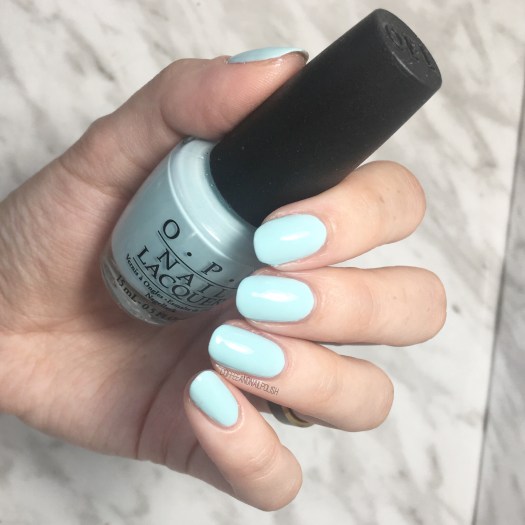
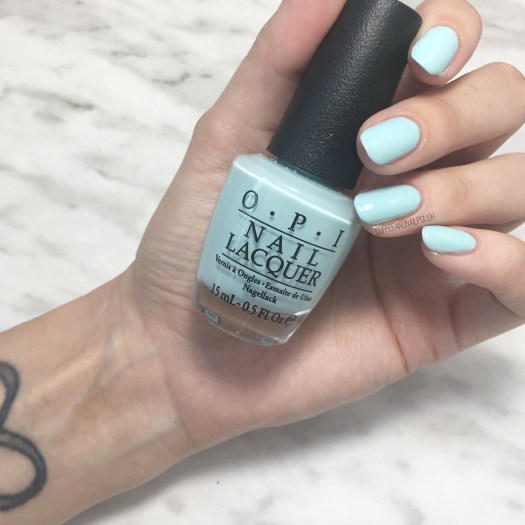
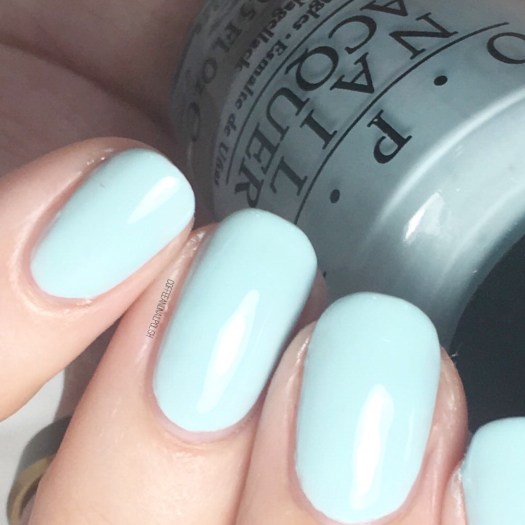
- OPI The Sky’s My Limit
- White Acrylic Paint
- NailStuff.ca 7mm Liner Brush
- NailStuff.ca Dotting Tool Trio
- Latex Free Make Up Sponge


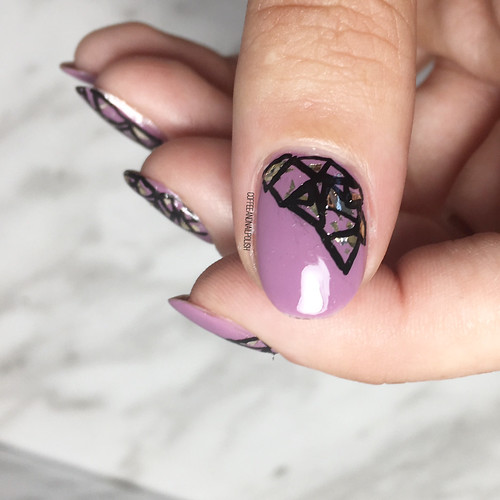
I’ve been experimenting a bit with acrylic paints for nail art lately, mostly when creating nail art in bit unsure about, like his design. I wasn’t sure how I wanted to “attach” my stars to show off the constellations, so I drew my dots & stars first, applied my top coat, & then drew my lines. By putting top coat in between the dots/stars & the lines, I could easily wash off the lines & redraw them without acetone ruining my look.
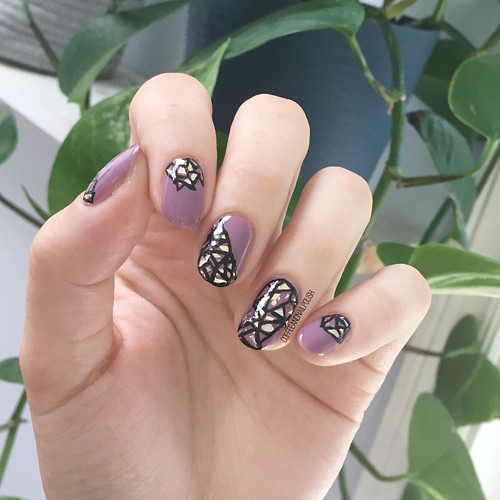
I probably wouldn’t switch to using acrylic paint for all designs, like my florals, but it certainly works really well for designs like this, & I have a feeling it would also be really useful for more different or advanced patterns. I’ve been going through some older designs & really obsessing over the swirly designs I used to do, so I feel like I’m definitely going to be trying out more of those looks coming up! I’m feeling very inspired.
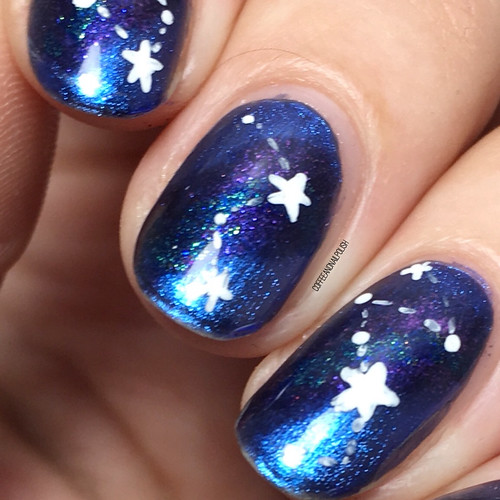

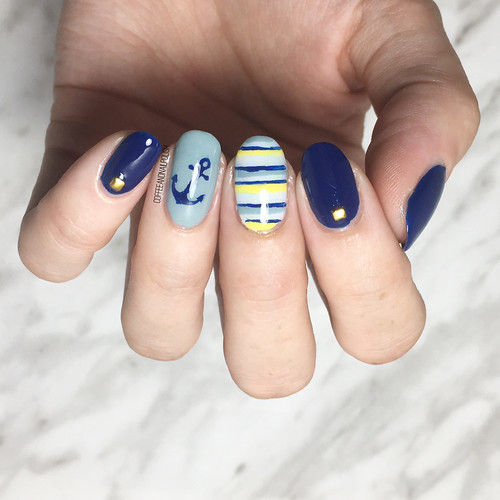
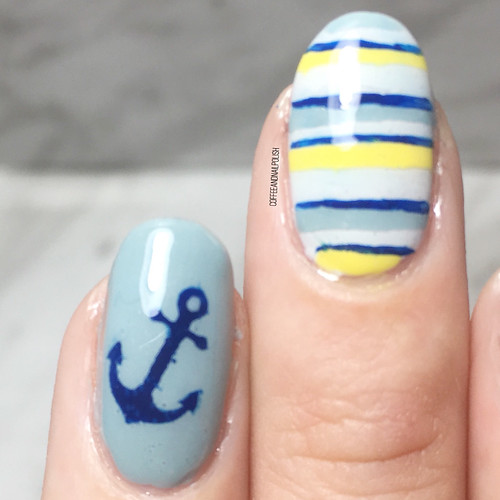
I am really really loving how this look turned out, especially in keeping the background not too busy as I normally would in a galaxy/space design. I wanted to kind of create a background that looked like those magnetic polishes I see all over Instagram, but have yet to own. Subtle, definitely there. & I feel like I managed to achieve that, especially using the polishes I picked.

What do you think about this look? Are you loving the manicures I’ve been creating this month? Like this post & leave a comment if you’d like to see me do more of these nail art challenges!
& don’t forget to check out the hashtag #glamnailschallengeaug on Instagram to see the other pretty nails posted for the challenge! I just love seeing all the beautiful & different interpretations that we’re coming up for the same idea!