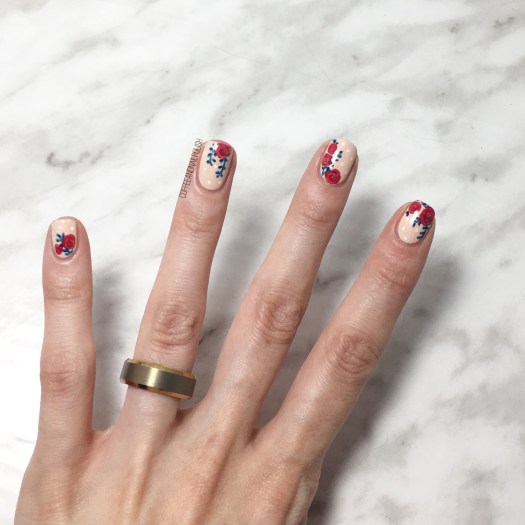
Happy Saturday Lovelies… & happy St Patrick’s Day! It’s been quiet on the blog this week, & if you follow me on Instagram you’ll know I had a bit of an accident involving my son where he scratched my cornea with his nail leaving me temporarily blind Wednesday. It was a little difficult to try & do my nails & write a post so I took a bit of a hiatus but I still wanted to try & do something fun in honour of St. Patrick’s Day, so I can up with a fun shamrock design.

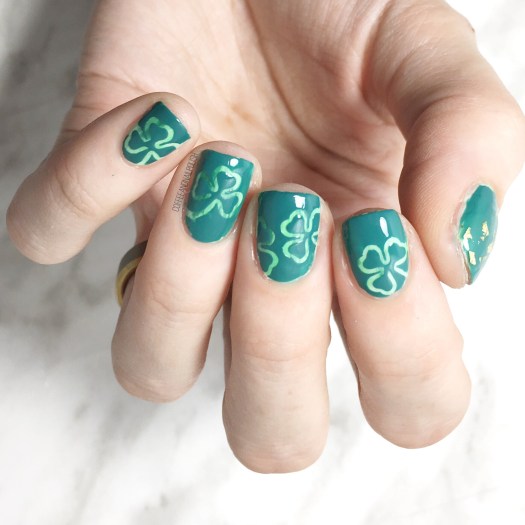
Green is not a usual colour choice for me. I own quite a few greens, but I usually save them for either Christmas or St. Patrick’s Day so I was excited to pull a few out to play with.
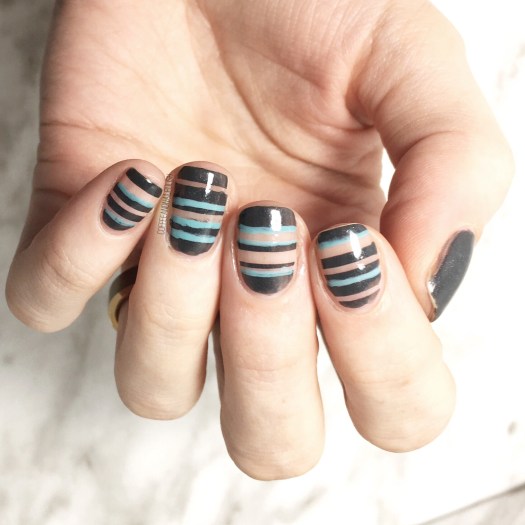
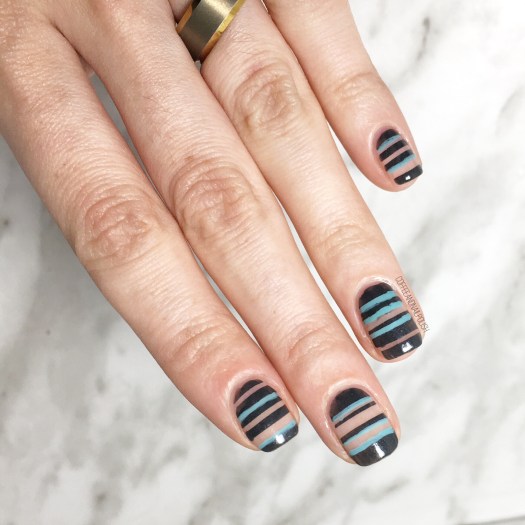
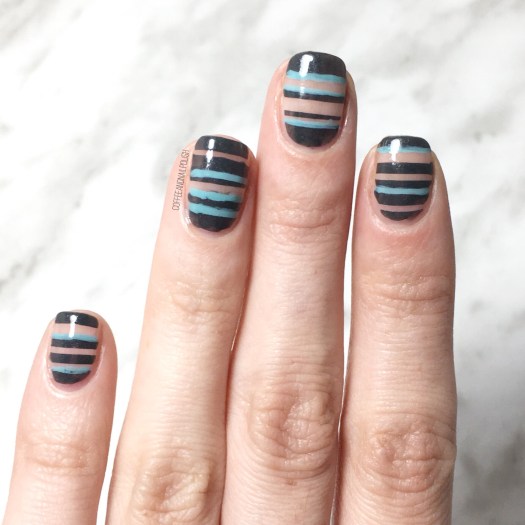
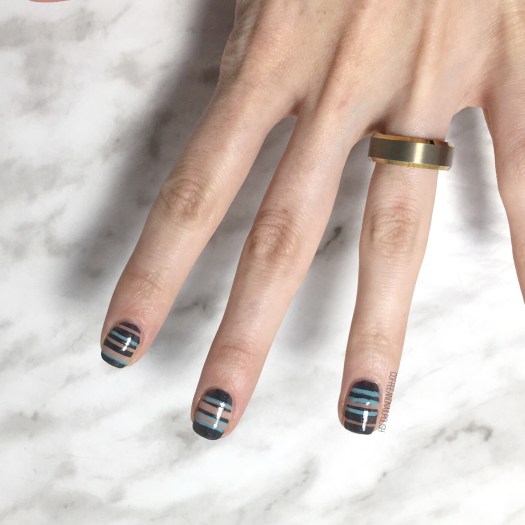
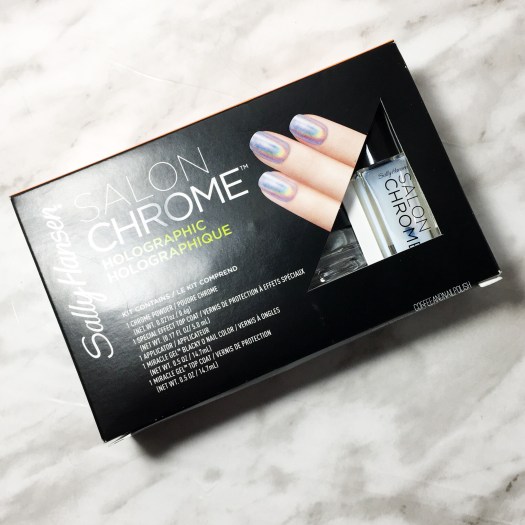
The polishes I used for this design were:
- Base Coat: Quo by Orly Kiss Me, I’m Kind
- Top Coat: Seche Vive
- Wrenn Polish I Know Quac is Extra
- OPI That’s Hula-rious
- China Glaze Be More Pacific
- Essence The Green & The Grunge
- YSL Beauty Vert D’Orient
- URSugar Nail Vinyls — shamrocks (item #AUB39877)
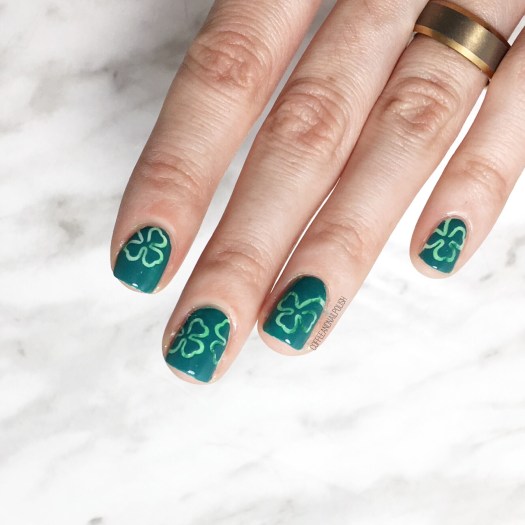
I started off with a dry brush base using all my greens but YSL Beauty Vert D’Orient & let it dry completely. Then I added the shamrock vinyls over top my design & painted over the whole nail with Vert D’Orient & immediately removed the vinyls revealing my dry brush shamrocks. I think it was a cute way to use a whole bunch of greens & a great design for St Patrick’s Day!

What do you have planned for your St Patrick’s Day? Mine will be spent working & the only green things I’ll be drinking with be green kombucha & matcha lattes… but that’s okay with me! Hope you have a fun (& safe!) St. Patrick’s Day whatever you get up to. 💚 Also head over to my Instagram later on for a bonus nail art look featuring these Shamrock vinyls from URSugar! 🍀☘️🍀