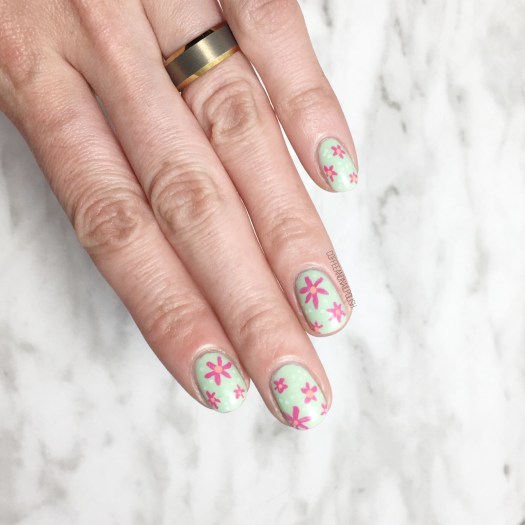
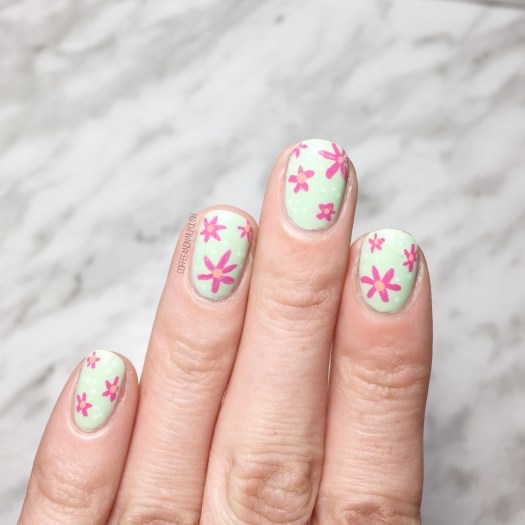
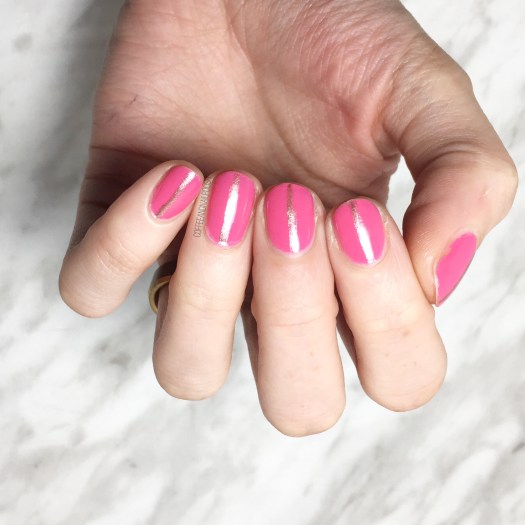
Happy Friday lovelies! I hope you’re all excited for the weekend as much as I am! Today I’m sharing a design I was actually wearing the last couple days. I’m in a bit of a nail art rut right now, so I decided to add something simple to my pretty pink nails.
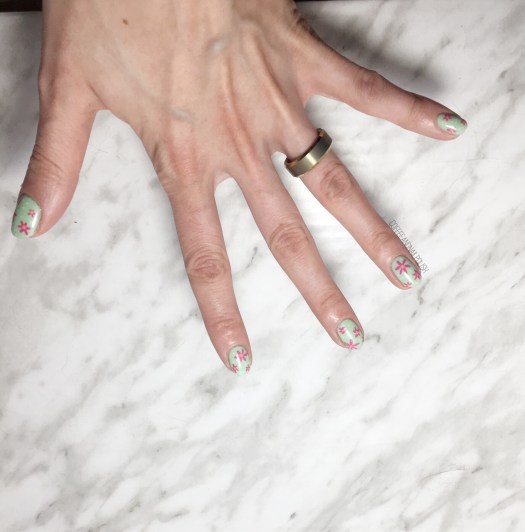
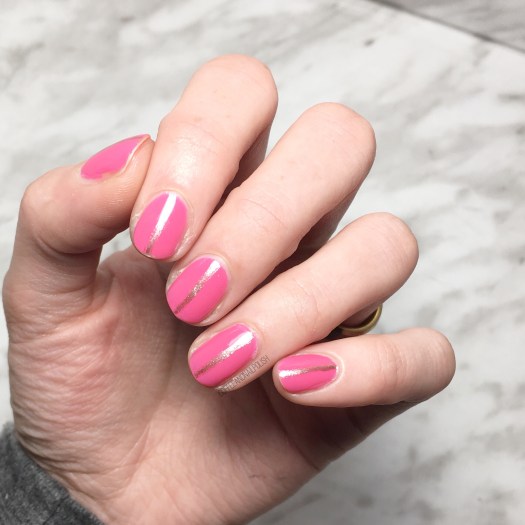
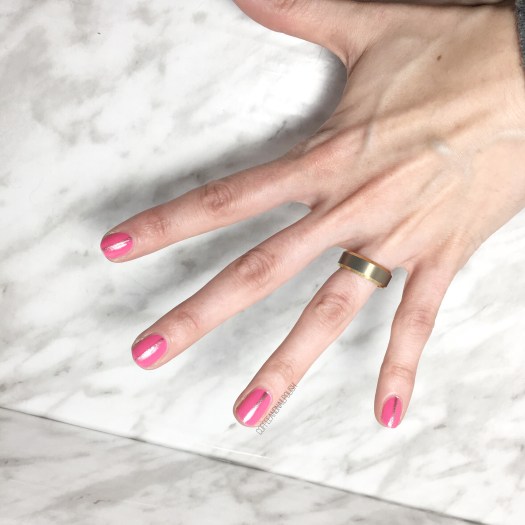
I’ve also been wearing my Quo by Orly shade polishes as my nails have been in super rough shape (hence why my nails have been trimmed down… again). I decided some gold lines might make my nubs look slightly longer, so I freehanded them over top. A simple design, but enough of a pop for me!

For this design, the polishes I used were:
- Base Coat: Quo by ORLY Breathable Kiss Me I’m Kind
- Top Coat: Essie Speed Setter
- Quo by ORLY Breathable Pep in Your Step
- Quo by ORLY Breathable Fairy Godmother
- Bundle Monster small detail brush

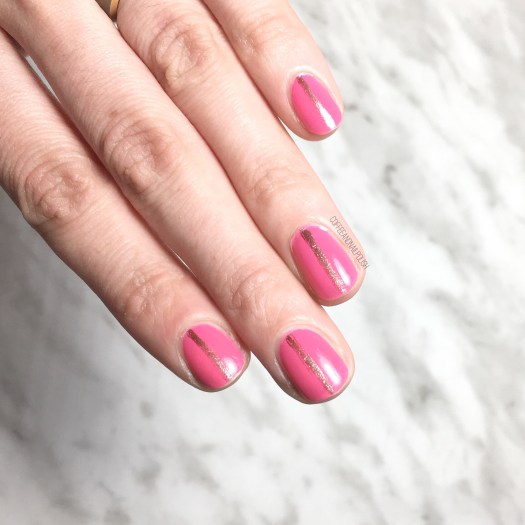
This gorgeous pink from Quo by ORLY has to be one of my favourites from the Breathable line. In fact, I added it to my toes at the same time! I’ve raved in the past just how much I adore this polish line because it’s designed to help the health of your nails. & trust me–I need it! Between boxes of stock & hand sanitizer, I’ve been finding I’m having so much trouble keeping my nails healthy. I’m upping my moisturizer & oil routine, but even still I need a little extra help & this polish is a god send!
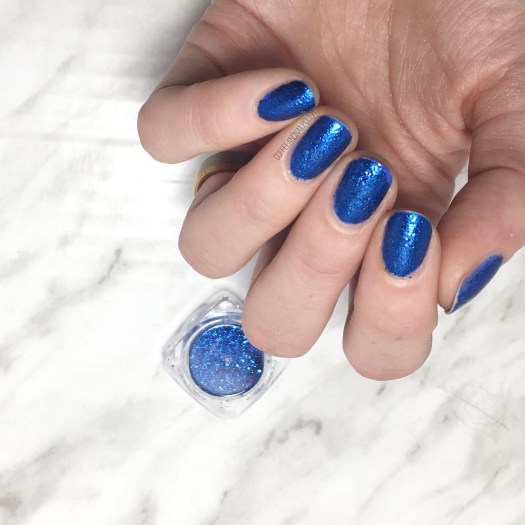
Plus thanks to all the cute colours in my stash, I can create lots of cute nail art looks too!
what are you wearing on your nails for the weekend? Let me know in the comments below!