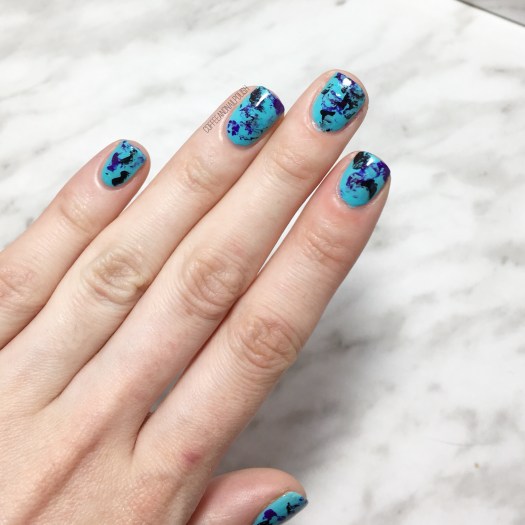
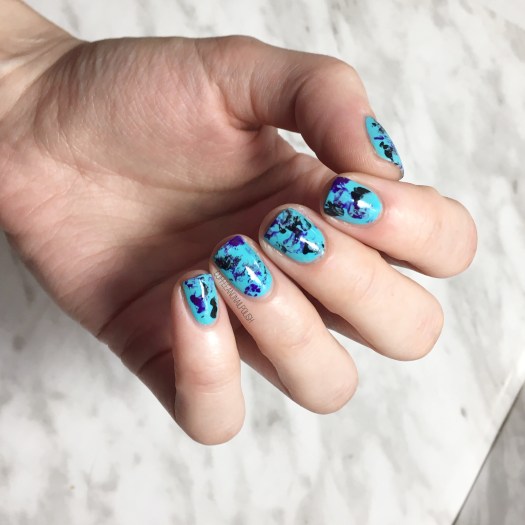
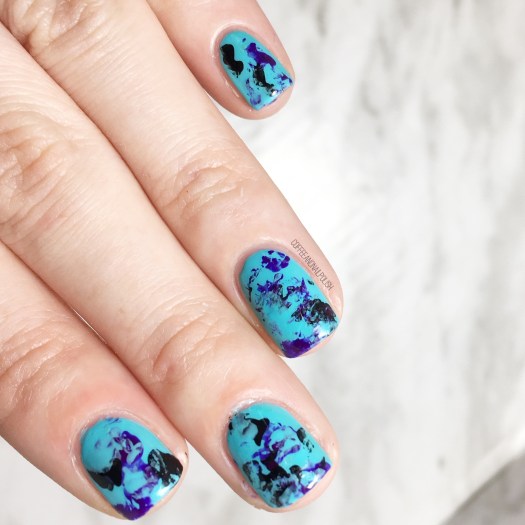
Good morning lovelies! Today I’ve got some brand new nail art to share with you, which was created with a special cause in mind. Today, April 17th, is World Hemophilia Day & my friend Victoria from @hitchingsandstitchings reached out to her friends in the polish community to wear red nail polish (or nail art!) today as her two beautiful little guys have this condition. Even though my nail art has been sparse at best the last few months, I know I had to join in the help spread awareness for this cause!
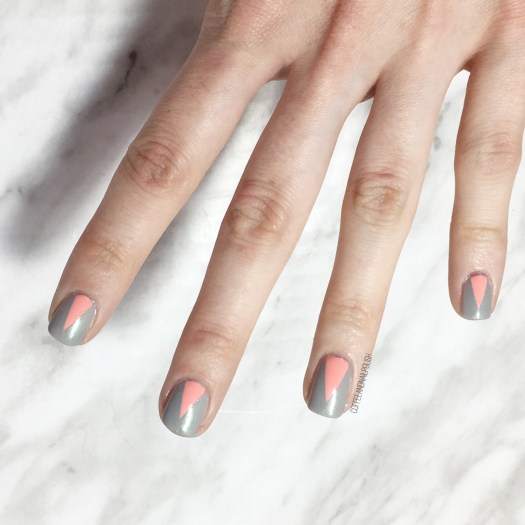
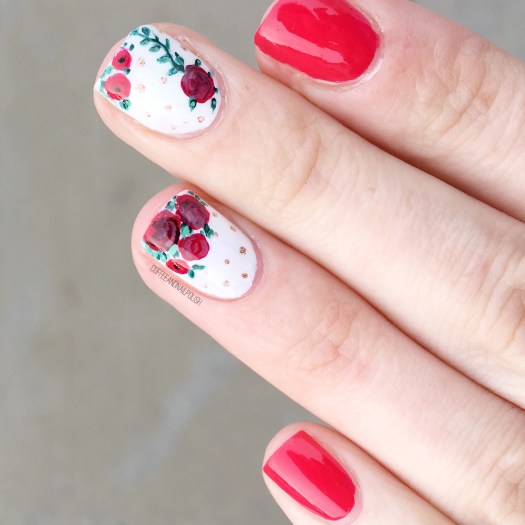
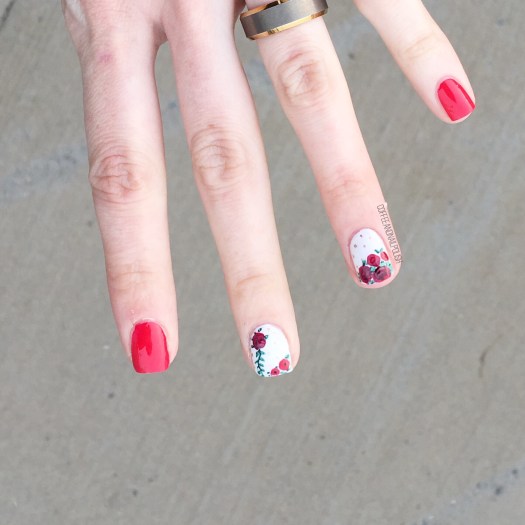
& obviously I couldn’t just wear red polish… there had to be some nail art involved. & what looks better with red polish than roses.

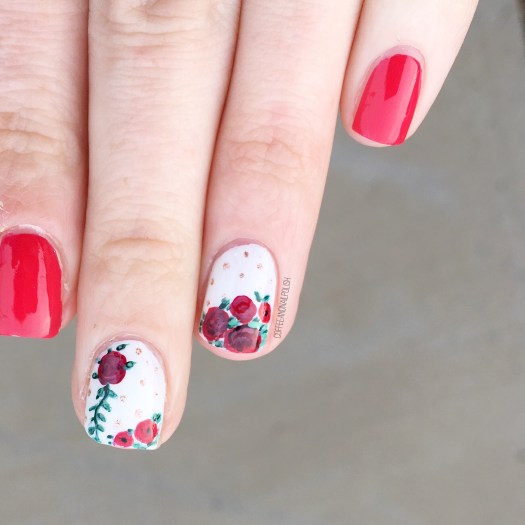
For this design, the polishes I used were:
- Base Coat: OPI Nail Envy
- Top Coat: Seche Vive
- China Glaze Seas the Day
- Essie Blanc
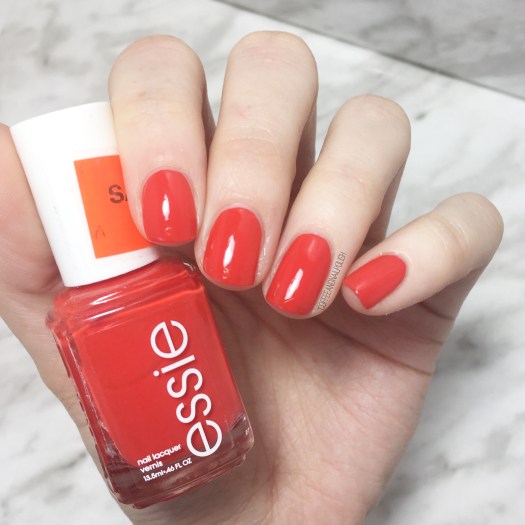
- Sally Hansen Red it Online
- Sally Hansen Berry Fancy
- China Glaze Life is Rosy
- Sally Hansen Terracotta
- Sally Hansen I ♥️ Nail Art Pen in Black
- Essie First Timer
- Essie Off Tropic
- Quo by ORLY Detox my Socks Off
- NailStuff.ca dotting tool
- NailStuff.ca detail brush
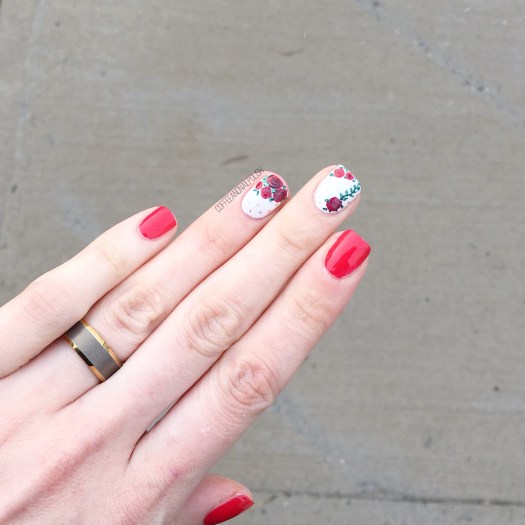
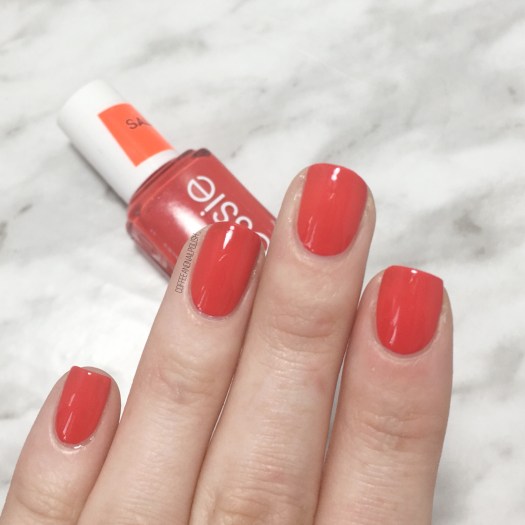
I love this combination of reds & even more I love that this nail art was done 100% with love for a great cause. ♥️ & if you’re wearing red nails (or just red in general today!) don’t forget to tag it with #redforHemophilia on Instagram!
have a lovely Wednesday! ♥️