Recreating my Wedding Nails (on my shorties) 11 years later! ✨👰🏻‍♀️💅💍

Hello lovelies & Happy Saturday! I know I don’t often post on Saturday, but today was a special exception with a special nail design!

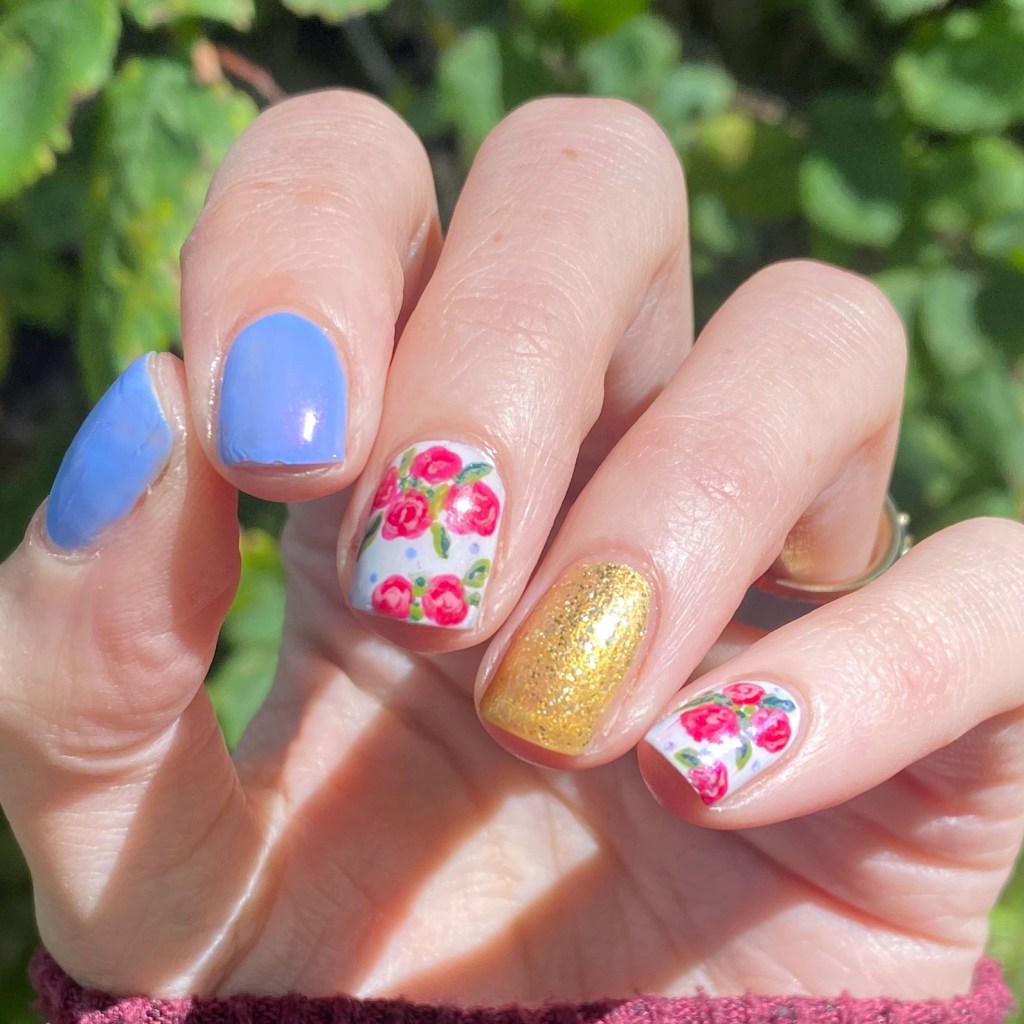
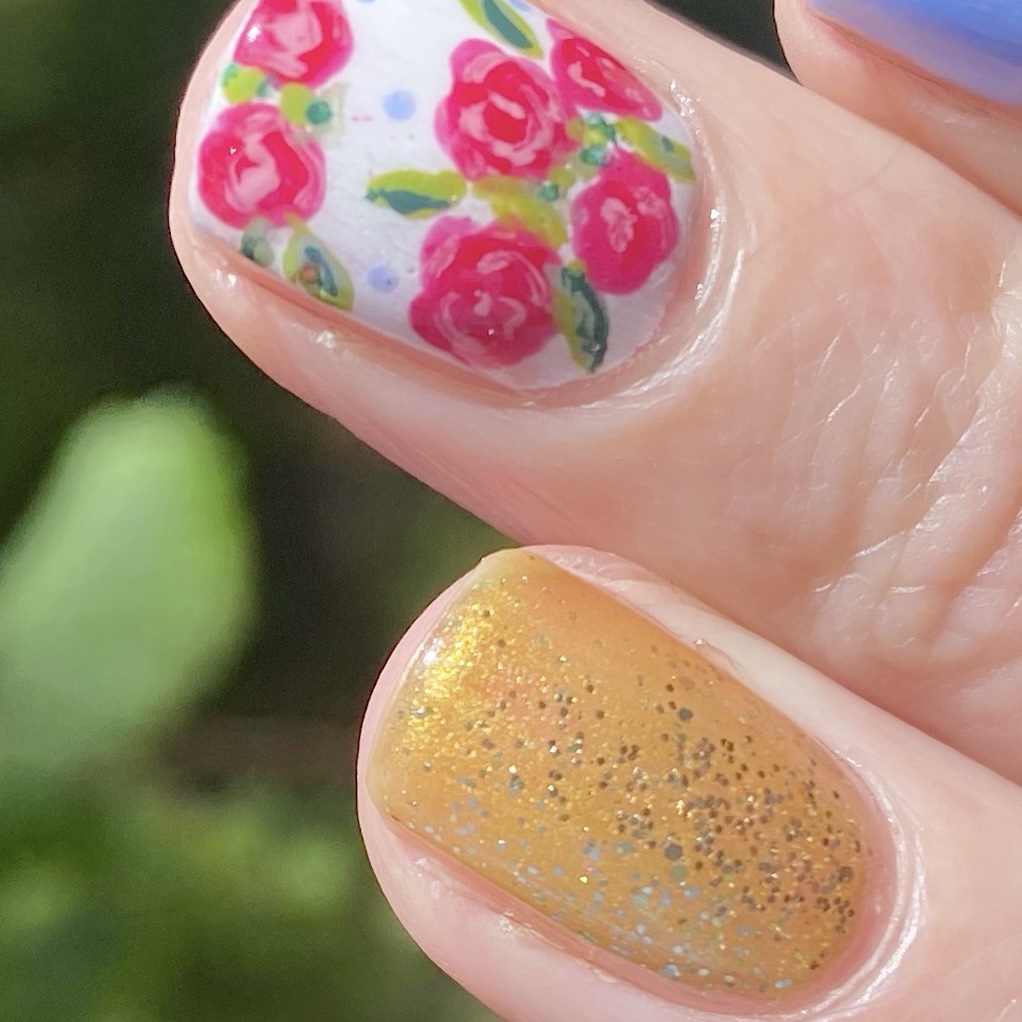
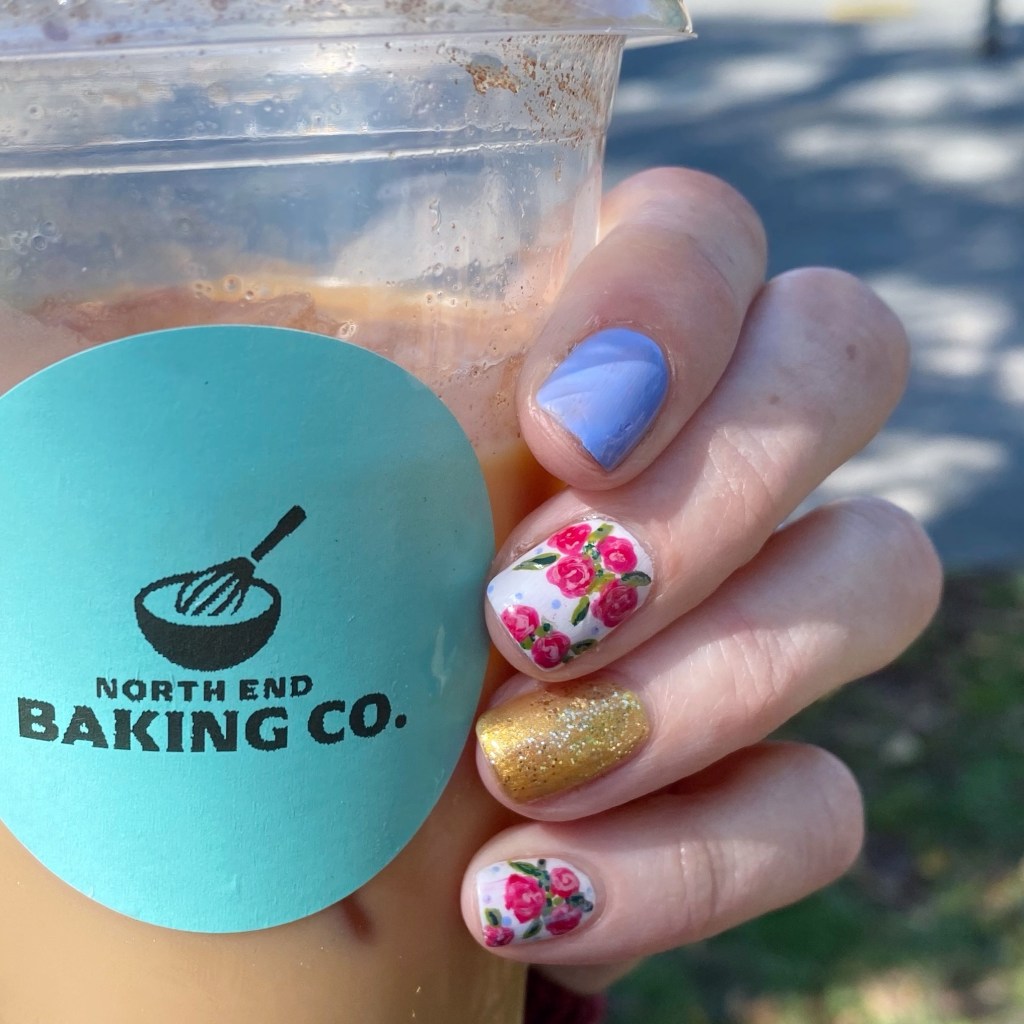
I really wanted to recreate my wedding nails in honour of my wedding anniversary, especially as I’m rocking some serious shorties right now. So in honour of the occasion, here’s a brand new version of a very special design.
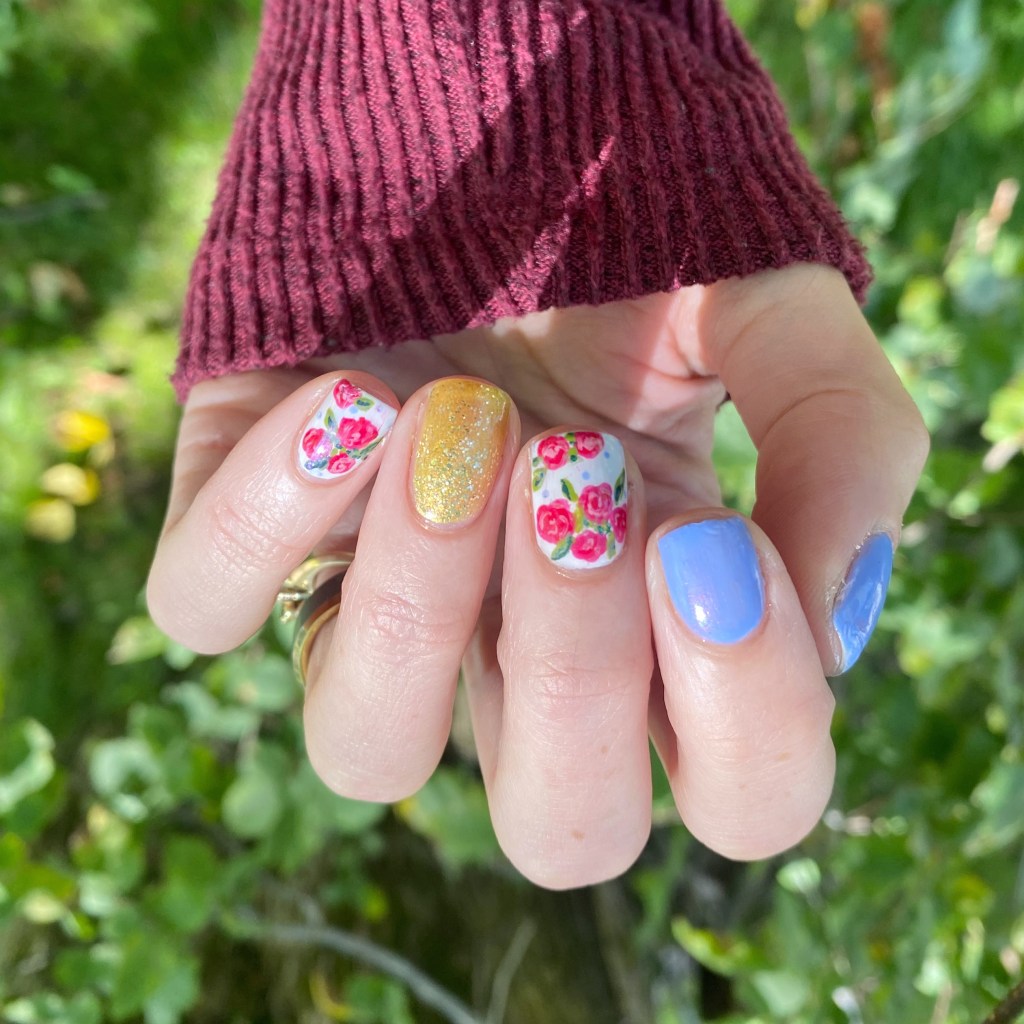
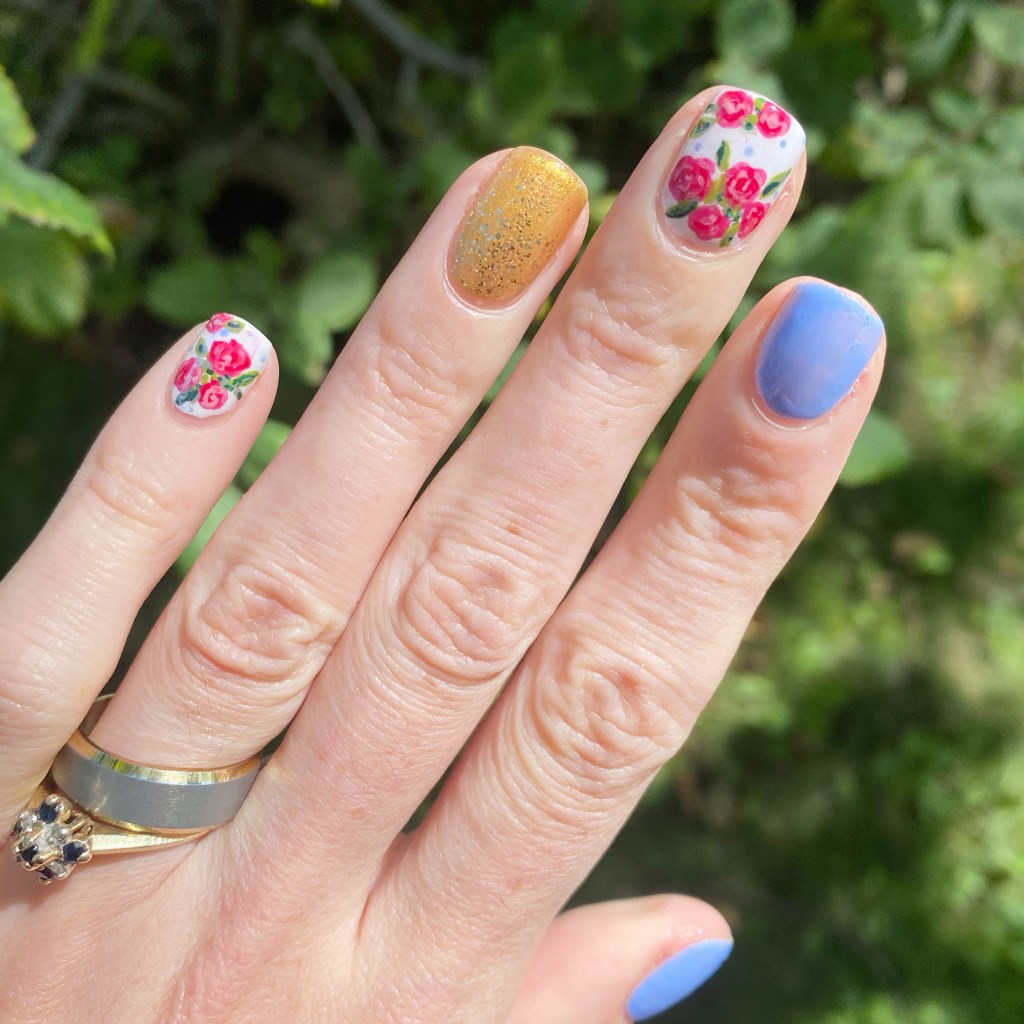
The polishes I used for this manicure are: 

  • Base Coat: Essie Hard To Resist Strengthner
  • Top Coat: Sinful Colors Power Paint Top Coat + Essie Speed Setter
  • Essie You Do Blue!
  • OPI I Cannoli Wear OPI
  • China Glaze Champagne Bubbles
  • Sally Hansen Miracle Gel Good As Gold
  • Essie Brides No Grooms
  • Essie She’s Pampered
  • Essie Into the A-Bliss
  • Essie Willow in the Wind
  • Essie Sew Psyched
  • Essie Off Tropic
  • NailStuff dotting tool
  • NailStuff 7mm Liner Brush

For those curious, here are my original nails I painted for my wedding day, & my recreation I did in 2018.

I was absolutely obsessed with my original nails that I painted back in 2015 for my wedding day — it was really important to me to create a beautiful design I would love for years, & years to come. & again, when I recreated them I equally loved the design!

But you know what? I think I love them the most on short nails! Long nails look beautiful no matter what, but trying to recreate the exact same look on nails 1/2 the size really makes them pop! The only thing from my recreation I’m not 100% sold on is the much more yellow gold, but it definitely gives it a more colourful vibe. (& the right amount of sparkle! ✨)
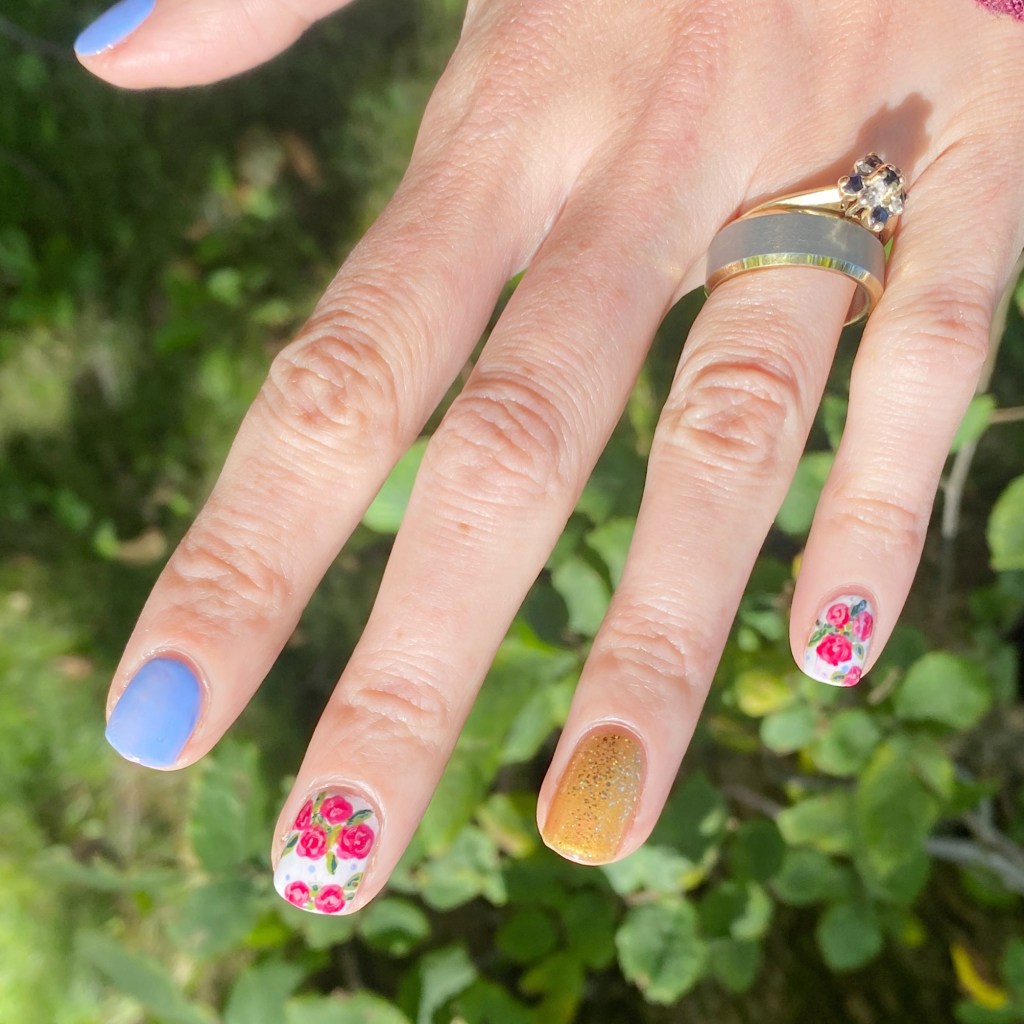
What do you think about this anniversary look? Do you love a floral look as much as I do? I’d love to know if this design holds up all these years later. I certainly adore them as much as I did all those years ago & wouldn’t change a thing about the nails I had on my wedding day.

Let me know all your thoughts down in the comments below!

🖤
Spring Robin’s Egg Nails

Hello lovelies & happy Monday.

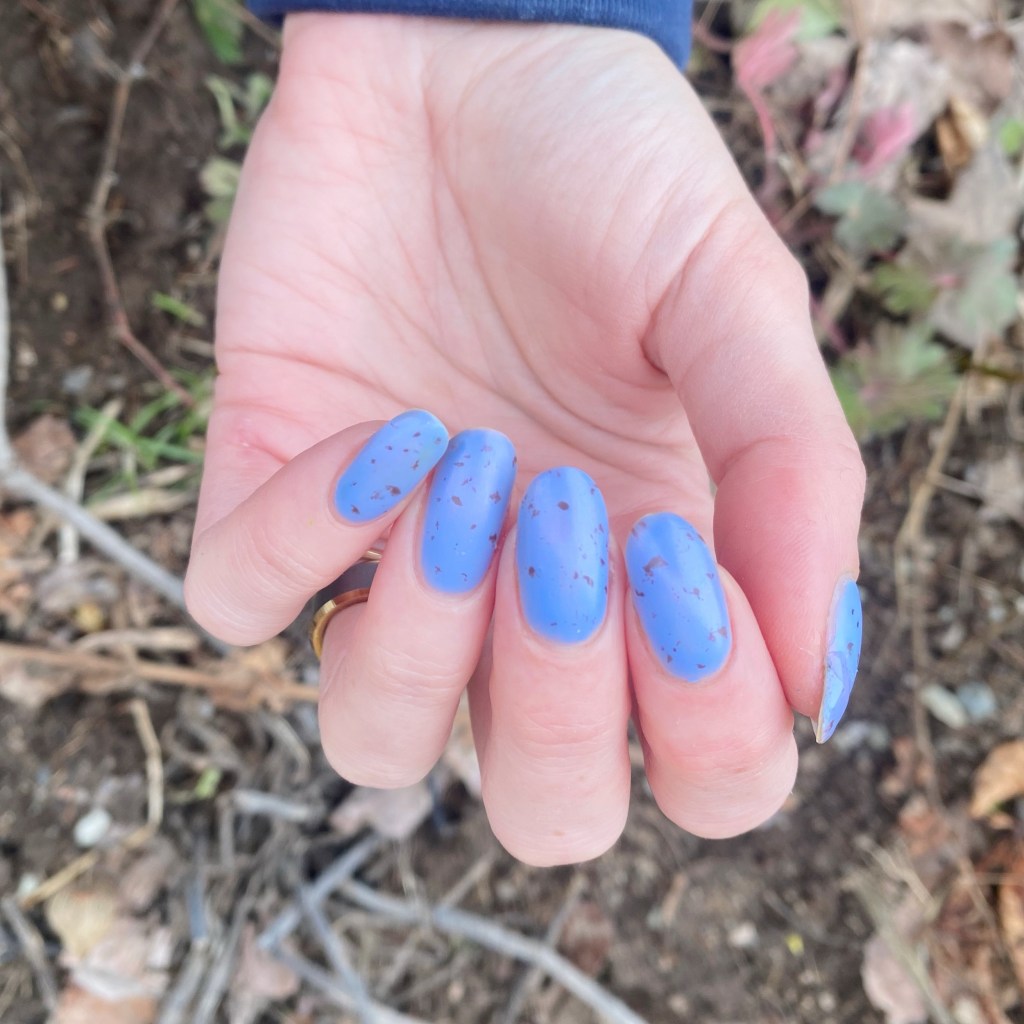
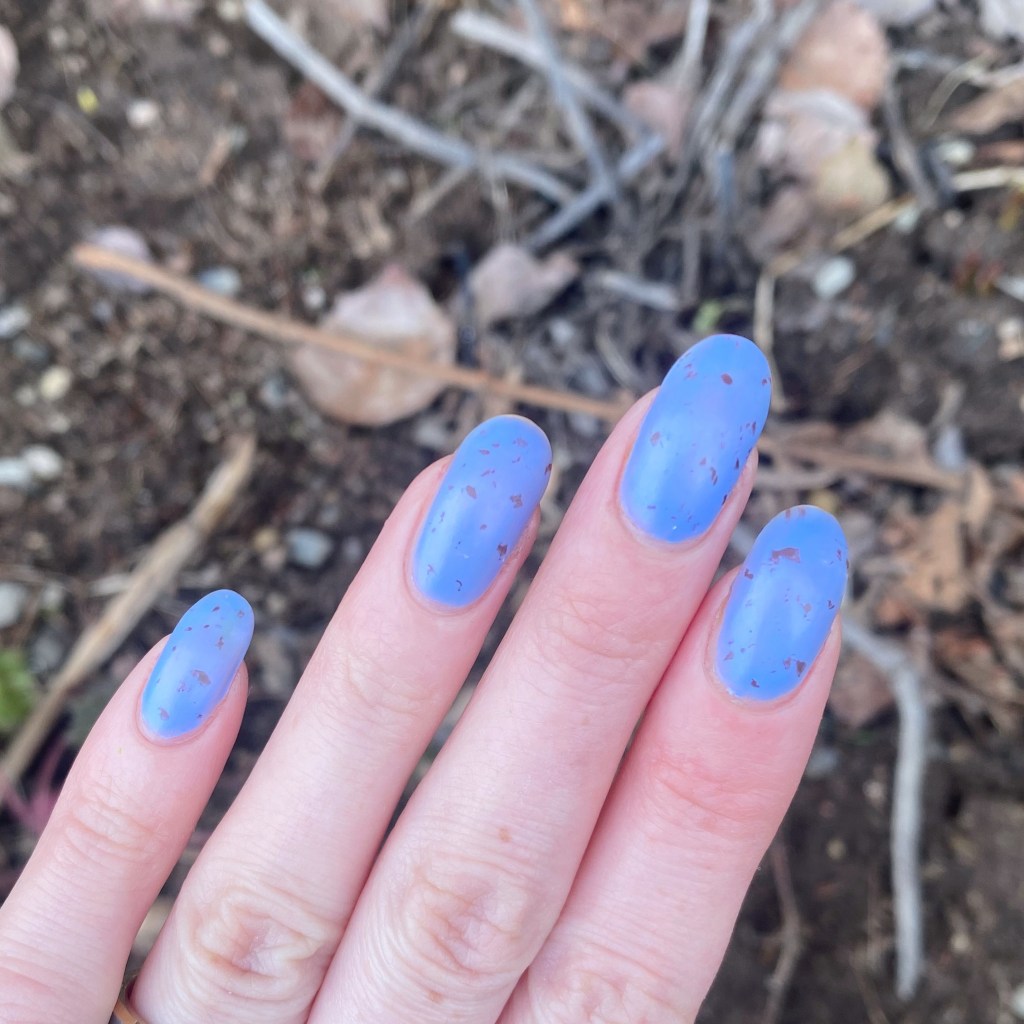
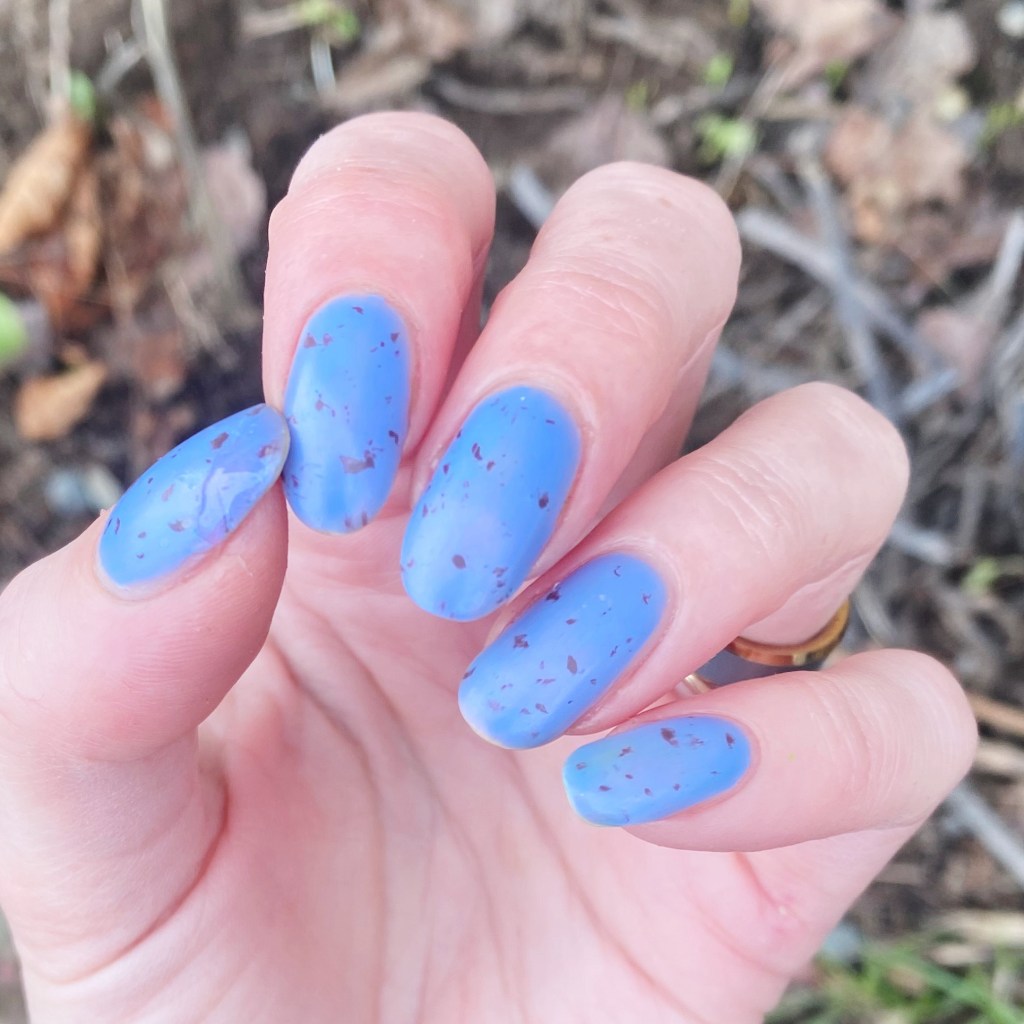
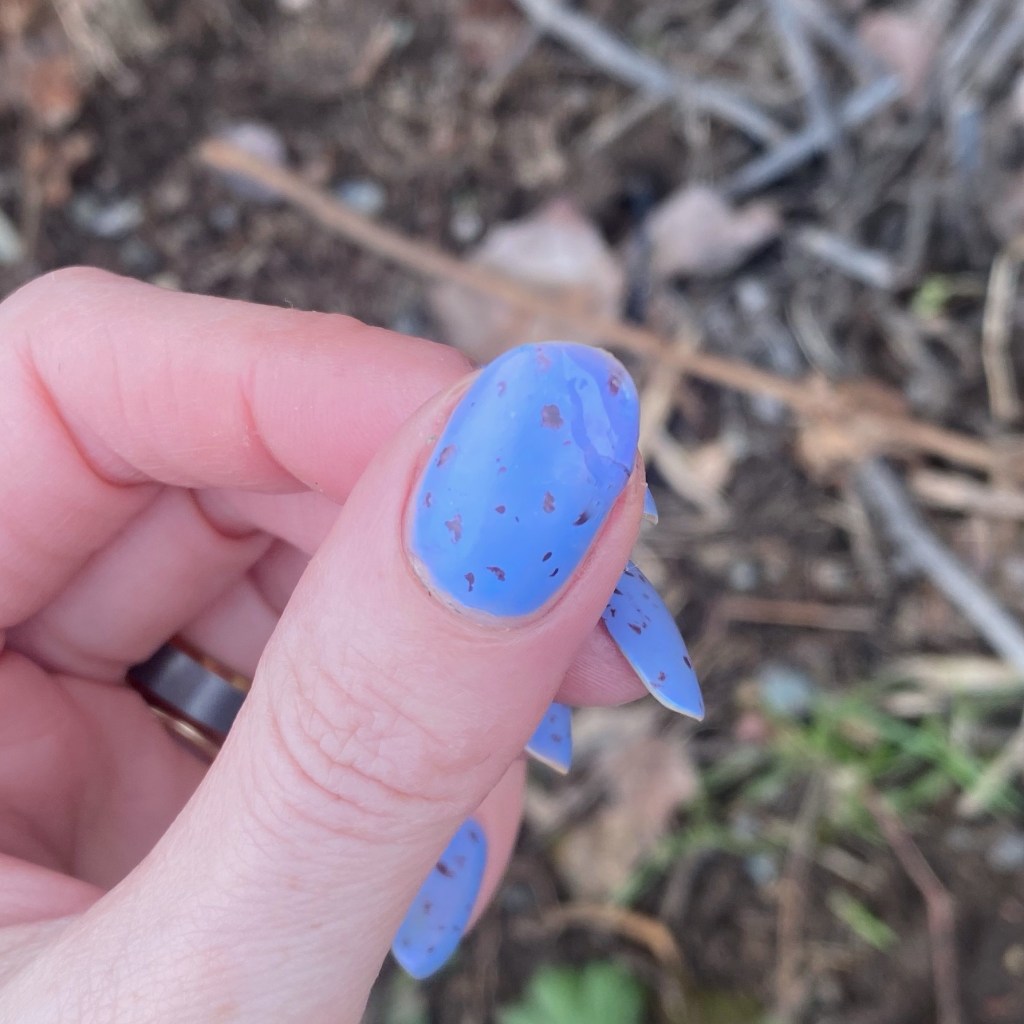
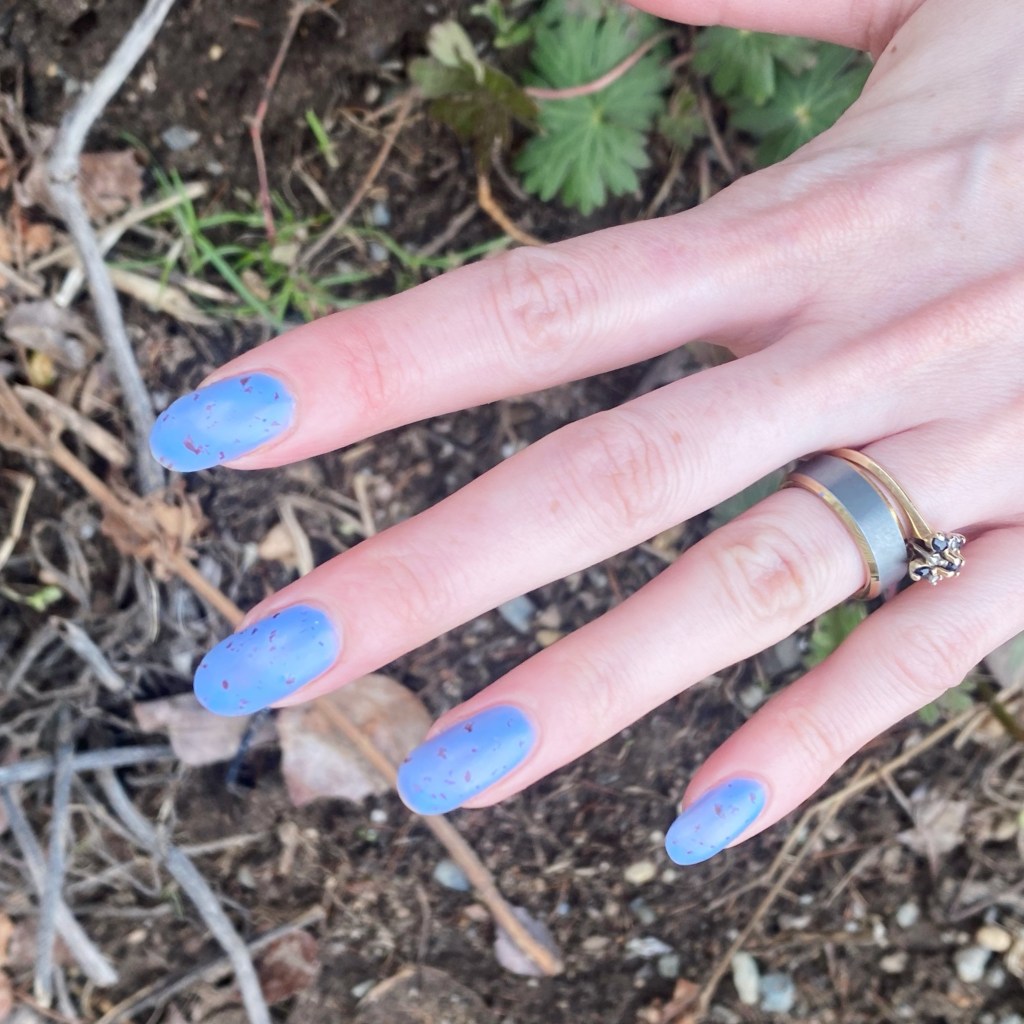
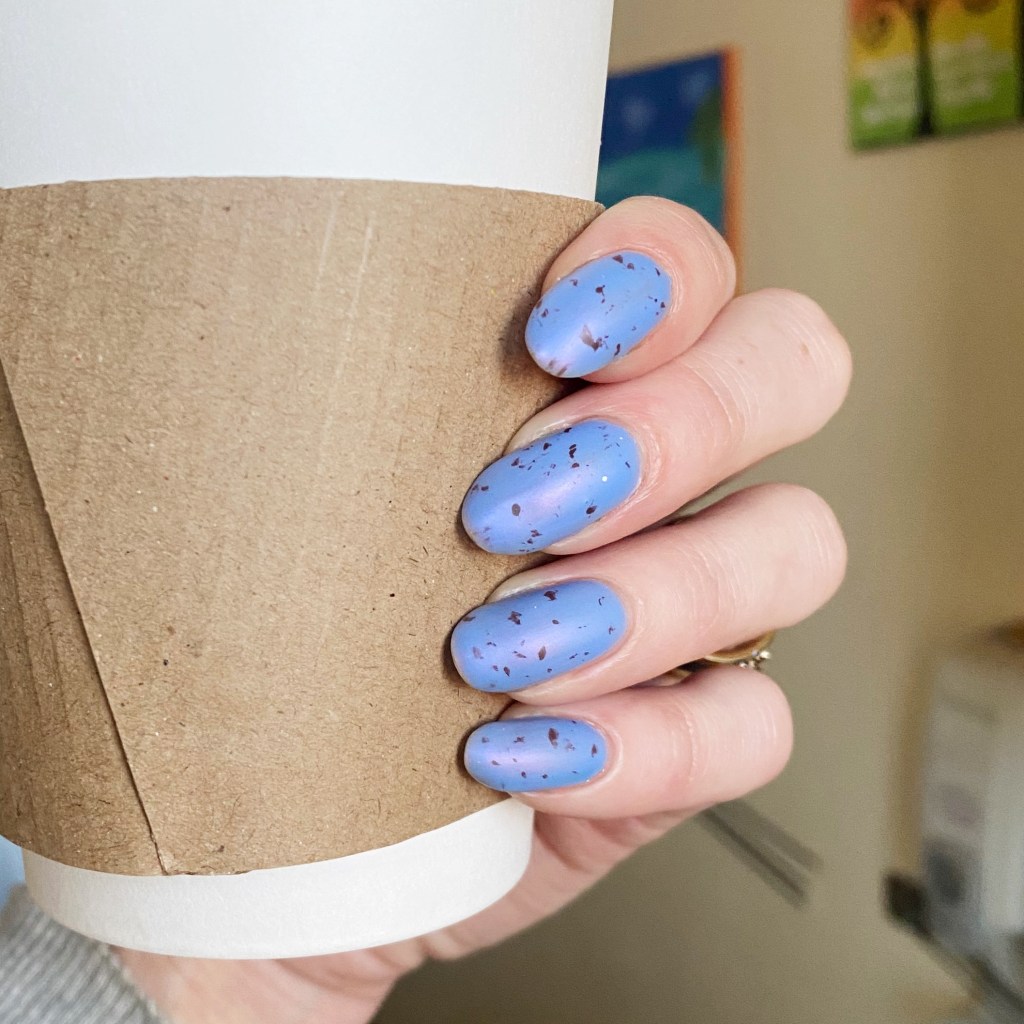
Starting off this full first week of Spring… with a snowstorm. & oh, how I wish I were kidding. But it isn’t going to stop me from rocking some Spring inspired nails! & what is more Spring like than some robin’s eggs? I recently score a killer deal on an Essie shade at my local Shoppers ($1 clearance!), & it was the perfect Spring-y blue, so I knew it would be perfect for some speckled egg nails.

The polishes I used for this manicure are: 

  • Base Coat: Sally Hansen Maximum Grow
  • Top Coat: Seche Vive Gel Like Top Coat
  • Matte Top Coat: NailStuff Essentials Matte Top Coat
  • Essie You Do Blue
  • OPI That’s What Friends Are Thor
  • Small nail art brush

I won’t lie, these nails are actually super super easy to do. All you need to do is create some messy specks using a nail art brush — the messier the better. But the real trick to this look is obviously the matte top coat to give it that eggshell finish. & bam! Instant Spring inspired Robin’s egg nails.

&, obviously, if you paint you nail a selection of pale pastel shades, you could create Mini Egg inspired nails easily (as I have done in years past).

What do you think of my Robin’s Egg nails? Would you wear a simple nail art like this to channel Spring? Let me know all your thoughts in the comments below!

♥︎

Pink Glitter Snowflakes

Hello lovelies!

Happy day after (American) Thanksgiving to my American readers, & happy Black Friday! This is my first year in a while I’m not working in retail for Black Friday sales, so I’m kind of enjoying the breather.

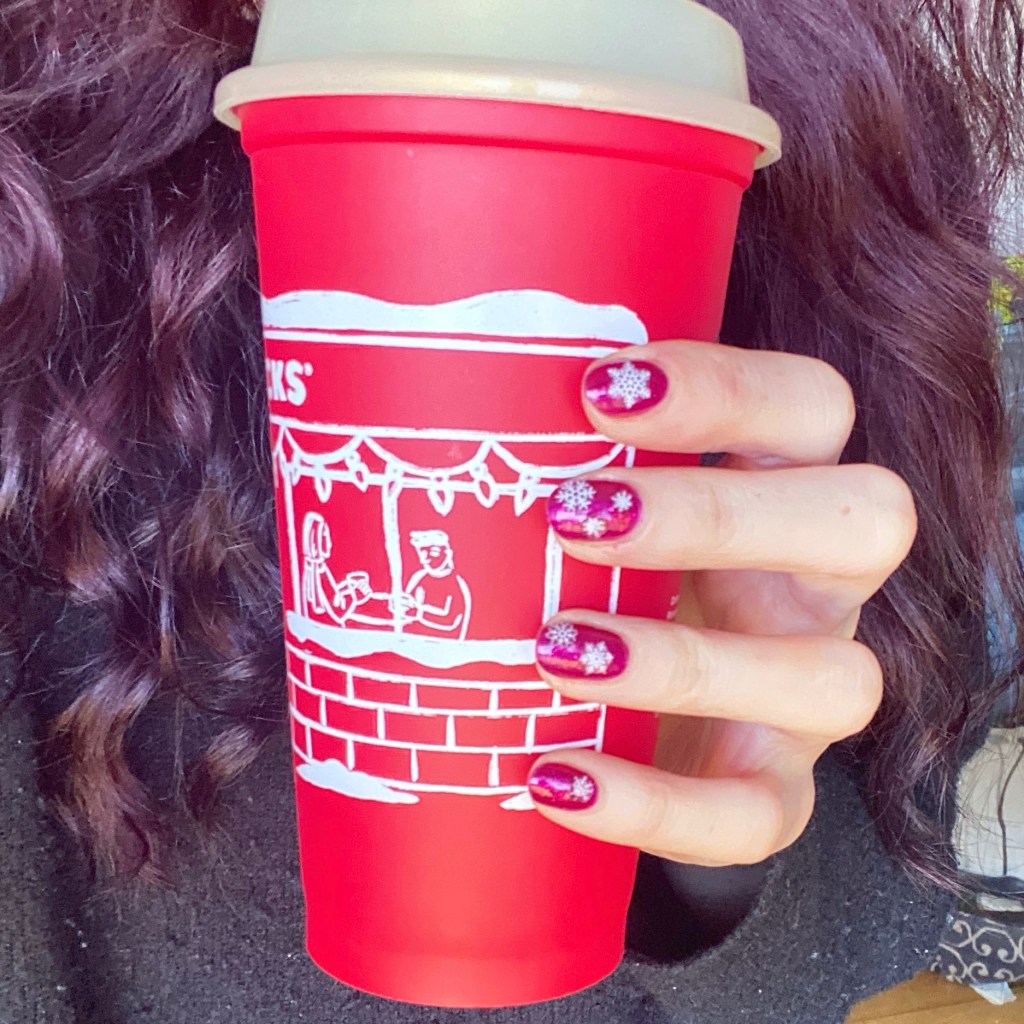
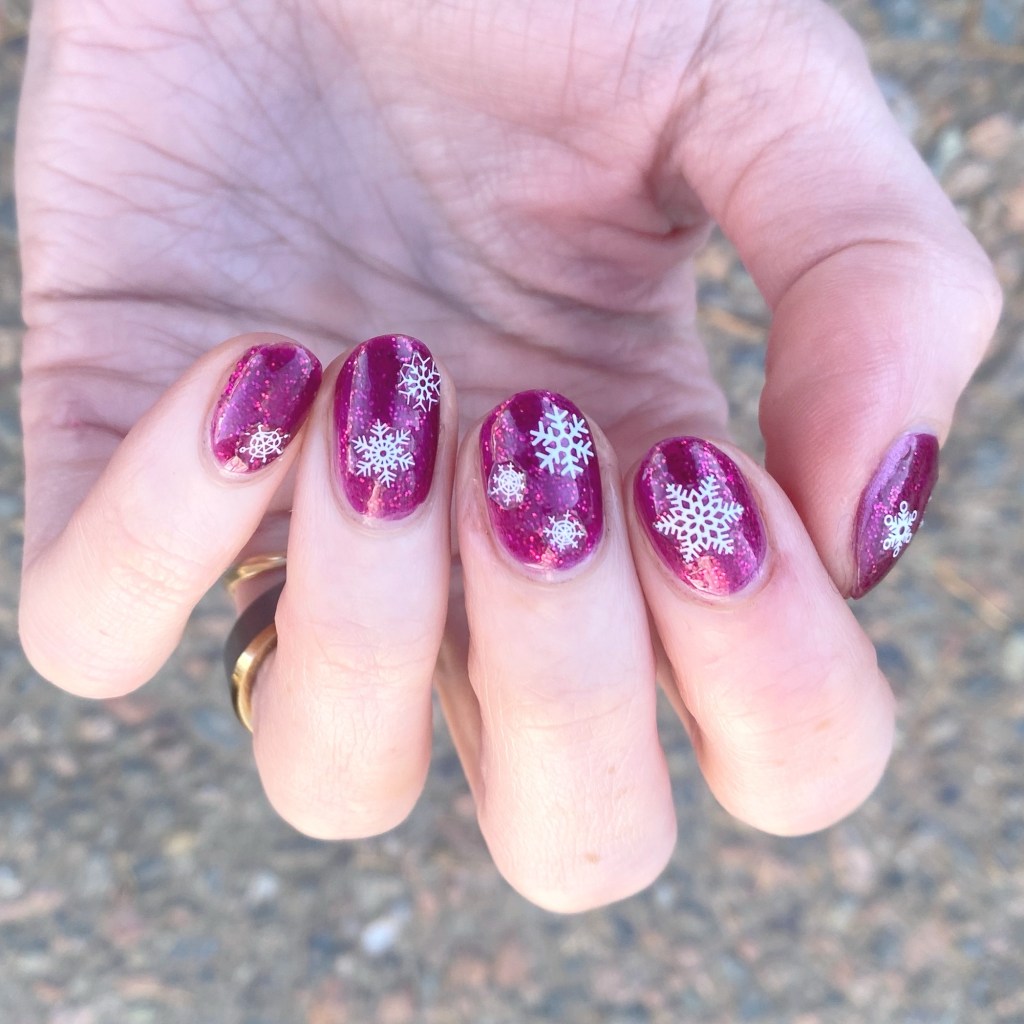
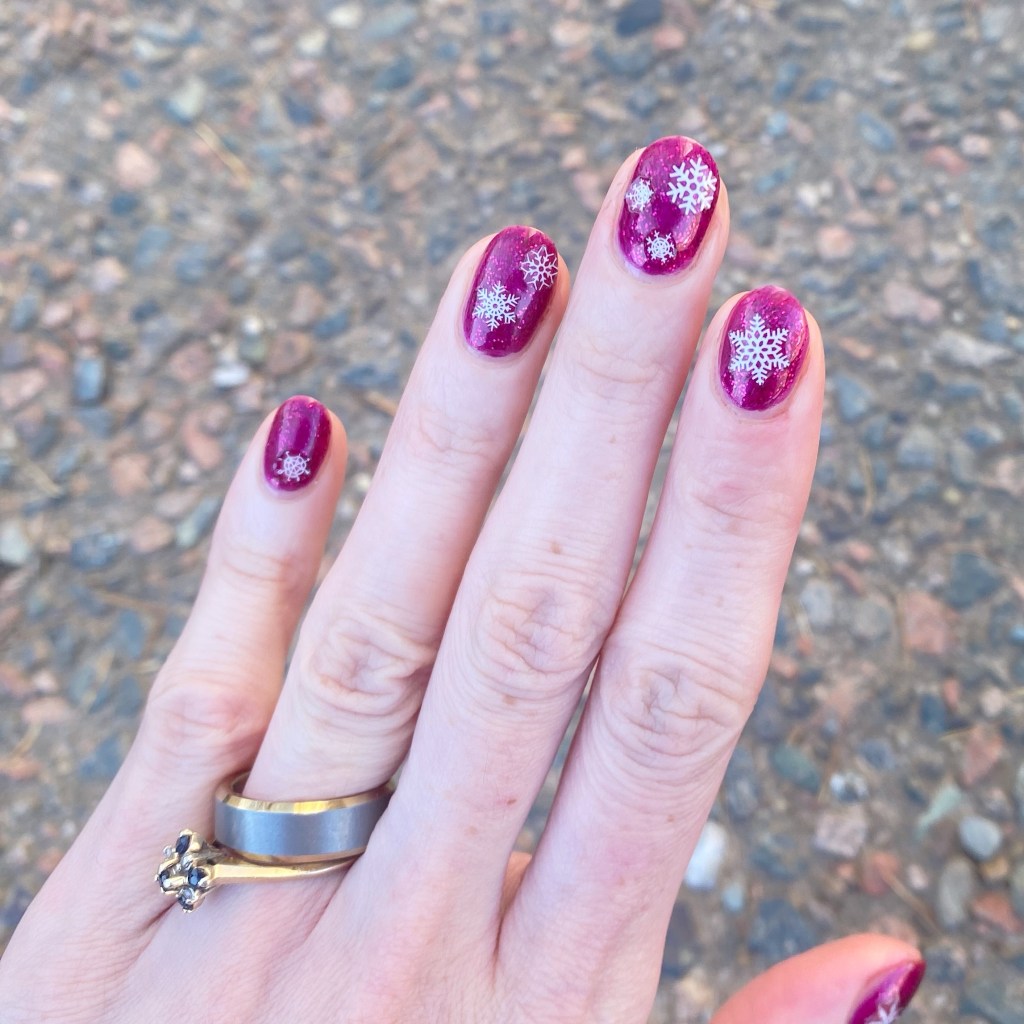
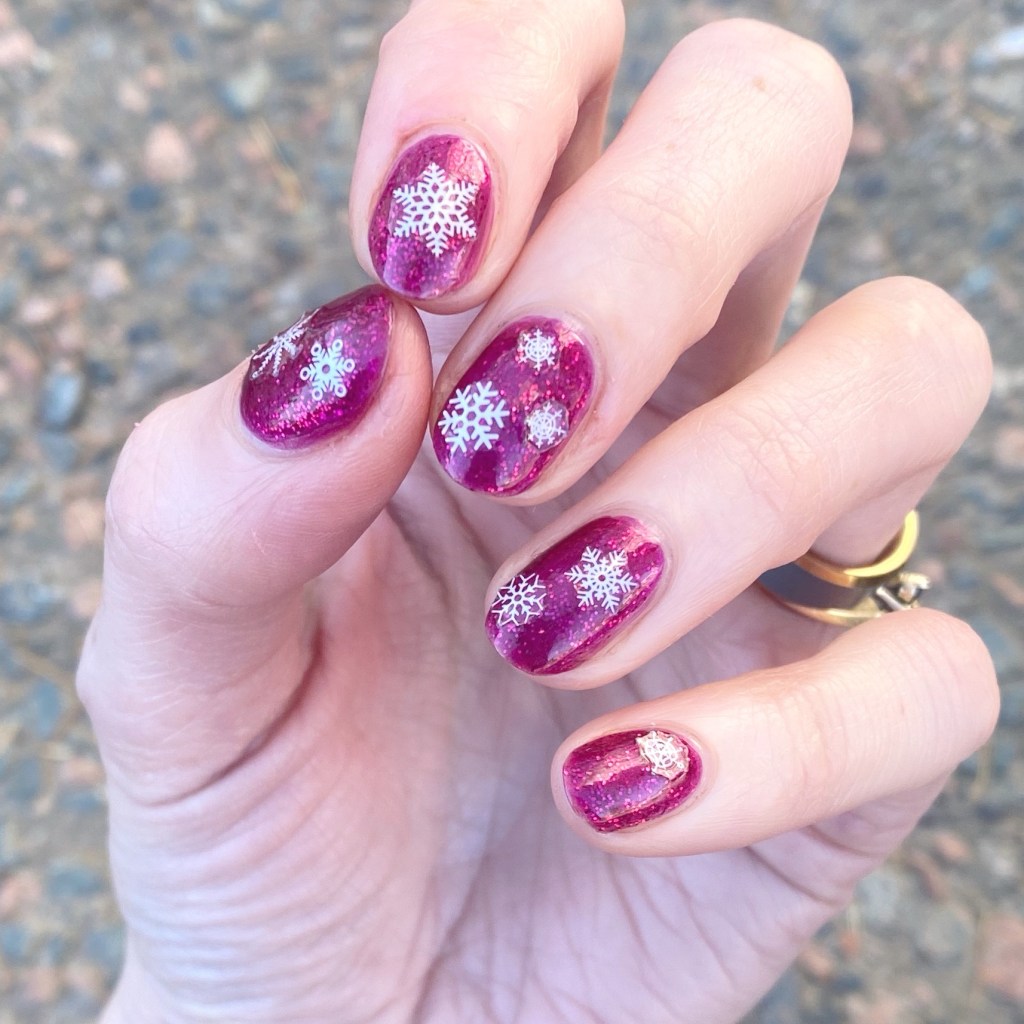
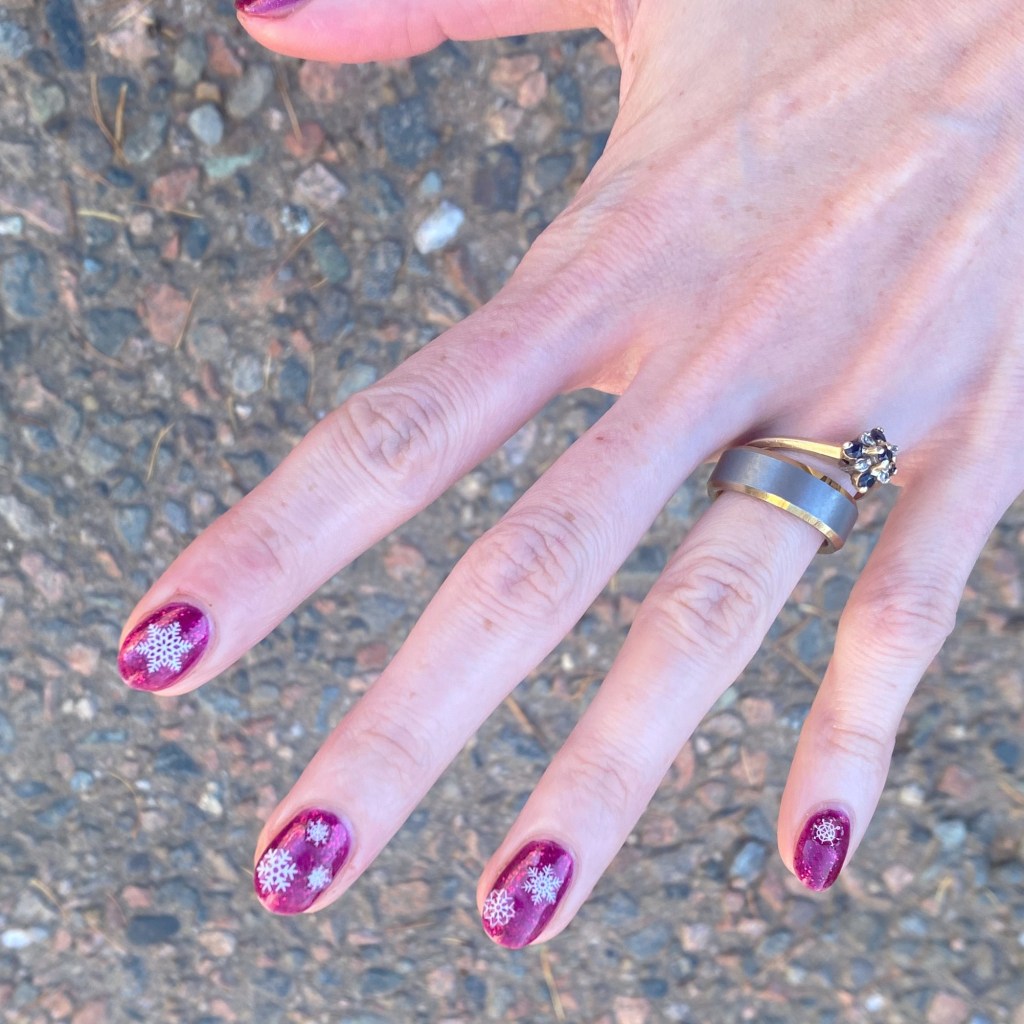
But we can’t deny — Christmas is coming. & even though I’m feeling less than zero Christmas spirit this year, I figured it was time I at least tried to summon some Holiday/Winter spirit. So naturally I thought we’d dip our toes in with some snowflake nail art stickers.

The polishes I used for this manicure are: 

  • Base Coat: Sally Hansen Miracle Cure
  • Top Coat: Sally Hansen InstaDri Top Coat (red bottle) 
  • Sally Hansen Miracle Gel Wrapped in Love
  • Ardene Dancing Queen
  • NailStuff.ca Snowflake Nail Art Stickers

First off, I’m officially petitioning for glitter pink to become an official Christmas colour. Secondly, I love how cute these are! I’ve had these nail art stickers in my collection forever, & I love that they’re still being used for cute nail art looks.

& it was way simpler than me trying to hand paint snowflakes on my nails! The white of the stickers just pop so well against that pretty pink. Definitely giving Christmas vibes — at least for me.

What do you think about these pink glittery snowflakes? Are they giving holiday vibes? Let me know all your thoughts in the comments below! & how you’re getting your nails into the festive spirit.

Happy Friday

🖤

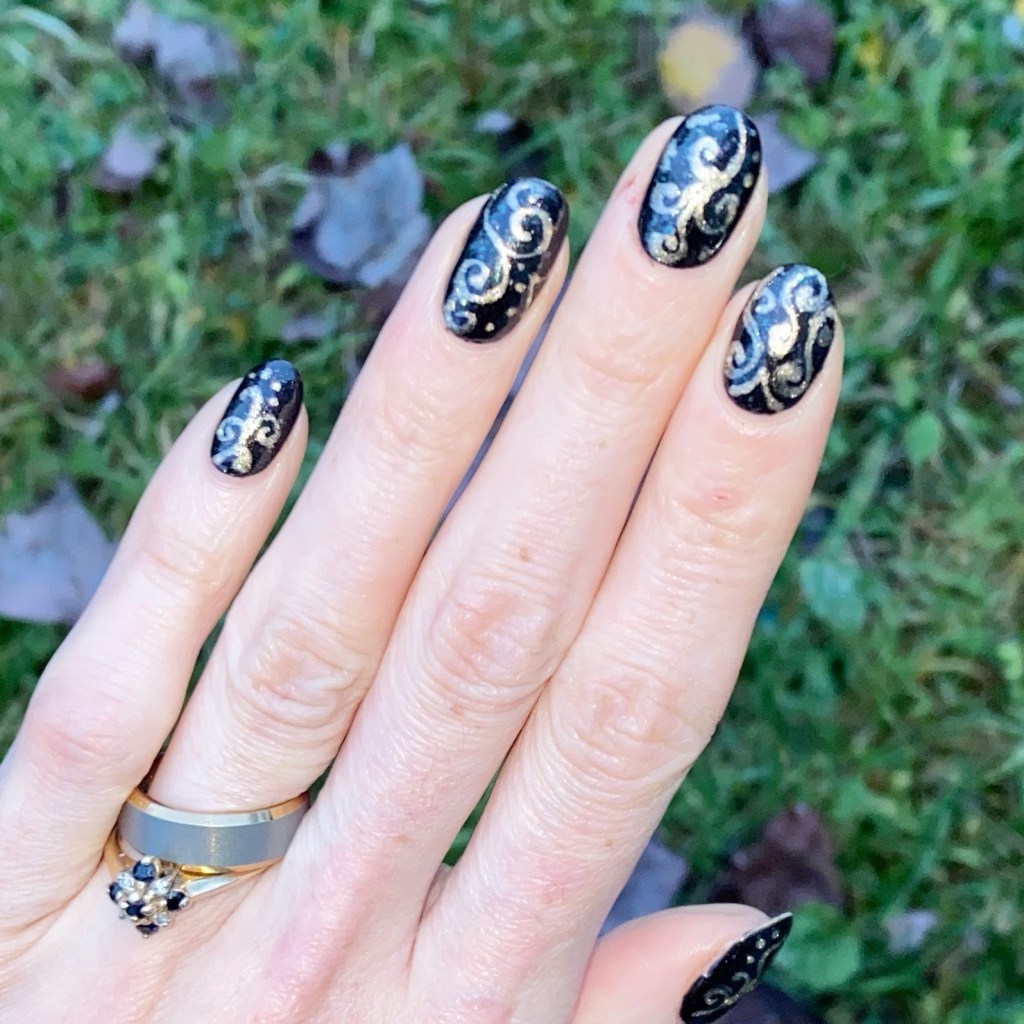
Gold Swirlie Freehand

Hey lovelies!

I know you what you’re thinking — girlie where have you been this week?!

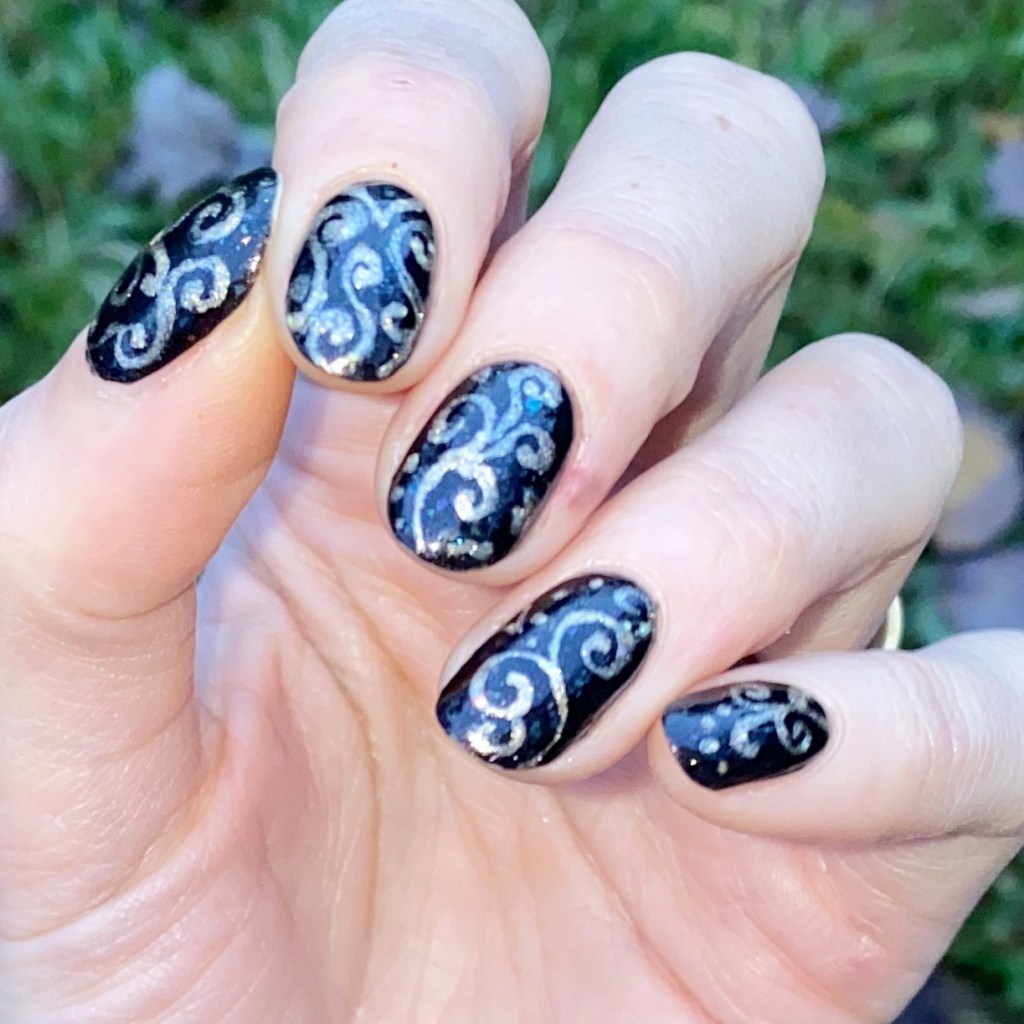
This has been a jam packed week full of blood work & regular work, so I haven’t had time to get super creative with my nails. I also had a couple breaks, so my nails are now considerably shorter. But I did do this pretty freehand swirly nail art look last week, before everything, so I’m excited to finally share them!

The polishes I used for this manicure are: 

  • Top Coat: Sally Hansen InstaDri Top Coat (red bottle) 
  • Base Coat: Sally Hansen Miracle Cure
  • Essence Good Girl Bad Girl Leather Effect Caught In The Middle (2015)
  • Sally Hansen Good As Good (Holiday 2019)
  • NailStuff 7mm Mermaid Tail liner brush

I used to do swirly looks like a lot circa 2015/2016, & I’m not sure why I stopped. I like how this looks like some fancy wallpaper or wrapping paper. & Good As Gold as some holographic glitters in it, which catch the light every so often & makes it look even prettier.

What do you think of my swirlie golden freehand nails? Do you like designs like this? Let me know all your thoughts down in the comments below. Personally these feel very glamourous to me!

Happy Friday & (almost) weekend!

🖤

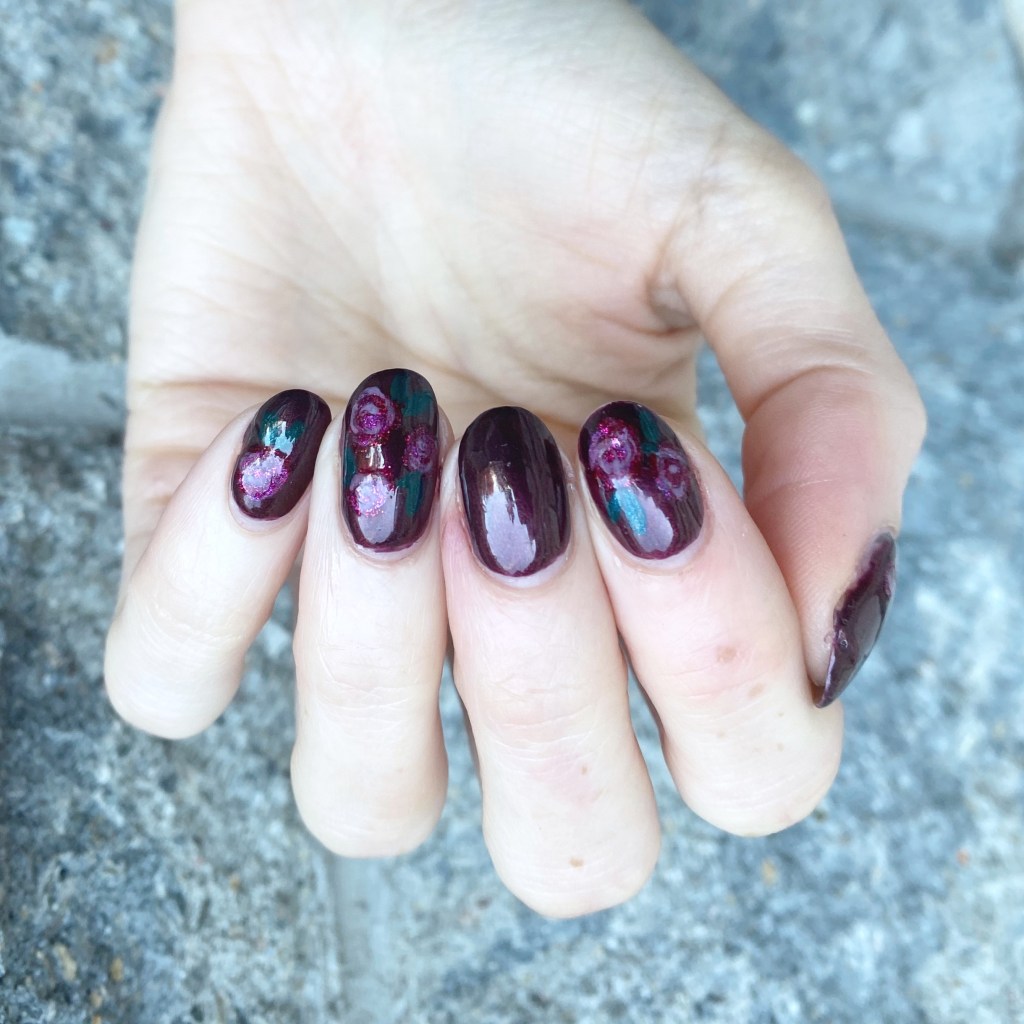
Vampy Autumn Roses

Hello lovelies & happy Monday!

& hello to anyone new discovering this little blog of mine! I had some crazy traffic to my little corner of the internet last week, so I’m happy to welcome you to my little nail blog. ❤️

Today we’re starting off Monday right with some new nails. & I realized the other day it had been ages since I did any floral on my nails, so some vampy roses seemed appropriate.

The polishes I used for this manicure are: 

  • Top Coat: Sally Hansen InstaDri Top Coat (red bottle) 
  • Base Coat: Sally Hansen Miracle Cure
  • OPI Infinite Shine Bring Out The Big Gems
  • Sally Hansen Miracle Gel Red It Twice
  • Sally Hansen InstaDri The Queens Velvet
  • NYC Color Lexington Lilac
  • Essie Off Tropic
  • China Glaze Emerald Fitzgerald
  • NailStuff dotting tool trio
  • NailStuff 7mm Mermaid Tail liner brush

Okay first off — I decided to paint these at 9:30pm in very minimal light, so I’m shocked they turned out as good as they did! Because trying to see those roses on this dark base colour was a challenge, I won’t lie.

Secondly, I’m obsessed! Everytime I do floral I remember why I love wearing floral so much. It’s like me in a manicure. & these vampy roses—as challenging as they were to paint—just look so beautiful against the dark jewel toned based of OPI Bring Out The Big Gems. Just perfect for a gloomy November day.

What do you think of my vampy roses? Do you like them against this dark gloomy base? Let me know all your thoughts down in the comments below!

Enjoy your Monday!

🖤