Mermaid Nails

It feels like ages since I last pulled out my mermaid stencils for some mermaid nails. The other night I was playing with some new flakies from NailStuff.ca & after looking at them on my nails, I couldn’t help but think they would make an amazing base for a mermaid nail design! I’ve had this mermaid tail idea floating around a while, so I grabbed some more vinyls from What’s Up Nails (I believe it’s suppose to be a whale tail) & have it a go.

For this manicure, the polishes I used were:

  • Base Coat: OPI Nail Envy
  • Top Coat: Essie Speed Setter
  • FingerPaints Fun Peel Off Base Coat (to apply flakies)
  • Sally Hansen Miracle Gel Ocean Daze
  • NailStuff.ca Flakies — these guys aren’t currently available but there is a huge selection here!
  • What’s Up Nails Scale Stencils
  • What’s Up Nails Whale & Tale Stencils
  • Color Club Eternal Beauty
  • Layla Cosmetics Mermaid Spell
  • Color Club Crystal Baller
  • Wrenn Polish Mesmerizing
  • Wrenn Polish Summer Sands
  • NailStuff.ca Summer Nail Wheel — Silver seahorse stud
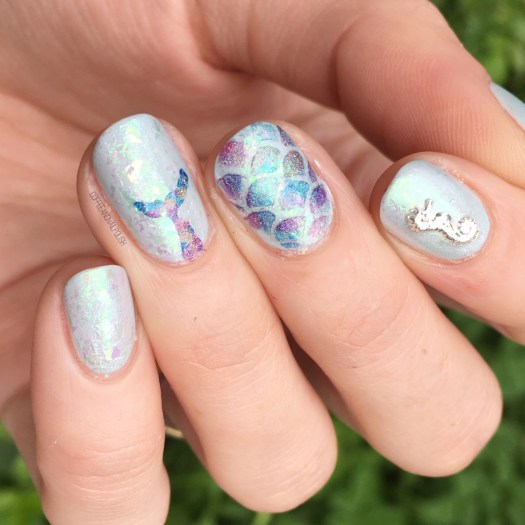
This design didn’t quite turn out how I pictured on my head, but that’s mostly the tail look on my ring finger. I really wish it was bigger. I do however love the holo scales over the flakie base just makes me so happy! I also wish I had done that look on the majority of my fingers with just the stud being my accent! (& if I had more of these nail vinyls left, I probably would have… going to need to buy some more ASAP!)

Also holo & flakies have to be the most beautiful combination. Definitely trying out these flakies OVER holo next!
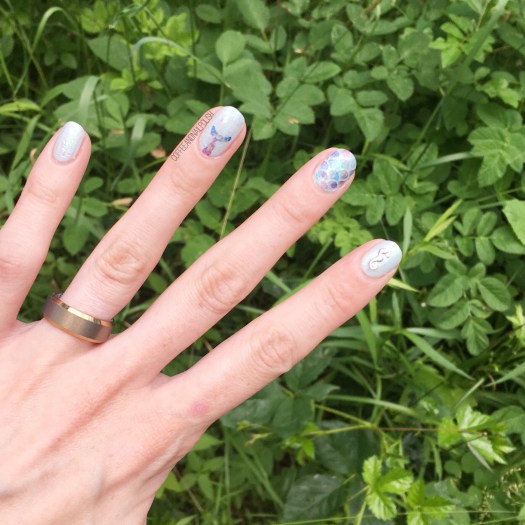
What do you think of this mermaid nail design? Are you a fan of the holo & flakie combo? Let me know what you think down in the comments below! 🧜🏼‍♀️

Vintage Roses (take #17283)

You know when you did that perfect pair of jeans or shirt or outfit that looks amazing, & fits your perfectly, & just makes you look amazing? You wear it constantly (maybe more than you should), because it just looks so good? That is how I feel about floral & vintage rose nails. & that is why I have ANOTHER floral design to share with you.

This design is actually inspired by an old design of mine, this time using blues instead of pinks. Yep, I’ve done a different version of these simple roses a lot but they never get old to me, so hopefully they’re not tired to you.

For this manicure, to polishes I used were:

  • Base Coat: OPI Nail Envy
  • Top Coat: Essie Gel Setter
  • Essie Find Me an Oasis
  • OPI Angel with a Leadfoot
  • Sally Hansen Complete Salon Manicure Rose to the Occasion
  • Essie Bachelorette Bash
  • Sally Hansen Insta-dri Petal Pusher
  • YSL Beauty Vert D’Orient
  • Essie First Timer
  • NailStuff.ca Mixed Decoration Nail Wheel in Gold
  • Small dotting tool
  • Small detail brush from Bundle Monster

Oooooh these roses over white is definitely one of my favourite accent nails to do. I love all floral nails, but there is something about vintage roses that just looks so good: easy to do, but looks beautiful & complicated every time. Not to mention, roses are one of the easiest florals to do because I find (for me at least), they’re one of ten hardest florals to mess up.

My tutorial on how I do roses is Here.

So what do you think of this design? Are you a vintage roses person or do you prefer other floral? Share your thoughts down below!

SWATCH SUNDAY — NailStuff.ca Blue Metallic Foil Flakies

Good Morning Lovelies!

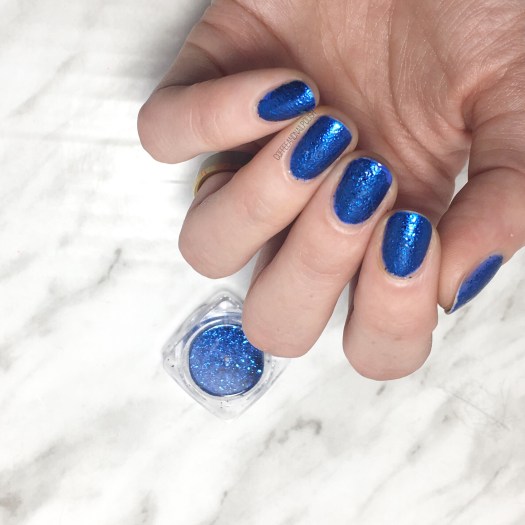
Today I’m sharing one of the beautiful new goodies I was recently gifted from NailStuff.ca! I showed off one of their new nail stud wheels earlier in the week, & now I have these metallic blue flakies swatched for you.

PR Sample. This product was gifted to me for review.

Application was super easy & simple! I love the fact that you can apply these without having to worry about using gel.

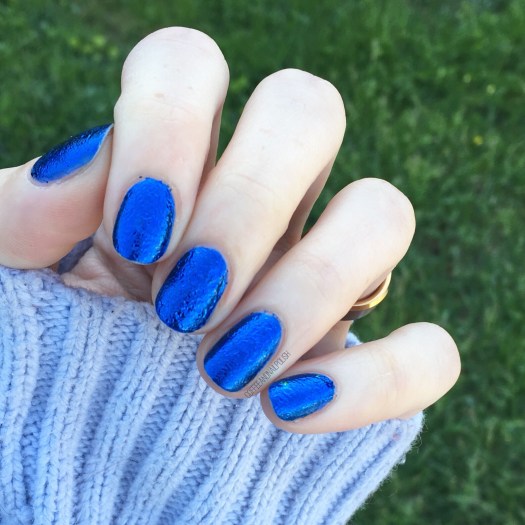
For this look, I started off by painting my nails in a complimentary shade (Sally Hansen original Pacific Blue). After a few moments applied a coat of Finger Paints Peel Off Base Coat over my blue, which is my preferred method of flakie application. Once my nails had dried somewhat, I dipped the applicator into the pot of flakies, pulled a small amount out, & brushed them down over the nail. After each nail was covered I sealed the look in with top coat.

It looks like sapphires on the nail & I’m in love with it. 💙💎

These flakies are so, so easy to apply & I love it. I stayed away from using nail powders for so long because I was concerned about making a huge mess, but surprisingly I never have any issues with these NailStuff’s product!

These flakies in particular are awesome because they almost clump together like magnets when picking them up out of the pot. You don’t have to worry about spilling all your flakies all over the couch (which my husband would not be impressed about!) Also I’m so glad how little product you need to use to achieve this look–one little swipe covered each nail so I still have a ton more for future designs!

Down below shows off this look in natural light. So happy for summer for beautiful green grass backgrounds!

What do you think of these gorgeous blue metallic nails? Want to achieve this look for yourself — you can shop all the nail flakies available by NailStuff.ca here including these blue ones & a whole slew of other colours as well.

Have a happy Sunday loves! 💎

Beachy Chevron Nails featuring New Summery Studs from NailStuff.ca

Good morning lovelies & happy Tuesday! Hope the weather where you are is nicer than here in Halifax. After a few days of sunshine, we’re back to cloudy grey overcast skies. But today’s nail design is all about bright colours, so hopefully that will cheer me up!

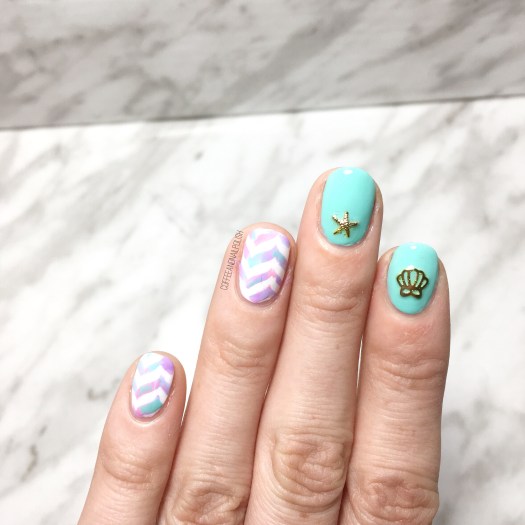
Today I’m sharing these drag marble chevron nails that for some reason remind me of the beach! I was recently gifted some amazing new goodies from NailStuff.ca & I knew immediately that I had to use some of the beautiful summery studs Victoria had sent! I love how flat & easy to work with these studs are. They sit easily on the nail & because I sealed them in with extra top coat there were no edges you don’t have to worry about catching them on anything & pulling them off prematurely.

For this manicure, the products I used were:

I’m really living the pastel shades form this 6 pack set from Claire’s. I picked it up on payday & used every shade with the exception of coral. Also I love how these studs from NailStuff just brings the whole look together & completes the Summery vibe. For my chevrons, I used the drag brush effect to blend the colours together. I used to do this technique a lot with nail vinyls, but it had been a while.

What do you think of this design? How adorable are these studs from NailStuff.ca? What kind of designs would you do with these Beachy studs? Let me know in the comments below!

Spring-y Saran Wrap Nails

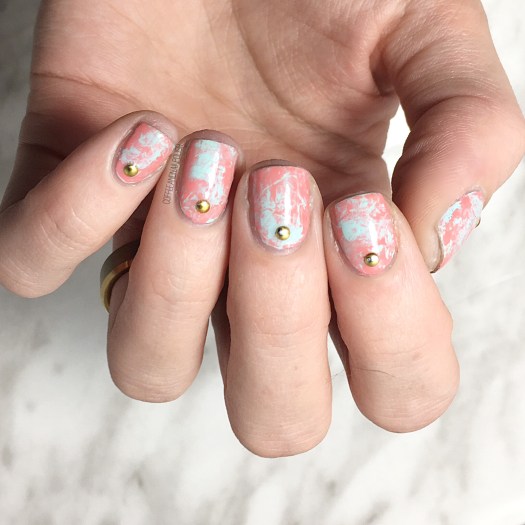
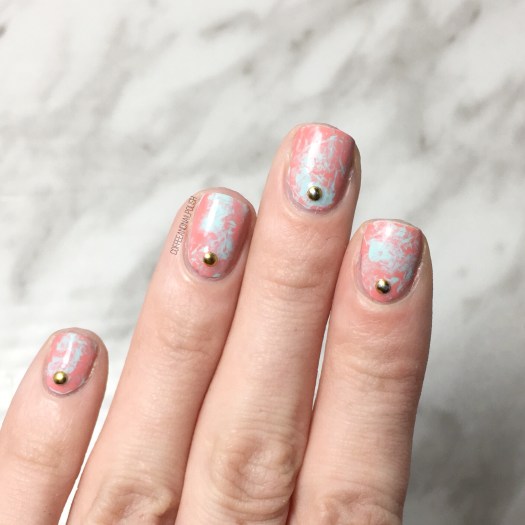
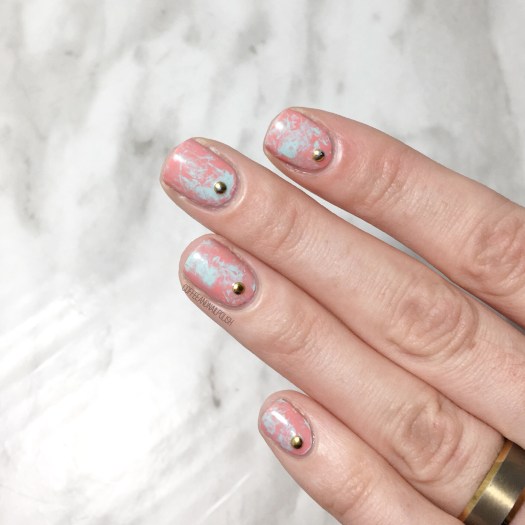
Happy Saturday! I know I don’t usually post on Saturdays, but since this week has been a bit weird, I thought I would throw an extra post in! Today is a recreation of a design I did originally 4 years ago. I’m still trying to summon Spring through my nail polish choices (although it doesn’t seem to be working very well) so I though these Saran wrap nails were a perfect choice! Now if only they’d encourage some warmer, sunnier days. Just give me a little bit of sunshine!☀️

For this manicure, the polishes I used were:

  • Base Coat: Quo by ORLY Breathable Kiss Me, I’m Kind
  • Top Coat: Seche Vive
  • Essie Mint Candy Apple
  • Essie Peach Side Babe
  • NailStuff.ca Mixed Decoration Nail Wheel in Gold
  • Plastic wrap (Saran Wrap) crinkled up
  • Edge Perfection Cuticle Barrier

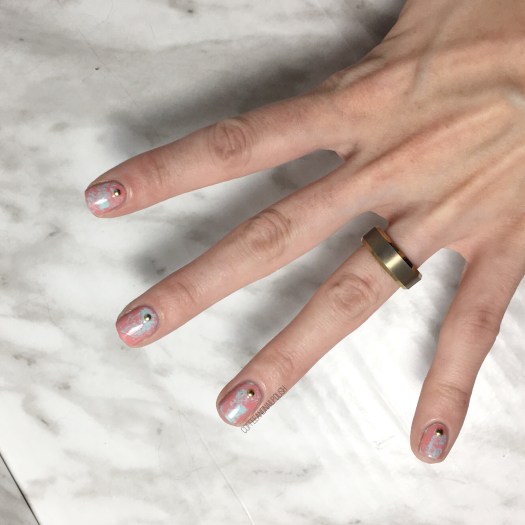
How long has it been since I did any Saran Wrap Nails? A while for sure! I definitely love how bright & colourful these are! So Spring-y for sure. 🌸 Of course it looks nothing like Spring outside but at least my nails are ready for nicer days. Even if I’m still stuck wearing my Uggs outside because it snowed… again.

I also love how easy these were to do. I did used my Edge Perfection to protect my cuticles because I was in no mood for cuticle clean up! All I did was paint my base colour (Essie Mint Candy Apple) & then once it was dry-ish painted over top with my second colour (Essie Peach Side Babe) & dabbed my crinkled Saran Wrap into the wet polish to create the textured effect. So easy!

What do you think of these Spring-y Saran Wrap Nails? Do you love this colour combination. Working on doing a Spring polish pick post for this week’s Swatch Sunday post, so if you have any polish suggestions for your favourite Spring polish picks, let me know!

Happy Saturday lovelies! 💜