L.O.V.E. nails (Happy Valentine’s Day!) 💗

Good morning loves & happy Valentine’s Day!

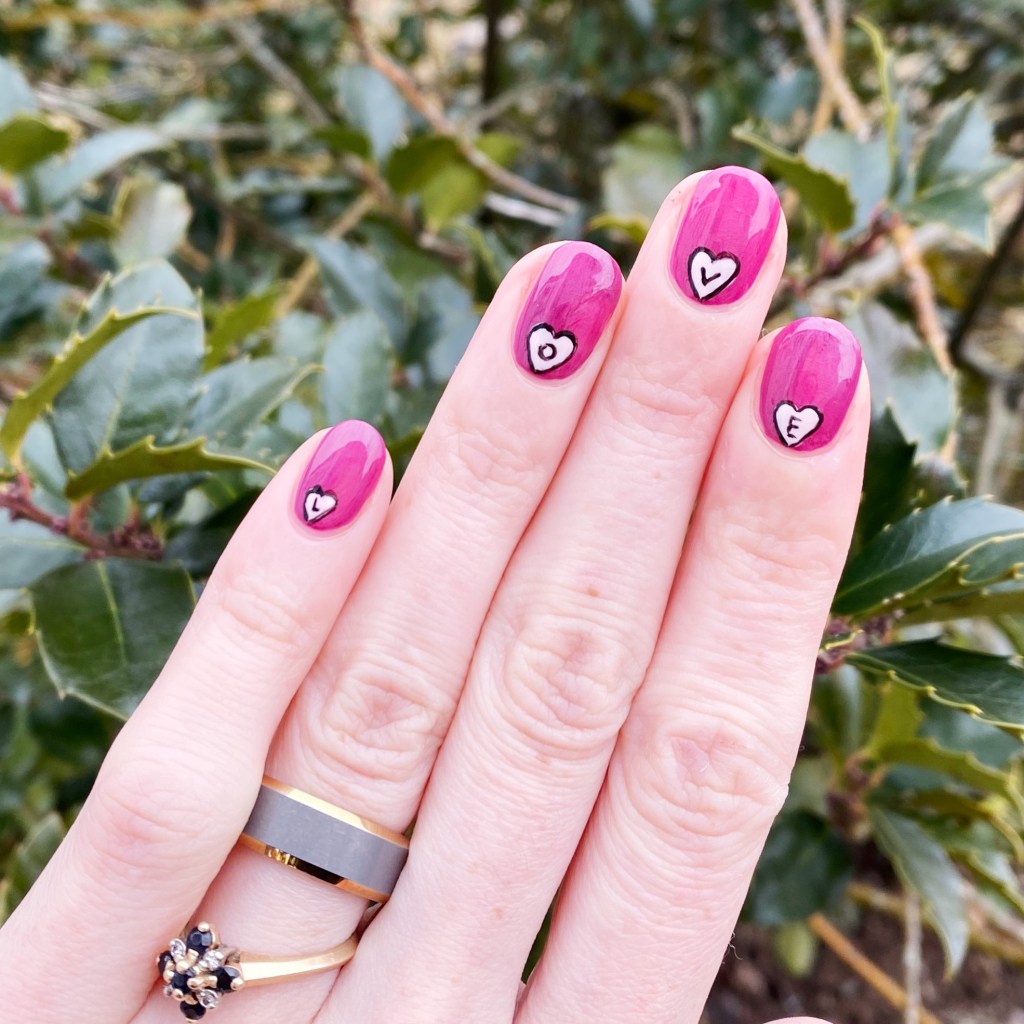
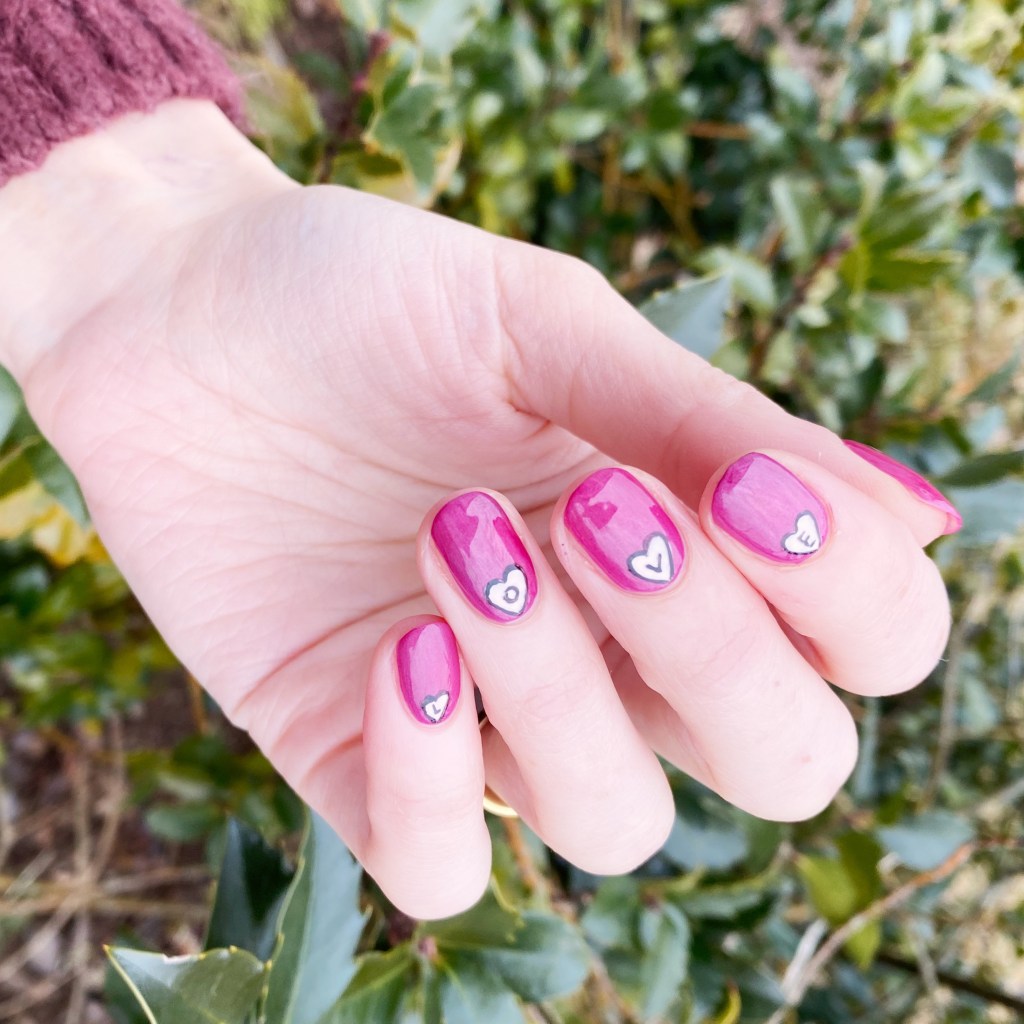
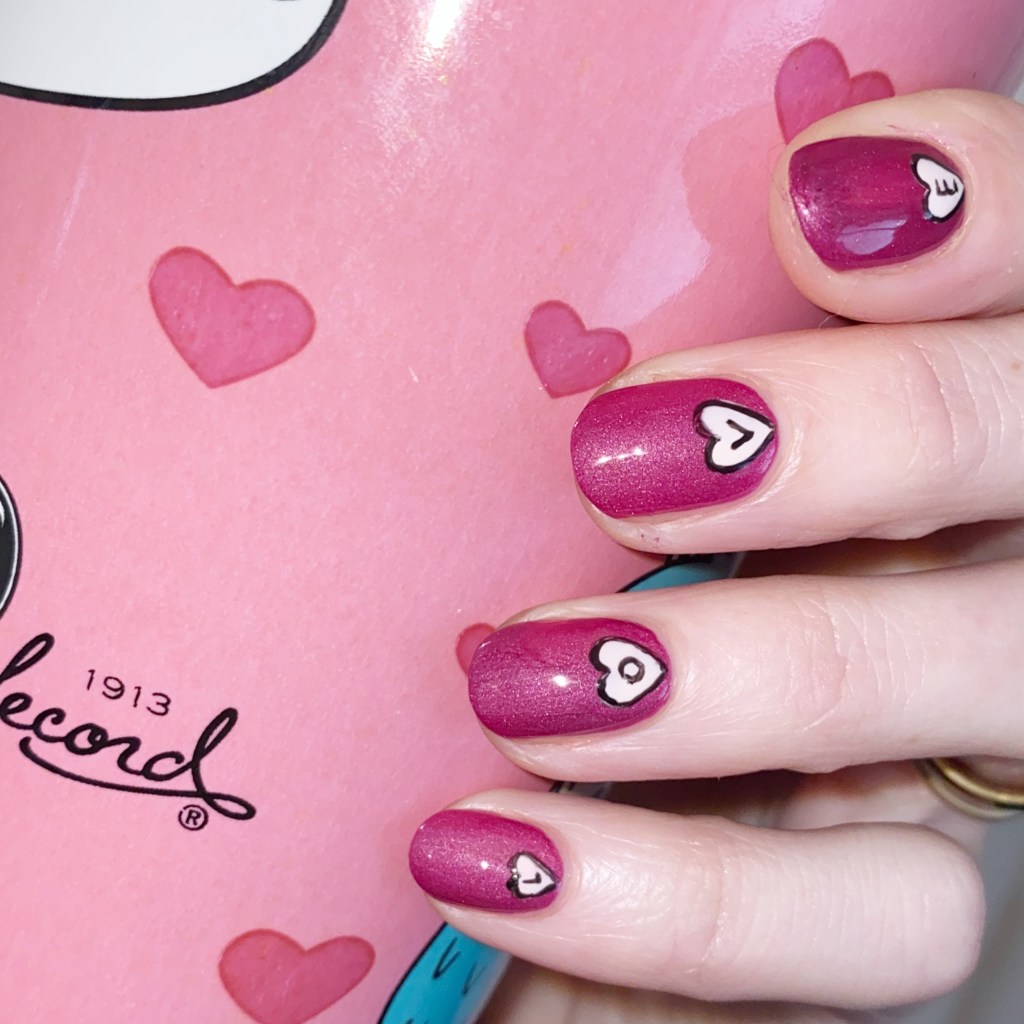
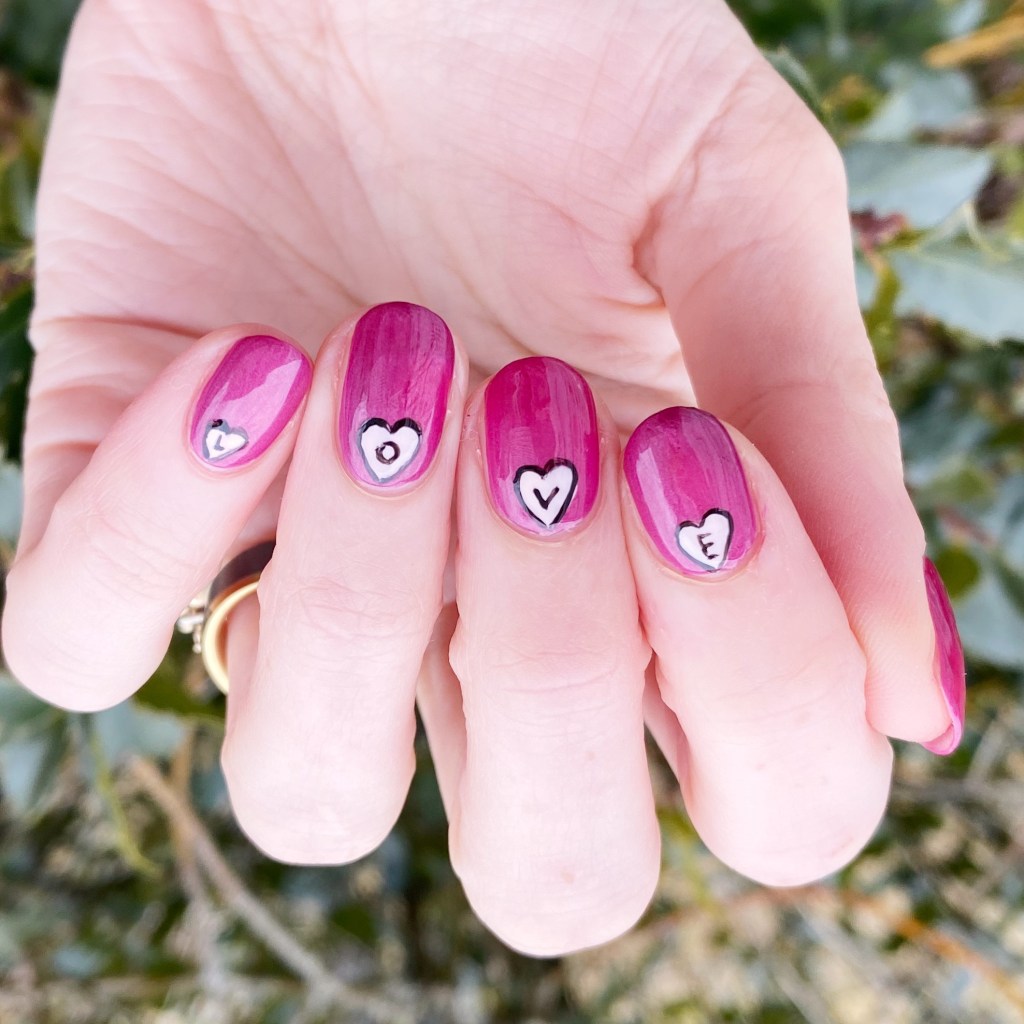
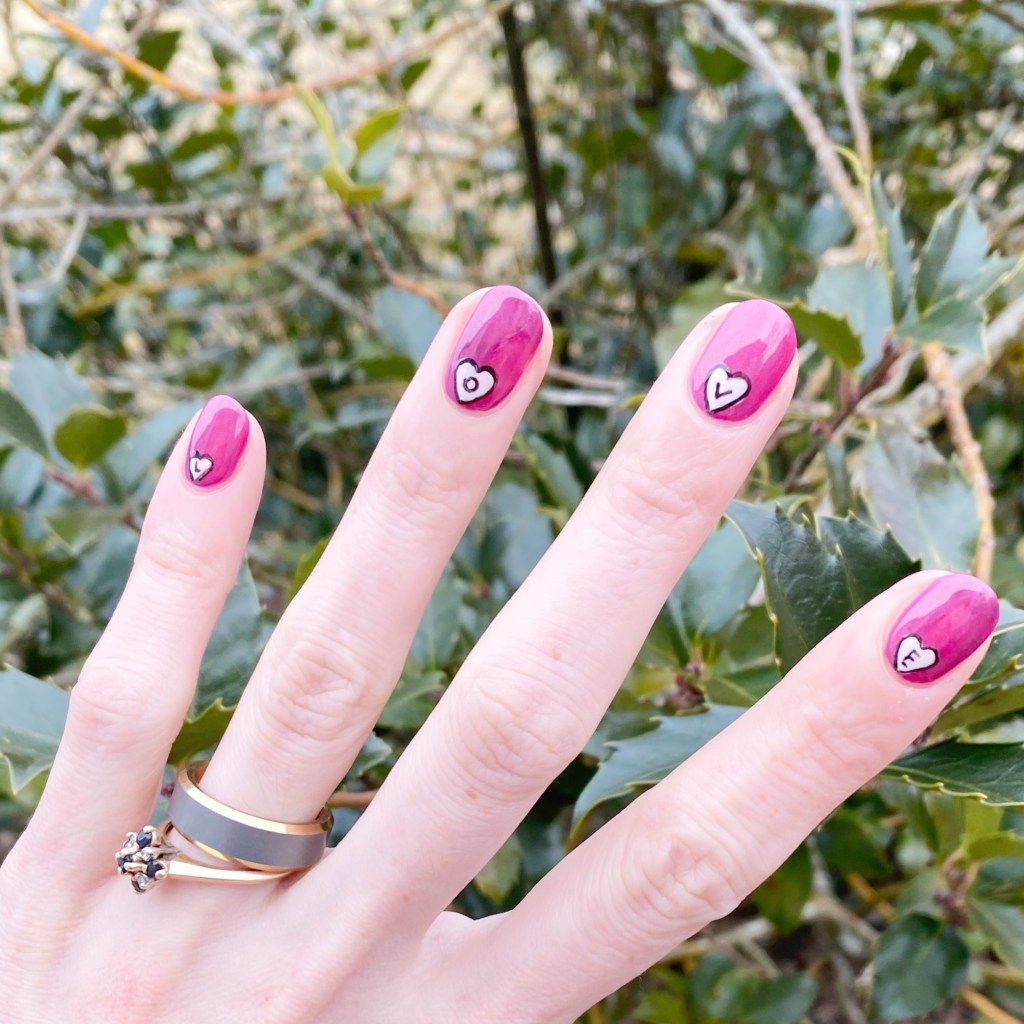
It’s a snowy Valentine’s Day here in Halifax, after a big dumping of snow. Not super impressed with the weather, but that won’t stop me from sharing my last Valentine’s Day look for this year! I really wanted to do more hearts — like accent hearts — but at the last second I decided to write L.O.V.E in the middle of them. & I’m obsessed.

They’re like heart shaped scrabble tiles! & I love it.
The polishes I used for this manicure are: 

  • Base Coat: Essie Hard To Resist Glow & Shine 
  • Top Coat: Seche Vite Fast Dry Top Coat
  • QUO Beauty Velveteen
  • ACO by Ardene Flawless
  • Starrily Vantablack
  • Dotting tool (NailStuff.ca — Dotting Tool Trio)
  • NailStuff.ca 4mm Micro Detail Brush

I’m not sure why, but I really wants to do heart accent nails at the base of my nails. But when I finished my little pale pink hearts, they looked a little basic, so I decided to outline them in black — my go to for jazzing up a manicure. BUT THEN, I thought: what if I attempted to spell out Love in my hearts. It was a risk, but it turned out so awesome, so I couldn’t be happier!
What do you think about this love themed design? Do you like this simple nail art? Let me know all your thoughts in the comments below!

I hope everyone has a happy Valentine’s Day, & if it’s not your thing then I hope you enjoy tomorrow which is 50% of chocolate day!

♥︎

Pink on Pink Valentine’s Hearts 💗

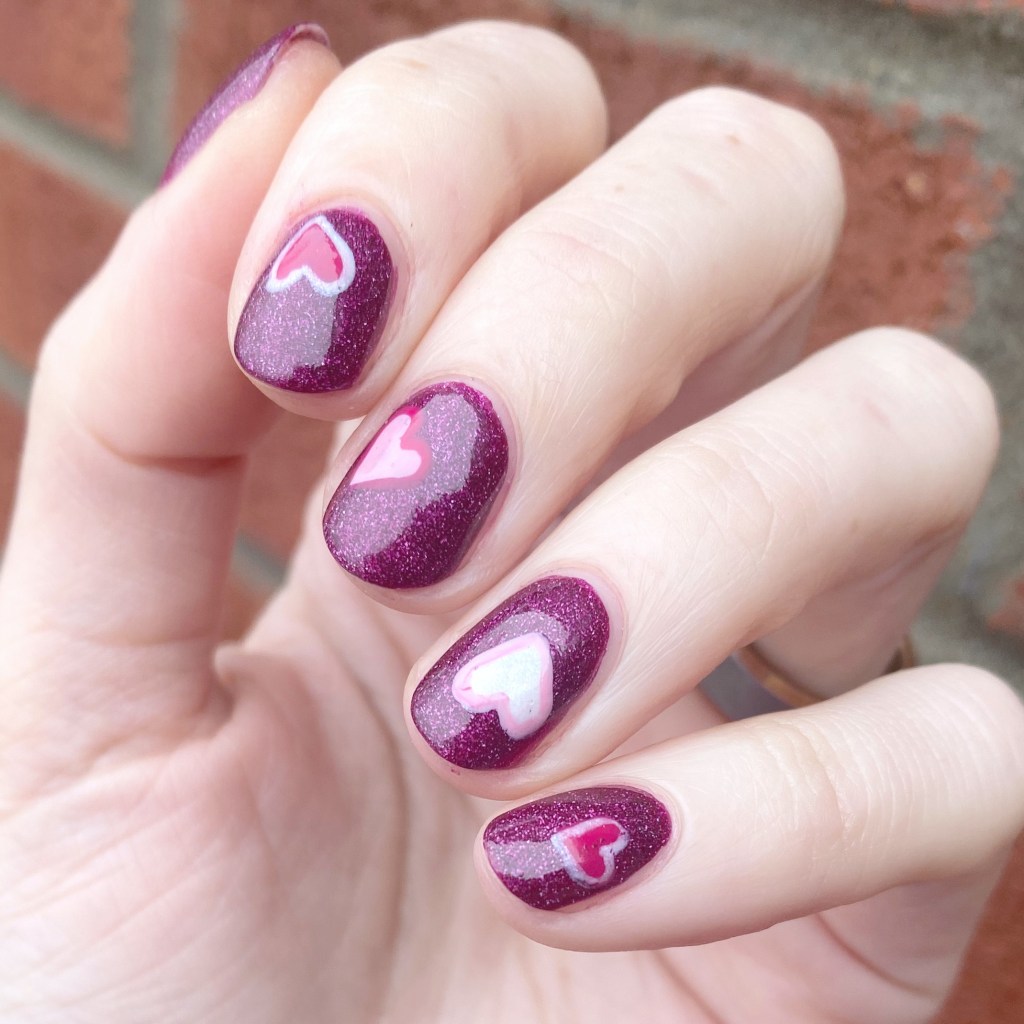
Hello lovelies. It’s officially one week until Valentine’s Day, so I figured that a good enough time as any to start with a little love-ly nail art. Truth be told, I’m not a huge fan of Valentine’s Day… minus to opportunity to make cupcakes. But I do like the excuse to pull out all of my pink nail polishes at once, so I’m hoping to share a few nail art looks over the next week.

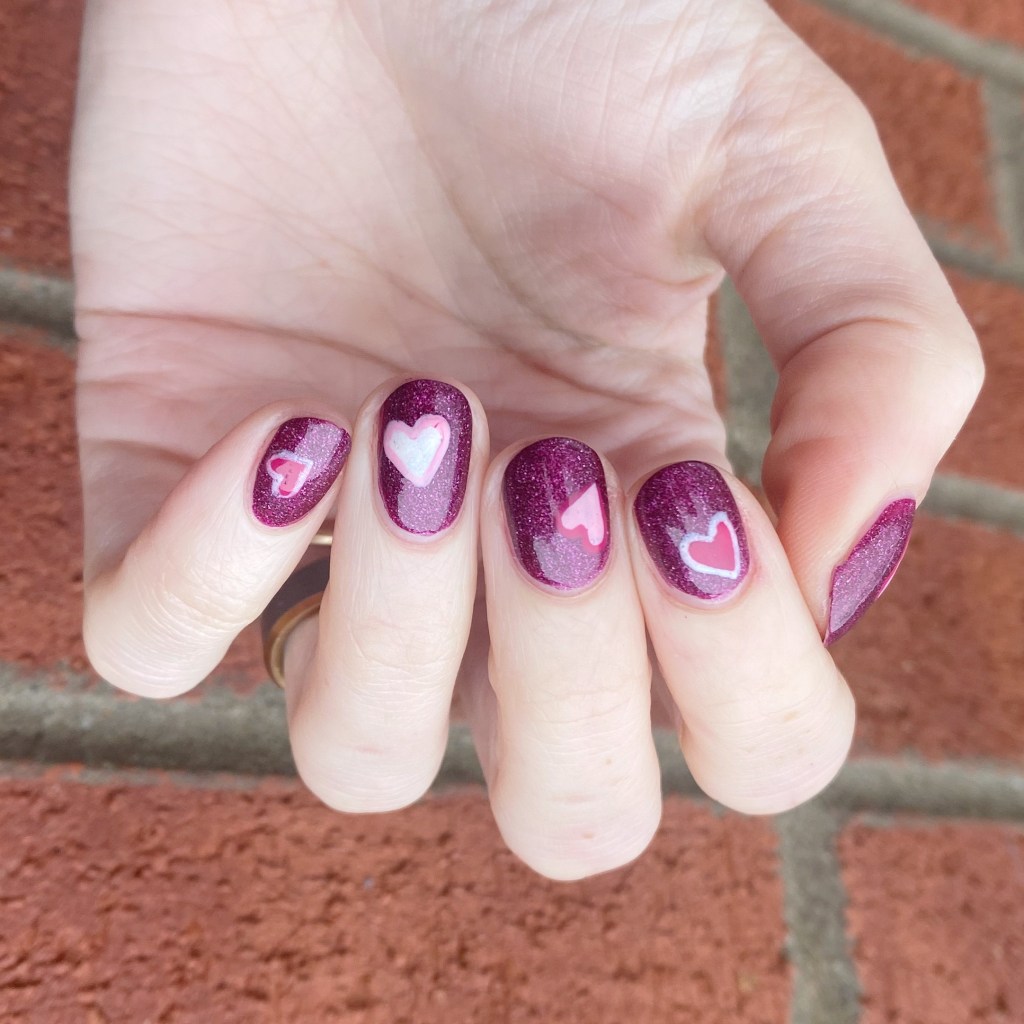
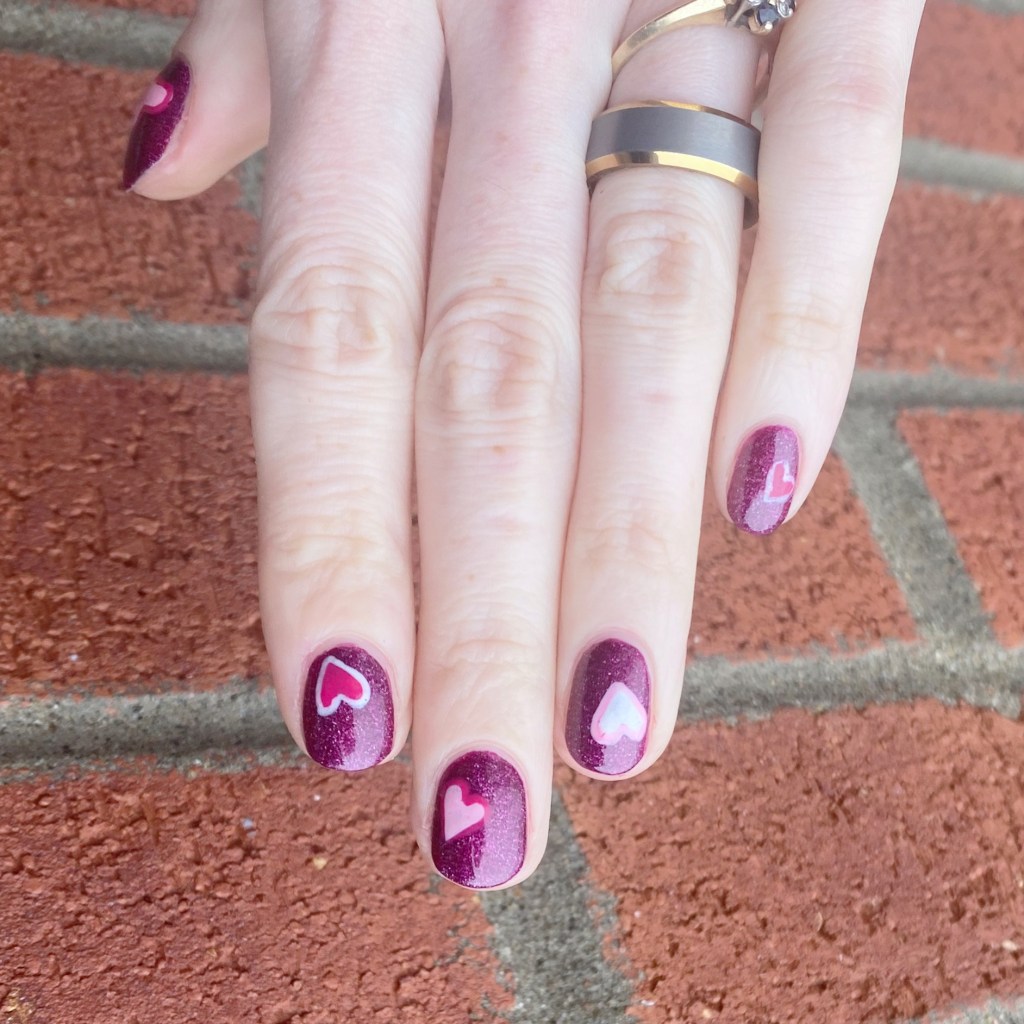
First up, a simple & slightly rustic heart design. I was inspired by my base polish pick, & decided to build my manicure around it.

The polishes I used for this manicure are: 

  • Base Coat: Essie Hard To Resist Glow & Shine 
  • Top Coat: Seche Vite Fast Dry Top Coat
  • OPI DS Extravagance
  • OPI Koala Berry
  • OPI Pinking of You
  • OPI Chiffon My Mi
  • Dotting tool (NailStuff.ca — Dotting Tool Trio)
  • NailStuff.ca Mermaid Tail Nail Brush Trio (11mm Liner Brush)

How cute did these little hearts turn out? I feel like free handing hearts can be kind of hit or miss, so I was a bit scared how they would turn out — especially because I was not in the mood to start my design all over again. I did like the hearts just solid colours, but I wanted to try outlining the hearts, & I’m so glad I did because I feel like it made them pop off the nail so much more vibrantly! & they don’t seem so one dimensional. Absolutely adorable.

What do you think about these adorable pink on pink heart nails? Have you been playing around with some Valentine’s (or anti-Valentine’s) Day designs for this year? I’m definitely thinking pink (duh) & maybe a gradient dotticure? I can’t wait to share what design I end up choosing!

♥︎

Hot Pink Stamped Floral

Good morning loves & happy Tuesday! I hope everyone survived the weekend & Monday relatively unscathed. It was rainy here all weekend which absolutely sucked. It was absolutely torrential.

Spring… you can come anytime!

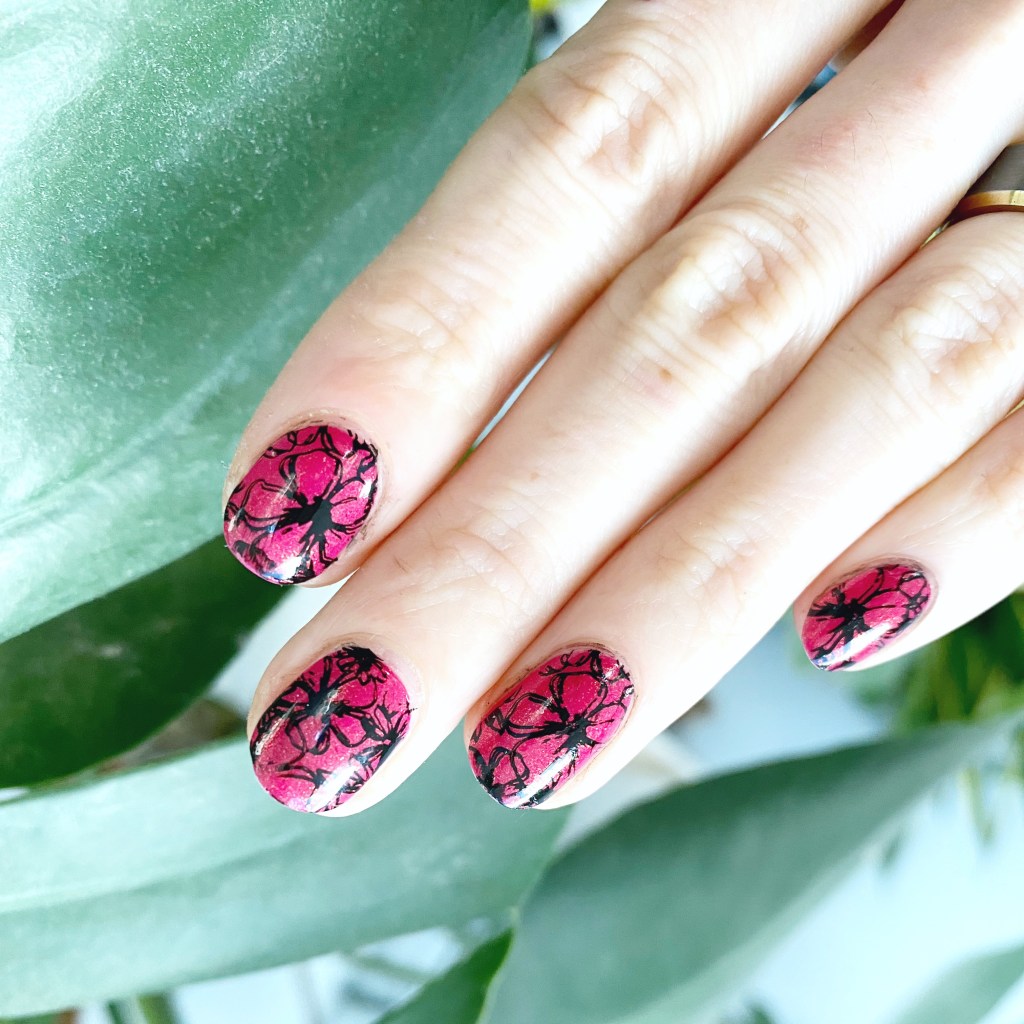
So I’m honour of our cold & wet days, I decided I needed some hot pink nails. & why not throw some floral stamping on there too, just for fun.

The polishes I used for this manicure are: 

  • Base Coat: Essie Hard To Resist Glow & Shine 
  • Top Coat: Seche Vite Fast Dry Top Coat
  • China Glaze Strawberry Fields
  • Starrily Vantablack
  • Discontinued Born Pretty Store floral pattern stamping plate (featured here)
  • Nailstuff.ca clear stamper & scraper set

How pretty are these? I hope they’re pretty because oh boy did I struggle with clean up! I don’t know what was happening, because usually I don’t have so many issues, but my cuticle line just wanted to be stained black.

& also I’m so over this both of Seche Vite & it shrinking every manicure I do. I’ve never had a bottle shrink so bad! Look at my middle finger! So beyond frustrating. But regardless of the issues, my nails did turn out pretty. China Glaze Strawberry Fields is so pretty, I can’t believe I don’t wear it more often!

What do you think of this floral design? Are you feeling early Spring vibes in the middle of January? & to my friends on the other side of the world in the middle of Summer… how is it there? Is it nice?

Have a lovely Tuesday darlings!

Vintage Inspired Polka Dot & Floral 🌹

Hello loves, I hope you’re having a beautiful start to your Thursday!

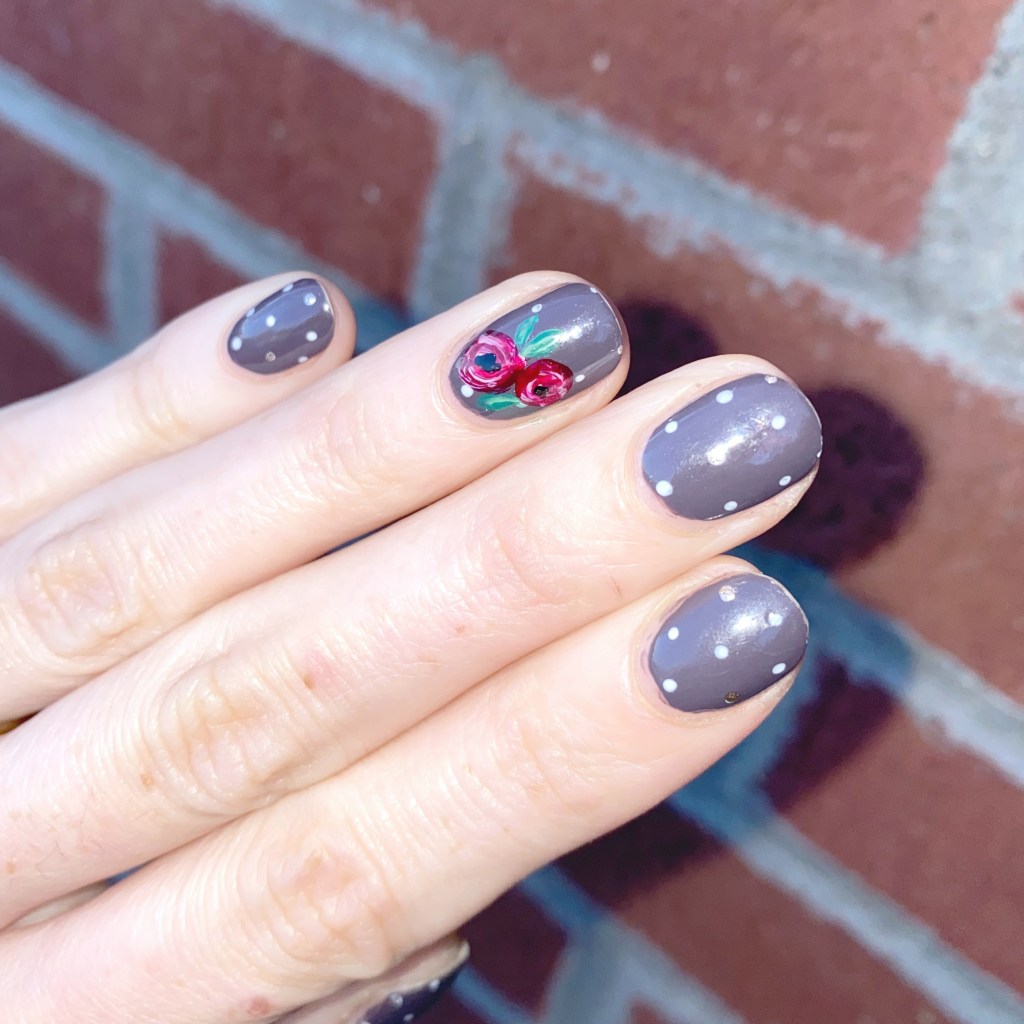
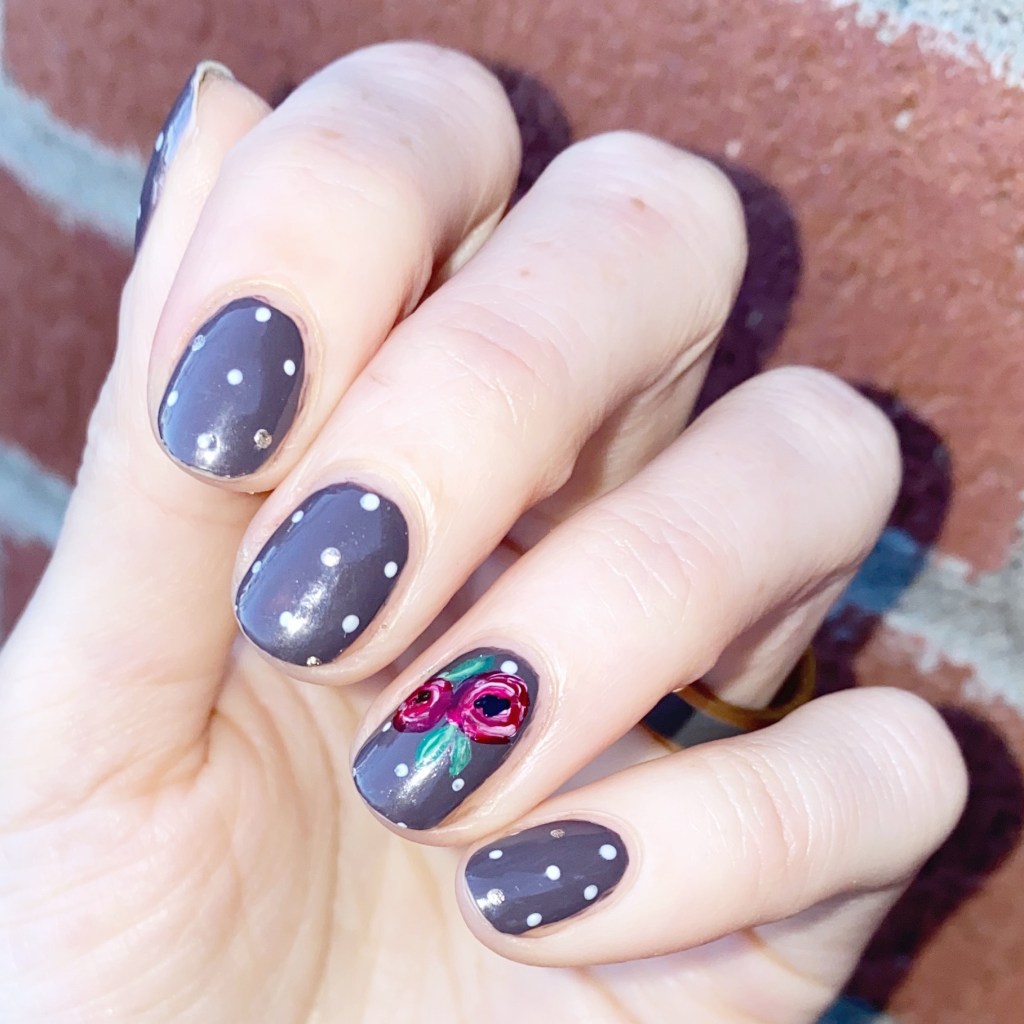
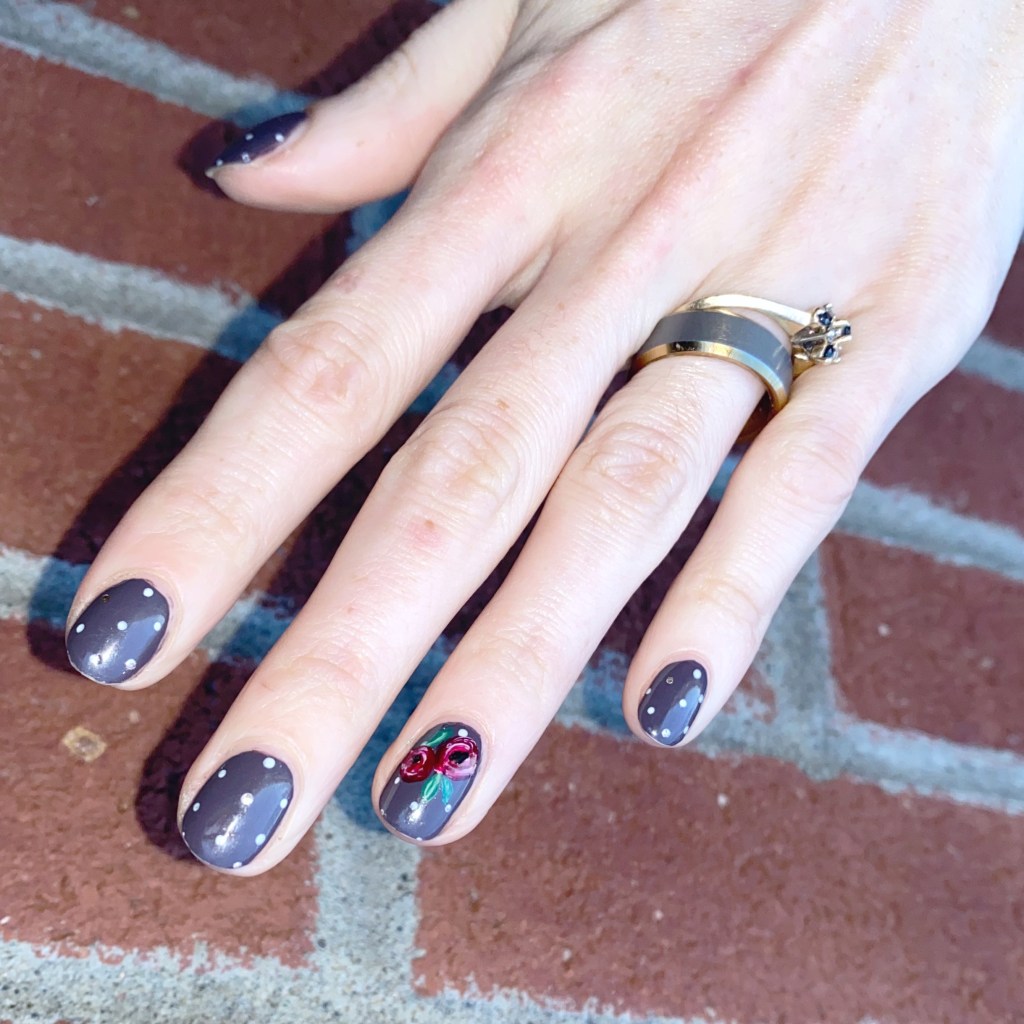
Today’s look is giving me early blog vibes, & most specifically this early design featured in the younger days of this blog. I love a good floral, & to be honest I haven’t really been inspired to paint floral on my nails in a while. I think June was the last time I posted any kind of floral, & even that was a simple daisy design. So to say I was long overdue would be an understatement.

So obviously I decided lets do a throwback inspired design, grabbed some pink & red polishes, & I ended up with this pretty look! The throwback vibes are strong, & I’m okay with that. I feel like old school nail art designs are making a comeback — heck one of the indie brands even released a whole collection of crackle nail polish — so I thought I would join in on the fun.

The polishes I used for this manicure are: 

  • Base Coat: Essie Hard To Resist Glow & Shine 
  • Top Coat: Seche Vite Fast Dry Top Coat
  • L’Oreal Vintage Vinyl
  • Sally Hansen Miracle Gel Ski Bunny
  • L’Oreal Feeling Kilty
  • Sally Hansen InstaDri Racing Rose
  • Sally Hansen InstaDri Cinnasnap
  • Sally Hansen Miracle Gel Montley Hue
  • China Glaze Shore Enuff
  • Essence Cosmetics Green is the new Grunge
  • Starrily Vantablack
  • Dotting tool (I always use mine from NailStuff.ca — Dotting Tool Trio)
  • NailStuff.ca Mermaid Tail Nail Brush Trio (11mm Liner Brush)

Ooooh it’s so pretty! I mean, being a self confessed perfectionist I can definitely see some flaws, but I’m not going to concentrate on those, & instead focus on the good things… like floral being on my nails again after far too long. It just feels good, especially during these frigid days we’ve been having. I’m not a fan of Winter once Christmas is over, so I don’t really enjoy January at all.

A girl can only drink so many extra hot coffees in a day.

So I would expect to see a few more florals popping up on my nails over the next few weeks, especially as we start inching closer to Valentine’s Day.

What do you think of this floral design? Have you missed seeing it around? What is your favourite nail art design to do of all time — or for others to do? Let me know all your thoughts in the comments below.

Purple & Pink Drag Marble (Fail?)

Hello beauties & happy Tuesday! I hope everyone’s week is off to a lovely start. I feel like January weeks are just so blah. It’s cold…. uneventful… the days seem to drag. So I’m once again breaking up the January blahs with another fun purple design.

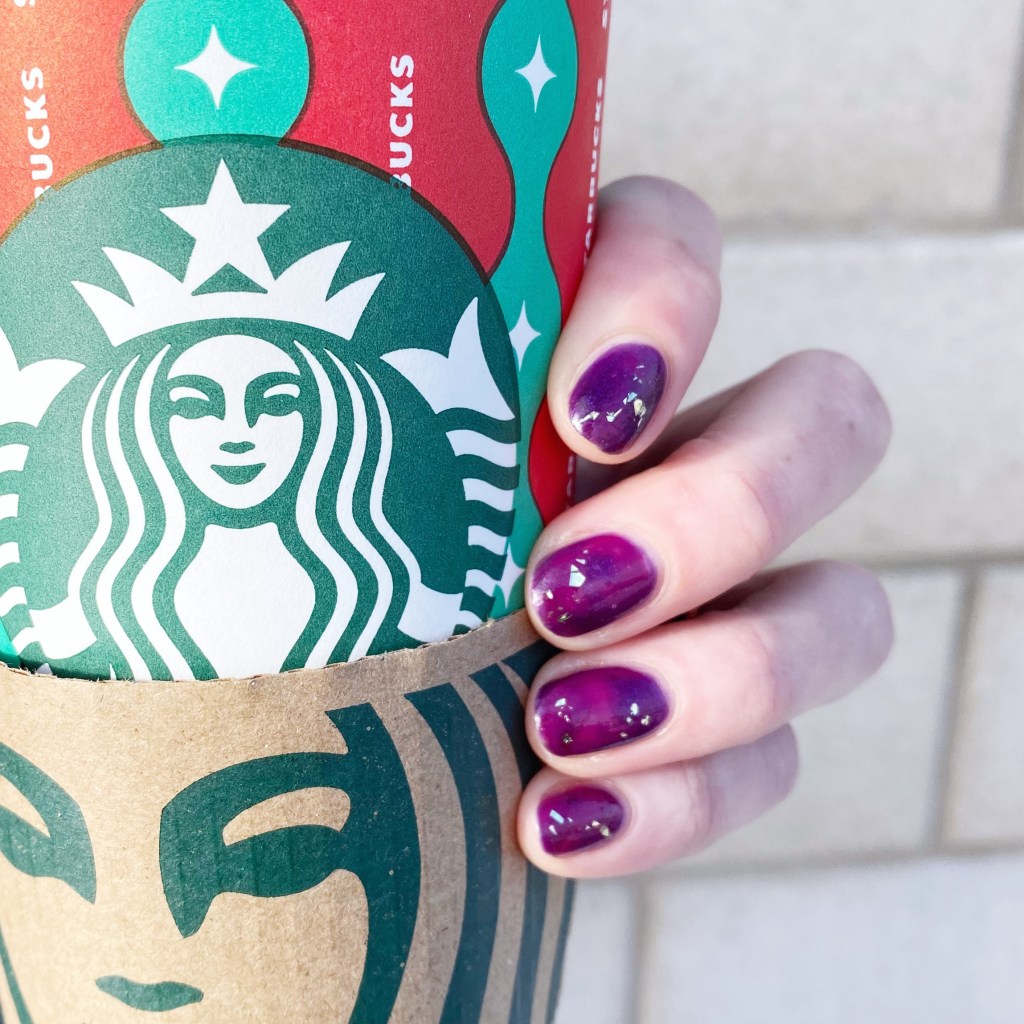
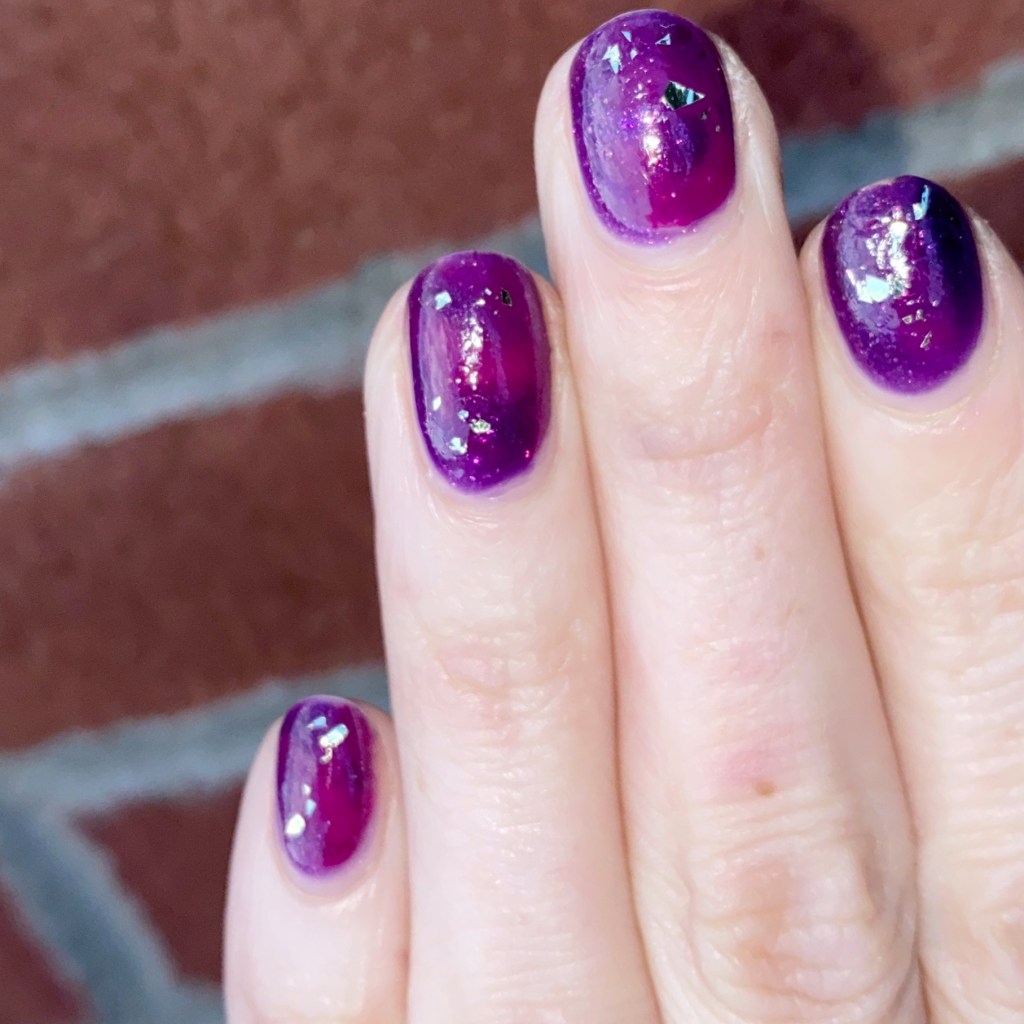
We all know that I’ve been having a purple moment lately, & I thought I would keep it going with the purple-y design I wore this past weekend. Originally, this was supposed be a drag marble, & that was the technique I used to create the blending between shades. & then obviously I added some gold glitter shards, for an extra little bit of sparkle.

The polishes I used for this manicure are: 

  • Base Coat: Essie Hard To Resist Glow & Shine 
  • Top Coat: Seche Vite Fast Dry Top Coat
  • Sally Hansen Xtreme Wear Late Night Lilac
  • Sally Hansen Xtreme Wear Pep-plum
  • Essence Cosmetics  Steeling the Scene
  • Dotting tool (I always use mine from NailStuff.ca — Dotting Tool Trio)

So honestly, I’m not 100% sure if I love these or if they kind of turned out as a fail. They definitely did end up the way I had intended. I actually wanted to create something more like this design, but the polishes were not agreeing with me so this is how it ended up. Sally Hansen XW Late Night Lilac is actually a super runny jelly glitter–which is beautiful–but not the most ideal for drag marble designs I guess. Maybe if I had used Pep-plum as my base instead of Late Night Lilac it would have worked out better.

& then obviously I added some gold glitter just for a little something extra… because I feel like it needed some sparkle. The two shades were beautiful together, just missing something.

What do you think about this drag marble fail? Do you like these colours together? Let me know what you think of this design down below, & what colours you think I should try next time for a better result.

Have a fantastic day loves!