*contained pr
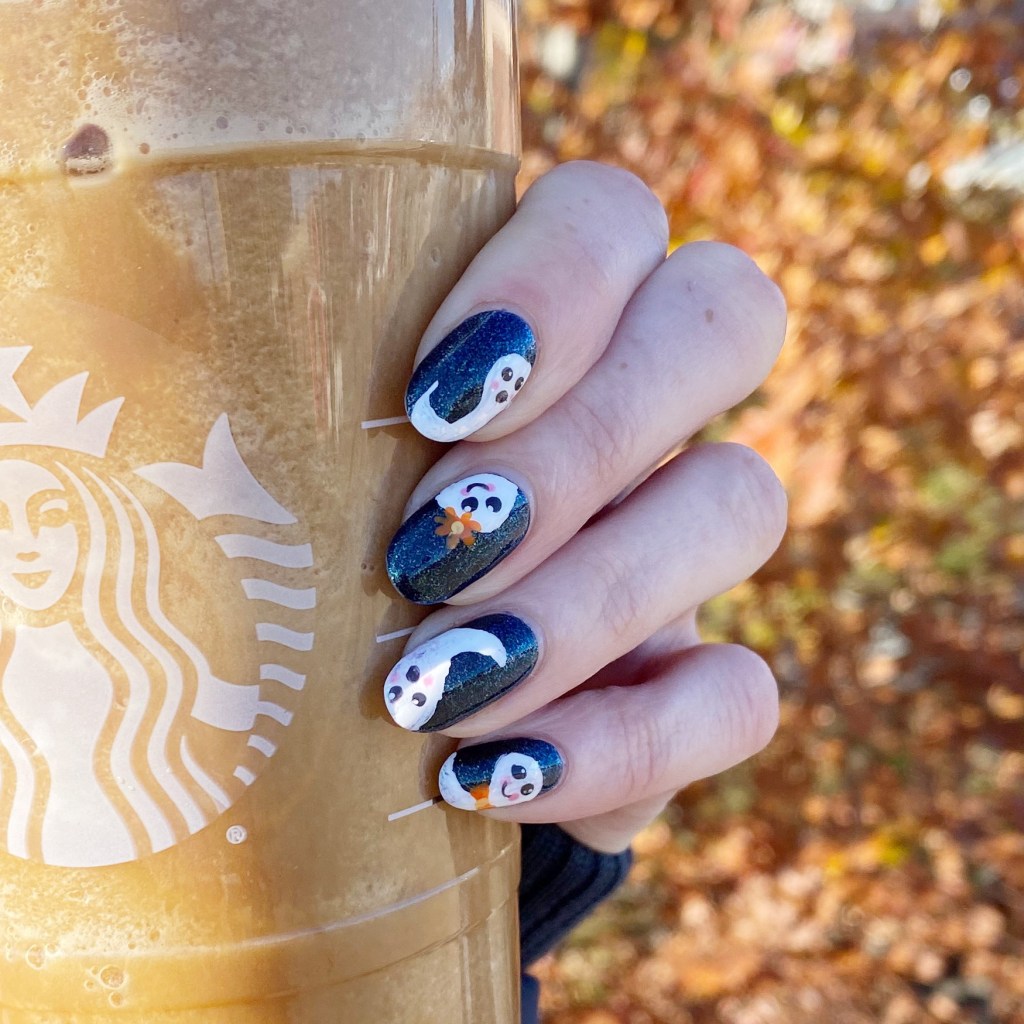
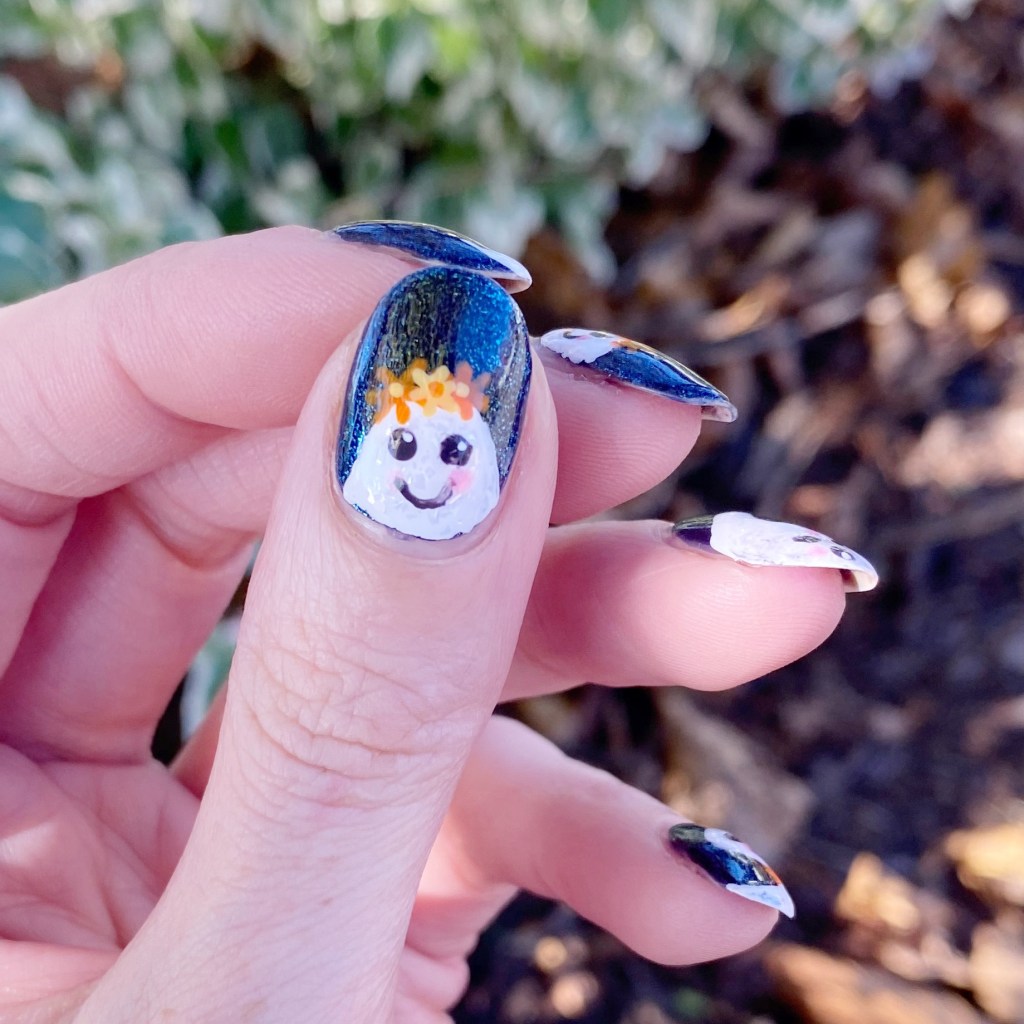
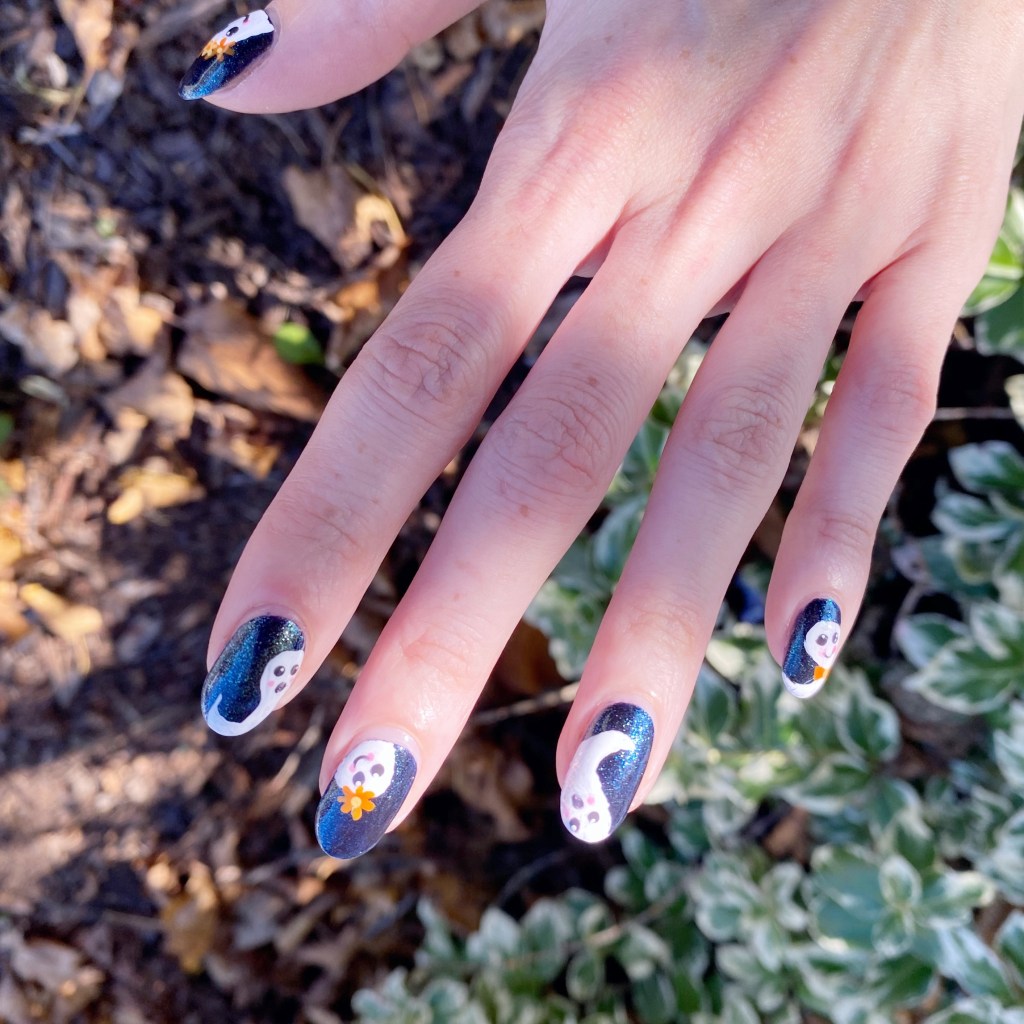
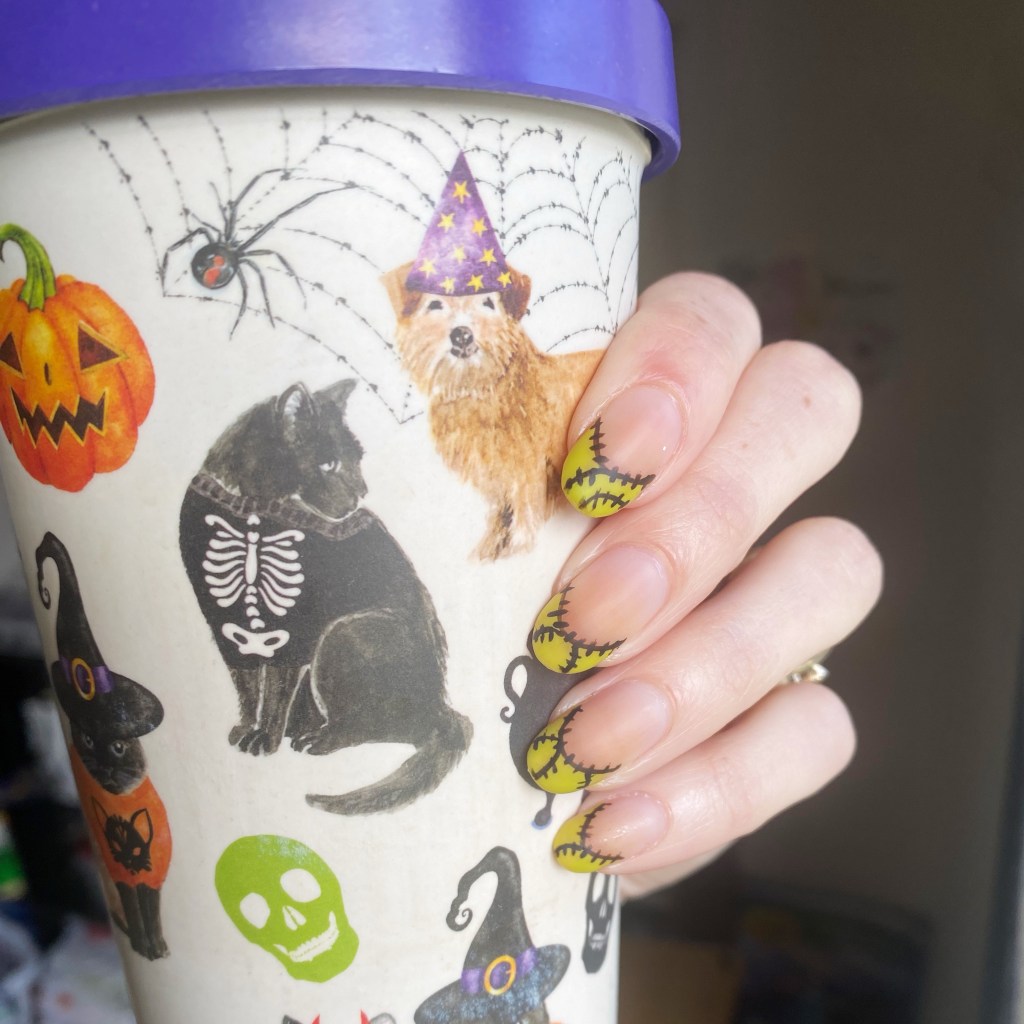
Happy Halloween!
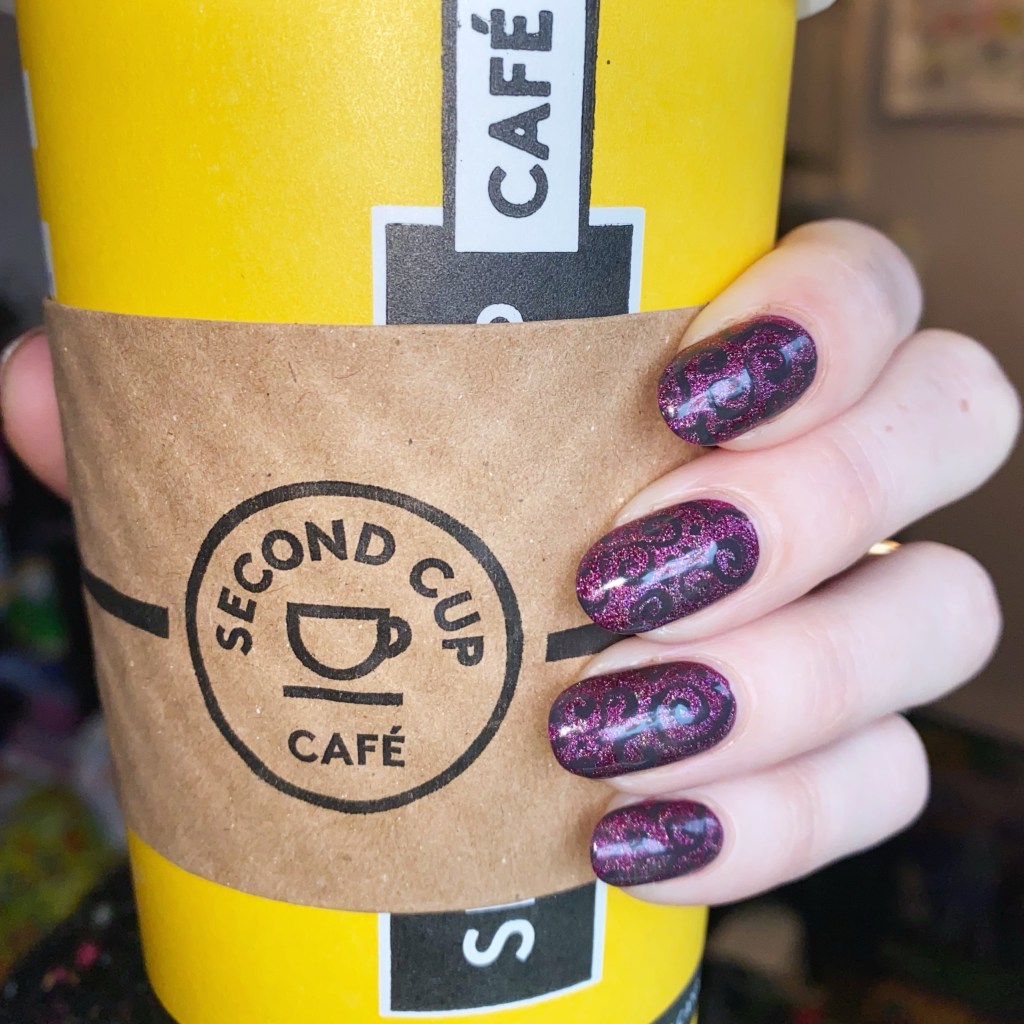
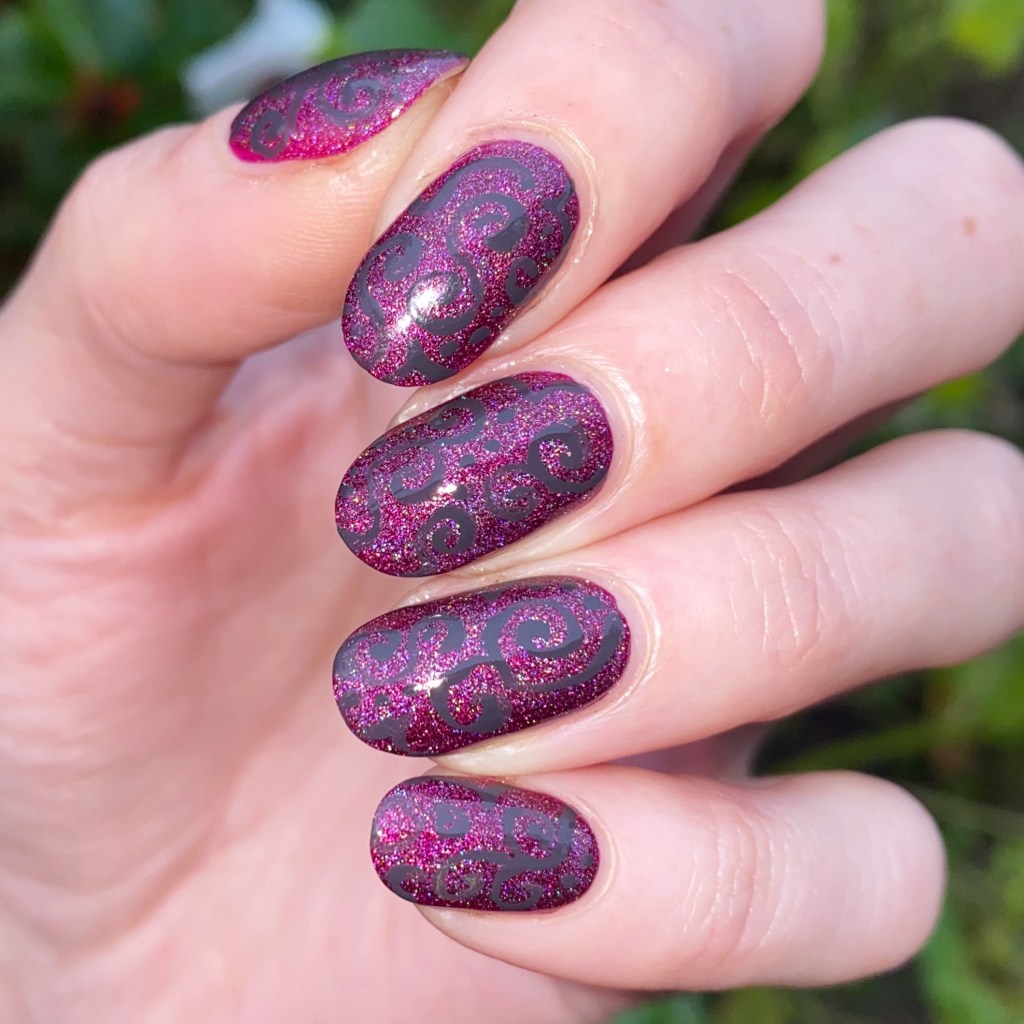
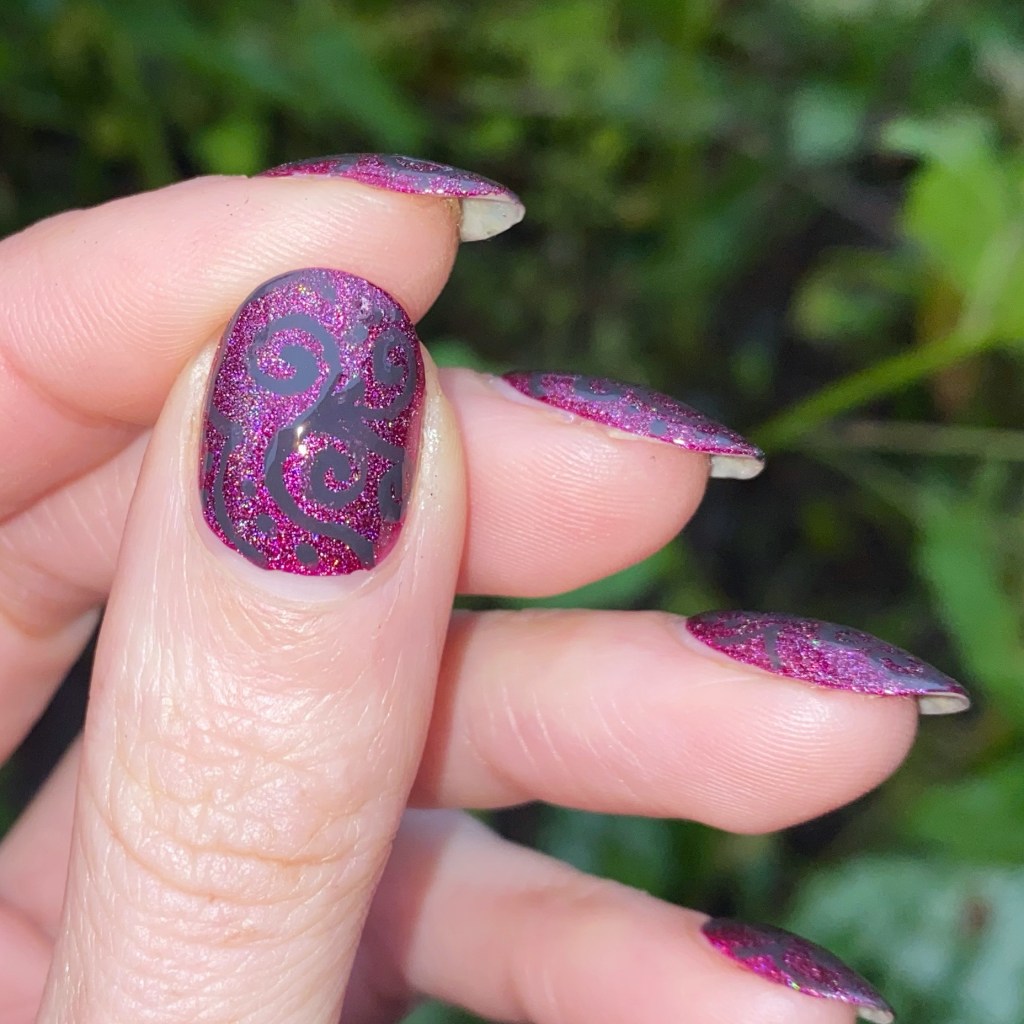
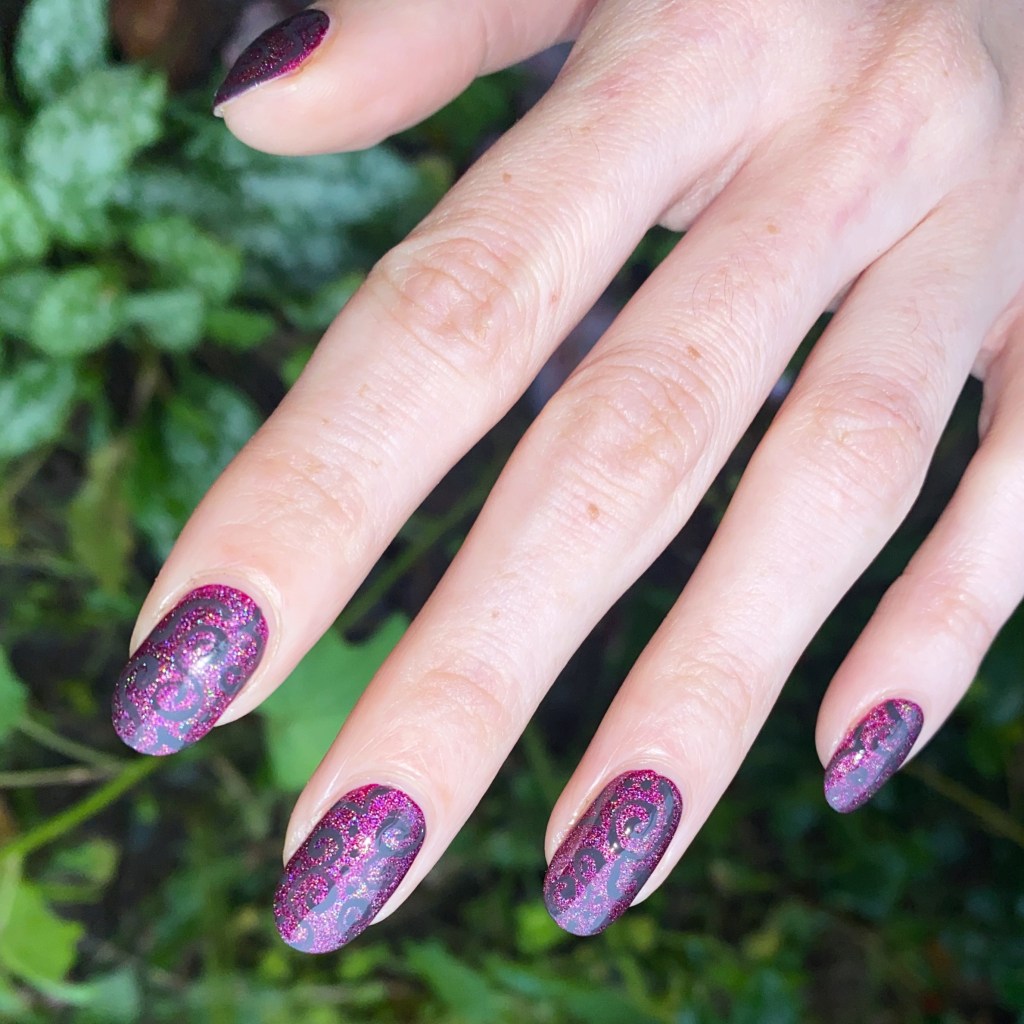
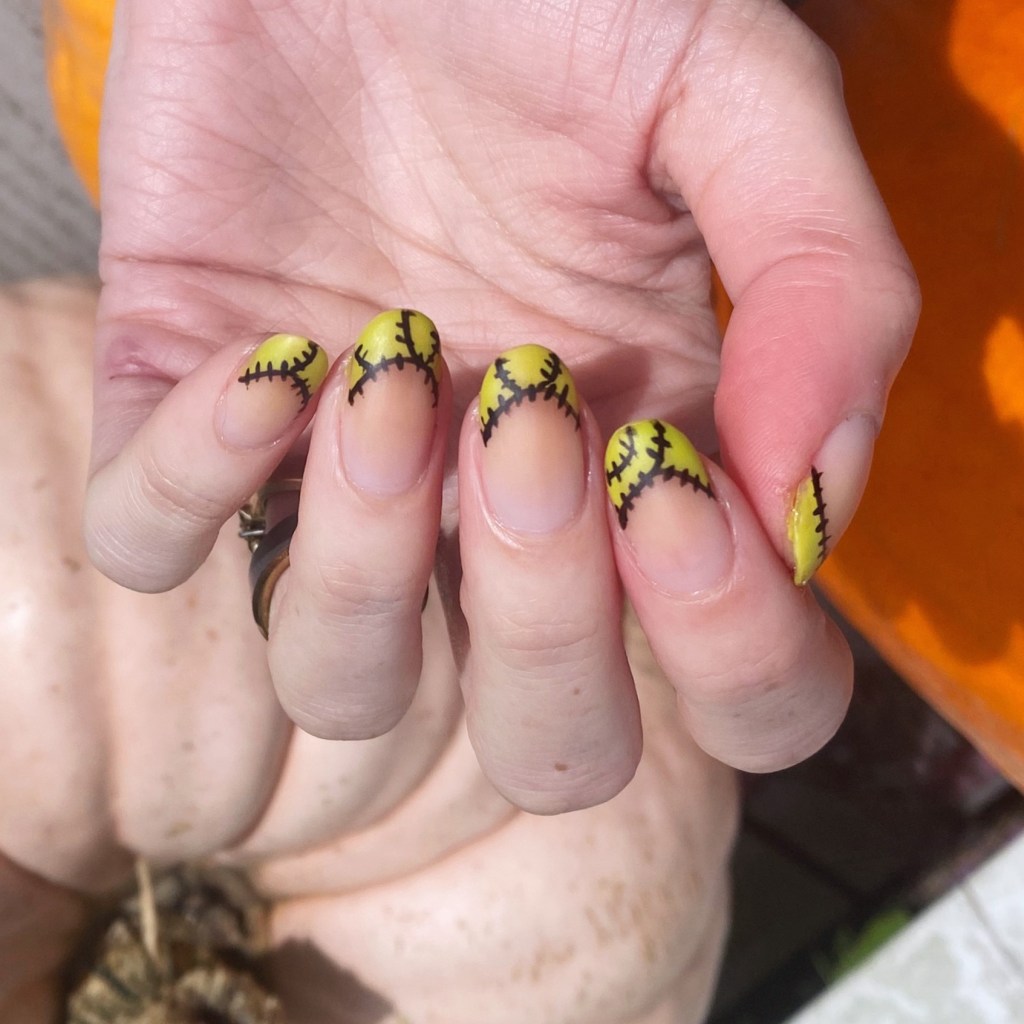
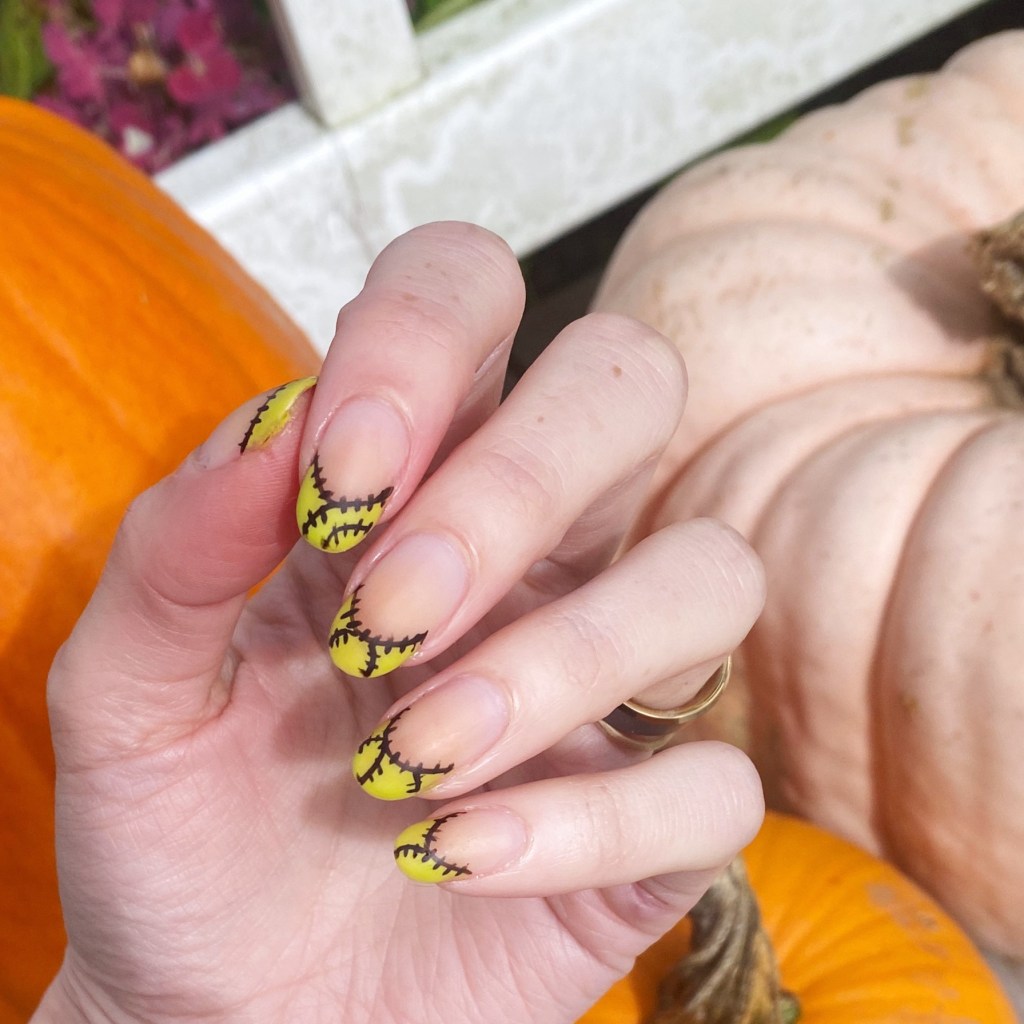
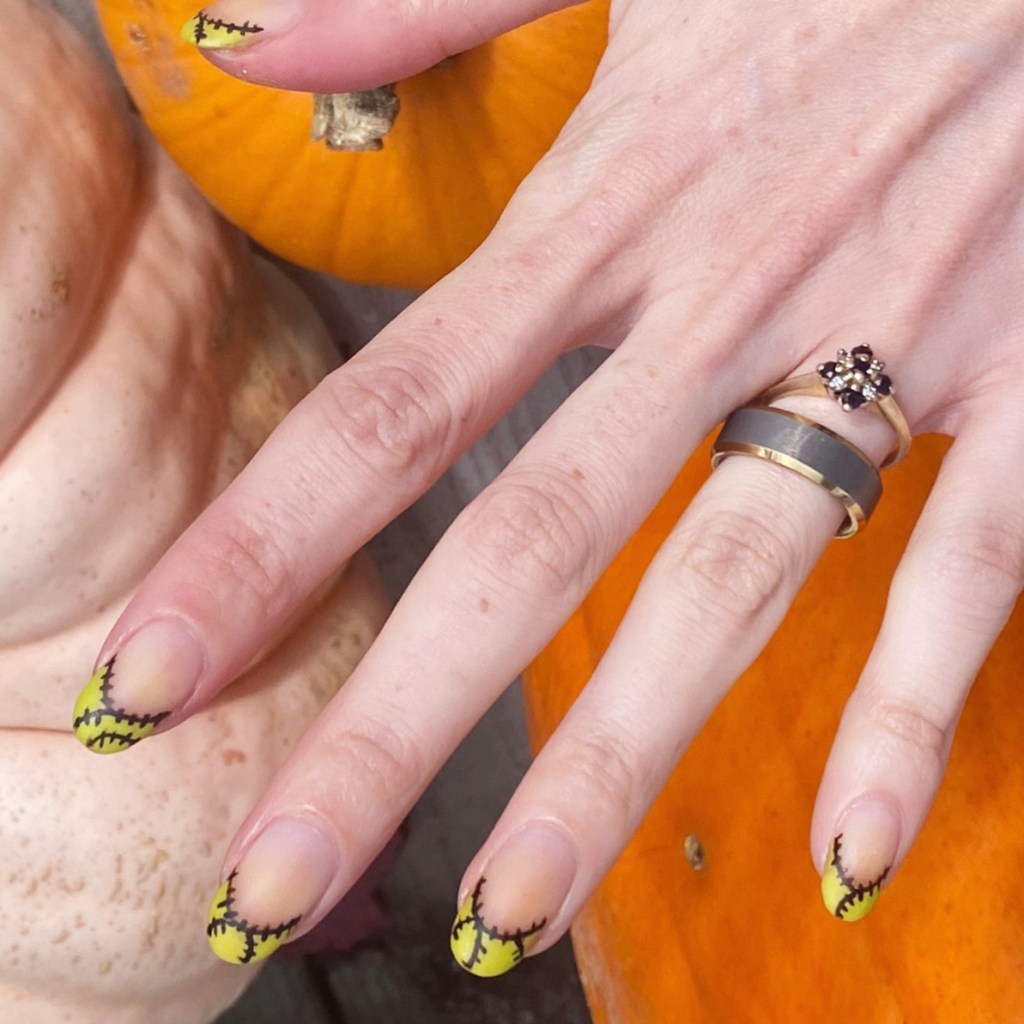
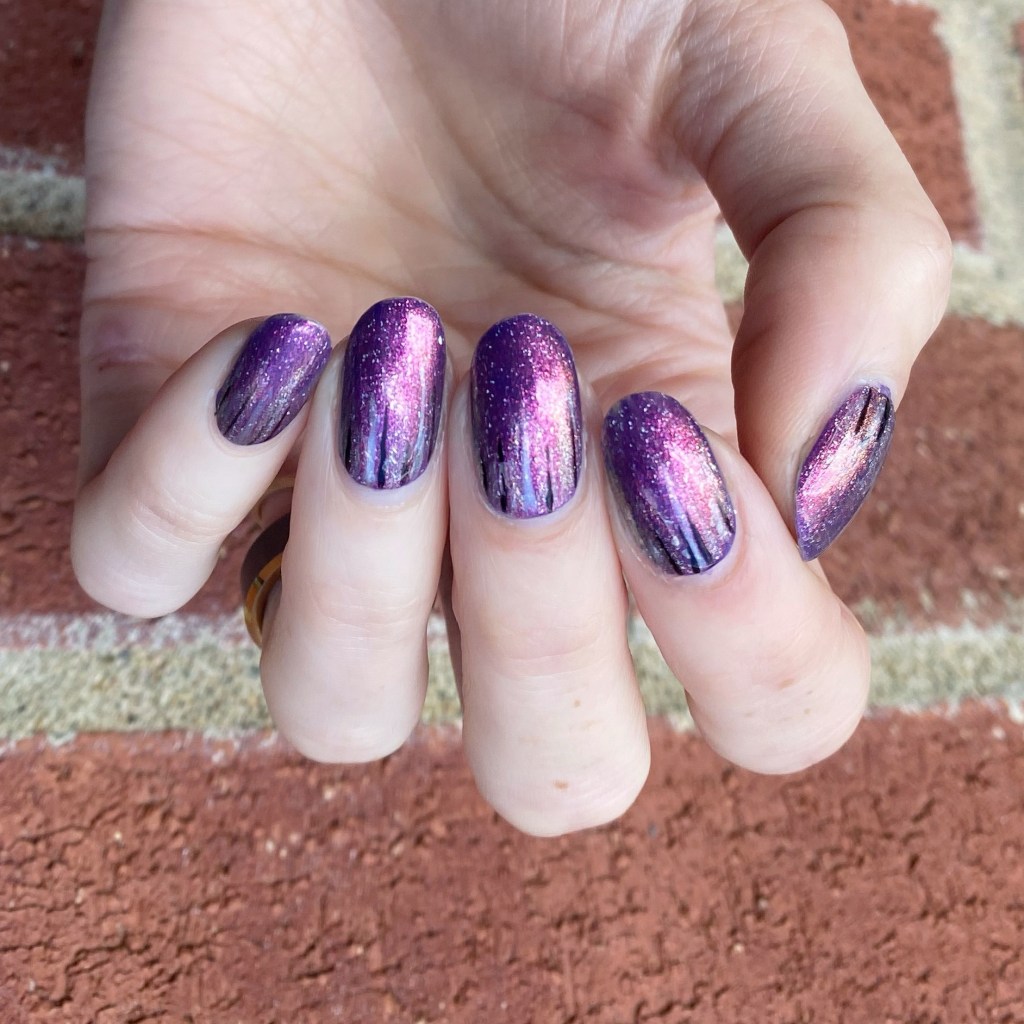
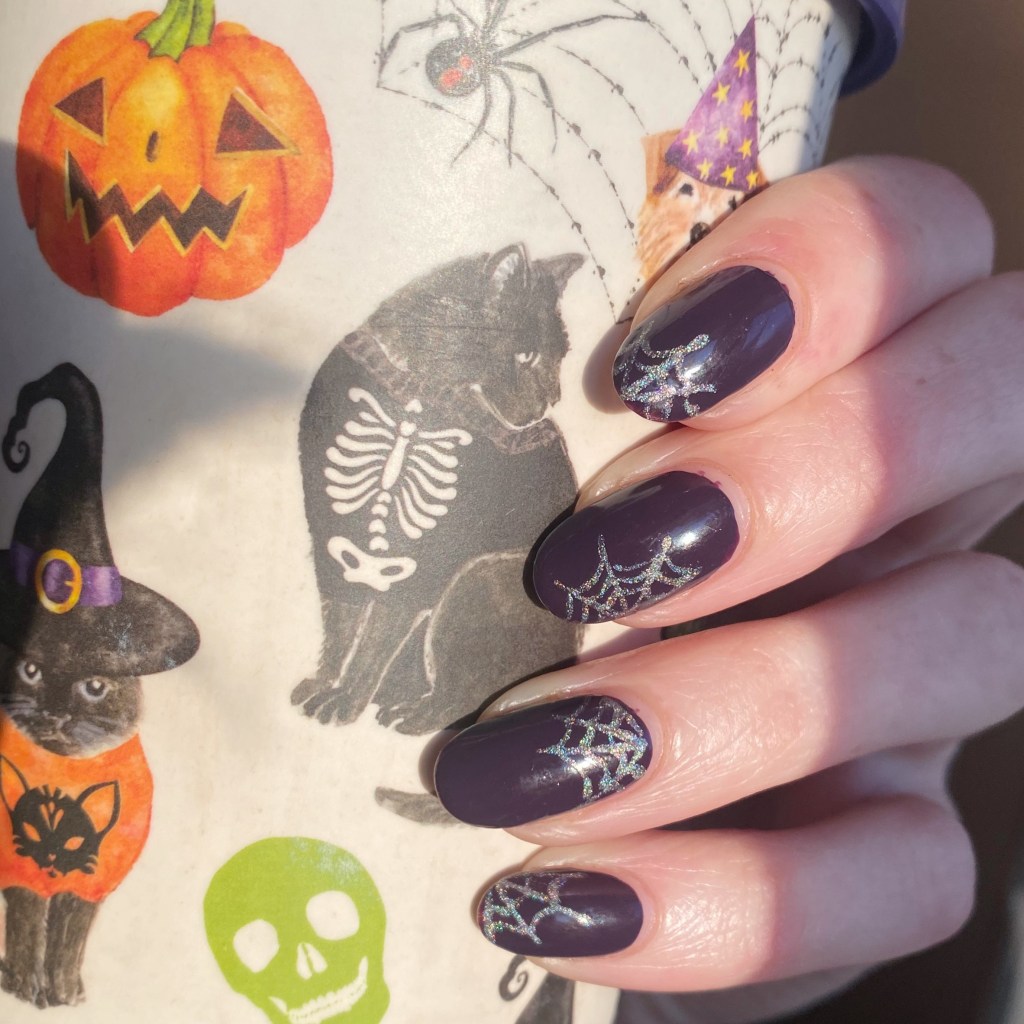
I have one more Halloween nail art look to share with you, & this one is an easy to recreate one! I decided on some holo spider webs — the only kind of spider webs I will entertain.


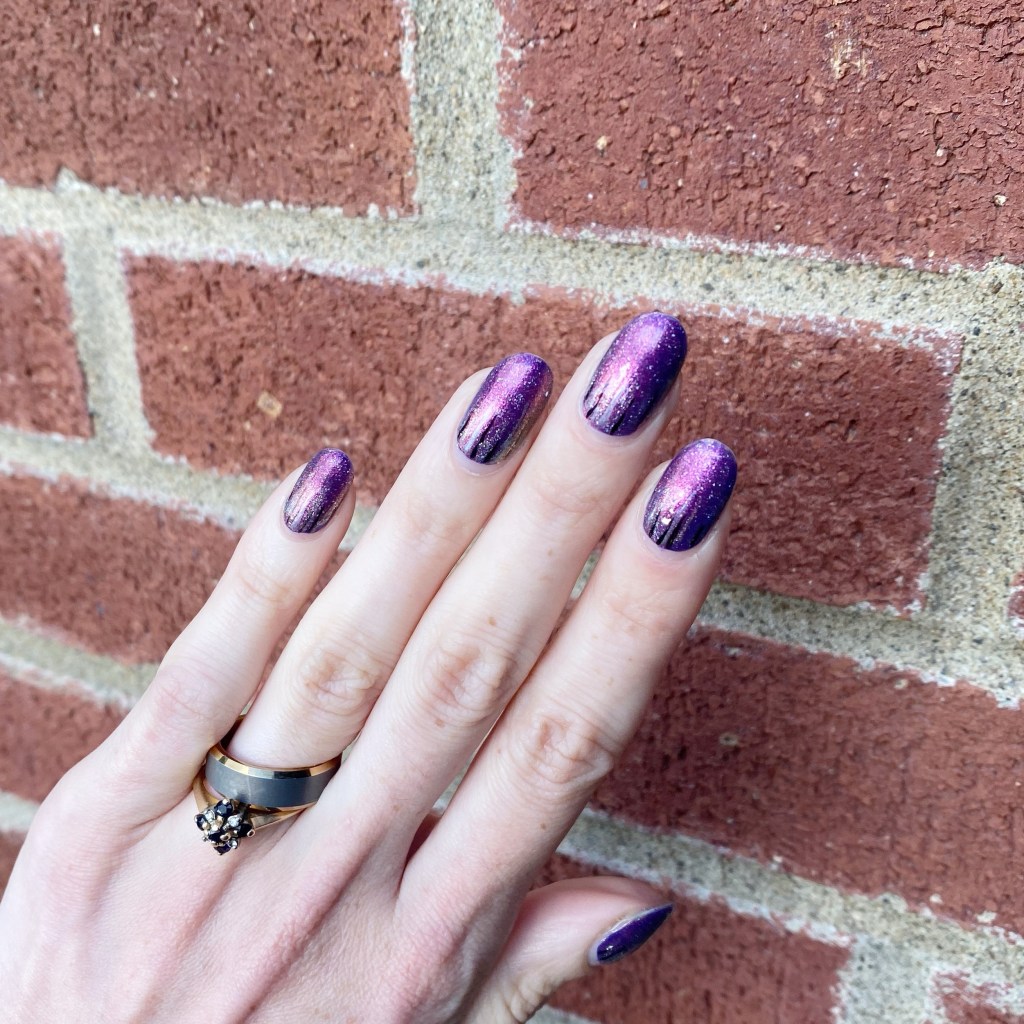
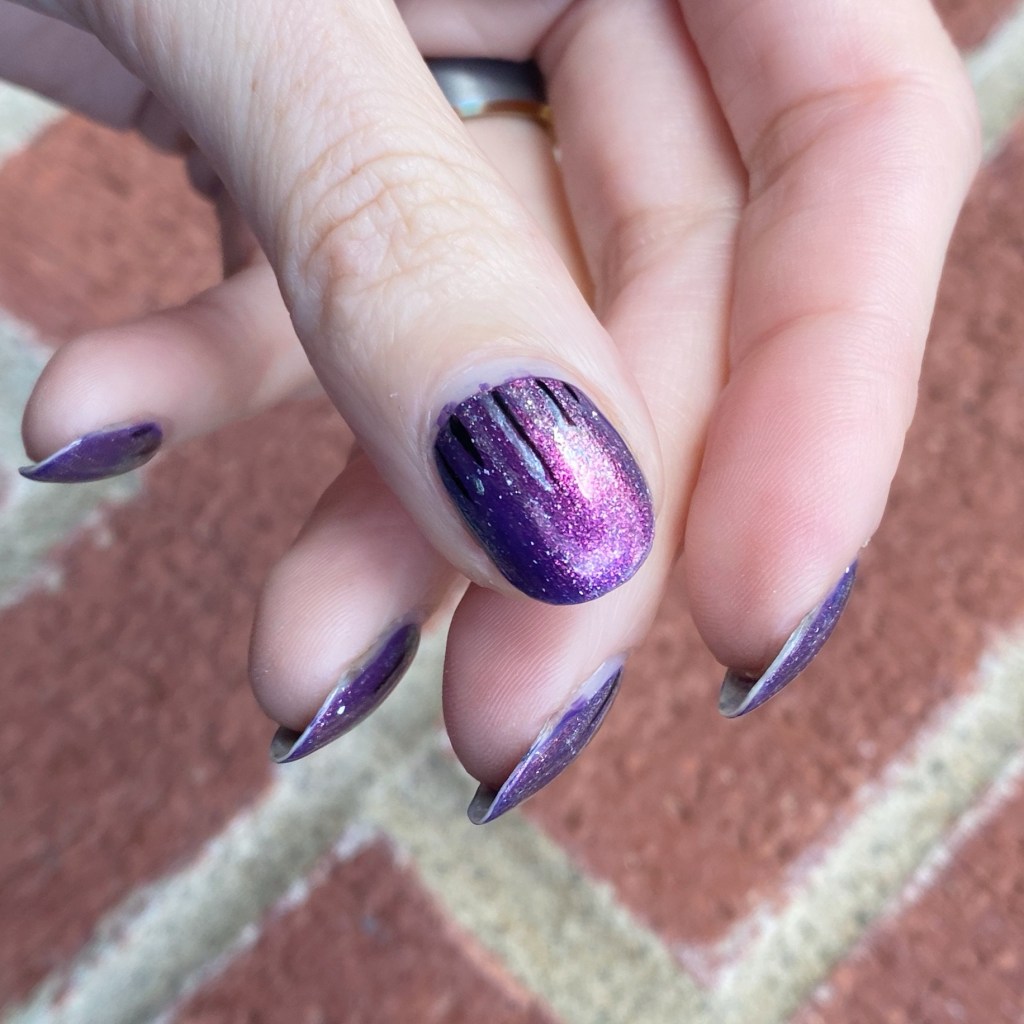
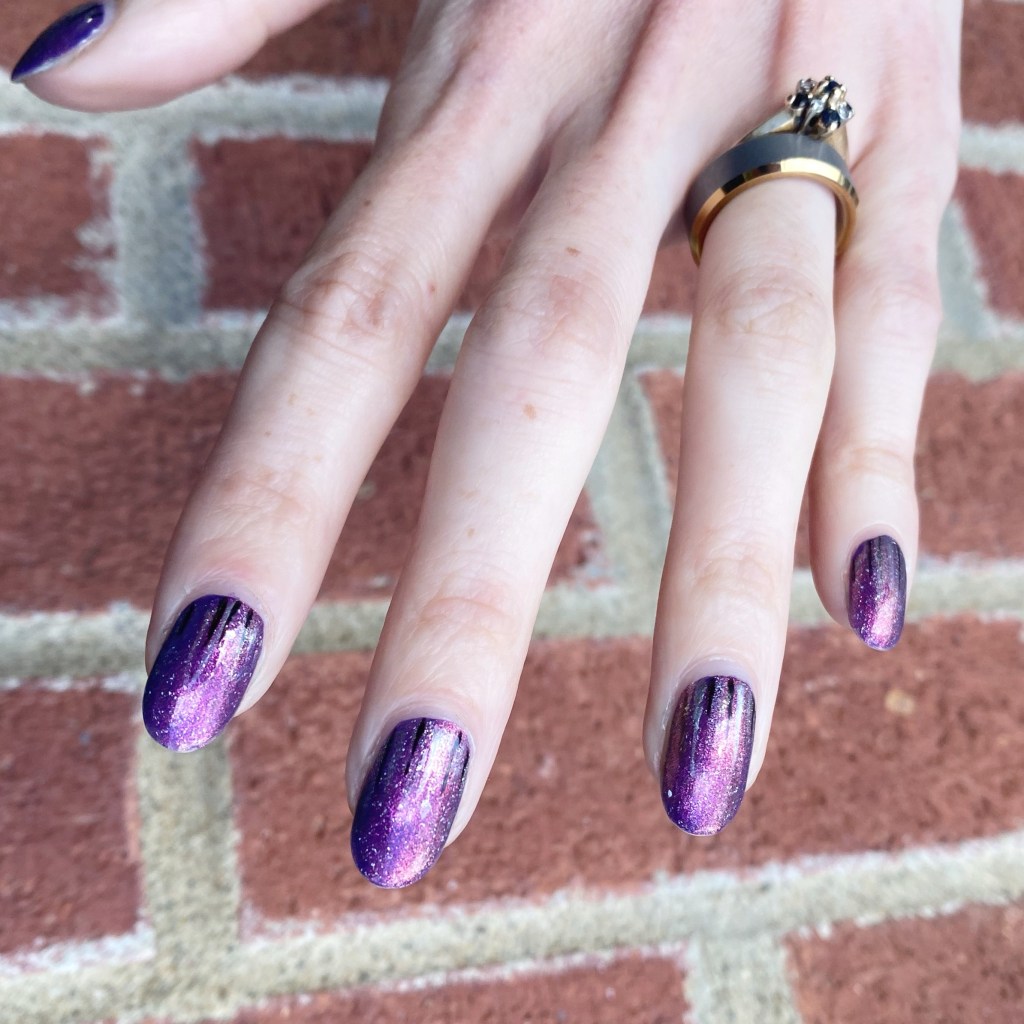
The polishes I used for this manicure are:
- Base Coat: NailStuff Essentials Base Coat *
- Top Coat: Nail Stuff Essentials Quick Dry Top Coat *
- Essie Kimono Over
- Ella + Mila Zephyr *
- Nailstuff.ca Mermaid Tail 7mm liner brush
*gifted
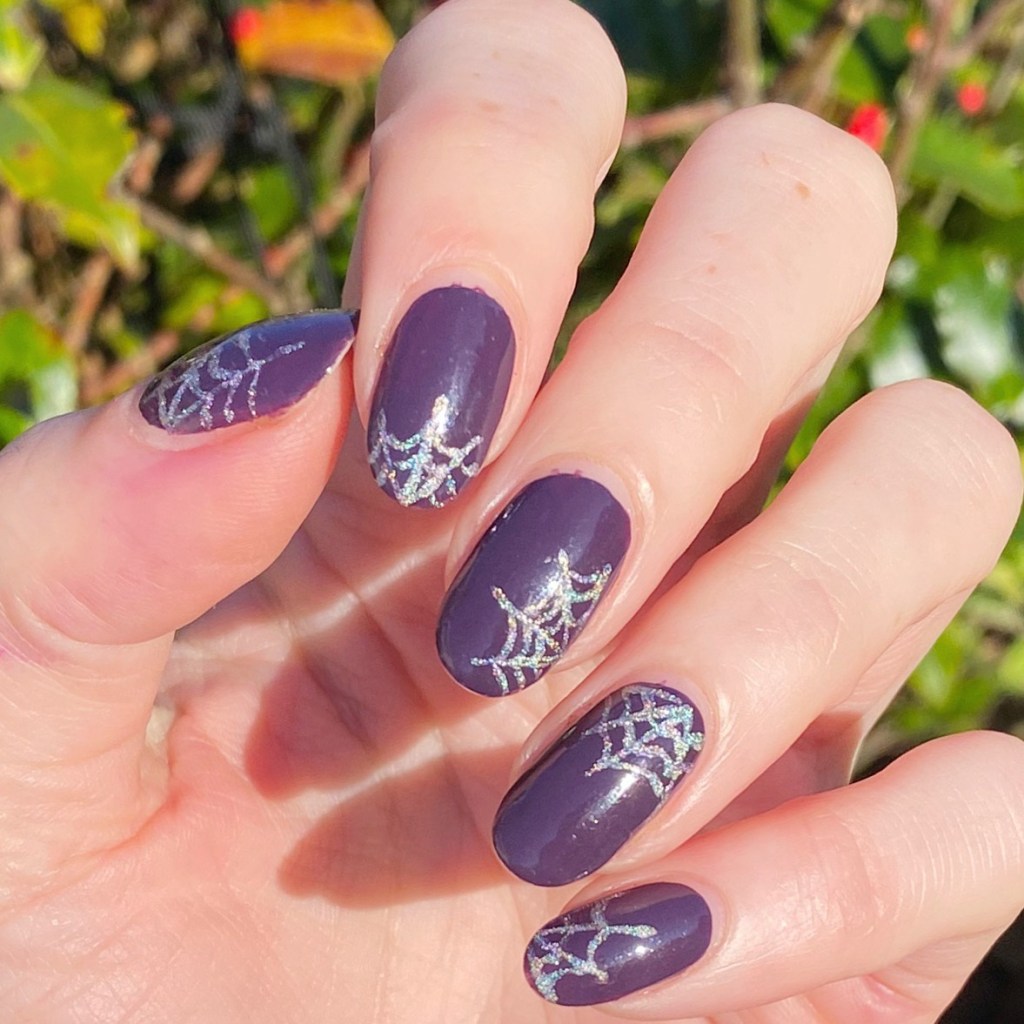

How cute are these holographic spider webs? & as someone who is fairly arachnophobic, I feel like me calling anything involving spiders is pretty huge. Ella + Mila Zephyr is a great silver hill, & makes some beautiful lines for this design. I’m a fan!

What do you think of my holographic spider webs? Do you like this design? Let me know what you think, & what Halloween treat you’ll be snacking on tonight!
Have a fun & safe Halloween loves. 🎃