Hello lovelies & happy Friday! & happy Hanukkah to all that celebrate! Today I’m excited to share the manicure I did for the Evergreen Nail Art Collab on Instagram, hosted by the ever so lovely @essieyall & @petitenaillover.
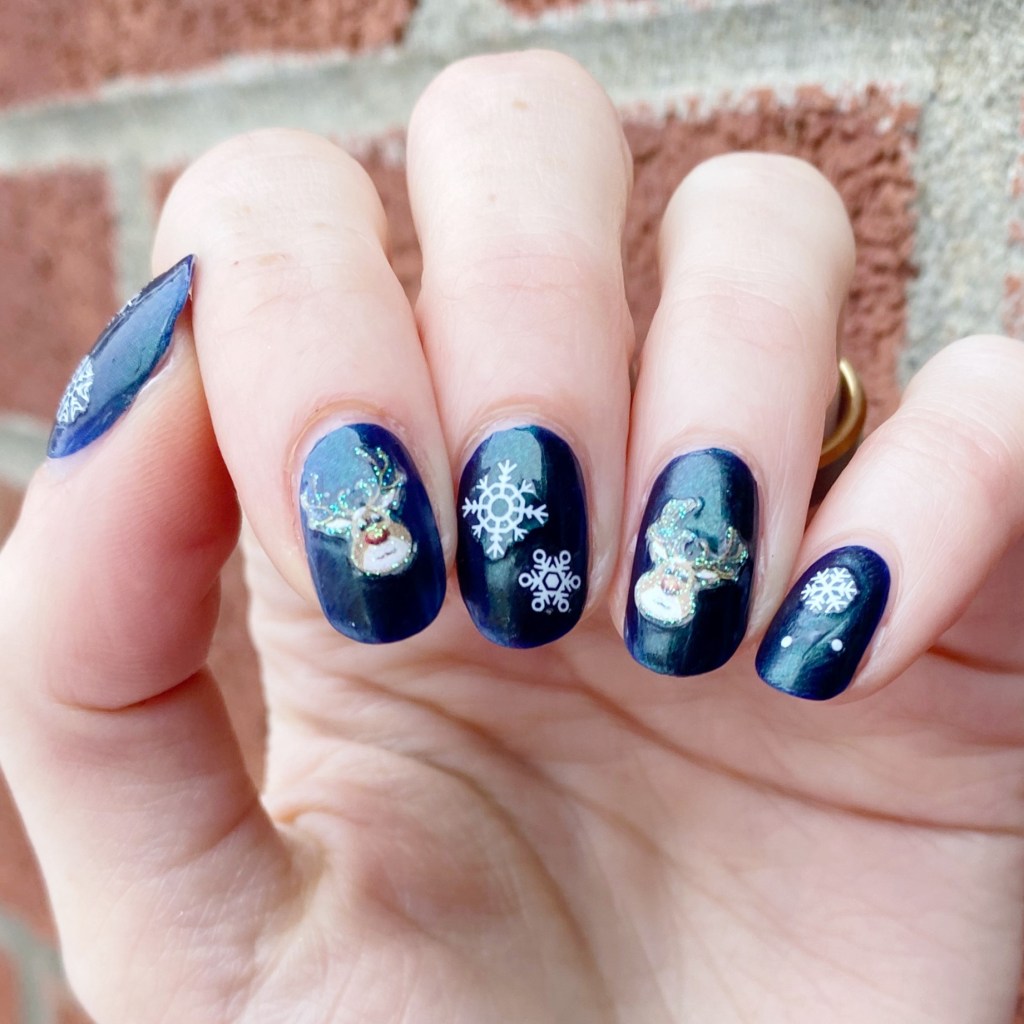
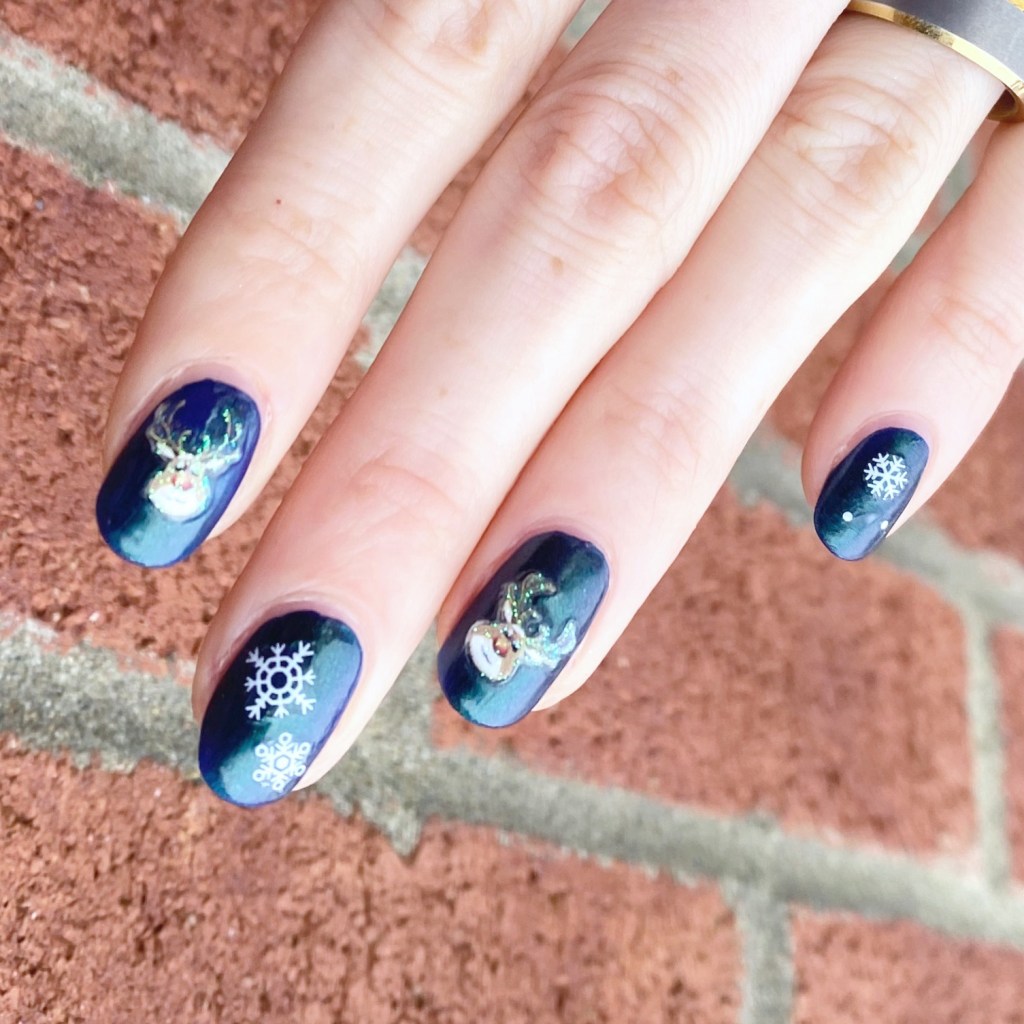
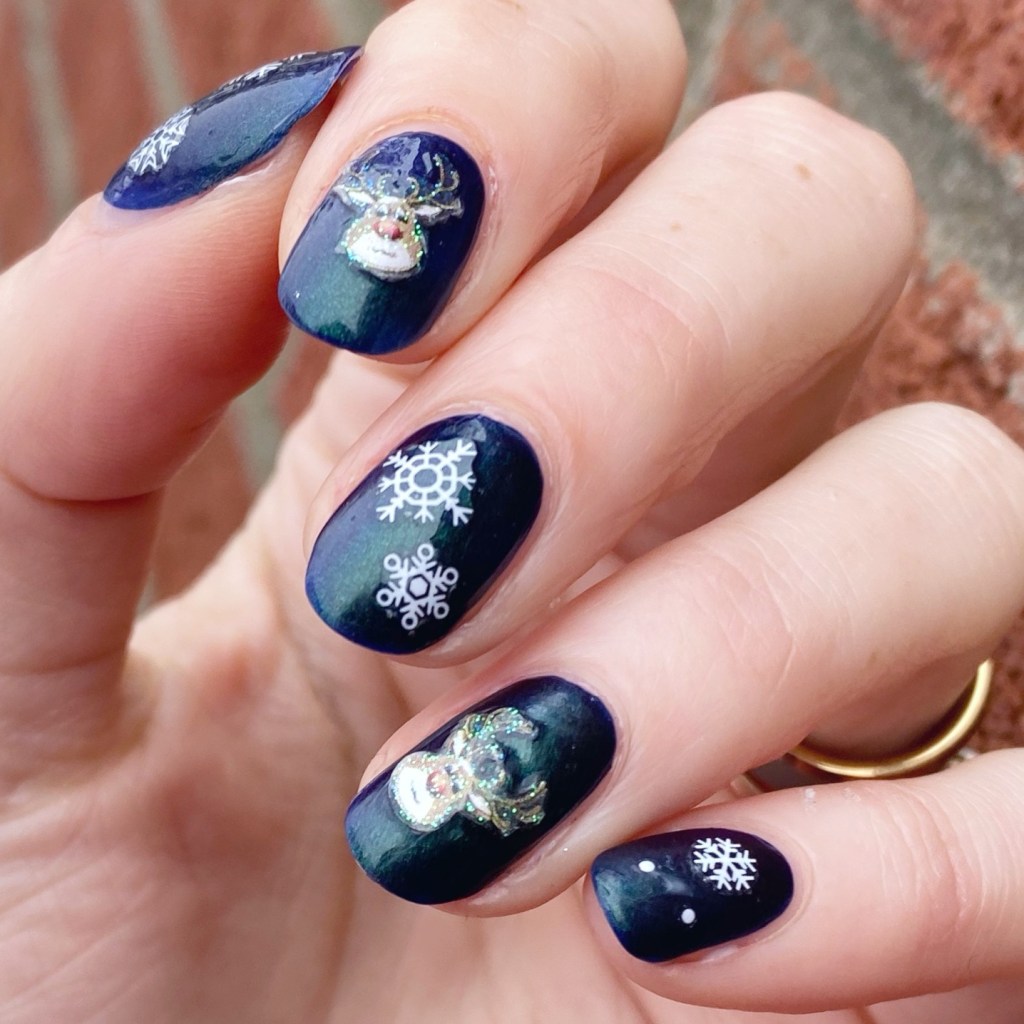
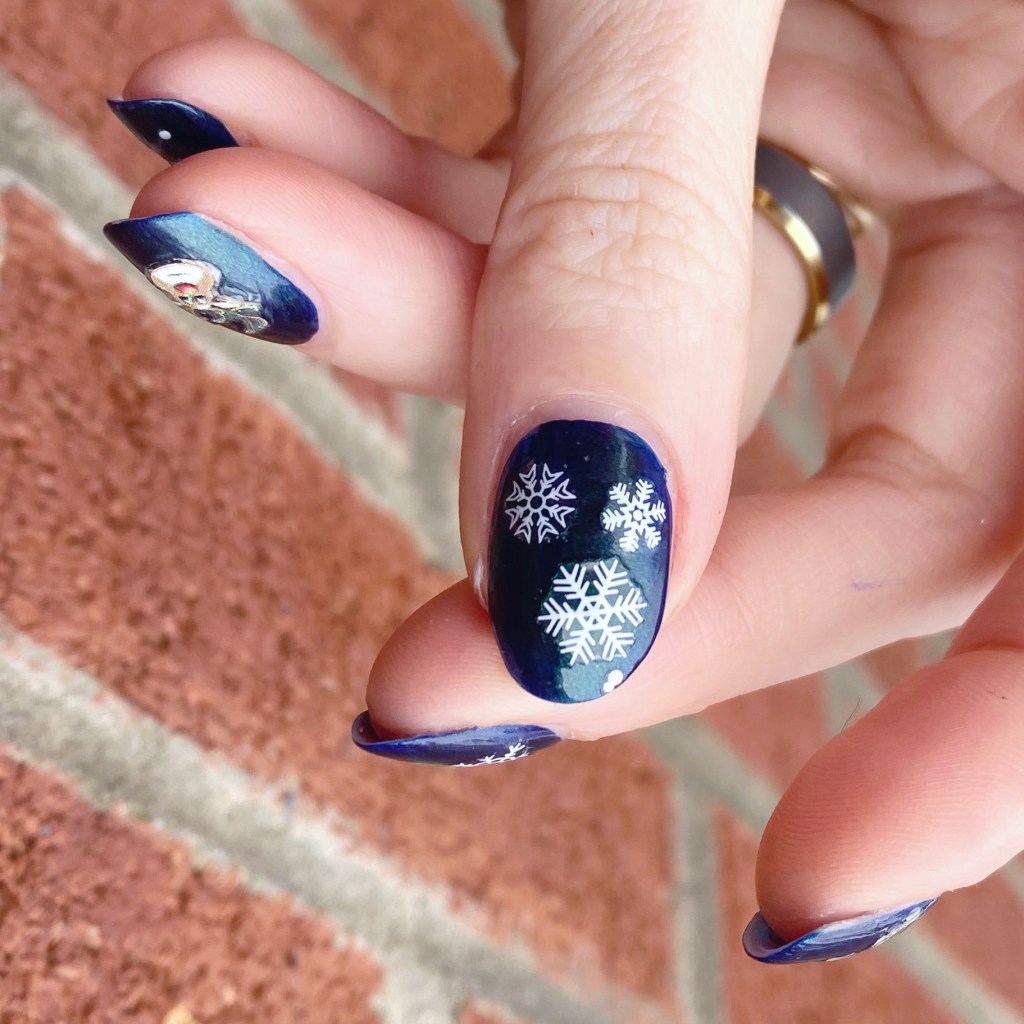
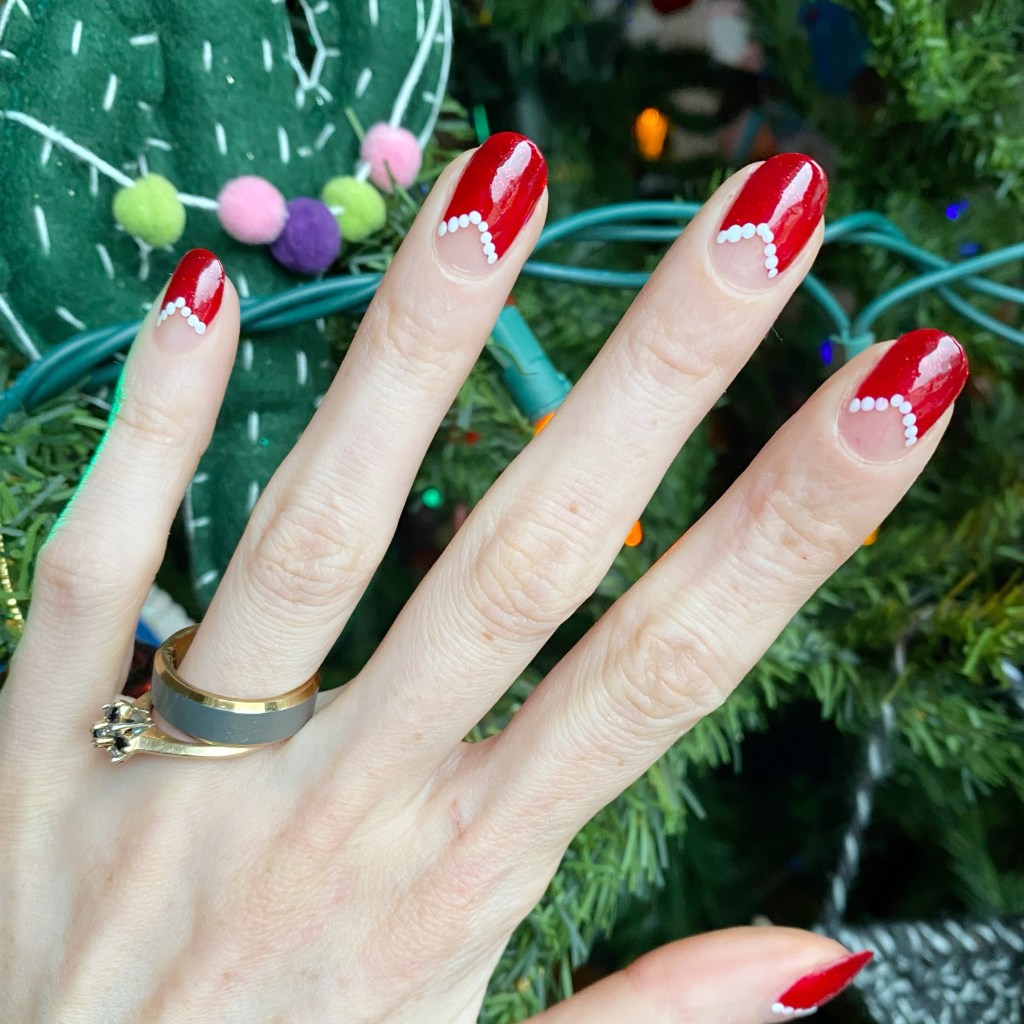
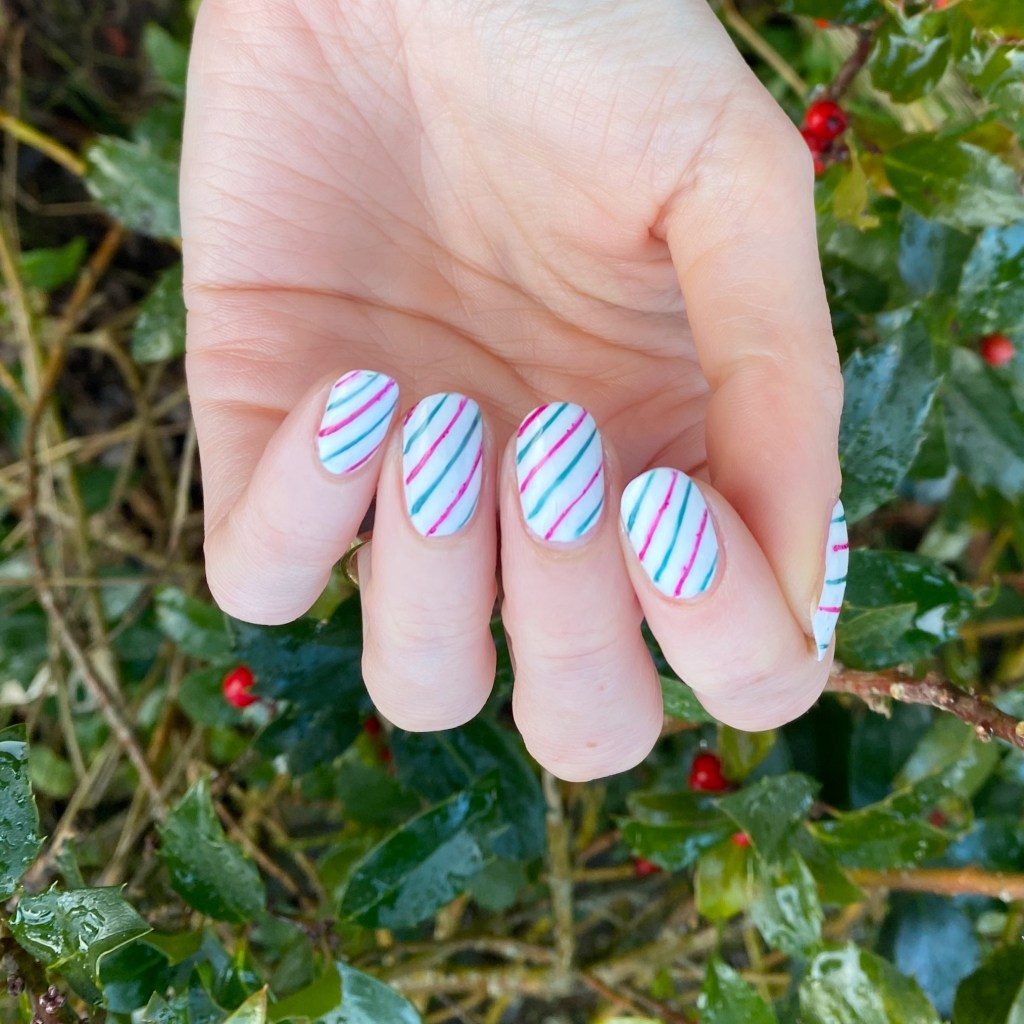
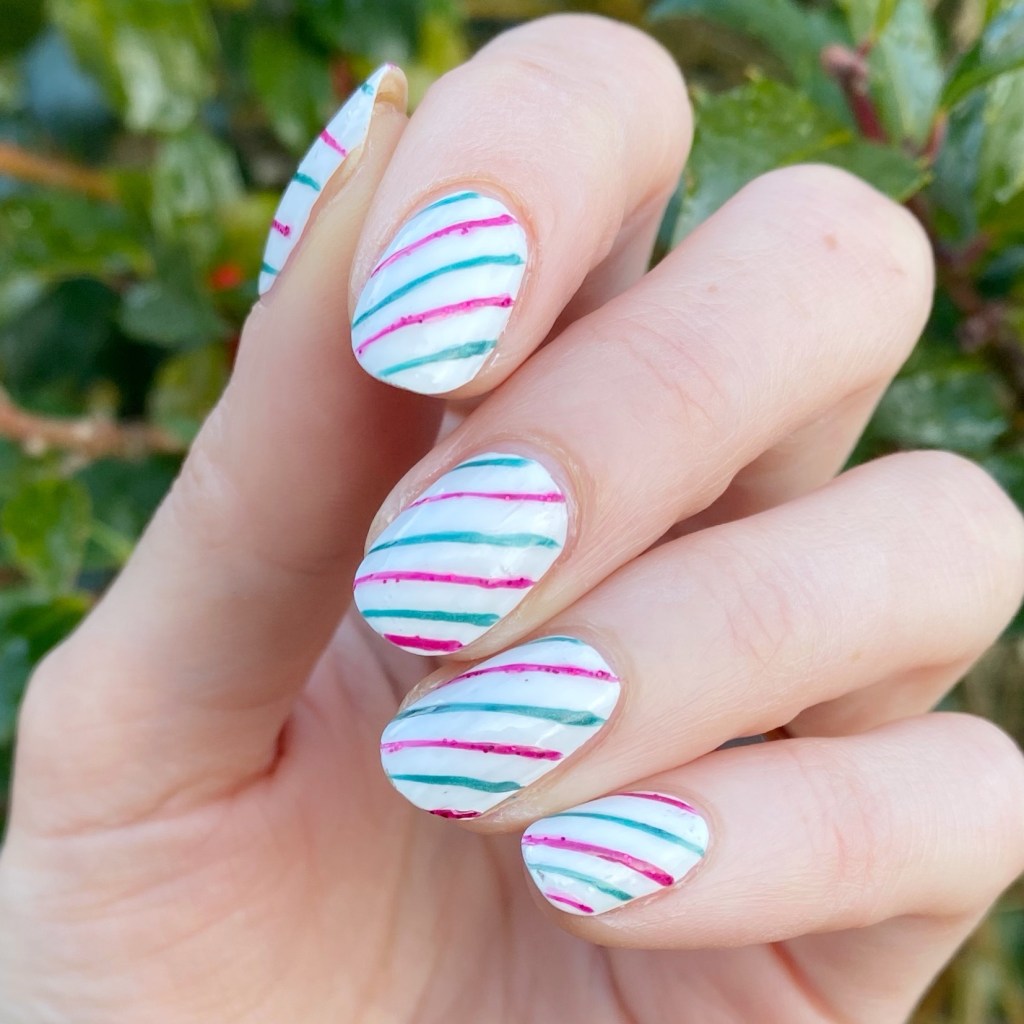
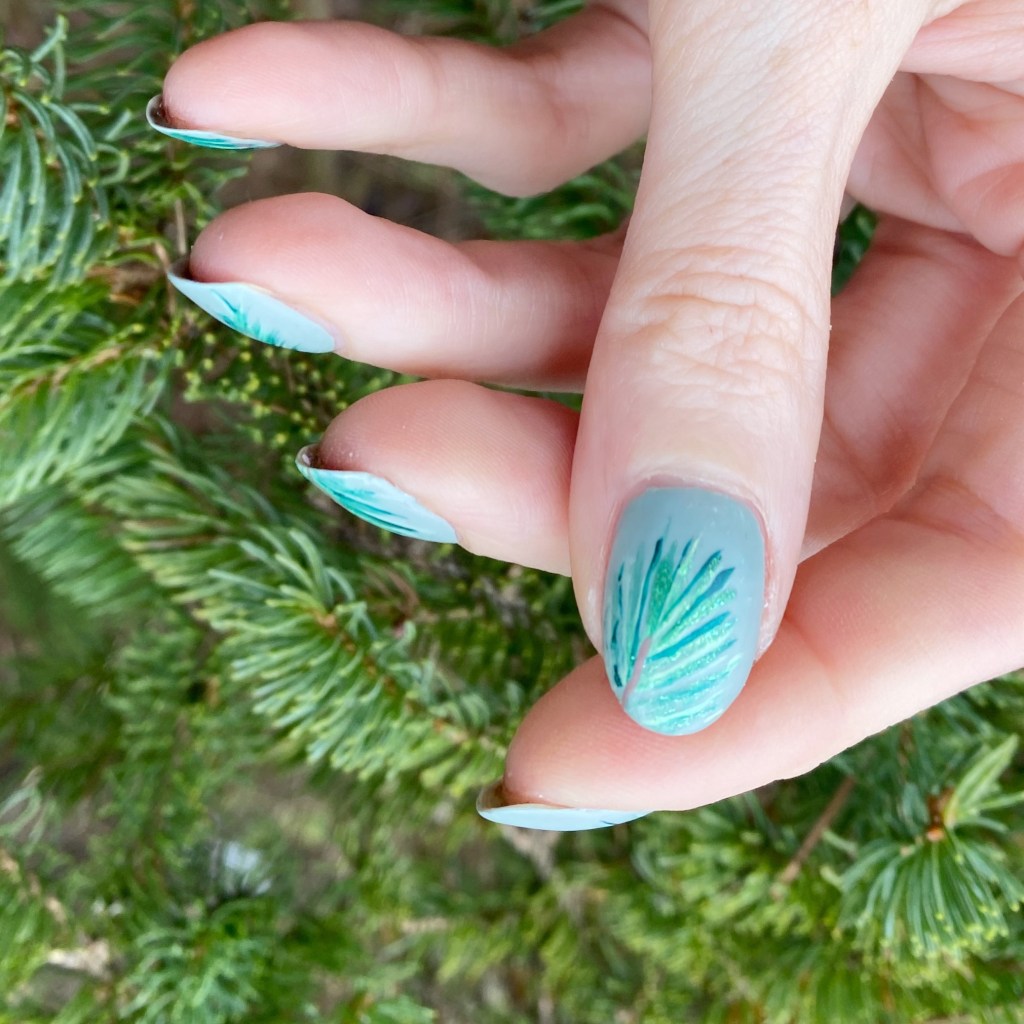
This month’s theme is Evergreen, & so I decided to go simple with some hand painted bare evergreen branches.


The polishes I used for this manicure are:
- Base Coat: Sally Hansen Miracle Gel Colour Grip Primer Base Coat
- Top Coat: Seche Vive
- Color Club Label-less grey
- Sally Hansen Miracle Gel Me, My Elf & I
- Sally Hansen Miracle Gel Wet My Thistle
- Sally Hansen InstaDri Jazzy Jade
- Sally Hansen Miracle Gel Oh My Coffee
- NailStuff.ca 7mm liner brush
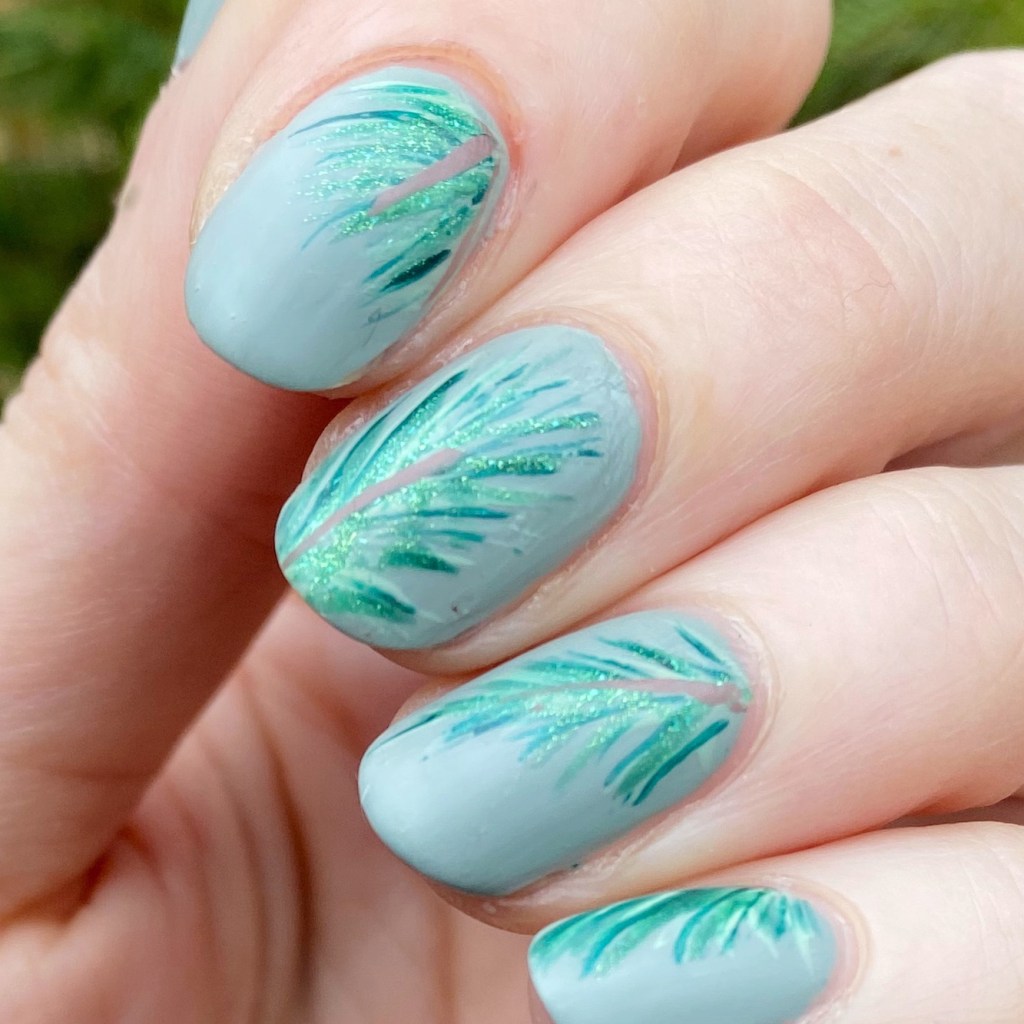
I’ve done some version of this manicure every Winter/Christmas for the last couple years, but it never gets dull or old to me. This version is a bit more subdued than previous versions, but I love how it turned out. I’m always so excited to participate in this monthly challenge, & create something fun with the prompt given.

If you want to check out the other gorgeous manicures & nail artist participating, check out #evergreennailartmanicollab2023 on Instagram!
What do you think of my evergreen nails? Do they feel festive to you? Let me know all your thoughts down in the comments below!
Happy Friday! 🖤