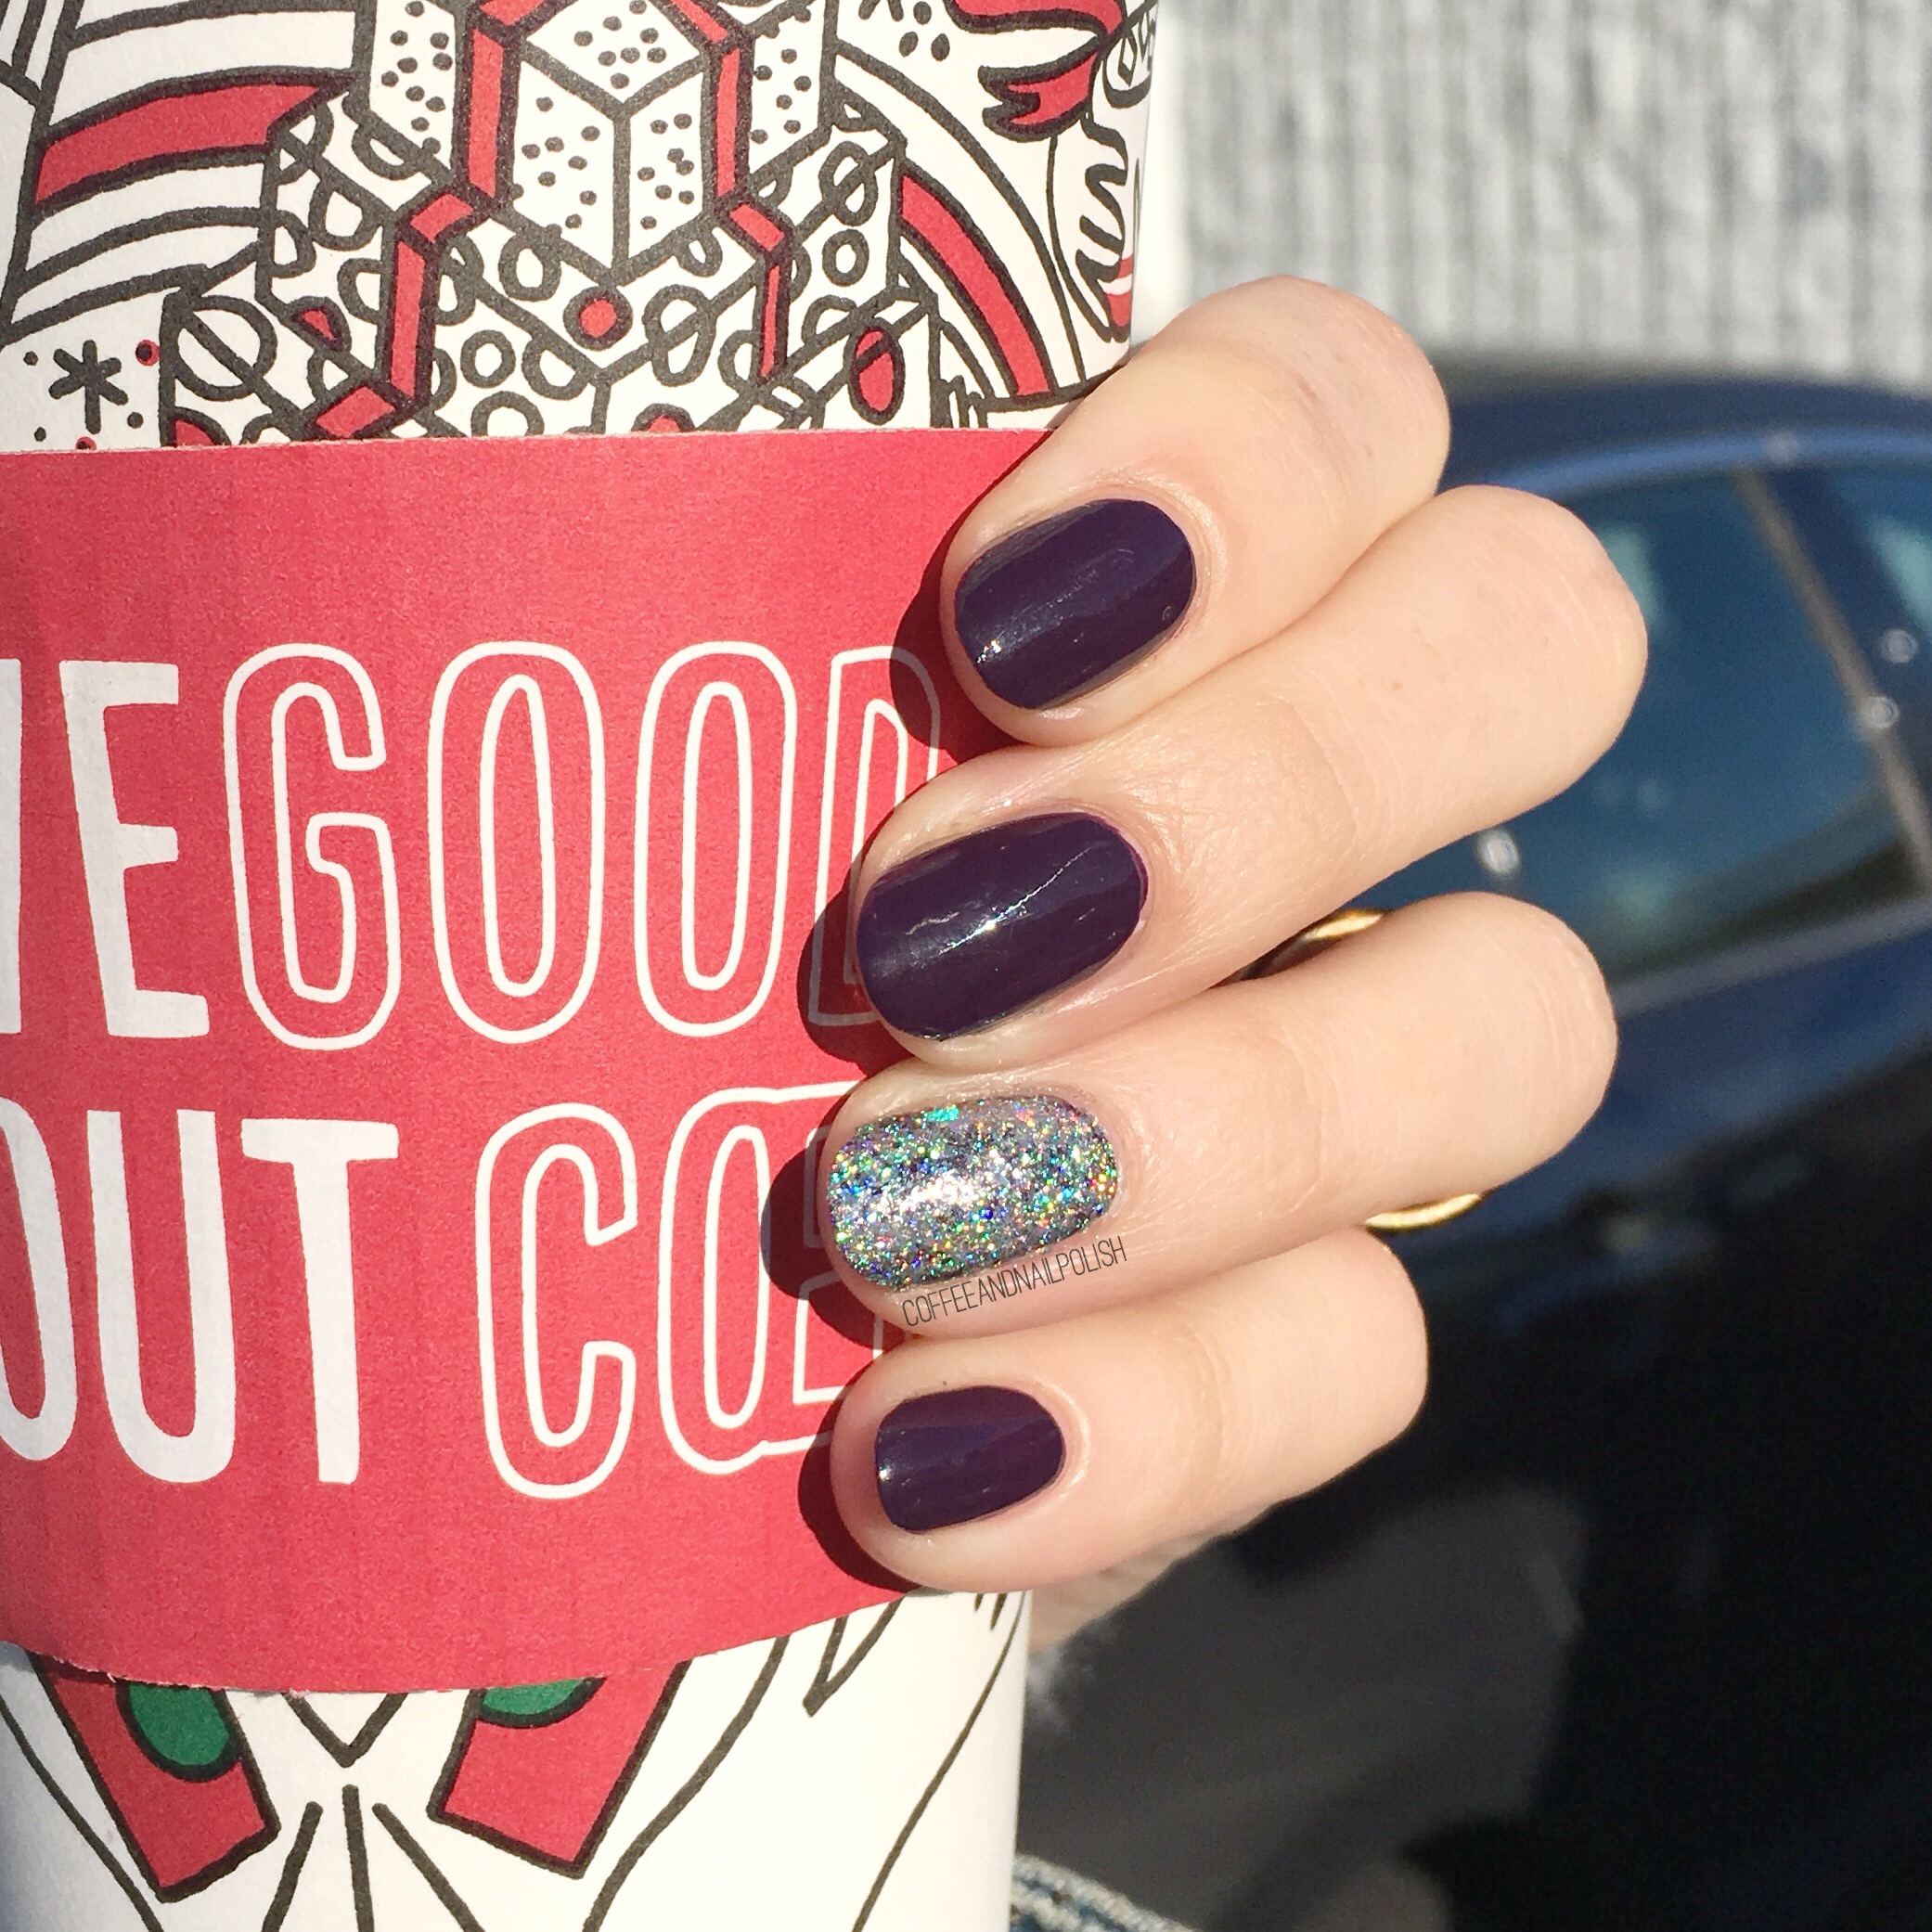
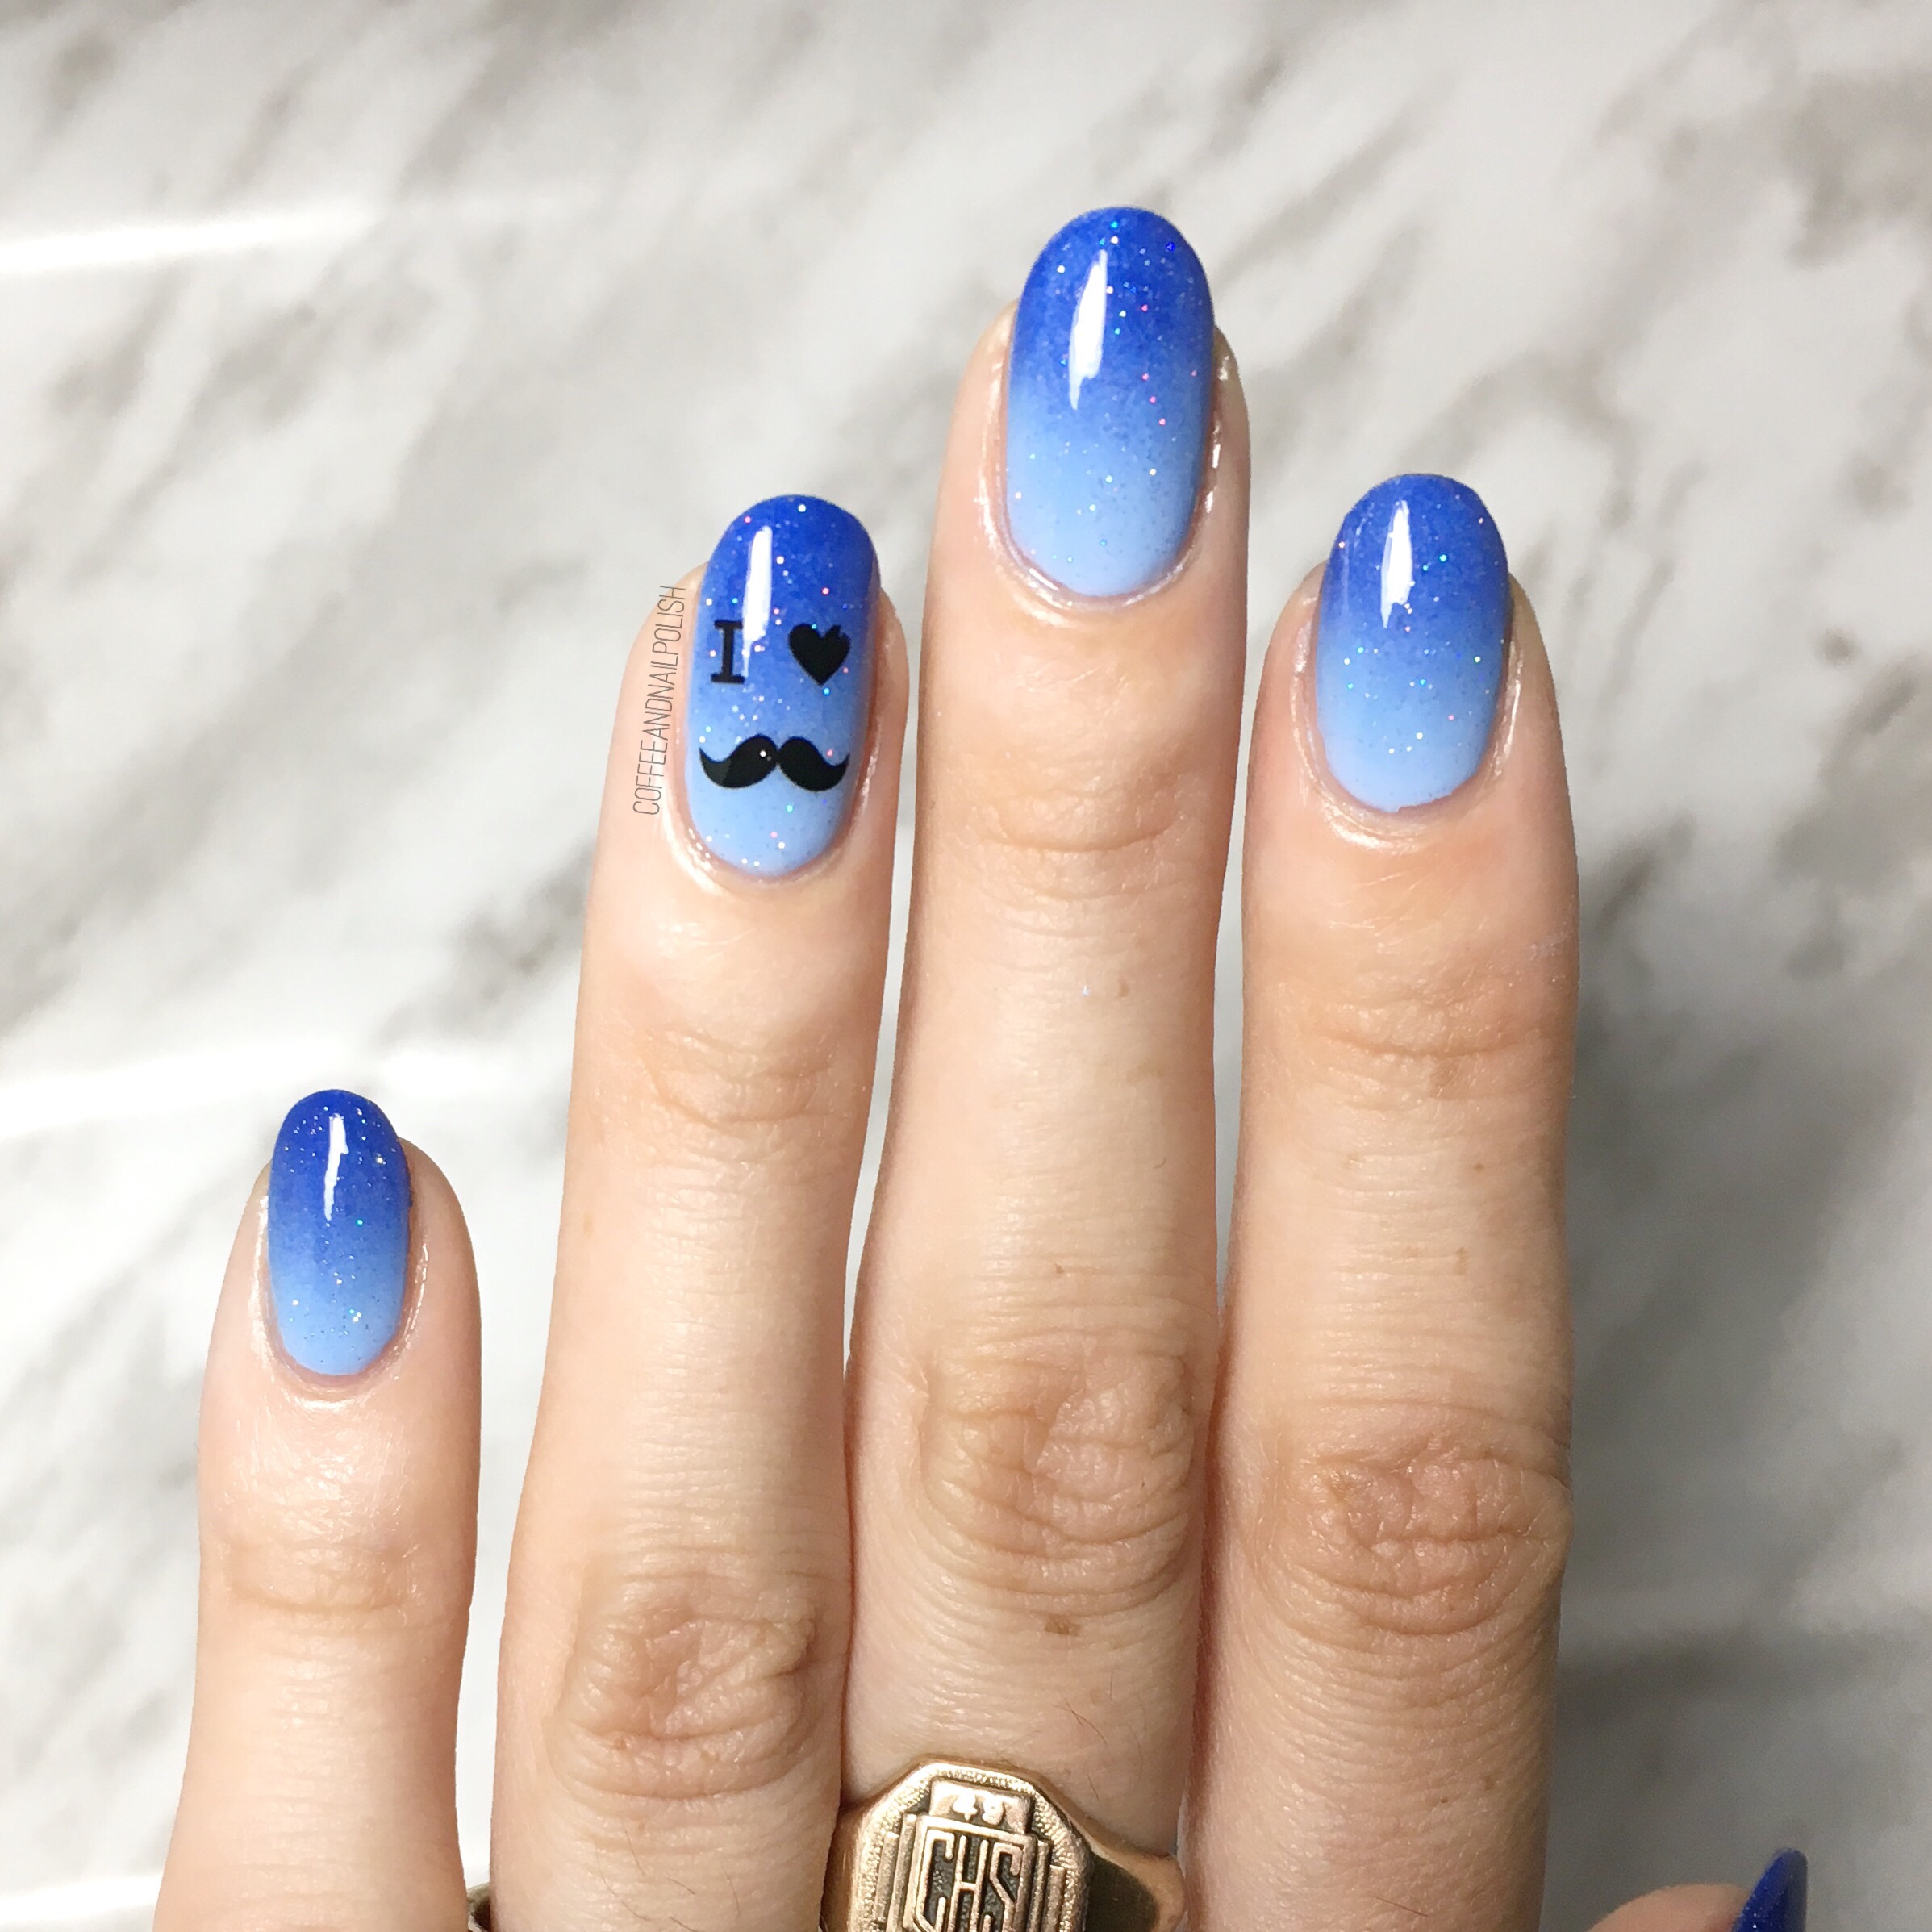
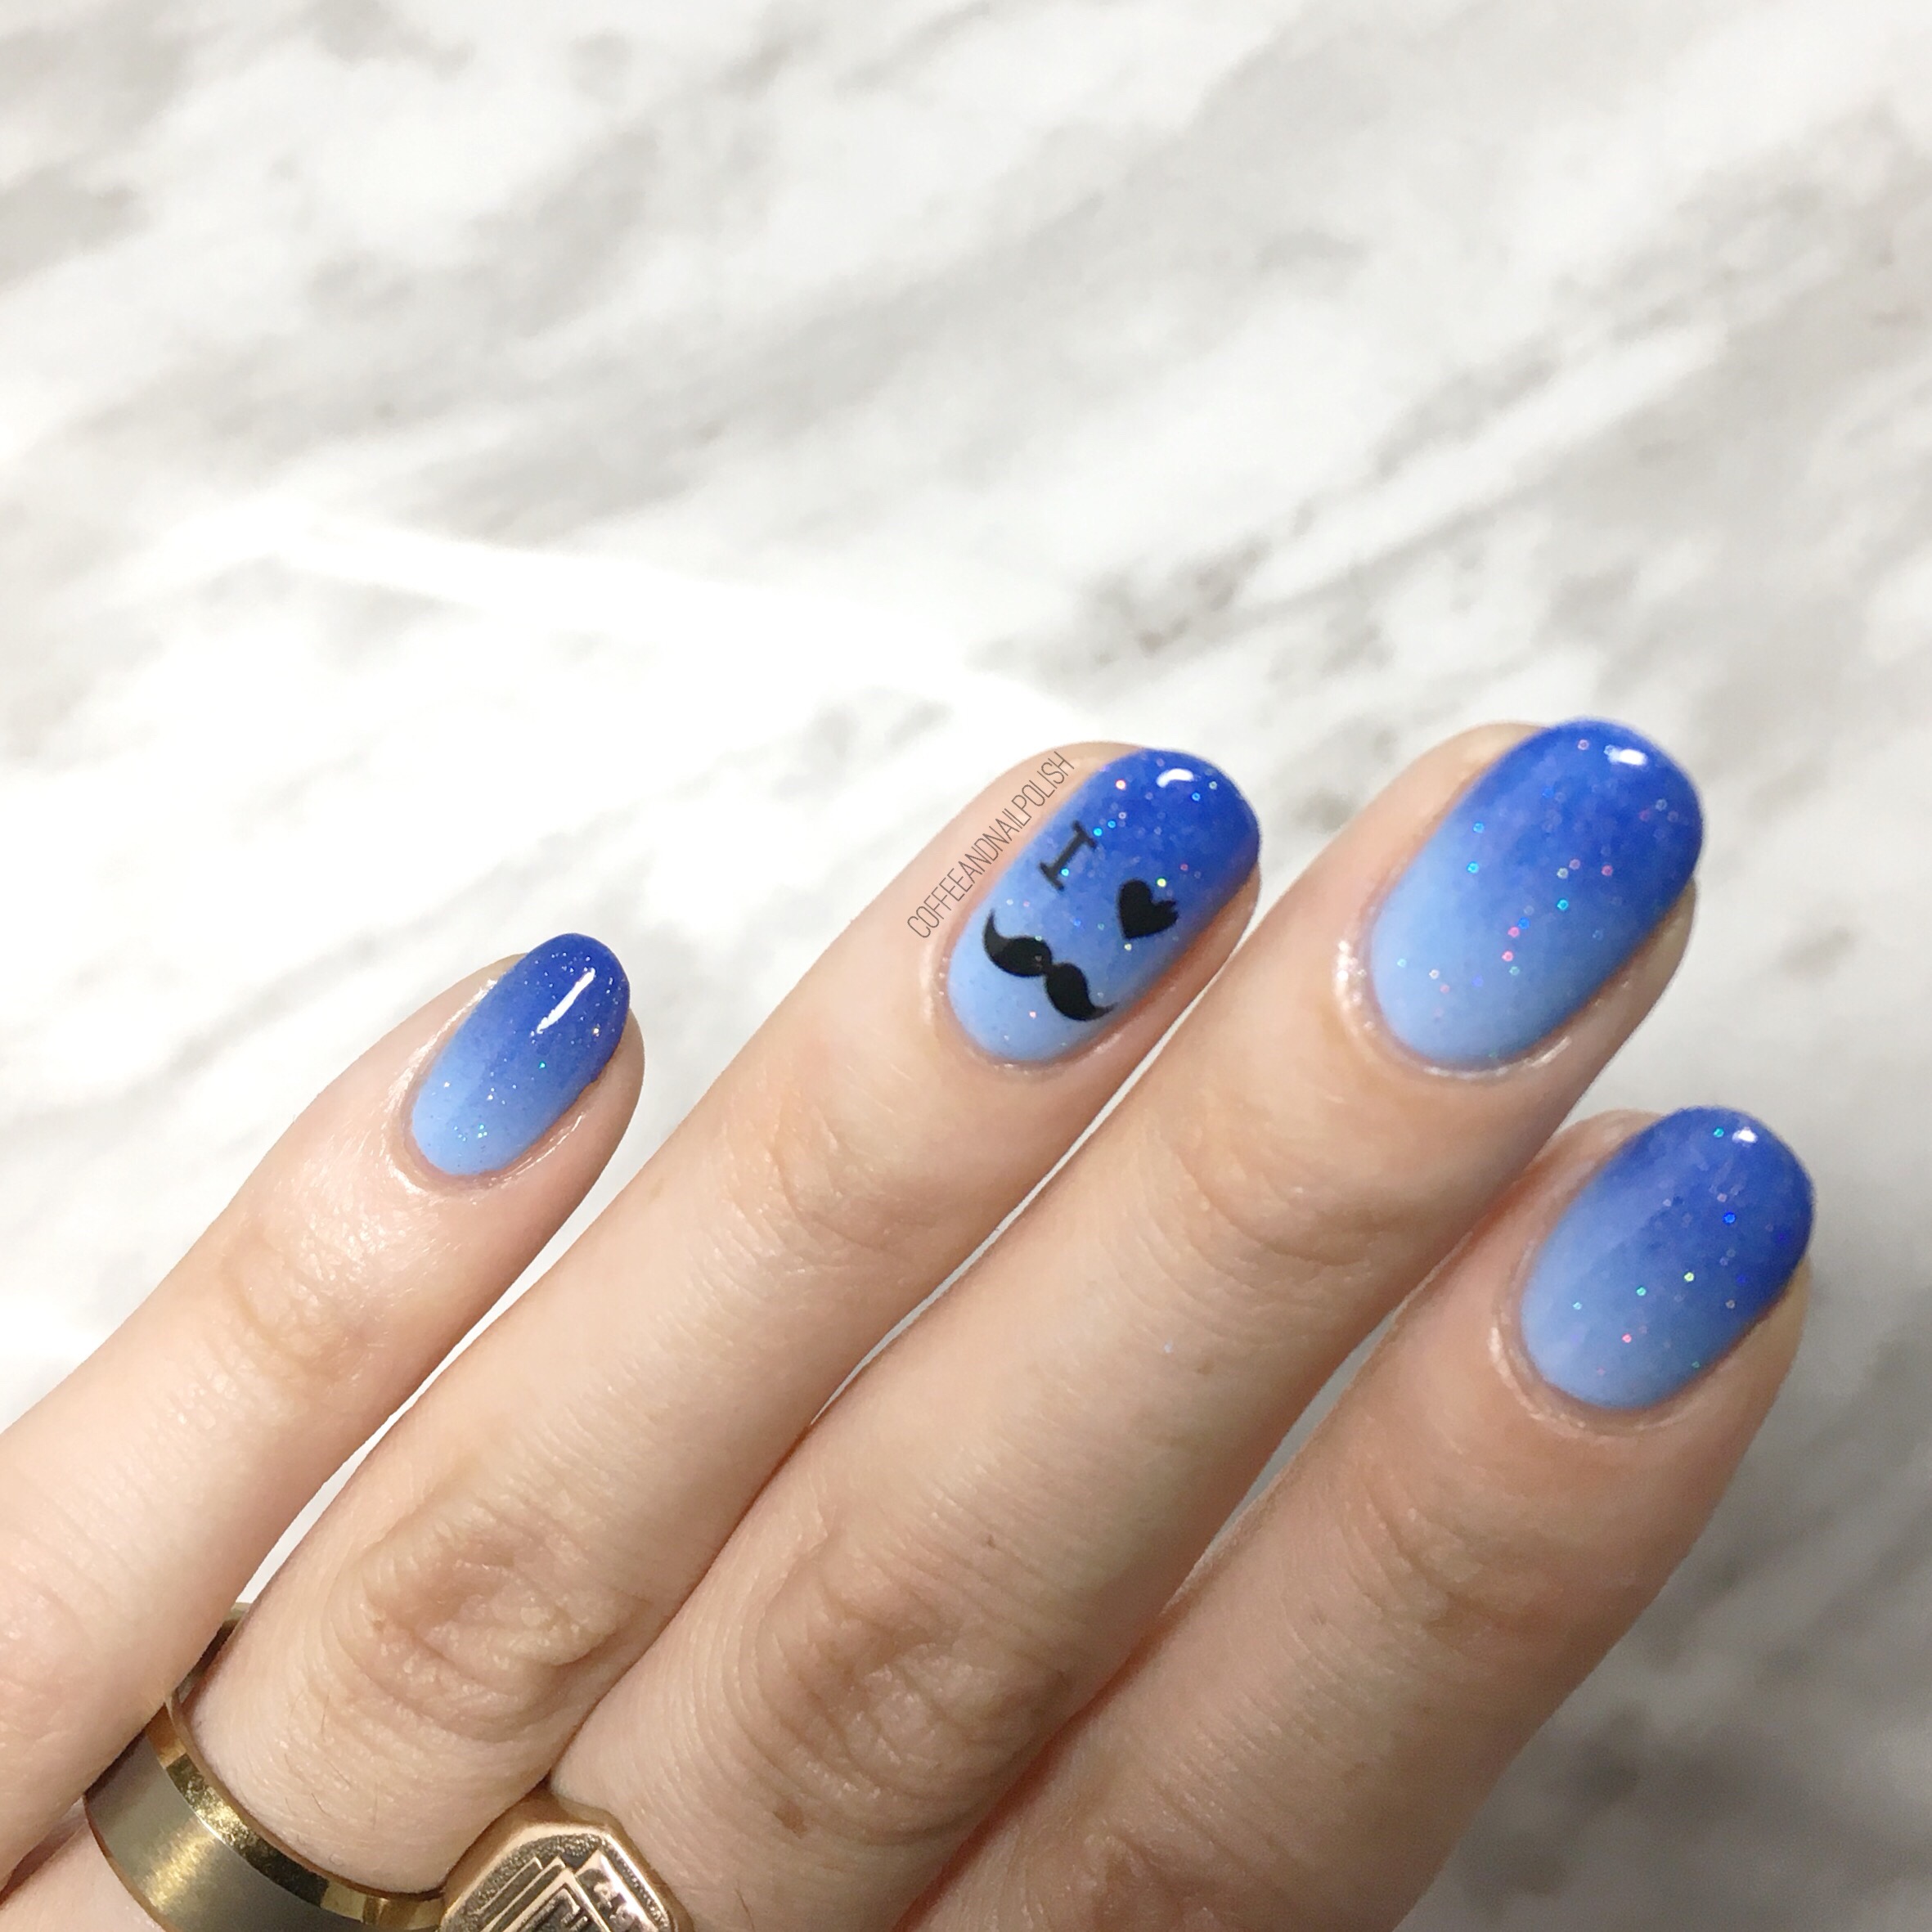
It’s Movember & I’ve had these Born Pretty water decals sitting in my nail art supplies for absolute ages. Like… 3 years. So after my successful first time experience with the water decals from NailStuff.ca, I decided it was finally time to give these babies a try, just in time to celebrate Movember!
Sadly I searched Born Pretty to see if they still had these in stock & couldn’t find them or anything similar. But if you wanted to recreate this design, you could use this stamping plate as it has the same design on it.
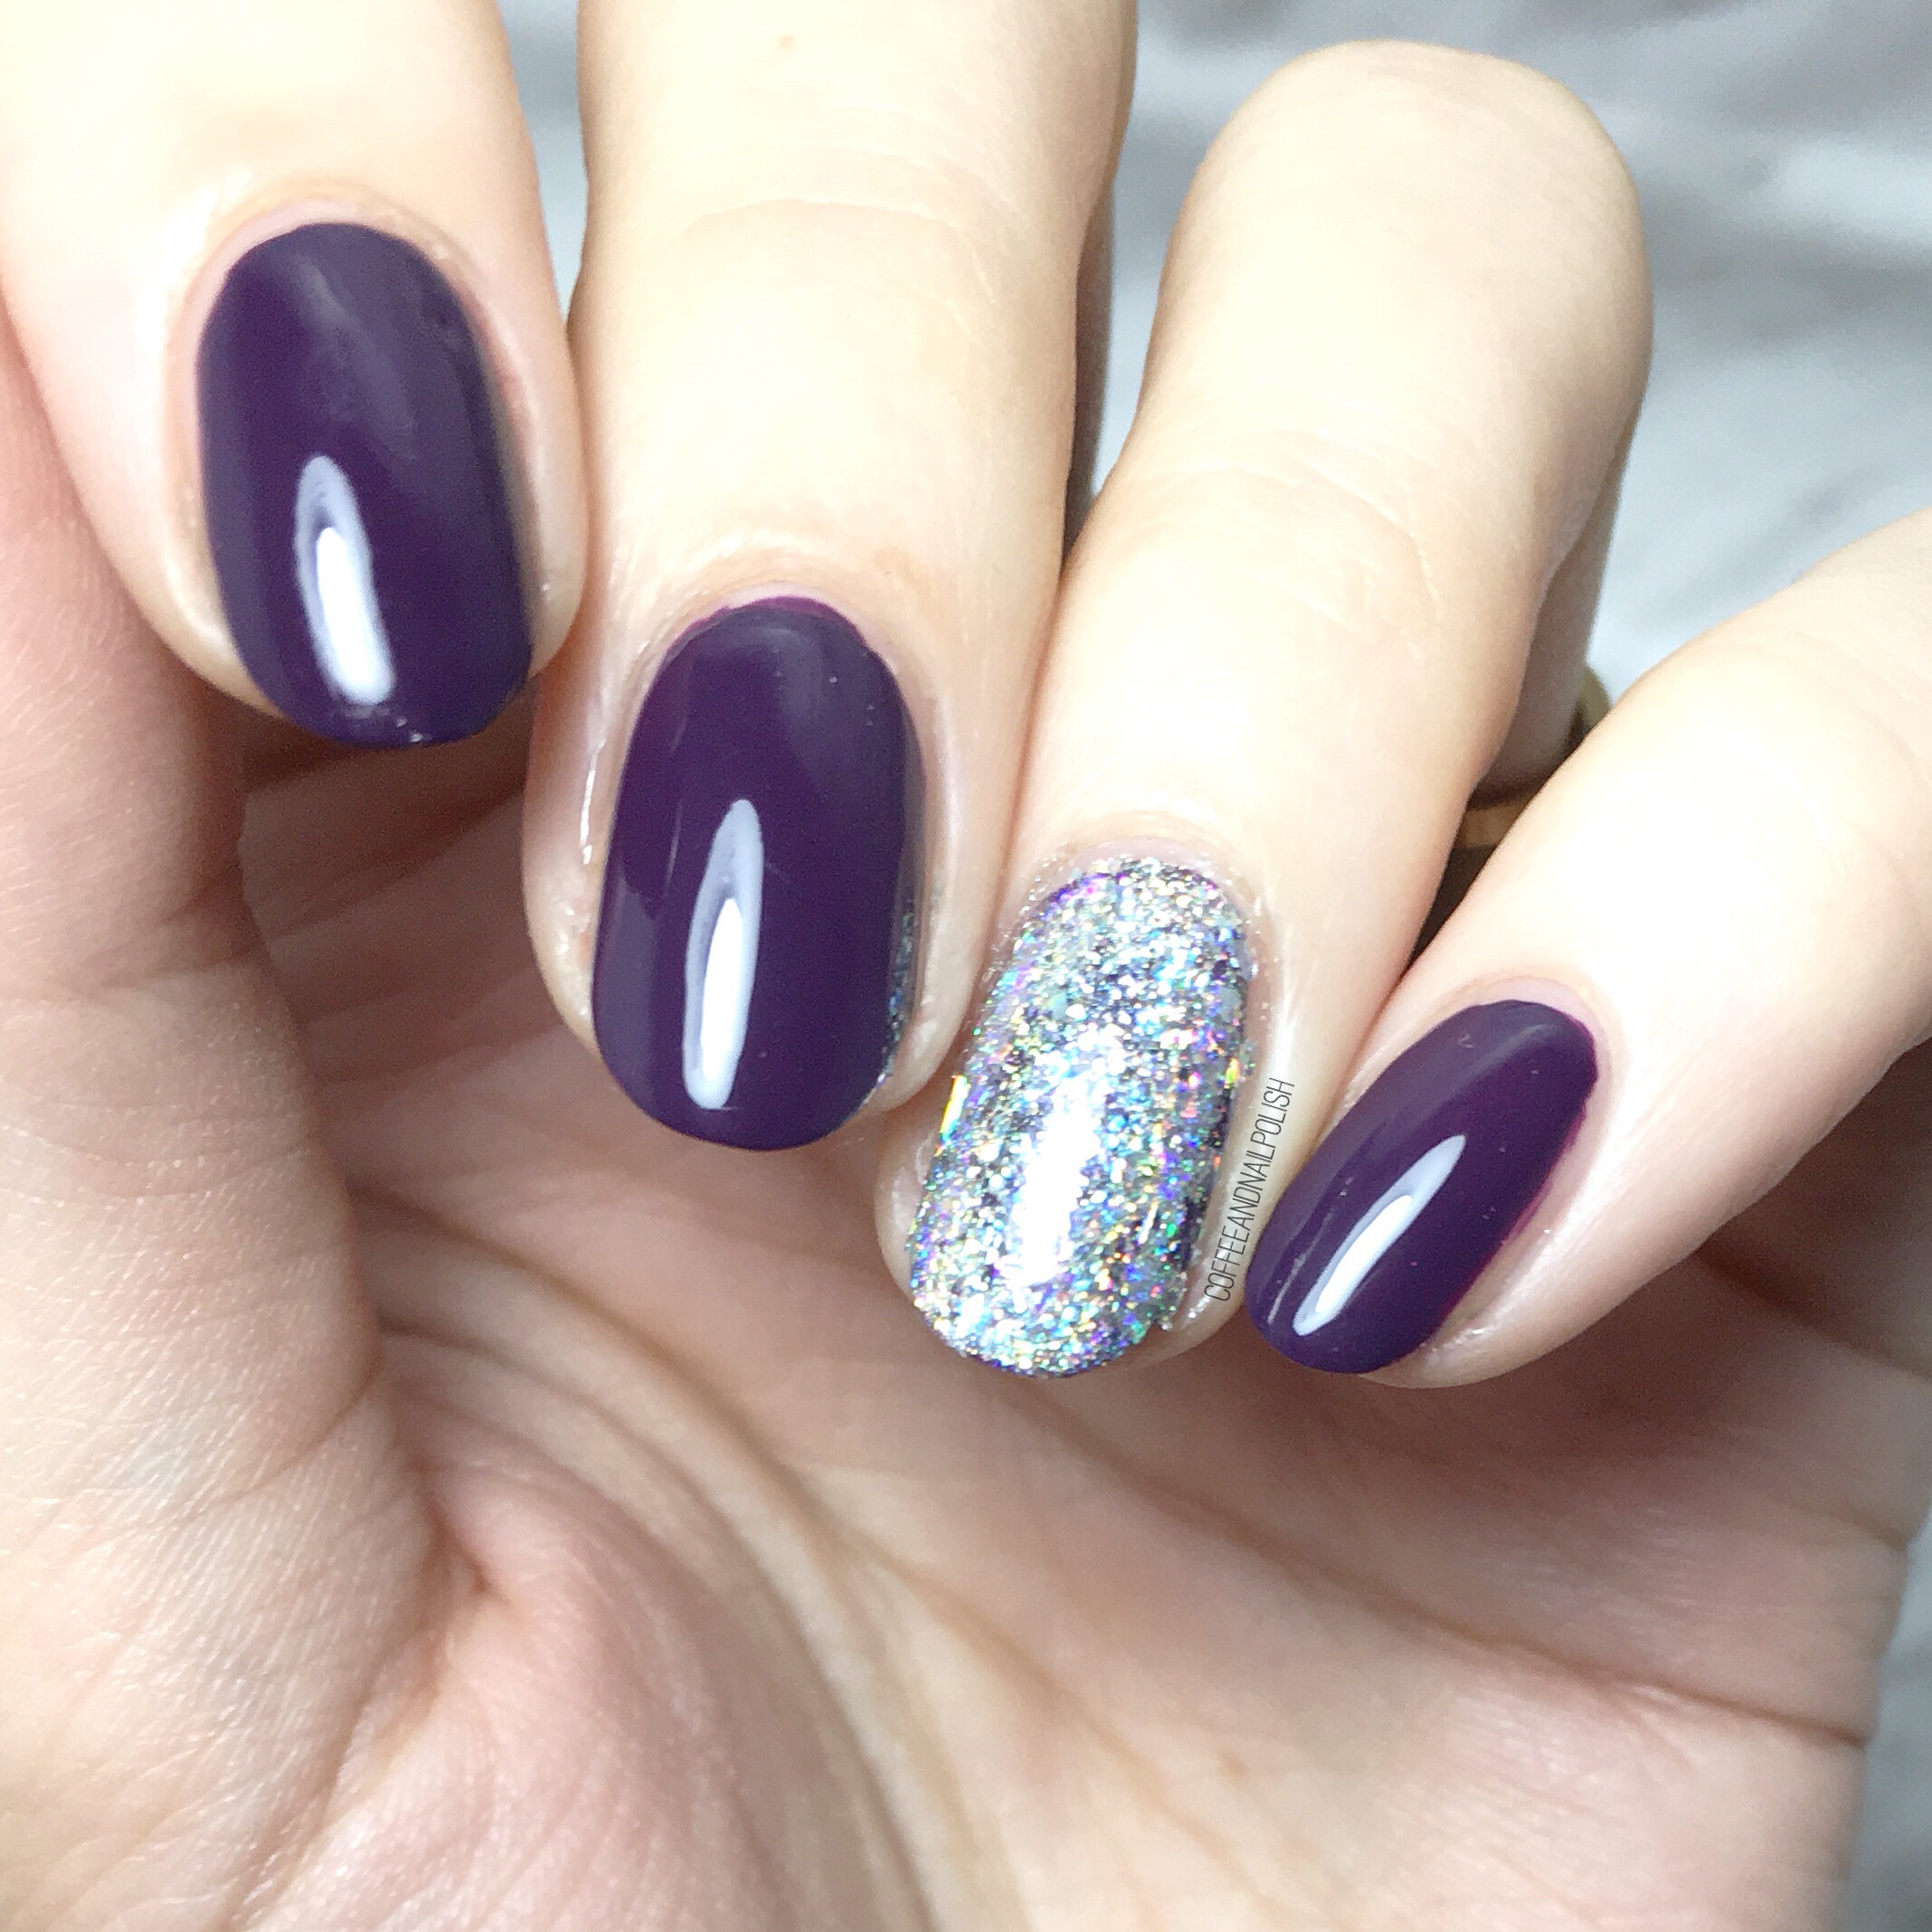
For this manicure, the polishes used were:
- Base Coat: Essie Grow Stronger
- Top Coat: Seche Vive
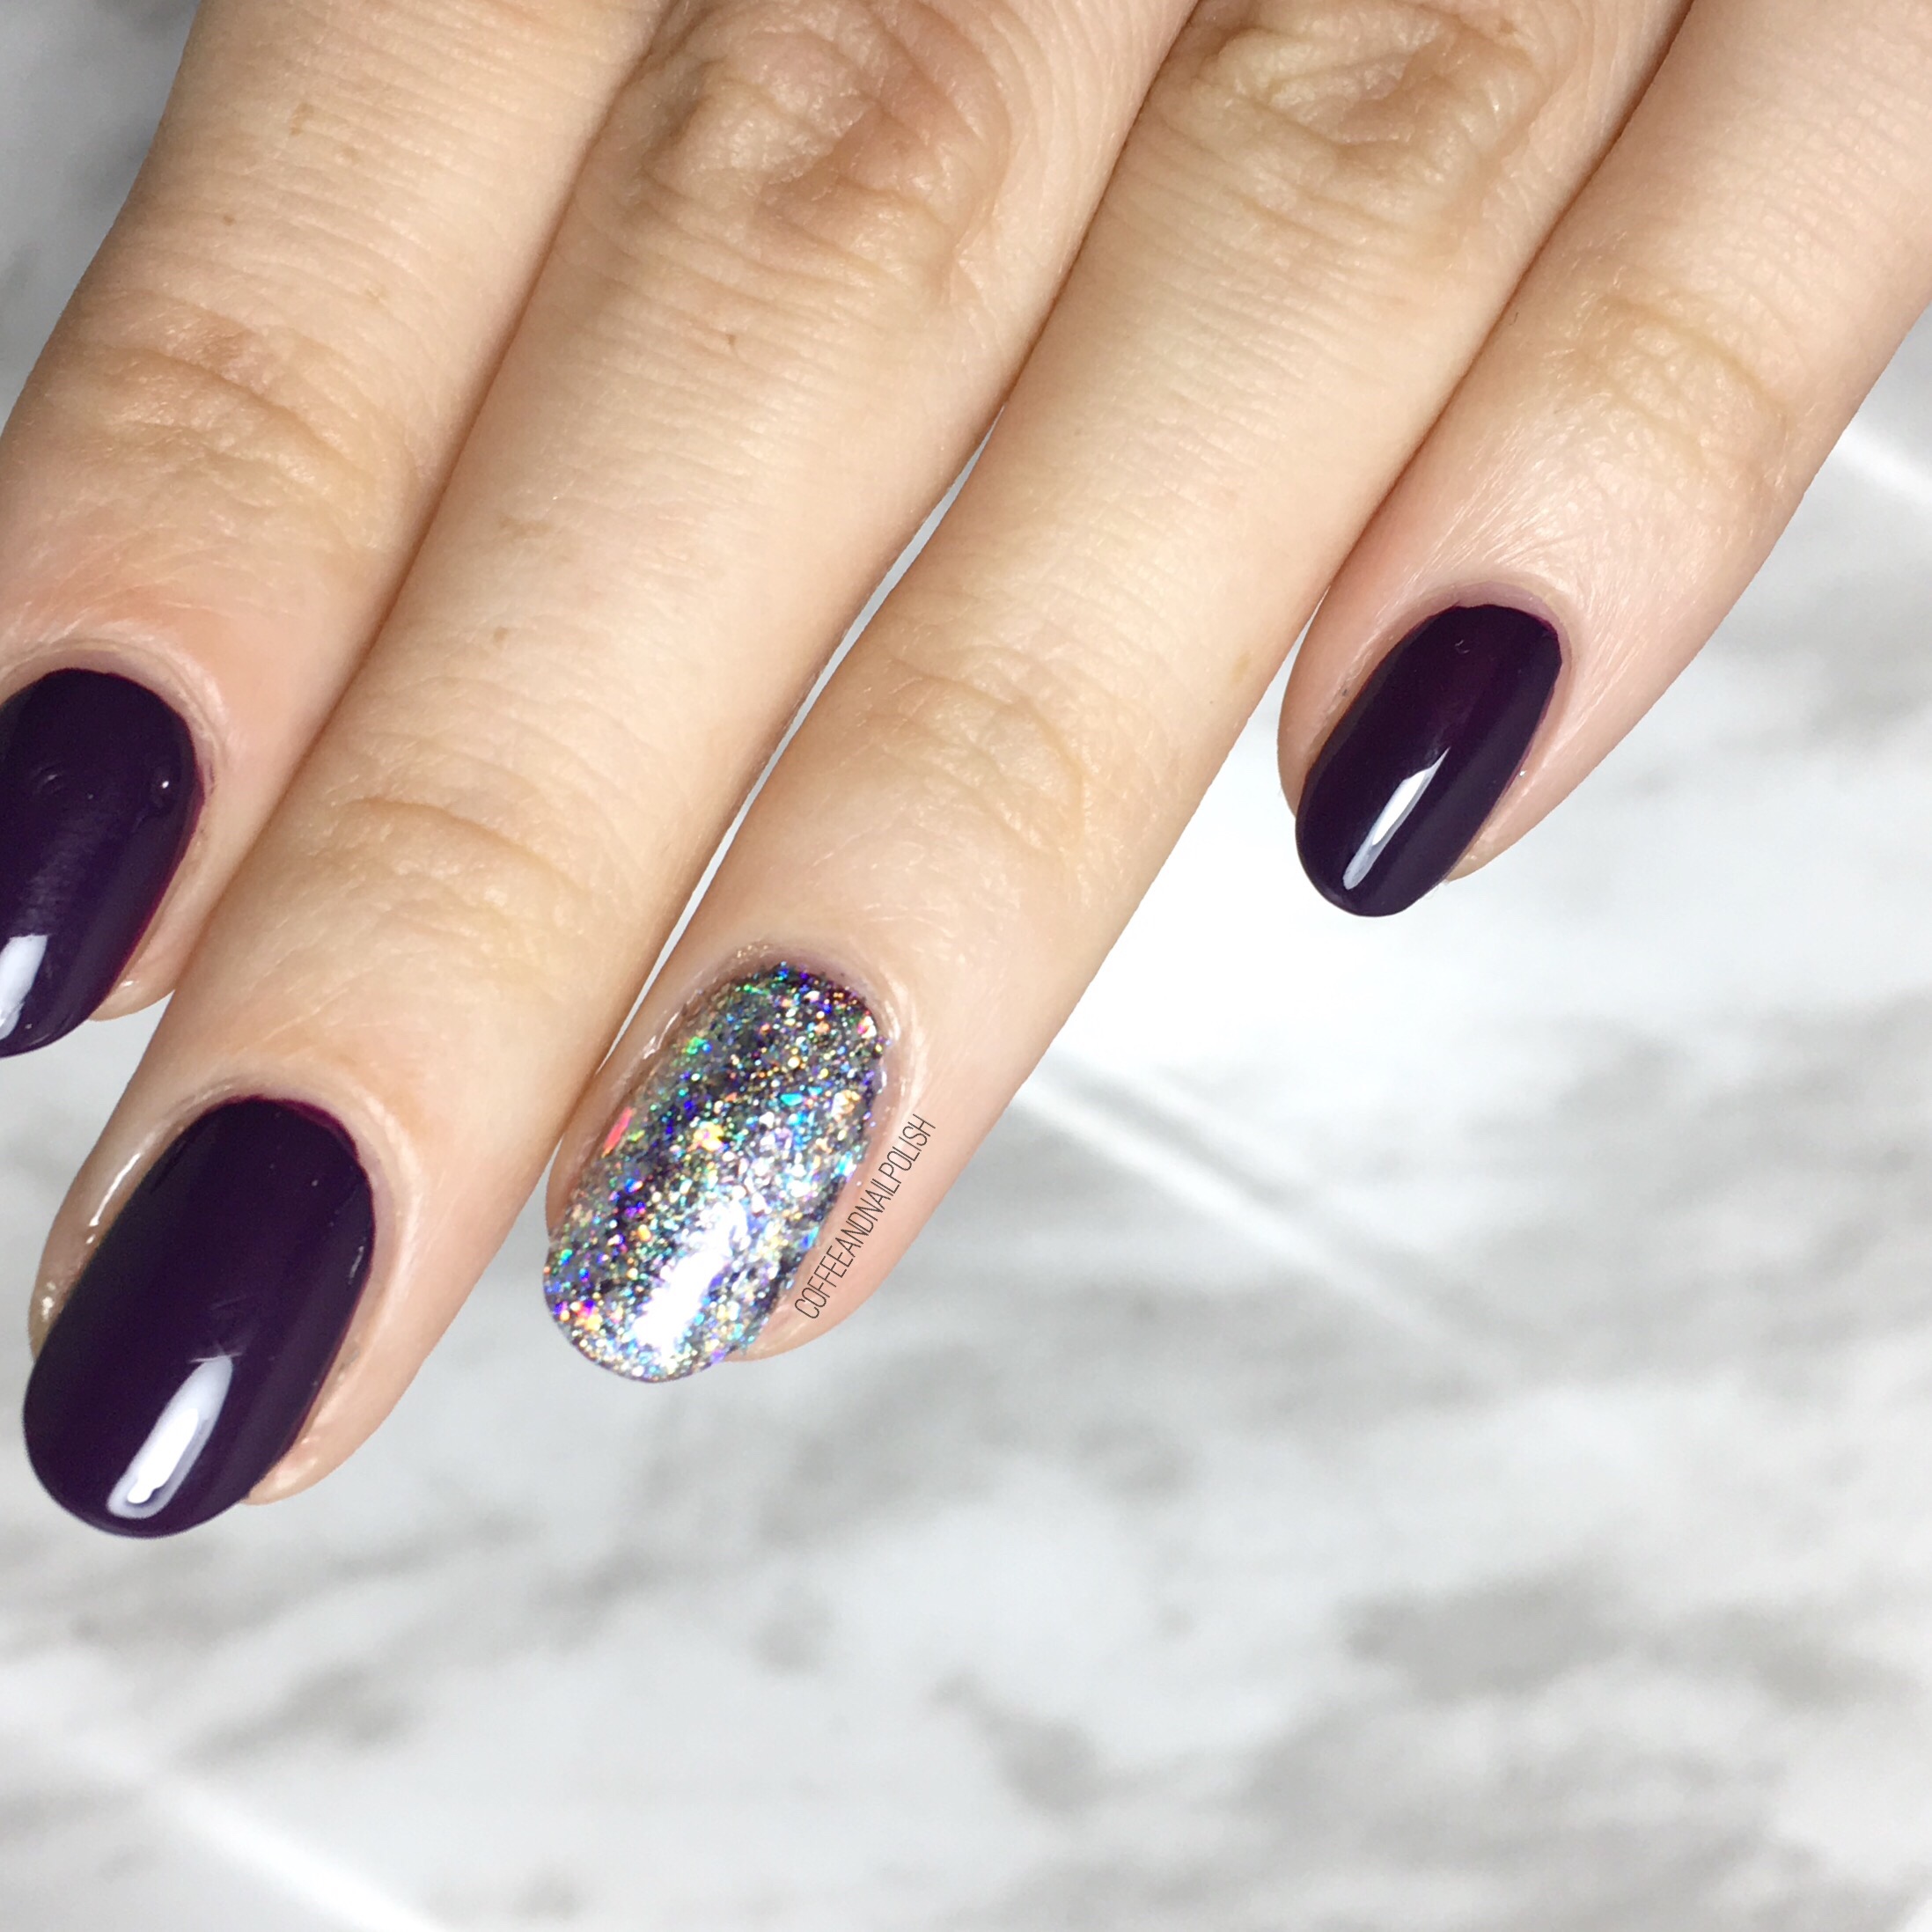
- Essie Bikini So Teeny
- China Glaze Secret Peri-wink-le
- Sally Hansen Miracle Gel Beatnik
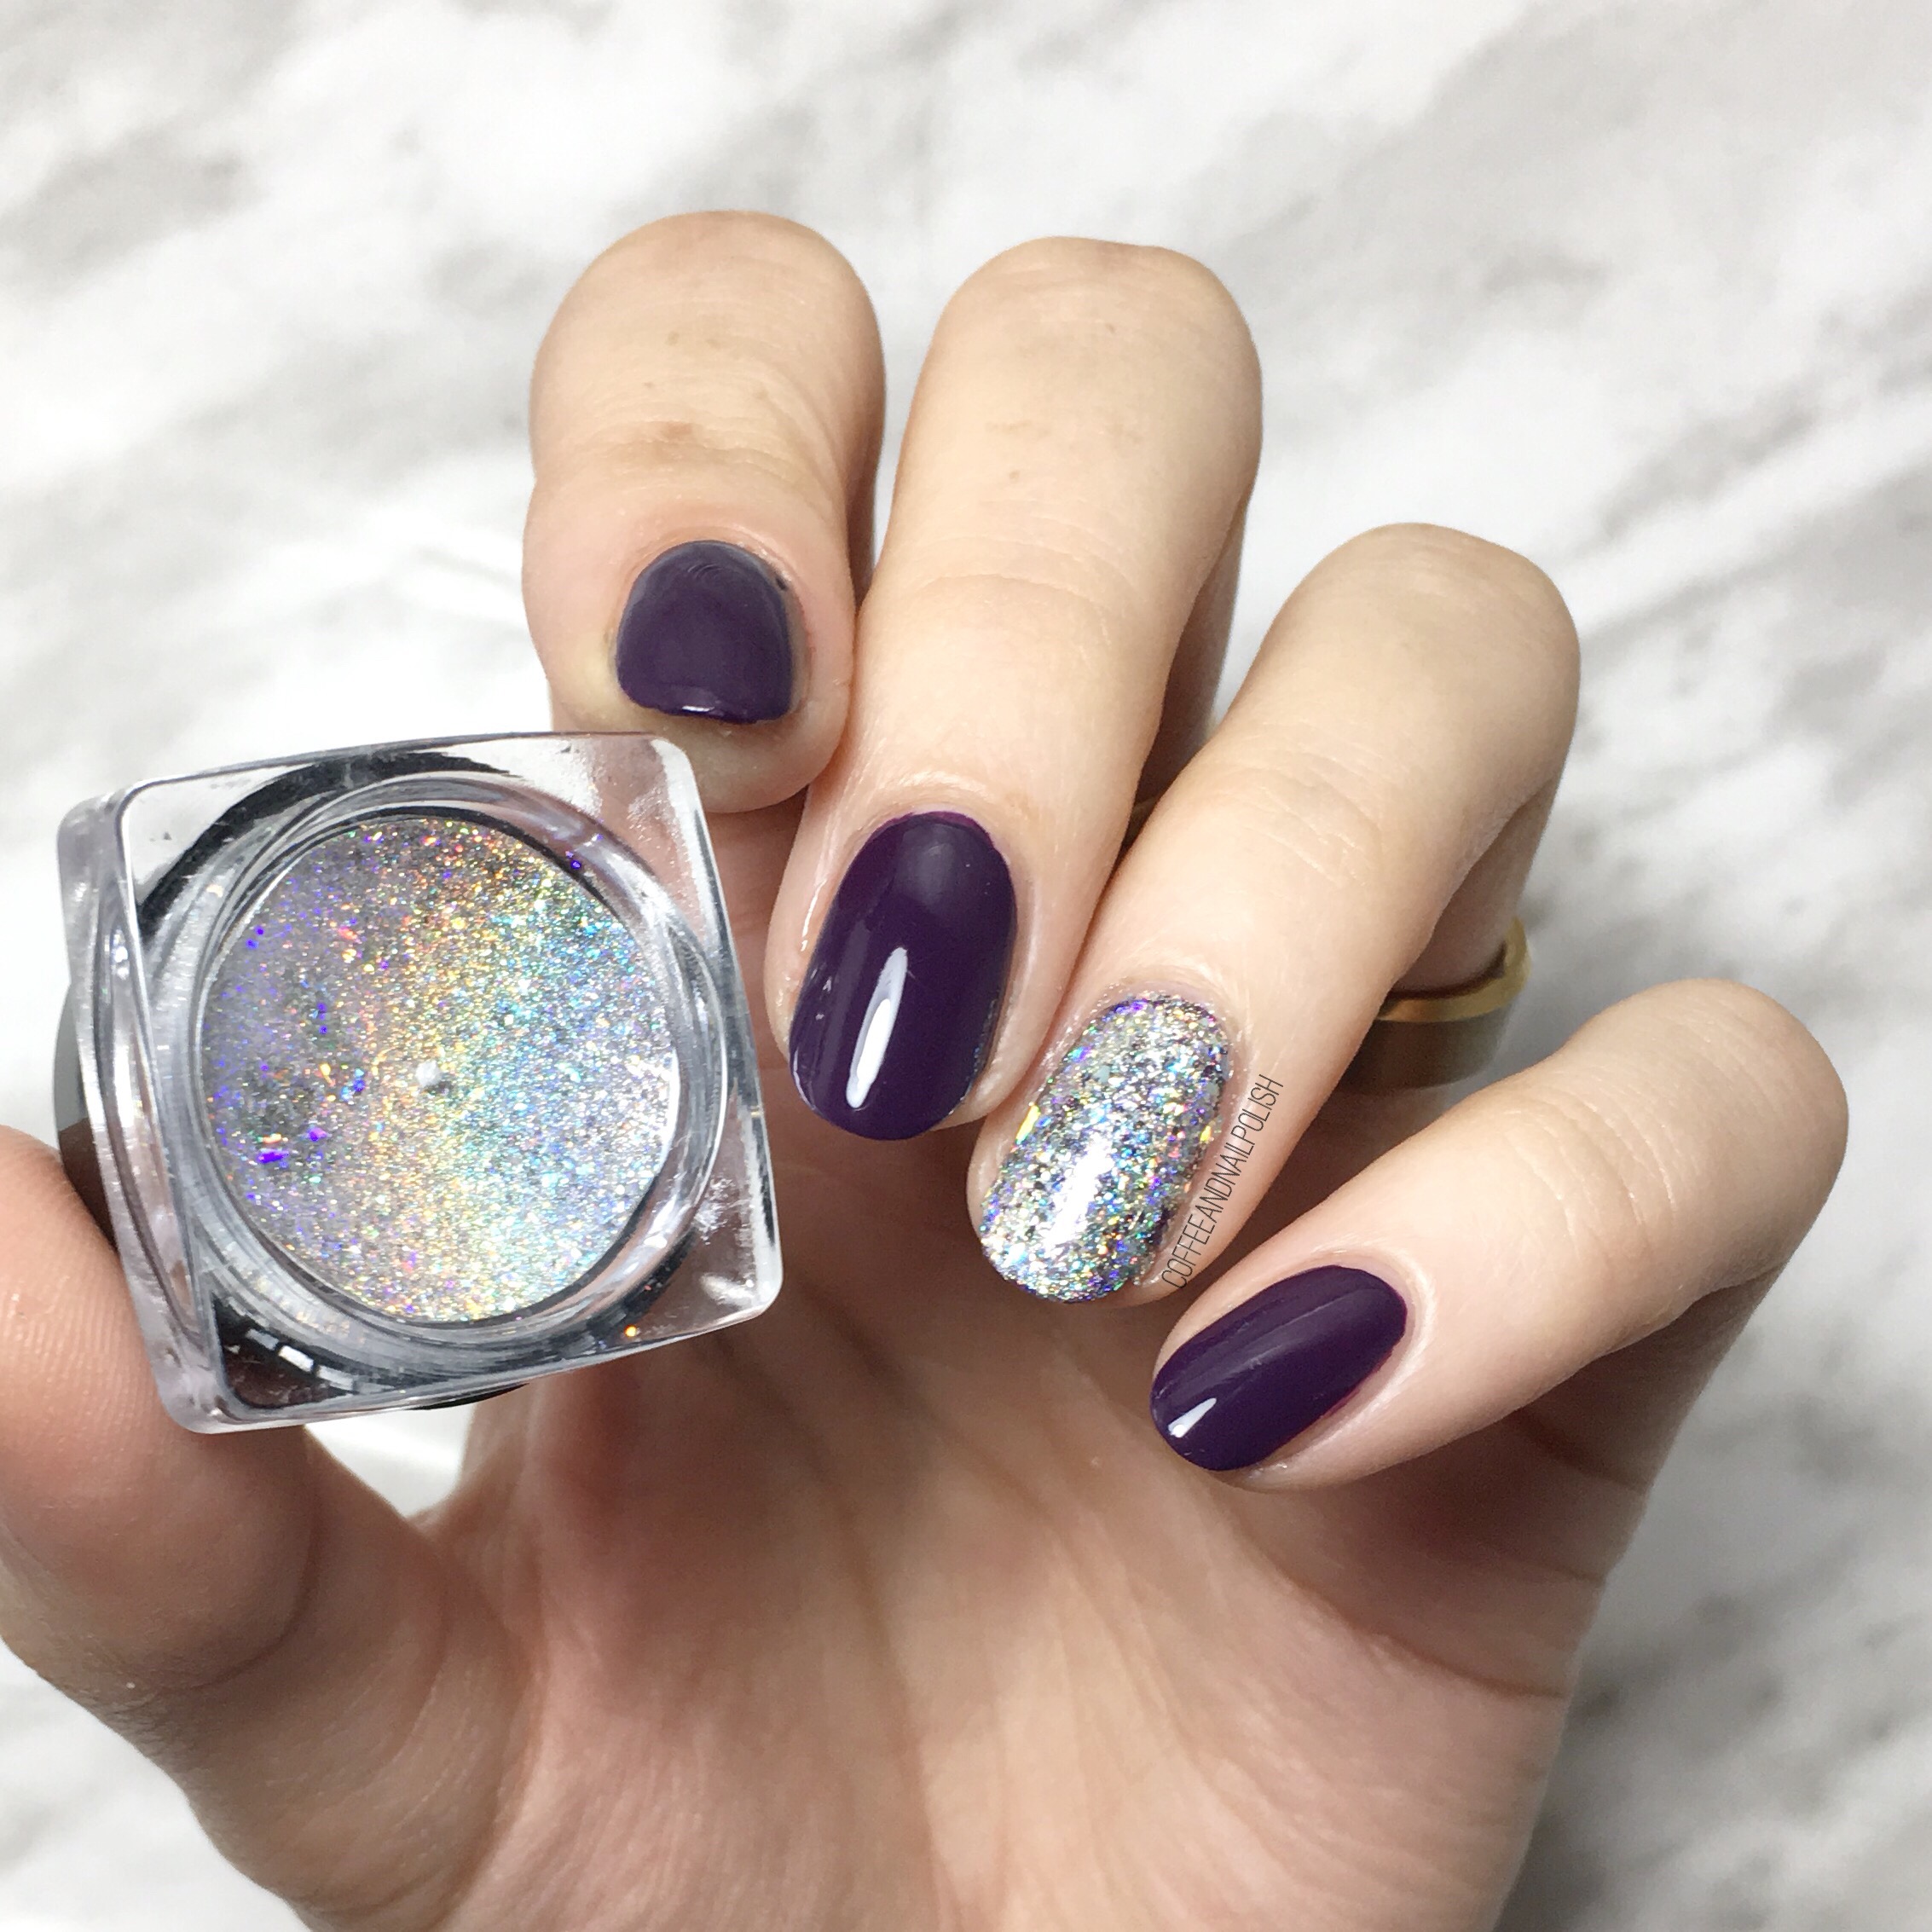
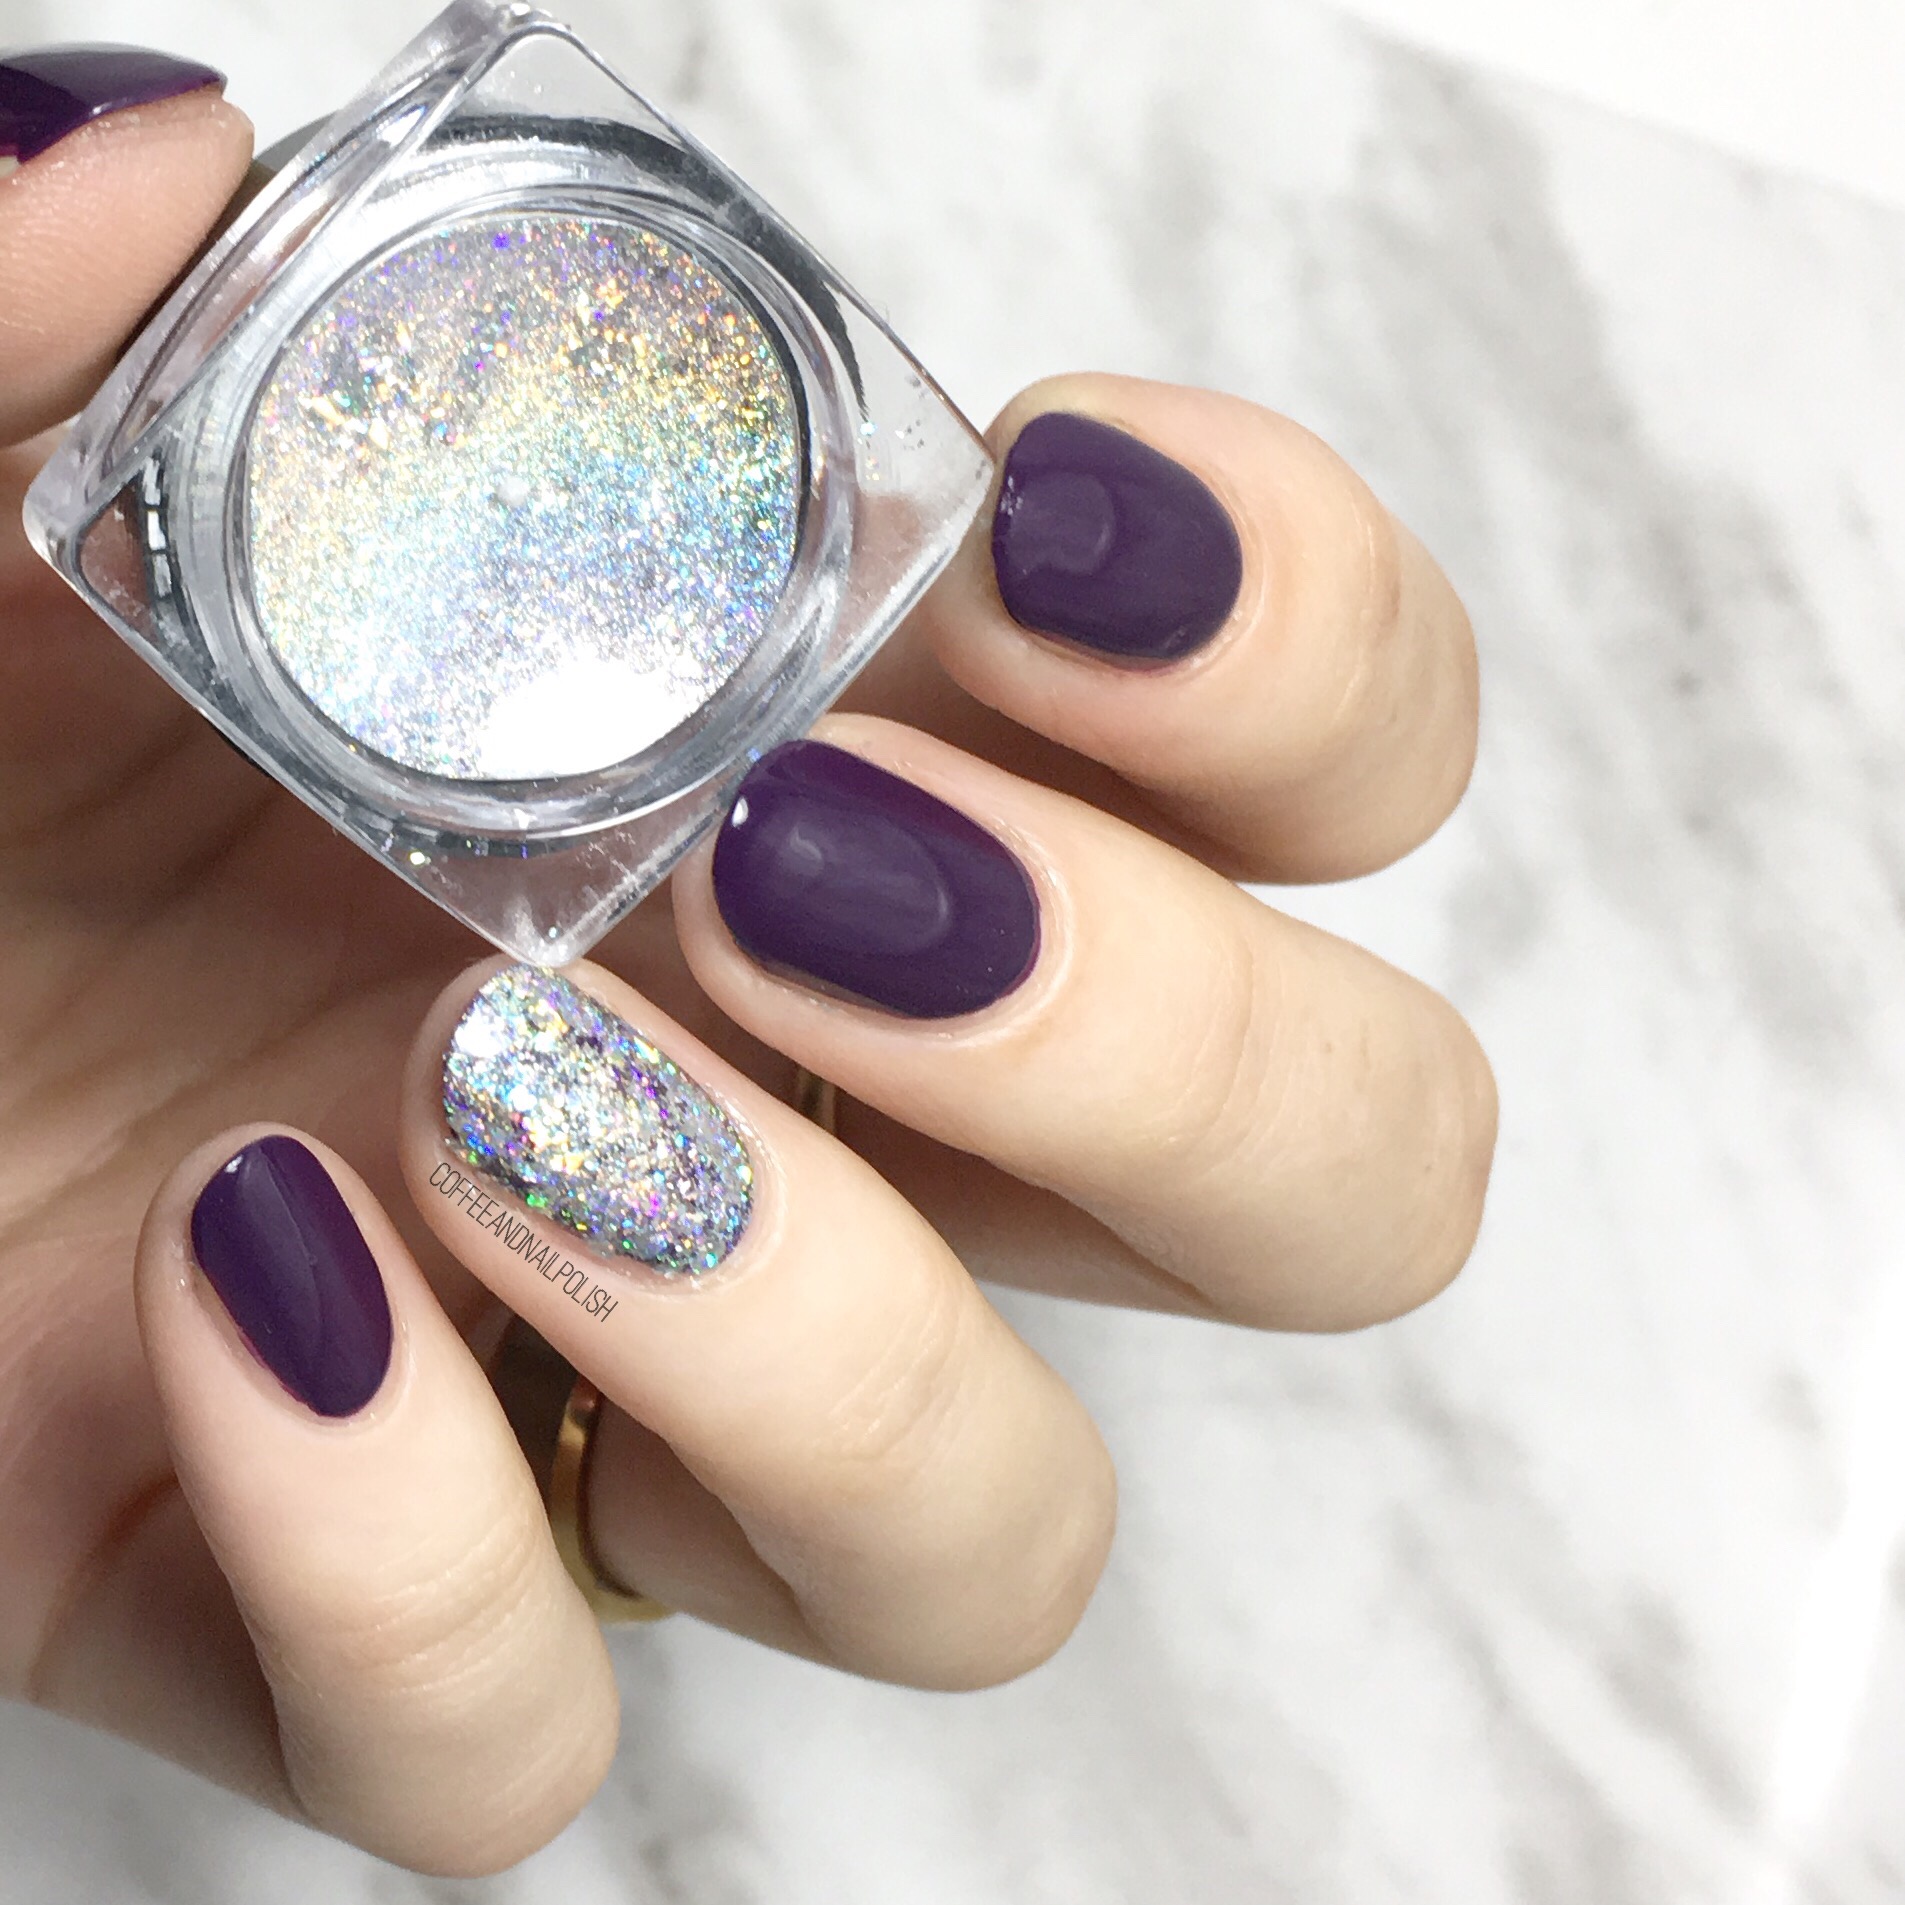
- China Glaze Fairy Dust
- Edge Perfection
- Born Pretty Store water decals
- Latex Free Make Up Sponge


Thankfully I did these nails last week because while packing this weekend I accidentally packed up all my make up sponges, so I guess no gradients until we’re all moved into our new house!
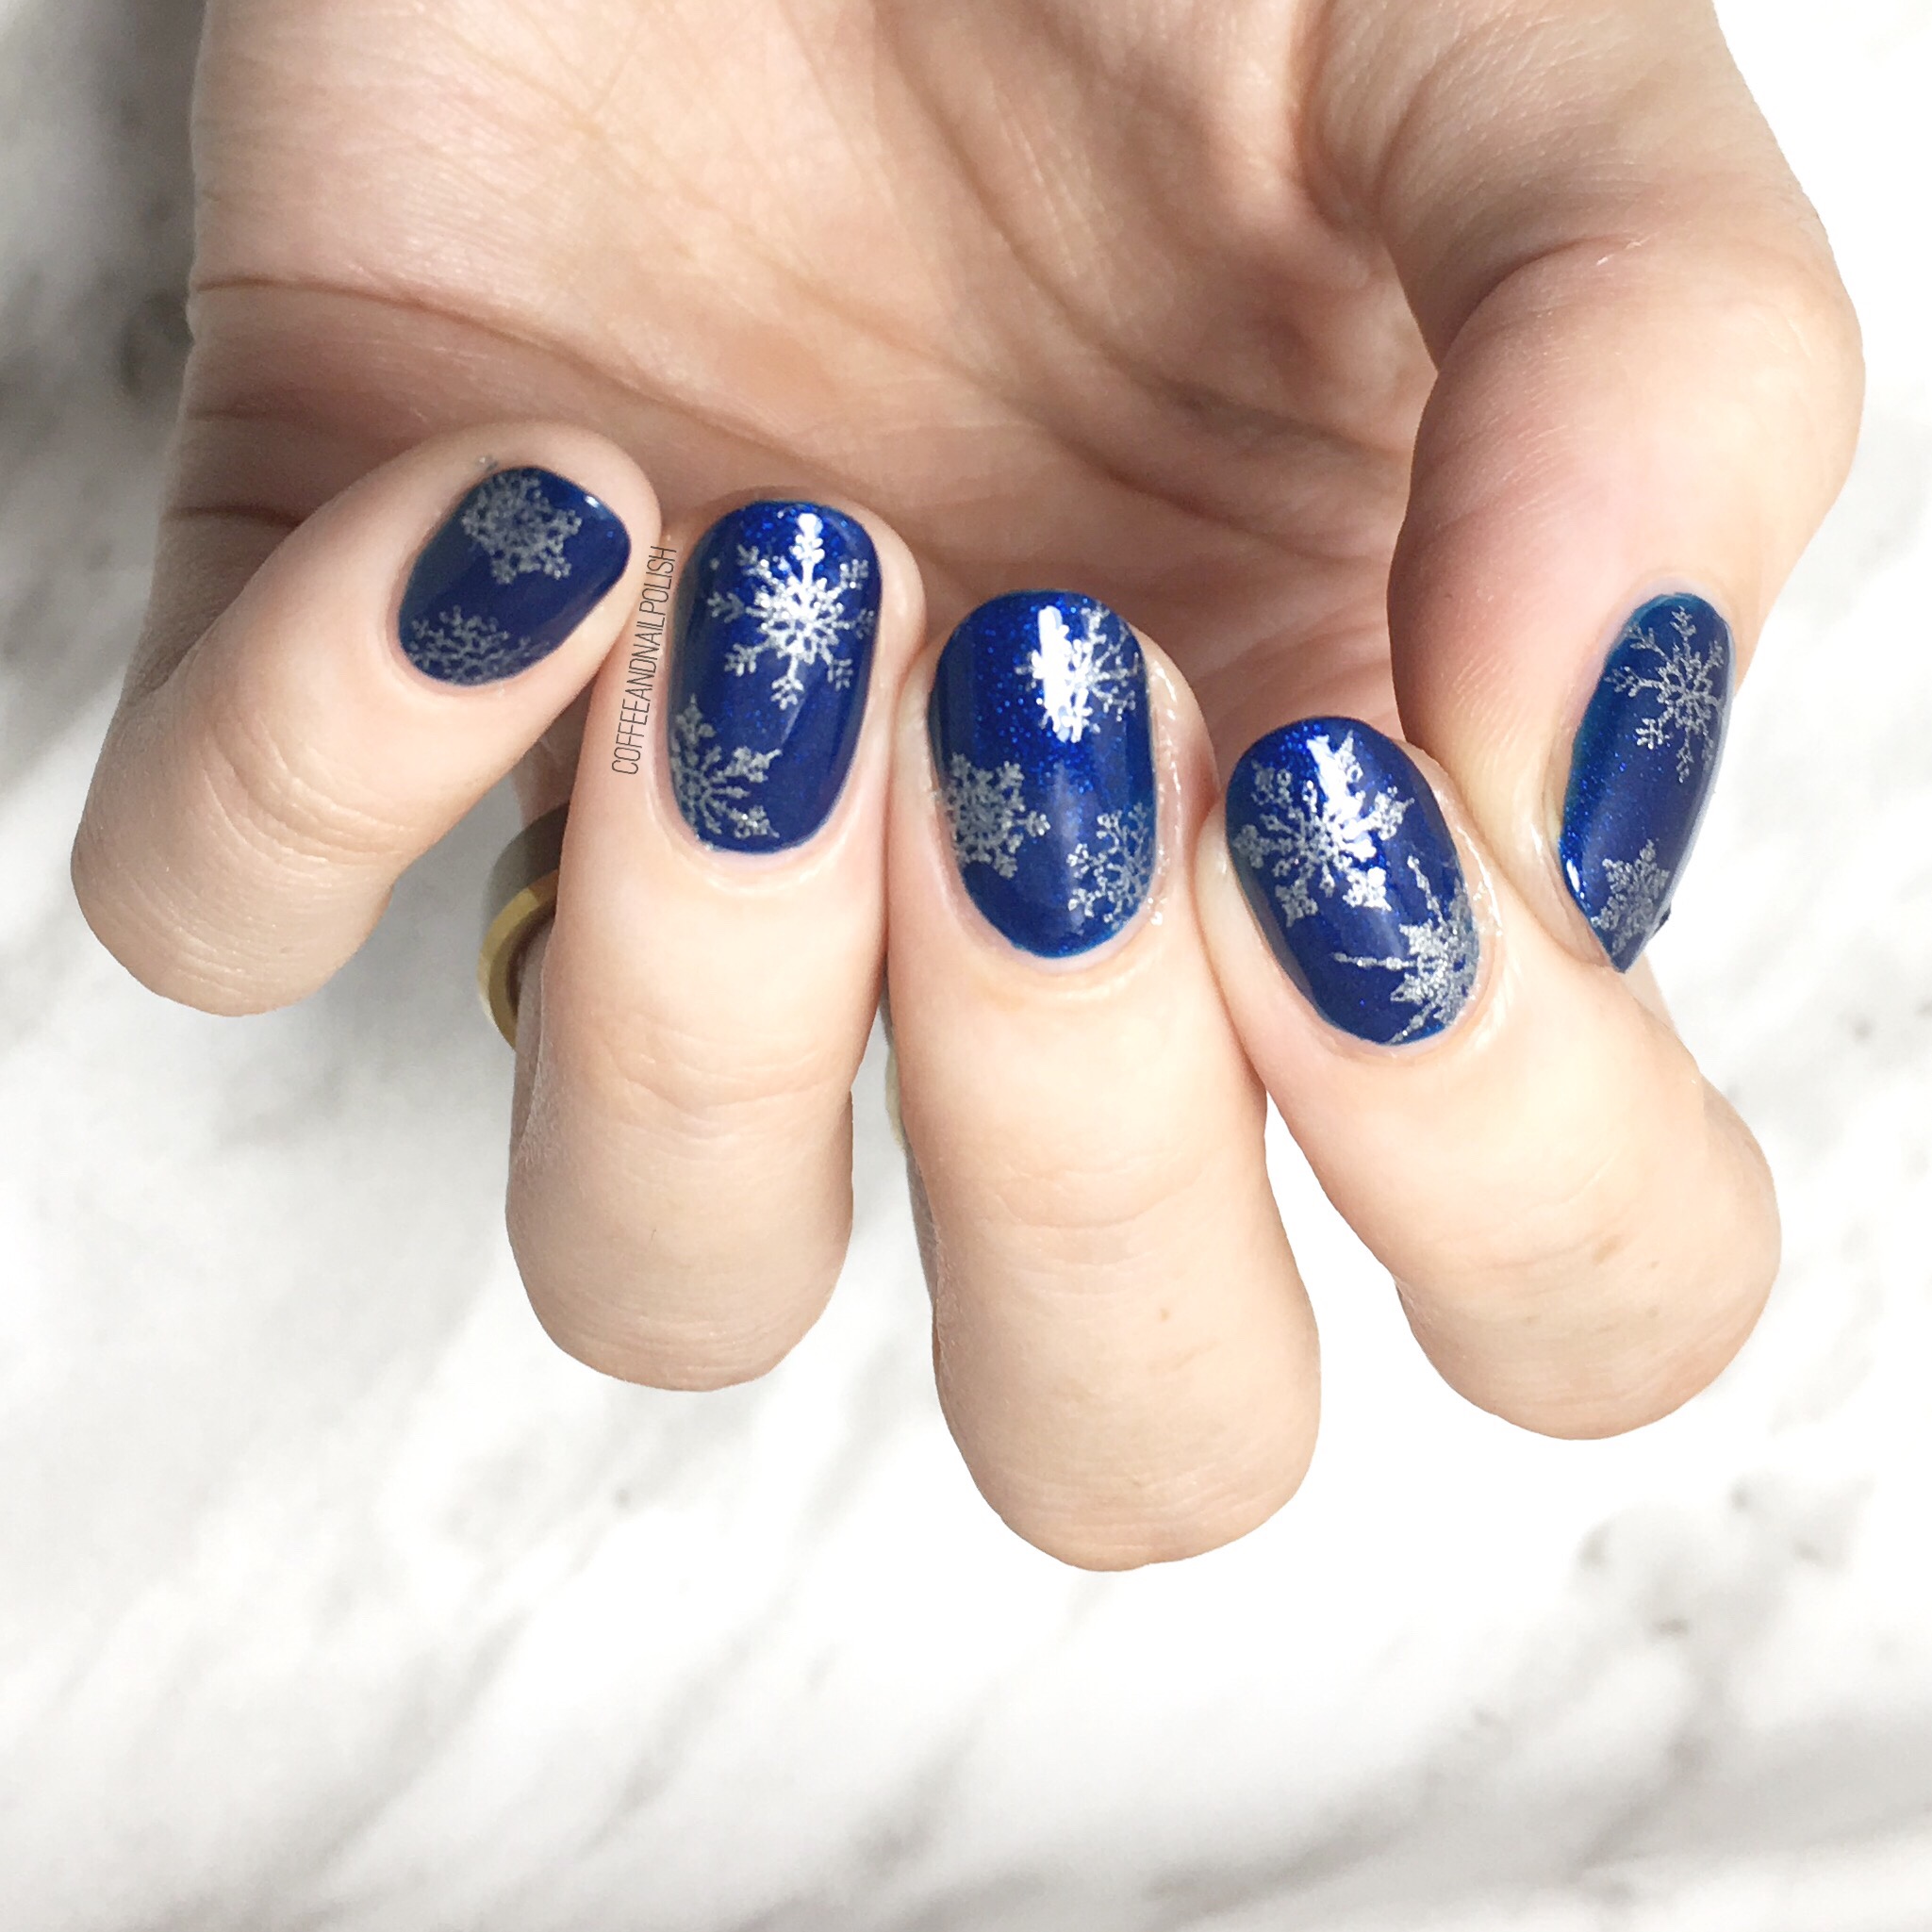
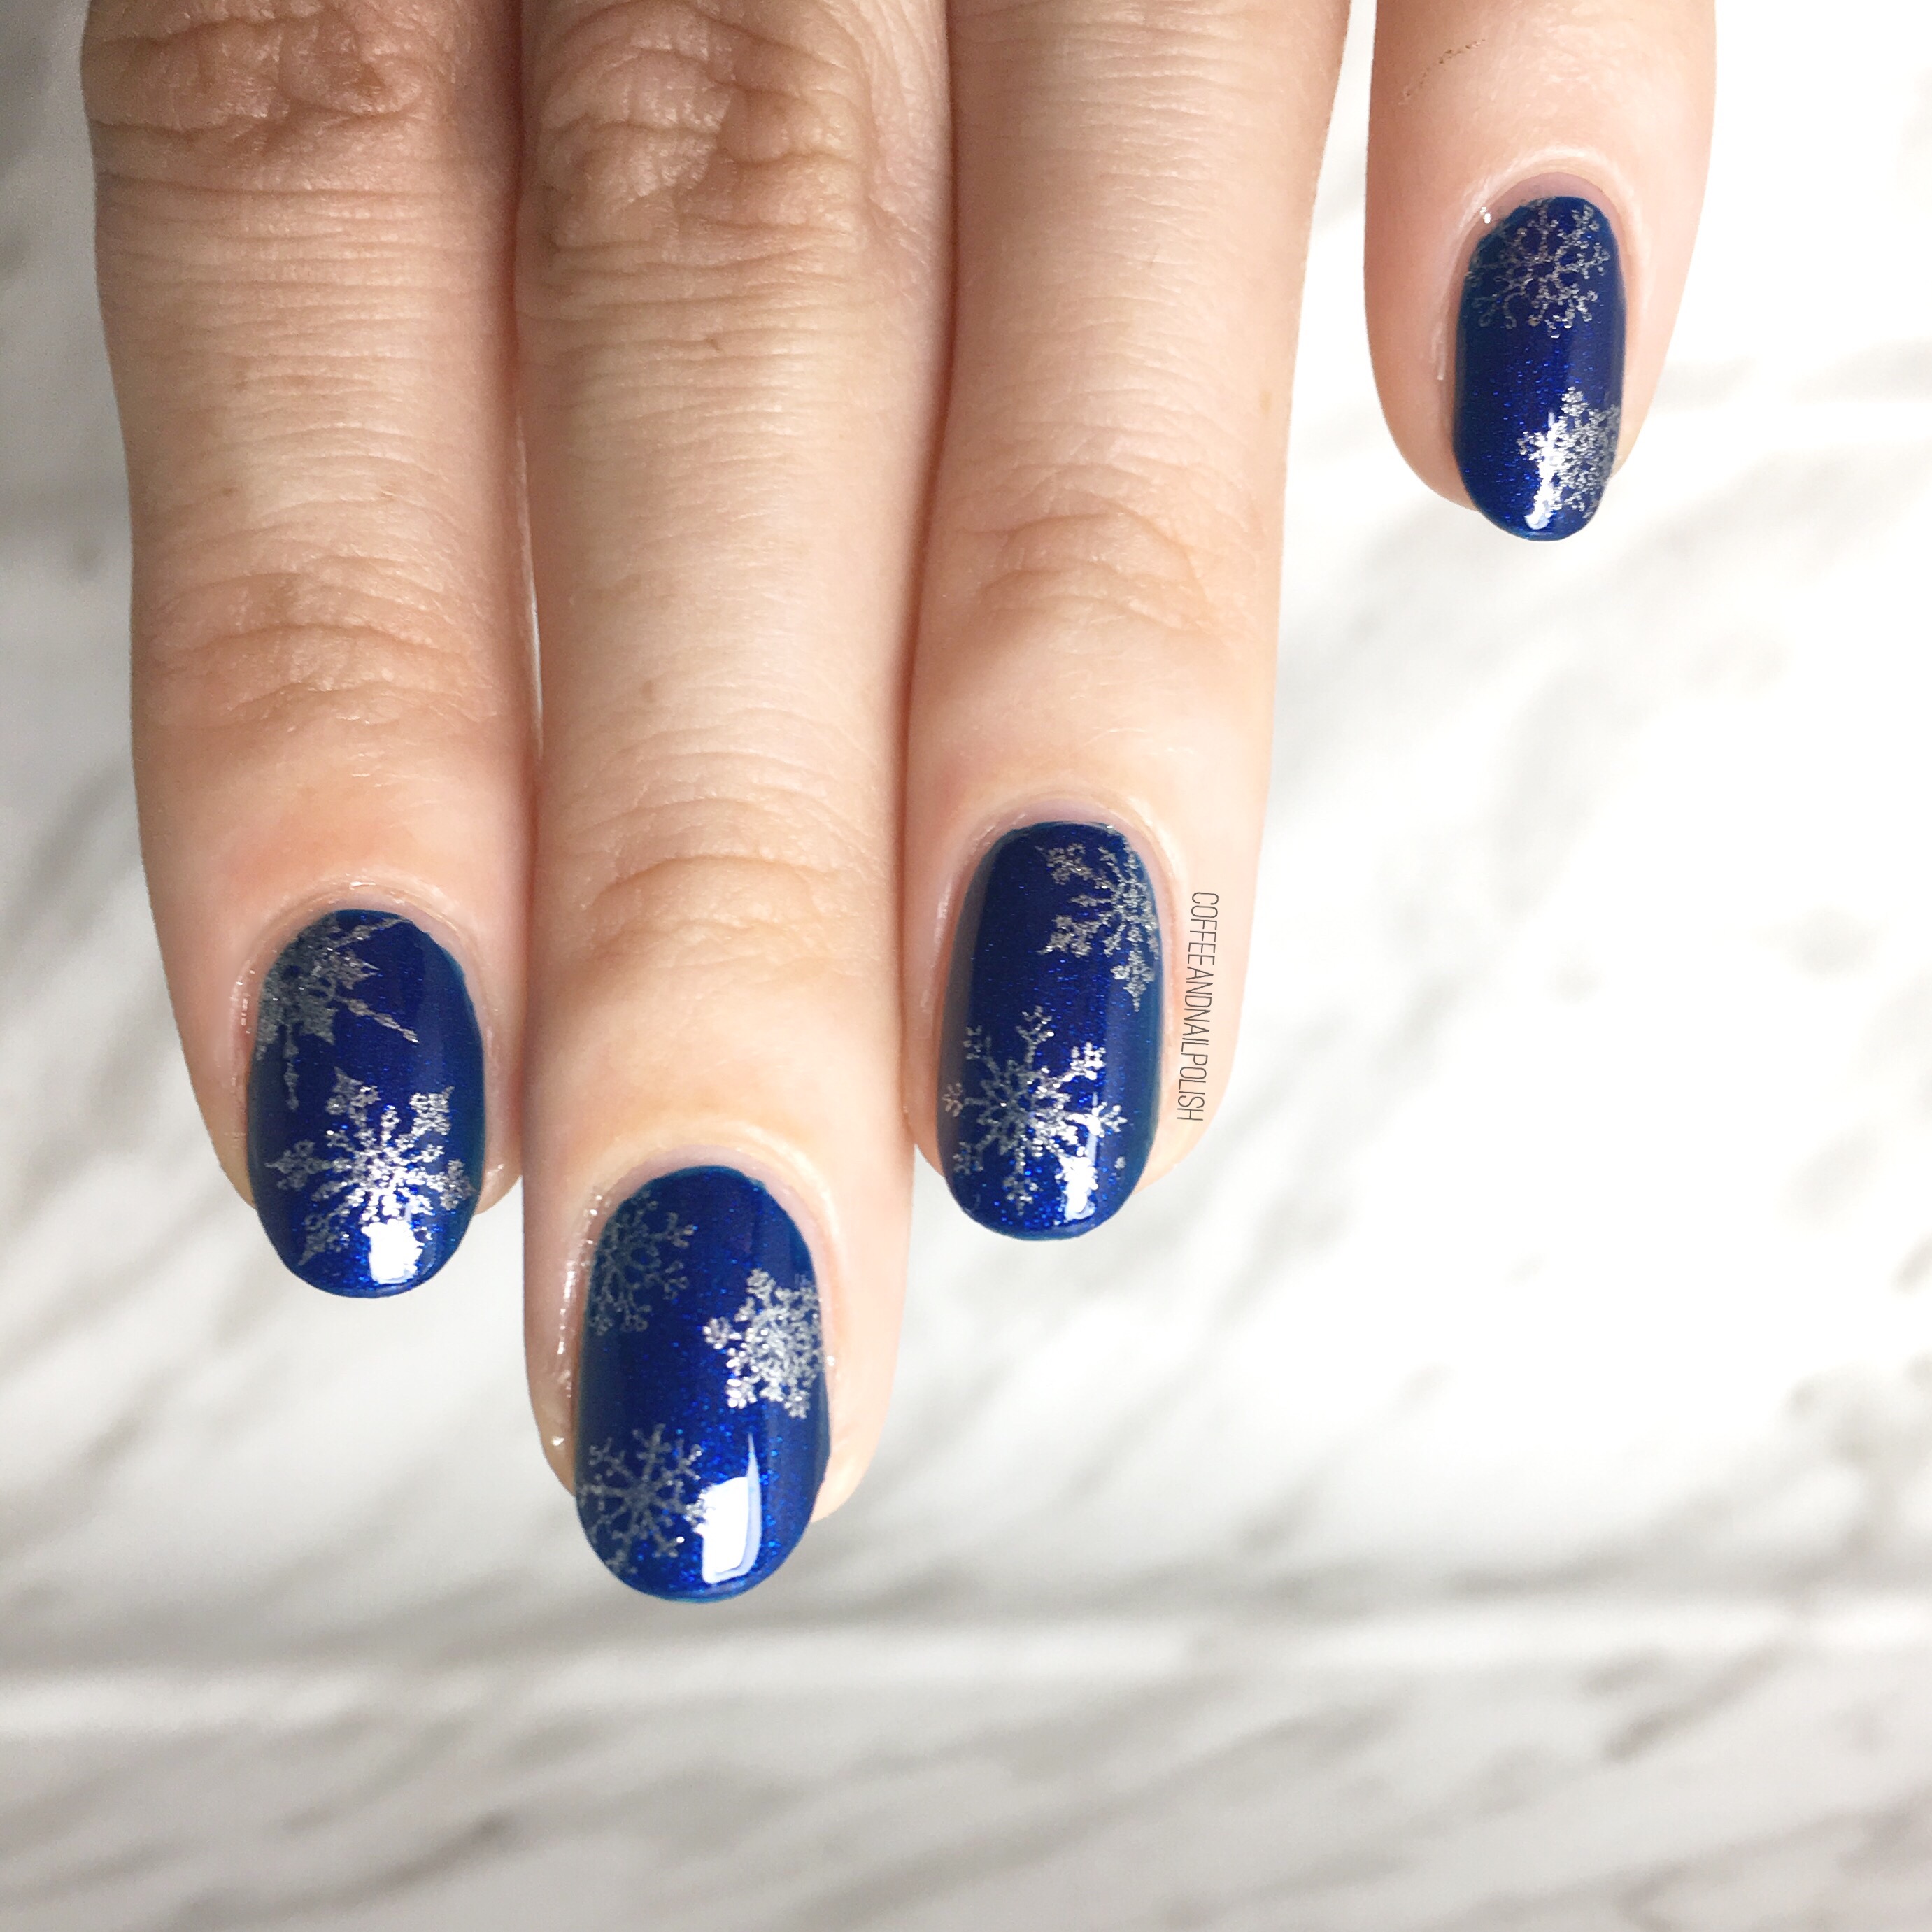
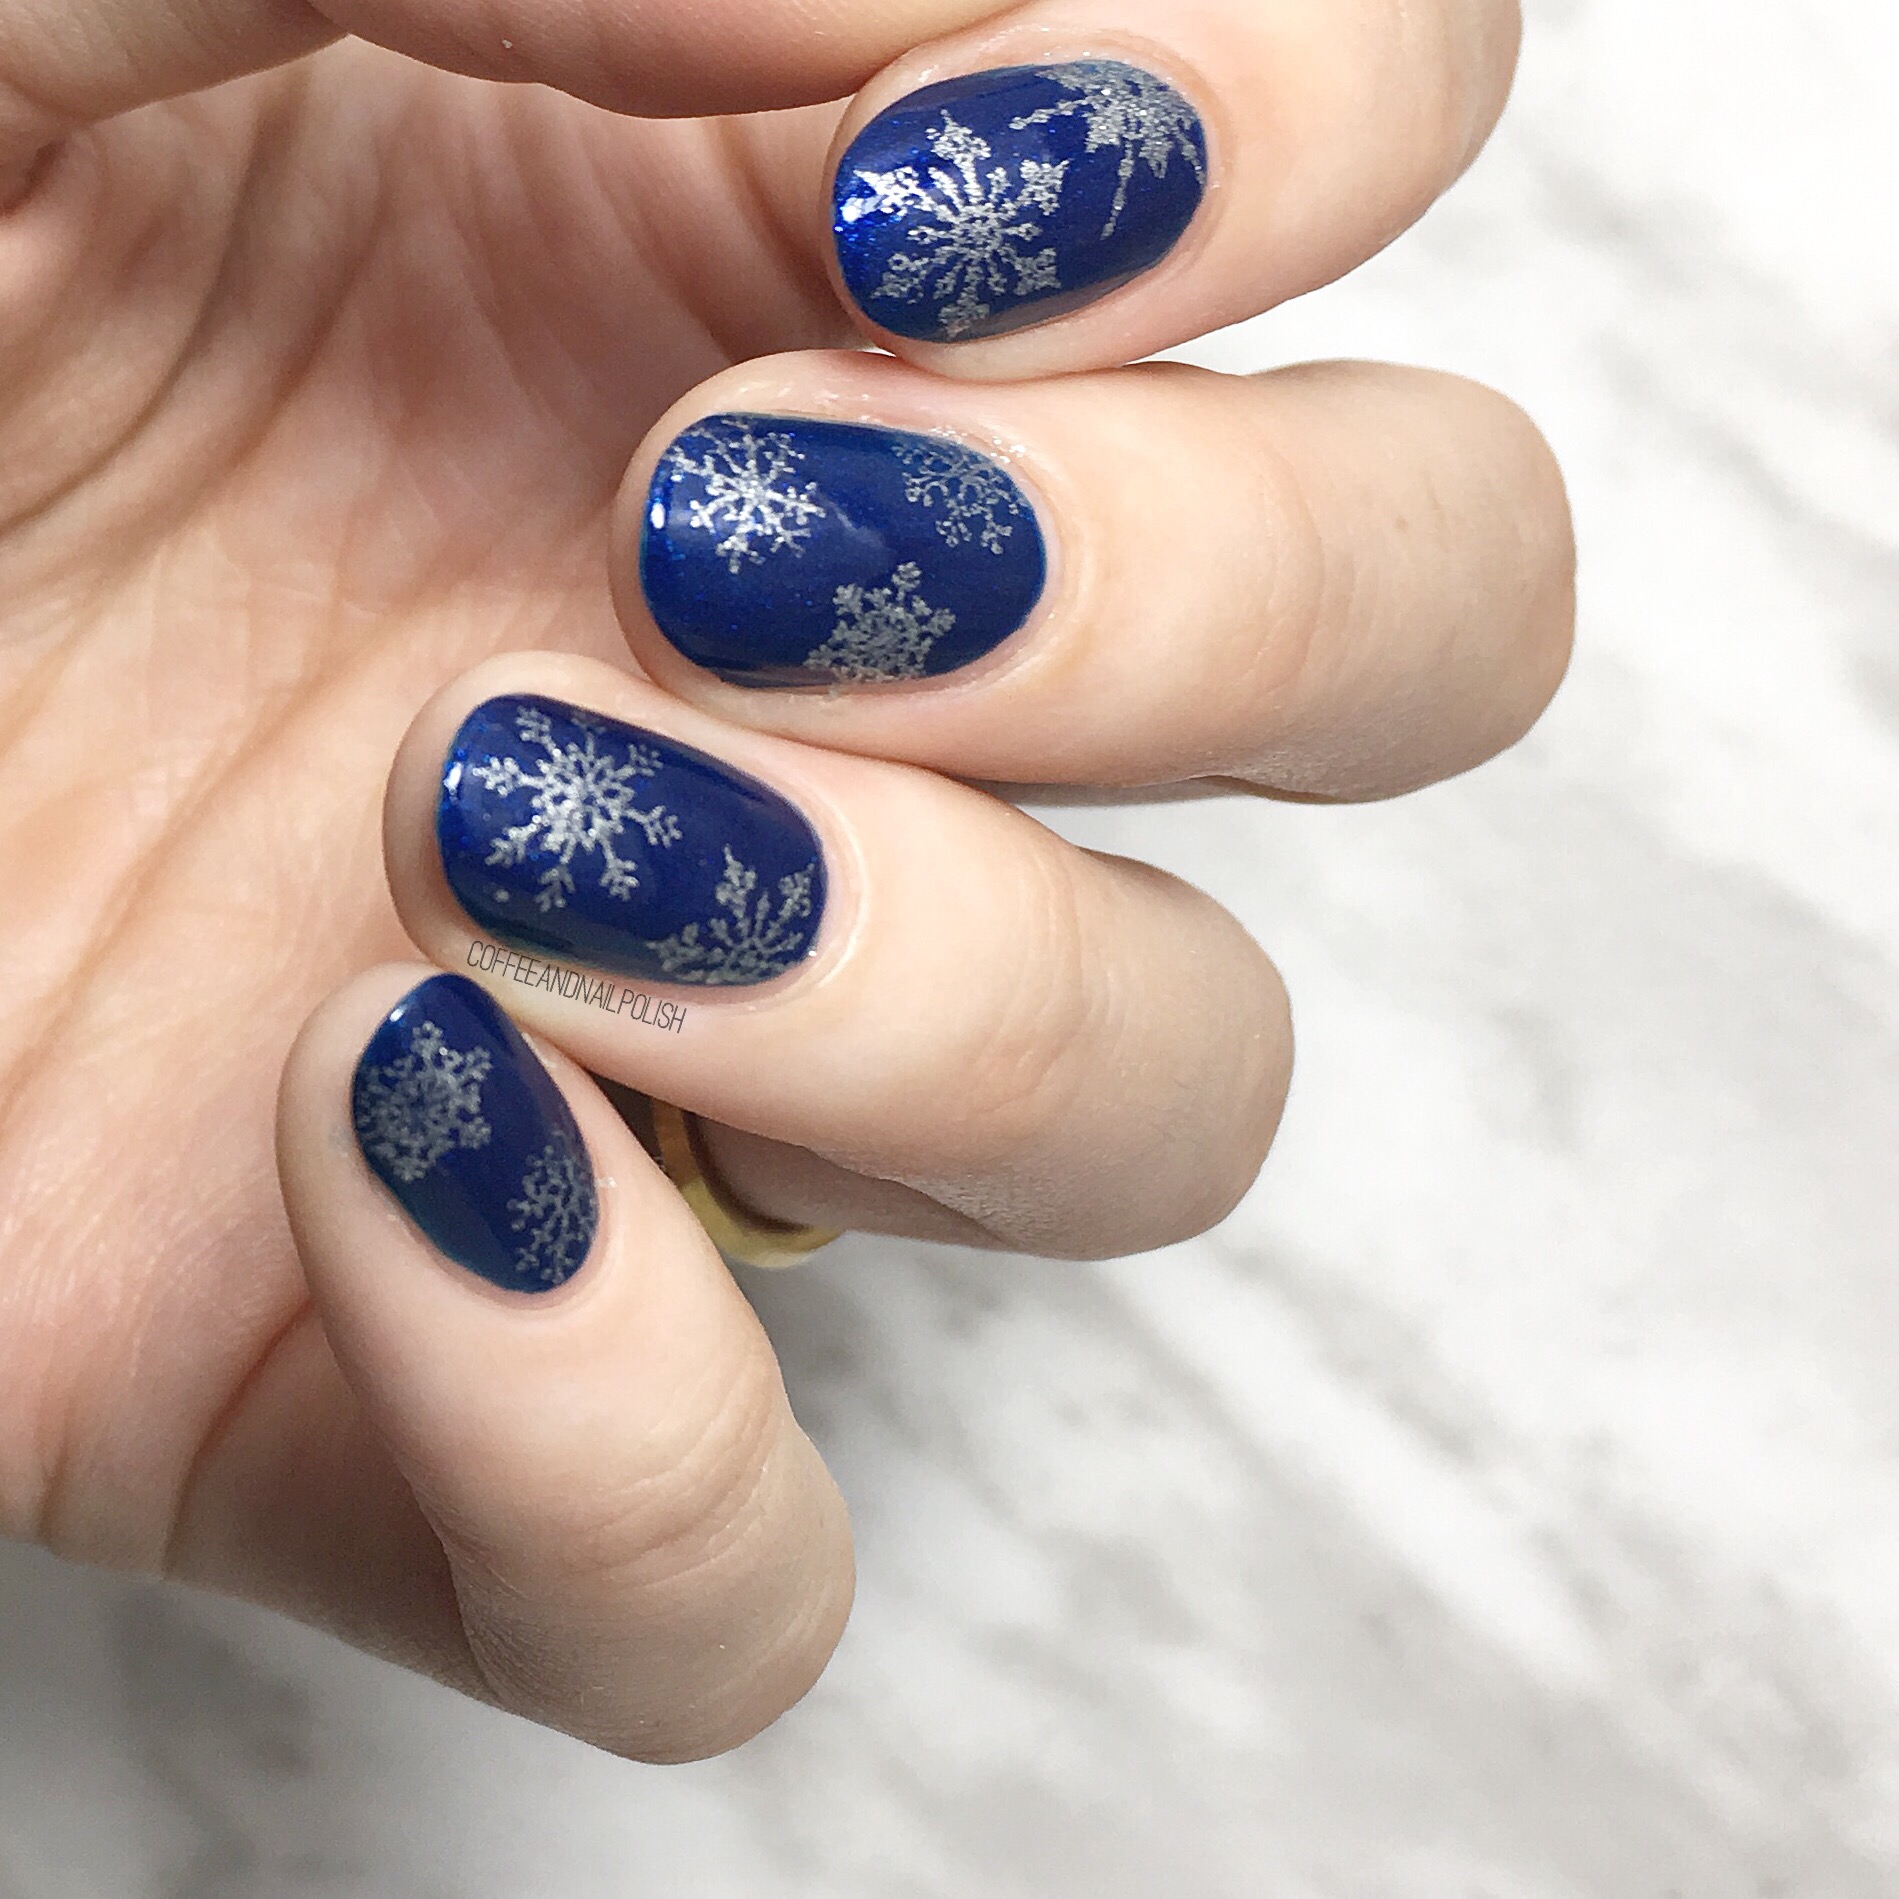
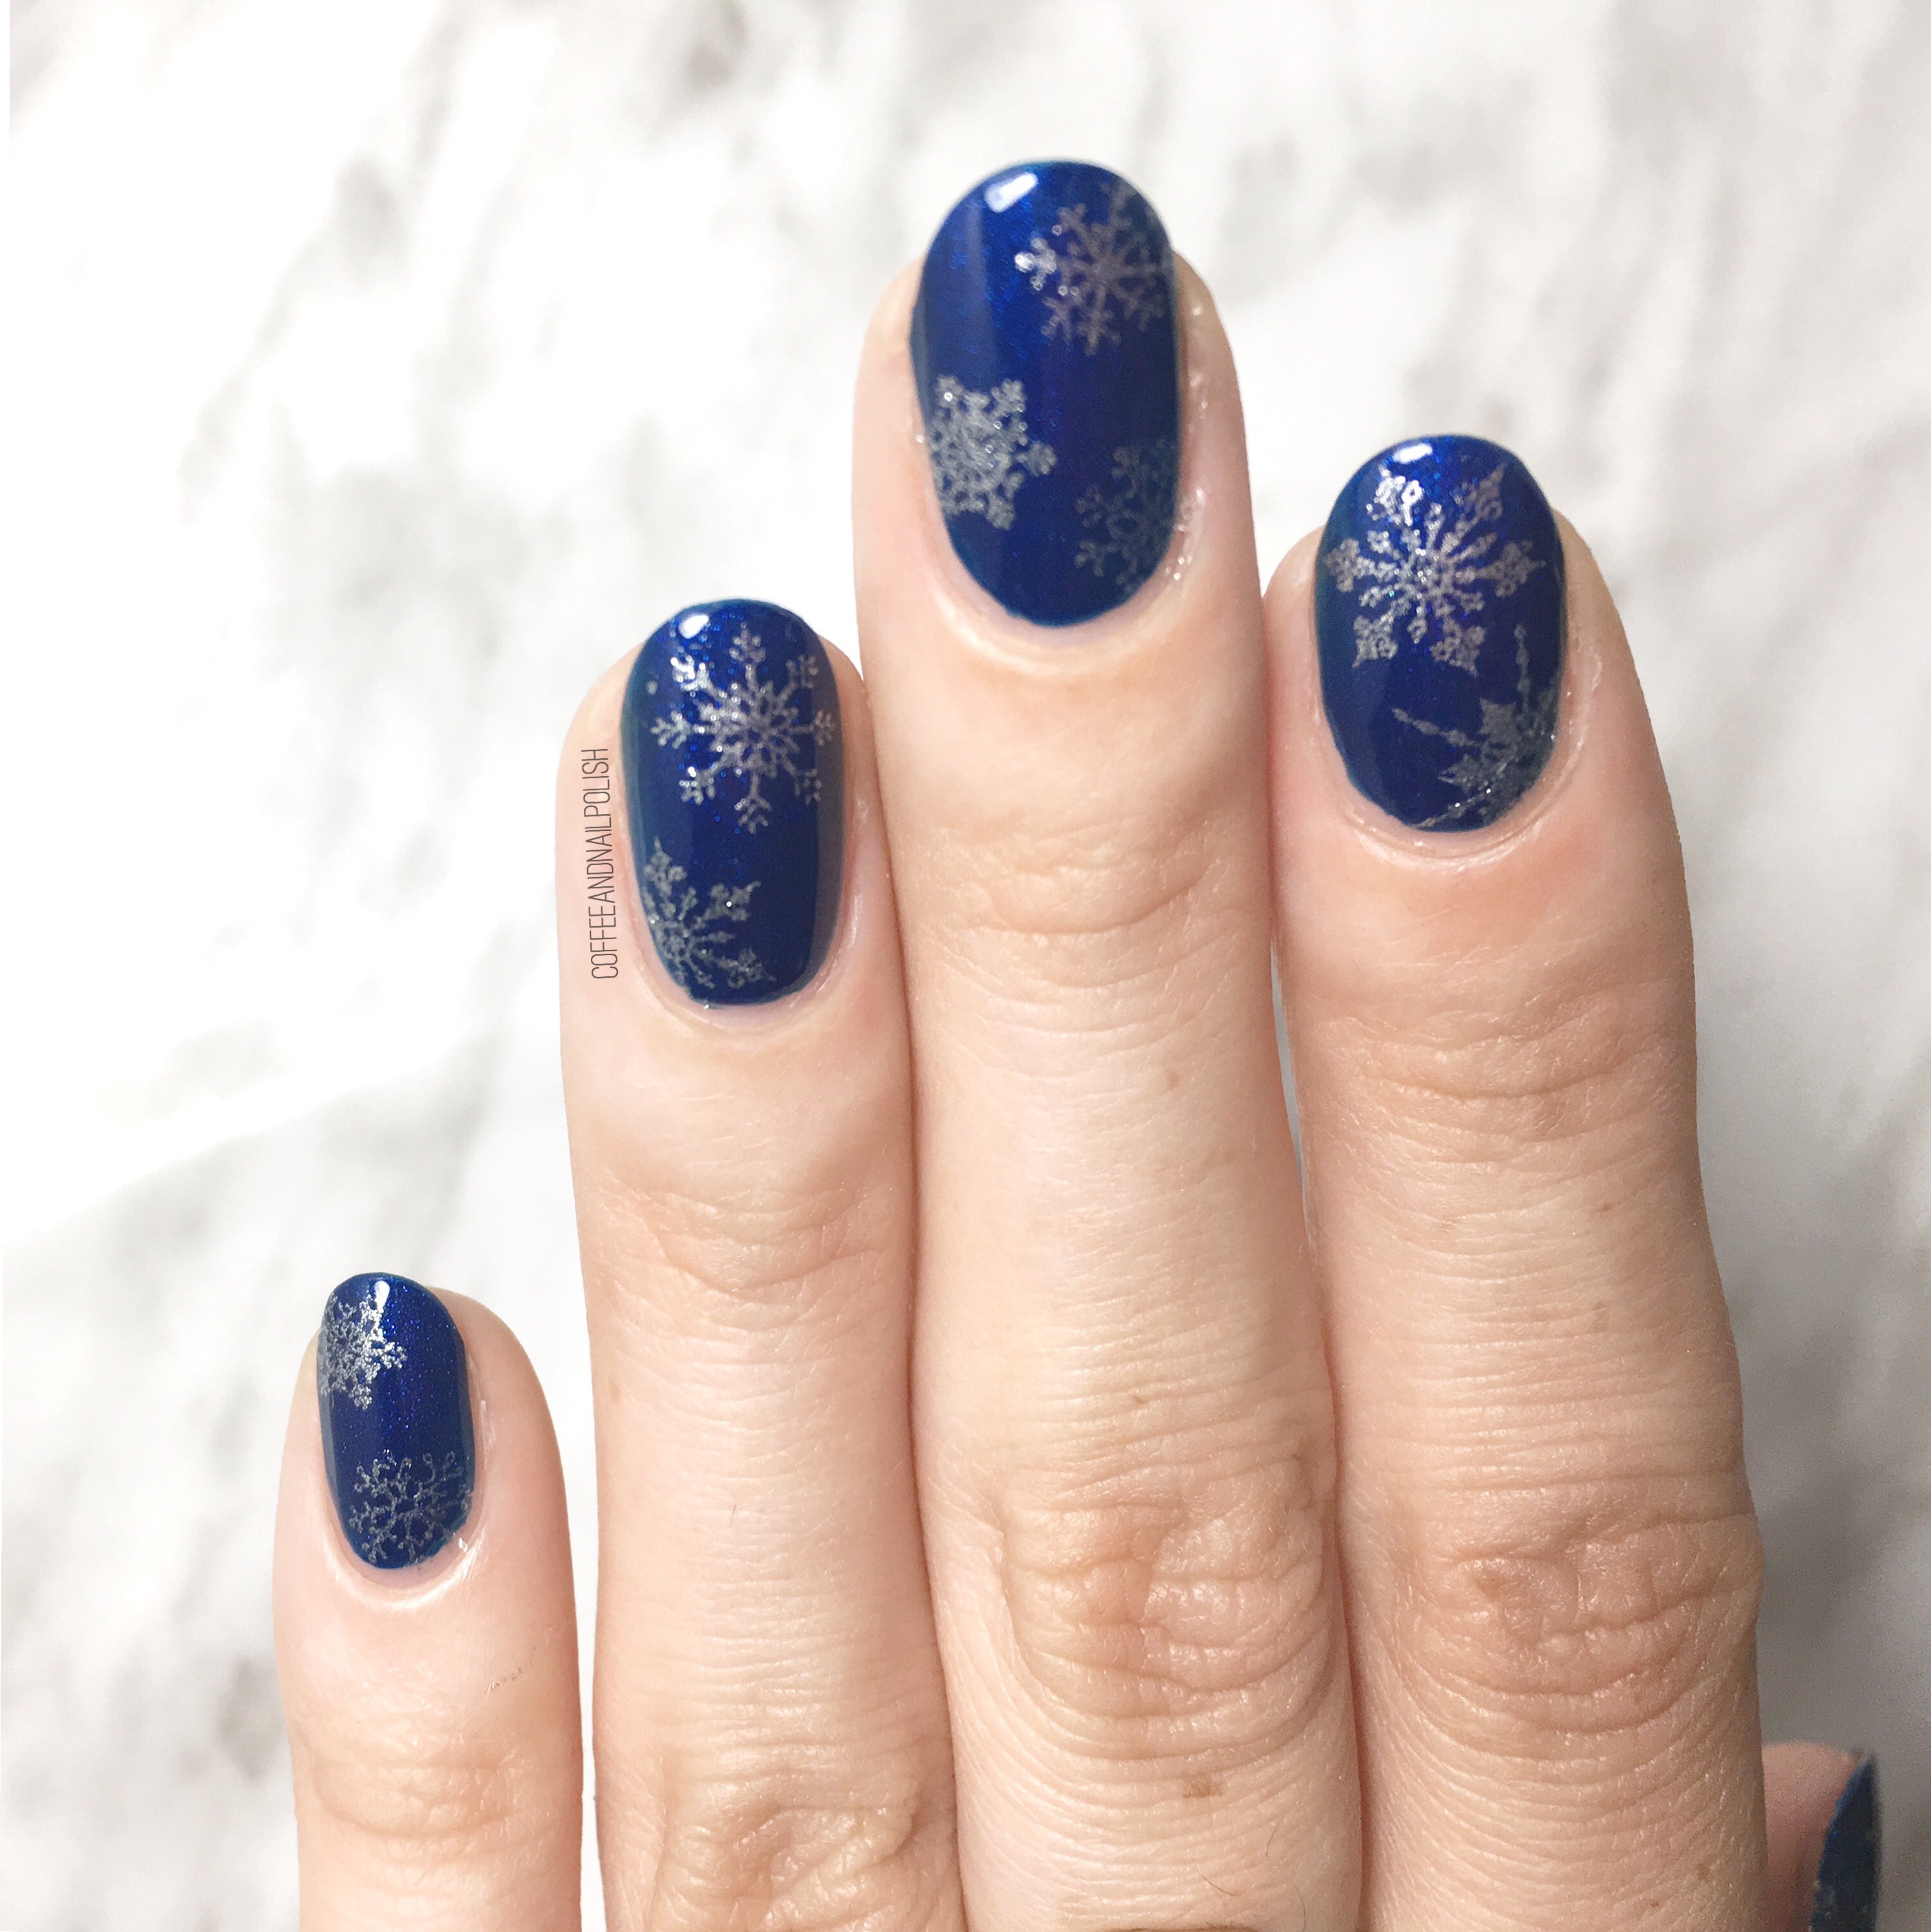
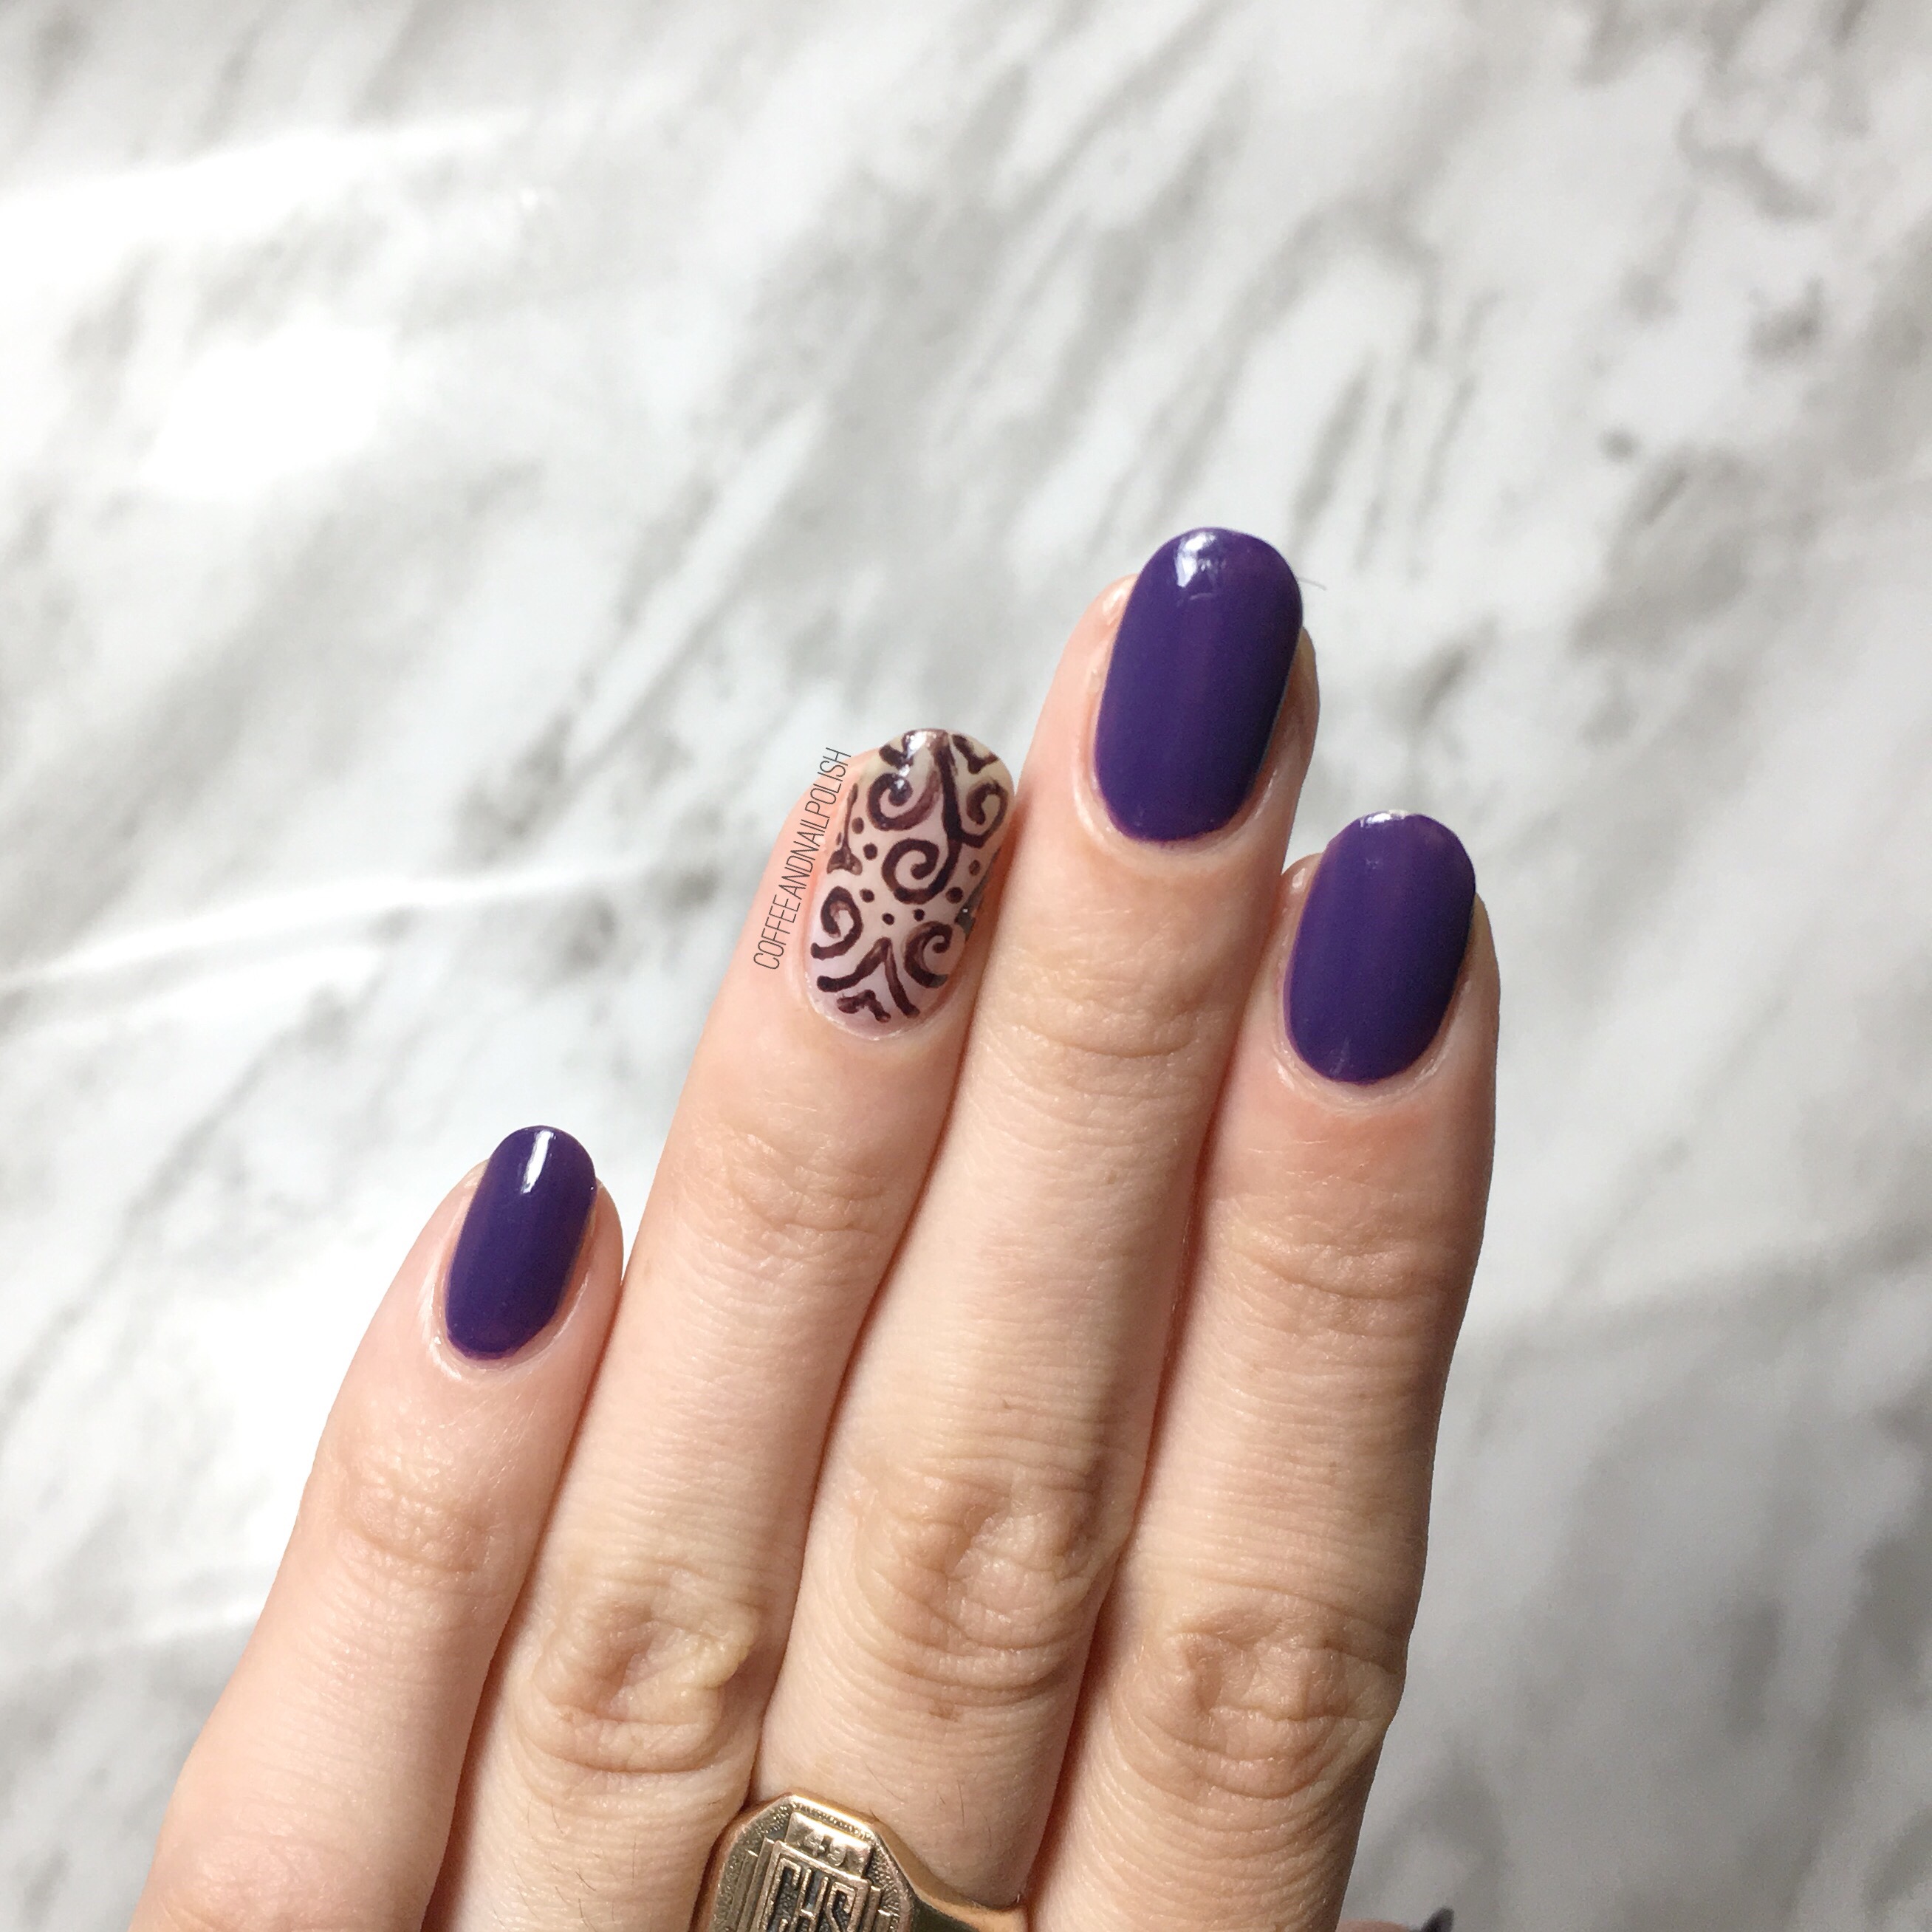
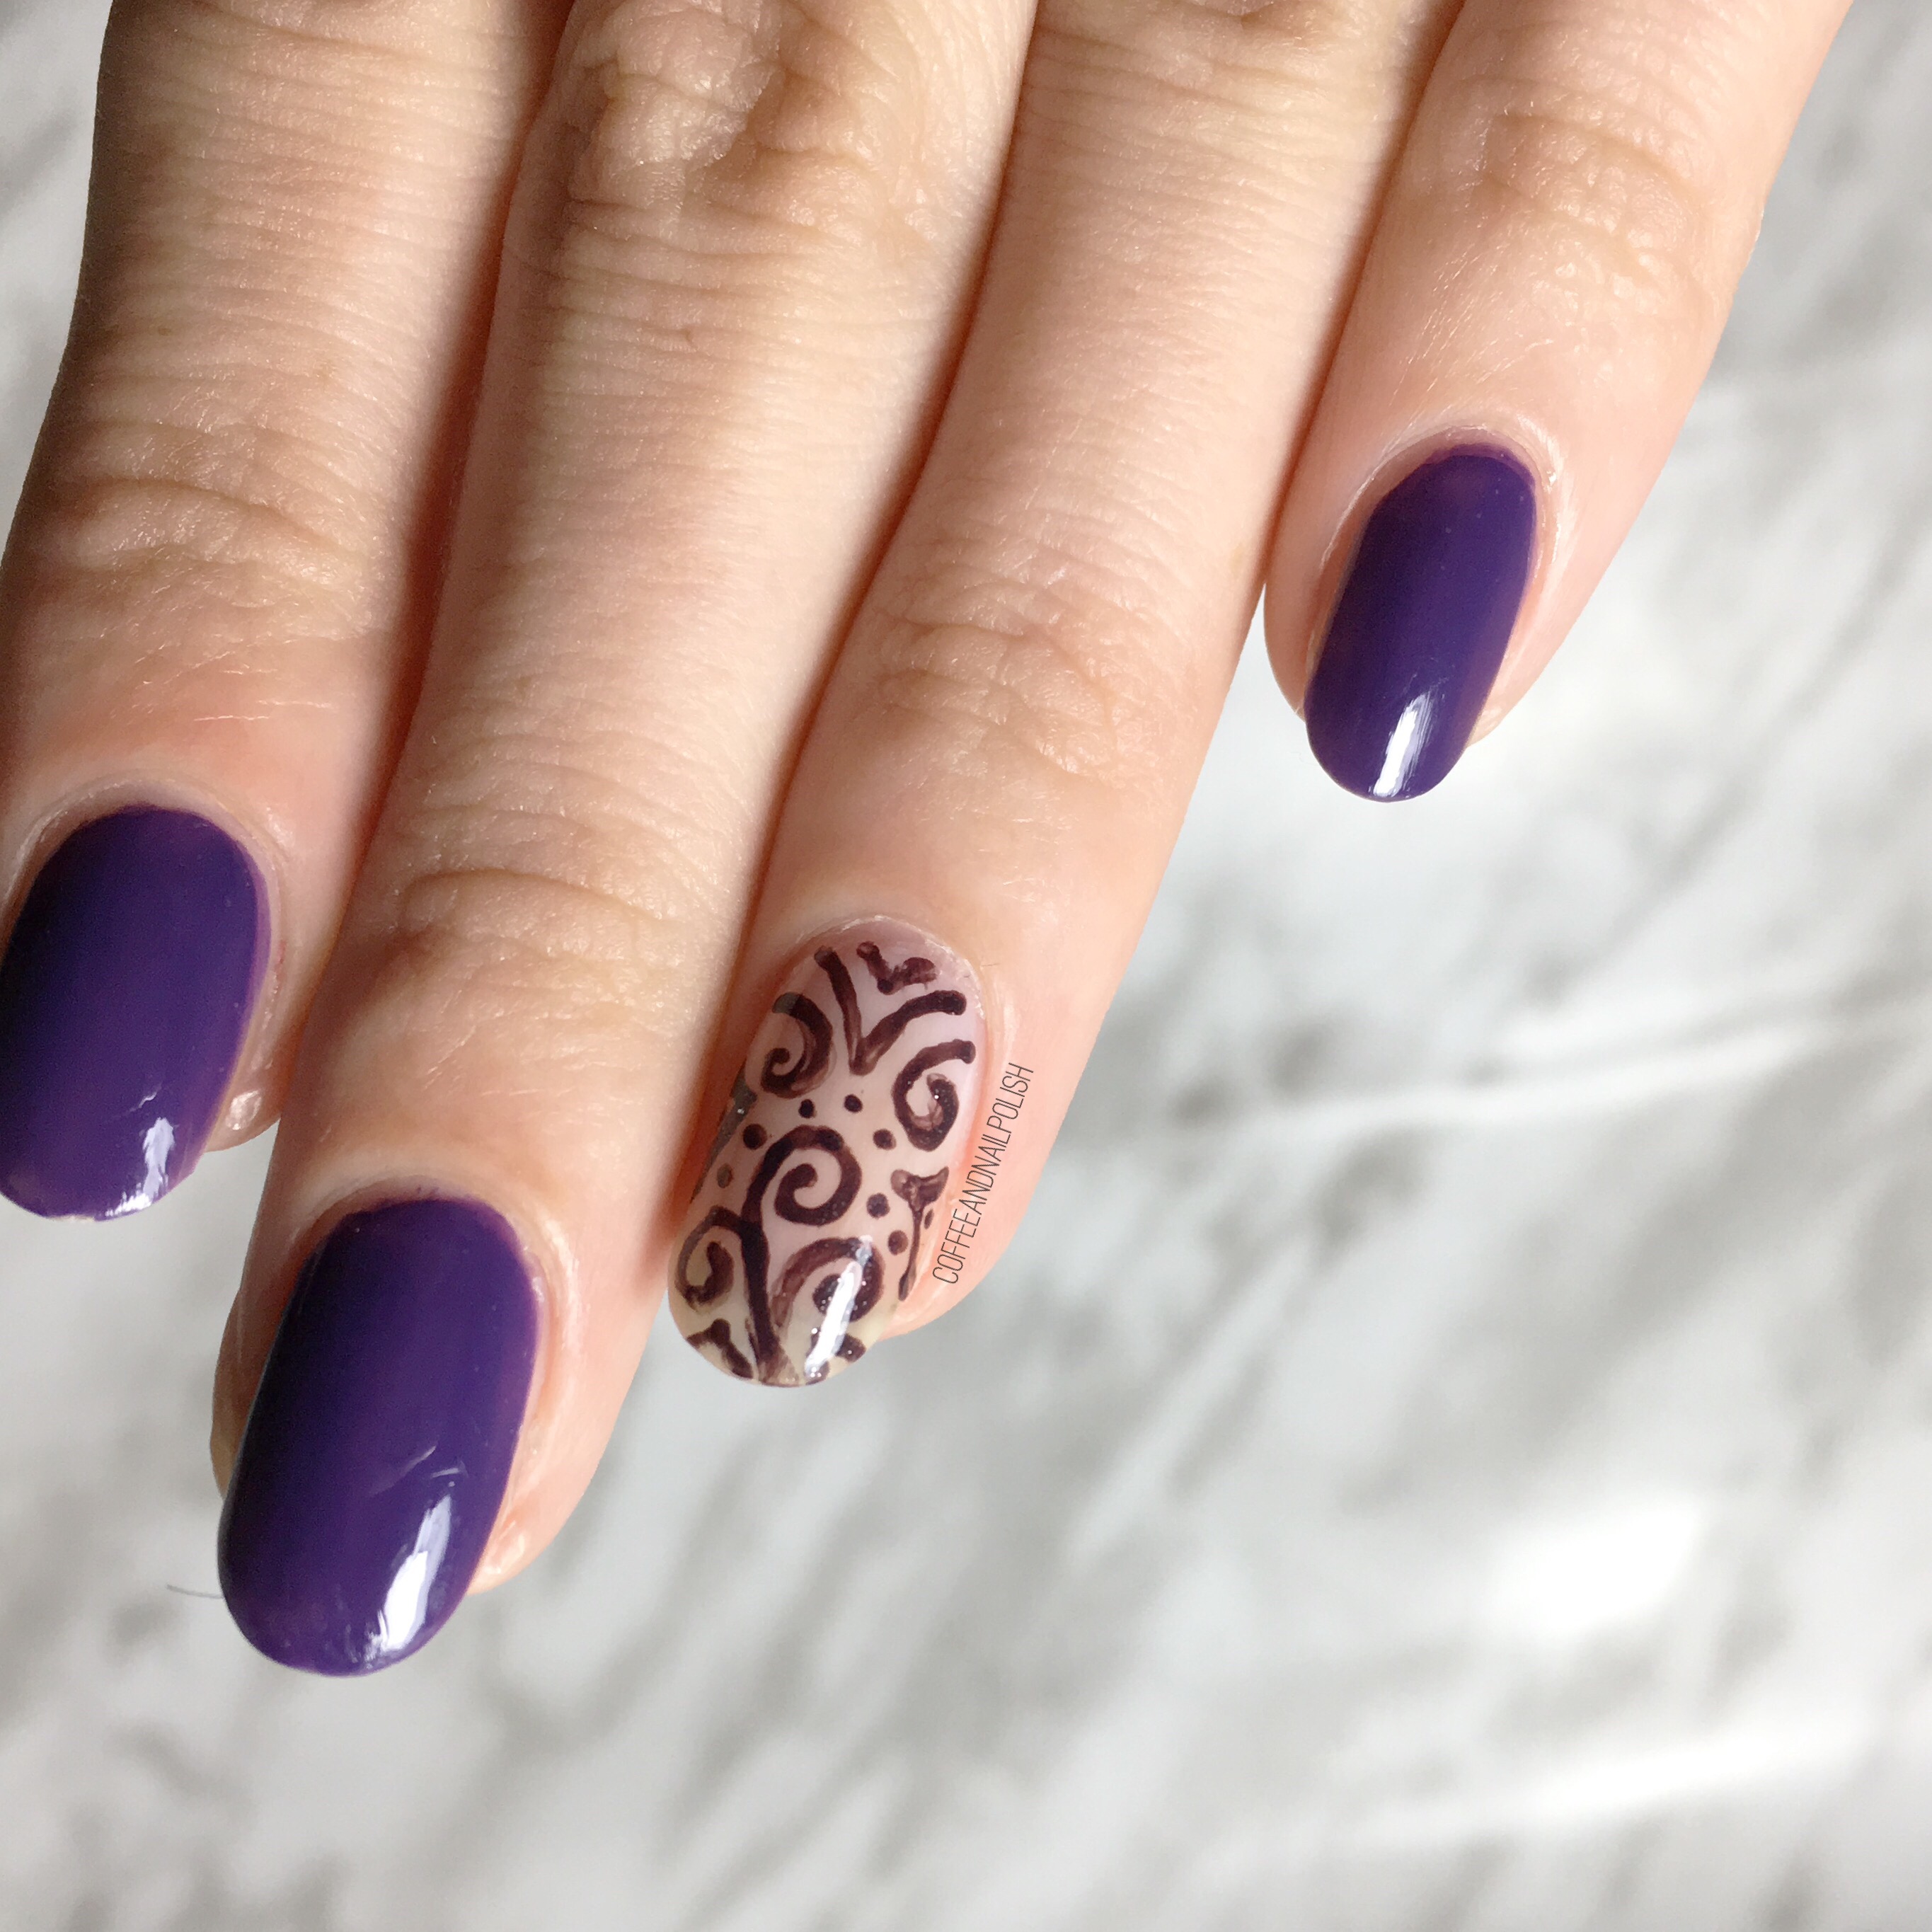
I’m loving this design because it was surprisingly easy (thank you Edge Perfection! 🙏🏻 ) These water decals (as old as they are) were super easy to apply to finish off the look, & I had no issues with them. I always love when I discover all these new nail art items I’ve never tried before—I mean, usually I’m like 10 years behind everyone else, but they always rock my world & give me something new & fun to do on my nails!

What do you think of my Movember nails? Comment your thoughts below! 💙