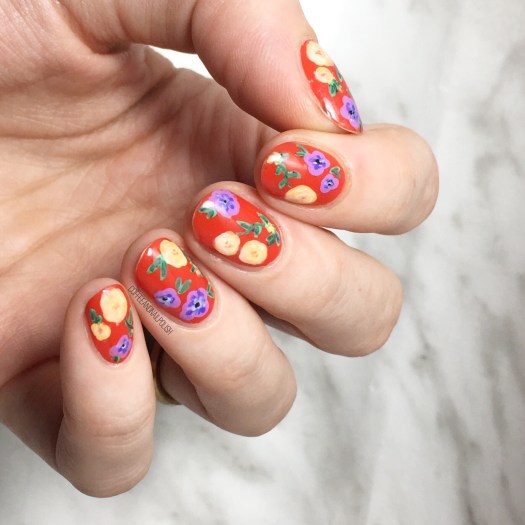
Happy Friday lovelies! & happy March! Can you believe another month is down? I definitely can’t. Our countdown to Spring is officially at 18 days…. can you tell I’m really excited? Especially since the last couple days have been so beautiful & warm! I can’t wait. Which also means my nails have to match.
Give me all the Spring polish picks!
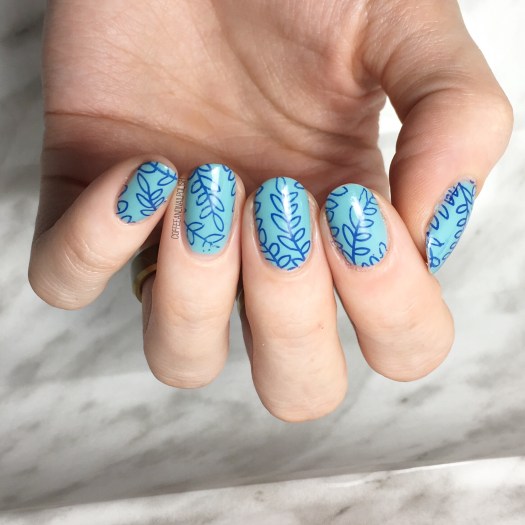
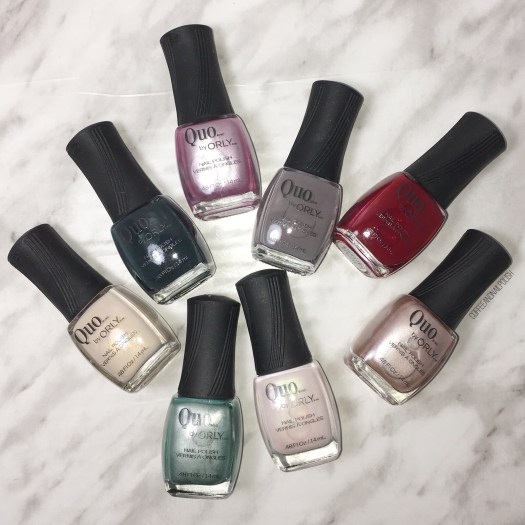
For this manicure, the polishes I used were:
- Base Coat: Quo by ORLY Breathable Kiss Me, I’m Kind
- Top Coat: Seche Vive
- Essie In The Cab-Ana
- Essie All the Wave
- Born Pretty Store Stamping Plate BP-L026 (item #21812)
- Born Pretty Store Clear Jelly Stamper
- Edge Perfection Cuticle Barrier
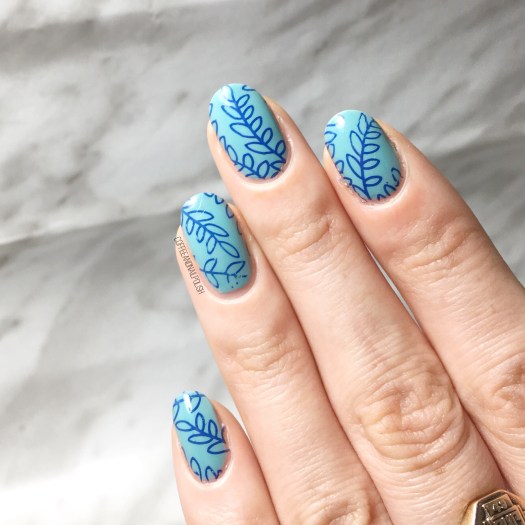
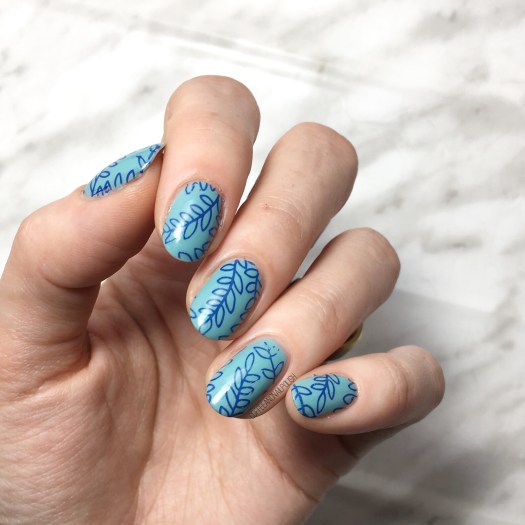
I really love the blue on blue with the vine pattern. It reminds me of a Spring dress pattern! & you know how much I love my dresses & cant wait to wear them again. Hopefully maybe by Easter & the end of the month I’ll be able to wear a few. A girl can dream!
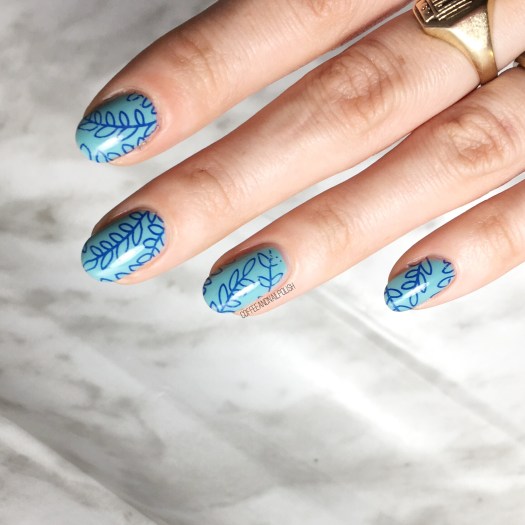

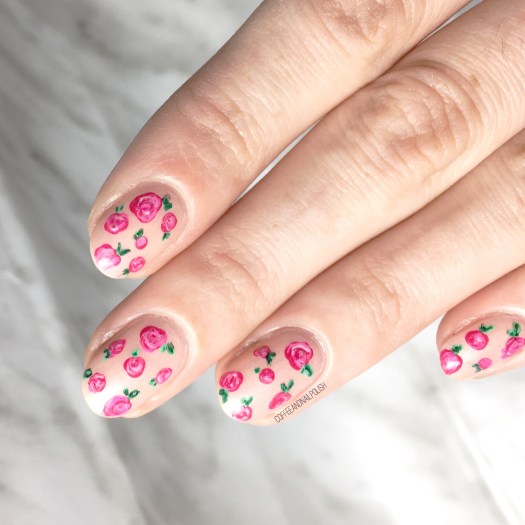
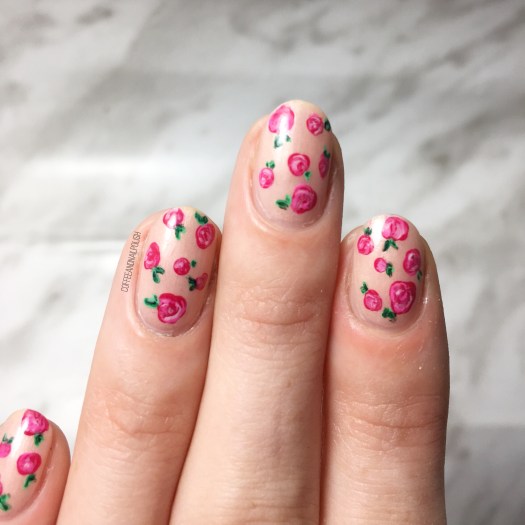
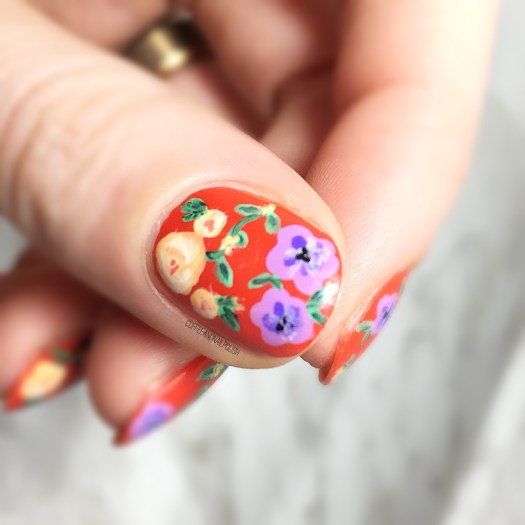
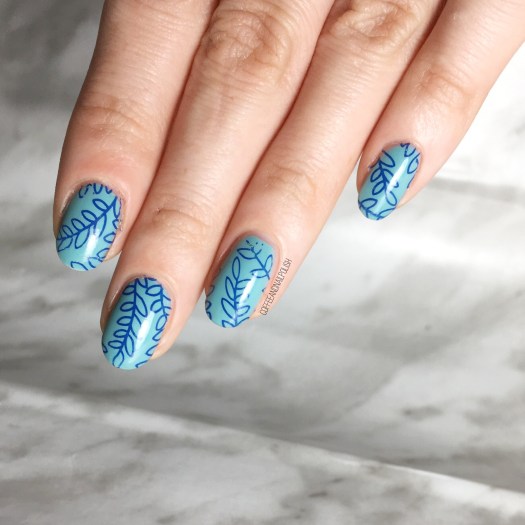
I’m so glad I bought this stamping plate from Born Pretty! There are so many beautiful patterns that are going to be perfect for Spring & Summer. Obviously I love freehanding Floral patterns, but something I just don’t have the time to do it so this gives me another option. Plus leaves have never been my strong suit–Roses I can do, but try & freehand a leaf & sometimes it just ends up looking like a green blob. If I’m feeling some greenery, this will definitely make me less frustrated, which I am so happy about.

What do you think of this Spring design? Are you as ready for Spring as I am? Let me know your thoughts in the comments below! 🌿🌱