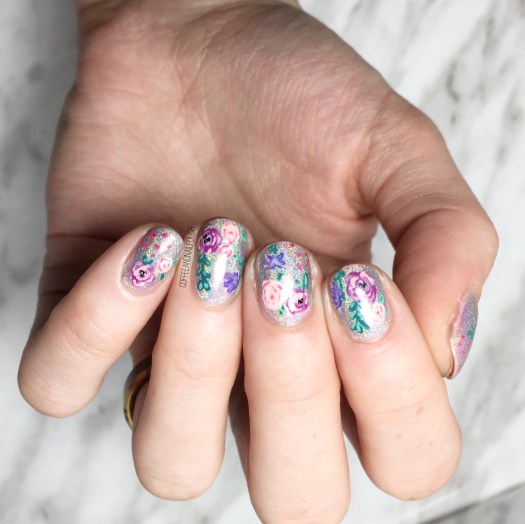
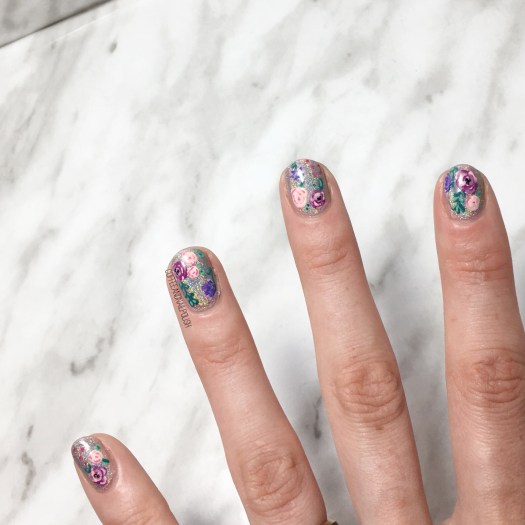
It feels like forever since I had to opportunity to join one of my fellow nail art addicts in a mani swap. So I was super excited to be able to team up with a fellow Canadian nail polish addict @mugglenails in a fun design swap. Meghan always comes up with such creative nail art patterns & colour combinations. So it was really fun to scroll through her feed to pick a design to recreate!
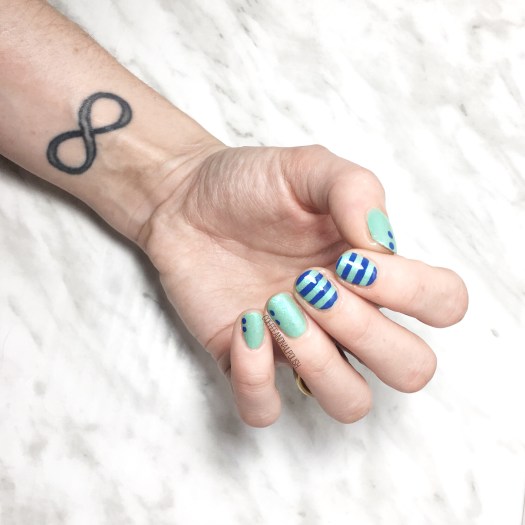
I had narrowed it down to two designs of hers, but in the end I kept coming back to this blue & aqua design. There is something about the colour combination which felt so nautical, I just couldn’t get it out of my head. Very, very Summery! For her design, Meghan recreated my green vine design from a few months back.
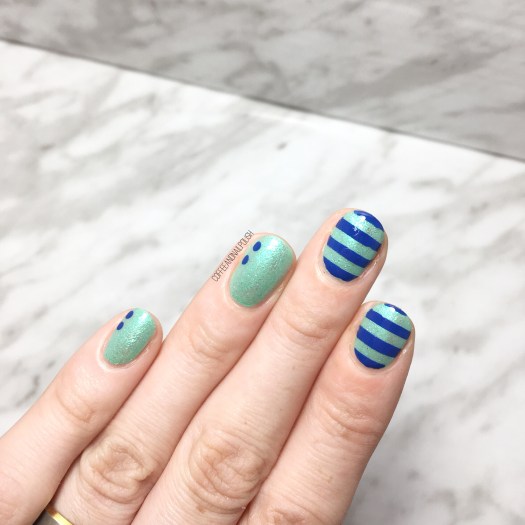
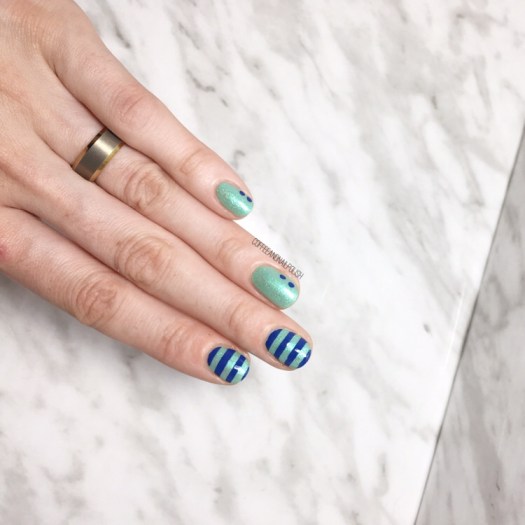
For this design, the polish I used were:
- Base Coat: OPI Nail Envy
- Top Coat: Essie Gel Setter
- Essie First Timer
- Icing Stores Mermaid Mint
- Essie All the Wave
- Born Pretty Store Aurora Rainbow Nail Striping Tape (item #40423)
- Medium sized dotting tool

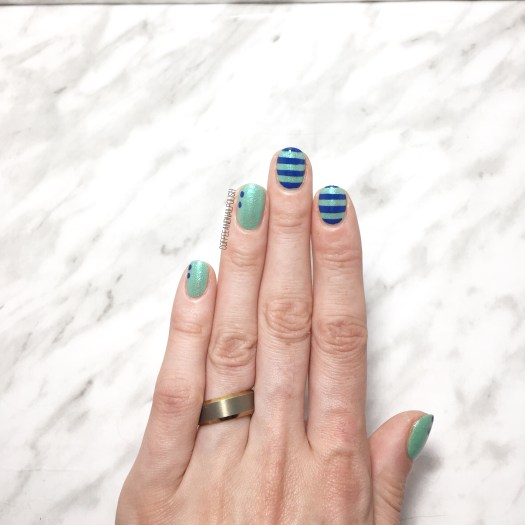
There is something about this colour combination that just makes me swoon. Maybe because it feels so Summer-y & reminds me of the ocean. I mean, I’m an East Coat Girl… the ocean is in my veins. I will always adore a nail design with a nautical theme. All this design needs is a quick accent anchor for it to go full nautical. But I kind of like the fact that it’s kind of subtle–it makes this design a much more everyday look. This colour combo isn’t my everyday choice, & yet I’m completely obsessed with it!

What do you think of this mani swap? Do you think my recreation was successful? Share your thoughts down in the comments below!