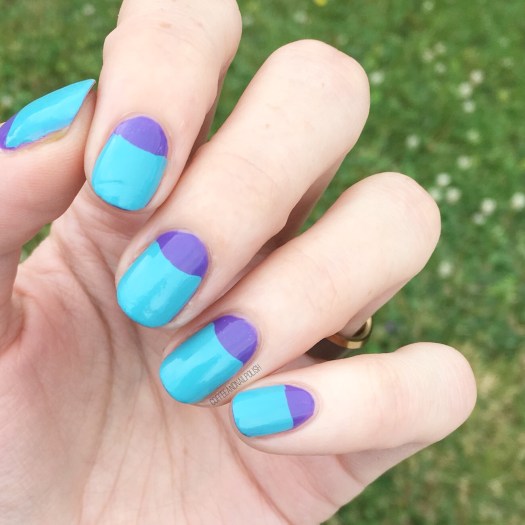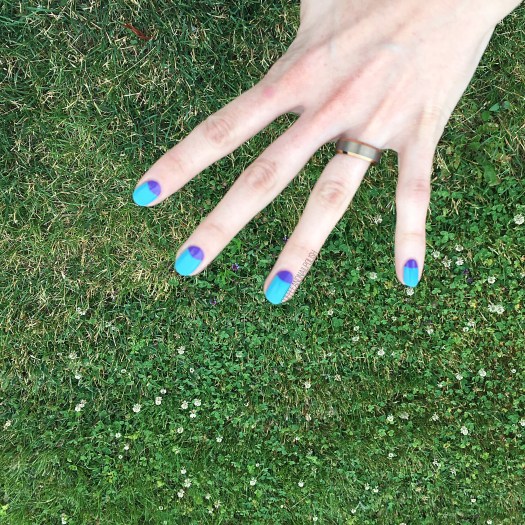
Good Morning & Happy Wednesday! We’re already half way through our week–how crazy is that. We’re also one week away from August… even crazier. This Summer is certainly rocketing by! I’m already feeling that familiar draw towards dark polish, pumpkin spice & cosy knits that starts happening around this time of year.
But not yet… we still have a bit of Summer left so bring on the bright polishes!
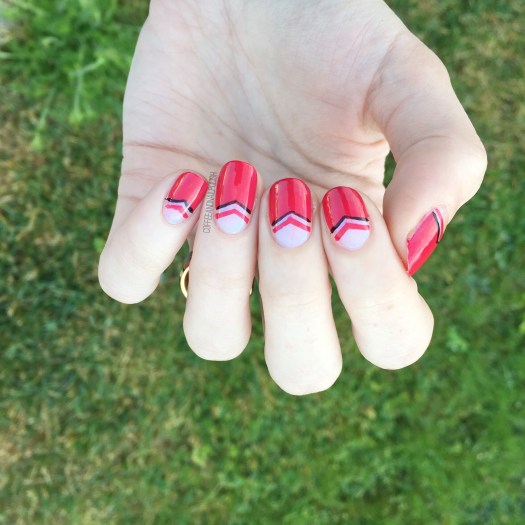
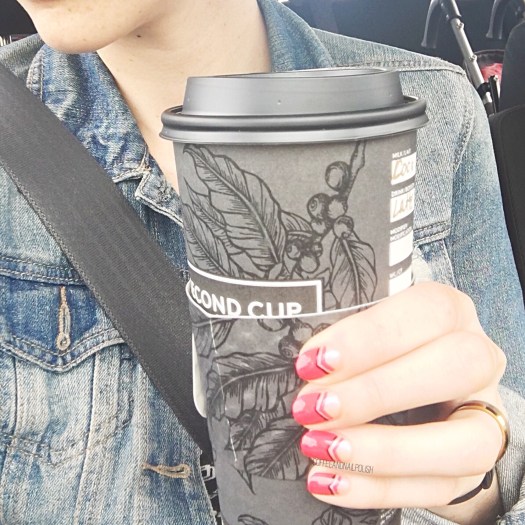
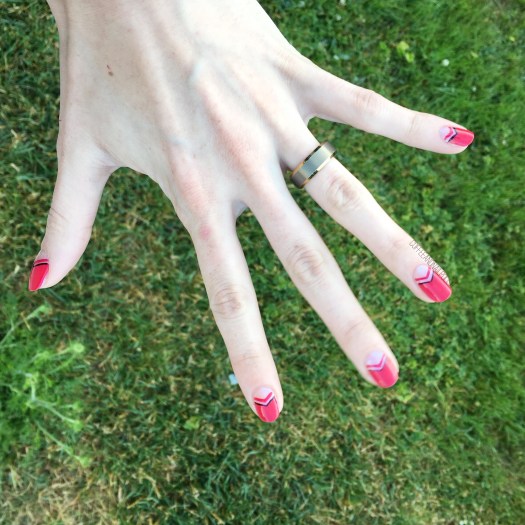
Today’s design was brought on by wanting to wear red nails, but more than just a solid colour. It wasn’t intentional, but these totally ended up reminding me of Bring It On! Does anyone else remember that movie. I was so obsessed with it when it first came out… & now I totally need to rewatch it again.
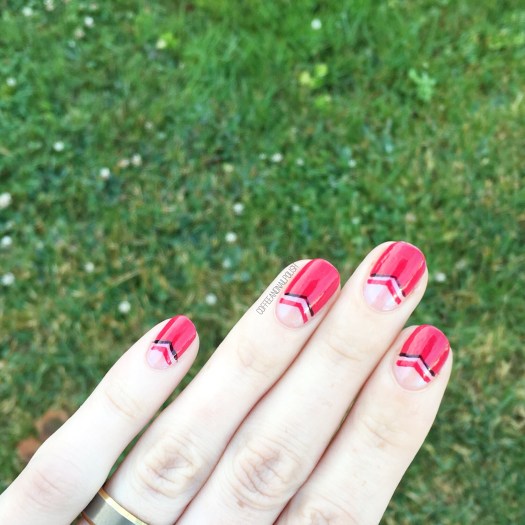
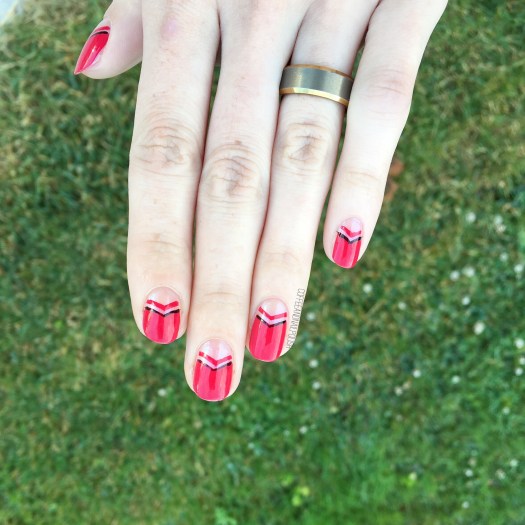
For this manicure, the polishes I used were:
- Base Coat: OPI Nail Envy
- Top Coat: Essie Speed Setter
- L’Oréal Magic Top Coats —The Shift Me
- Essie 5th Avenue
- Kiss Products Nail Art Striper in Black
- Snail Vinyls small single chevrons (so sad the shop is closing!)

I love red nail polish, but I find it the hardest colour to do nail art over simply because it seems to be a colour I turn to during holidays (Christmas, Canada Day, ect) but it is by far one of my all time favourite polish colours. I seriously love how these turned out, even if they totally remind me of cheerleader uniforms. Also I’m pretty sure this red is my new favourite red polish — I’ve been wearing it a lot lately, especially as a pedicure.
What do you think of this design? Let me know in the comments below! & let me know what your favourite 2000s teen movie is!